

Welcome to your ultimate guide for crafting the most decadent chocolate milkshake right in your own kitchen! Forget the long lines at the diner; with this easy-to-follow recipe and a few expert tips, you’ll be swirling a perfectly rich, incredibly creamy, and utterly satisfying shake in just minutes. It’s more than just a drink; it’s a blissful experience, a liquid dessert that captures the essence of an indulgent treat without the fuss. Prepare to delight your taste buds and impress your family with a homemade chocolate milkshake that truly tastes like pure bliss.
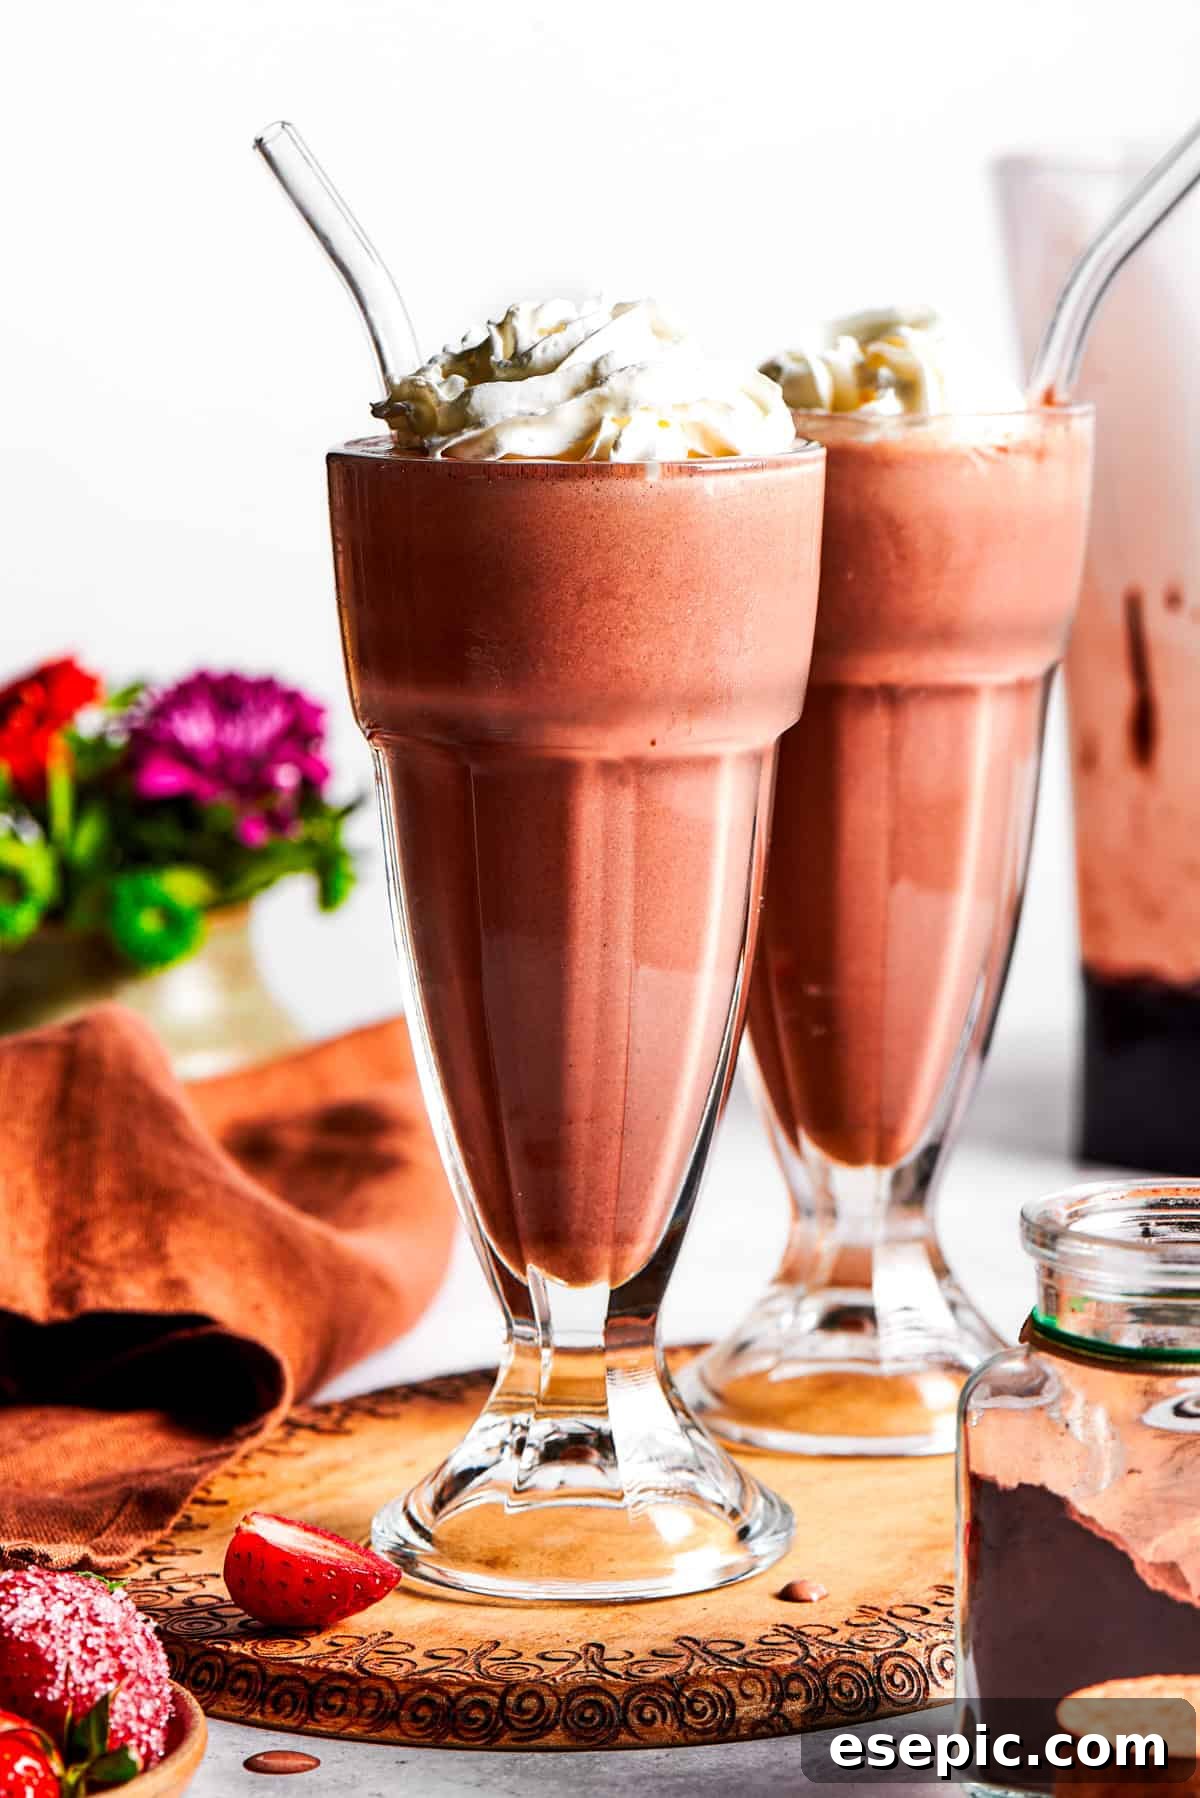
There’s something universally appealing about a classic chocolate milkshake. From the excited squeals of children to the nostalgic smiles of adults, this frosty treat holds a special place in our hearts. My kids constantly ask for this chocolatey delight, and honestly, who can blame them? This recipe takes that beloved classic and elevates it to new heights. We’re talking about a luxuriously rich and smooth consistency, intensified with high-quality cocoa powder and luscious hot fudge sauce. While a dollop of whipped cream is the perfect simple finish, feel free to unleash your creativity with additional toppings like fresh berries, delicate chocolate shavings, or a swirl of gooey caramel sauce.
Why This Homemade Chocolate Milkshake Will Become Your Go-To Recipe
- Unbelievably Fast: Ready in 5 Minutes! Yes, you read that correctly! From gathering your ingredients to taking that first blissful sip, crafting these rich chocolate milkshakes takes a mere five minutes. Perfect for spontaneous cravings or a quick dessert after a busy day. No more waiting, just pure, instant chocolatey satisfaction.
- Superior to Diner Versions: Better Made at Home. Why settle for a drive-thru shake when you can create a masterpiece in your own kitchen? When that undeniable craving for a thick, creamy diner-style milkshake strikes, there’s no need to leave your house. Our homemade version allows you to control every aspect, from the quality of ingredients to the exact level of sweetness and thickness. Plus, you can customize it with any delicious toppings or mix-ins your heart desires, perhaps even a drizzle of the incredible chocolate sauce from our Homemade Churros with Chocolate Sauce recipe.
- The Ultimate Creaminess & Thickness: Perfectly Indulgent. This isn’t just any chocolate milkshake; it’s an experience. Prepare for a lusciously creamy texture that coats your palate and a thickness that can be perfectly tailored to your preference. When you make it yourself, you have the power to adjust the amount of milk, ensuring your shake is as thick as you want it – a truly no-fooling-around, intensely satisfying chocolate treat.
- Effortless Customization for Every Taste. One of the greatest advantages of making milkshakes at home is the freedom to experiment. Want it extra chocolatey? Add more cocoa. Craving a hint of mint? A drop of mint extract. This recipe provides a flexible foundation for endless flavor possibilities, ensuring everyone gets their perfect milkshake.
- A Budget-Friendly Indulgence. Enjoying premium quality doesn’t have to break the bank. Crafting your own chocolate milkshakes at home is significantly more cost-effective than frequent trips to specialty ice cream parlors or diners, allowing you to indulge more often without guilt.
Essential Ingredients for Your Perfect Chocolate Milkshake
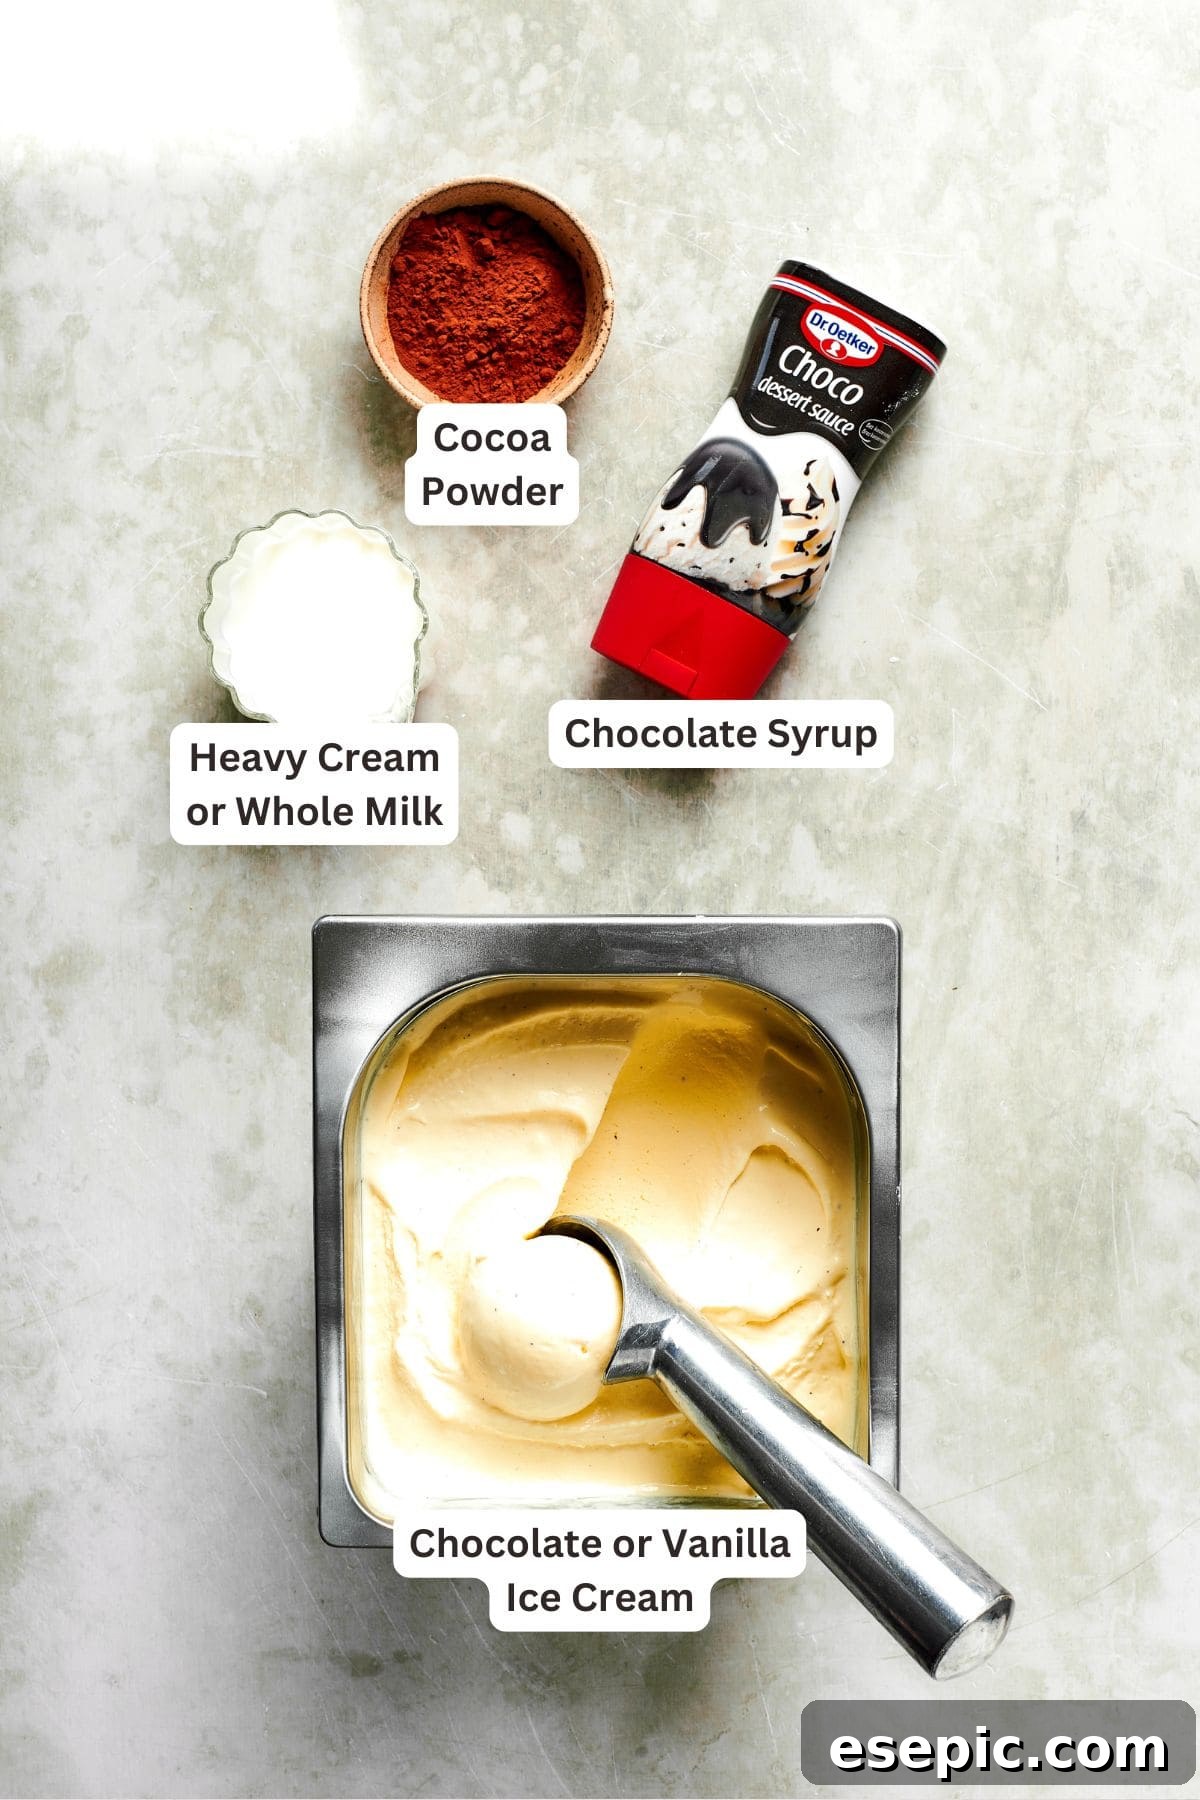
Creating an outstanding homemade milkshake relies on a few simple, yet high-quality ingredients. For the most decadent and richly flavored results, I highly recommend investing in premium ice cream. The better the base, the more phenomenal your shake will be. You’ll find the precise measurements for each ingredient in the full recipe details at the conclusion of this article.
- Ice Cream: The Creamy Foundation. Opt for a high-quality vanilla or chocolate ice cream as your base. While chocolate ice cream will provide an extra layer of deep cocoa flavor, vanilla offers a versatile canvas, allowing the added cocoa and chocolate sauce to truly shine. Crucially, avoid ice creams with large mix-ins like cookie chunks or candy pieces, as these can prevent your shake from blending smoothly into that desirable, uniform consistency.
- Heavy Cream: For Unparalleled Richness. For a truly indulgent, ultra-rich milkshake, heavy cream is your secret weapon. Its high-fat content contributes significantly to the shake’s luxurious texture and creamy mouthfeel. If you prefer a slightly lighter shake without compromising on flavor, whole milk is an excellent alternative that still delivers a delightful creaminess.
- Cocoa Powder: The Heart of Chocolate Flavor. Unsweetened Dutch-processed cocoa powder is my preferred choice for its deep, rich, and less bitter chocolate flavor compared to natural cocoa. Dutch-processing neutralizes the acidity in cocoa, resulting in a smoother, mellower chocolate profile that enhances the overall decadence of the milkshake. However, regular unsweetened cocoa powder works perfectly fine if that’s what you have on hand.
- Chocolate Sauce: The Sweet Indulgence. This ingredient brings concentrated chocolatey goodness and sweetness. Hot fudge sauce provides a thicker, richer texture and a more intense chocolate flavor, mimicking that classic diner experience. Alternatively, a good quality chocolate syrup offers a slightly lighter yet equally delicious sweetness. Choose based on your desired level of richness.
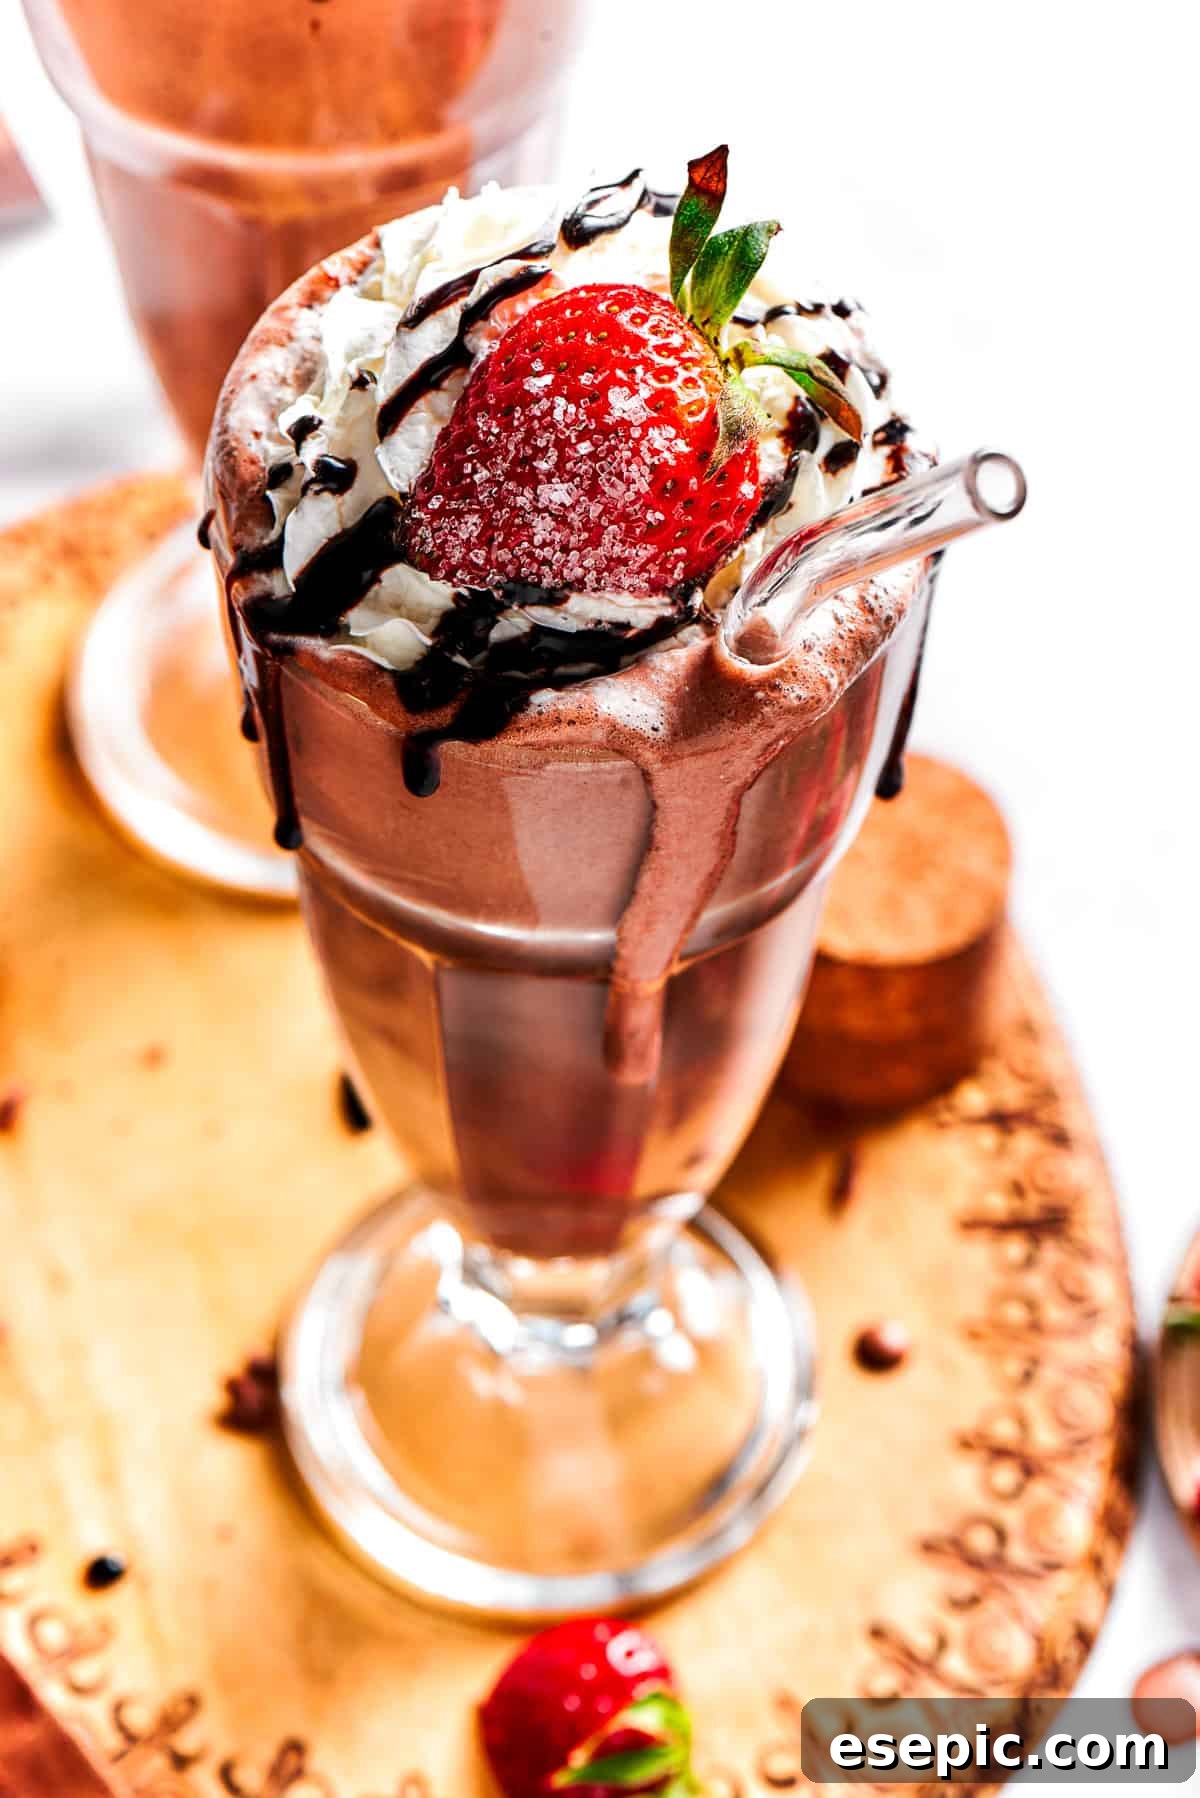
- Optional Toppings: Elevate Your Shake. While utterly delicious on its own, adding toppings transforms your milkshake into a true celebration. Consider a cloud of sweetened whipped cream, delicate chocolate shavings for added texture, fresh, vibrant strawberries for a touch of fruitiness, or an extra drizzle of rich chocolate sauce to complete the masterpiece.
Expert Tips for Crafting the Perfect Chocolate Milkshake Every Time
- Soften the Ice Cream First for Ultimate Creaminess. This step is a game-changer for achieving that dreamy, velvety texture. Allow your ice cream to sit on the counter for about 10-15 minutes before blending. A slightly softened ice cream blends more easily and smoothly, preventing chunks and ensuring a lusciously creamy shake. You’ll definitely thank yourself later for this simple trick!
- Layer Ingredients Strategically for Optimal Blending. The order in which you add ingredients to your blender matters. Always pour the liquid component (heavy cream or milk) into the blender first, followed by the ice cream and then your other dry and wet ingredients. The liquid at the bottom helps the blender blades catch and process the harder ice cream more efficiently, ensuring a quicker, smoother blend.
- Start Slow and Build Speed. When you begin blending, start on a low speed to incorporate the ingredients gently and prevent splashes. Once everything starts to combine, gradually increase the speed to medium. This controlled approach helps achieve a consistent, smooth texture. If necessary, pause and scrape down the sides of the blender with a spatula to ensure all ingredients are thoroughly mixed. Aim to blend for about 1 minute, or until completely smooth.
- No Blender? No Problem! Hand-Whisk Your Way to Deliciousness. Don’t have a high-powered blender? You can still enjoy a fantastic homemade milkshake! Simply let your ice cream soften slightly longer. Then, combine all the ingredients in a large bowl and vigorously whisk them together until the mixture is smooth and creamy. It might take a little more elbow grease, but the delicious result is well worth it.
- Chill Your Glasses for the Authentic Diner Experience. Recreate that iconic frosty diner presentation by chilling your serving glasses. Place them in the freezer for at least 15-20 minutes while you prepare your milkshake. This not only makes for a beautiful presentation but also helps keep your shake colder and thicker for longer, allowing you to savor every sip.
- Can I Make It Ahead? Best Enjoyed Fresh, But Can Be Stored. While milkshakes are undeniably at their peak when served immediately, any leftovers can be stored. Pour your extra shake into an airtight container and place it in the freezer for up to a few hours. When you’re ready to enjoy it again, let it sit at room temperature for 5-10 minutes to soften slightly, then give it a quick stir or re-blend if needed to restore its creamy consistency.
Creative Topping & Flavor Variation Ideas for Your Milkshake
This versatile chocolate milkshake recipe isn’t just for one flavor; it’s a foundation for endless creativity! Use this method to craft any flavor of milkshake your heart desires, and remember, don’t hold back on those delightful extras. Here are some exciting suggestions to inspire your next milkshake masterpiece:
- Strawberry Chocolate Milkshake: A Fruity Twist. For a delightful fusion of flavors, swap your base ice cream for strawberry ice cream. Keep the cocoa powder in the mix to create a truly irresistible chocolatey, fruity shake that’s both refreshing and indulgent. The tang of strawberry beautifully complements the deep notes of chocolate.
- Make it a Mocha: Coffee Lover’s Dream. Elevate your chocolate shake with a sophisticated coffee kick. Add a shot (or two!) of cooled espresso or strong brewed coffee to the blender for a rich mocha twist. Alternatively, for an even more pronounced coffee flavor, use coffee ice cream instead of vanilla or chocolate ice cream as your base.
- PB and Chocolate Shake: A Classic Combination. Indulge in the iconic pairing of peanut butter and chocolate. Simply blend in about 1/4 cup of creamy peanut butter with your other ingredients for a rich, nutty, and irresistibly delicious peanut butter chocolate milkshake. This is a guaranteed crowd-pleaser!
- Go Dairy-Free: Vegan-Friendly Milkshake. For those with dietary restrictions or who prefer plant-based options, this recipe is easily adaptable. Use your favorite dairy-free ice cream (such as almond, soy, or coconut-based) and a plant-based milk alternative like almond milk or oat milk to create a wonderfully creamy and satisfying vegan-friendly milkshake.
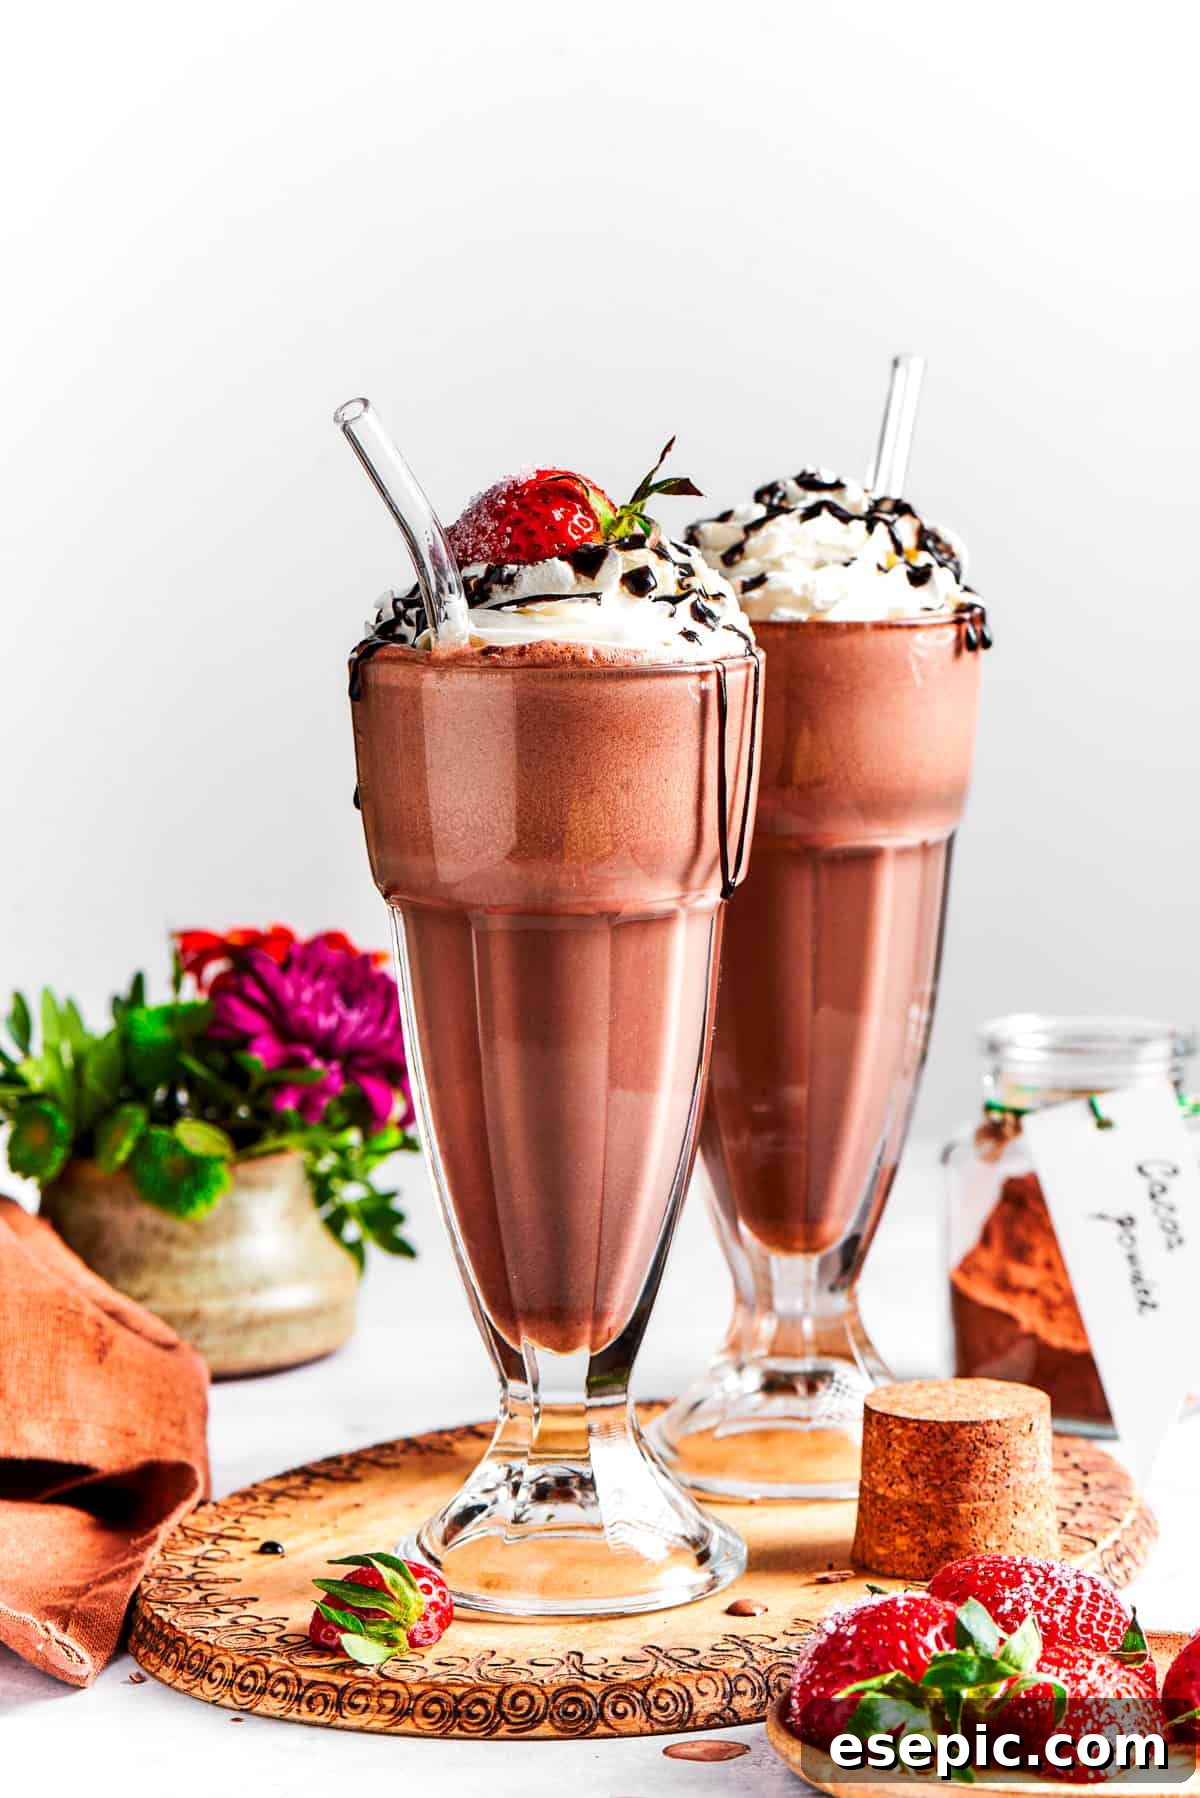
- Abundant Topping Ideas: The Grand Finale. The finishing touches are where you can truly express your creativity. Beyond the classic whipped cream, consider adding mini chocolate chips, colorful sprinkles for a festive touch, fluffy mini marshmallows, or a vibrant maraschino cherry on top. Fresh raspberries can add a tart contrast, while a sprinkle of finely chopped nuts provides a delightful crunch.
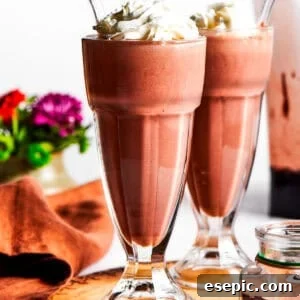
The Best Homemade Chocolate Milkshake Recipe
Ingredients
- 4 cups vanilla ice cream (or chocolate ice cream for a deeper flavor)
- ¼-½ cup heavy cream (or whole milk for a slightly lighter shake)
- 1½ tablespoons Dutch-processed cocoa powder (or regular unsweetened cocoa powder)
- ⅓ cup hot fudge sauce (or chocolate syrup)
- Optional toppings: sweetened whipped cream, chocolate shavings, fresh strawberries, extra chocolate sauce drizzle.
Instructions
- Prepare Your Blender: Ensure your blender is clean and completely dry before you begin the milkshake magic.
- Combine Ingredients in Blender: Carefully scoop the vanilla or chocolate ice cream into the blender carafe. Next, add the cocoa powder to enrich the chocolate flavor. Follow with the hot fudge sauce or chocolate syrup; opt for hot fudge for a more intense and decadent taste. Finally, pour in the heavy cream or whole milk. Start with ¼ cup of liquid, as you can always add more to adjust thickness.
- Blend Until Smooth and Creamy: Secure the blender lid firmly. Begin blending on a low speed to gently combine the ingredients, then gradually increase to medium speed. Continue blending until the mixture is perfectly smooth and wonderfully creamy, with no ice cream chunks remaining. If you find the milkshake too thick for your liking, add additional cream or milk, one tablespoon at a time, blending briefly after each addition until you achieve your desired consistency.
- Taste and Adjust Flavor: Take a small taste of your milkshake. If you prefer a sweeter profile or a more pronounced chocolate flavor, add a bit more chocolate sauce and blend again for a few seconds to fully incorporate it.
- Serve Immediately in Chilled Glasses: Pour your freshly blended chocolate milkshake into the chilled glasses you prepared earlier. This helps maintain its frosty temperature and thick texture. Finish with your desired optional toppings: a generous swirl of whipped cream, delicate chocolate shavings, a few slices of fresh strawberries, or a final artistic drizzle of chocolate sauce. Serve immediately with a wide straw or a spoon and savor every delicious moment of your homemade chocolate milkshake!
Equipment
-
High-Powered Blender
Nutrition Information (per serving, estimated)
Calories: 834 kcal | Carbohydrates: 97g | Protein: 13g | Fat: 45g | Saturated Fat: 27g | Polyunsaturated Fat: 2g | Monounsaturated Fat: 13g | Cholesterol: 150mg | Sodium: 395mg | Potassium: 755mg | Fiber: 5g | Sugar: 75g | Vitamin A: 1550IU | Vitamin C: 2mg | Calcium: 387mg | Iron: 1mg
Nutritional information provided is an estimate and serves as a courtesy. Values may fluctuate based on the specific brands of ingredients and tools utilized. For precise and detailed nutritional data, please use your preferred nutritional calculator.
Step-by-Step Guide: Crafting Your Perfect Chocolate Milkshake
Making a show-stopping chocolate milkshake at home is surprisingly simple. Follow these easy steps, and you’ll be enjoying a creamy, dreamy treat in no time!
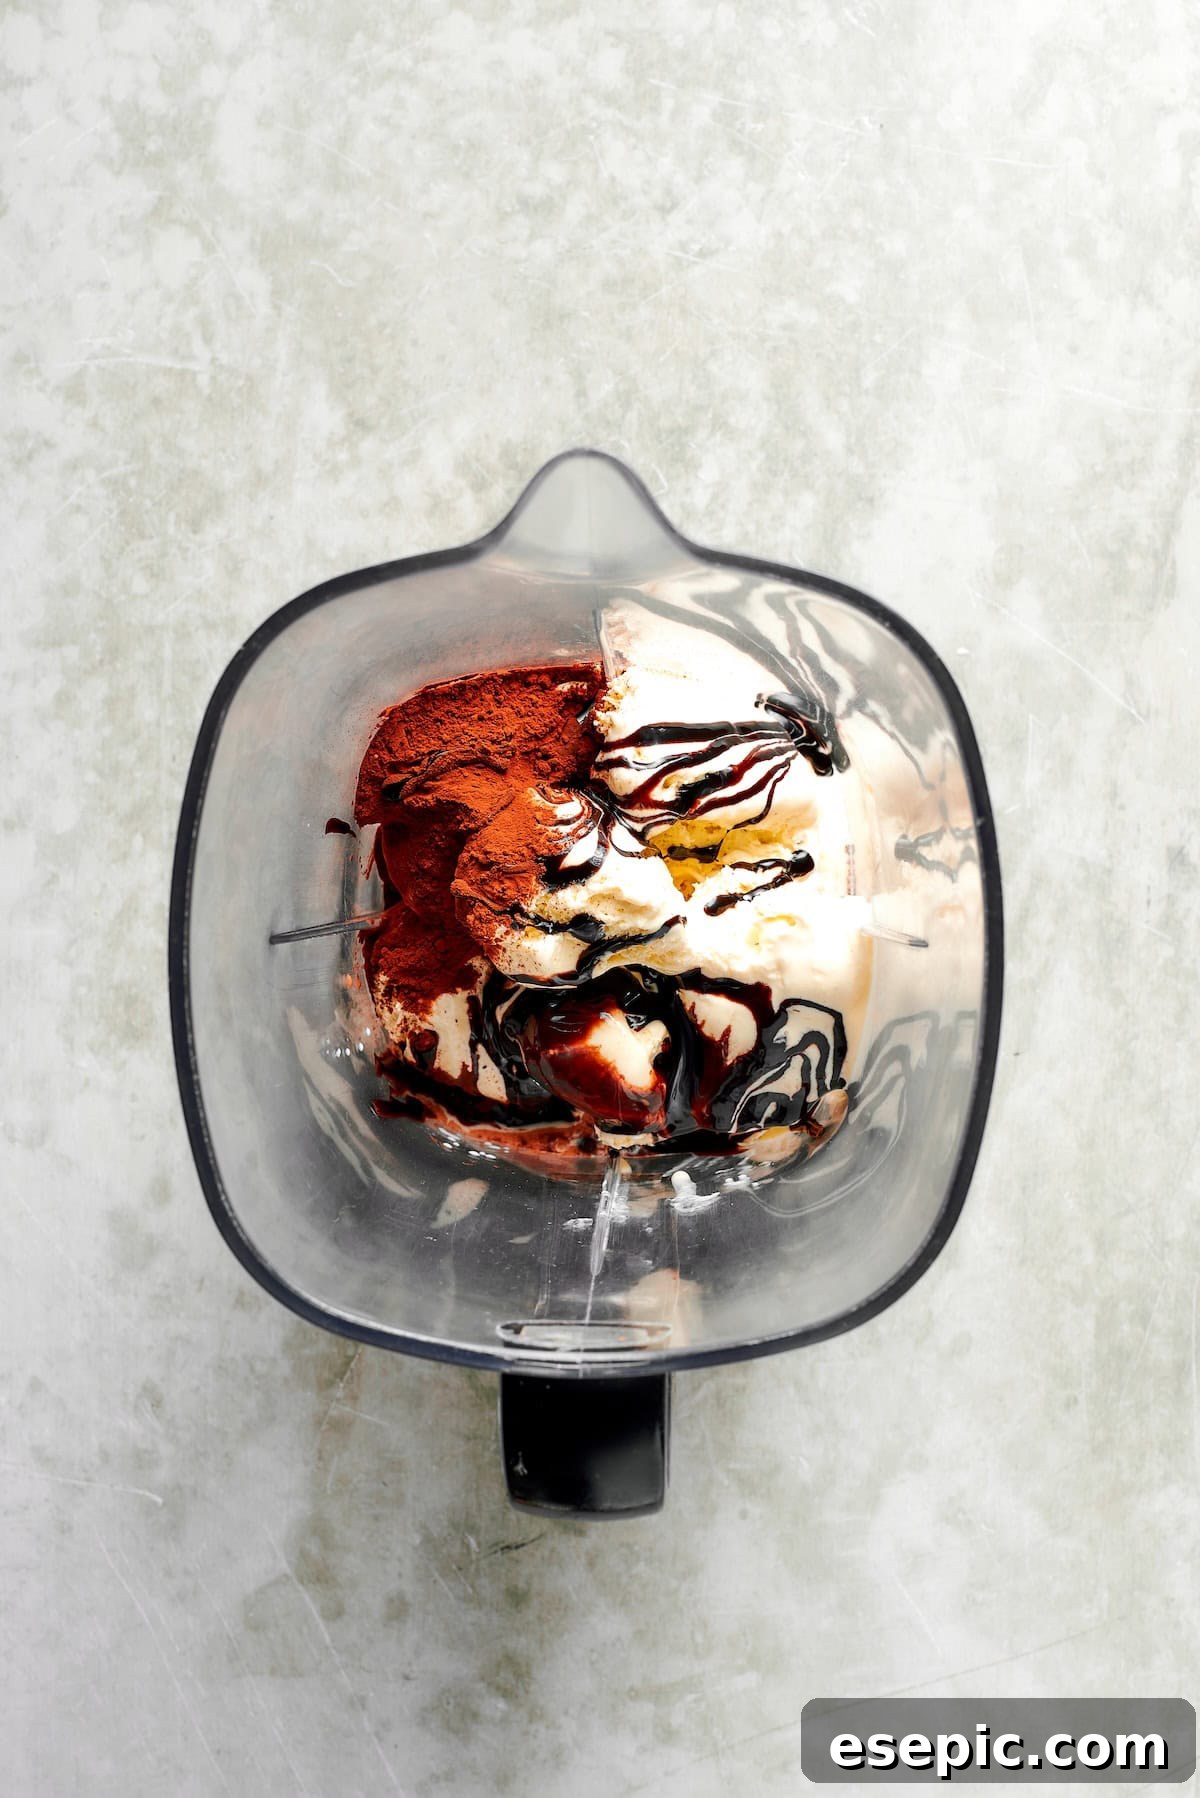
- Step 1: Layer Ingredients in Your Blender. For optimal blending, place your ingredients into the blender in this specific order: first, your heavy cream or whole milk, then scoop in the softened ice cream, followed by the cocoa powder, and finally, the chocolate syrup or hot fudge sauce. This layering ensures the liquid helps the blades tackle the ice cream more effectively.
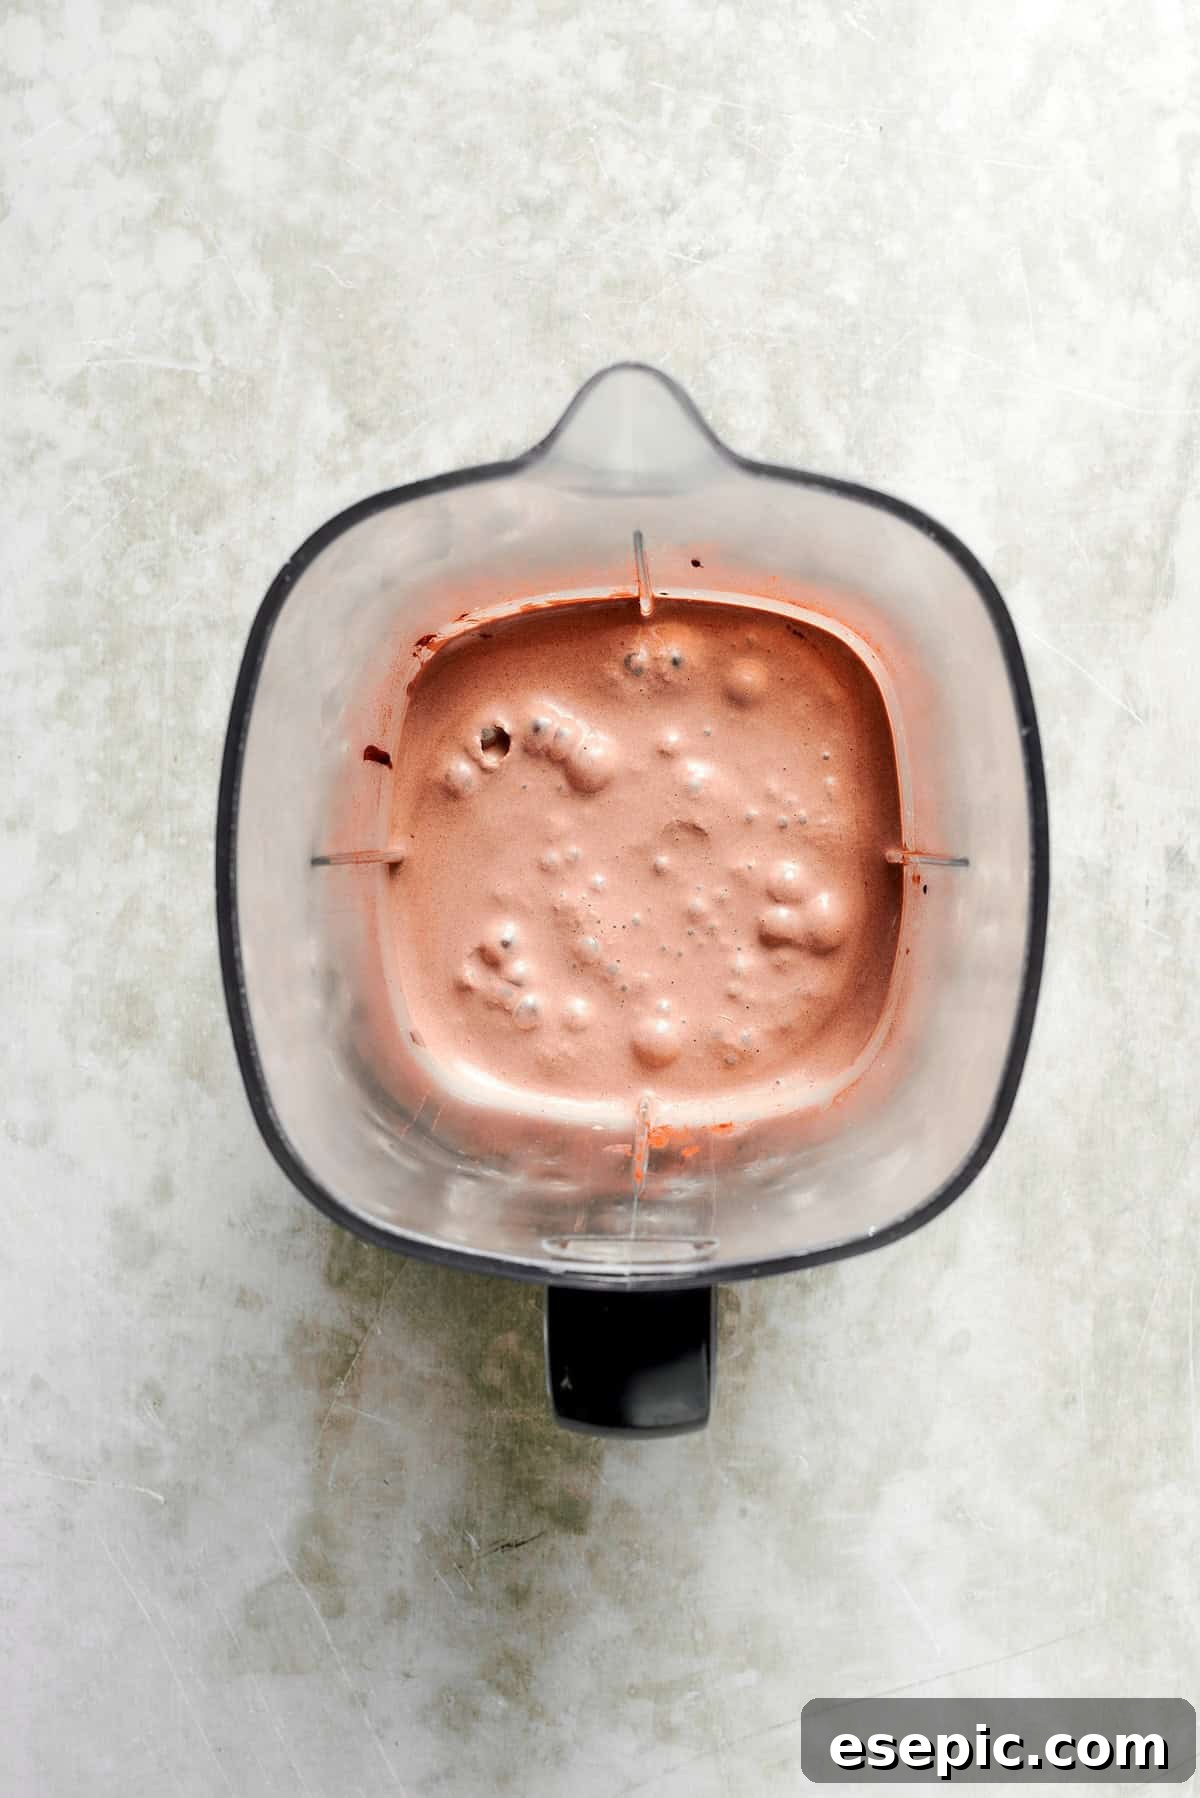
- Step 2: Blend Until Smooth and Creamy. Secure the lid on your blender. Start blending on a low speed, then gradually increase to medium. Continue to mix until all ingredients are thoroughly combined and the milkshake is smooth, thick, and perfectly creamy. If it’s too thick, add a splash more milk; if too thin, a scoop of ice cream.
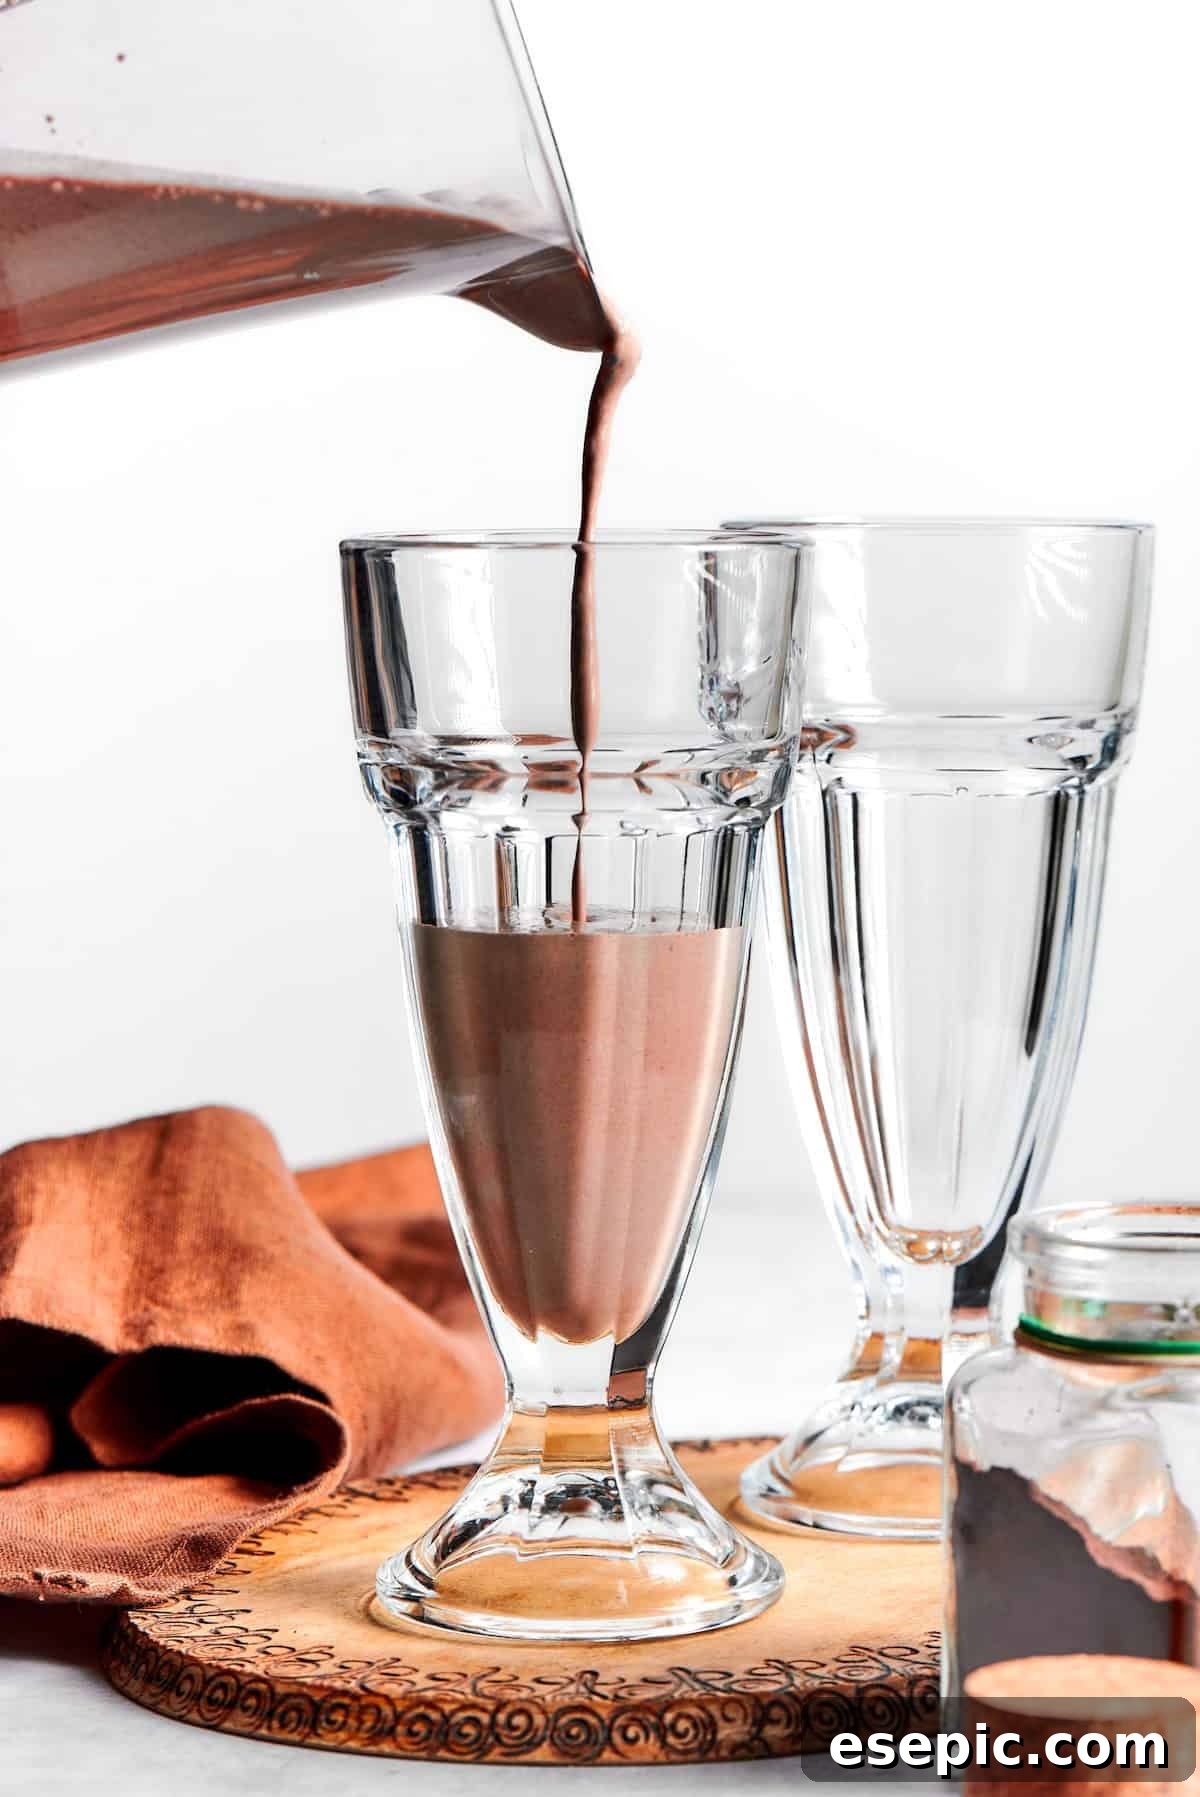
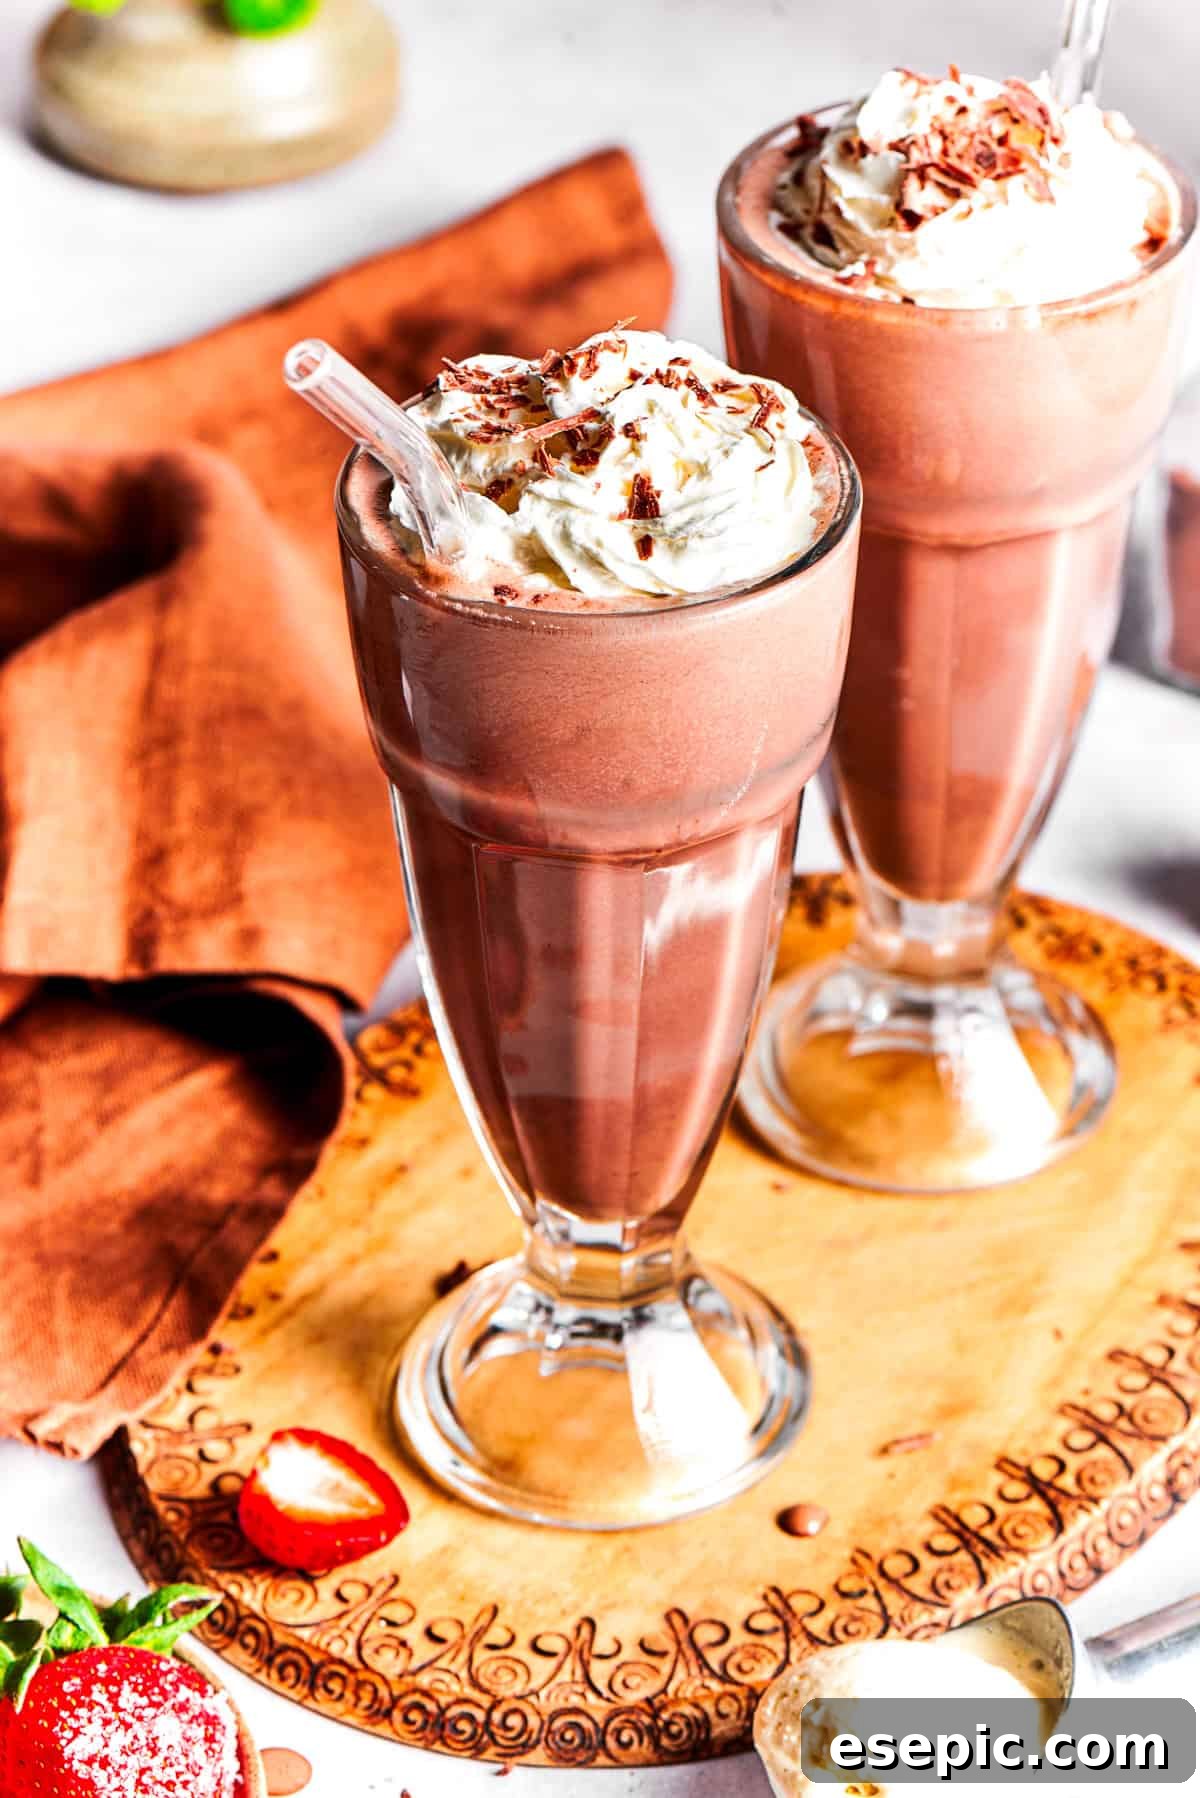
- Step 3: Pour into Chilled Glasses. Once your milkshake has reached its ideal consistency, carefully pour it into your pre-chilled glasses. This small step makes a big difference in keeping your milkshake perfectly cold and enjoyable.
- Step 4: Garnish and Serve Immediately! Now for the fun part! Top your magnificent chocolate milkshake with a swirl of whipped cream, a sprinkle of chocolate shavings, a few fresh strawberries, or an extra drizzle of chocolate sauce. Grab a straw and a spoon, and dive into this luxurious homemade treat without delay!
Whether you’re celebrating a special occasion, looking for a quick and satisfying dessert, or simply craving something sweet and refreshing, this homemade chocolate milkshake recipe is guaranteed to deliver. Its rich flavor, velvety texture, and endless customization options make it a staple for any dessert lover. So, gather your ingredients, fire up your blender, and prepare to sip on pure chocolatey perfection. Enjoy every last drop!
Explore More Easy and Delicious Dessert Ideas
If you loved making this easy chocolate milkshake, you’re in for a treat! Discover other simple yet sensational dessert recipes that are perfect for any occasion. From classic cookies to delightful no-bake treats, there’s always something new to whip up in your kitchen.
- Brown Butter Chocolate Chip Cookies
- Shamrock Oreo McFlurry Copycat
- Millionaire Bars
- Peanut Butter Rice Crispy Treats