

Melted Snowman Cookies: The Cutest & Easiest Holiday Treat!
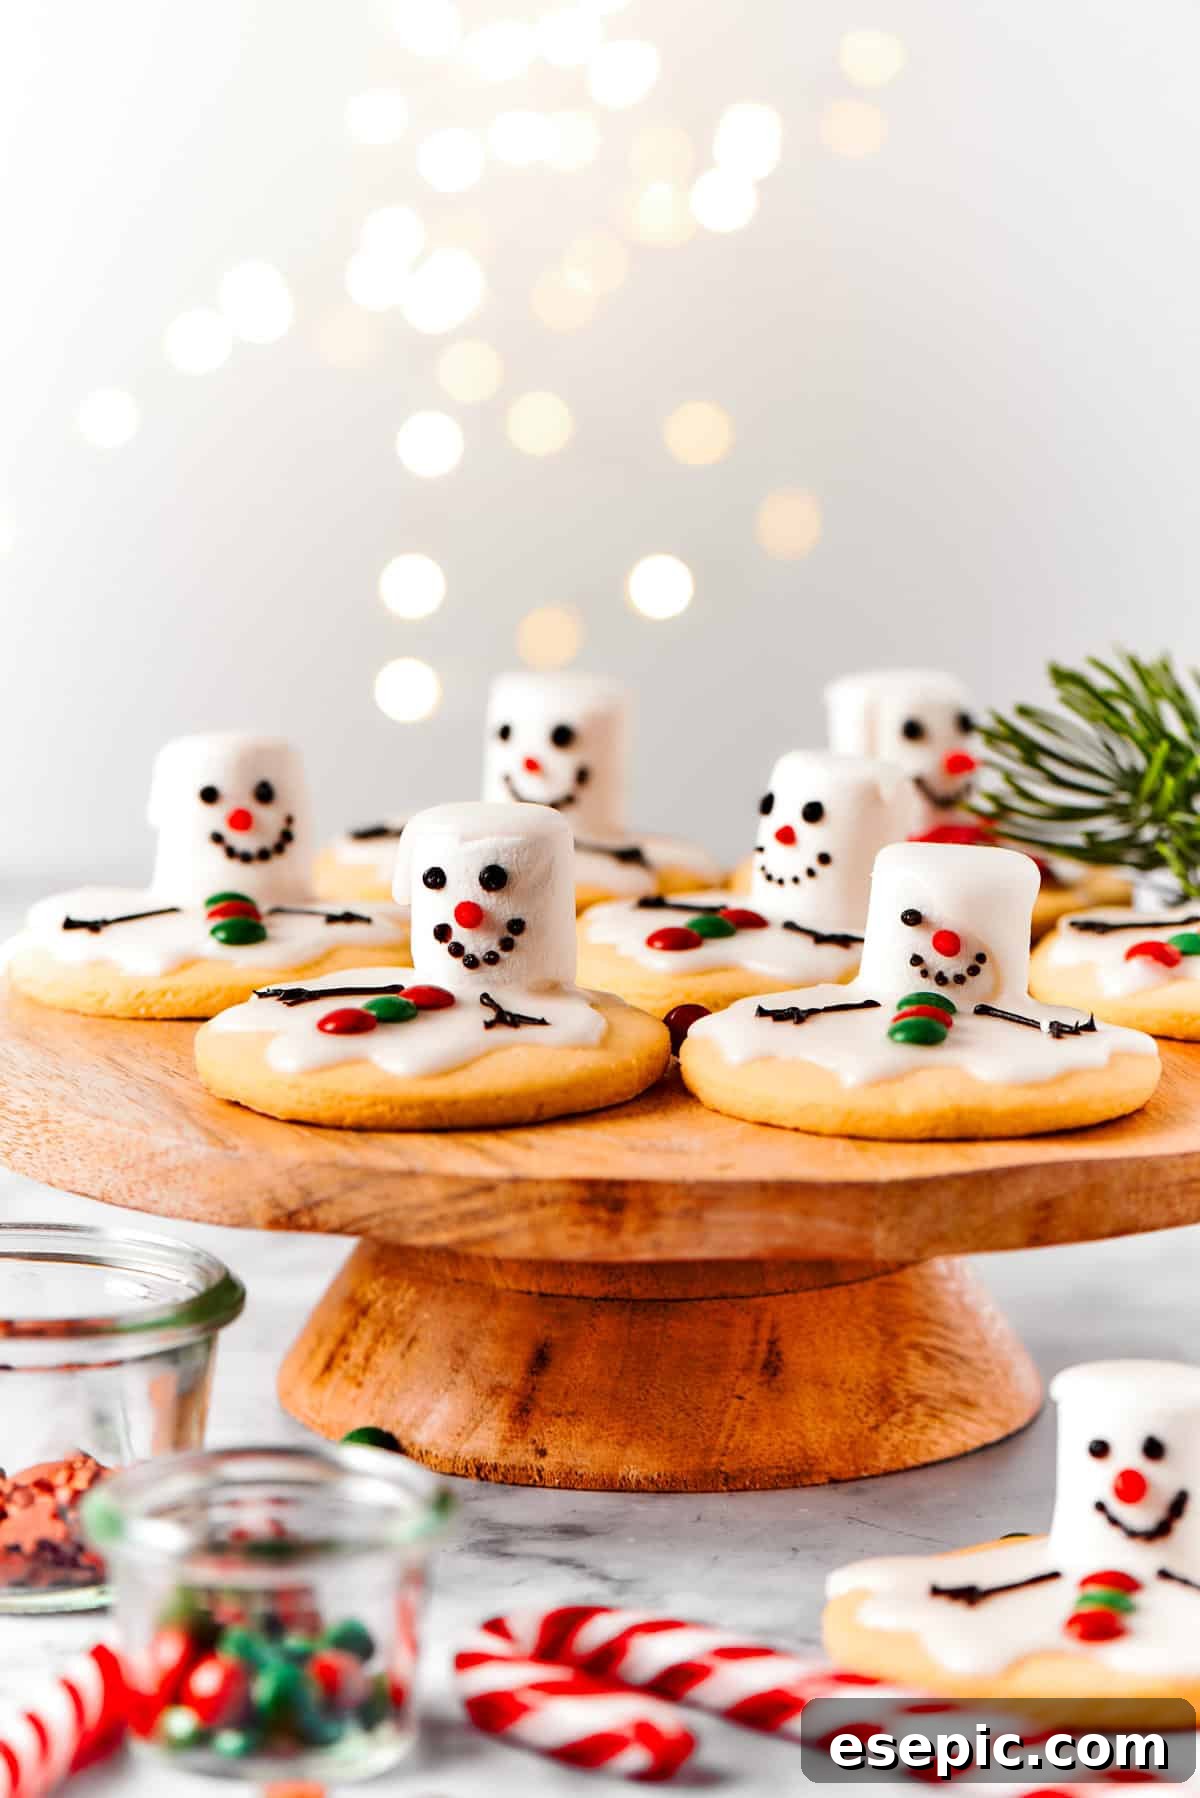
Get ready to spread some serious holiday cheer with these incredibly charming Melted Snowman Cookies! Imagine a tender, buttery homemade sugar cookie serving as the canvas, generously topped with a rich, smooth vanilla frosting, and then crowned with a fluffy marshmallow that looks as if it’s gracefully melting into a snowy wonderland. These whimsical cookies are more than just a dessert; they’re a delightful experience, guaranteed to bring smiles and delight to everyone, from the youngest decorators to the seasoned holiday baker.
Perfect for festive gatherings, cozy winter evenings, or simply a fun afternoon activity with the family, these melted snowman cookies are surprisingly easy to make and offer endless opportunities for creative expression. Let’s dive into creating these irresistible little characters that are sure to become a cherished part of your holiday traditions!

Why You’ll Adore Making These Melted Snowman Cookies
Our family absolutely cherishes these adorable melted snowman cookies, and we have a feeling your loved ones will too! They’ve quickly become a highlight of our holiday baking season, and we find ourselves looking forward to crafting them all year long. Beyond their delightful appearance and taste, there are so many reasons to fall in love with this festive recipe:
- A Fantastic Family Activity: These cookies are genuinely great for kids of all ages. Involve your little helpers in every step, from mixing the dough to rolling it out, and especially in the decorating process. Set out all the assembly components – the cookies, frosting, marshmallows, and various edible decorations – and let their imaginations run wild! It’s an engaging, hands-on project that fosters creativity and creates lasting memories.
- Overflowing with Festive Spirit: There’s no denying the immediate holiday cheer these cookies evoke. They are the quintessential festive treat, ideal for serving at Christmas parties, winter celebrations, or simply to brighten up any snowy day. Their whimsical design captures the magic of winter, making them a perfect addition to any seasonal spread.
- Unleash Your Creativity: While we provide clear instructions and inspiring suggestions in this guide, these cookies are a fantastic canvas for personalization. Use our ideas to kickstart your own unique designs, or challenge yourself and your family to create distinct personalities for each melted snowman. From different facial expressions to unique “scarves” made of sprinkles, every cookie can tell its own story.
- Party-Ready & Perfect for Gifting: Planning a holiday cookie swap this year? These melted snowman cookies are an absolute showstopper! You could even host a decorating party as an engaging activity, where everyone customizes a few cookies to take home. They also make incredibly thoughtful and personal homemade gifts for teachers, neighbors, friends, and family.
- Irresistibly Delicious & Easy: Beyond their cute factor, these cookies are genuinely delicious. The combination of a soft, buttery sugar cookie base with sweet vanilla frosting and a chewy marshmallow is simply heavenly. And the best part? The recipe is straightforward, making it accessible for bakers of all skill levels, even if you’re short on time.
What Are Melted Snowman Cookies?
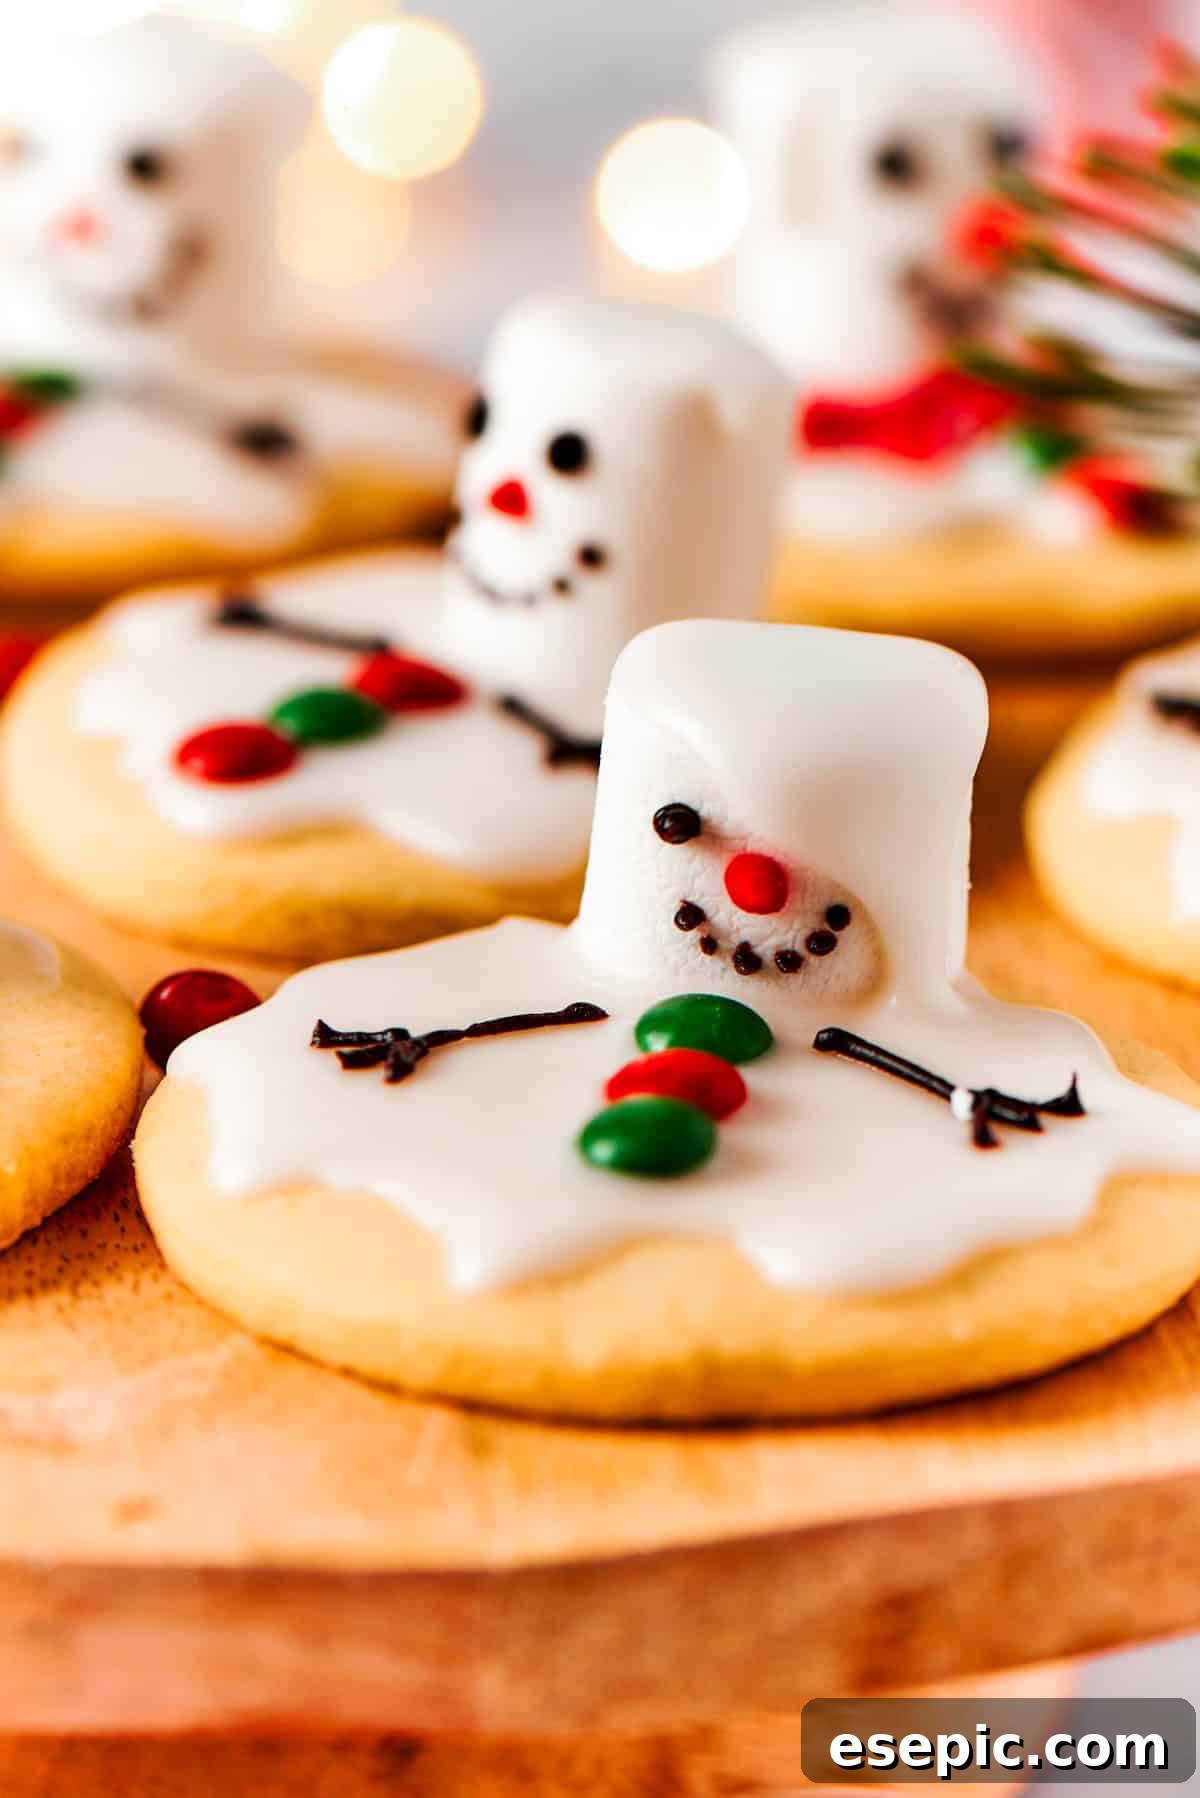
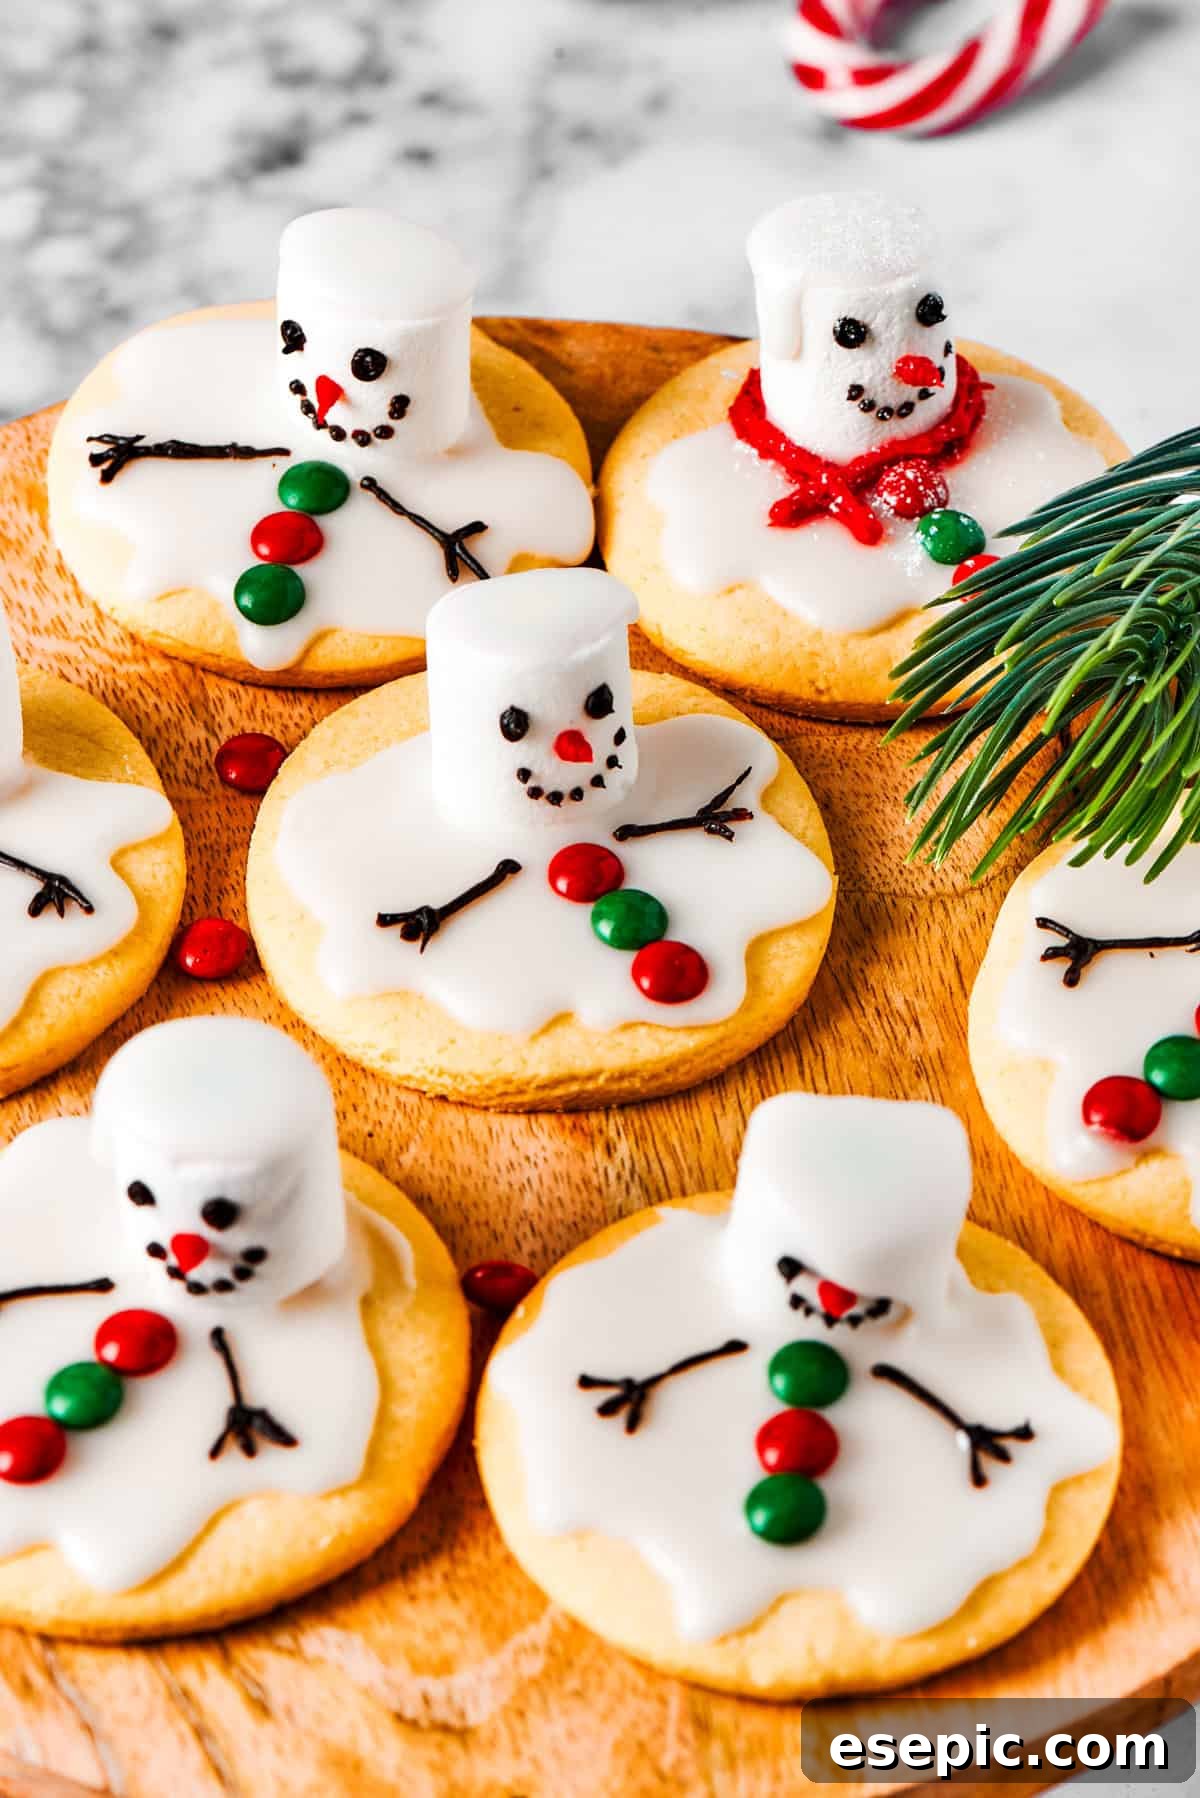
Melted Snowman Cookies are a charming and inventive dessert that visually depicts a snowman that has, well, “melted” into a puddle of snow. Each cookie starts with a perfectly baked, round sugar cookie, which forms the base. This base is then generously slathered with a thick, white vanilla frosting, creating the illusion of a melted snowdrift. A soft, plump marshmallow is then placed slightly off-center on the frosting, representing the snowman’s head. The magic truly comes alive with the final decorating touches: edible food coloring or writing gel is used to draw on eyes, a carrot nose, a whimsical smile, and stick arms, bringing each snowman to life even in its melted state. These cookies are beloved for their playful appearance and delicious taste, making them a standout at any winter event.
Gather Your Ingredients: What You’ll Need for Snowy Delights
You’ll be delighted to know that these enchanting holiday cookies require mostly common pantry staples. We’ve broken down the ingredients into categories to make your baking experience even smoother. For the precise measurements and comprehensive baking instructions, be sure to check the full recipe card located at the very end of this post!
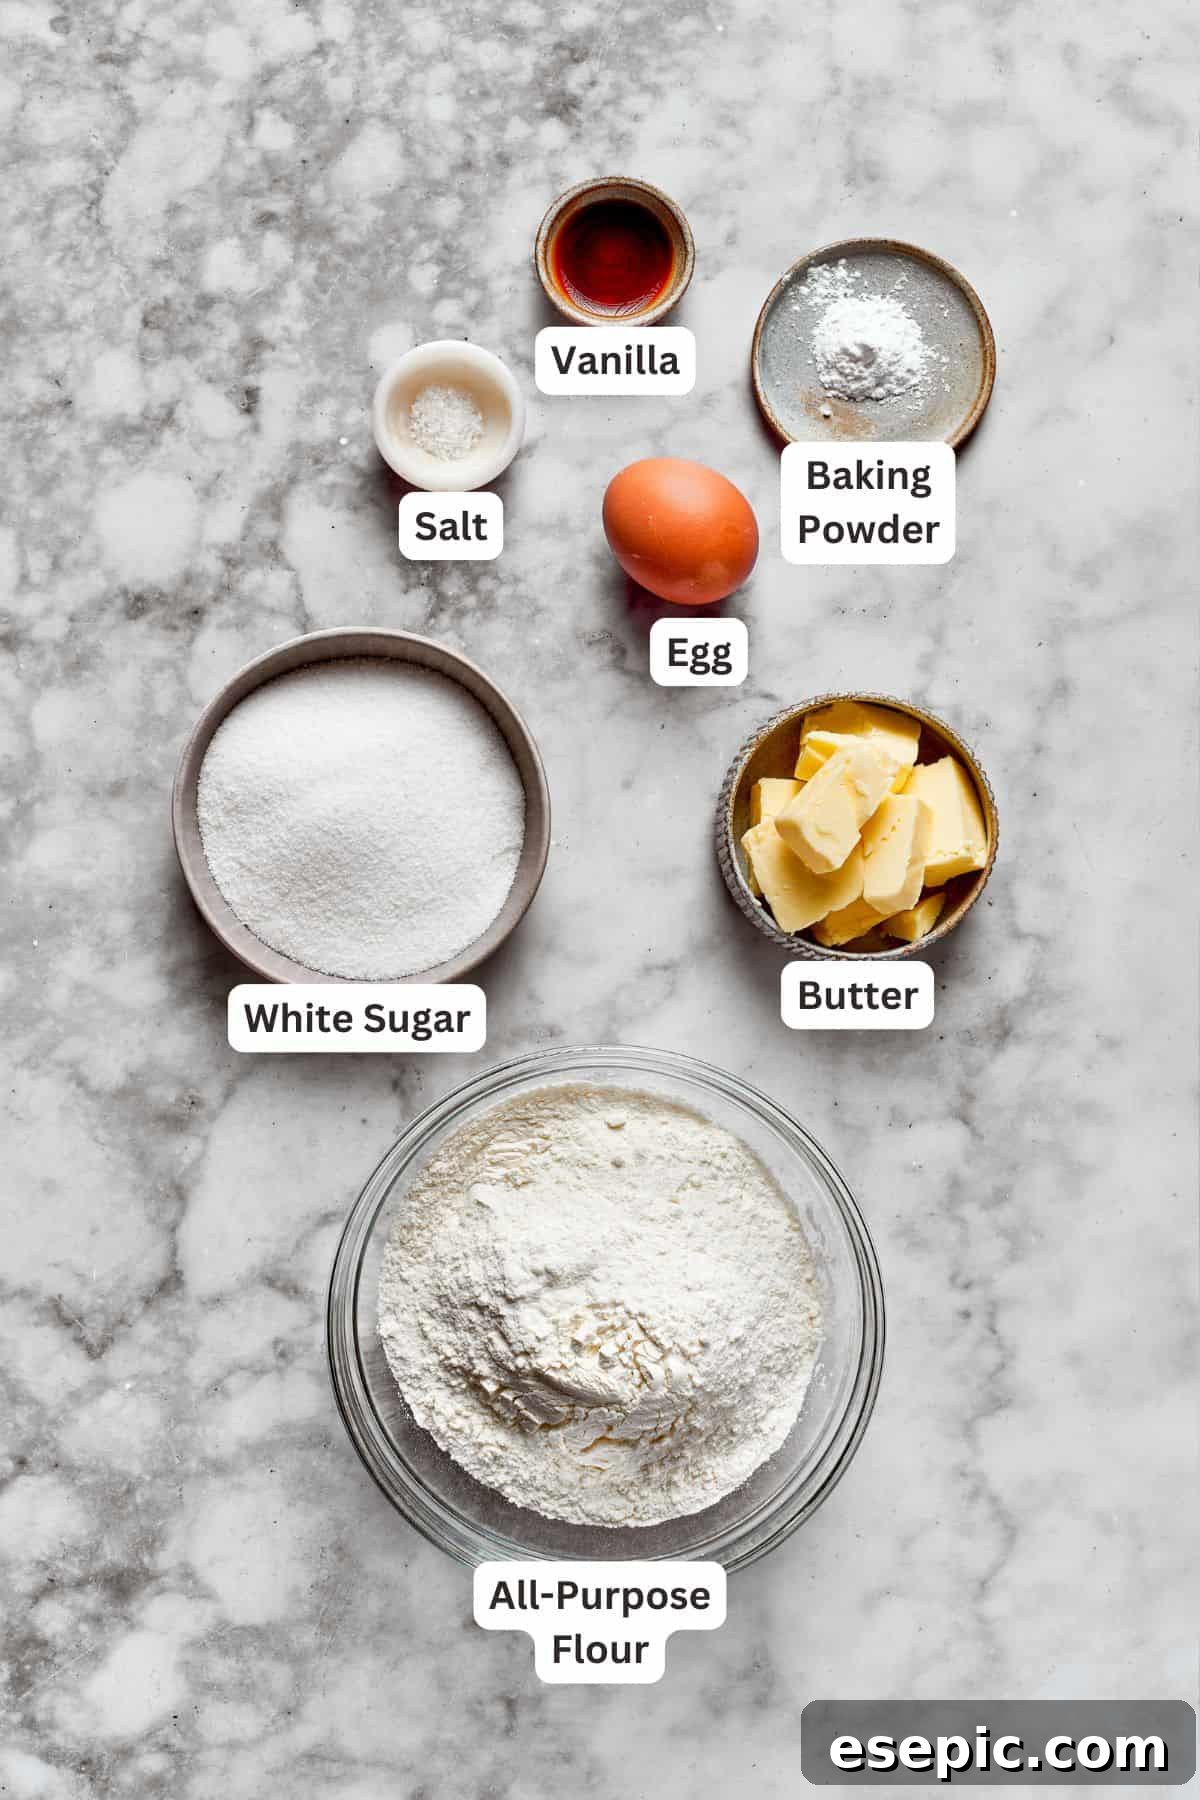
For the Perfect Sugar Cookies:
- Unsalted Butter: Essential for that rich, buttery flavor and tender texture. Make sure it’s softened to room temperature so it creams effortlessly with the sugar, creating a smooth and pliable dough.
- Granulated Sugar: Provides sweetness and helps create the crisp-tender edges characteristic of a great sugar cookie.
- All-Purpose Flour: The structural backbone of our cookies. Measure it correctly (preferably by weight or using the spoon-and-level method) to avoid dense cookies.
- Baking Powder: A leavening agent that gives the cookies a slight lift, ensuring they’re not too flat or overly thick.
- Salt: A crucial ingredient that balances the sweetness and enhances all the other flavors in the cookie dough.
- Large Egg: Acts as a binder, holding the dough together and adding richness. Like butter, a room-temperature egg incorporates more smoothly into the mixture.
- Pure Vanilla Extract: The star flavoring for classic sugar cookies. Use good quality extract for the best taste.
- Orange Extract (Optional): A wonderful, bright addition that adds a subtle citrus note, complementing the vanilla beautifully. If you’re feeling adventurous, give it a try!
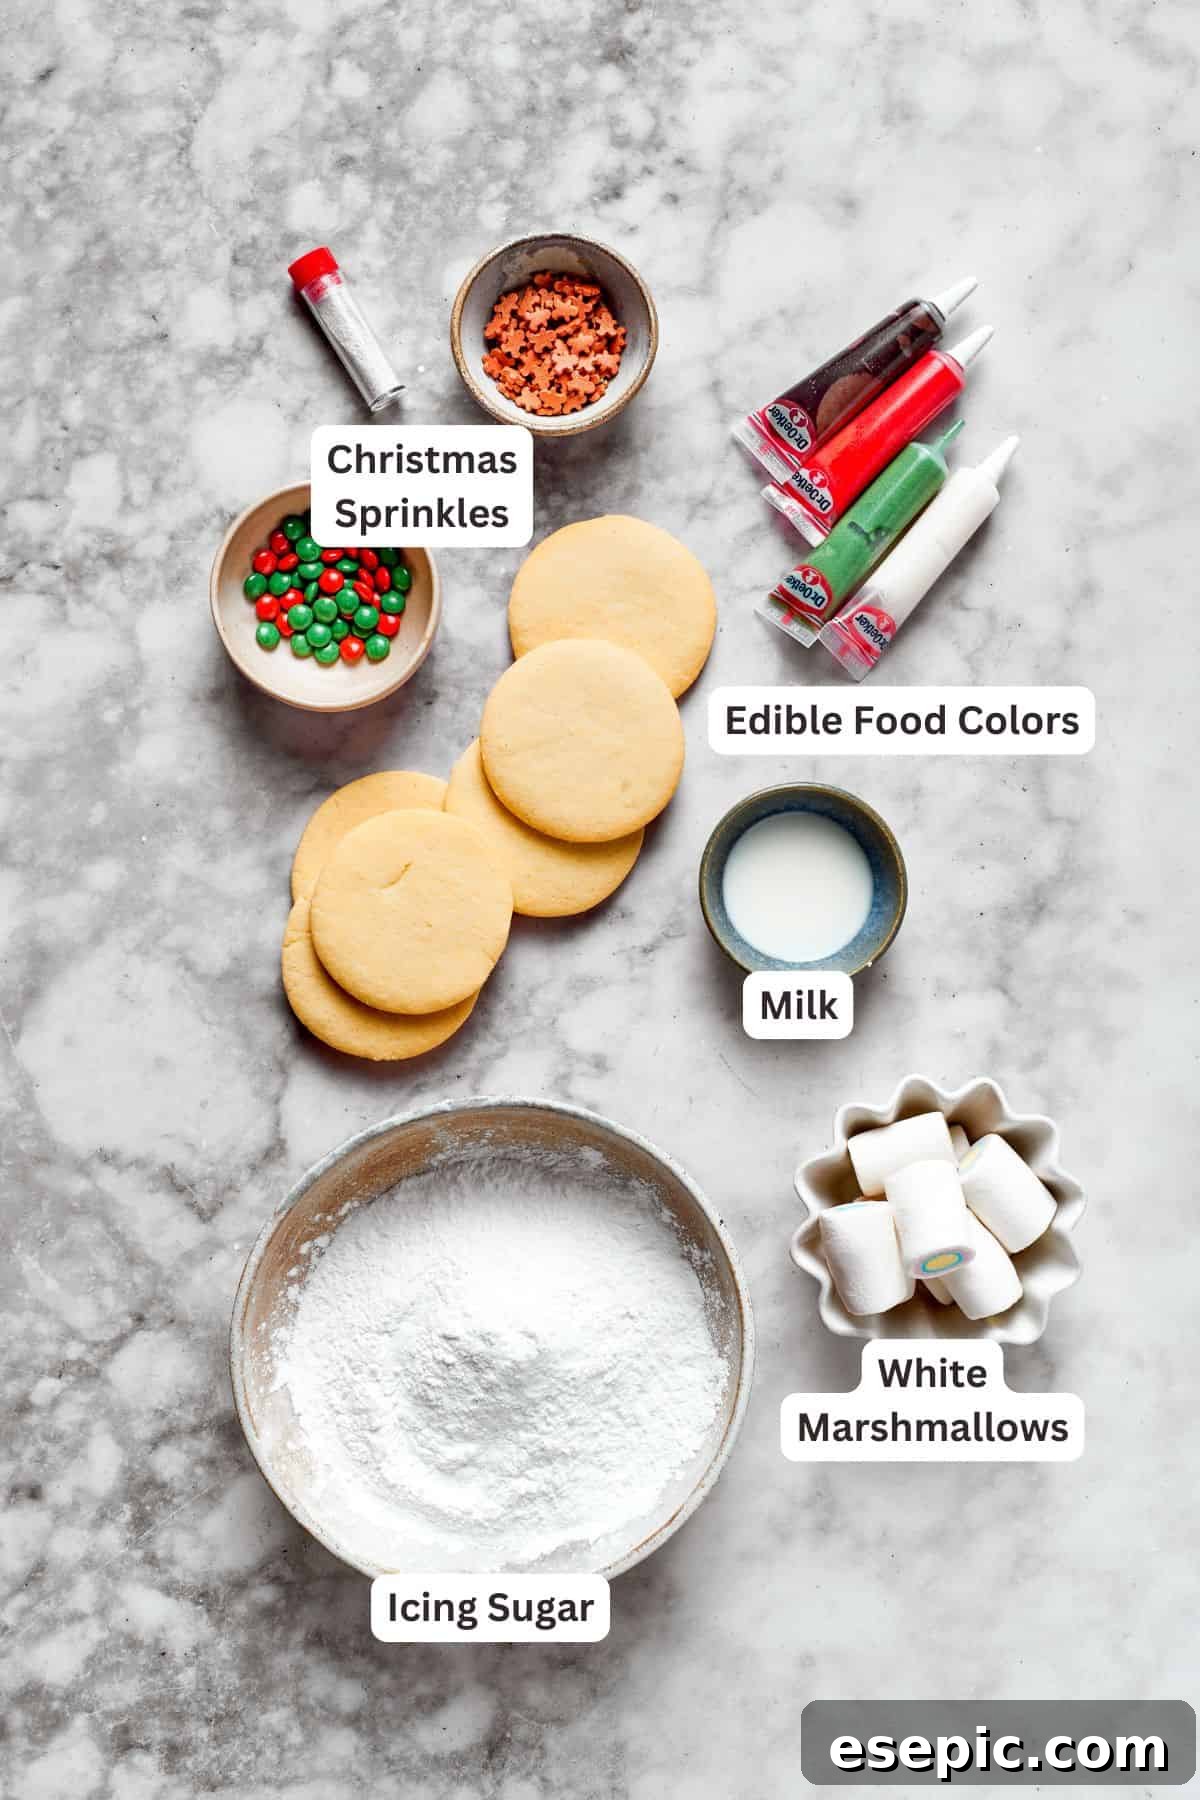
For the Silky Smooth Icing:
- Powdered Sugar (Confectioners’ Sugar): The base for our “melted snow” frosting. Be sure to sift the powdered sugar before mixing to eliminate any pesky lumps, ensuring a perfectly smooth and spreadable consistency.
- Milk: A small amount of whole milk or 2% milk is used to thin the icing to the ideal spreadable consistency. Add it gradually to achieve your desired thickness.
- Optional Flavorings: While vanilla is classic, a drop of almond extract or a tiny bit of lemon juice can add another layer of flavor to your icing.
For the Fun Snowman Decorations:
- Large White Marshmallows: These are the adorable “heads” of our melted snowmen. Choose standard large marshmallows for the best effect.
- Edible Food Colors or Writing Gel: This is where the magic happens! Use black gel icing for eyes and a mouth, and orange gel icing for the carrot nose. You can also get creative with other colors for scarves or buttons. We particularly like using writing gel for its ease of application.
- Christmas Sprinkles: Festive sprinkles can be used to create scarves, buttons, or just a general sparkly snow effect around your melted snowmen.
- Other Creative Additions: Consider using mini chocolate chips for eyes, pretzel sticks for arms, or even tiny candy buttons for extra charm!
How to Make Melted Snowman Cookies: A Step-by-Step Guide to Sweet Success
Whether you’re a seasoned baker or just starting out, this recipe is designed to be straightforward and fun. If you’re pressed for time or prefer a shortcut, you can easily use store-bought sugar cookies and proceed directly to the decorating steps outlined below. Otherwise, follow these simple steps to create delicious homemade sugar cookies from scratch, ready for their adorable snowman transformation!
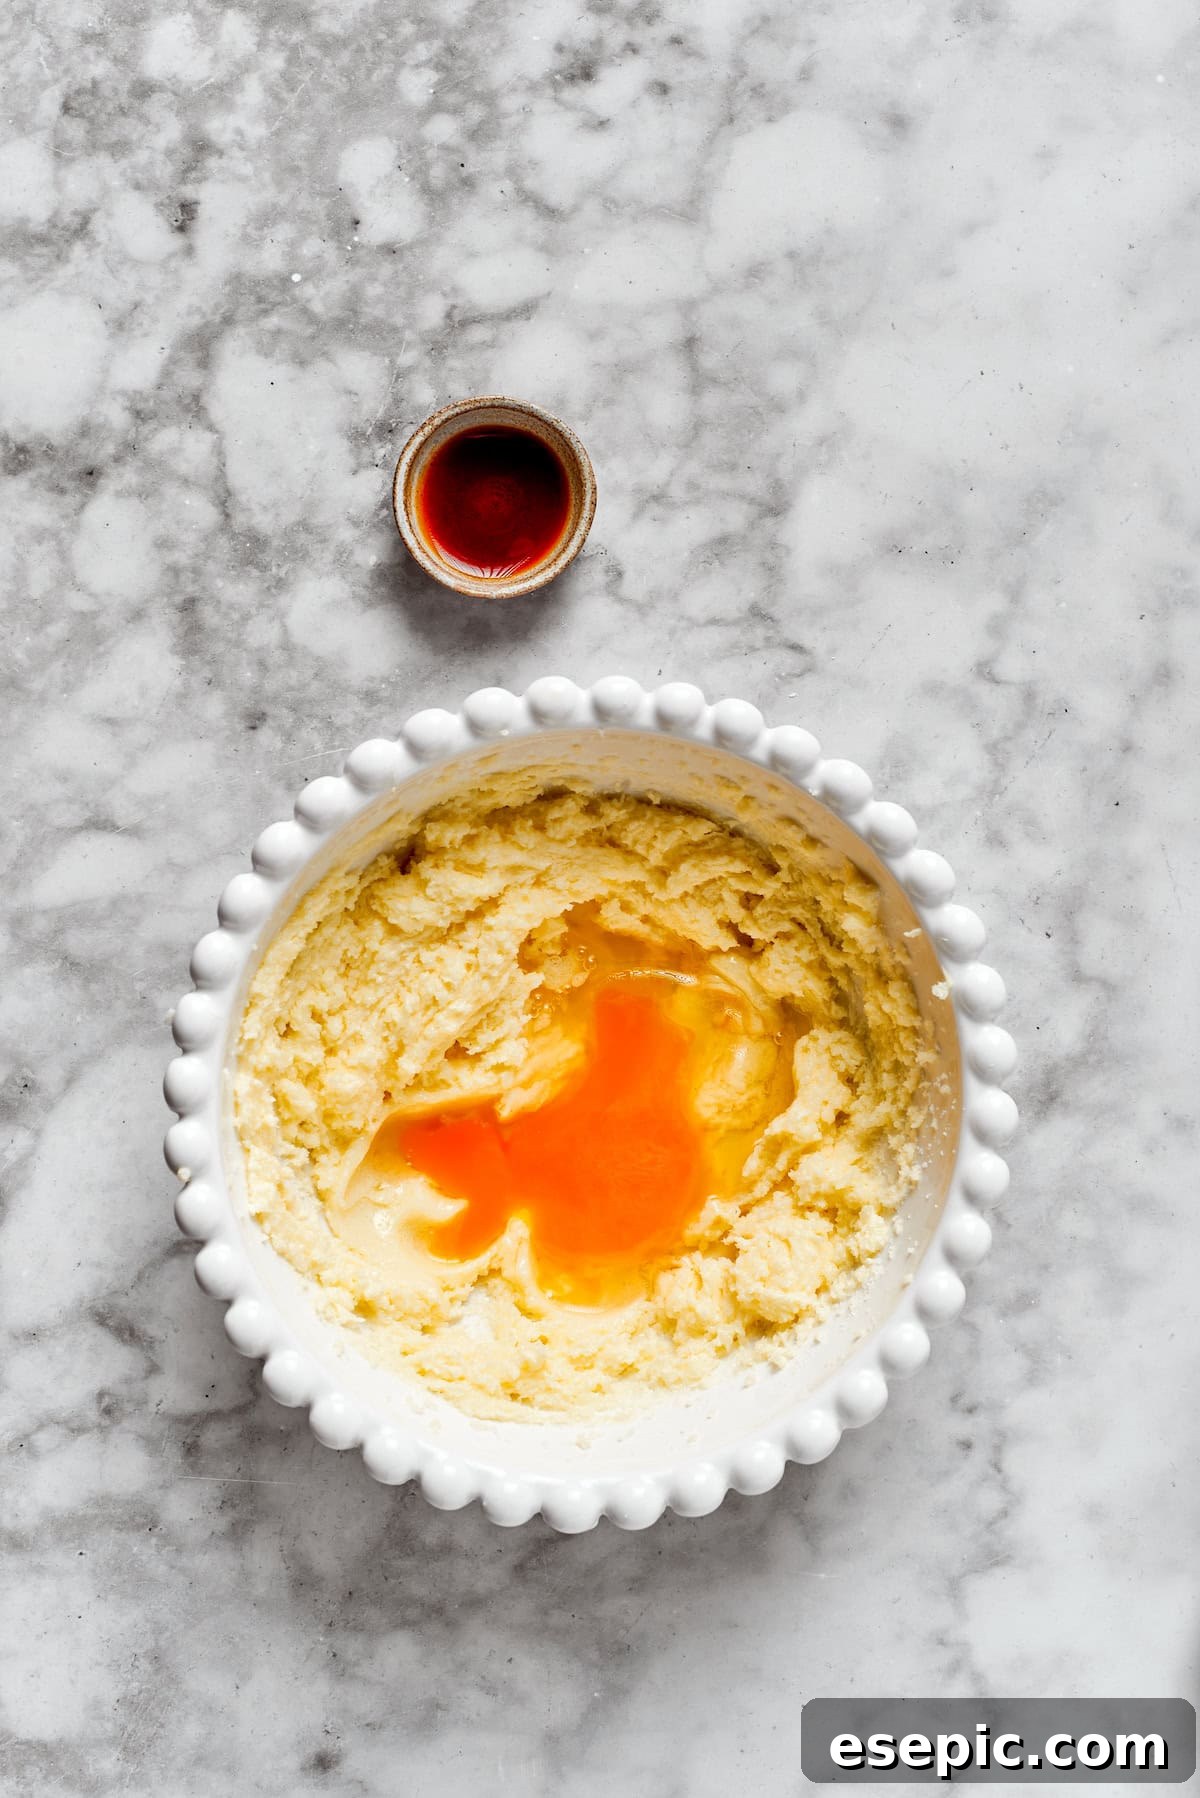
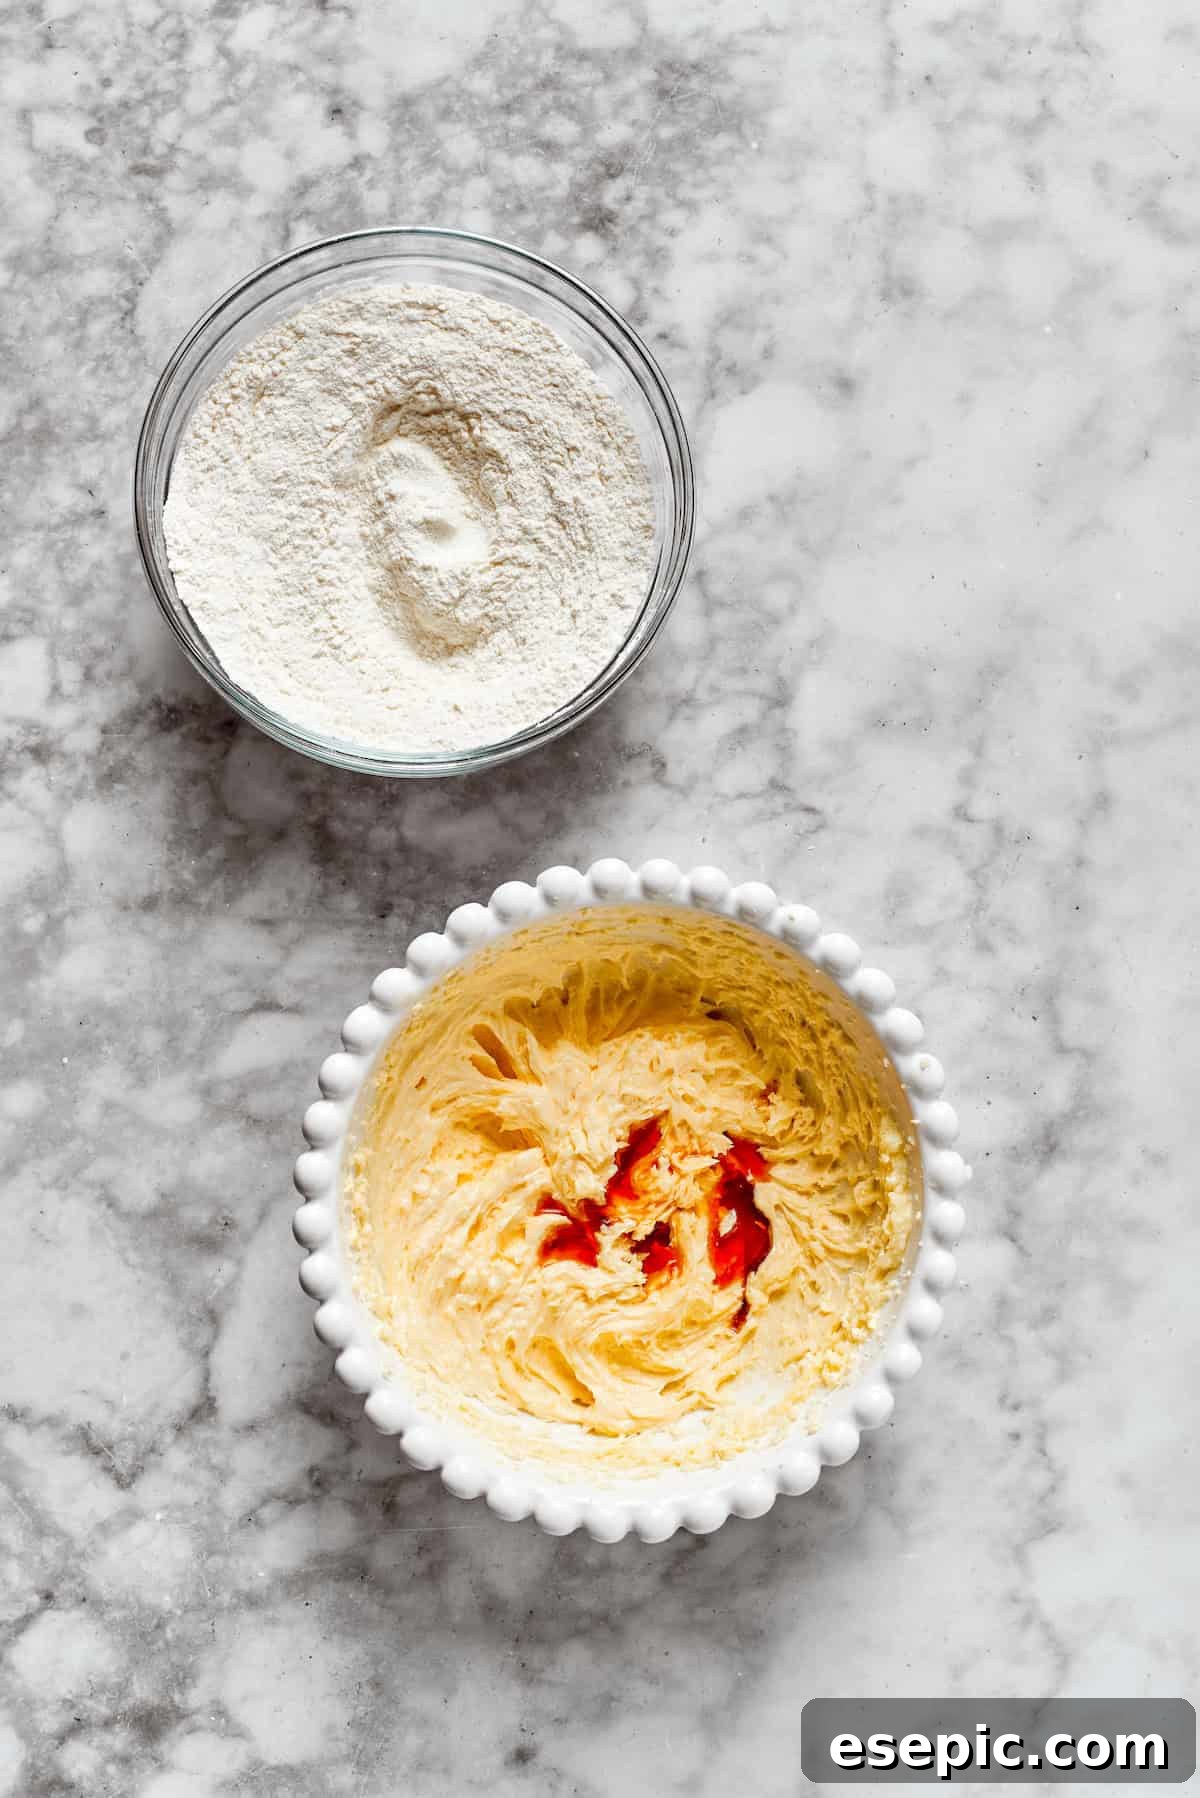
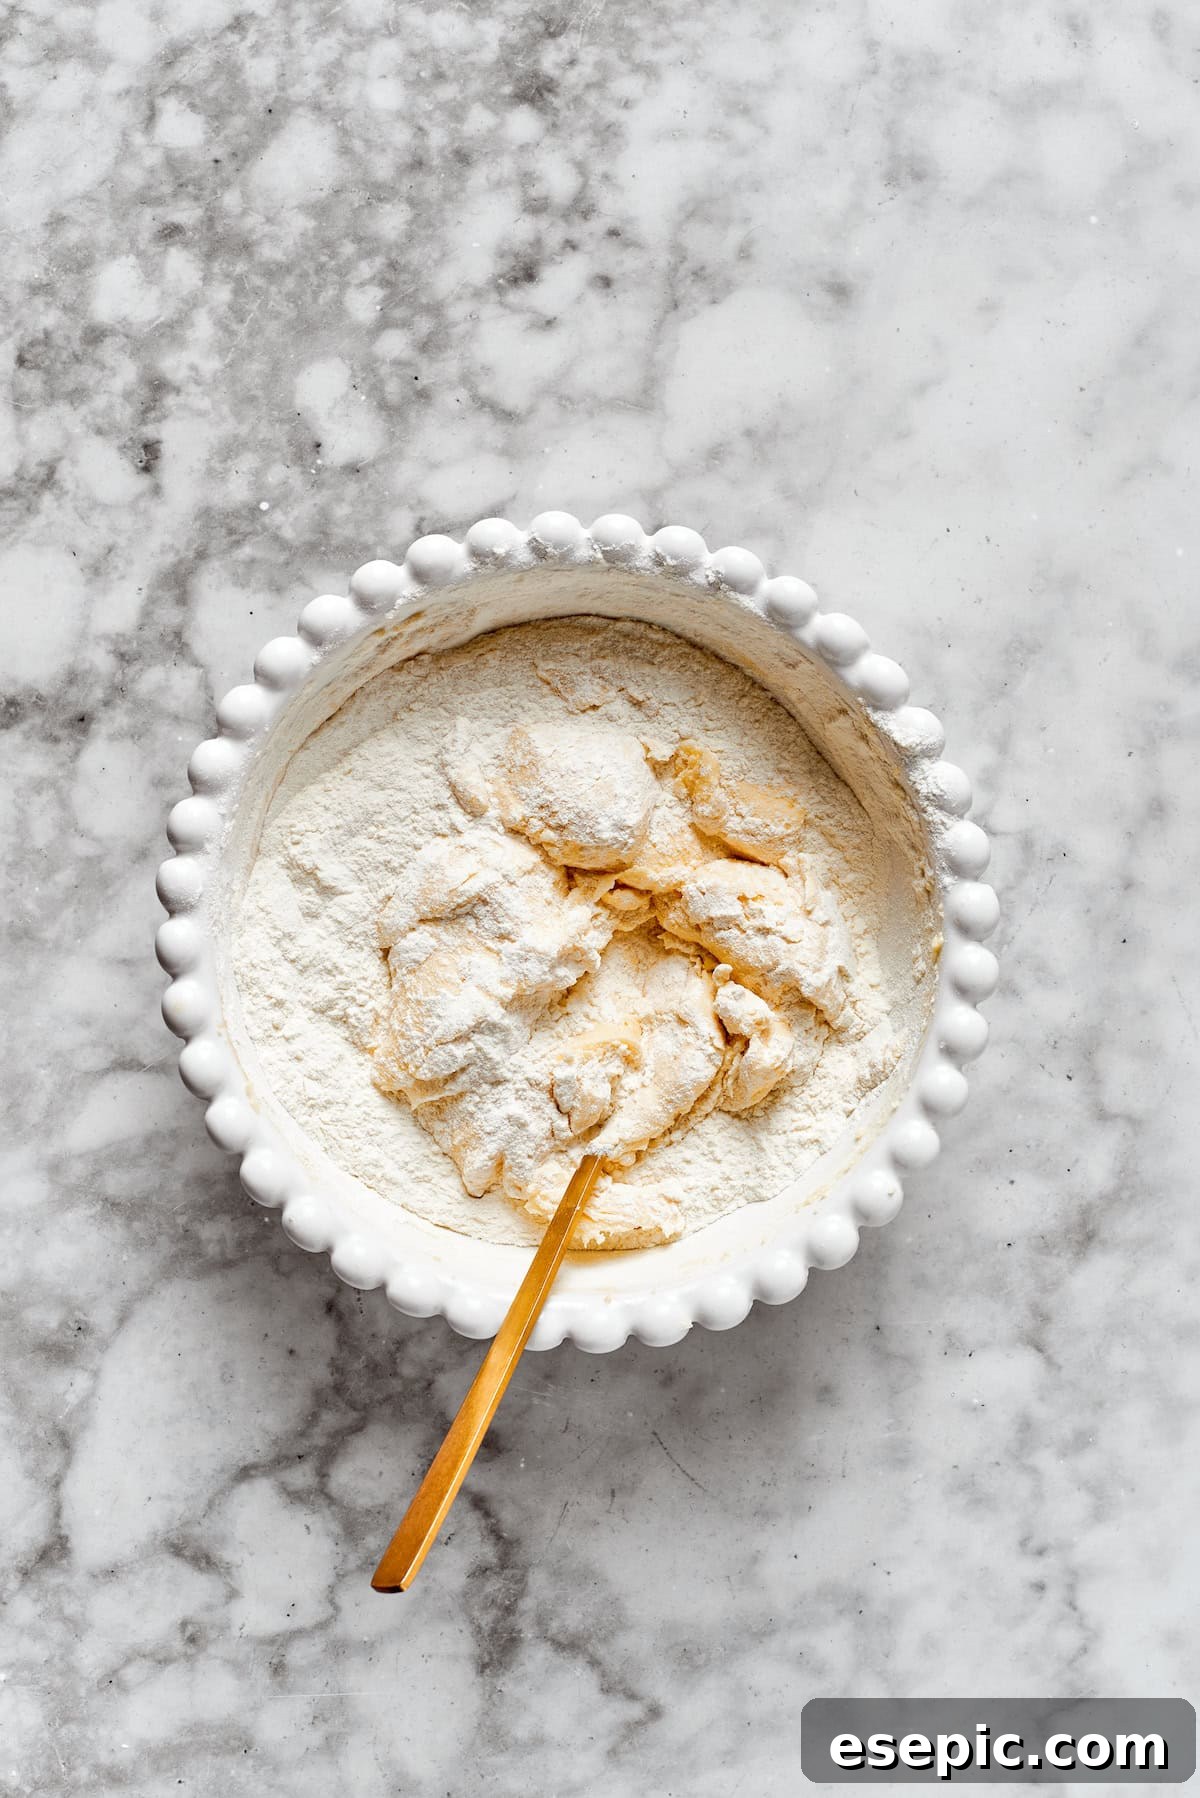
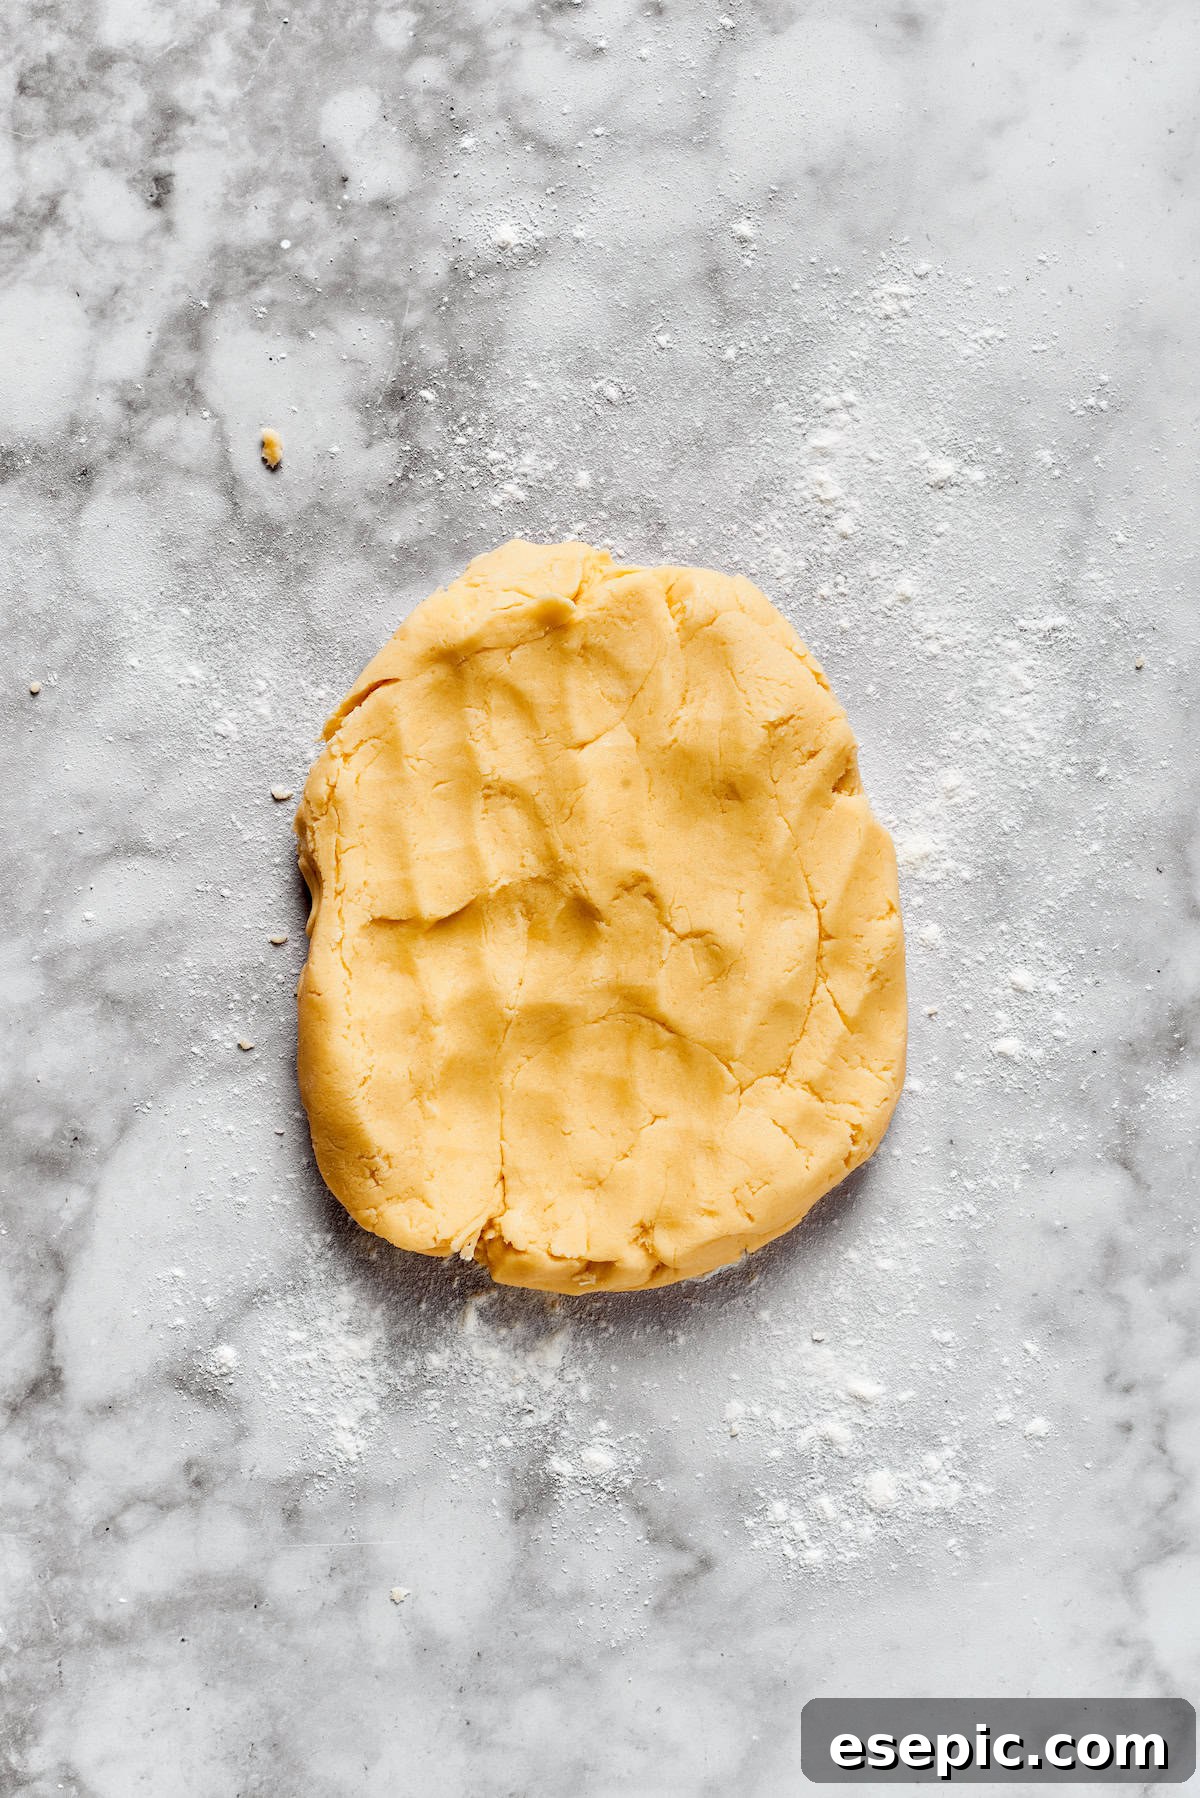
- Prepare Your Baking Station: Begin by preheating your oven to 350°F (175°C). Line two large baking sheets with parchment paper or silicone baking mats. This step ensures your cookies don’t stick and cook evenly. Set them aside while you prepare the dough.
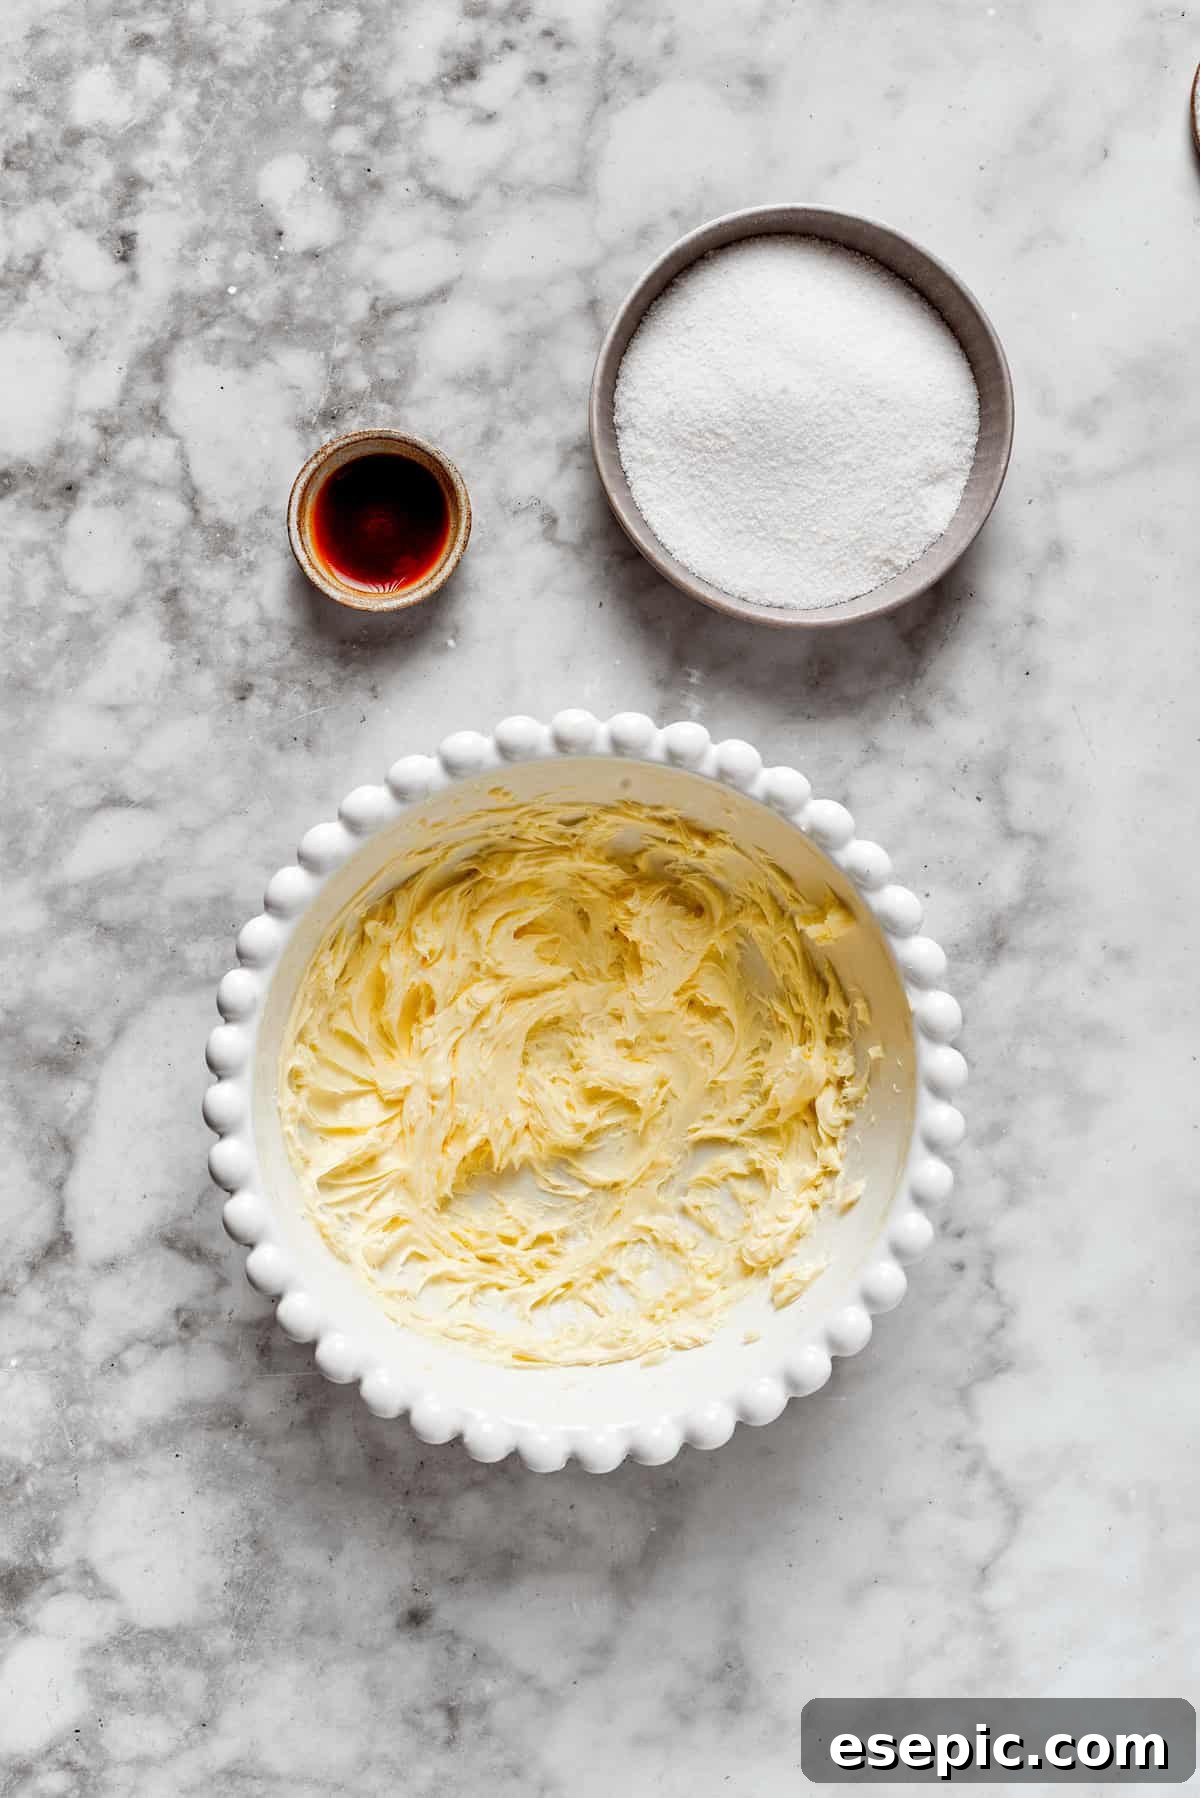
- Cream Butter and Sugar: In a large mixing bowl, preferably using an electric mixer, cream together the softened unsalted butter and granulated sugar until the mixture is light, fluffy, and pale in color. This process incorporates air, contributing to a tender cookie.
- Incorporate Wet Ingredients: Beat in the large egg and the pure vanilla extract (and optional orange extract) until everything is smoothly combined. Scrape down the sides of the bowl as needed to ensure all ingredients are well integrated.
- Combine Dry Ingredients: In a separate medium bowl, whisk together the all-purpose flour, baking powder, and salt. Sifting the flour beforehand can help create an even lighter texture.
- Form the Dough: Gradually add the dry ingredients to the wet mixture, mixing on low speed until a soft dough forms. Be careful not to overmix; stop as soon as the flour streaks disappear to keep the cookies tender.
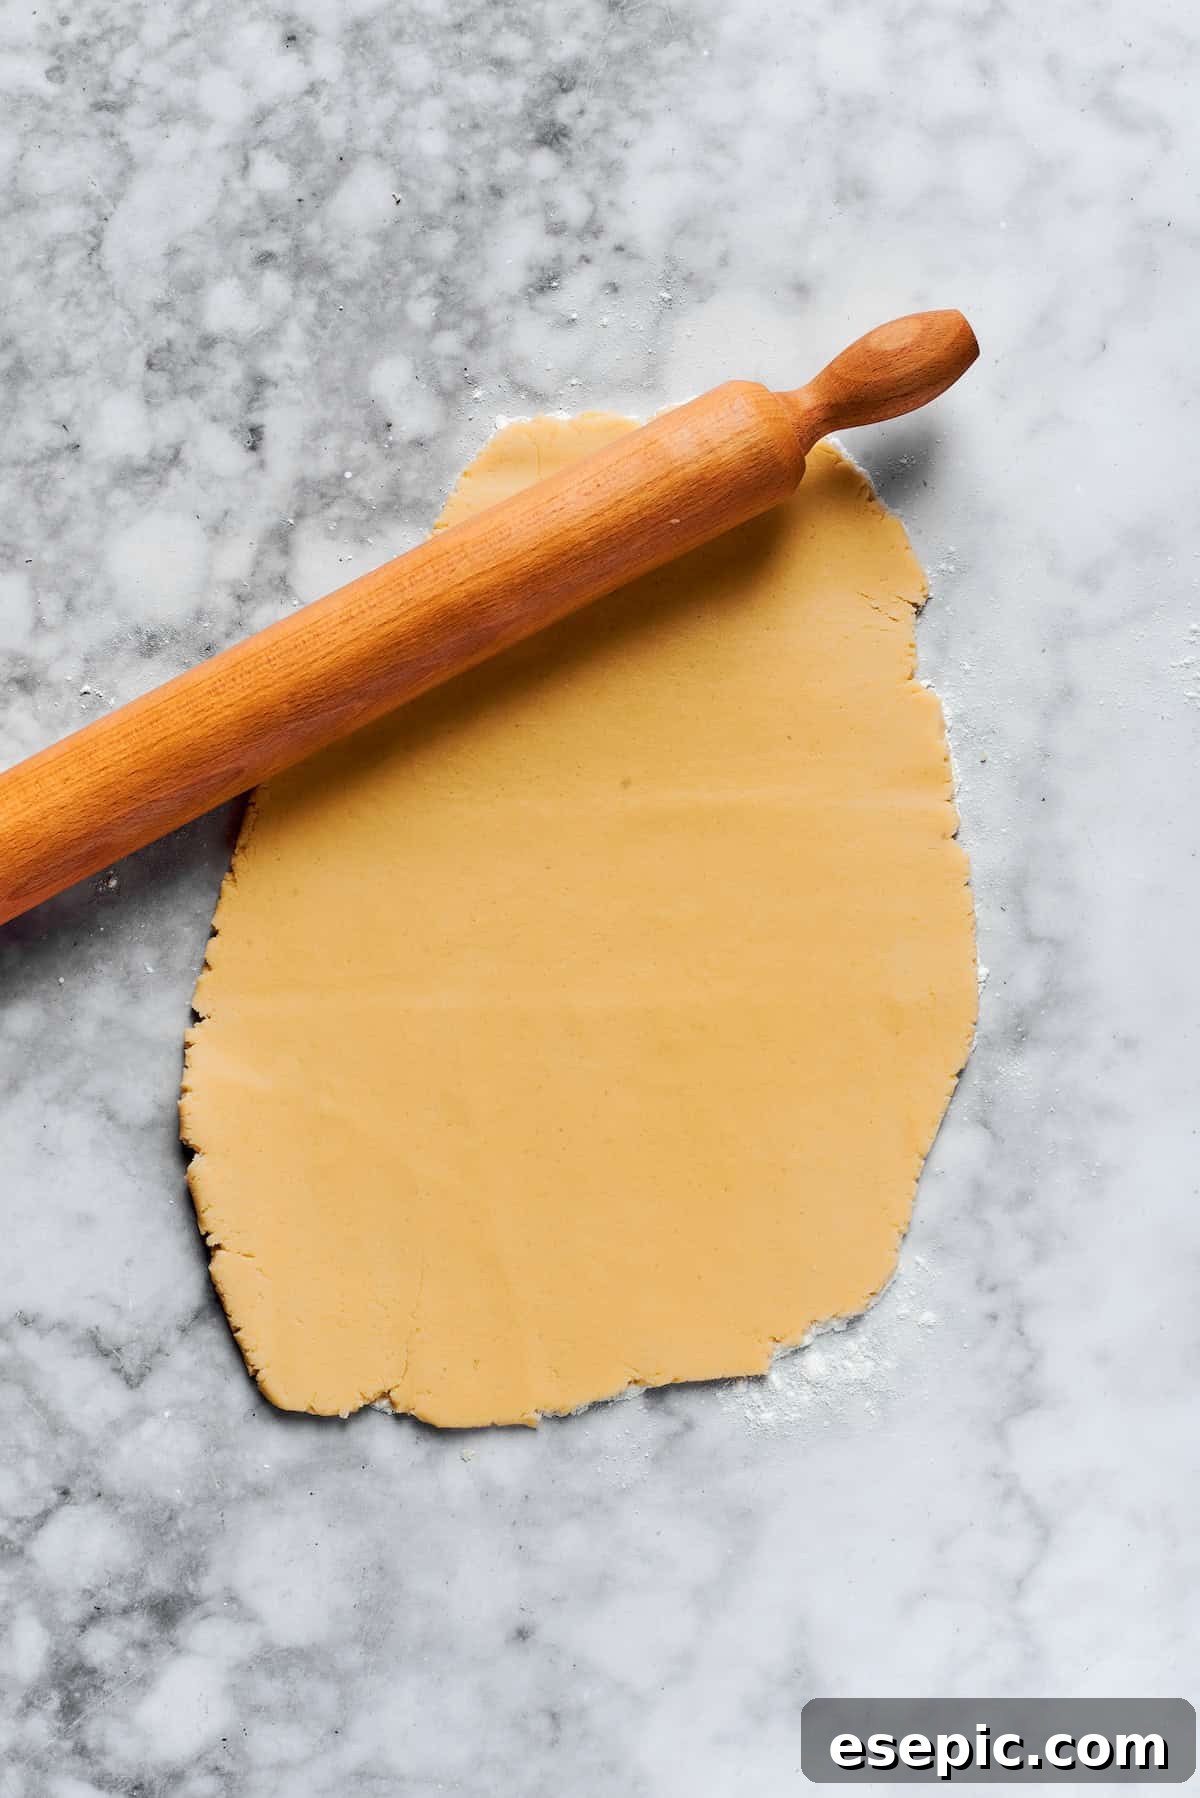
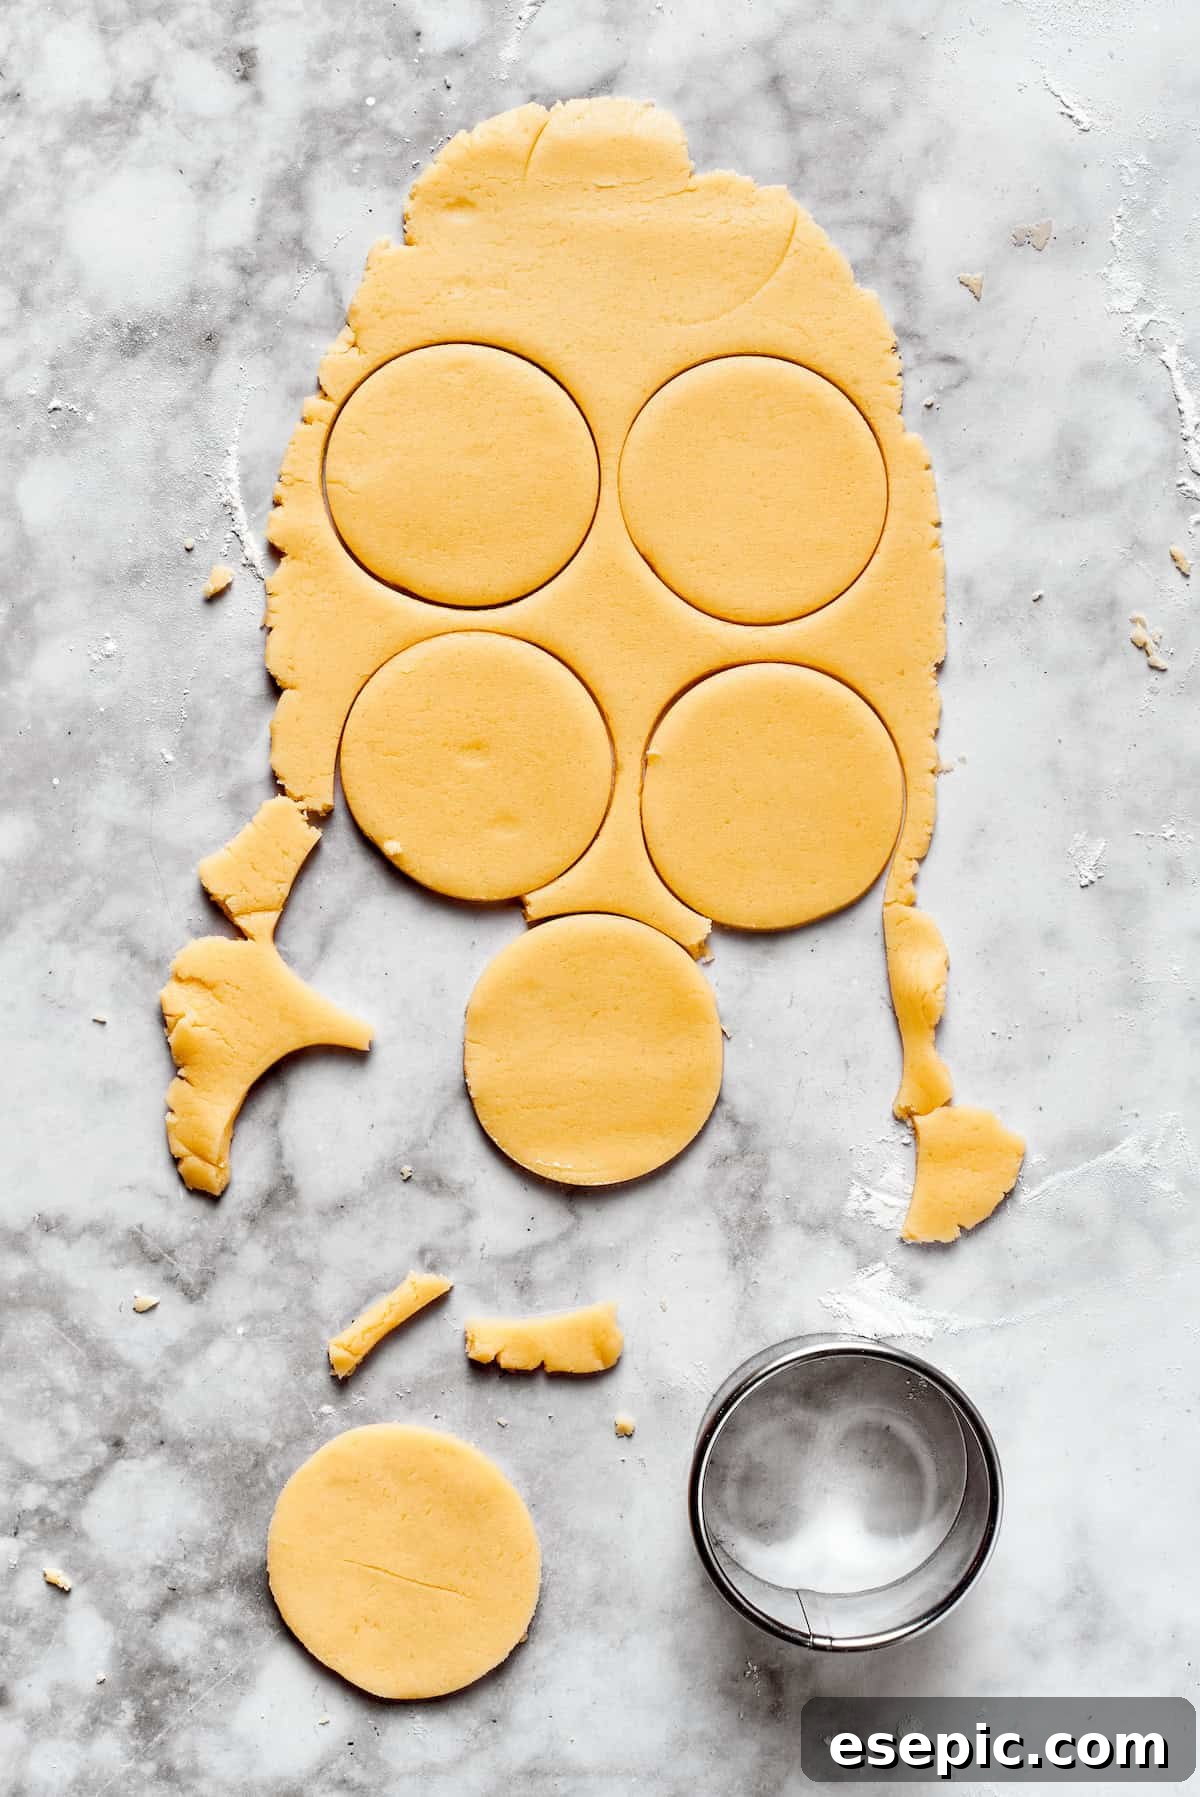
- Roll and Cut the Cookies: Lightly flour a clean work surface or a large piece of parchment paper. Turn the dough out and roll it to about ¼-inch thickness. Use a 2 to 3-inch round cookie cutter to cut out your cookie shapes. Carefully transfer these rounds to your prepared baking sheets, spacing them about 2 inches apart to allow for spreading.
- Bake to Golden Perfection: Place the baking sheets in the preheated oven and bake for 12-14 minutes, or until the edges of the cookies are lightly golden. The centers should still be slightly soft. Remove from the oven and let the cookies cool on the baking sheets for 5 minutes before transferring them to a wire rack to cool completely. This prevents them from breaking.
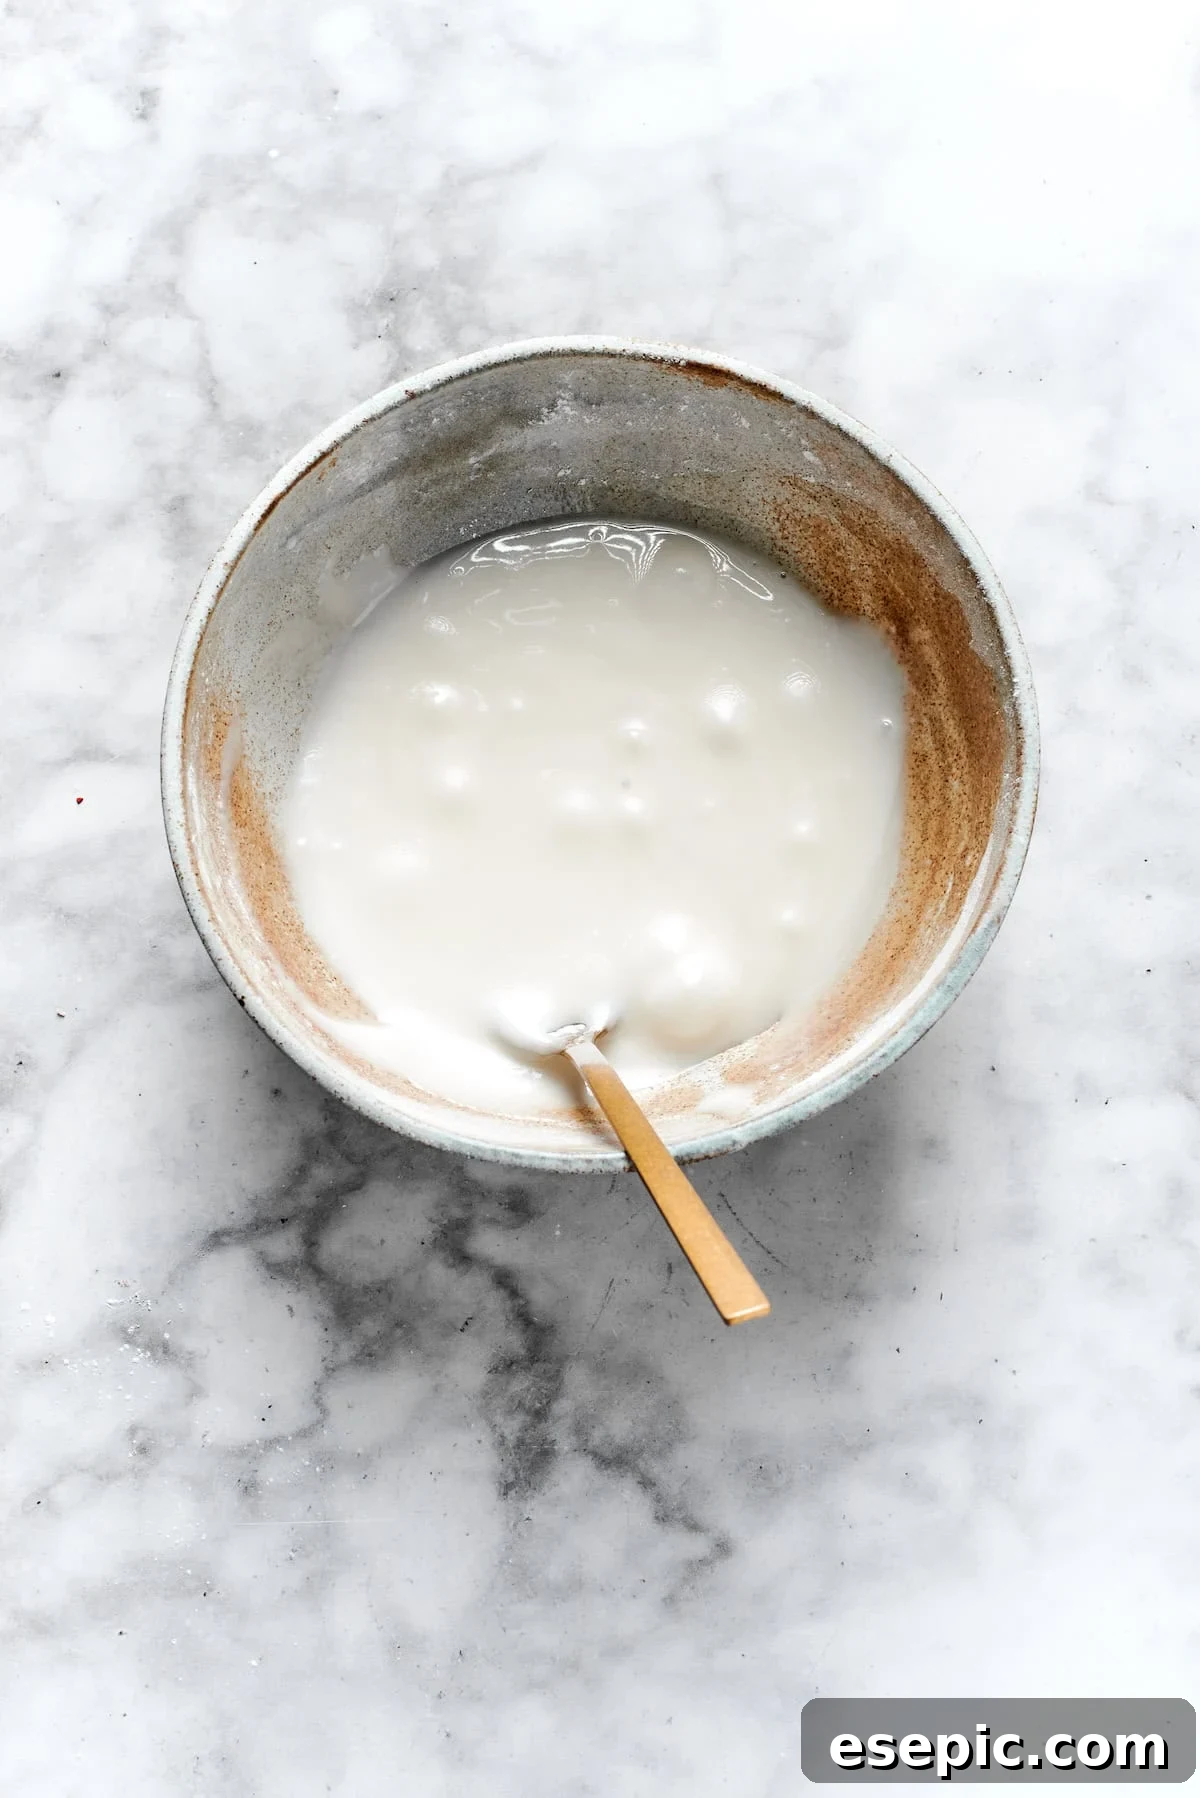
- Prepare the Icing: While the cookies cool, prepare your “melted snow” icing. In a small bowl, whisk together the sifted powdered sugar with milk, adding one teaspoon at a time. Continue mixing until you achieve a smooth, slightly thick consistency that is easily spreadable but won’t drip off the sides of the cookies. Adjust the milk amount as necessary.
- Assemble Your Snowmen: Once the cookies are completely cool, spread a generous layer of the vanilla icing over each cookie, creating an irregular, melted “puddle” effect. Immediately place a large marshmallow on one side of each iced cookie, gently pressing it into the wet icing so it adheres securely. This will serve as the snowman’s head.
- Decorate with Personality: Now for the fun part! Use edible black food coloring gel or a fine-tipped black writing gel to draw two eyes and a smile on each marshmallow. For the nose, use orange gel. Then, use various colors to add details like buttons, stick arms (drawn directly onto the white icing), or even a little scarf around the marshmallow’s “neck” using sprinkles or colored icing.
- Set and Serve: Allow your beautifully decorated cookies to sit undisturbed for at least 30 minutes, or until the icing has fully set. This prevents smudging and ensures the decorations stay put. Once set, your adorable Melted Snowman Cookies are ready to be enjoyed!
Pro Tips for Perfectly Melted Snowman Cookies
Achieving bakery-quality melted snowman cookies is easier than you think with these expert tips:
- Always Use Room Temperature Ingredients: This is a golden rule in baking! Softened butter and room temperature eggs cream together much more easily, resulting in a smoother, more uniform dough. This ultimately leads to a better texture in your baked cookies and prevents overmixing.
- Prepare Ahead for Stress-Free Baking: You’re a busy person, so make these cookies work for your schedule! The cookie dough can be made ahead of time, wrapped tightly, and refrigerated for up to 3 days, or even frozen for up to 3 months. You can also bake the cookies entirely and freeze them (undecorated) for up to 3 months. Simply thaw them before frosting and decorating.
- Embrace Store-Bought Shortcuts: No judgment here! If you’re truly short on time but still want the festive fun, grab a package of pre-made sugar cookies from your local bakery or grocery store. You can then simply decorate them following our icing and snowman assembly instructions. It’s a fantastic way to involve kids without the full baking process.
- Experiment with White Chocolate “Snow”: For an alternative to traditional powdered sugar icing, try using melted white chocolate chips! Gently warm white chocolate (either in a microwave safe bowl in 30-second intervals or a double boiler) until smooth. Spoon it over each cooled cookie and spread it into that signature “melted snow” puddle. The marshmallow will stick to it beautifully, and it offers a slightly different flavor and texture profile.
- Achieve Icing Perfection: When mixing your royal icing, aim for a consistency that is thick enough to spread without running off the cookie, but still fluid enough to appear melted. If it’s too thick, add a tiny splash more milk; too thin, stir in a bit more sifted powdered sugar.
- Cool Completely: Ensure your cookies are entirely cool before adding the icing and marshmallow. Applying frosting to warm cookies will cause it to melt and slide right off.
Creative Variations & Customization Ideas for Your Snowmen
While the classic Melted Snowman Cookie is undeniably charming, don’t hesitate to get creative and put your own spin on this festive treat! Here are a few ideas to inspire your culinary imagination:
- Flavored Cookie Bases: Instead of plain sugar cookies, try a lemon zest sugar cookie for a brighter flavor, or even a subtle almond-flavored cookie. Chocolate sugar cookies could offer a “muddy puddle” effect for a truly unique melted look!
- Different Frosting Flavors: Beyond vanilla, consider a cream cheese frosting for a tangy twist, or even a peppermint-flavored icing for an extra burst of holiday cheer. You could also tint the icing a very pale blue for an “icy” melted snow look.
- Marshmallow Magic: While large marshmallows are standard, you could use smaller marshmallows for mini snowmen on smaller cookies, or even try flavored marshmallows for a surprise element. Toasting the marshmallows slightly with a kitchen torch before placing them can add a gourmet touch (do this carefully!).
- Unique Decorations:
- Buttons: Use mini M&Ms, chocolate chips, or even small gumdrop slices.
- Scarves: Thin strips of fruit leather or colorful writing gels can make cute scarves.
- Arms: Pretzel sticks are classic, but you could also draw them on with brown gel icing.
- Sparkle: A dusting of edible glitter or shredded coconut (for extra snow texture) can add a magical touch.
- Holiday Characters: With a little imagination, you could adapt this concept to other melting winter characters, like a melting gingerbread man (on a gingerbread cookie) or even a melting Santa!
Serving Suggestions for Your Adorable Melted Snowman Cookies
These Melted Snowman Cookies are not just delicious; they’re also a fantastic way to brighten up any winter occasion. Here are some ideas for how to serve and enjoy them:
- Holiday Dessert Platter: Arrange them alongside other festive treats like Christmas Cake Mix Cookies, Candy Cane Cookies, and Homemade Butter Cookies for an impressive and varied display.
- Cookie Exchanges: They are always a hit at holiday cookie swaps, guaranteed to stand out with their charming design.
- Winter Parties: Serve them at school functions, office parties, or family gatherings. They’re a conversation starter!
- With Warm Beverages: Pair them with a mug of hot cocoa (don’t forget the minty candy canes!), spiced cider, or a comforting cup of coffee for the perfect cozy treat.
- Thoughtful Edible Gifts: Package a few melted snowman cookies in a clear bag with a festive ribbon for a homemade gift that’s sure to be appreciated.
- Kids’ Treat: Delight children after school or during a playdate. They’ll love eating their own little snowman creation.
Storage Tips to Keep Your Snowmen Fresh
To ensure your delightful Melted Snowman Cookies remain as fresh and delicious as possible, proper storage is key. Here’s what you need to know:
- Room Temperature Storage: Store the decorated cookies in an airtight container at room temperature. They will stay fresh and delicious for up to 4 days. Layer them gently with parchment paper in between to prevent the decorations from sticking or smudging.
- Avoid Refrigeration/Freezing After Decorating: We generally advise against refrigerating or freezing these snowman cookies once they’ve been decorated, especially with marshmallows. The cold temperature can significantly affect the texture of the marshmallows, making them hard or rubbery, and can also cause condensation to form on the icing, making it sticky or runny when thawed.
- If You Must Extend Lifespan (Plain Cookies Only): If you have undecorated sugar cookies, those can be stored in an airtight container in the fridge for up to a week or frozen for up to 3 months. Thaw them completely at room temperature before you plan to frost and decorate them. This allows you to bake ahead and decorate closer to your event.
- Keep Dry: Always ensure the cookies are kept away from moisture and direct sunlight, which can degrade the icing and marshmallow quality.
Frequently Asked Questions (FAQs) About Melted Snowman Cookies
Can I make the cookie dough ahead of time?
Absolutely! The cookie dough is very forgiving and can be made ahead. You can wrap it tightly in plastic wrap and refrigerate it for up to 3 days. Alternatively, you can freeze the dough for up to 3 months. Just be sure to let it thaw in the refrigerator overnight before rolling and cutting.
How long do Melted Snowman Cookies last?
When stored in an airtight container at room temperature, these decorated cookies will stay fresh for about 4 days. It’s best to enjoy them within this timeframe to ensure the marshmallows and icing remain at their best texture.
What kind of marshmallows should I use for the snowman heads?
Standard large white marshmallows work best for creating the classic snowman head effect. They provide the perfect size and fluffy texture. You can find them in most grocery stores in the baking or candy aisle.
Can I use royal icing instead of vanilla frosting?
Yes, you can! Royal icing would give the “melted snow” a harder, crisper shell once dried, which can be great for stacking or if you want a more defined look. Adjust the consistency to be thin enough to spread but not too runny. Keep in mind royal icing has a different flavor and texture than a traditional buttercream or powdered sugar frosting.
My icing is too thick/thin. How do I fix it?
If your icing is too thick, add more milk (½ teaspoon at a time) and mix until it reaches your desired spreadable consistency. If it’s too thin, gradually mix in more sifted powdered sugar until it thickens up. It’s all about finding that perfect “melted puddle” texture.
Are these cookies suitable for kids to decorate?
Yes, they are absolutely perfect for kids! The decorating stage is the highlight for many children. Simply prepare all the components (baked cookies, mixed icing, marshmallows, and various gels/sprinkles), and let them assemble and decorate their own unique snowmen. It’s a fantastic, low-stress holiday craft.
More Festive & Fun Cookie Recipes to Try
If you loved making these Melted Snowman Cookies, you’ll definitely want to explore these other fantastic holiday and celebratory cookie recipes from our collection:
- Stained Glass Cookies
- Hot Chocolate Sugar Cookies
- White Chocolate Chip Cookies
- Classic Gingerbread Cookies (Add this one for more variety and word count)
- Peppermint Bark Cookies (Add this one for more variety and word count)
Melted Snowman Cookies Recipe

The cutest Melted Snowman Cookies top buttery homemade sugar cookies with a thick vanilla frosting and a fluffy marshmallow, creating a whimsical and delicious holiday treat!
- Prep Time: 1 hour 30 minutes
- Cook Time: 12-14 minutes
- Total Time: 1 hour 45 minutes (approx., includes cooling)
- Servings: 16 cookies
- Author: Katerina | Easy Weeknight Recipes
Ingredients
For the Cookies:
- ½ cup unsalted butter, softened to room temperature
- ¾ cup granulated white sugar
- 1 large egg, at room temperature
- 1 teaspoon pure vanilla extract
- 1 teaspoon orange extract, optional (can be found here)
- 2 cups all-purpose flour
- ½ teaspoon baking powder
- ¼ teaspoon salt
For the Icing:
- 1 cup powdered sugar, sifted (can be found here)
- 1 tablespoon milk (or more, as needed)
For Decorating:
- 16 white large marshmallows (can be found here)
- Edible food colors or writing gel (we recommend this writing gel)
- Christmas sprinkles
Instructions
- Preheat & Prepare: Preheat your oven to 350°F (175°C) and line baking sheets with parchment paper. Set aside.
- Cream Butter & Sugar: In a large mixing bowl, cream the softened butter and granulated sugar using an electric mixer until the mixture is light and fluffy, about 2-3 minutes.
- Add Wet Ingredients: Beat in the large egg and pure vanilla extract until smooth and well combined. Scrape down the sides of the bowl.
- Combine Dry Ingredients: In a separate bowl, whisk together the all-purpose flour, baking powder, and salt. Gradually add these dry ingredients to the wet mixture, mixing on low speed until a soft dough forms. Do not overmix.
- Roll & Cut Cookies: Lightly flour a clean work surface. Roll out the cookie dough to approximately ¼-inch thickness. Use a 2-3 inch round cookie cutter to cut out shapes. Carefully transfer the cutouts to the prepared baking sheets, leaving about 2 inches between each cookie.
- Bake: Bake in the preheated oven for 12-14 minutes, or until the edges are lightly golden. Remove from the oven and let cool on the baking sheets for 5 minutes before transferring to a wire rack to cool completely.
- Prepare Icing: While cookies cool, mix the sifted powdered sugar with 1 tablespoon of milk in a small bowl. Add additional milk, a teaspoon at a time, if needed, until a smooth, slightly thick, and spreadable icing consistency is achieved.
- Decorate Cookies: Once cookies are completely cool, spread a generous layer of icing over each cookie to resemble melted snow. Place one large marshmallow on one side of each cookie, gently pressing it into the wet icing so it sticks.
- Add Details: Use edible food colors or writing gel to draw faces (eyes, nose, mouth) on the marshmallows and add decorative elements like stick arms or buttons directly onto the white icing. Add a sprinkle or two for extra festive flair!
- Set & Serve: Allow the decorated cookies to sit for about 30 minutes, or until the icing has fully set. Then, enjoy these adorable Melted Snowman Cookies!
Equipment
- Round Cookie Cutters
- Baking Sheets
- Parchment Paper
- Electric Mixer (handheld or stand mixer)
- Mixing Bowls
- Wire Rack
Nutrition
Here is an estimated nutritional breakdown per serving:
- Serving: 1 cookie
- Calories: 261 kcal
- Carbohydrates: 50g
- Protein: 3g
- Fat: 6g
- Saturated Fat: 4g
- Polyunsaturated Fat: 0.3g
- Monounsaturated Fat: 2g
- Trans Fat: 0.2g
- Cholesterol: 26mg
- Sodium: 76mg
- Potassium: 26mg
- Fiber: 0.4g
- Sugar: 32g
- Vitamin A: 194IU
- Calcium: 15mg
- Iron: 1mg
Nutritional information is an estimate and provided as a courtesy. Values may vary according to the specific ingredients, brands, and tools used. For more detailed and accurate information, please consult your preferred nutritional calculator.
Did you try this recipe? We’d love to hear from you! Leave a rating and comment below.