
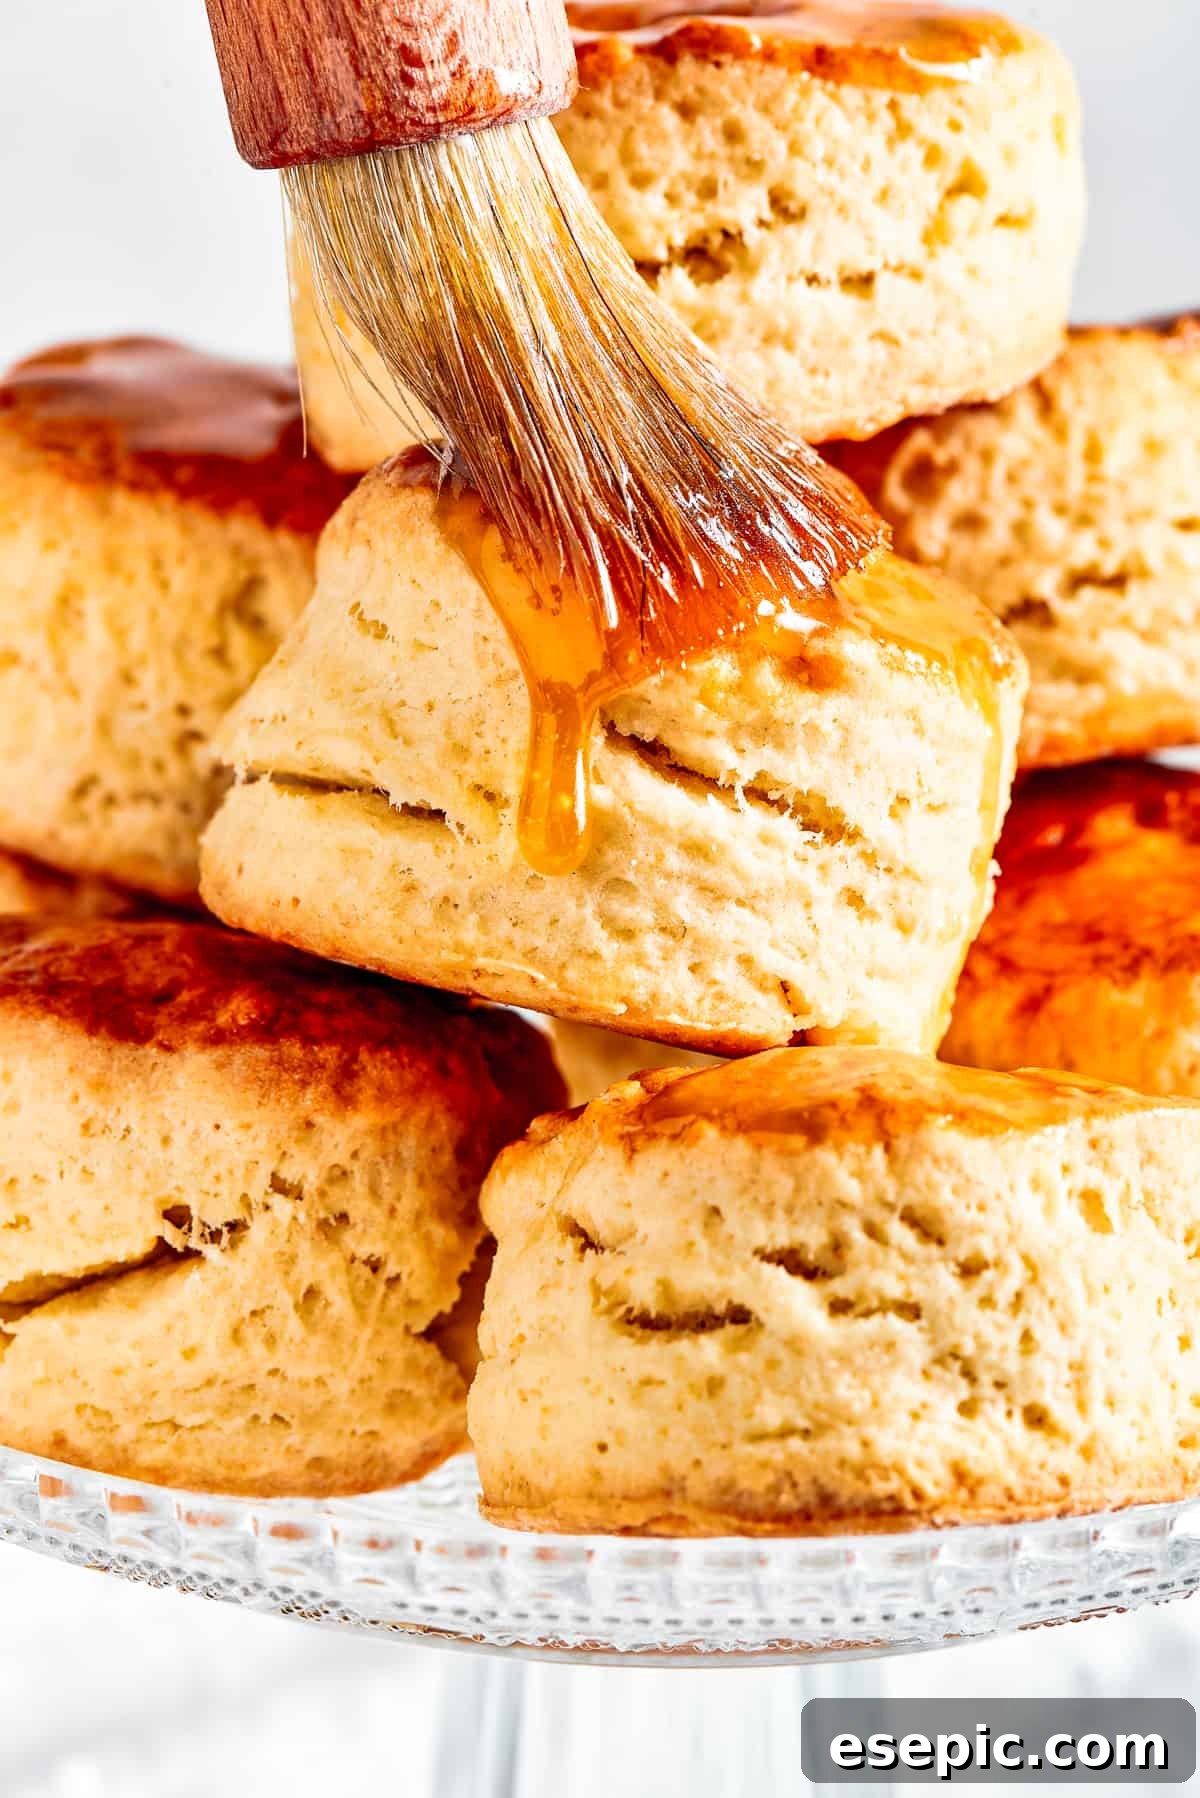
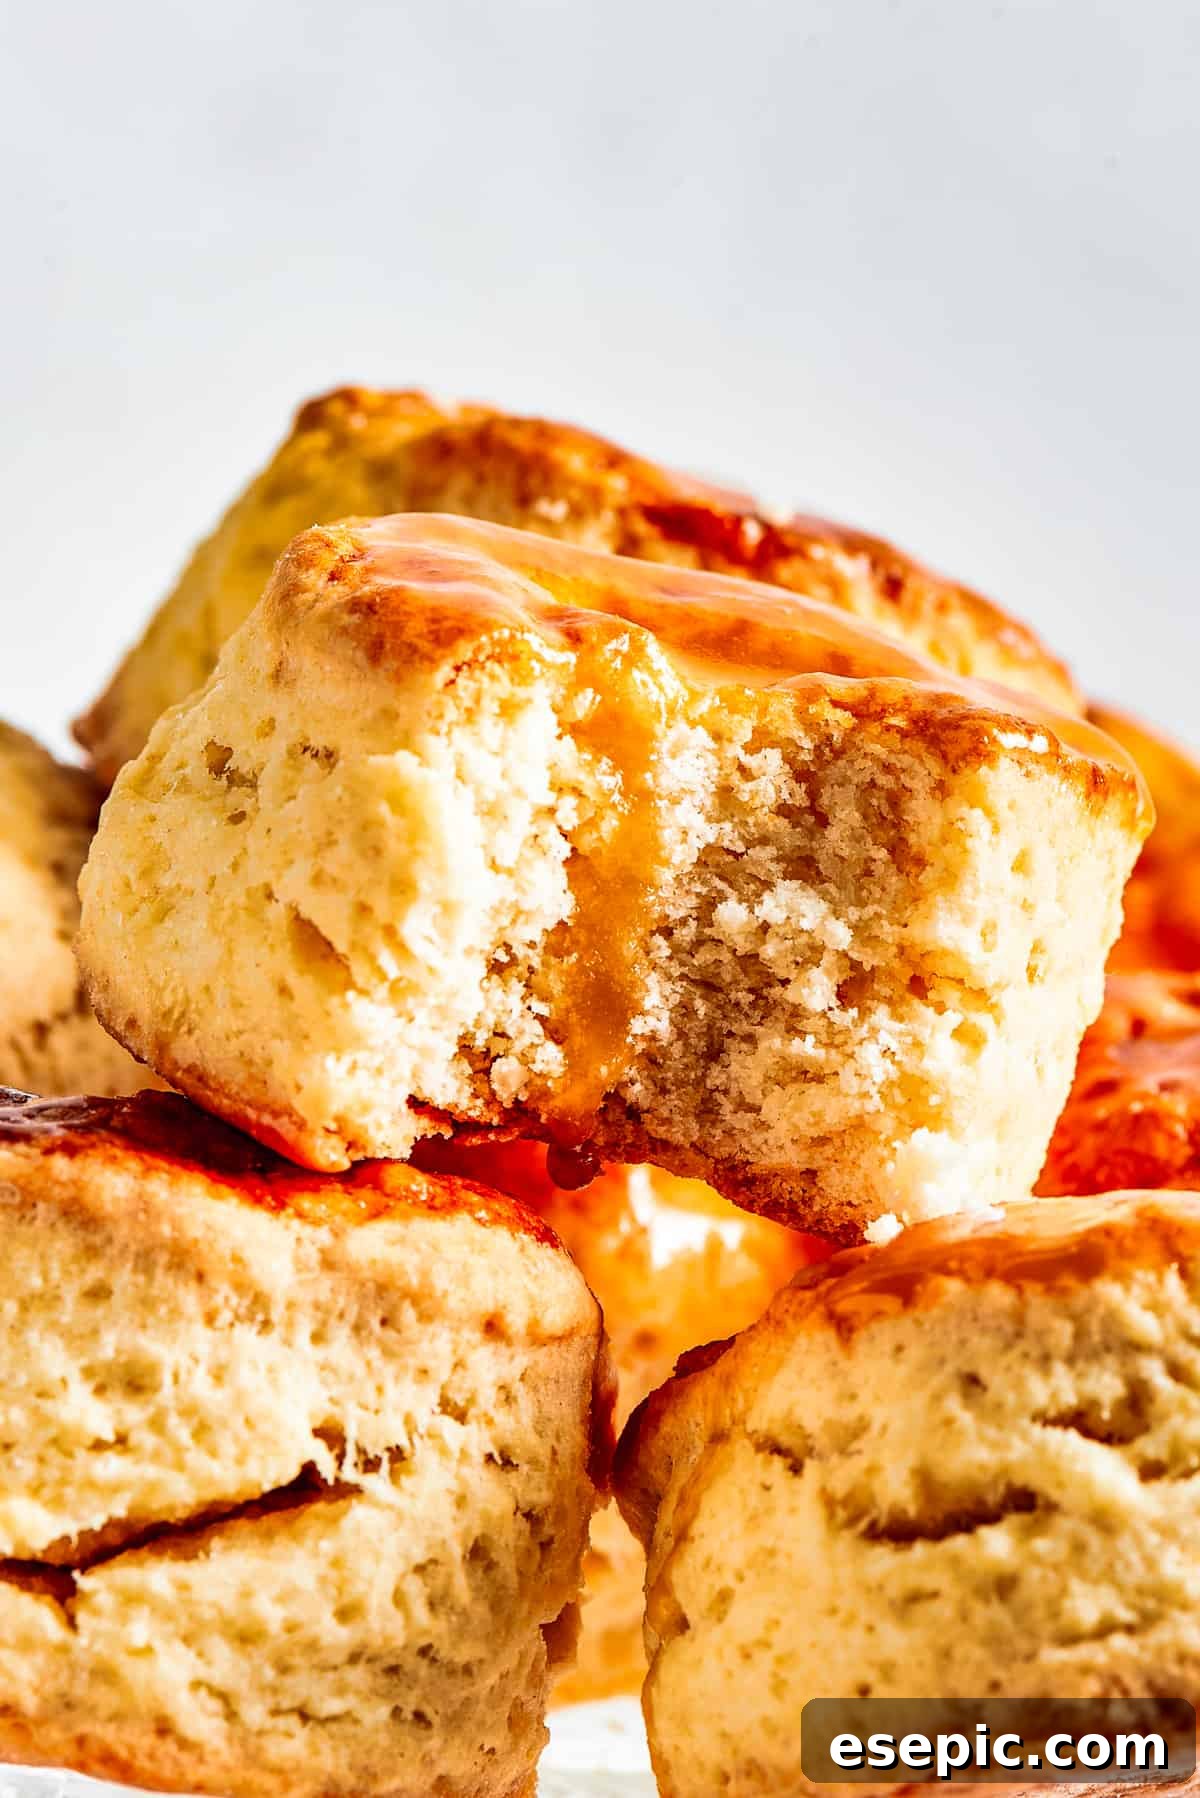
Easy Homemade Biscuits are not just a simple side dish; they are a timeless comfort food, a warm embrace, and an absolute essential for elevating any meal, from a casual breakfast to a festive holiday dinner. Imagine golden-brown tops, incredibly tender interiors, and layers so flaky they practically melt in your mouth with every bite. The best part? Creating these culinary delights from scratch is far simpler than you might think, proving that homemade doesn’t have to mean complicated.
Discover the Joy of Tender, Flaky, Homemade Biscuits
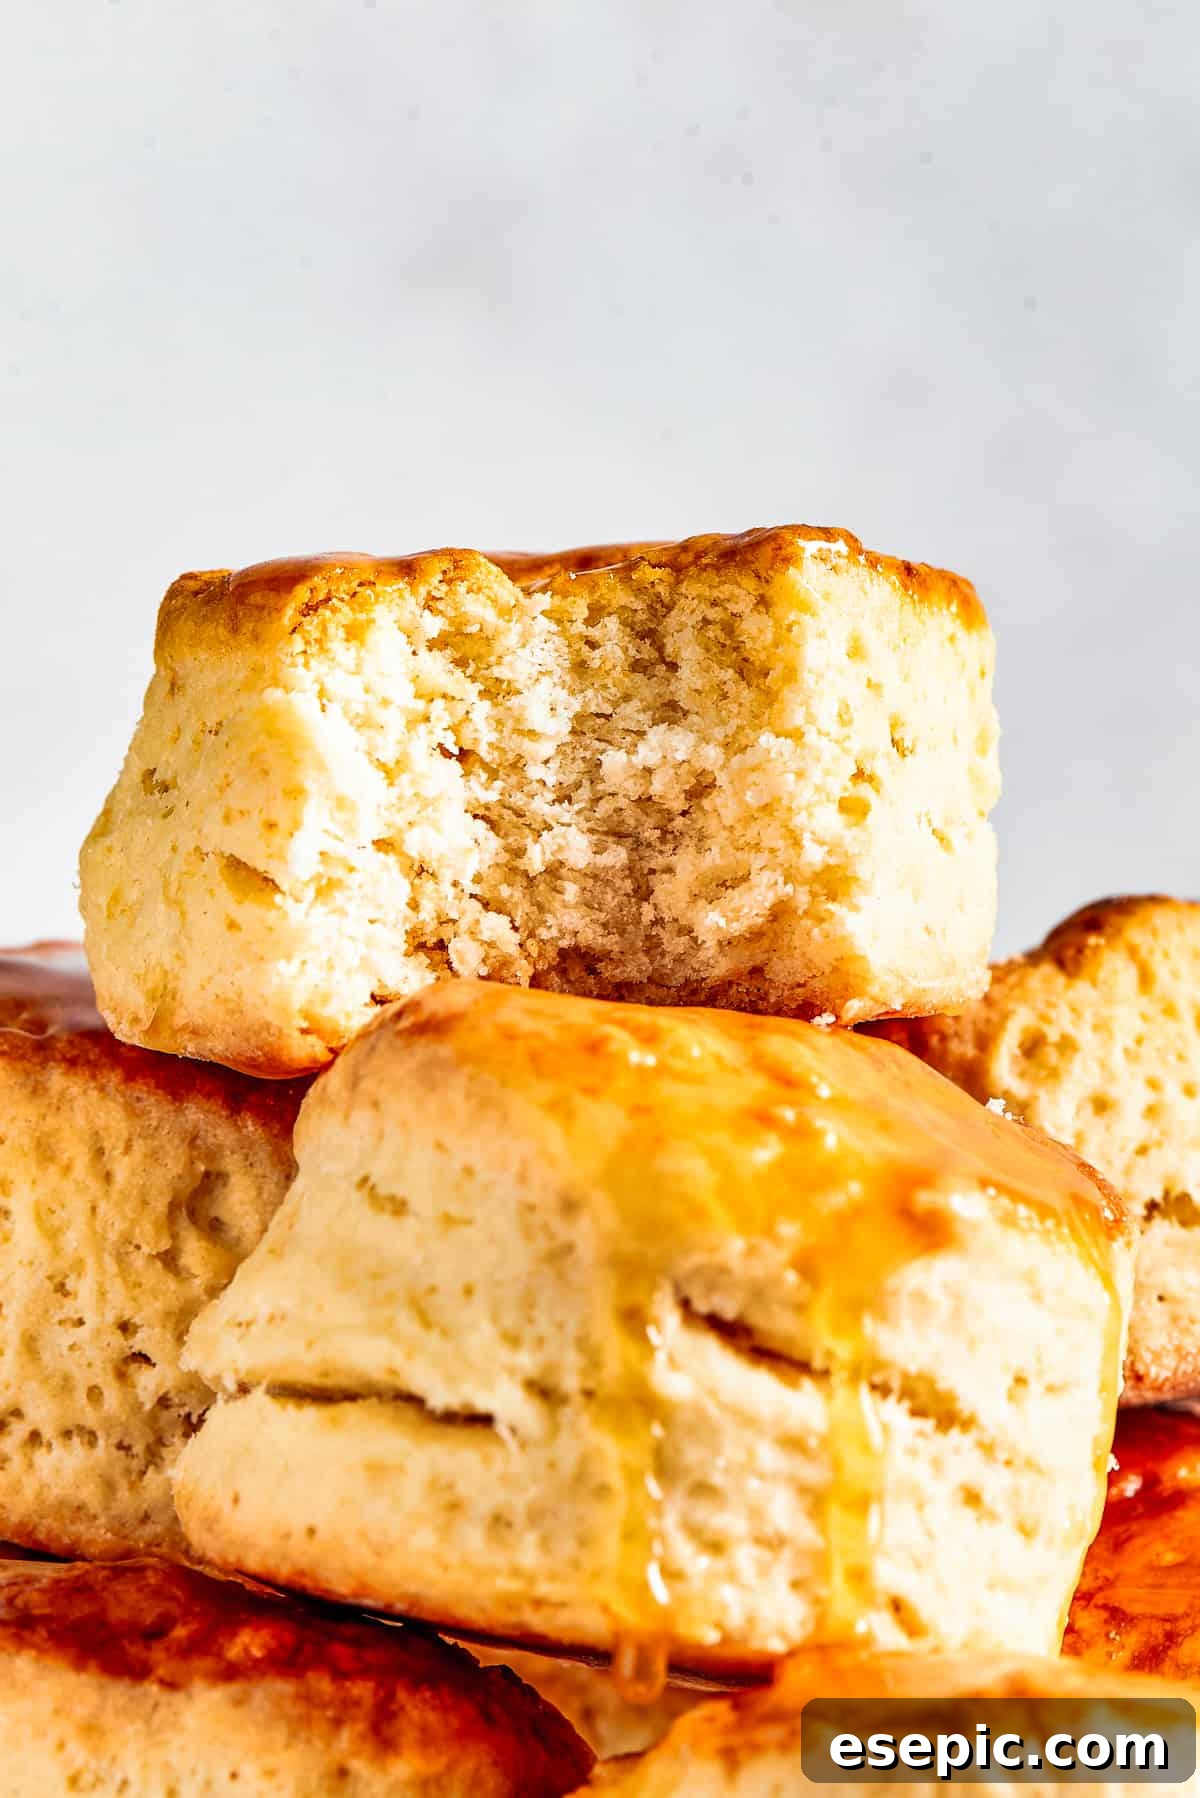
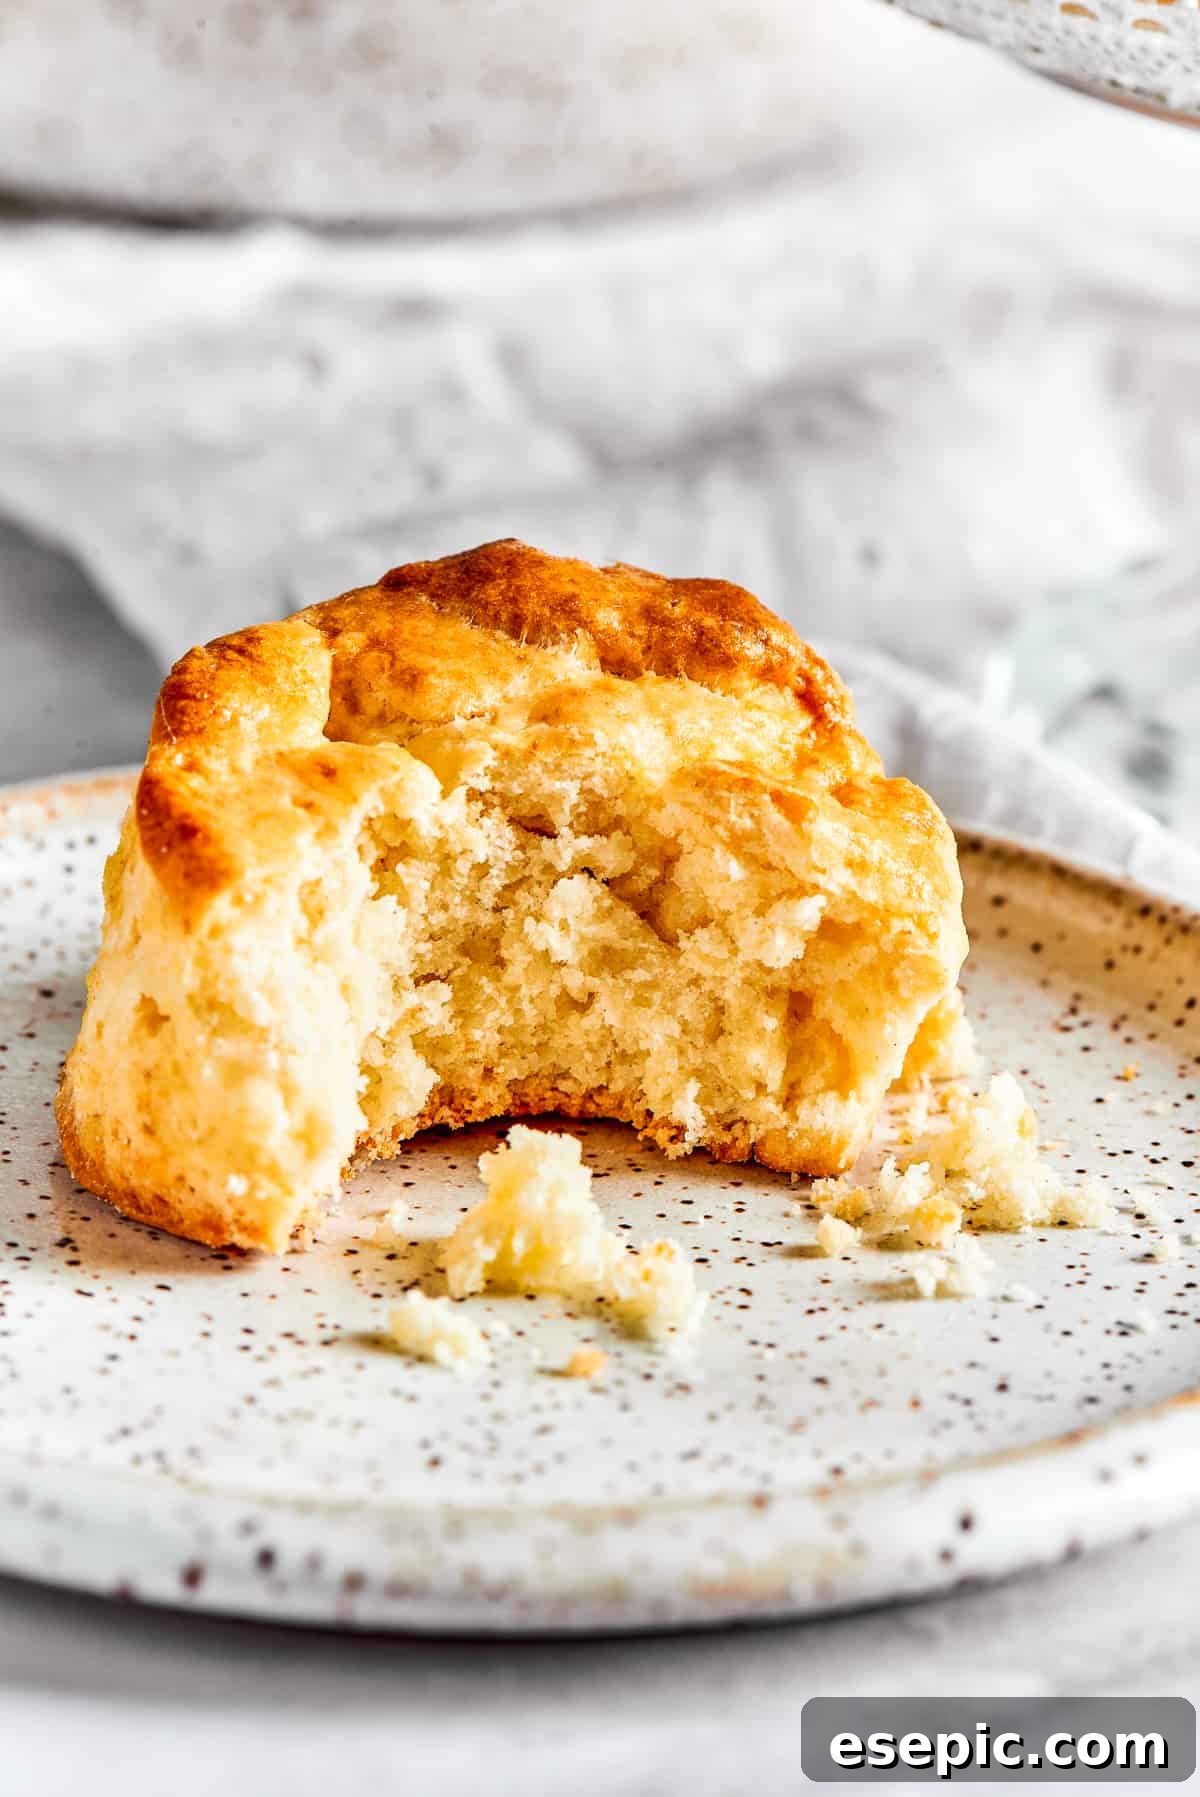
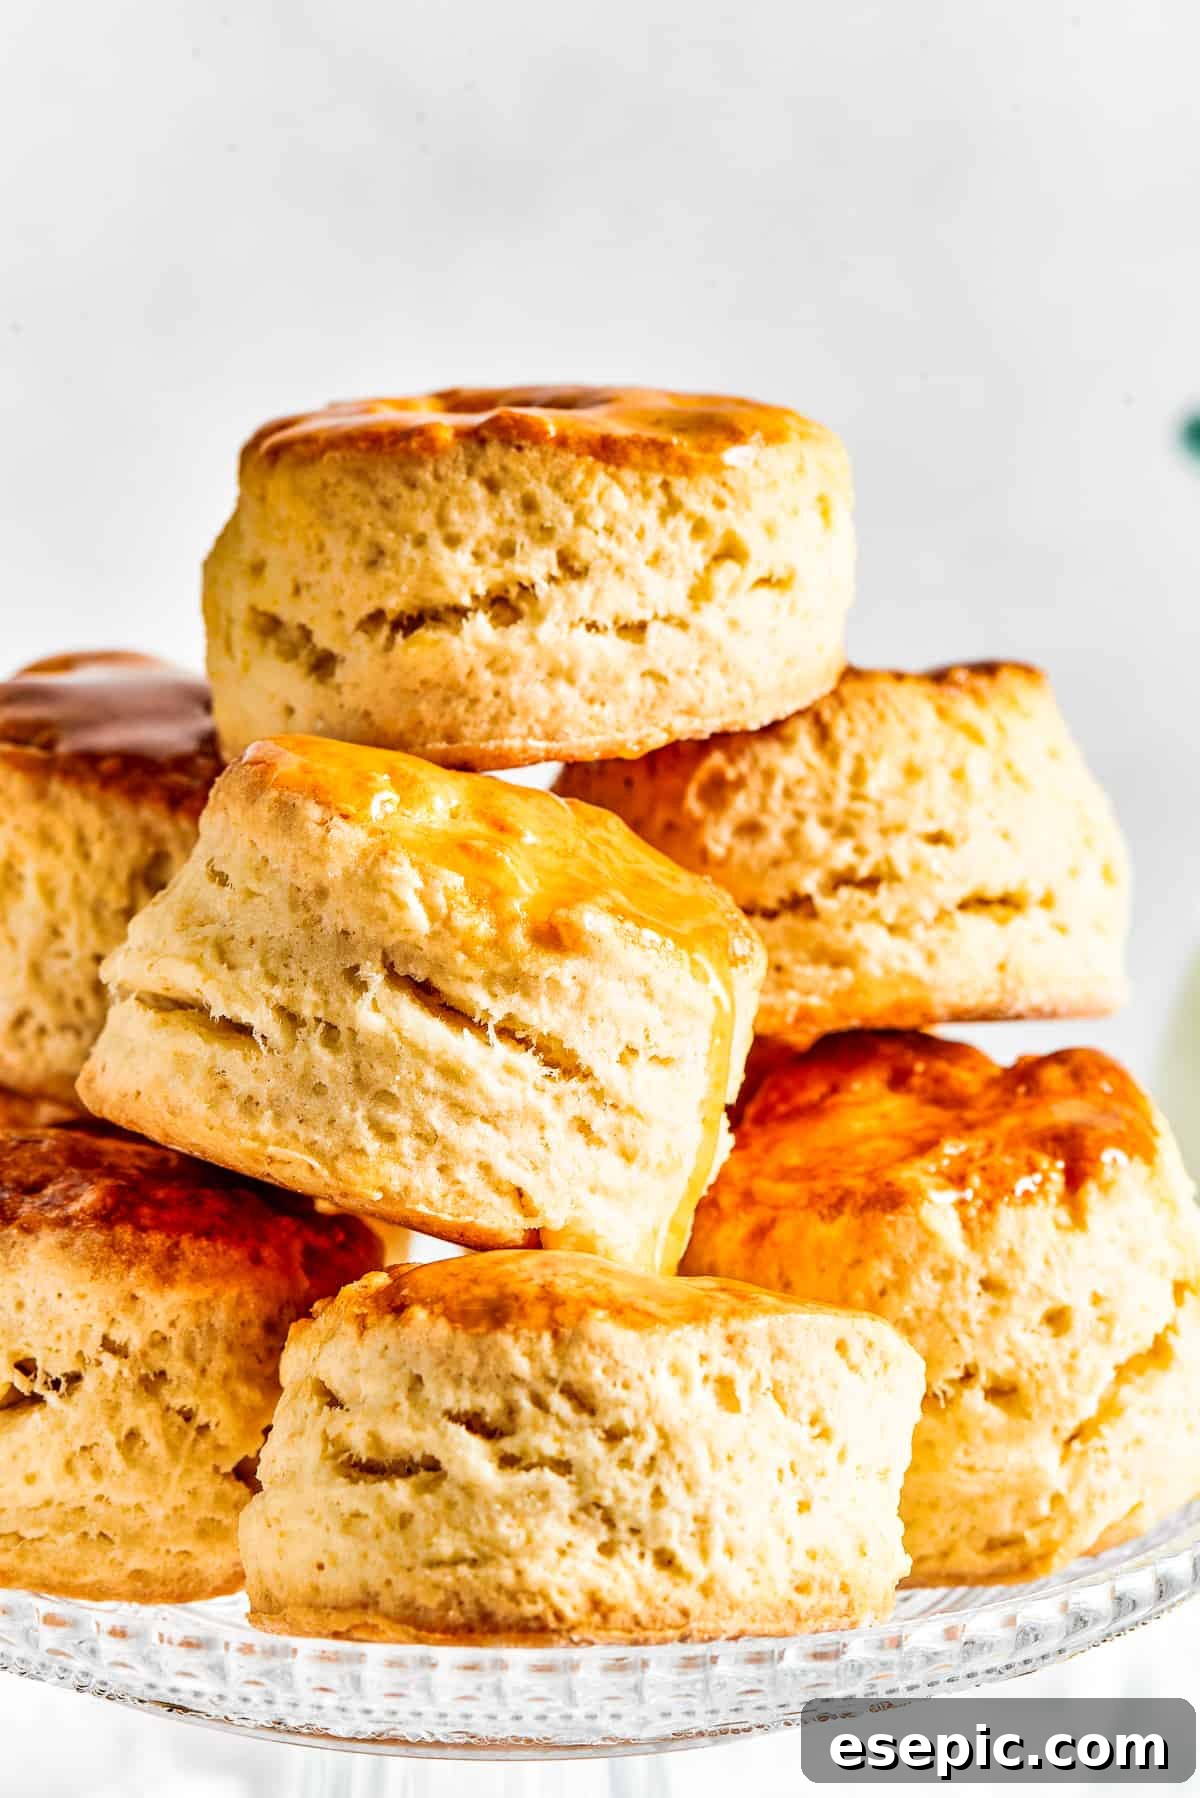
There’s a special kind of magic that happens when a batch of freshly baked biscuits emerges from the oven. The aroma alone is enough to gather everyone around the kitchen, eager for a taste. In my home, the mere mention of biscuits brings cheers! These aren’t just any biscuits; they are light as air, exquisitely buttery, perfectly balanced with a hint of salt, and just a touch sweet, making them irresistible to all. Their versatility knows no bounds – serve them warm with a hearty breakfast spread, use them to top a comforting chicken pot pie casserole, enjoy them as a delightful snack slathered with butter and your favorite jam, or let them complete a robust dinner.
One of the main reasons I adore baking biscuits is their surprising ease. Many people are intimidated by the thought of making biscuits from scratch, believing it requires expert baking skills. However, I’m here to tell you that’s a myth! With a few essential techniques and insider tips – all of which I’m thrilled to share with you below – you’ll soon be confidently rolling, cutting, and baking perfect homemade biscuits that will impress everyone at your table. Forget store-bought; once you master this simple recipe, you’ll never look back.
Essential Ingredients for Your Perfect Biscuits
This classic, old-fashioned biscuit recipe relies on staples you likely already have in your pantry and refrigerator, making it incredibly convenient to whip up a batch whenever the craving strikes. Quality ingredients are key to exceptional flavor and texture. Here’s a detailed look at what you’ll need to create these heavenly biscuits and an optional, delectable maple sauce:
For the Homemade Biscuits:
- All-Purpose Flour: The foundation of our biscuits. You’ll need 2½ cups for the dough, plus a little extra for dusting your work surface and biscuit cutter to prevent sticking. Using fresh flour ensures the best rise and texture.
- Granulated Sugar: Two tablespoons of sugar provide a subtle sweetness that beautifully complements the buttery flavor. If you prefer a purely savory biscuit, you can certainly omit the sugar without impacting the texture significantly.
- Baking Powder: This leavening agent is crucial for giving our biscuits their impressive height and fluffy structure. Ensure your baking powder is fresh for optimal results; expired powder can lead to flat, dense biscuits.
- Sea Salt: A half to one teaspoon of sea salt enhances all the other flavors, bringing balance and depth. Adjust the amount to your preference, especially if using salted butter.
- Cold Unsalted Butter: Half a cup of chilled, cubed unsalted butter is the secret to flaky layers. The cold butter creates steam pockets as it melts in the oven, which pushes the dough upwards, resulting in those desirable flaky strata. Unsalted butter gives you control over the overall saltiness of the recipe.
- Cold Buttermilk: Three-quarters of a cup of cold buttermilk contributes to the biscuits’ tender crumb and adds a delightful tang. The acidity in buttermilk reacts with the baking powder to aid in leavening. If you don’t have buttermilk, don’t worry – I’ll share a simple substitute below.
- Egg for Glaze: One lightly beaten egg is brushed on top of the biscuits before baking to give them a beautiful golden-brown shine and a slightly crisper crust. Alternatively, a little milk can be used for a similar effect.
For the Optional Maple Sauce:
- Butter: One tablespoon of butter, salted or unsalted, whichever you prefer, will form the base of our luscious glaze.
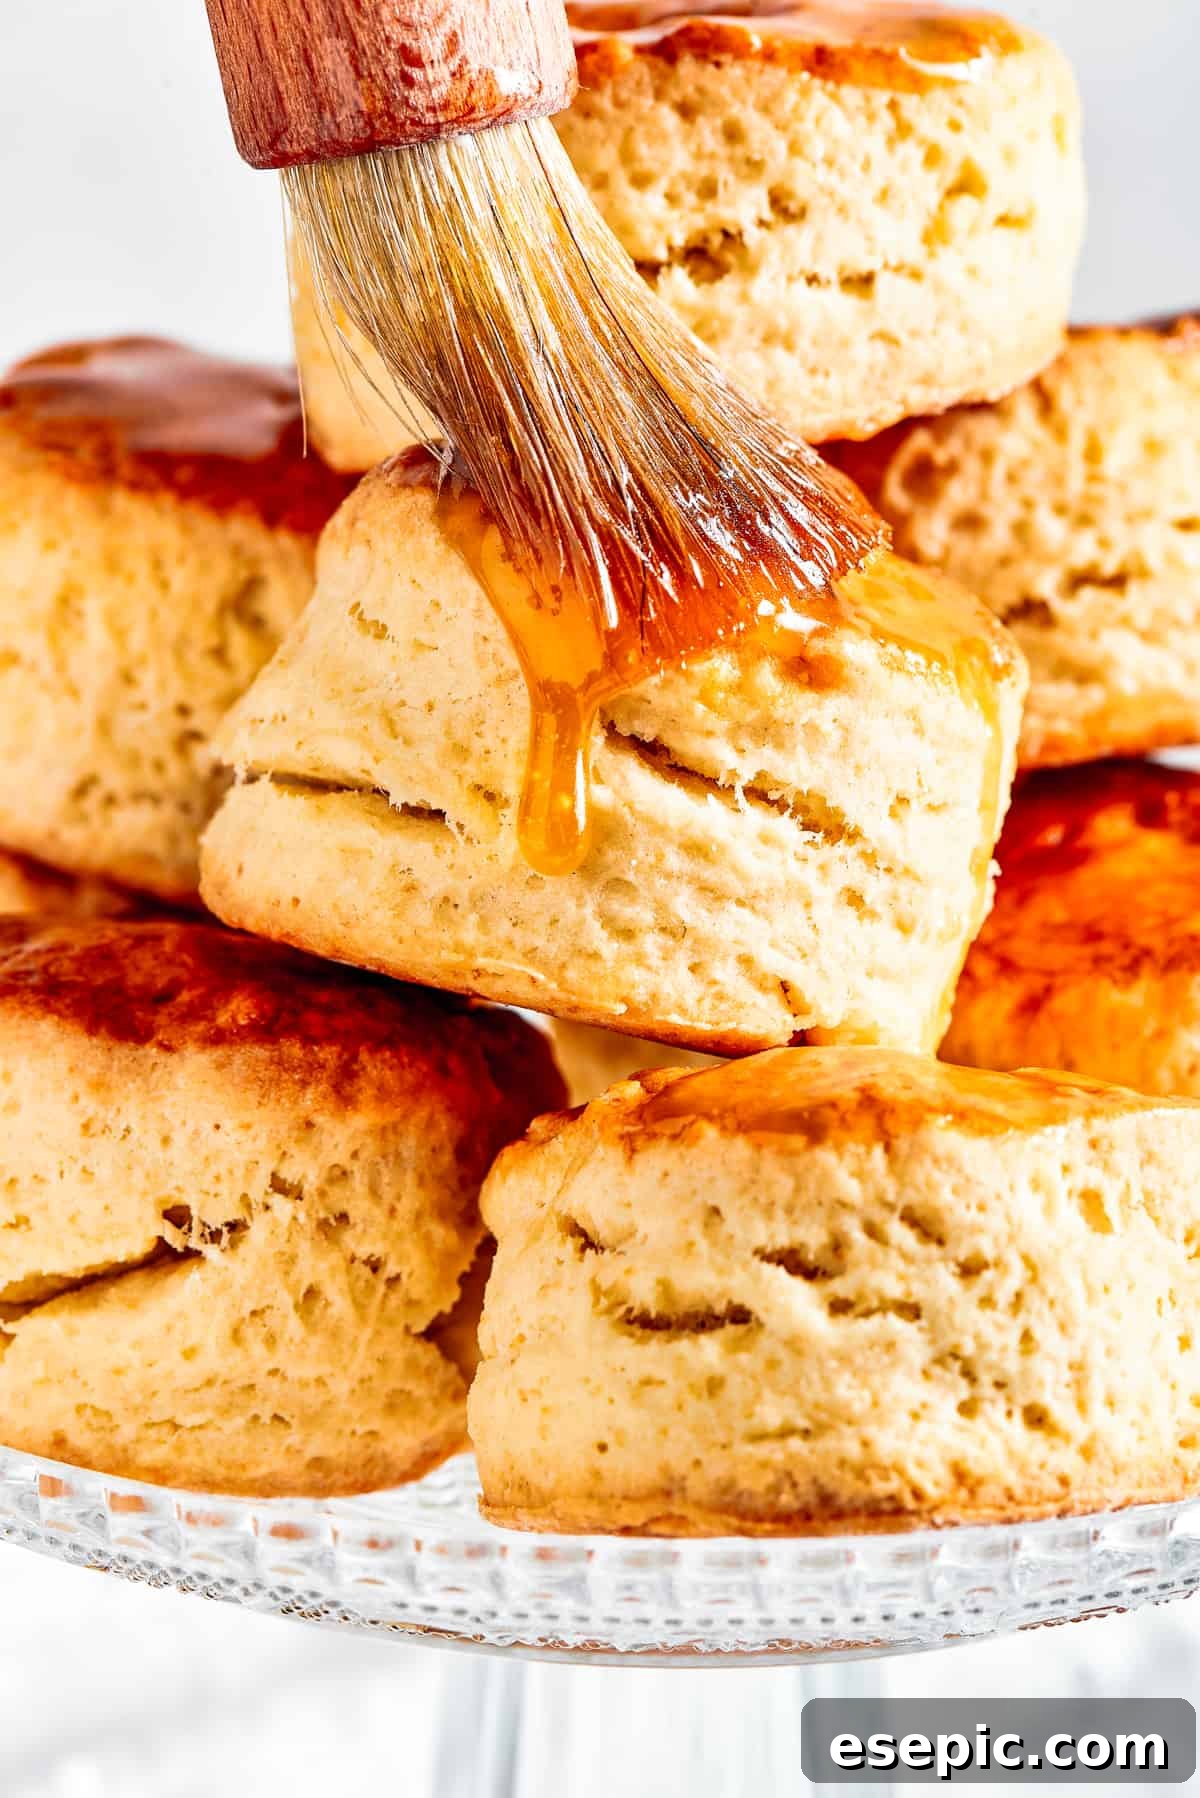
- Maple Syrup: Three tablespoons of pure maple syrup (or honey) will add a warm, sweet, and sticky finish, taking these biscuits from delicious to truly decadent.
Step-by-Step: Crafting Your Fluffy Homemade Biscuits
Now that we’ve gathered all our fresh ingredients, let’s dive into the exciting part: bringing these fluffy, flaky biscuits to life! The method is straightforward, but paying attention to a few details will ensure your success. Follow these steps for a perfect batch:
- Prepare Your Workspace and Dry Ingredients: Begin by preheating your oven to a robust 450°F (232°C). This high temperature is vital for a quick rise and golden crust. Next, line a large baking sheet with parchment paper to prevent sticking and ensure easy cleanup, then set it aside. In a spacious mixing bowl, thoroughly whisk together the all-purpose flour, granulated sugar, baking powder, and salt. This step ensures that the leavening agent and flavorings are evenly distributed throughout the dough.
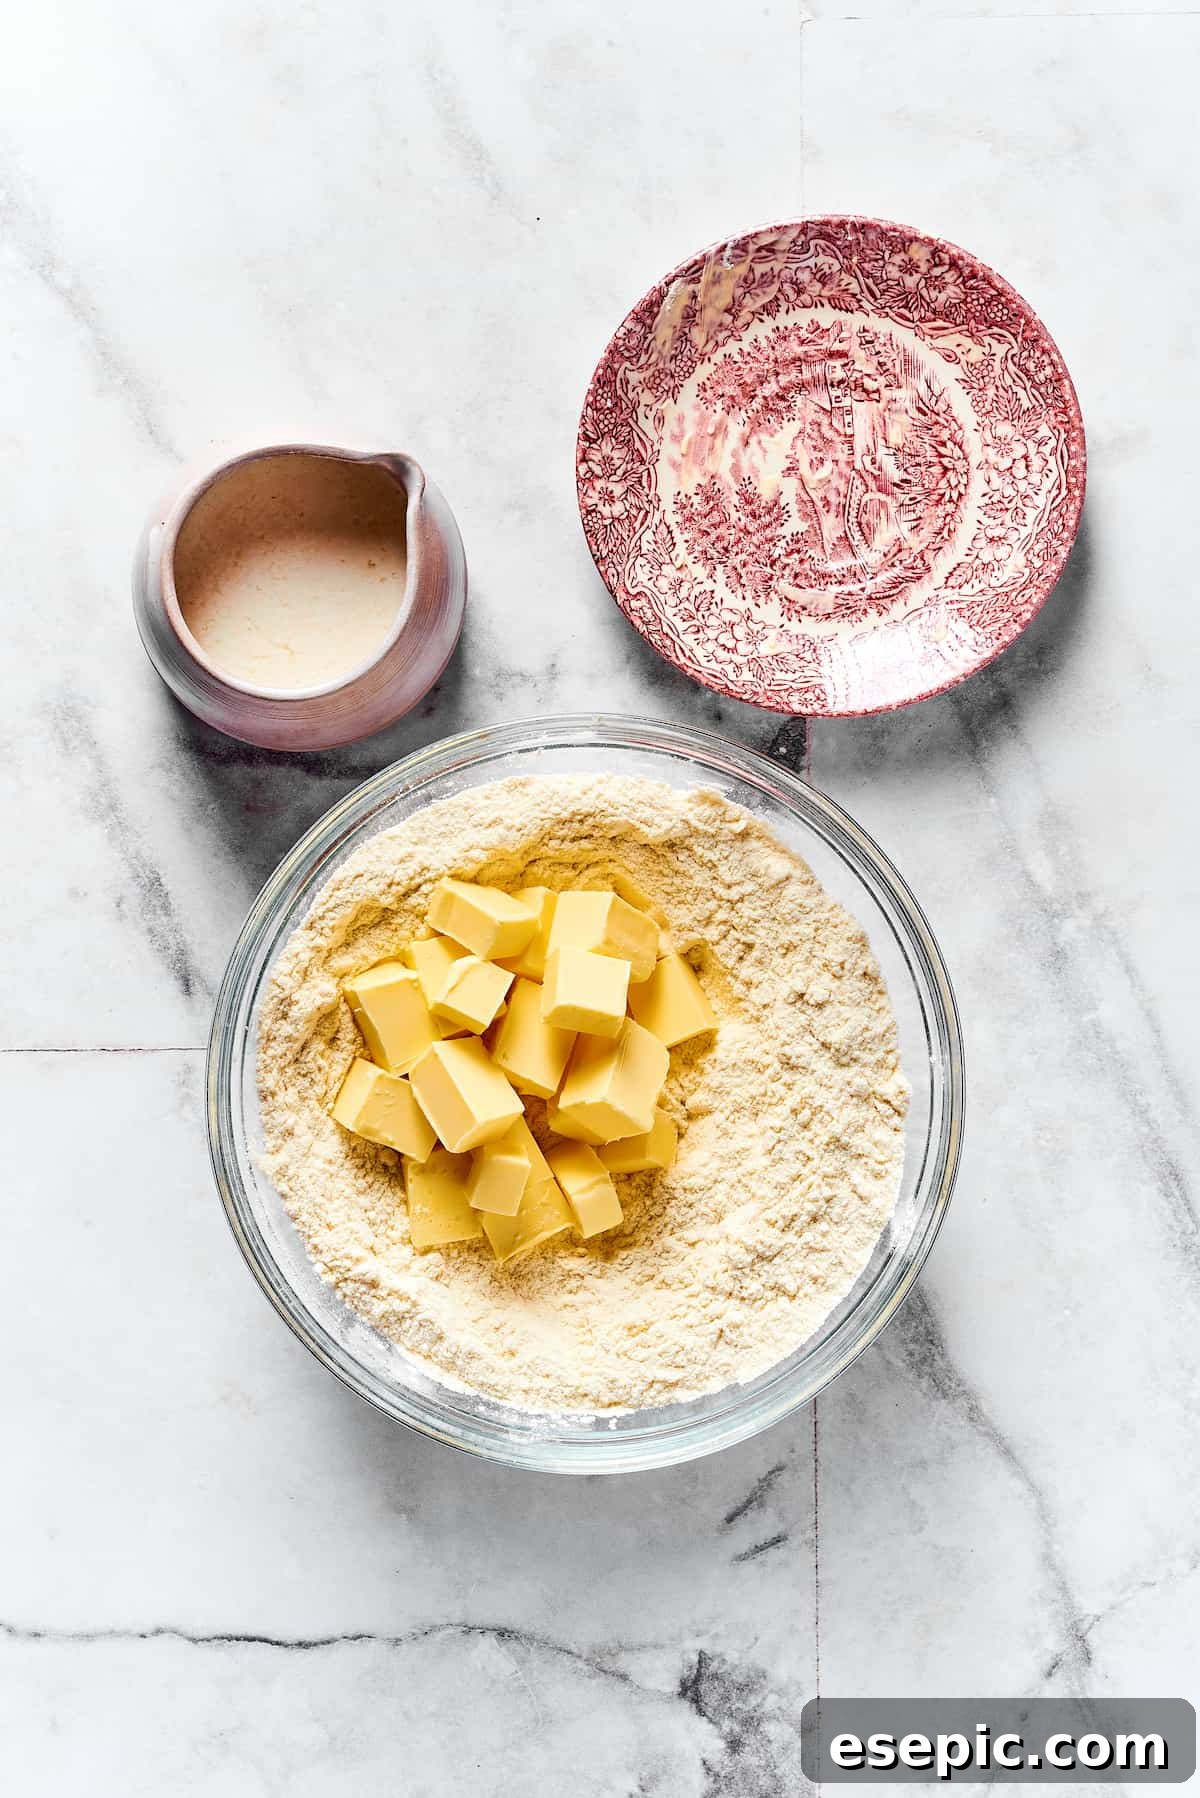
- Incorporate the Cold Butter: This is a critical step for flaky biscuits. Add the cold, cubed butter to your dry ingredients. Using your fingertips or a pastry cutter, work the butter into the flour mixture until it resembles coarse breadcrumbs, with some pea-sized pieces of butter remaining. The goal is to incorporate the butter without melting it. If using your hands, work quickly to avoid warming the butter with your body heat. You can also achieve this in a food processor with quick pulses, but be careful not to over-process. Cold butter will create pockets of steam during baking, leading to those coveted flaky layers.
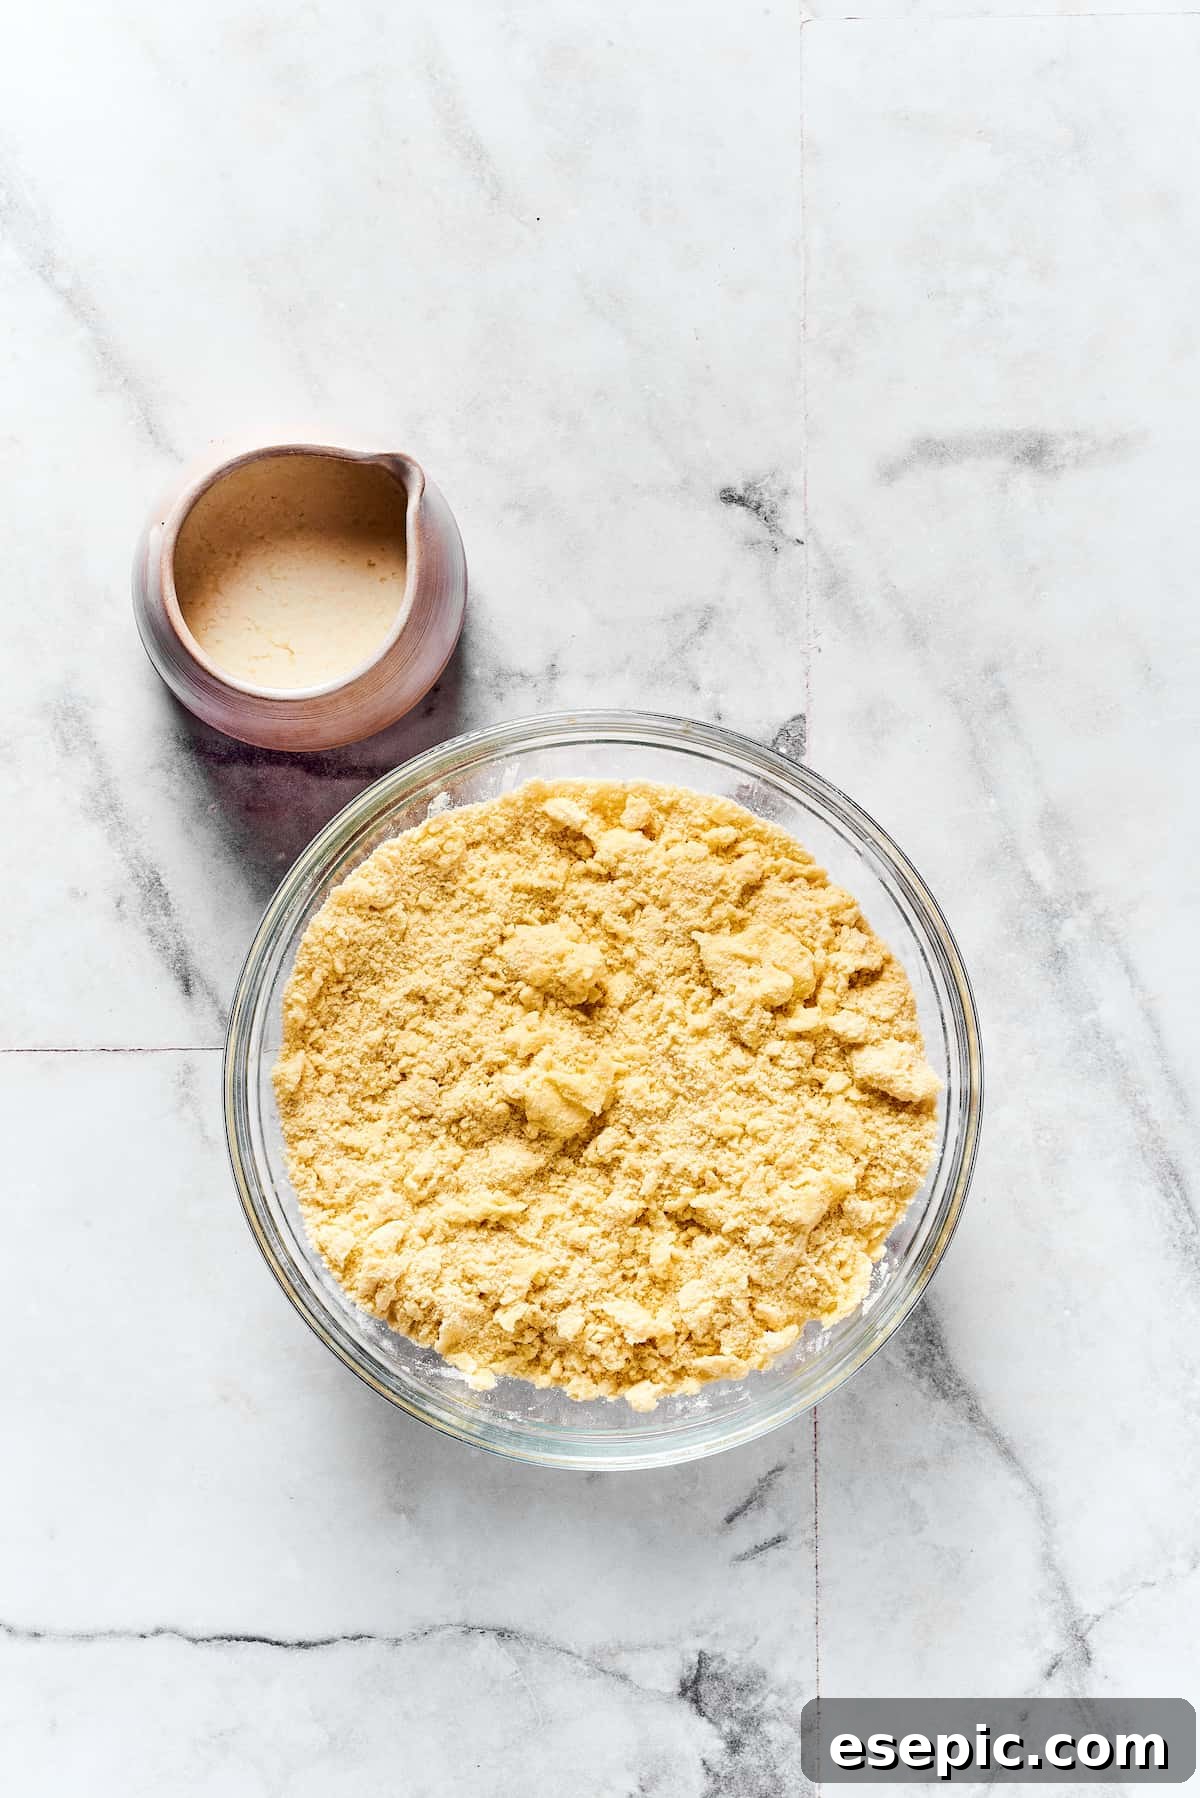
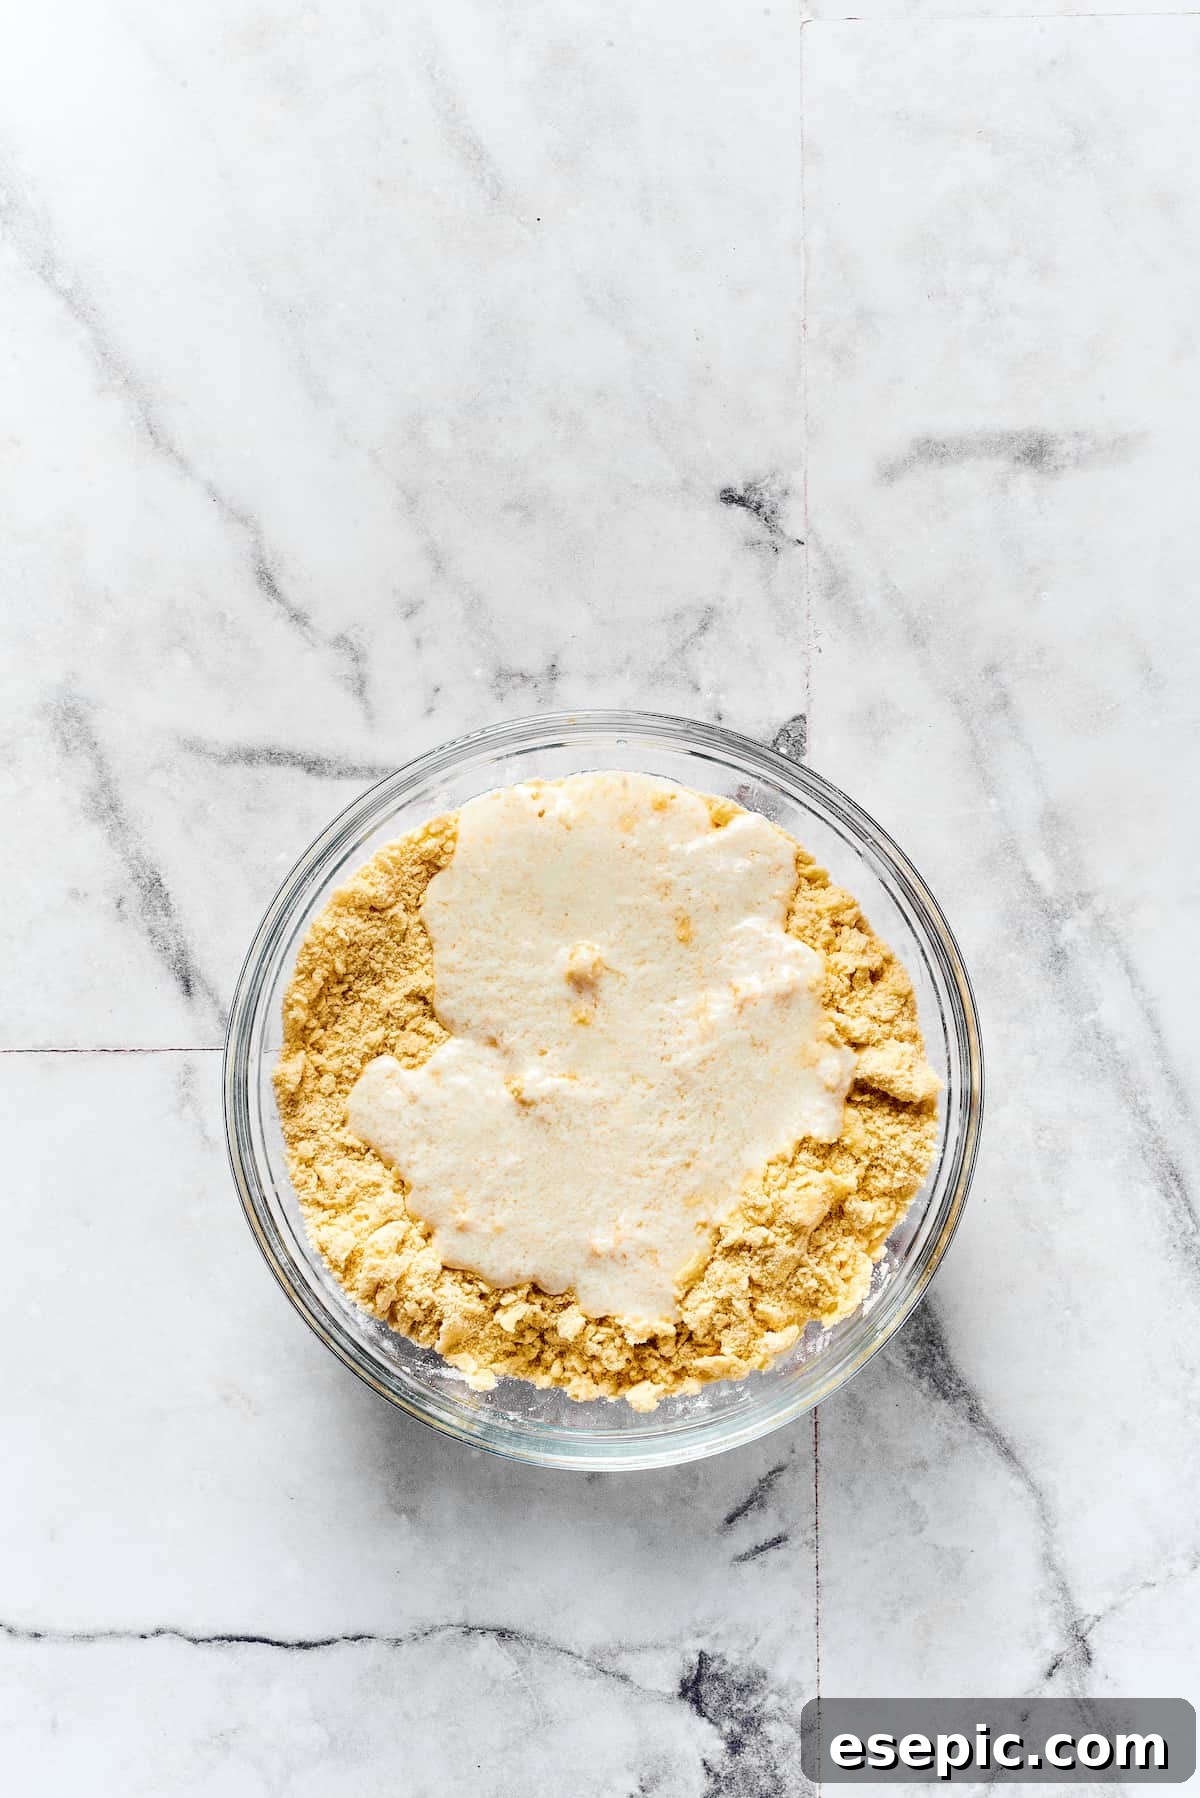
- Add the Buttermilk Gently: Create a deep well in the center of your flour and butter mixture. Pour the cold buttermilk into this well. Using a spoon or spatula, gently mix the ingredients just until a soft, shaggy dough forms. The key here is to avoid overmixing. Overworking the dough develops the gluten too much, which can result in tough, chewy biscuits instead of light and tender ones. A slightly sticky and lumpy dough is perfectly fine – in fact, it’s preferred!
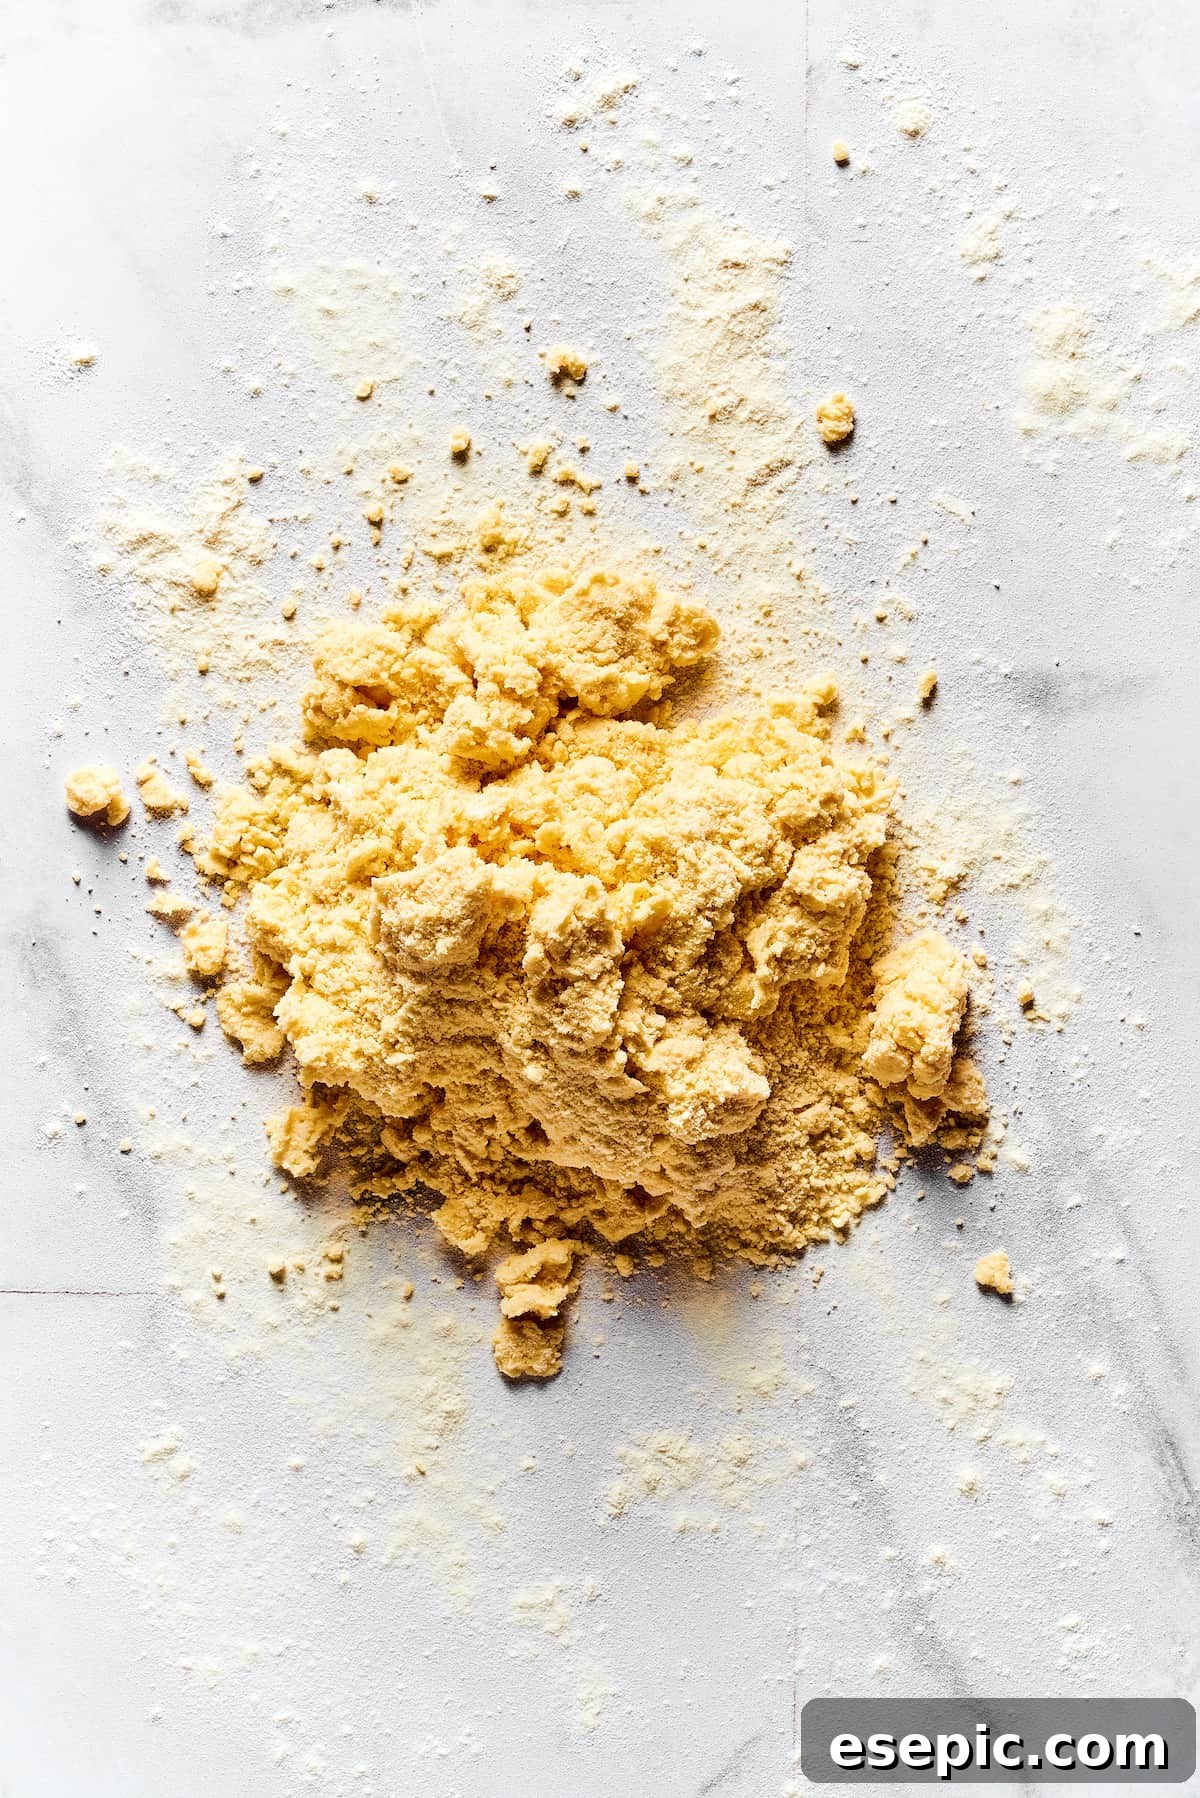
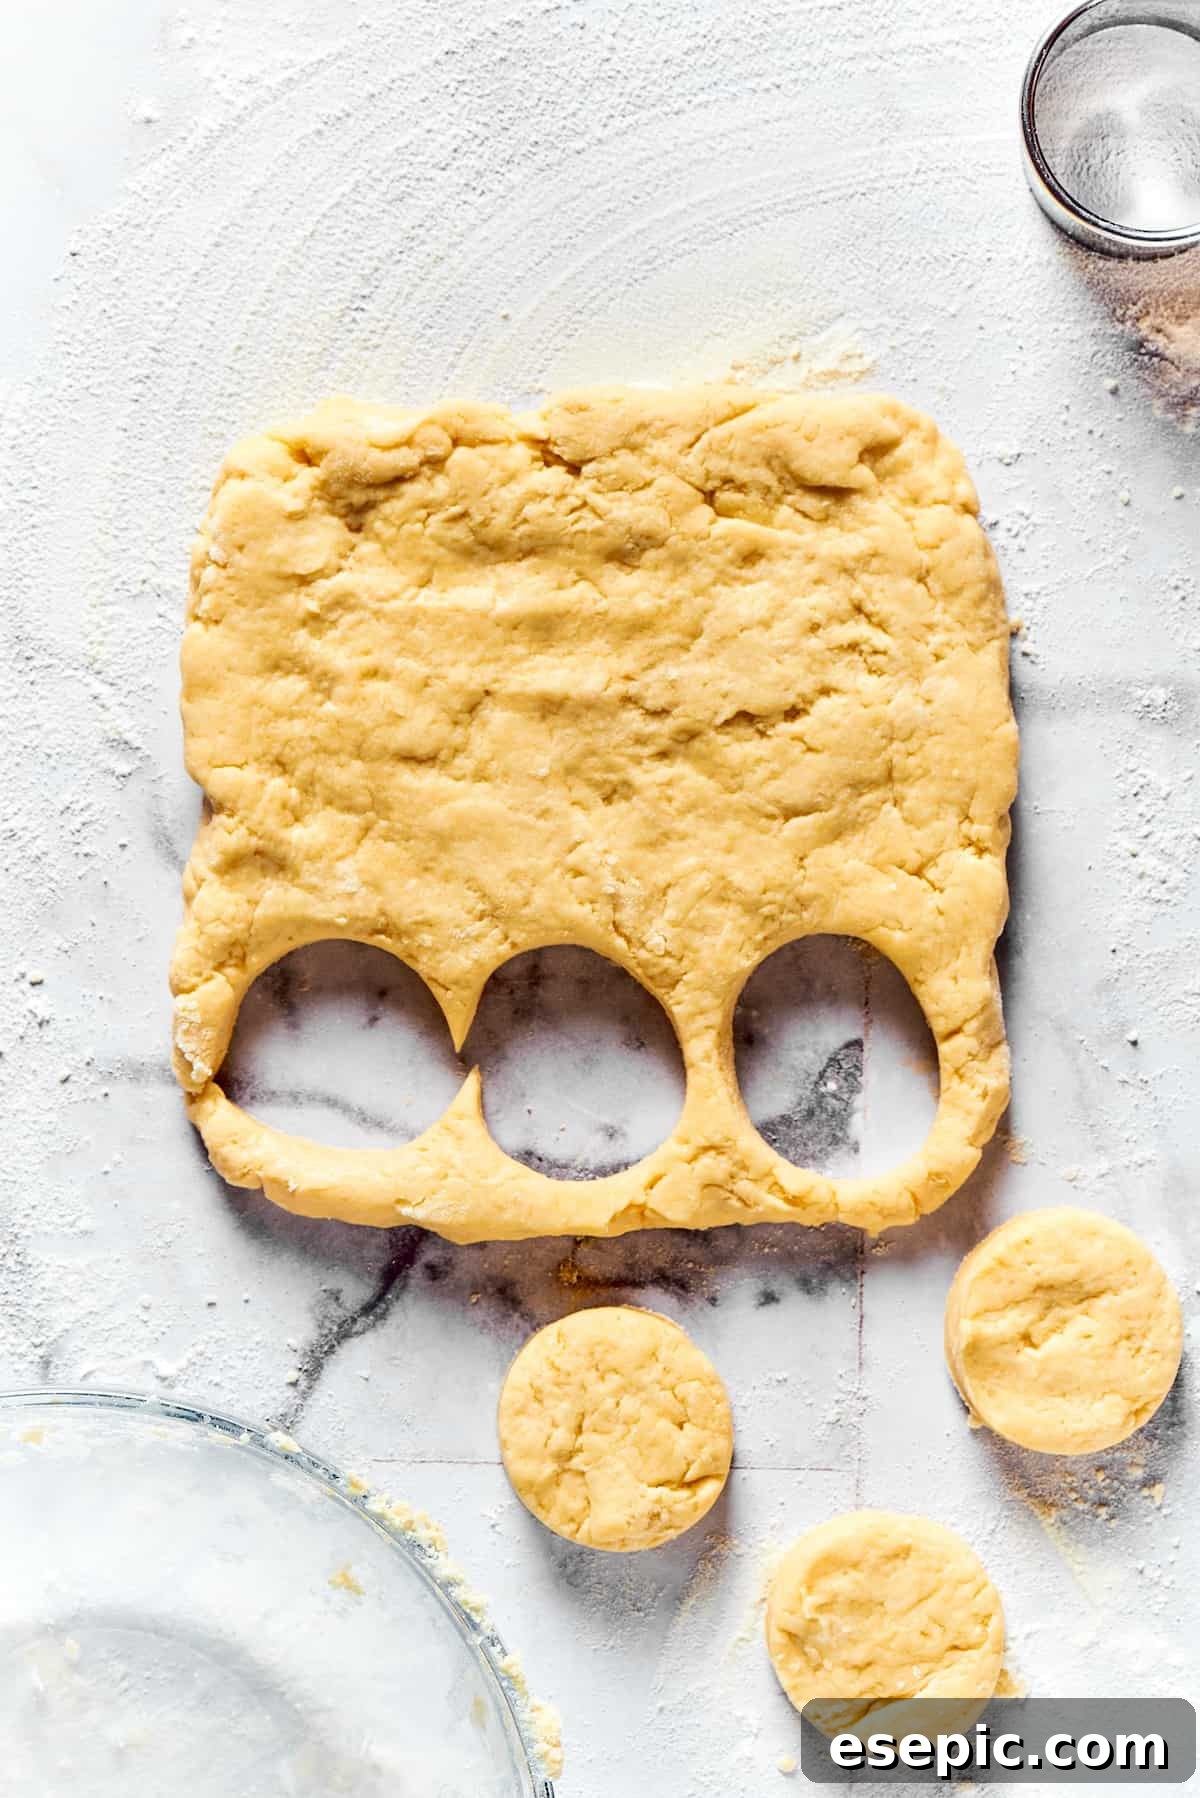
- Shape and Cut Your Biscuits: Turn the dough out onto a lightly floured work surface. With minimal handling, gently knead or pat the dough just enough to bring it together into a cohesive mass. Avoid excessive kneading. Flatten the dough with your hands or a rolling pin until it’s approximately one inch thick. Using a sharp biscuit cutter, press straight down to cut out about 9 rounds. Do not twist the cutter, as this can seal the edges and prevent the biscuits from rising properly. Gather the scraps of dough, gently press them together without kneading, and cut out an additional 3 rounds, aiming for a total of 12 biscuits.
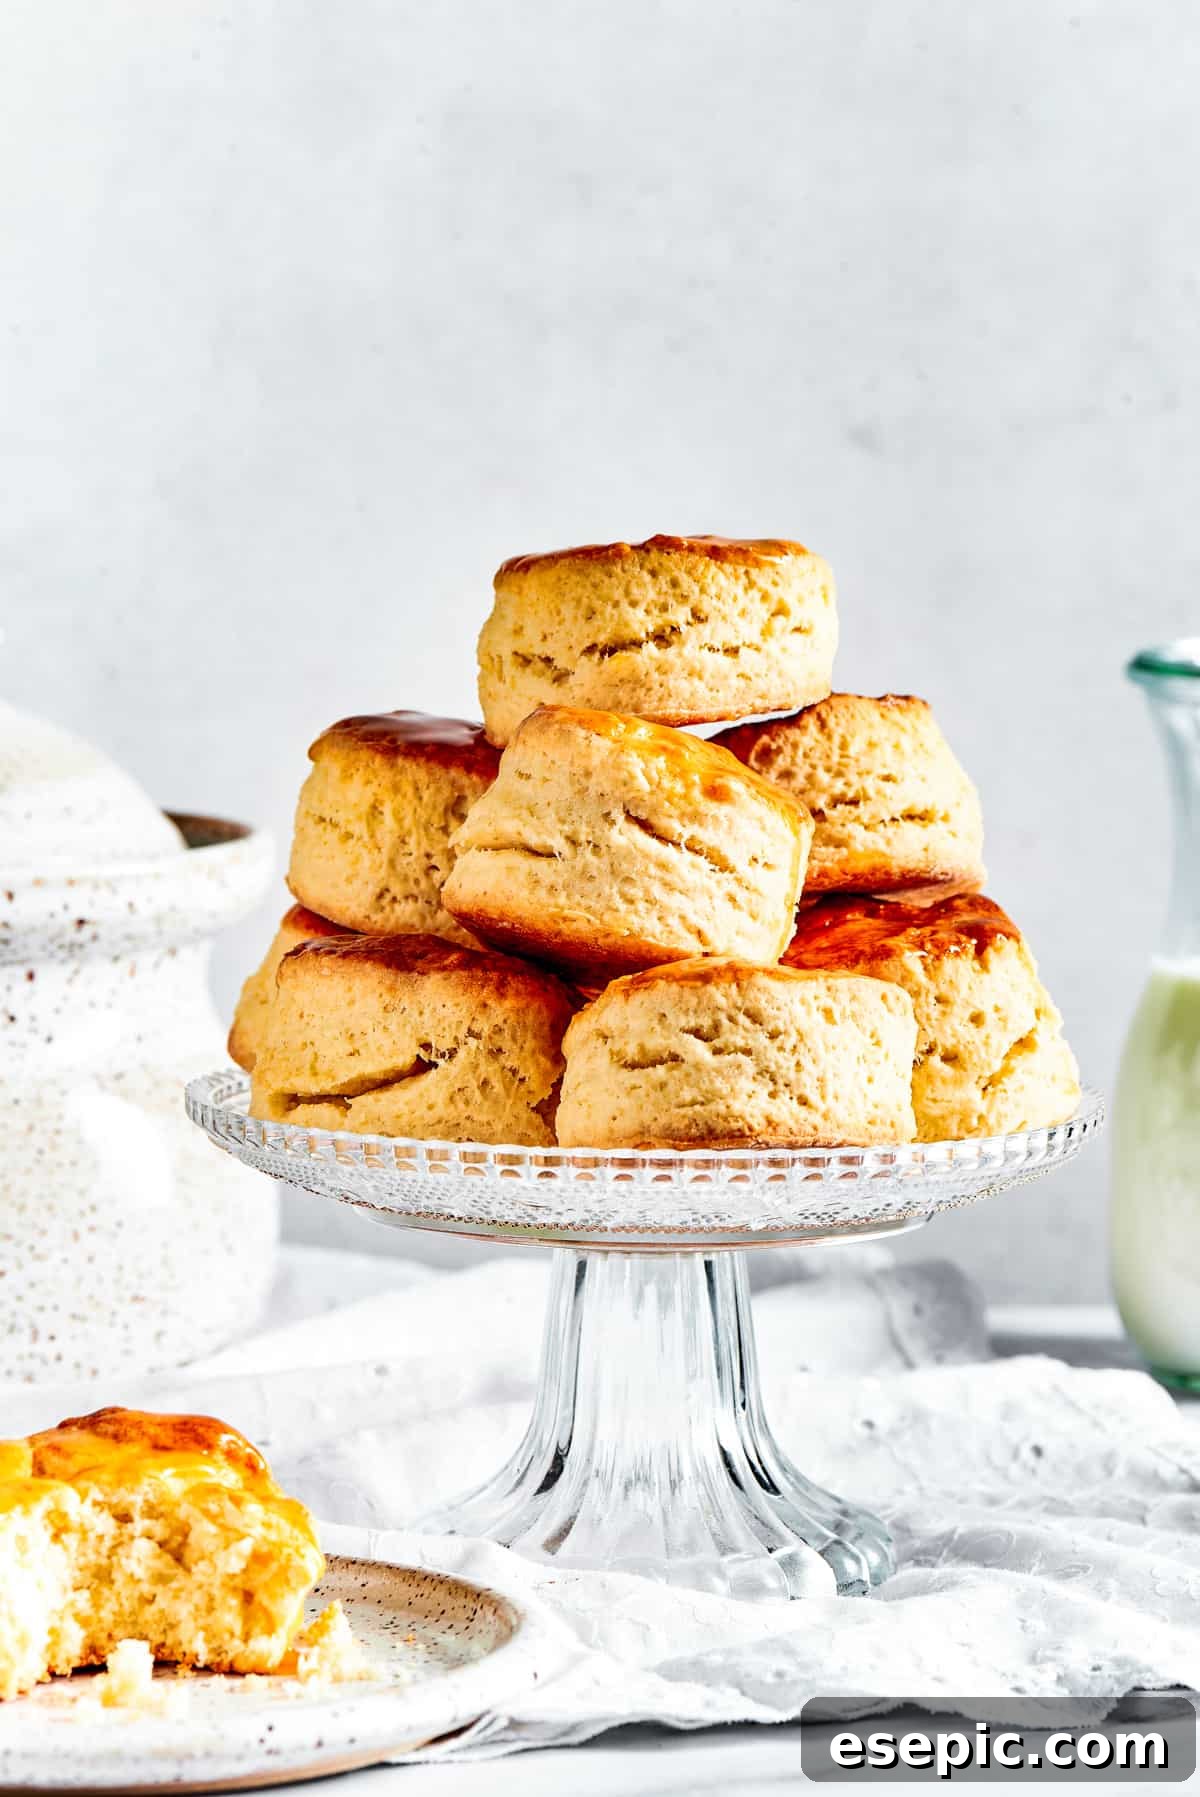
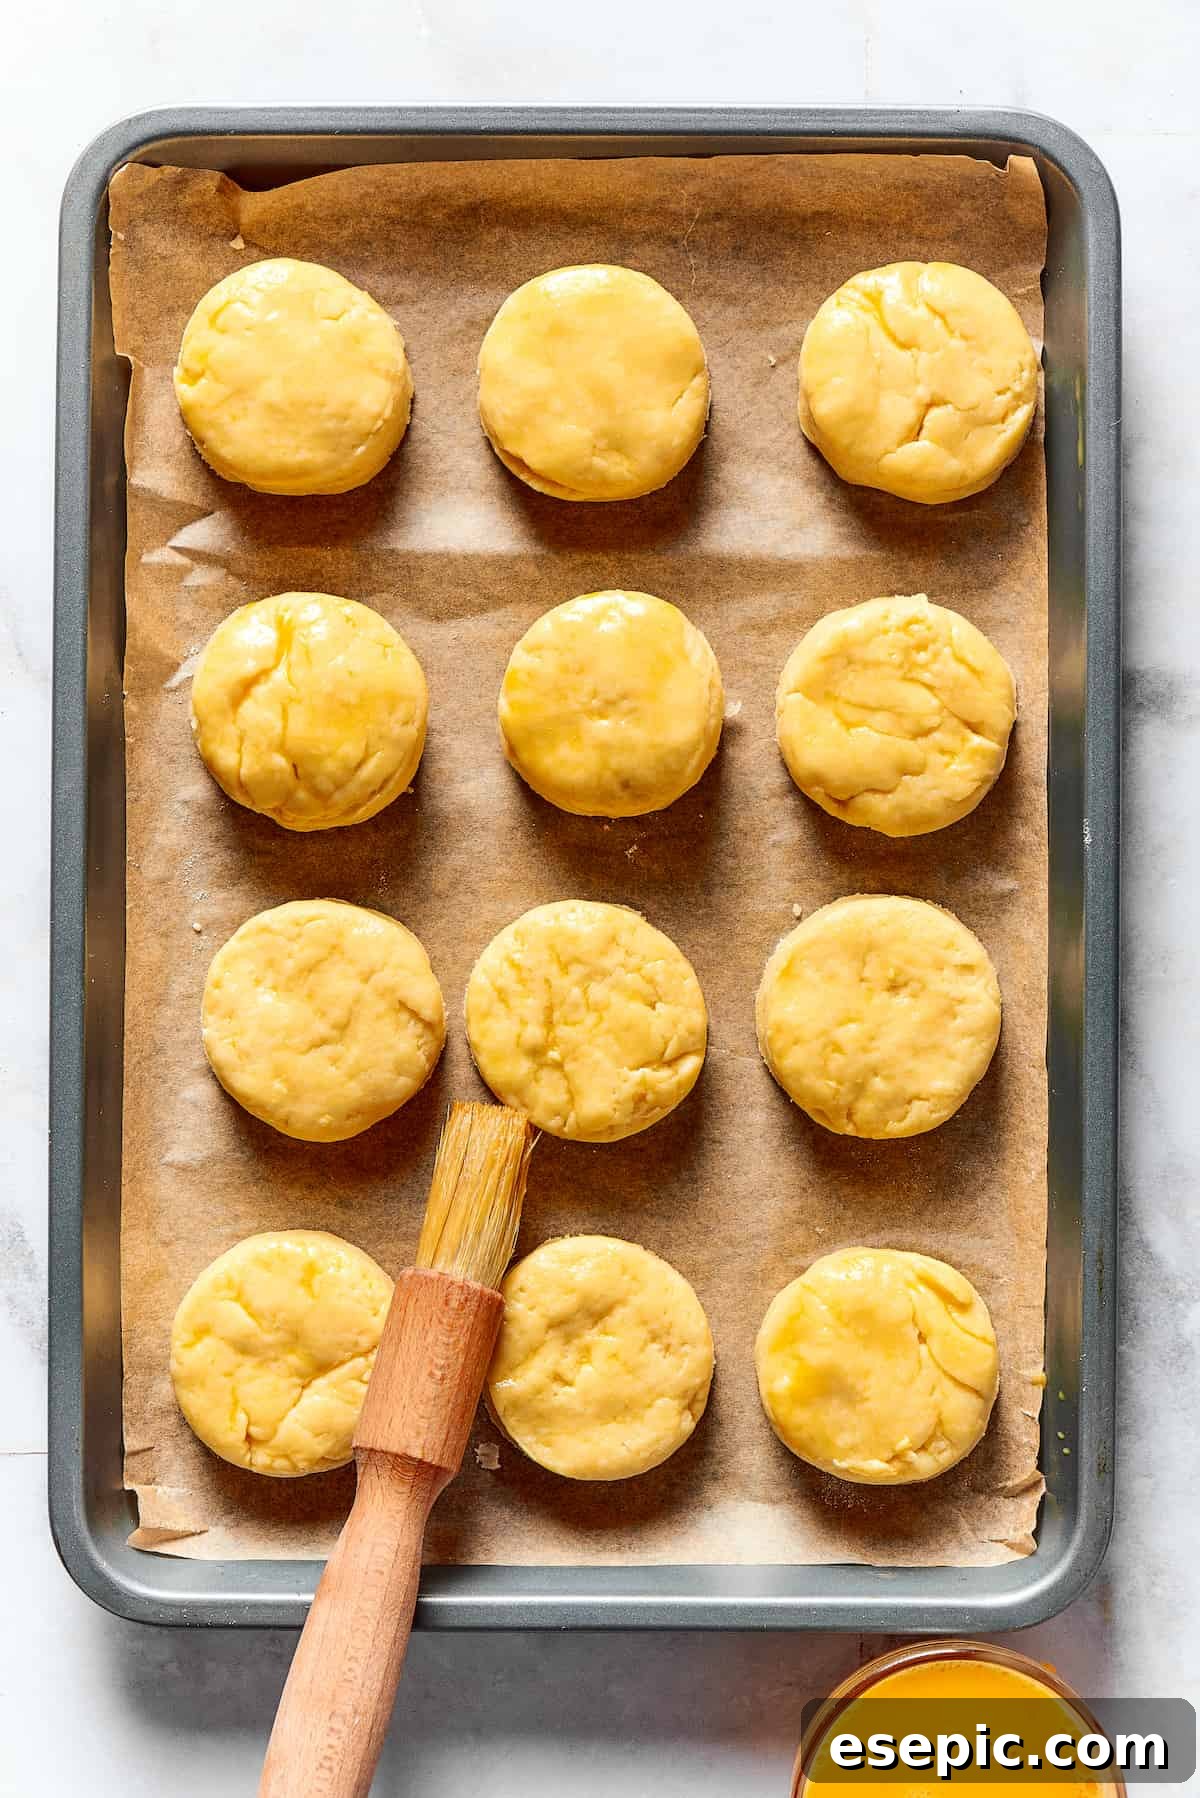
- Glaze and Bake to Golden Perfection: Carefully transfer the cut-out biscuits to your prepared baking sheet. For that beautiful golden finish, brush the tops of each biscuit with the lightly beaten egg. Place the baking sheet into your preheated 450°F oven. Bake for approximately 10 to 12 minutes, or until the biscuits have risen high and are gloriously golden brown on top. The high heat helps them rise quickly and develop a crisp exterior while keeping the interior tender.
- Serve and Savor: Once baked, remove the biscuits from the oven and let them cool on the baking sheet for a few minutes. Biscuits are best enjoyed warm, straight from the oven.
- Optional Maple Topping: To prepare the exquisite maple glaze, combine the butter and maple syrup in a small saucepan. Heat it over medium-high heat until it reaches a gentle simmer, then allow it to reduce for about 3 to 4 minutes. This process thickens the glaze and concentrates its flavors. Generously brush the warm buttermilk biscuits with this warm maple glaze just before serving for an extra layer of sweetness and shine.
Unlocking the Secrets to Truly Excellent Biscuits
While the recipe itself is straightforward, a few key insights can elevate your biscuit-making from good to absolutely phenomenal. Every baker develops their own rhythm and tricks, but these are my tried-and-true secrets for consistently light, flaky, and utterly delicious biscuits:
- Handle with Care: The Art of Gentle Mixing: Perhaps the most crucial rule for tender biscuits is to handle the dough as little as possible. Biscuit dough is a “quick bread” and thrives on minimal manipulation. Overmixing or overworking the dough activates gluten, resulting in a tough, chewy texture rather than the desired soft, flaky crumb. A dough that looks a bit sticky and lumpy is a sign you’re on the right track! Resist the urge to make it perfectly smooth.
- Embrace the Cold: The Butter Principle: The magic of flaky biscuits lies in cold butter. Ensuring your butter stays well-chilled throughout the mixing process is paramount. When these tiny, cold pieces of butter hit the hot oven, they create steam, which pushes apart the layers of dough, forming those beautiful, airy flakes. If your kitchen is warm or you feel the butter or dough is softening too much, don’t hesitate to pop it into the refrigerator (or even the freezer for a few minutes) to firm it up before continuing.
- Consider the Grater for Butter: For an even distribution of cold butter and faster incorporation, some bakers swear by grating their cold butter using a box grater before adding it to the flour. This creates very fine strands of butter that are easy to cut into the dry ingredients.
- The Power of Shortening: For an Extra Lift: While butter provides unparalleled flavor, a traditional trick for an even higher rise is to use a combination of half butter and half vegetable shortening. Shortening has a higher melting point than butter, which means it stays solid longer in the oven, potentially contributing to a taller biscuit. Experiment to see which you prefer!
- DIY Buttermilk: A Simple Substitute: No buttermilk on hand? No problem! You can easily create a substitute. Combine two teaspoons of white vinegar or lemon juice with enough regular milk (dairy or non-dairy) to make ¾ cup. Stir it gently and let it sit for 5-10 minutes. The milk will curdle slightly and thicken, mimicking the acidity and texture of true buttermilk.
- Use a Sharp Cutter, Don’t Twist: When cutting your biscuits, use a sharp, thin-edged metal biscuit cutter. Press straight down firmly and lift straight up. Avoid twisting the cutter, as twisting seals the edges of the dough, which can prevent the biscuits from rising evenly and create sloped sides.
To Rise or Not to Rise: The Biscuit Dilemma
A common question among aspiring biscuit makers is whether the dough needs a resting period or a rise before baking. For most traditional quick bread recipes like these homemade biscuits, the answer is generally no. Unlike yeast breads that rely on yeast fermentation for a slow rise, biscuits depend on chemical leavening agents like baking powder (and the reaction with buttermilk) and the steam created by cold butter for their lift. They are mixed, quickly shaped, and then immediately baked at a high temperature to encourage a rapid and dramatic rise in the oven. The only notable exception would be “angel biscuits,” which uniquely incorporate both baking powder and a small amount of yeast, requiring a longer proofing period.
Delightful Serving Suggestions for Your Homemade Biscuits
The beauty of homemade biscuits lies in their incredible versatility. They can complement almost any meal, transforming a simple dish into something extraordinary. Here are some traditional and creative ideas to enjoy your freshly baked biscuits:
- Classic Breakfast or Brunch: Serve them with scrambled eggs, crispy bacon, sausage gravy, or alongside fresh fruit and yogurt for a complete and satisfying morning meal.
- Perfect with Southern Comforts: What could be more comforting than hot biscuits paired with a savory dish? Make a pan of these finger-lickin’ Oven Baked Chicken Tenders for a meal the whole family will adore, especially when you use biscuits to sop up any delicious sauces.
- Hearty Dinner Companion: Elevate your Sunday supper with warm biscuits. This Perfect Pot Roast, with its rich gravy, becomes even more special when accompanied by fluffy, flaky biscuits to absorb all the flavorful juices.
- A Sweet and Savory Combination: Biscuits are a natural pairing for ham. This Slow Cooker Ham with Brown Sugar Glaze, served with a simple green vegetable and warm biscuits, creates a truly mouthwatering menu.
- Soup and Stew Sidekick: Instead of bread, serve biscuits alongside a warm bowl of your favorite soup or stew. Their soft texture and ability to soak up broth make them an ideal complement.
- Strawberry Shortcake Base: For a delightful dessert, split a biscuit, fill it with fresh sliced strawberries and a dollop of whipped cream. A truly simple yet elegant treat.
Storage and Reheating Tips for Freshness
While biscuits are undeniably best enjoyed fresh from the oven, you can certainly store and reheat them to enjoy later. Proper storage ensures they retain as much of their deliciousness as possible:
- Room Temperature Storage: Baked homemade biscuits can be stored in an airtight container at room temperature for up to two days. Make sure they are completely cooled before storing to prevent condensation, which can make them soggy.
- Refrigeration: For slightly longer storage, you can keep baked biscuits in an airtight container in the refrigerator for up to one week.
- Reheating for Warmth: To bring them back to their tender best, warm biscuits in a preheated oven at 350°F (175°C) for about 5-7 minutes, or until heated through. Alternatively, a quick reheat in your microwave for 15-30 seconds can work, but be mindful not to overdo it, as microwaves can make them a bit tough.
Can You Freeze Homemade Biscuits? Absolutely!
Freezing is an excellent way to prepare biscuits ahead of time, ensuring you always have a batch ready for a quick meal or an unexpected craving:
- Freezing Baked Biscuits: Allow freshly baked biscuits to cool completely. Then, place them in an airtight freezer-safe container or a heavy-duty freezer bag. They can be frozen for up to three months. To reheat, simply warm them from frozen in a 350°F (175°C) oven for about 10-15 minutes, or until heated through.
- Freezing Unbaked Biscuits: You can also freeze the raw biscuit dough. After cutting the rounds, arrange them on a baking sheet lined with parchment paper and flash freeze them for about 30 minutes, or until solid. This prevents them from sticking together. Once firm, transfer the unbaked biscuits to an airtight freezer bag or container. They will keep for up to three months. When you’re ready to bake, place the frozen biscuits on a parchment-lined baking sheet and bake at 450°F (232°C), adding a few extra minutes to the baking time (typically 12-15 minutes). You can even brush them with an egg wash before baking from frozen.
- Preventing Sticking: When freezing unbaked biscuits, I highly recommend placing a small piece of wax paper or parchment paper between each biscuit to ensure they don’t stick together and are easy to separate when you’re ready to bake.
Explore More Easy Bread Recipes
If you’ve enjoyed making these easy homemade biscuits, you might be inspired to try your hand at other delightful bread recipes. Expanding your baking repertoire is a rewarding experience, and these recipes are perfect for beginners and seasoned bakers alike:
- The Best Homemade Cornbread Recipe: A classic comfort food, perfect for pairing with chilis, stews, or enjoying with butter and honey.
- Homemade Crescent Rolls (Butterhorn Rolls): Fluffy, buttery, and beautifully shaped rolls that are always a hit at any dinner table.
- Easy Homemade Flatbread Recipe: A versatile and quick bread that’s ideal for wraps, dipping, or as a base for mini pizzas.
Easy Homemade Biscuits
by Katerina | Easy Weeknight Recipes
These Easy Homemade Biscuits are a buttery, flaky must-have for special meals, and they are so simple to make! Fluffy, melt-in-your-mouth biscuits that are always a crowd-pleaser.
Ingredients
For the Homemade Biscuits:
- 2½ cups all-purpose flour, plus extra for dusting
- 2 tablespoons granulated sugar
- 1½ teaspoons baking powder
- ½ to 1 teaspoon sea salt
- ½ cup cold unsalted butter, cut into small cubes
- ¾ cup cold buttermilk
- 1 lightly beaten egg, or milk for glaze
For the Maple Glaze:
- 3 tablespoons maple syrup
- 1 tablespoon butter
Instructions
- Preheat the oven to 450°F (232°C). Line a large baking sheet with parchment paper and set aside.
- In a large mixing bowl, whisk together the flour, sugar, baking powder, and salt until well combined. Add in the cubed cold butter.
- Using your fingers or a pastry cutter, cut in the cold butter until the mixture resembles coarse breadcrumbs with some pea-sized pieces of butter remaining.
- Make a deep well in the center of the flour mixture and pour in the cold buttermilk. Mix gently with a spoon or spatula until a soft, shaggy dough forms. Do not overwork the dough.
- Transfer the dough to a lightly floured surface and gently knead or pat just enough to bring the dough together.
- Lightly press the dough to a thickness of 1-inch and use a biscuit cutter to cut out 9 rounds. Combine the remaining dough scraps gently, then repeat the same procedure to get an additional 3 rounds, for a total of 12 biscuits.
- Place the rounds on the prepared baking sheet and brush the tops with the lightly beaten egg to glaze. Bake for about 10-12 minutes or until well risen and golden brown.
- Remove from oven and let the biscuits cool slightly on the baking sheet; serve warm.
- For the optional maple glaze, place the maple syrup and butter in a small saucepan. Heat it to a simmer and cook over medium-high heat for about 3 to 4 minutes, or until slightly reduced and thickened.
- Generously coat the warm buttermilk biscuits with the maple glaze before serving.
Equipment
- Mixing Bowls
- Pastry Cutter (optional, fingers work too)
- Biscuit Cutter
- Baking Sheet
- Parchment Paper
Notes
Tips for Perfect Homemade Biscuits:
- Butter Temperature: Always use very cold butter for those desirable flaky layers. If it starts to soften, chill the dough.
- Fresh Ingredients: Ensure your baking powder and flour are fresh and not expired for the best rise and flavor.
- Buttermilk Matters: Cold buttermilk adds tenderness and a tangy flavor. If you don’t have it, make a DIY substitute (milk + vinegar/lemon juice).
- Gentle Handling: The golden rule for biscuits is “do not overwork the dough.” Minimal handling prevents gluten development, ensuring tender results. A slightly sticky, shaggy dough is ideal.
- Cutting Technique: When cutting biscuits, press your sharp cutter straight down without twisting. Twisting can seal the edges and inhibit a proper rise.
Nutrition (Estimated per serving)
Nutritional information is an estimate and provided as courtesy. Values may vary according to the ingredients and tools used. Please use your preferred nutritional calculator for more detailed info.