

Unlock the secret to incredibly flavorful meals with homemade Instant Pot Chicken Broth. This simple yet powerful recipe delivers a rich, savory broth that tastes like it simmered all day, but comes together effortlessly in your pressure cooker. Featuring a whole chicken, fresh carrots, aromatic onion, and crisp celery, this broth is brimming with natural goodness and is the perfect foundation for countless culinary creations. Say goodbye to store-bought cartons and embrace the superior taste and health benefits of making your own!
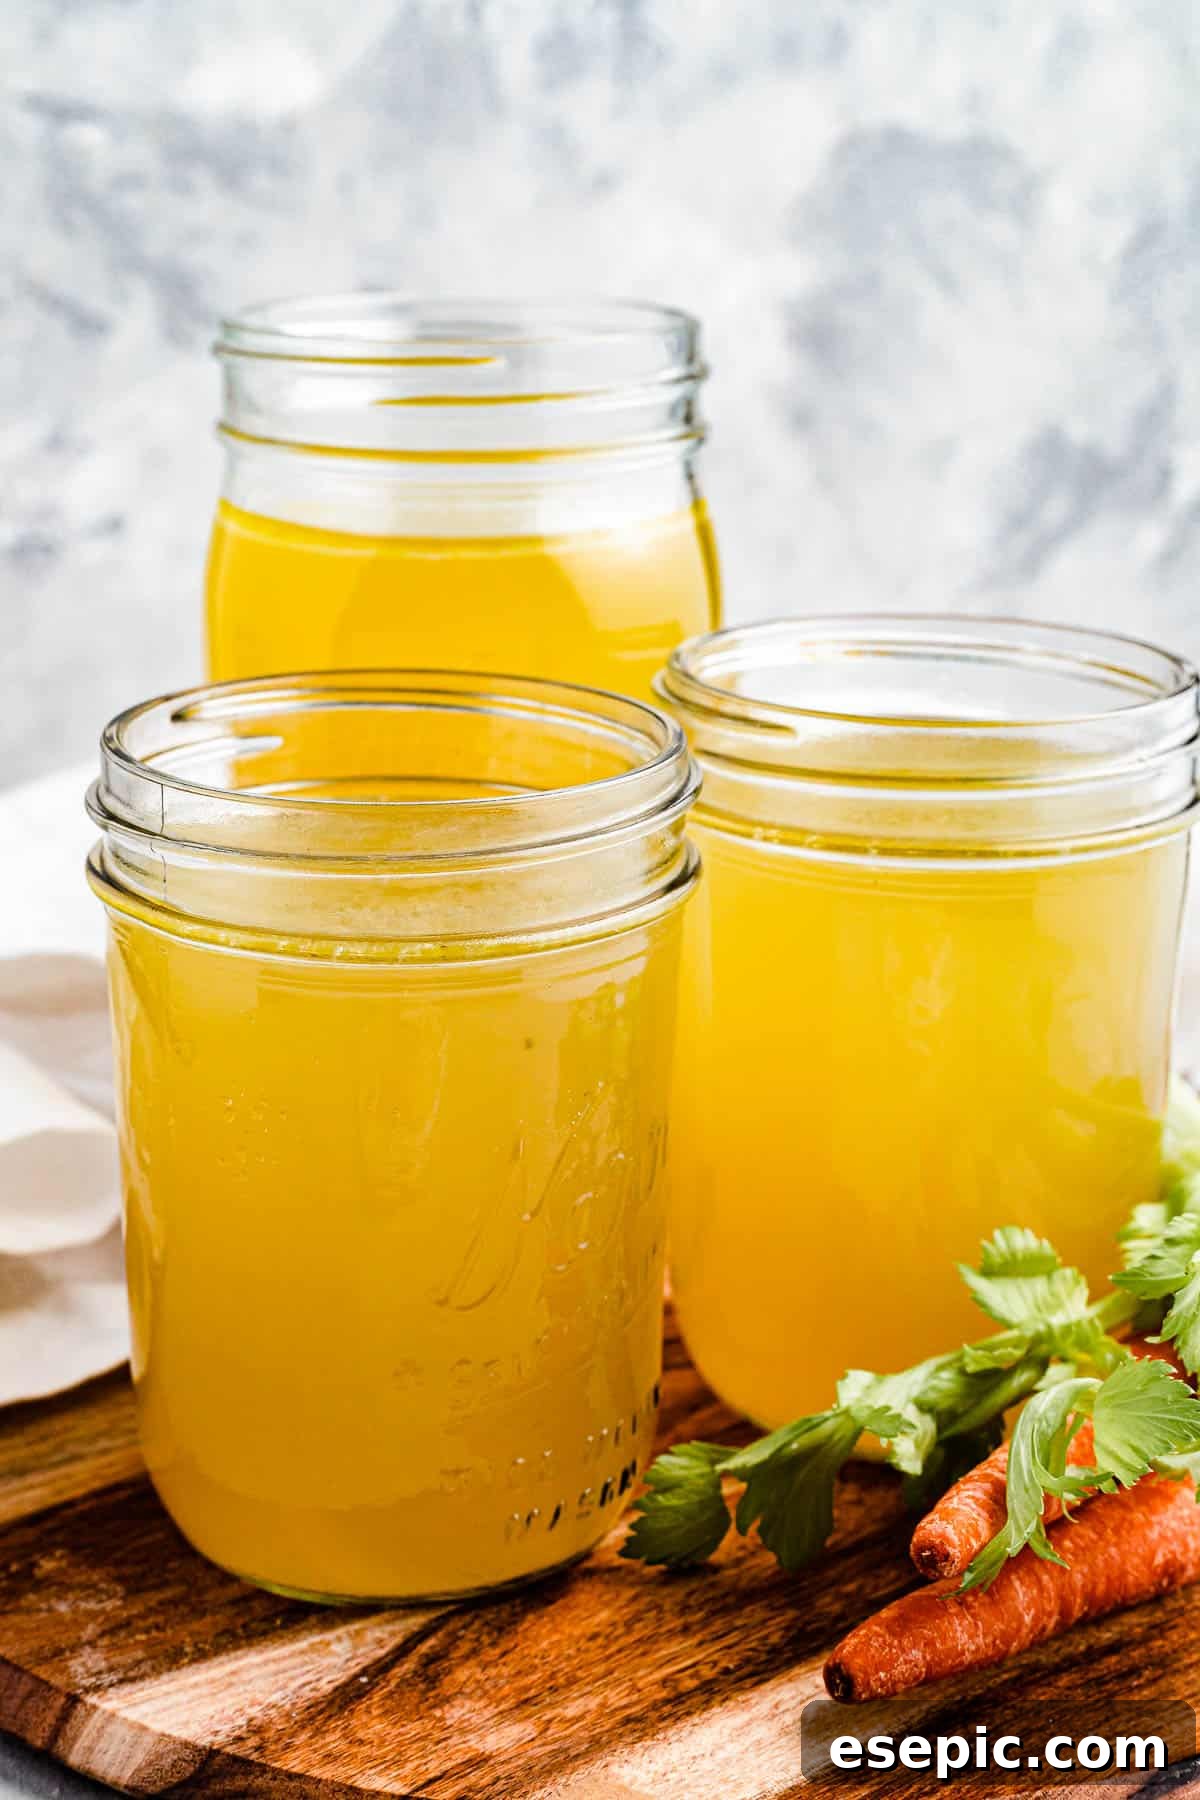
Homemade Chicken Broth: Effortless Perfection in Your Instant Pot
How often have you found yourself halfway through a recipe, only to realize you’ve run out of chicken broth? Or perhaps you’re at the grocery store, staring at rows of expensive, preservative-laden cartons, wondering if there’s a better way. The answer is a resounding yes! Making your own chicken broth at home is not only incredibly easy and cost-effective, but it also provides a depth of flavor and nutritional value that store-bought options simply can’t match. And with the Instant Pot, this process becomes astonishingly fast and convenient.
This simple, swift Instant Pot Chicken Broth recipe is a game-changer for any home cook. I’ve integrated it into my regular cooking routine, ensuring I always have a supply of this golden elixir on hand. The beauty of homemade broth lies in your complete control over the ingredients. You can select the highest quality chicken, adjust the salt content to your preference, and infuse it with your favorite herbs and vegetables. This customization guarantees a broth tailored perfectly to your palate and dietary needs.
One of the most appealing aspects of making broth with a whole chicken is the dual benefit it offers. As your broth simmers to perfection, you’re simultaneously cooking tender, flavorful chicken meat. Once cooled, simply remove the meat from the bones and set it aside for future meals. Precooked chicken is an invaluable asset in the kitchen, ready to be transformed into quick sandwiches, hearty soups, satisfying casseroles, vibrant salads, or flavorful wraps. It’s truly a two-for-one culinary triumph!
Broth vs. Stock: Understanding the Key Distinctions
Chicken broth, chicken stock… are they the same thing? While often used interchangeably in recipes, there are subtle yet important differences that distinguish these two foundational liquids. The primary distinction lies in the ingredients used and the duration of their simmering process.
Chicken Broth: When you use primarily meat, along with some bones, to create your liquid, you’re making broth. As we are doing with our whole chicken in this recipe, the focus is on extracting flavor from the muscle tissue. Broth is typically cooked for a shorter period than stock, usually just long enough for the meat to become tender and release its delicious essence without becoming tough. This results in a lighter, thinner liquid, often with a delicate flavor and a less intense color. It’s excellent for sipping on its own or as a mild base for soups and sauces.
Chicken Stock: On the other hand, stock is predominantly made from bones, often roasted for deeper flavor and color, along with some connective tissue. The key to stock is a much longer simmering time – hours, sometimes even a full day – which allows for the extraction of collagen, gelatin, and minerals from the bones. This prolonged cooking process yields a thicker, richer, and more intensely flavored liquid. When chilled, good quality stock will often solidify into a gelatinous state, a clear indicator of its collagen content, which contributes to a luxurious mouthfeel in dishes.
What about bone broth?
The term “bone broth” has gained immense popularity for its purported health benefits, but technically speaking, it’s a type of stock. What sets bone broth apart is its exceptionally long cooking time, which can range from 12 to 24 hours or even longer. Additionally, an acidic ingredient, most commonly apple cider vinegar, is often added to the pot. This acid helps to break down the bones and connective tissues further, facilitating the release of a greater concentration of nutrients, collagen, and minerals into the liquid, making it a truly nutrient-dense elixir.
Essential Ingredients for Your Perfect Instant Pot Chicken Broth
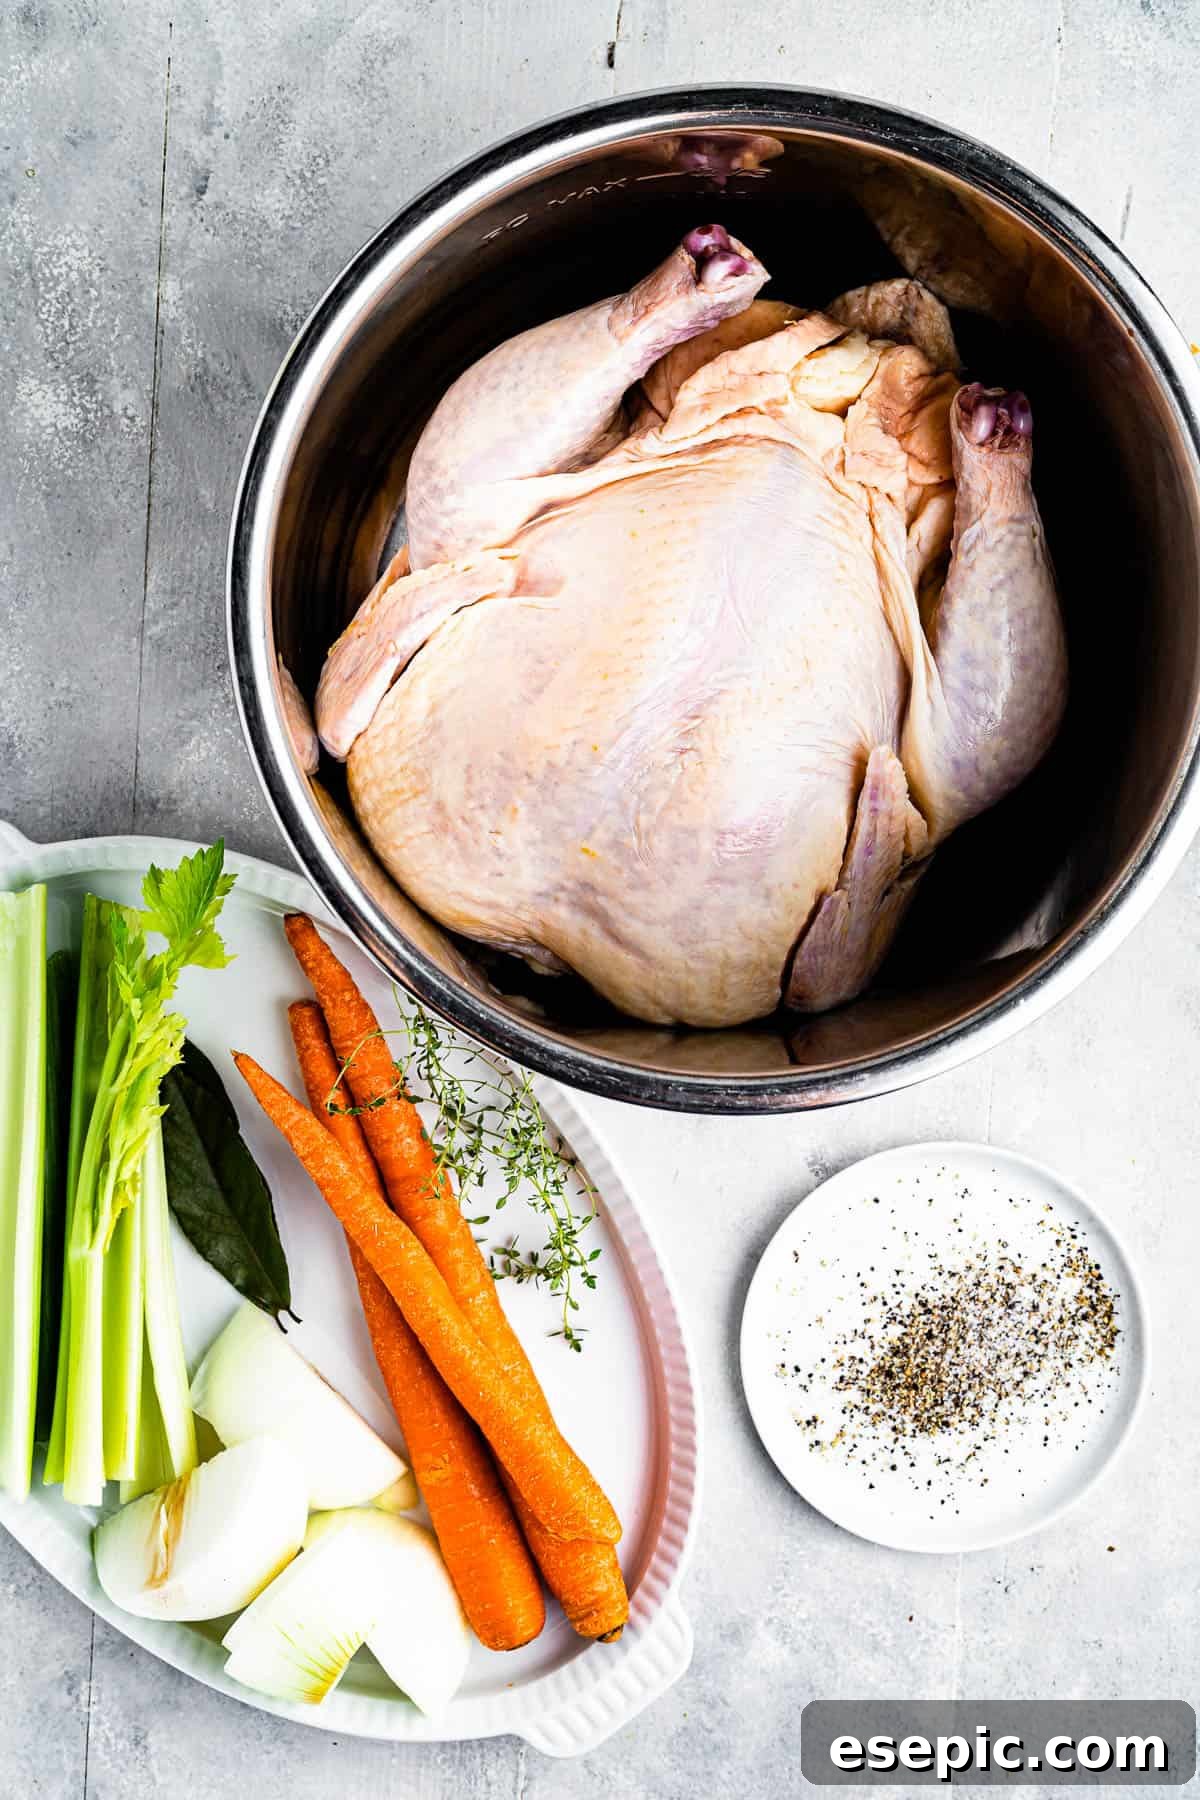
While the beauty of homemade broth lies in its adaptability – allowing you to toss in everything from fresh lemons to garlic cloves or savory sage – this foundational recipe offers a fantastic starting point. The carefully selected, simple ingredients work in harmony to create a smooth, classic chicken broth flavor that is both comforting and incredibly versatile. Here’s what you’ll need:
- Chicken: The star of our broth! You can opt for a small whole chicken, ideally around 2 pounds for the Instant Pot, which will yield delicious meat for other uses. Alternatively, 2 pounds of various chicken pieces like wings, thighs, or drumsticks work wonderfully, as their bones and connective tissues contribute rich flavor.
- Carrots: About 3 large carrots, thoroughly scrubbed and cut in half or thirds, add a subtle, natural sweetness that beautifully balances the savory notes of the chicken. They contribute to the broth’s lovely golden hue.
- Celery: Essential for that unmistakable “chicken soup” aroma and flavor profile. You’ll need 3 celery stalks, also cut in half, to infuse the broth with its distinctive earthy and slightly peppery notes.
- Onion: One large onion, whether white or yellow, is crucial for building a deep, aromatic base. You can simply halve or quarter it, as its primary role is to release its sweet, pungent essence into the liquid.
- Bay Leaves: Two dried bay leaves are a must for adding a delicate, herbaceous background note that elevates the overall complexity of the broth without overpowering it.
- Thyme: My personal favorite dried herb for chicken broth. One teaspoon of dried thyme (or a few fresh thyme sprigs) imparts a warm, earthy, and slightly floral flavor. Feel free to experiment with other herbs like parsley, rosemary, or sage to customize the flavor to your preference.
- Salt and Black Pepper: Essential seasonings. Start with 1 teaspoon of sea salt and ½ teaspoon of freshly ground black pepper, then adjust to taste after the broth is cooked. Remember, you can always add more salt later, but you can’t take it away.
- Water: The liquid base for our broth. You’ll need approximately 8 to 10 cups of cold water. This amount should be sufficient to submerge your chicken and vegetables without exceeding the “max fill” line of your Instant Pot, yielding about two and a half quarts of delicious broth.
Crafting the Perfect Instant Pot Chicken Broth: Step-by-Step Guide
While the Instant Pot significantly speeds up the broth-making process compared to traditional stovetop simmering, it’s still an endeavor that requires a little planning. You should allocate approximately an hour for the pressure cooking phase and at least an equal amount of time for the broth to cool down sufficiently before straining and transferring it to storage containers. This ensures both safety and optimal flavor.
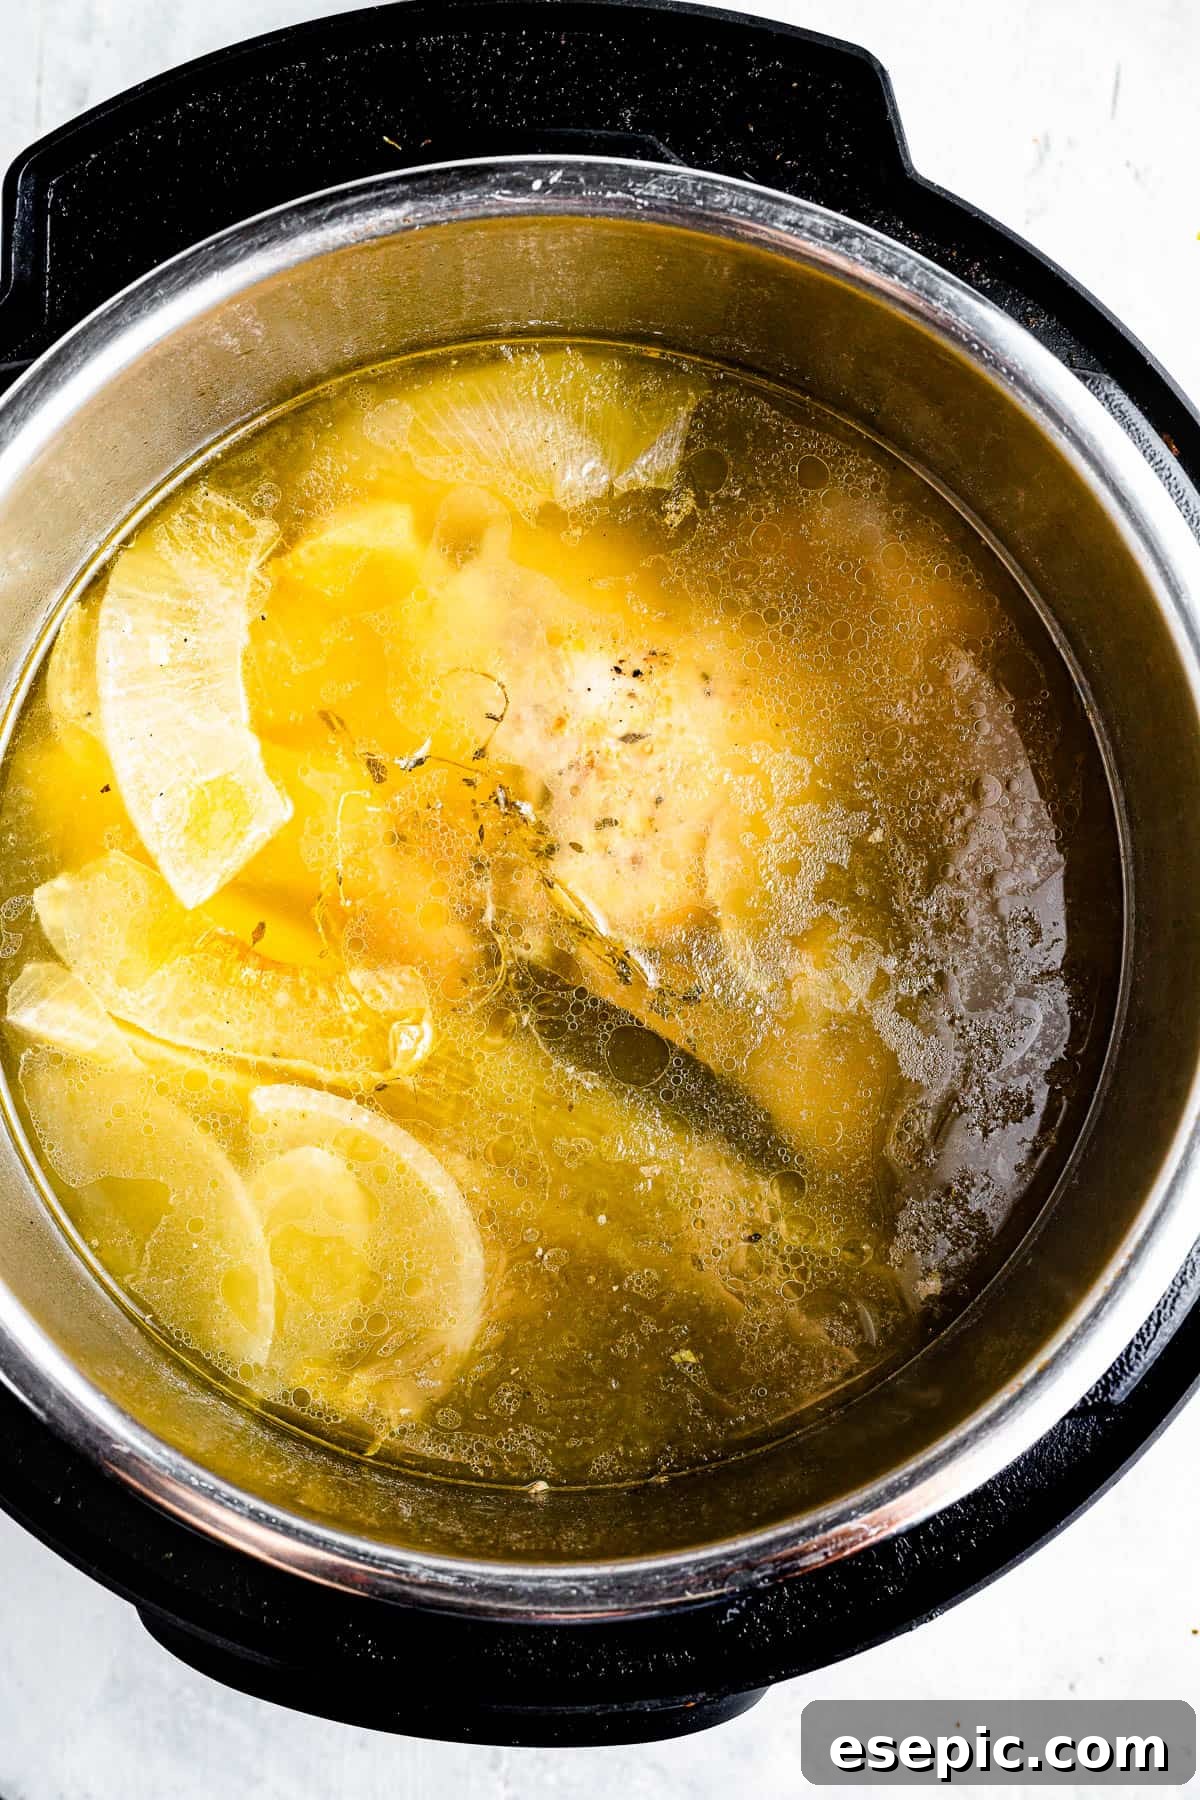
- Prepare and Load the Ingredients: Begin by placing the whole chicken (or chicken pieces), scrubbed and cut carrots, halved celery stalks, quartered onion, bay leaves, dried thyme, sea salt, and freshly ground black pepper into the inner pot of your Instant Pot. Arrange them evenly at the bottom.
- Add Water Carefully: Gently pour 8 to 10 cups of cold water over the ingredients until the chicken is fully submerged. It’s crucial to ensure that the water level does not exceed the “max fill” line indicated on your Instant Pot’s inner pot. Depending on the size of your chicken, you may need to slightly adjust the amount of water.
- Pressure Cook to Perfection: Securely cover the Instant Pot with its lid and rotate it until it locks into place. Make sure the steam release valve is set to the “sealed” position. Select the “Pressure Cook” or “Manual” setting and set the cooking time to 45 minutes on high pressure. Once the cooking cycle is complete, perform a quick release of the pressure by carefully turning the valve to “venting.” Stand clear of the escaping steam. When the float valve drops, indicating all pressure has been released, carefully open the lid. Allow the rich chicken broth to cool within the pot. You may place a tea towel over the pot to keep it covered while it cools.
- Skim and Remove Solids: Once the broth has cooled sufficiently to handle, use a large spoon or a ladle to carefully skim off any accumulated fat from the surface. Then, with tongs or a slotted spoon, gently remove the cooked chicken (reserving the tender meat for other delicious recipes), any large bones, and the softened vegetable pieces.
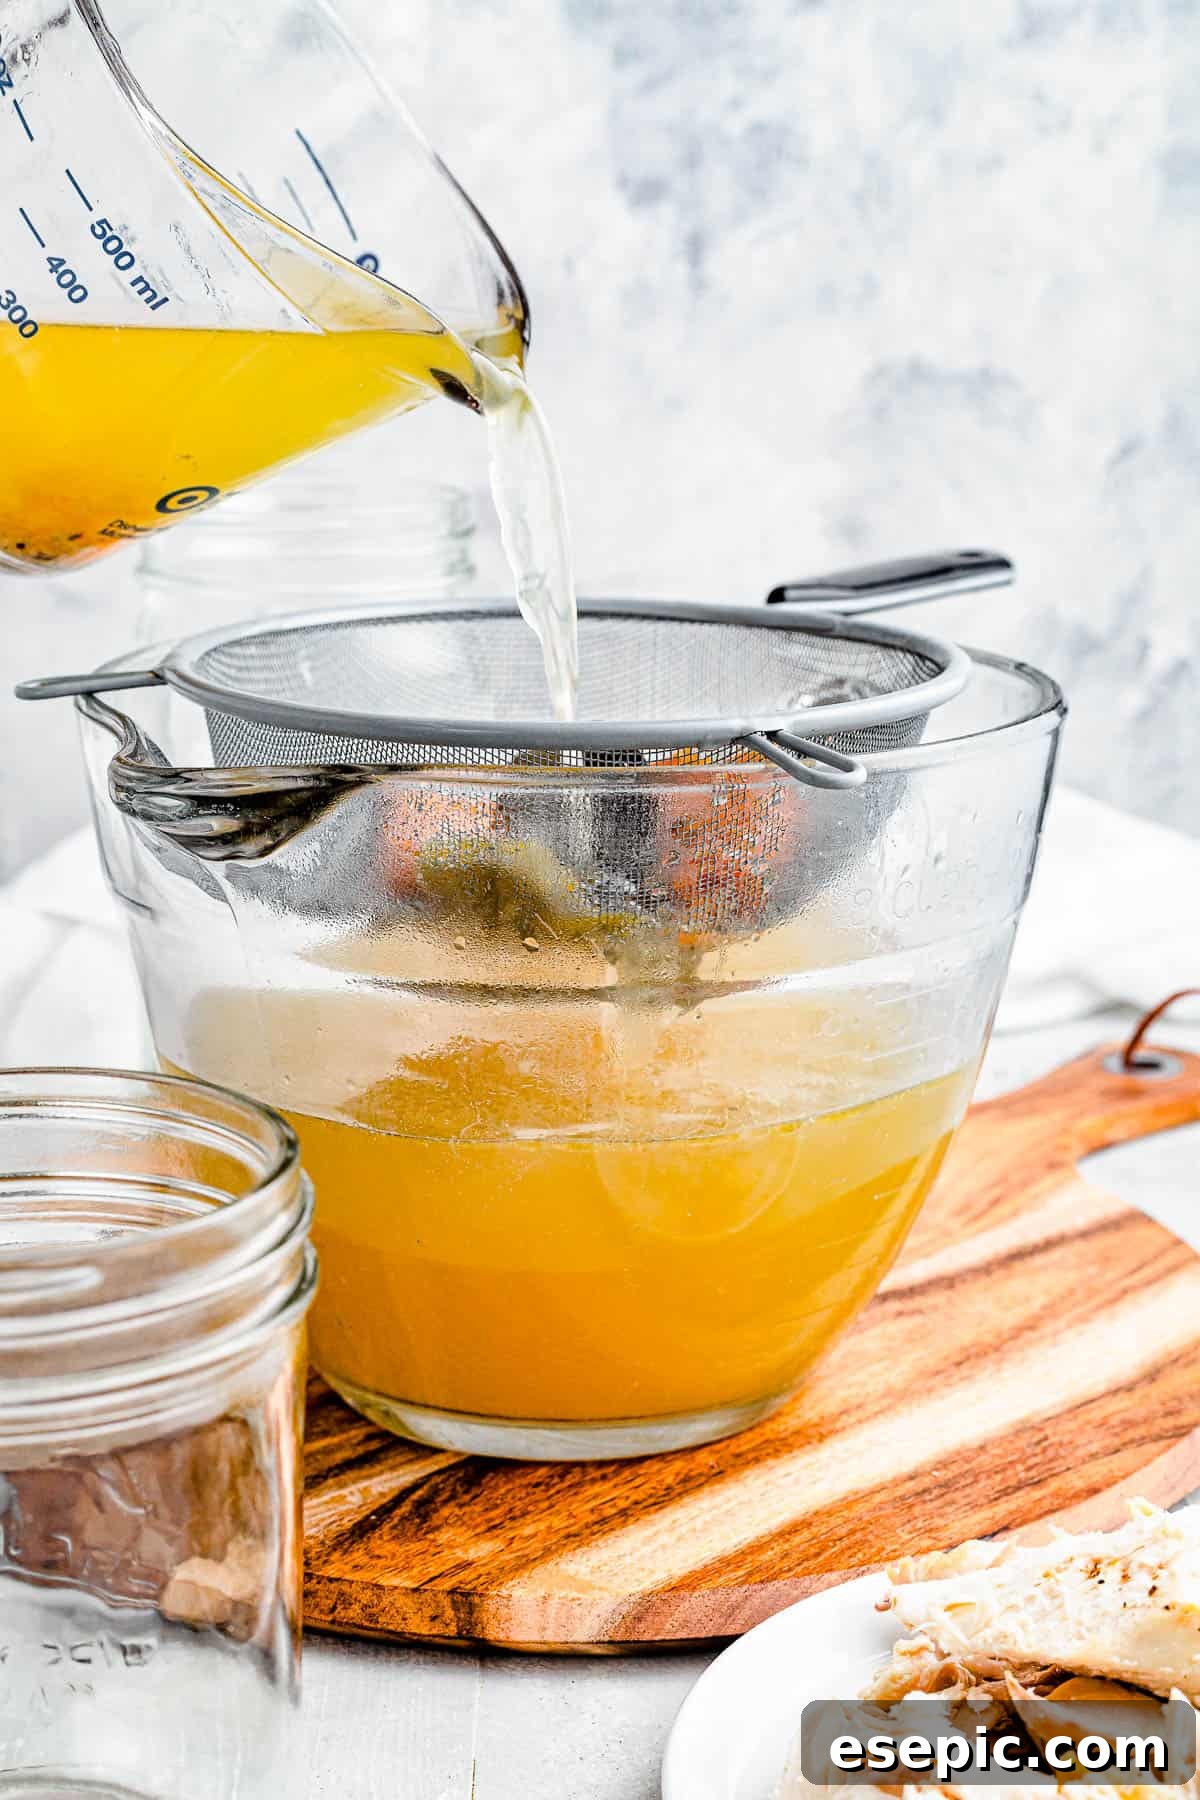
- Strain for Clarity: To achieve a clear, sediment-free broth, place a large bowl (preferably 3 to 4 quarts) on your counter. Position a fine-mesh strainer or several layers of cheesecloth over the bowl. Carefully and slowly pour the broth from the Instant Pot through the strainer. This step ensures that any remaining small bones, herb fragments, or vegetable scraps are caught, leaving you with a beautifully clear and refined broth.
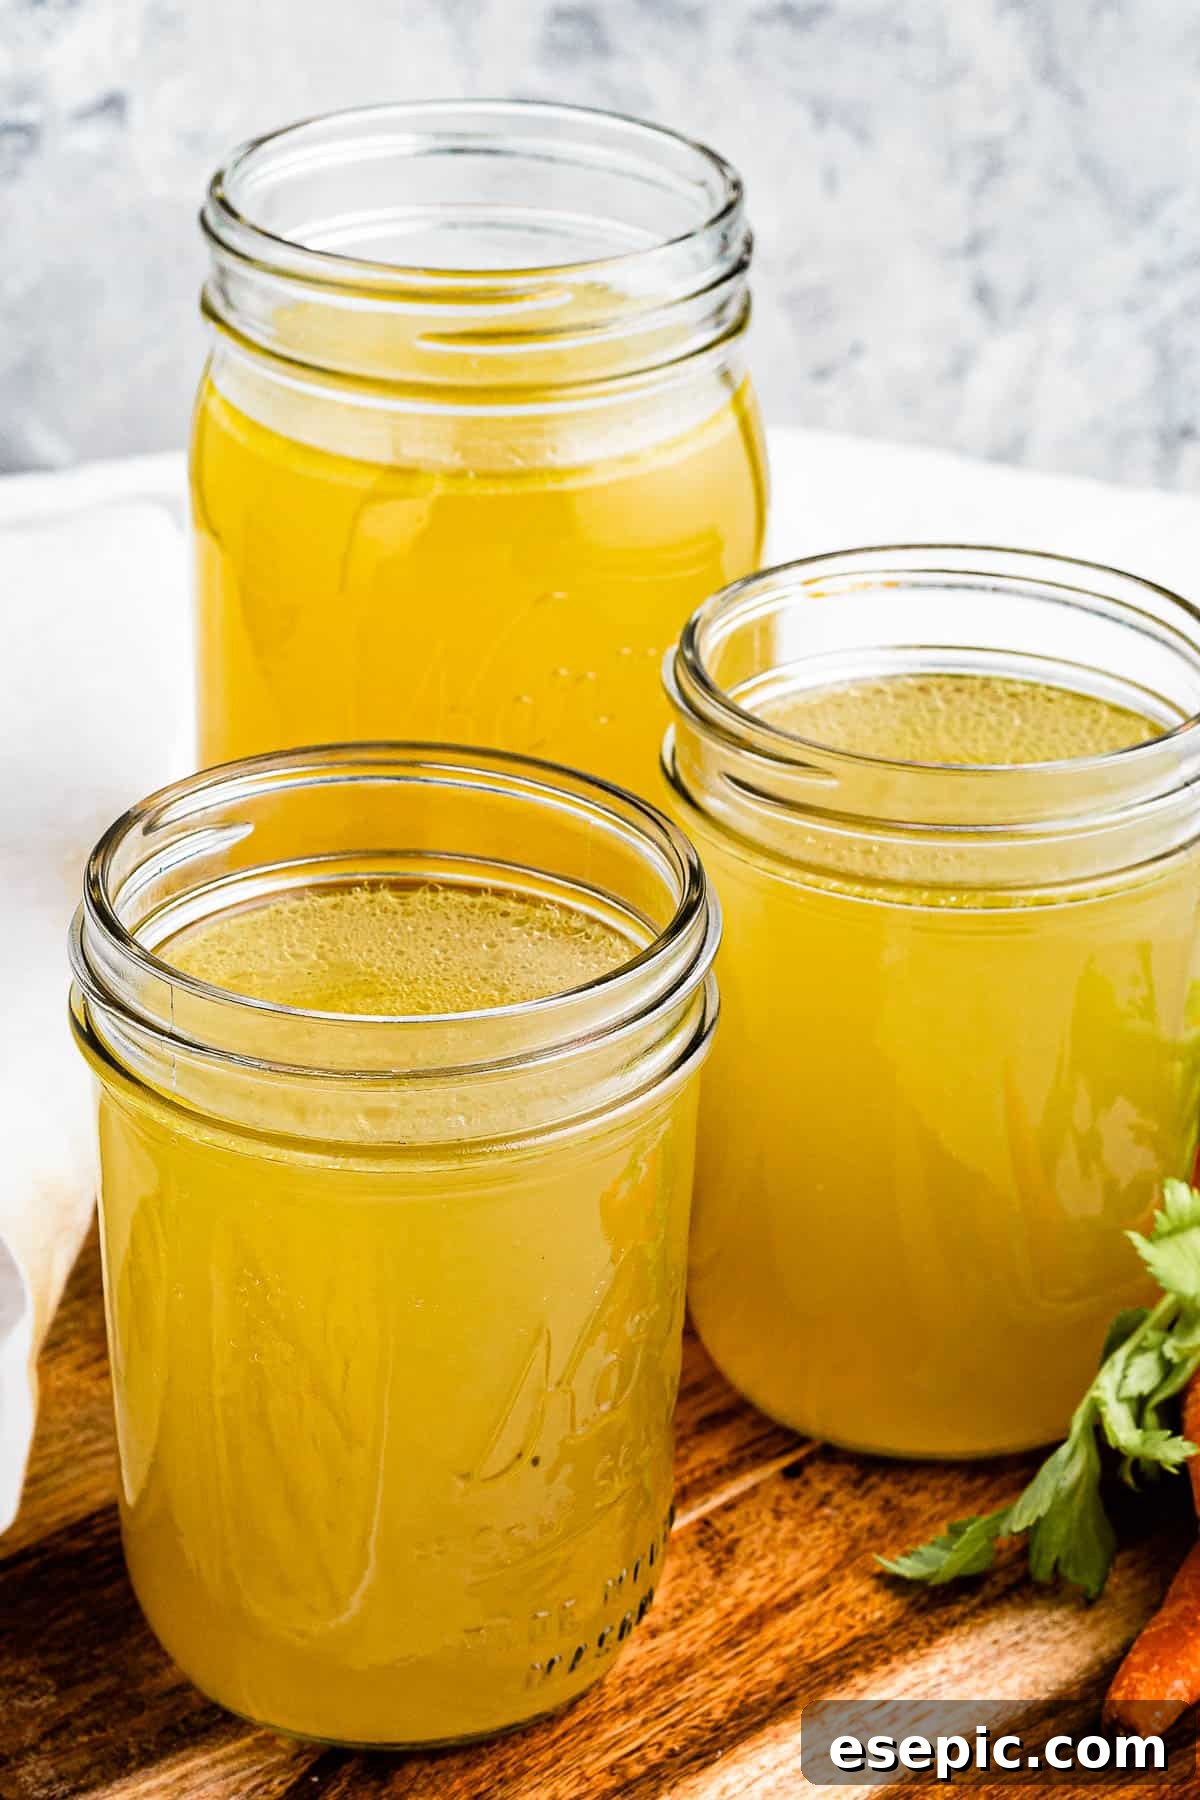
- Transfer and Store: Once strained, transfer the cooled broth into clean, sterilized glass jars or other airtight storage containers. Ensure they are closed tightly. Your freshly made Instant Pot Chicken Broth is now ready for use or storage.
Stovetop Chicken Broth: A Classic Approach
For those who prefer a more traditional method or don’t own an Instant Pot, a rich and flavorful chicken broth can absolutely be made on the stovetop. The process is similar, though it requires a longer, gentle simmer to achieve optimal flavor extraction.
- Combine All Ingredients: Place the whole chicken (or chicken parts), carrots, celery, onion, bay leaves, thyme, salt, and pepper into a large stockpot or a sturdy Dutch oven. Pour in enough cold water to cover the chicken and vegetables by about 1 inch. This typically amounts to 10–12 cups of water, depending on the pot size and ingredients.
- Bring to a Gentle Boil, Then Simmer: Set the pot over medium-high heat and bring the liquid to a rolling boil. As soon as it reaches a boil, immediately reduce the heat to its lowest setting. Use a spoon to carefully skim off any foam or impurities that rise to the surface; this helps keep your broth clear.
- Long, Gentle Simmer: Partially cover the pot with a lid, leaving a small gap for steam to escape. Allow the broth to simmer very gently for 2 to 2½ hours. During this time, the chicken will become exceptionally tender, and the vegetables and herbs will infuse the water with deep, complex flavors. For an even richer, more concentrated broth, you can extend the simmering time up to 3 hours, ensuring the liquid doesn’t reduce too much.
- Strain, Cool, and Store: Follow the same straining, cooling, and storage steps as described for the Instant Pot method above.
Expert Tips for the Most Flavorful Homemade Broth
Before you embark on your broth-making journey, take a moment to review these invaluable tips. They are designed to ensure your homemade broth-making experience is not only successful but also yields a truly fantastic and flavorful result every time!
- Safety First During Straining: Transferring a large volume of hot liquid can be challenging. If you find lifting the full inner pot of the Instant Pot or a large stockpot too heavy or unstable, don’t risk it. Instead, use a ladle to transfer about a third to half of the broth into your strainer and collection bowl first. This significantly reduces the weight, making the remaining pour much safer and easier. Always ensure your straining setup (bowl and sieve) is stable on your counter.
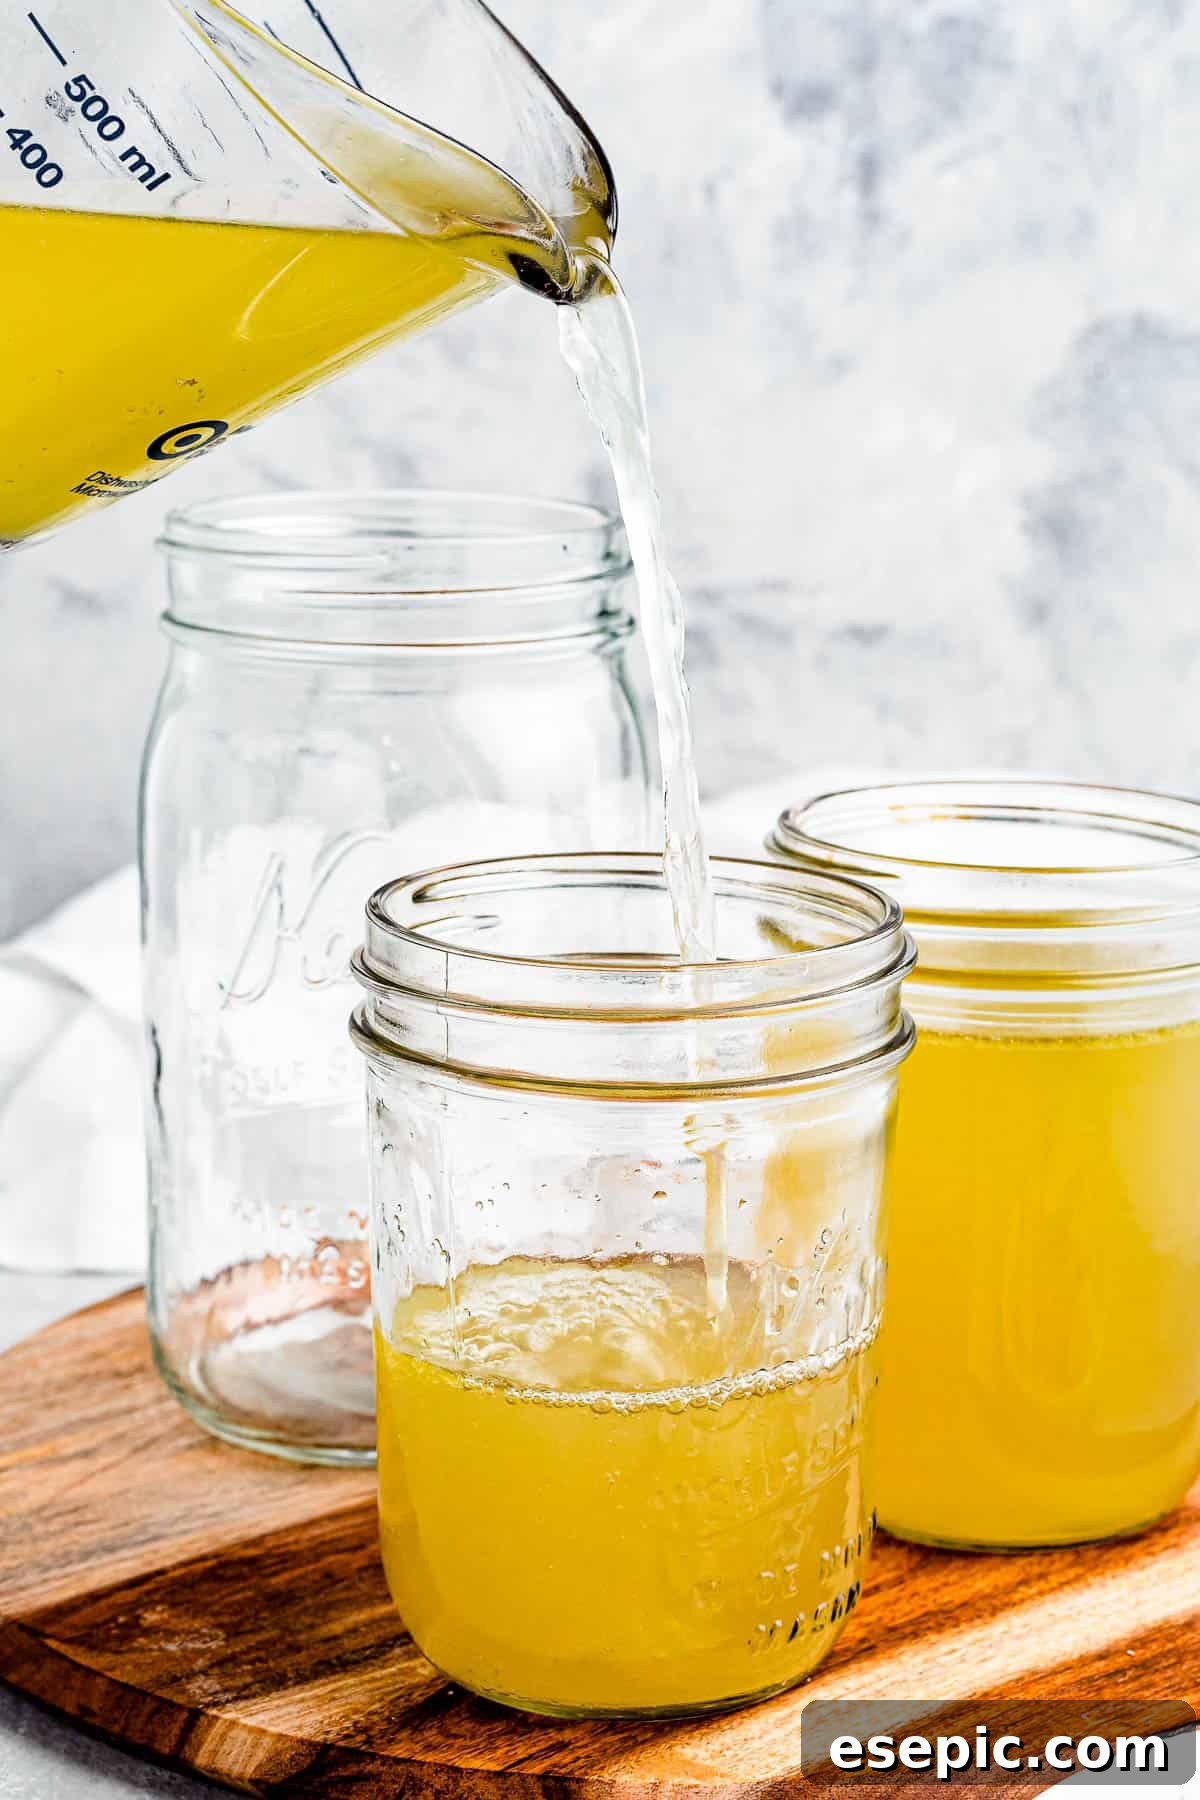
- Simplify Jar Filling with a Funnel: To minimize mess and waste when transferring your strained broth into jars, a large canning funnel is an absolute lifesaver. Simply rest the funnel securely in the mouth of each jar, and then pour or ladle the broth into it. This keeps your countertops clean and ensures every drop of your precious homemade broth makes it into storage.
- Unleash Your Creativity with Flavor Customization: The basic recipe is wonderful, but it’s also a canvas for culinary creativity!
- Add Richness: Incorporate savory elements like a few sliced mushrooms, a piece of bacon, or even roasted chicken feet for extra gelatin and depth.
- Herb Exploration: While thyme is classic, don’t hesitate to play with other fresh or dried herbs. Rosemary adds a woody note, basil offers a sweet, peppery hint, and sage brings an earthy warmth. Consider tying fresh herbs with kitchen twine for easy removal.
- Brighten the Taste: A splash of fresh lemon juice or a teaspoon of apple cider vinegar added at the very end can brighten the entire flavor profile of your broth, giving it a subtle tang and freshness.
- Spice it Up: For an Asian-inspired broth, try adding ginger slices, star anise, or a touch of white pepper.
- Use Cold Water: Always start with cold water when making broth. This allows the impurities to slowly rise to the surface as the water heats, making them easier to skim off (especially relevant for stovetop method), and it also helps in a more gradual extraction of flavors.
- Don’t Overcrowd: Ensure there’s enough room in your pot for the water to circulate around the ingredients, allowing for even cooking and flavor extraction.
Unleash the Flavor: Creative Ways to Use Your Homemade Chicken Broth
Congratulations, you’ve made a beautiful batch of homemade chicken broth! Now, what culinary adventures await? The possibilities are truly endless. Chicken broth is not just a cooking liquid; it’s a powerful flavor enhancer and a nutritional boost for almost any dish. Here are just a few ideas to get you started, demonstrating how this golden liquid can transform your everyday cooking:
- Elevate Grains: Use broth instead of water when cooking rice, quinoa, couscous, or any other grain. It infuses them with a rich, savory flavor, making a simple side dish extraordinary.
- Creamier Mashed Potatoes: Swap out some or all of the milk or cream for chicken broth when making mashed potatoes. The result is a lighter yet more flavorful and incredibly creamy side.
- The Heart of Soups and Stews: This is where broth truly shines! It forms the essential base for all your favorite soups, chowders, and stews, providing a depth of flavor that can’t be replicated with water. Think chicken noodle, minestrone, or a rich vegetable soup.
- Perfecting Gravies and Sauces: Broth is indispensable for creating silky smooth, intensely flavorful gravies for roasted meats or as a base for elegant sauces that elevate any meal.
- Steaming and Boiling Vegetables: Instead of plain water, use broth to steam or boil your vegetables. They will absorb the savory flavors, making them far more appealing and adding an extra layer of taste.
- Deglazing and Pan Sauces: After searing meat or vegetables, use a splash of hot chicken broth to deglaze your skillet. This dissolves the flavorful browned bits (fond) from the bottom of the pan, creating an instant, rich pan sauce that’s packed with flavor.
- Enhancing Instant Pot Dishes: Whenever a recipe calls for water in your Instant Pot, consider substituting it with homemade chicken broth. From Instant Pot recipes for pasta to roasts, it will boost the overall flavor profile.
- Nourishing Drinks: On a cold day or when you’re feeling under the weather, a warm mug of homemade chicken broth is incredibly soothing and nourishing.

Instant Pot Chicken Broth
Katerina | Easy Weeknight Recipes
15
1
30
1
45
10 cups
Ingredients
- 2 pounds whole chicken, or 2 pounds of chicken parts
- 3 carrots, cut in half
- 3 celery stalks, cut in half
- 1 large onion, white or yellow
- 2 bay leaves
- 1 teaspoon dried thyme, or fresh thyme stems
- 1 teaspoon sea salt
- ½ teaspoon freshly ground black pepper
- 8 to 10 cups water
Instructions
-
Load the Instant Pot. In the bottom of the Instant Pot’s inner pot, place the chicken, carrots, celery, onion, bay leaves, thyme, salt, and pepper.
-
Add water. Gently pour in the water until the chicken is submerged. Ensure you do not exceed the “max fill” line on the Instant Pot. Adjust water amount based on chicken size if necessary.
-
Pressure Cook. Lock the lid of the Instant Pot in place. Set the valve to “sealed.” Pressure cook on high for 45 minutes. Once cooking time is complete, perform a quick release of the pressure. When the pressure is fully released, open the lid and allow the broth to cool in the pot.
-
Clean out the broth. When the broth is cool enough to handle, use a large spoon to skim any fat off the top. Then, carefully remove the cooked chicken, any large bones, and large vegetable pieces. Reserve the chicken meat for other culinary uses.
-
Strain the broth. Place a large 3 to 4-quart bowl on the counter, positioning a fine-mesh strainer or several layers of cheesecloth over it. Gently pour the broth from the Instant Pot through the strainer to remove any remaining small bones, scraps, or fine vegetable bits, resulting in a clear broth.
-
Pour into jars. Transfer the strained and cooled broth into clean, airtight glass jars or containers.
-
Store. The broth can be safely stored in the refrigerator for up to 5 days, or frozen for longer-term storage of up to 6 months.
Equipment
-
Instant Pot
-
Fine-mesh strainer or cheesecloth
-
Large bowl (3-4 quart)
-
Glass jars or freezer-safe containers for storage
Notes
- This recipe yields approximately 2.5 quarts (10 cups) of delicious chicken broth.
- To freeze chicken broth for long-term storage, pour it into freezer-safe containers or bags. Ensure you leave at least an inch of headspace in each container to allow for expansion as the liquid freezes. It can be stored in the freezer for up to 6 months.
- For convenient small portions, you can also freeze the broth in ice-cube trays. Once solid, transfer the broth cubes to freezer bags, storing three or four cubes per bag. This makes it incredibly easy to grab just the right amount without having to thaw a large container.
Stovetop Instructions:
- Add the chicken, veggies, herbs, salt, and pepper to a large stockpot or Dutch oven. Pour in enough water to cover the chicken by about an inch (typically 10–12 cups).
- Bring to a boil over medium-high heat, then immediately reduce heat to low and simmer gently for 2 to 2½ hours. Skim off any foam that rises. For a deeper flavor, you can simmer up to 3 hours.
- Strain the broth, let it cool completely, and then store it in jars or freezer-safe containers as outlined above.
Nutrition
Nutritional information is an estimate and provided as a courtesy. Values may vary according to specific ingredients and tools used. Please use your preferred nutritional calculator for more detailed information.
Did you make this recipe? Leave a rating
Storing Your Homemade Chicken Broth for Future Use
One of the greatest advantages of making your own chicken broth is having a fresh, flavorful supply readily available. Proper storage ensures its longevity and maintains its quality, whether you plan to use it within days or months.
- Refrigeration: Once your homemade broth has completely cooled, pour it into clean, sterilized glass jars or other airtight storage containers with well-fitting lids. Store these in the refrigerator for up to 4 to 5 days. Always ensure the broth is fully cooled before refrigerating to prevent bacterial growth.
- Freezing for Extended Storage: For longer preservation, freezing is your best option. Transfer the cooled broth into freezer-safe containers or sturdy freezer bags. When using containers, remember to leave at least an inch of headspace at the top, as liquids expand when they freeze. The broth can be safely stored in the freezer for up to 6 months without significant loss of quality. Label your containers with the date for easy tracking.
- Convenient Ice Cube Portions: For ultimate convenience, consider freezing your broth in ice-cube trays. Once the cubes are solid, pop them out and transfer them to freezer bags. Storing three or four cubes per bag allows you to easily grab small, pre-portioned amounts as needed for deglazing a pan, adding flavor to sautéed vegetables, or simply making a quick cup of warm broth. This method eliminates the need to thaw a large container when only a small quantity is required.
- Canning for Shelf Stability: For truly long-term, shelf-stable storage, you can can your chicken broth using a pressure canner. This method allows you to store broth in your pantry for up to a year or more. If you’re new to canning, ensure you follow tested and approved canning guidelines from a reputable source for safety.
Discover More Instant Pot Favorites
Once you experience the ease and efficiency of cooking with your Instant Pot, you’ll want to explore all the possibilities it offers. From quick weeknight dinners to essential staples, the Instant Pot is a versatile kitchen appliance that consistently delivers fantastic results. Here are some more of our top Instant Pot recipes you’re sure to love:
- Instant Pot Loaded Baked Potatoes: Fluffy, perfectly cooked baked potatoes ready in a fraction of the time.
- Easy Instant Pot Ribs: Fall-off-the-bone tender ribs achieved quickly, perfect for a satisfying meal.
- Instant Pot Hard Boiled Eggs: Consistently perfect, easy-to-peel hard-boiled eggs every single time.
- Instant Pot Mongolian Beef: A delicious, savory, and slightly sweet take-out favorite made quickly and easily at home.