
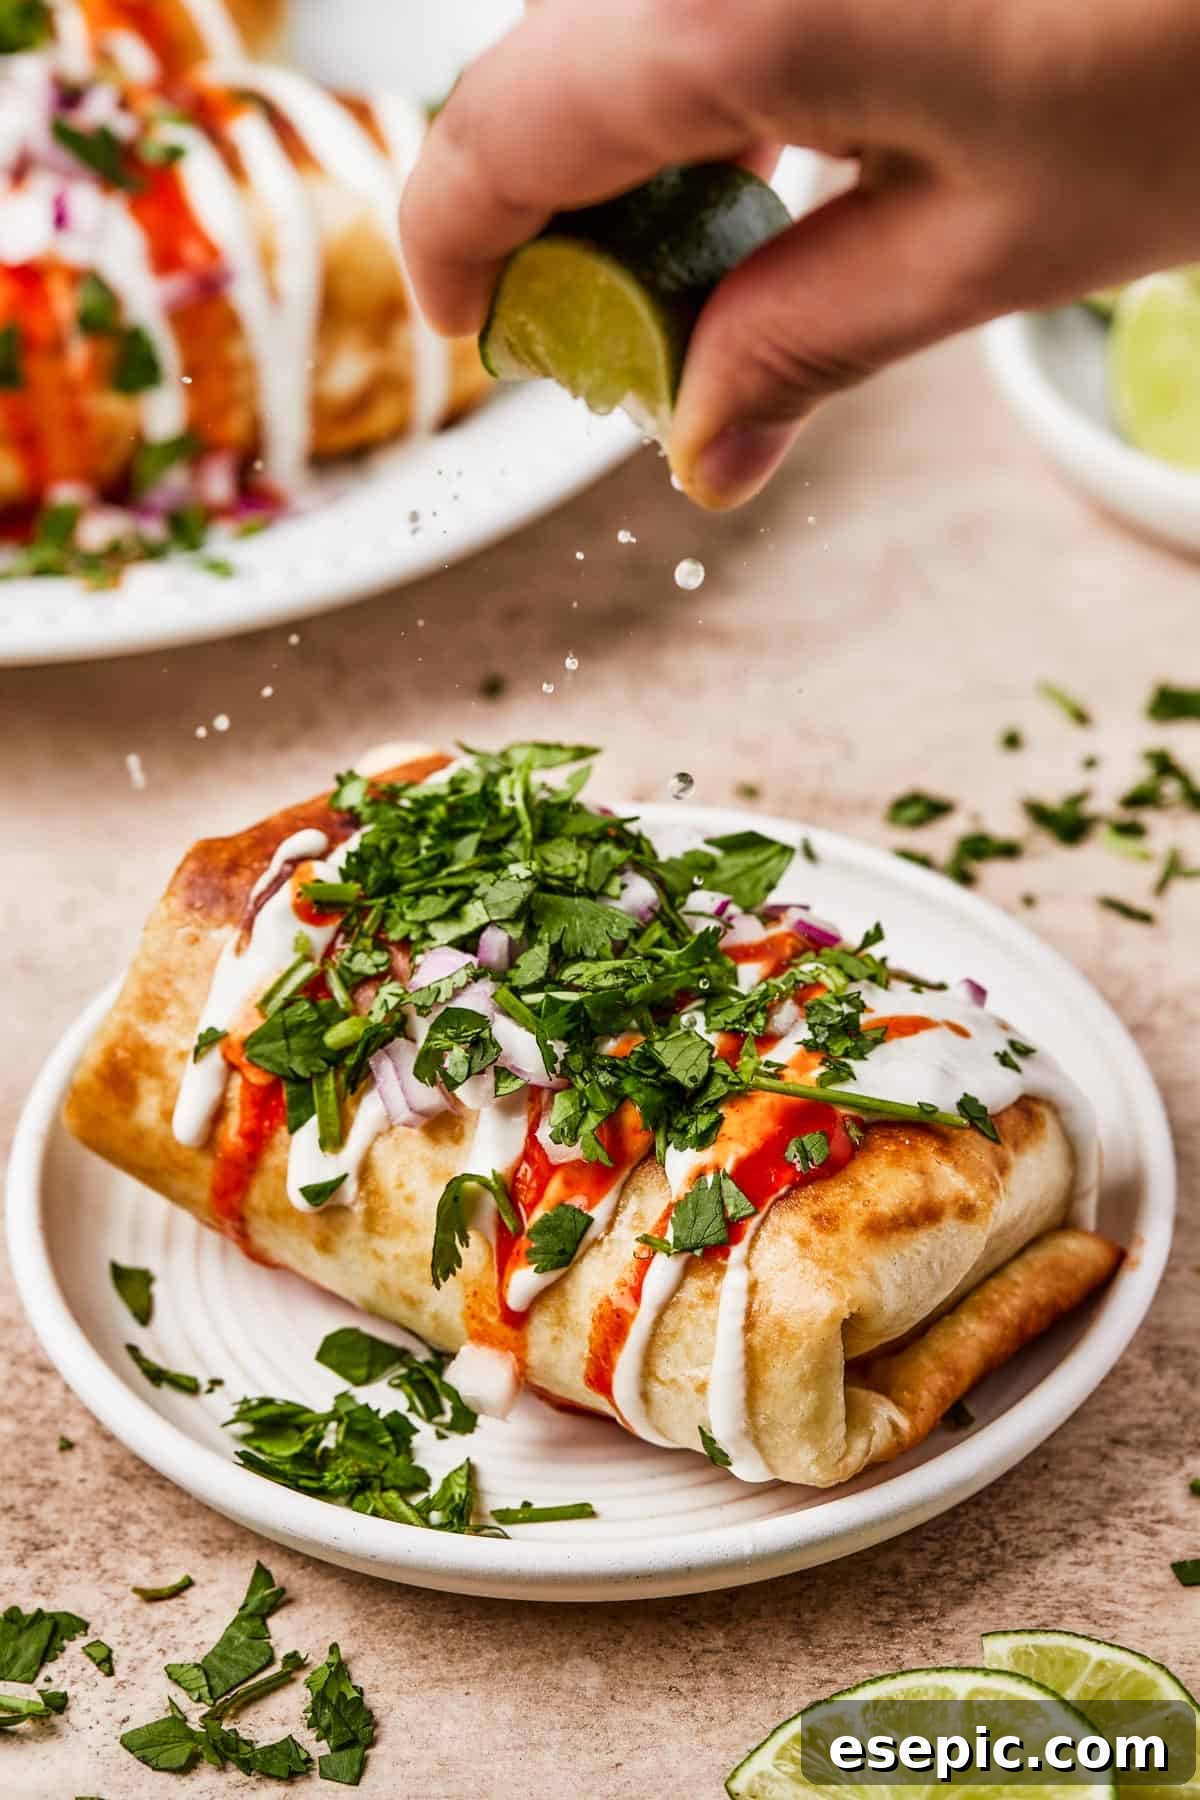
Welcome to the ultimate guide for crafting the most delectable homemade Chicken Chimichangas right in your kitchen! Say goodbye to bland weeknight meals and hello to a burst of vibrant Tex-Mex flavor. These easy-to-follow instructions will have you whipping up crispy, golden-fried tortillas generously filled with a savory blend of shredded chicken, creamy refried beans, and melted cheese in under an hour. Perfect for a family dinner, a lively gathering with friends, or simply satisfying that craving for authentic Southwestern cuisine, these chimichangas are guaranteed to become a new favorite.
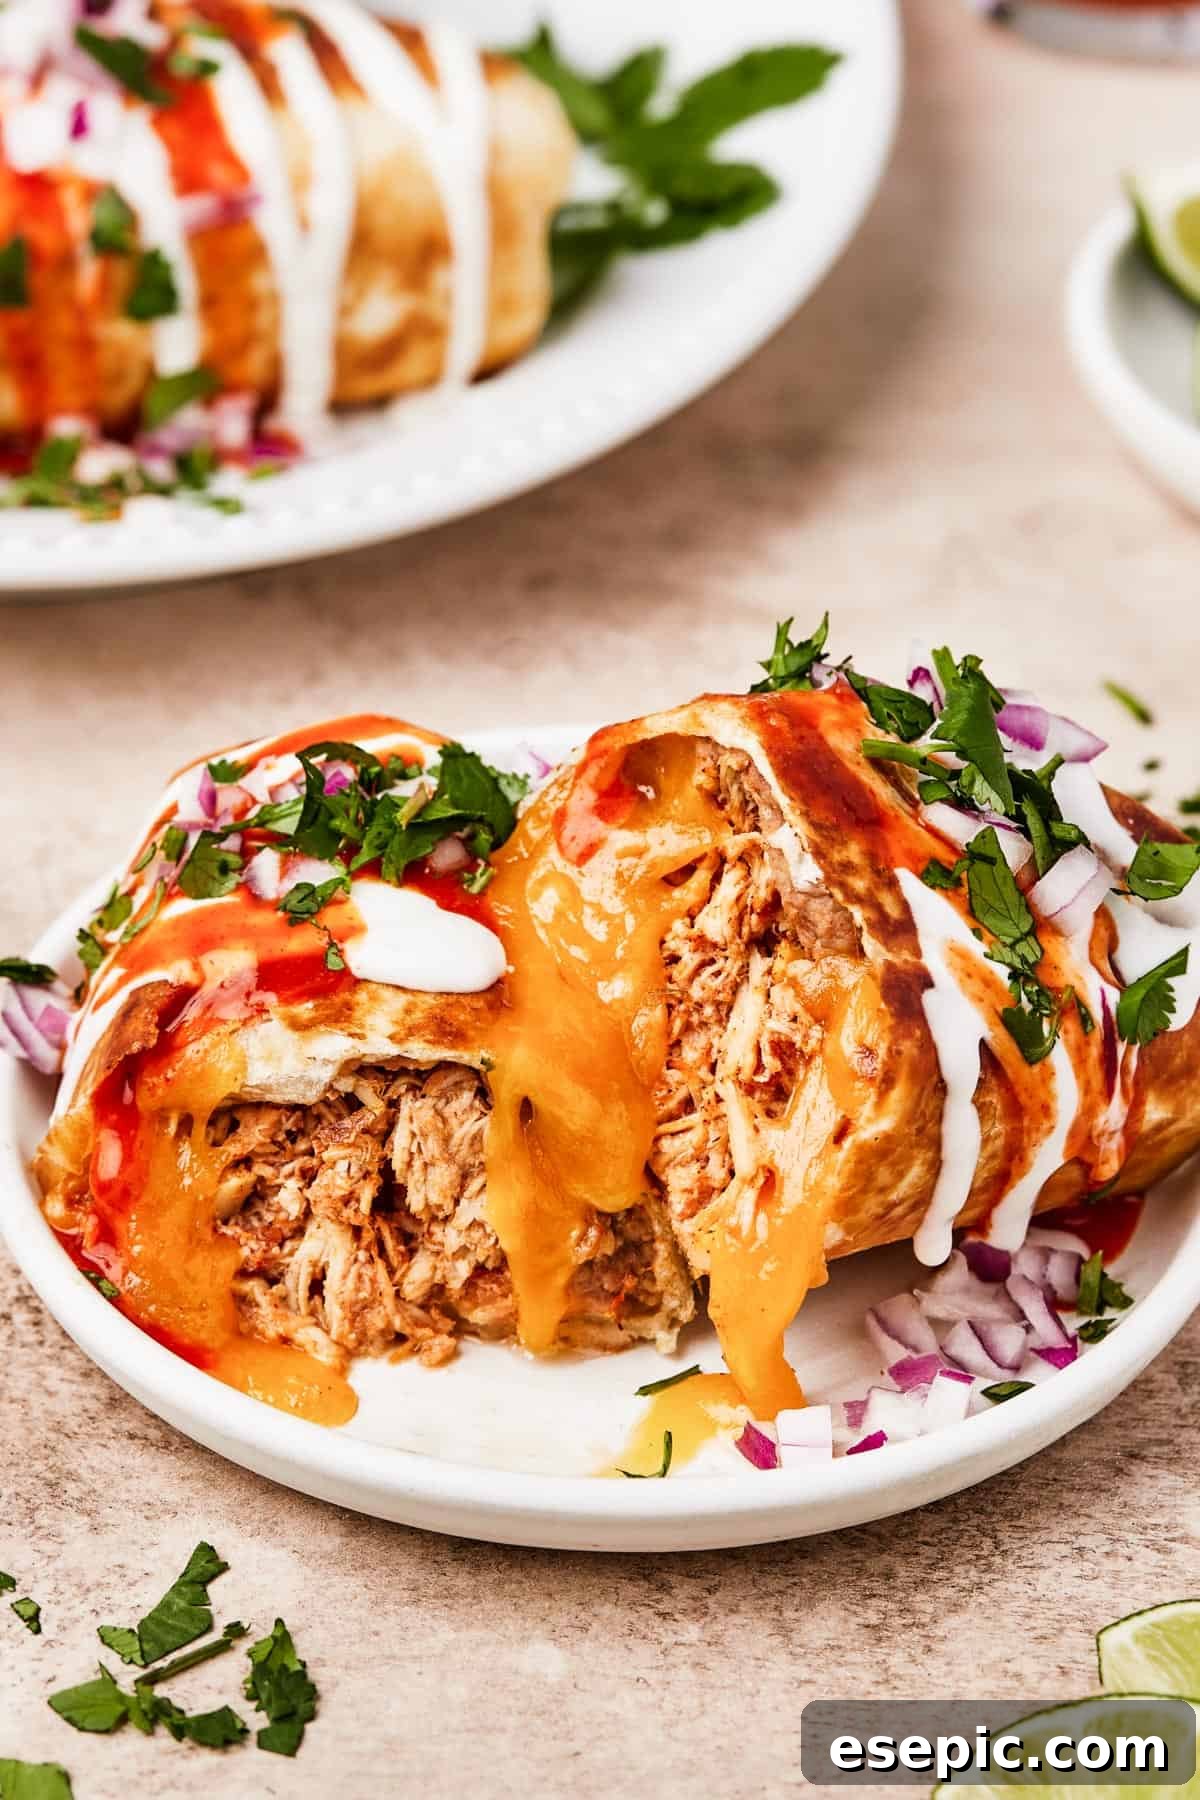
Unveiling the Delight of Homemade Chimichangas!
Ever wondered what makes a chimichanga so irresistibly good? Imagine a perfectly seasoned burrito, but taken to a whole new level of deliciousness by being deep-fried until gloriously golden and incredibly crisp. That’s the magic of a chimichanga! Originating from the Southwestern United States, this culinary masterpiece is a beloved staple of Tex-Mex cuisine, offering a hearty and satisfying experience with every bite. Our recipe focuses on chicken, creating a versatile dish that’s both comforting and exciting.
This homemade version isn’t just about convenience; it’s about achieving that authentic, restaurant-quality taste right on your stove. Each carefully rolled tortilla acts as a vessel for a symphony of flavors: tender, salsa-infused shredded chicken, rich and creamy refried beans, and a generous layer of gooey, melted cheese. The contrast of the crispy exterior with the warm, flavorful filling is what truly sets these chimichangas apart. Whether you’re a seasoned chef or a beginner in the kitchen, you’ll find this recipe surprisingly straightforward and incredibly rewarding.
While often associated with indulgent dining, chimichangas can be surprisingly quick to prepare, especially when you use pre-cooked chicken. They make for a fantastic hot lunch on a busy day or a celebratory dinner that feels special without requiring hours of effort. To truly elevate your chimichanga experience, don’t forget the fresh toppings! A dollop of cool sour cream, a spoonful of zesty pico de gallo, or a sprinkle of vibrant cilantro can cut through the richness, adding a refreshing balance that enhances the overall flavor profile. These easy chicken chimichangas are more than just a meal; they’re an invitation to enjoy bold, comforting flavors with minimal fuss.
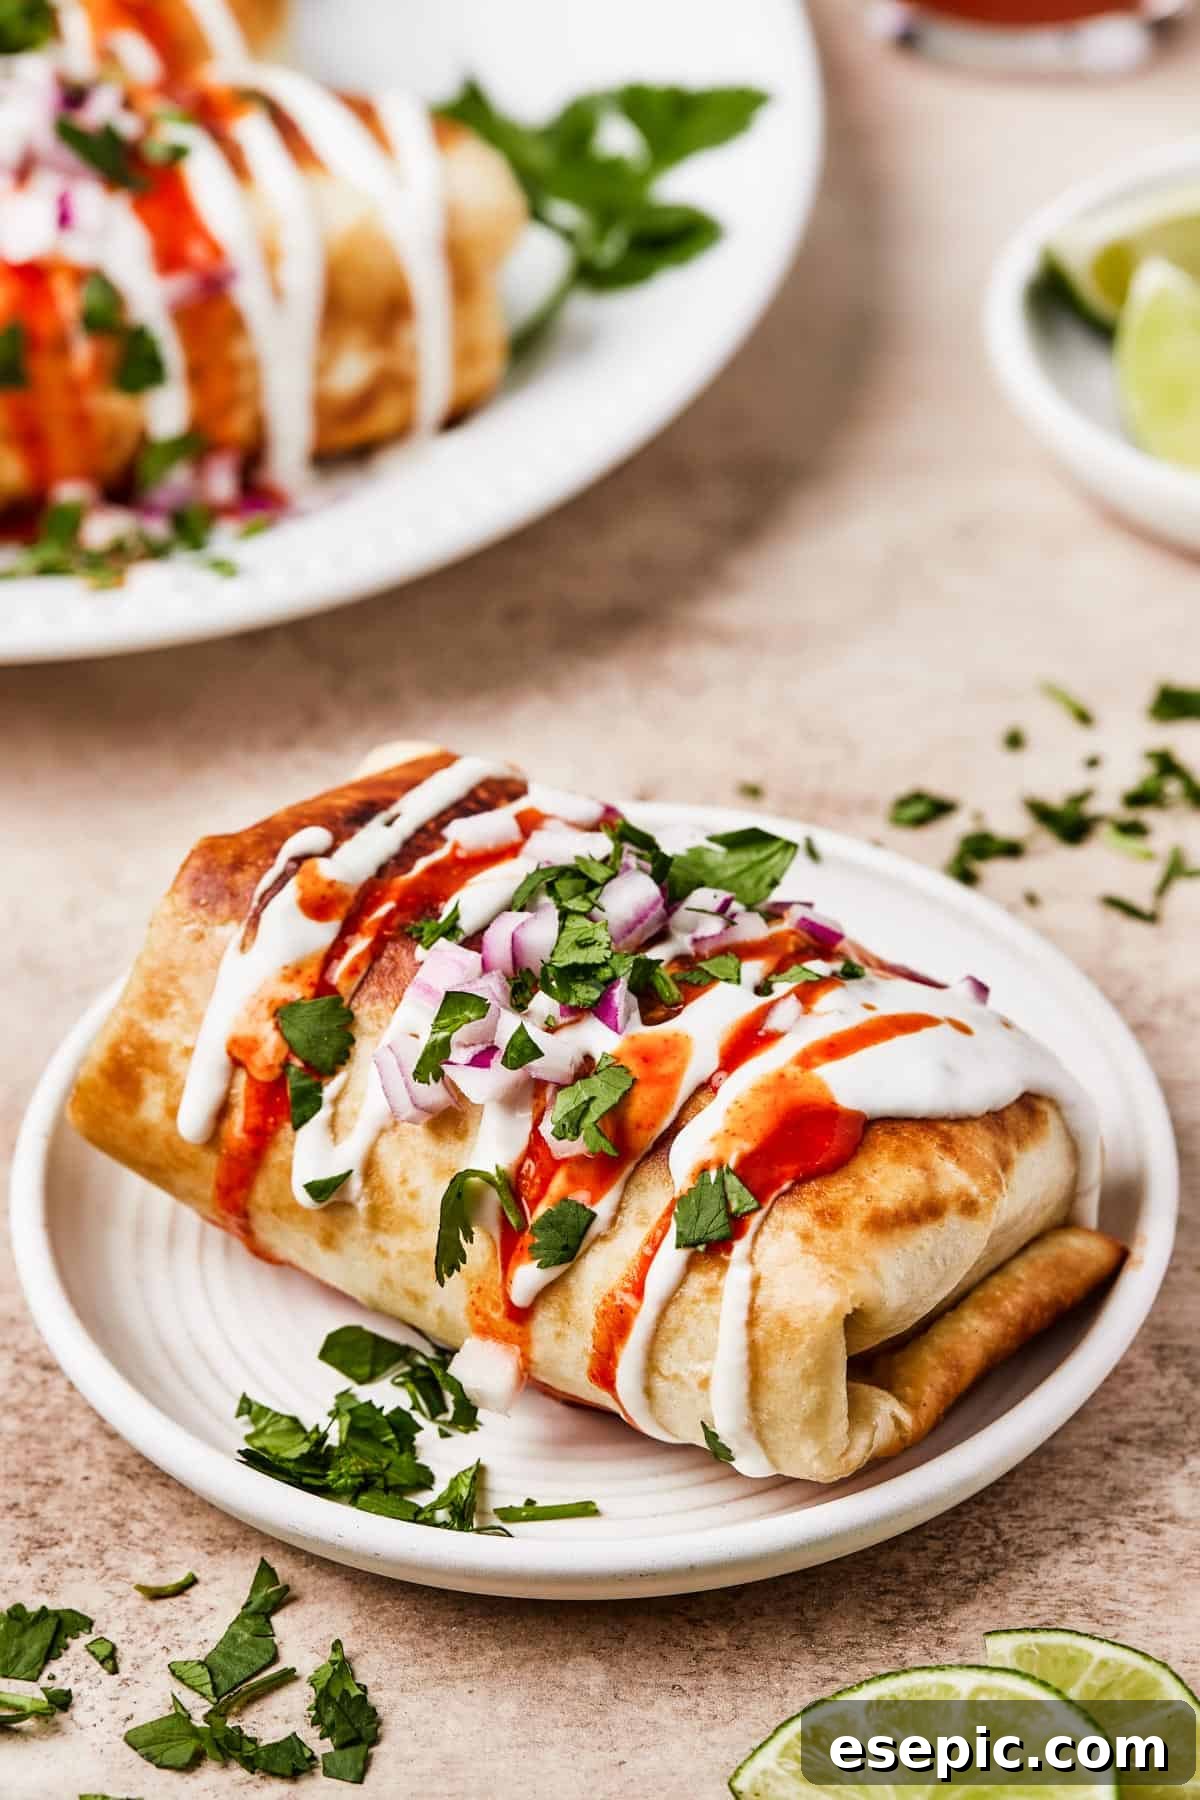
Chimichanga vs. Burrito: Unpacking the Key Distinctions
Many people often confuse chimichangas with burritos, and while they share a similar foundation, there are fundamental differences that set them apart. Understanding these distinctions will not only broaden your culinary knowledge but also help you appreciate the unique character of each dish. The primary and most evident difference lies in their preparation: chimichangas are fried, while traditional burritos are not. This frying process is what gives the chimichanga its signature crispy, golden-brown exterior, creating a delightful textural contrast with the soft, warm filling inside. Some chimichangas are also baked for a lighter alternative, but the essential characteristic is that they are cooked beyond just being rolled.
Beyond the frying, another common distinction is the typical inclusion of rice. Traditional burritos frequently feature rice as a significant component of their filling, contributing to their bulk and often mild flavor. Chimichangas, on the other hand, often omit rice, allowing the robust flavors of the meat, beans, and cheese to take center stage. While you can certainly add rice to your chimichanga if you prefer, our recipe demonstrates that they are incredibly satisfying and flavorful even without it, thanks to the rich and well-seasoned combination of chicken, refried beans, and cheese. This rice-free approach often results in a more concentrated flavor profile that truly highlights the Tex-Mex spices.
Furthermore, the way they are served can also differ. Burritos are typically wrapped tightly and can be eaten by hand, often serving as a portable meal. Chimichangas, due to their fried and often more delicate crispy shell, are frequently served on a plate and eaten with a knife and fork. They are also more commonly accompanied by a variety of fresh toppings and side dishes, enhancing the overall dining experience. Both are delicious in their own right, but the chimichanga offers a distinct crunchy texture and a richer, more indulgent profile that is truly unique.
Gather Your Ingredients for Perfect Chicken Chimichangas
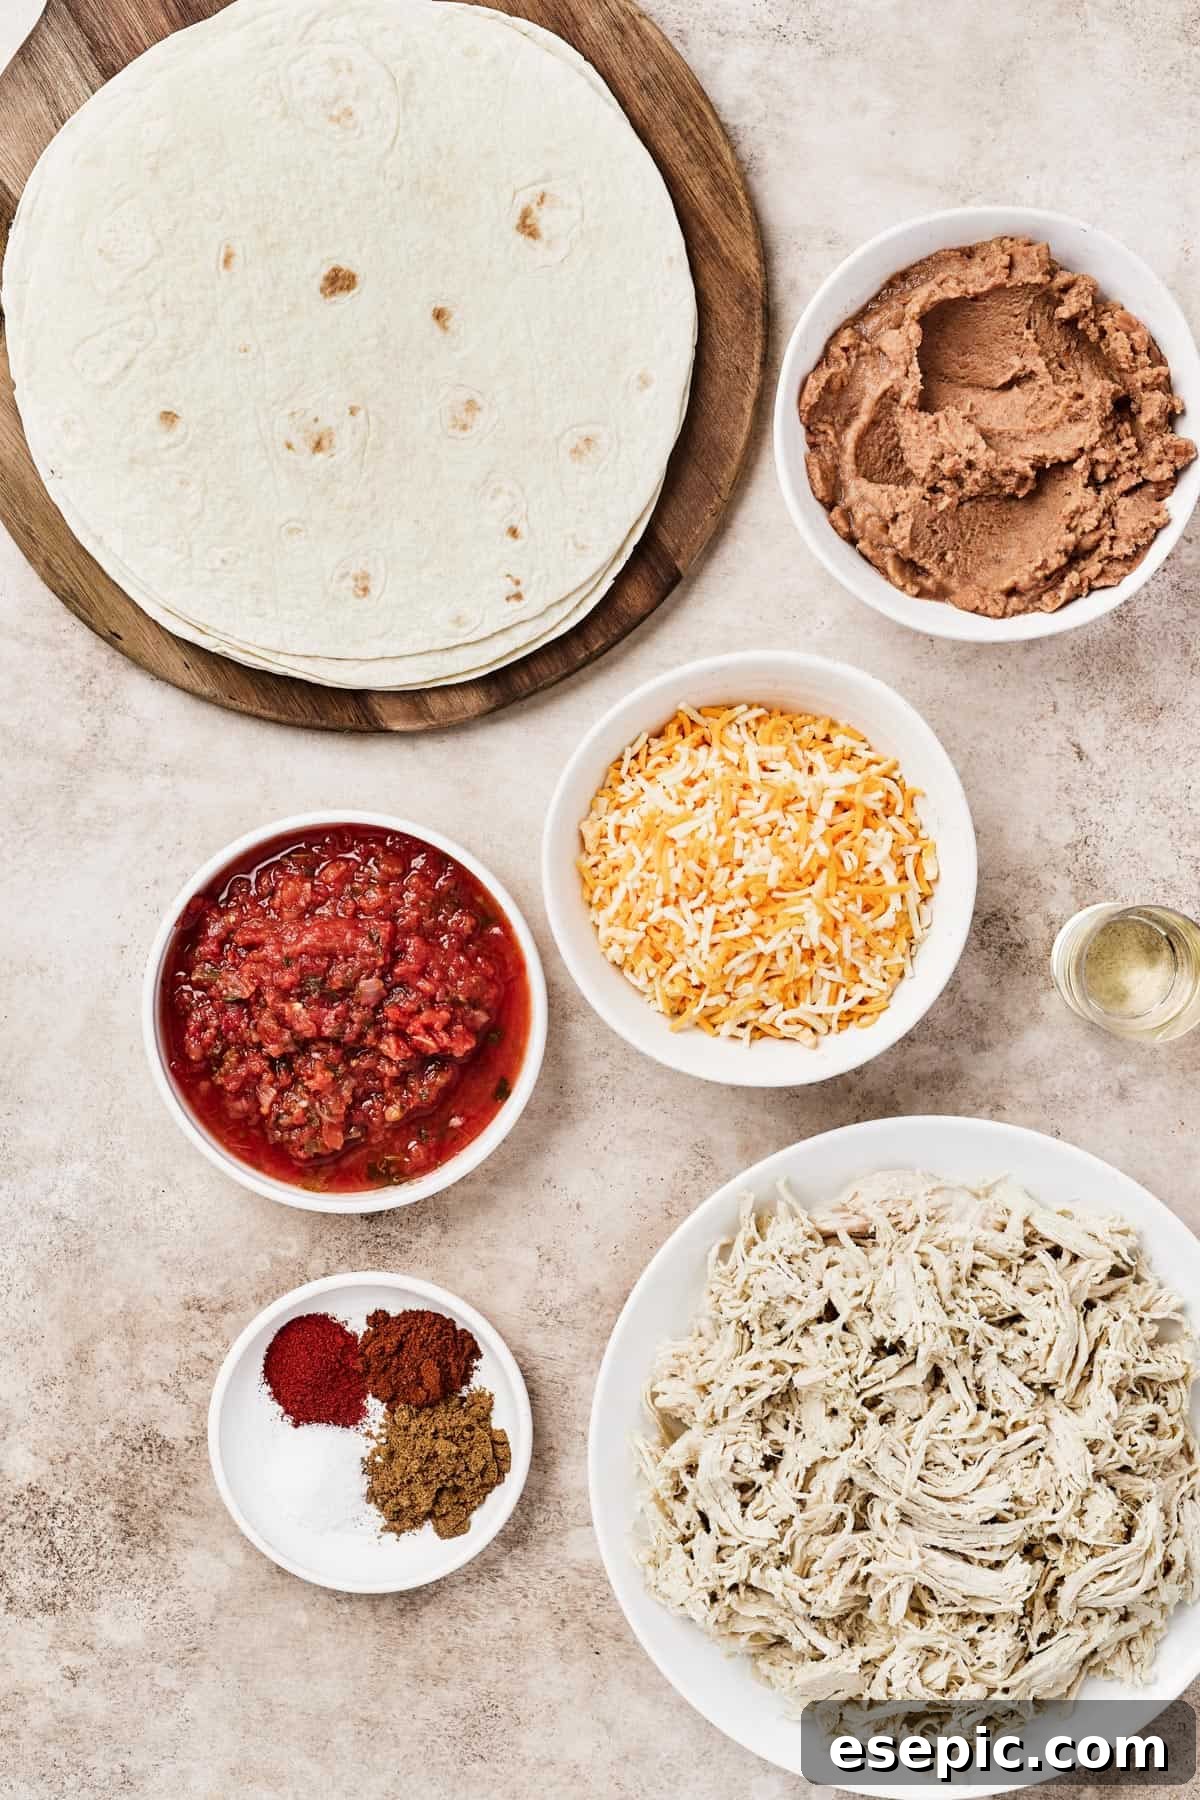
One of the best aspects of this chicken chimichanga recipe is its simplicity and the use of readily available ingredients. You’ll be amazed at how quickly these come together, especially if you opt for pre-cooked chicken, making it an ideal choice for a speedy weeknight dinner. If you’re looking to save time, a store-bought rotisserie chicken is your best friend here. Alternatively, feel free to cook and shred your own chicken for an even fresher flavor. Here’s what you’ll need to create these irresistible Tex-Mex delights:
- Shredded Cooked Chicken: Approximately one pound. Whether you prefer succulent white meat, rich dark meat, or a combination of both, the choice is yours. Ensure it’s already cooked and shredded for maximum convenience.
- Salsa: Half a cup of your favorite tomato salsa will infuse the chicken filling with a fantastic tangy and savory depth. Choose mild, medium, or hot based on your preference.
- Authentic Tex-Mex Seasonings:
- Cumin: 2 teaspoons for its earthy, warm, and slightly pungent flavor that is quintessential to Mexican cuisine.
- Chili Powder: 1 teaspoon to add a balanced, mild heat and robust pepper flavor.
- Salt: 1 teaspoon, adjusted to taste, to enhance all the other flavors.
- Smoked Paprika: ½ teaspoon for a beautiful smoky aroma and a touch of color, deepening the flavor profile.
- Large Flour Tortillas: You’ll need 4 burrito-sized flour tortillas. These larger tortillas are crucial for holding all the delicious filling and rolling up securely. Look for ones that are soft and pliable.
- Refried Beans: One 16-ounce can of refried beans adds a creamy texture and classic flavor. If you’re feeling ambitious, homemade refried beans are also an option, but canned works perfectly. If beans aren’t your preference, you can certainly omit them or substitute with a thin layer of cooked rice or corn.
- Shredded Cheese: 1 cup of shredded Mexican blend cheese is my top recommendation for its excellent melt and balanced flavor. Other great options include cheddar, Colby Jack, or Pepper Jack for a spicier kick.
- Oil for Frying: Approximately ¼ cup of high-heat cooking oil, such as vegetable oil, canola oil, or peanut oil. This is essential for achieving that desirable crispy, golden crust.
Elevate Your Chimichangas with Irresistible Toppings
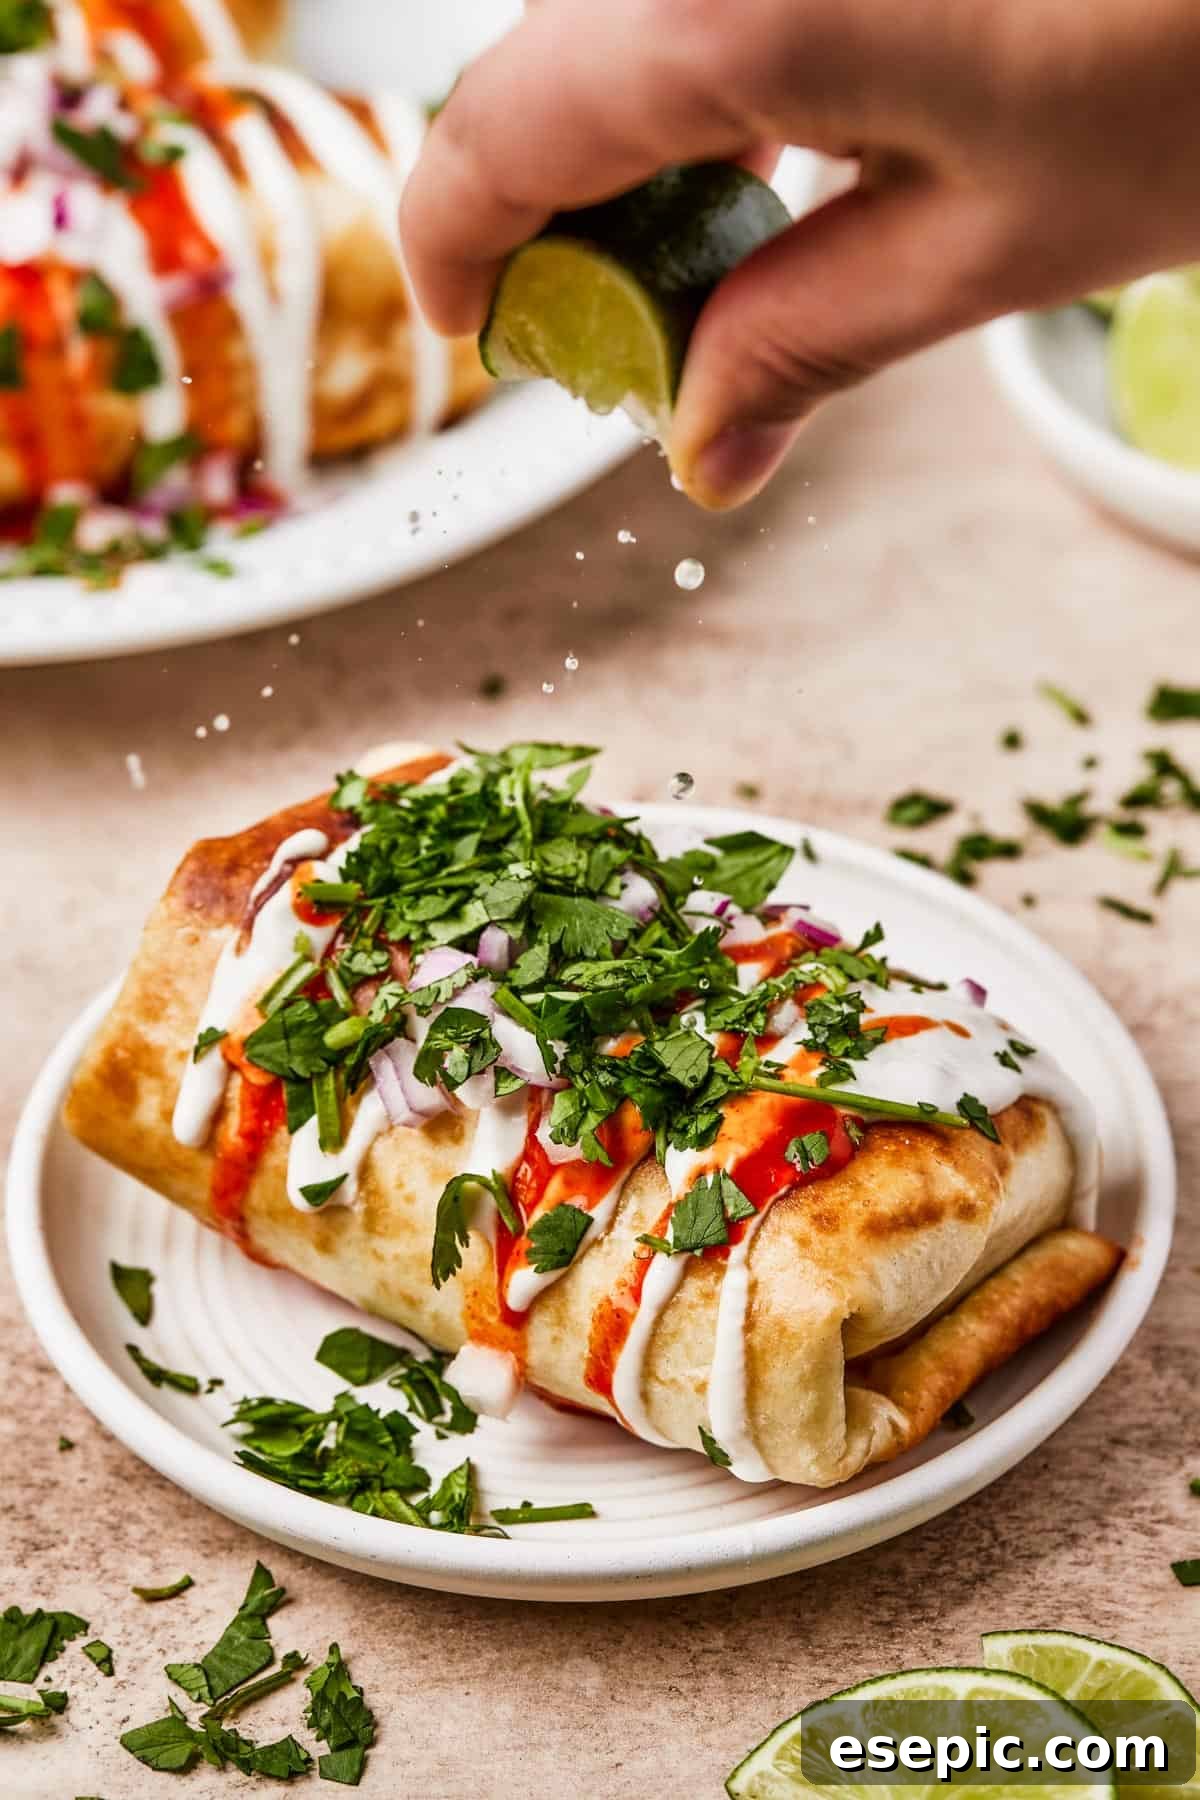
While delicious on their own, chimichangas truly shine when adorned with fresh, vibrant toppings. These additions provide a delightful contrast in texture and flavor, turning a great meal into an extraordinary one. Feel free to mix and match to create your perfect chimichanga experience:
- Sliced Avocado or Guacamole: Creamy avocado adds a rich, cool contrast.
- Pico de Gallo: A fresh, zesty blend of diced tomatoes, onions, cilantro, and jalapeños.
- Sour Cream or Mexican Crema: A classic choice for its cooling creaminess.
- Hot Sauce: For those who love an extra kick of heat.
- Fresh Chopped Cilantro: Adds a bright, herbaceous note.
- Finely Chopped Red Onion: Offers a sharp, pungent crunch.
- Lime Wedges: A squeeze of fresh lime juice can brighten all the flavors.
- Salsa Verde: For a different tangy, savory twist.
- Shredded Lettuce: Adds a fresh, crisp texture.
Crafting Your Own Chicken Chimichangas: A Step-by-Step Guide
Making homemade chimichangas might sound intimidating, especially if you’re new to frying, but I promise it’s simpler than you think! With these clear, step-by-step instructions, you’ll be confidently rolling and frying your way to a delicious Tex-Mex meal in no time. Get ready to impress your taste buds and your guests with these perfectly crispy, flavor-packed bundles.
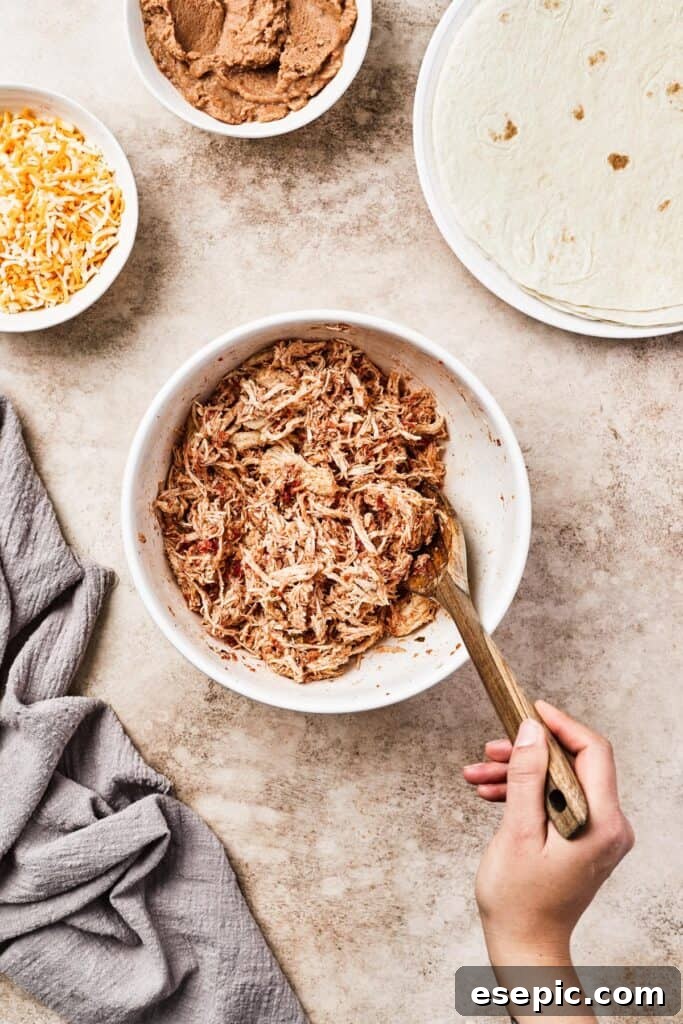
- Prepare the Flavorful Chicken Filling: Begin by taking a large mixing bowl. Add your shredded, cooked chicken, along with the salsa, cumin, chili powder, salt, and smoked paprika. Using a spoon or your hands, gently mix all these ingredients together until the chicken is evenly coated and the spices are well distributed. This ensures every bite of your chimichanga is bursting with Tex-Mex flavor.
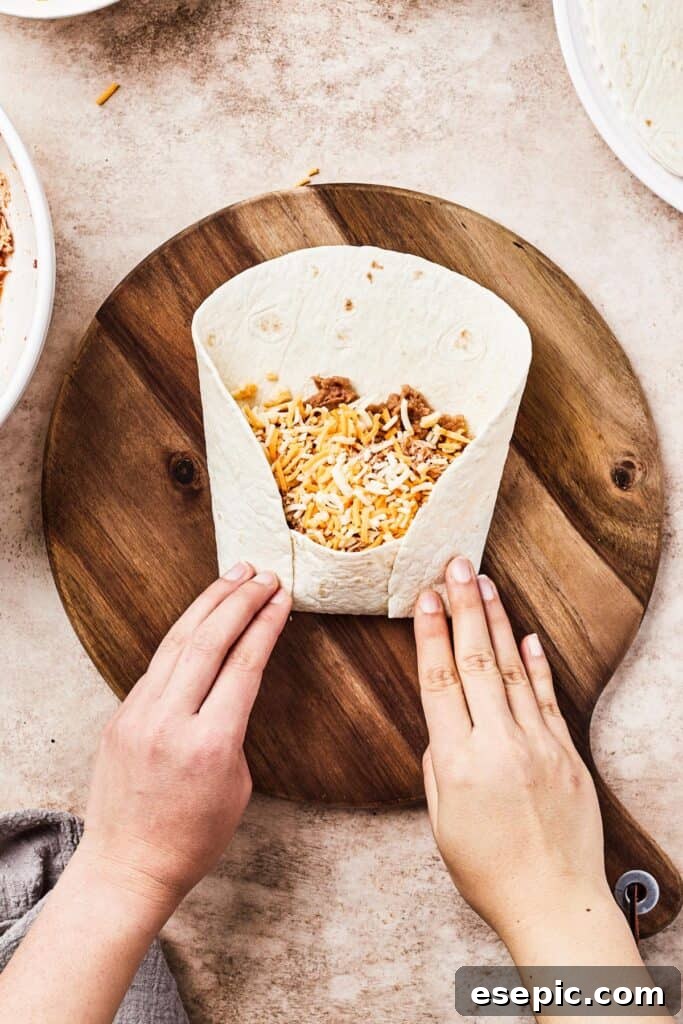
- Assemble and Roll Your Chimichangas: Lay one large flour tortilla flat on a clean surface. Spread a few generous spoonfuls (about ¼ cup) of refried beans evenly across the center, leaving a border around the edges. Next, spoon a hearty amount (about ½ cup) of your seasoned chicken mixture over the beans, followed by a sprinkle of about ¼ cup of shredded cheese. To roll, fold the bottom edge of the tortilla up and over the filling, tucking it in tightly. Then, fold in both sides towards the center, creating a neat, rectangular package. Finally, roll the entire tortilla upward from the bottom to the top, ensuring it’s sealed tightly like a burrito. Repeat this process for the remaining tortillas.
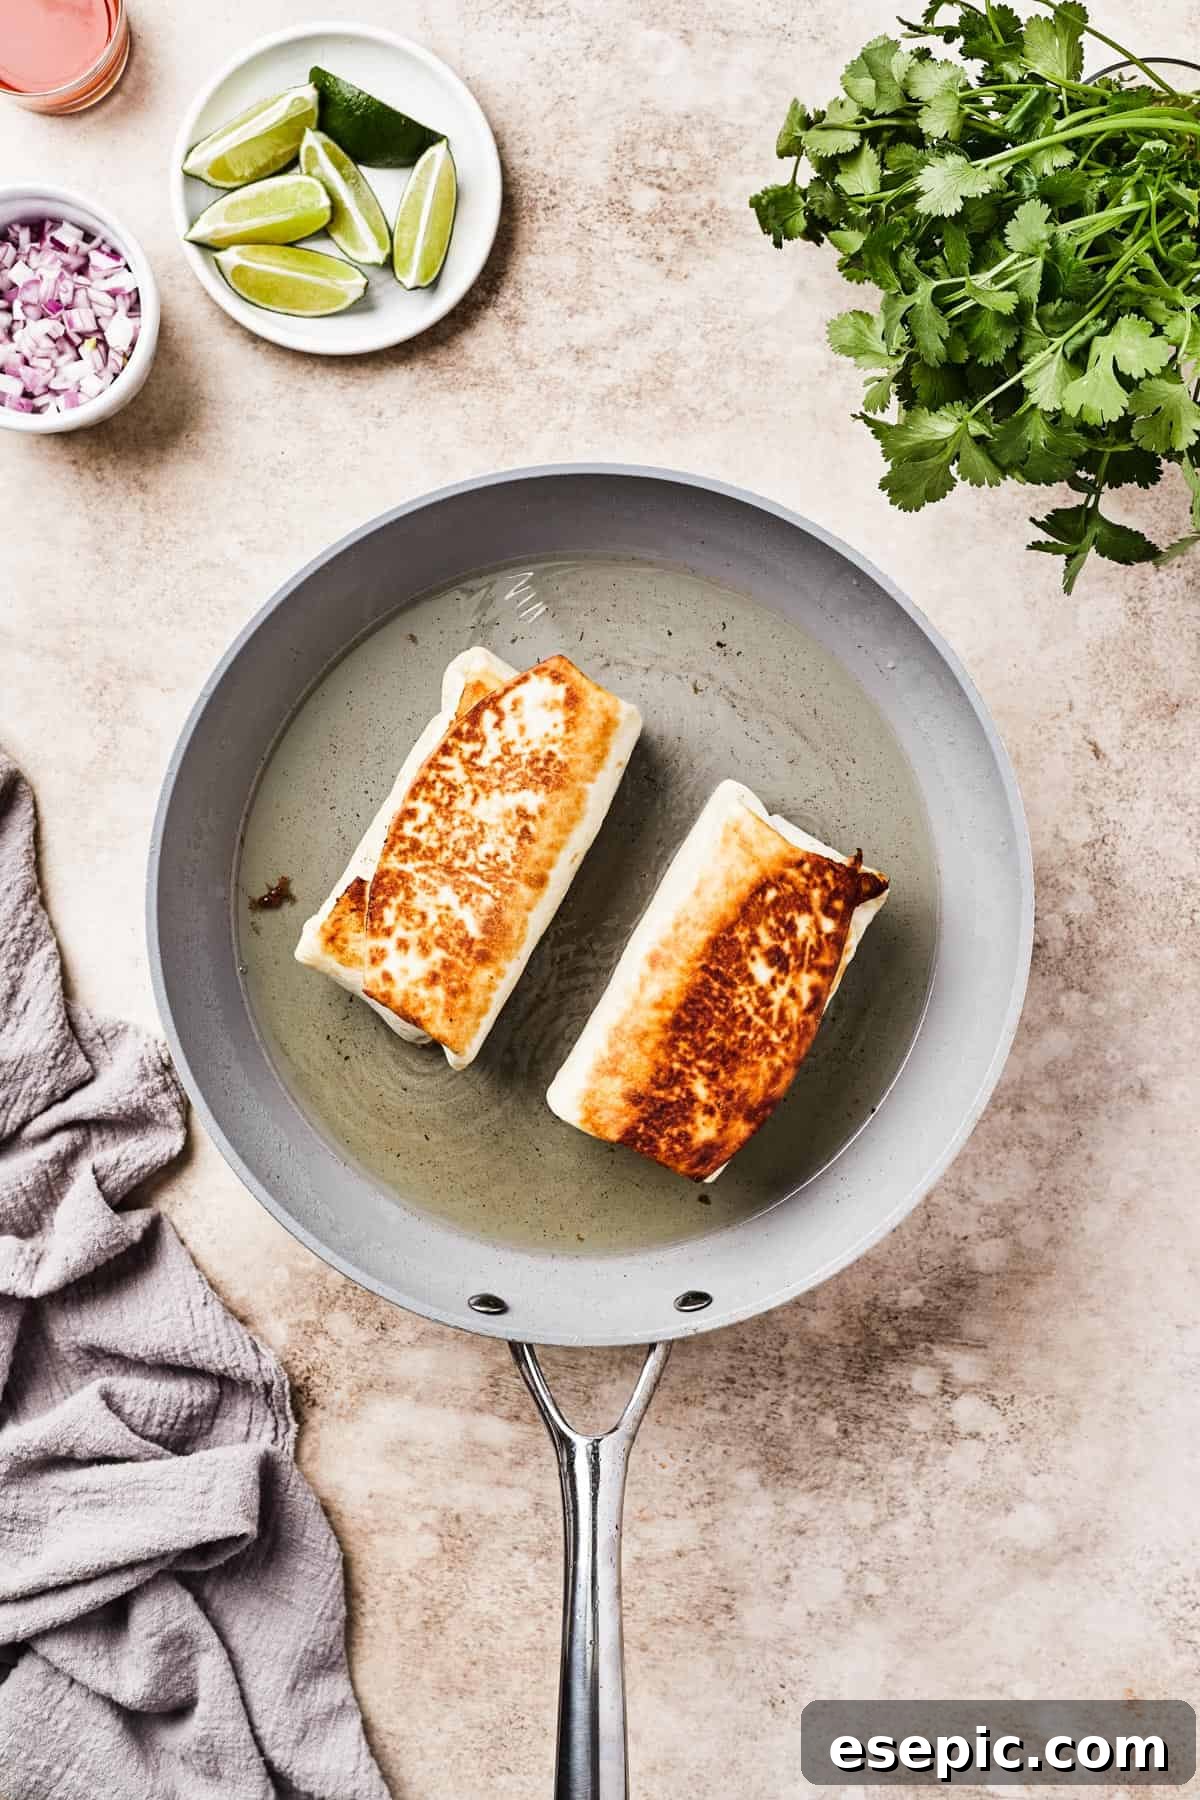
- Fry to Golden Perfection: Heat the ¼ cup of high-heat oil in a large skillet or frying pan over medium heat. You’ll know the oil is ready when it shimmers slightly and a small piece of tortilla dropped into it sizzles gently. Carefully place the rolled chimichangas into the hot oil, seam-side down first. This helps to seal the tortilla and prevent it from unrolling. Fry each chimichanga for about 1½ to 2 minutes per side, turning them gently with tongs, until they are beautifully golden-brown and crispy all over. Be mindful not to overcrowd the pan; fry in batches if necessary to maintain oil temperature.
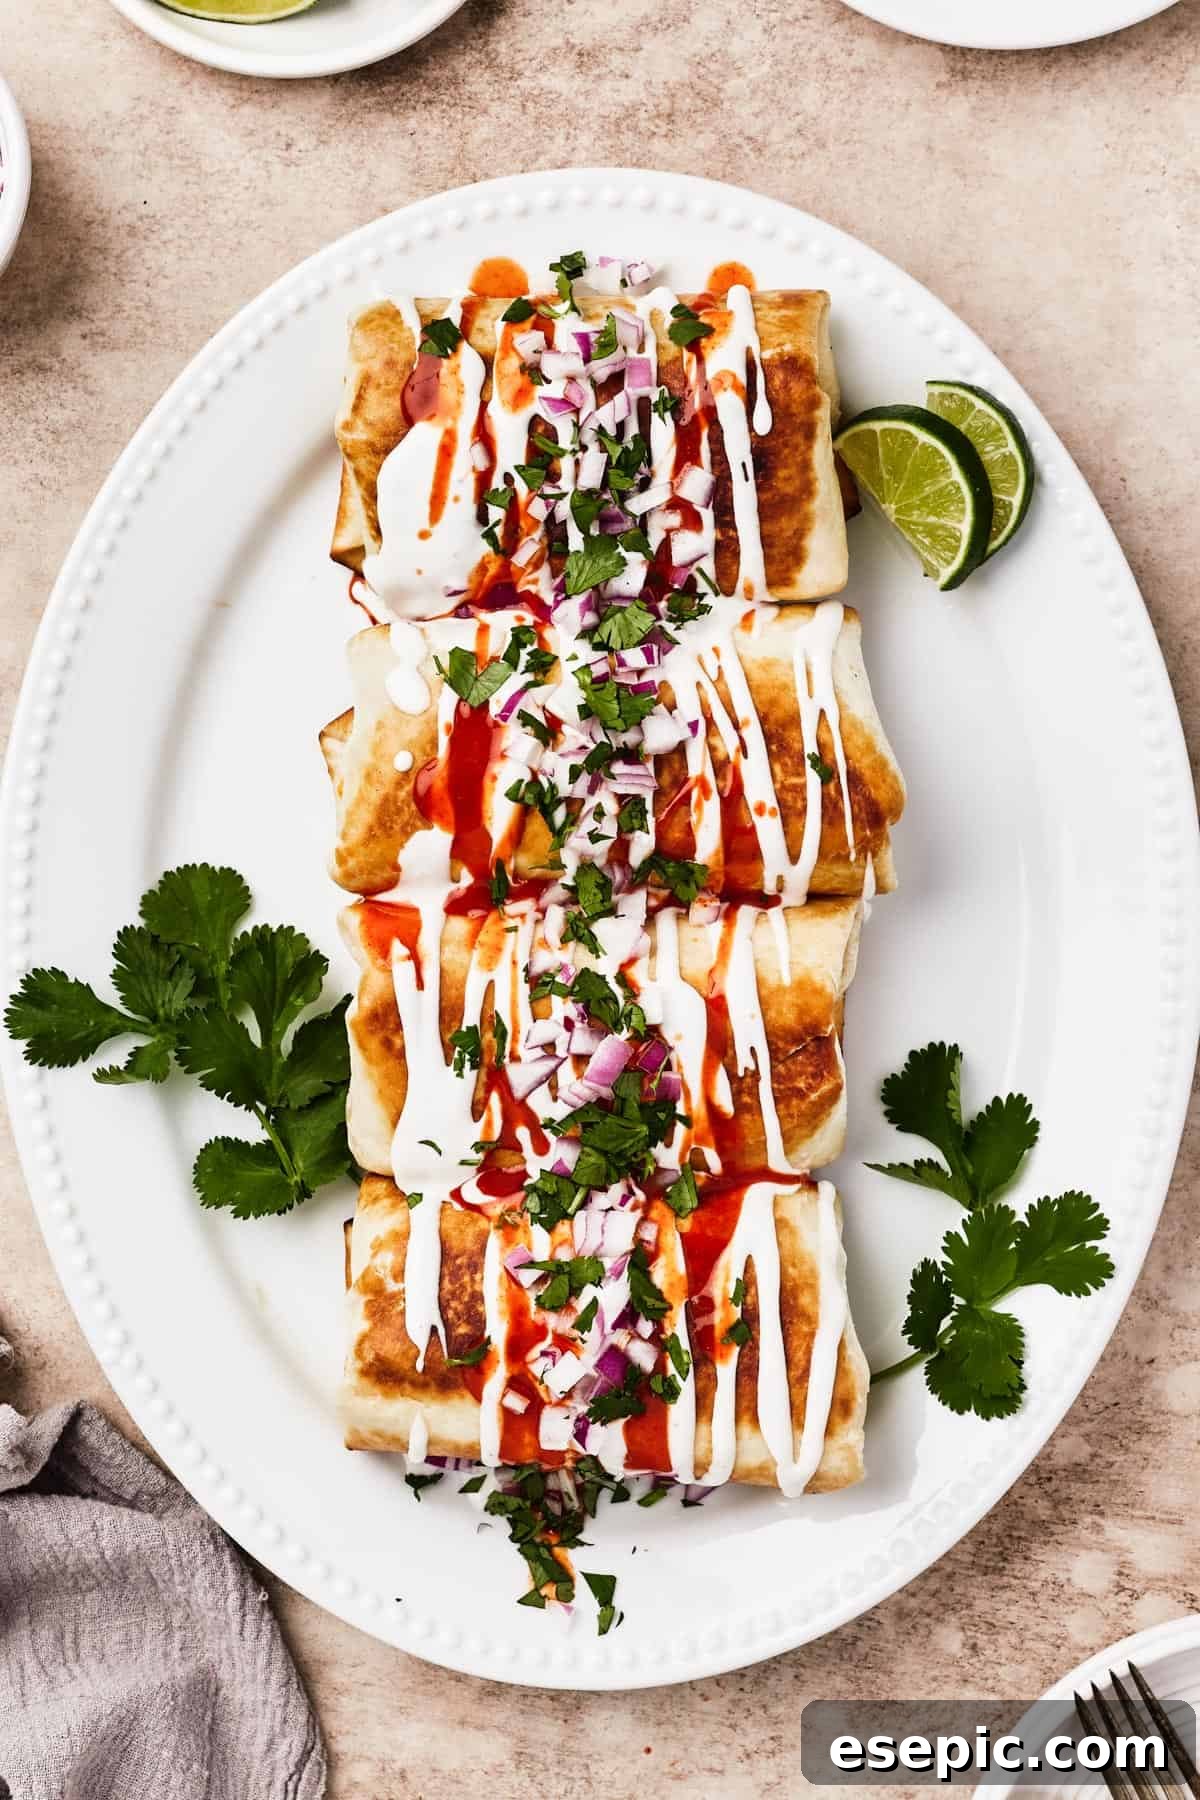
- Drain and Serve Immediately: Once your chimichangas are perfectly golden and crispy, carefully remove them from the pan. Place them on a plate lined with paper towels or on a wire cooling rack set over a baking sheet to drain any excess oil. This step is crucial for keeping them as crisp as possible. Transfer them to a serving platter, garnish with any of your favorite optional toppings like sour cream, pico de gallo, or avocado, and serve them while they are still hot and fresh. Enjoy the incredible taste of your homemade chicken chimichangas!
Expert Tips, Creative Tricks, and Delicious Variations
Achieving the perfect chimichanga is easier with a few insider tips and knowing how to adapt the recipe to your preferences. These insights will help you guarantee a deliciously crispy, melty, and utterly satisfying meal every time, while also opening doors to new flavor combinations.
- Baked Chimichangas for a Lighter Option: If you’re looking to reduce the amount of oil or prefer a less hands-on approach, baking is a fantastic alternative. Simply arrange your rolled chimichangas in a baking dish. Cover the dish with foil and bake at 350°F (175°C) for 30 minutes. Then, remove the foil and bake for another 10-15 minutes, or until they are golden brown and heated through. While not as intensely crispy as fried, they will still be wonderfully flavorful. Allow them to cool for 5 minutes before serving.
- Cheese, Glorious Cheese Options: The Mexican blend cheese offers a balanced flavor and melts beautifully, but don’t hesitate to customize! Sharp cheddar cheese provides a strong, tangy flavor, while Colby Jack offers a milder, creamy texture. For those who enjoy a bit of heat, pepper jack cheese introduces a spicy kick that complements the Tex-Mex seasonings perfectly. Feel free to use a combination of cheeses for added depth.
- Creative Meat and Filling Variations: This recipe is incredibly adaptable. Instead of chicken, consider using shredded pork carnitas for a rich, slow-cooked flavor. Cooked ground beef seasoned with taco spices is another excellent choice, offering a heartier option. For a delicious vegetarian chimichanga, try a mixture of sautéed vegetables such as finely diced mushrooms, bell peppers, onions, or even roasted sweet potatoes. You could also include corn, black beans (instead of or in addition to refried beans), or a dash of hot green chiles for extra flavor.
- Mastering Oil Temperature for Frying: The key to perfectly crispy chimichangas without them becoming greasy or burnt is controlling the oil temperature. If you’re unsure if your oil is hot enough, carefully drop a tiny piece of tortilla into the pan. If it immediately begins to gently sizzle and small bubbles form around it, your oil is ready. If it just sits there, allow the oil to heat for another minute or two before testing again.
- Preventing Over-Frying and Undercooking: Cooking in oil that is too hot will lead to an overly crunchy, almost brittle tortilla with a filling that might still be cold or only partially melted inside. Conversely, oil that isn’t hot enough will result in a greasy, soggy chimichanga. If you notice your chimichanga browning too quickly, carefully remove it from the pan and reduce the heat slightly. Once the oil has cooled a bit, return the chimichanga and continue frying, adjusting the heat as needed to maintain a steady, moderate sizzle. The ideal is a consistent medium heat that allows for even browning and thorough heating of the filling.
- Securing Your Rolls: To prevent your chimichangas from unrolling while frying, make sure to roll them tightly. You can also use a toothpick to secure the seam before placing them in the oil, removing it once the seam has sealed and become crispy.
Serving Suggestions for a Complete Tex-Mex Feast
While chicken chimichangas are incredibly satisfying on their own, pairing them with the right side dishes can transform your meal into a truly unforgettable Tex-Mex feast. Here are some simple, yet delicious, accompaniments that complement the rich flavors of your homemade chimichangas:
- Zesty Mexican Rice: A classic pairing! Who can resist a fluffy bowl of seasoned rice? A flavorful blend of long-grain white rice cooked with tomato sauce, diced vegetables like peas, carrots, and corn, and a hint of cumin and garlic, creates a wonderfully aromatic and comforting side. It’s the perfect absorbent companion to the chimichanga’s bold flavors.
- Crispy Grilled Potato Wedges: While perhaps not a traditional Tex-Mex side, crispy grilled potato wedges offer a fantastic textural contrast and satisfying heartiness. Toss potato wedges with olive oil, chili powder, cumin, and salt, then grill them or cook them on a grill pan until tender on the inside and perfectly charred and crispy on the outside. They are surprisingly easy to make and universally loved.
- The Best Cowboy Caviar: For a vibrant and refreshing contrast, serve your chimichangas with a generous scoop of Cowboy Caviar. This colorful “salad” or “salsa” is made with fresh avocado, juicy tomatoes, crisp bell peppers, sweet corn, black beans, and an incredible tangy dressing. It adds a much-needed freshness and a delightful crunch that balances the richness of the fried chimichangas. It’s a healthy, flavorful, and visually appealing side that can also double as a dip with tortilla chips.
- Simple Green Salad with Cilantro-Lime Dressing: A light, crisp green salad provides a wonderful palate cleanser. Dress mixed greens with a zesty cilantro-lime vinaigrette to keep the Tex-Mex theme going.
- Creamy Guacamole: Beyond just a topping, a fresh bowl of homemade guacamole with ripe avocados, red onion, cilantro, and lime juice makes an excellent side dish for dipping both your chimichangas and any accompanying chips.
- Elote (Mexican Street Corn): Grilled corn on the cob slathered with mayonnaise, cotija cheese, chili powder, and lime juice is a vibrant and flavorful side that embodies the spirit of Tex-Mex street food.
Storing and Reheating Your Chimichanga Leftovers
Sometimes, despite your best efforts, you might end up with a few delicious chimichangas leftover, or perhaps you want to get a head start on meal prep. Here’s how to properly store and reheat them to maintain their best quality, ensuring you can enjoy that Tex-Mex flavor for days to come.
- Refrigerating Cooked Chimichangas: While chimichangas are undeniably best enjoyed fresh from the pan, leftovers can still be delicious. To store cooked chimichangas, first allow them to cool completely. Then, place them on a plate lined with paper towels to absorb any residual oil, which helps prevent them from becoming soggy. Transfer them to airtight containers and refrigerate for up to 3 days.
- Reheating for Crispy Perfection: To bring your refrigerated chimichangas back to life with some crispness, avoid the microwave if possible. The best method is to reheat them in an oven or an air fryer.
- Oven Method: Preheat your oven to 350°F (175°C). Place the chimichangas on a baking sheet and bake for about 10-15 minutes, or until heated through and the tortilla begins to crisp up again.
- Air Fryer Method: For maximum crispiness, an air fryer is ideal. Place the chimichangas in a single layer in the air fryer basket (do not overcrowd) and air fry at 375°F (190°C) for 5-7 minutes, flipping halfway through, until hot and crispy.
- Making Ahead: If you want to prepare these in advance, the best approach is to make just the chicken filling. Prepare the chicken, salsa, and seasoning mixture as directed and store it in a well-sealed airtight container in the refrigerator for up to 3 days. When you’re ready to cook, simply assemble the chimichangas with the refried beans and cheese, roll them, and then fry them fresh. This ensures the tortillas are as fresh and crispy as possible.
Can I Freeze These Chicken Chimichangas?
Absolutely! Chicken chimichangas freeze exceptionally well, making them an excellent option for future quick meals or meal prepping. Freezing them uncooked is generally best for maintaining texture.
- Freezing Uncooked Chimichangas: Prepare the chicken filling and assemble the chimichangas by layering the beans, chicken, and cheese in the tortillas and rolling them tightly, but do not fry them. Place the uncooked chimichangas in a single layer on a baking sheet and freeze until solid (this prevents them from sticking together). Once solid, transfer them to freezer-safe bags or airtight containers, separating layers with parchment paper if needed. They can be stored in the freezer for up to 6 months.
- Cooking from Frozen: When you’re ready to enjoy them, you can cook them directly from frozen.
- Frying from Frozen: Heat oil in your skillet as usual. Place the frozen chimichangas in the hot oil. You will need to increase the frying time slightly, often by a few minutes per side, to ensure the filling is thoroughly heated through and the tortilla is golden and crispy. Keep the heat at medium-low to prevent the exterior from burning before the inside is cooked.
- Baking from Frozen: Preheat oven to 375°F (190°C). Place frozen chimichangas on a baking sheet. Bake, covered with foil, for about 40-45 minutes. Then uncover and bake for an additional 15-20 minutes, or until golden brown and the internal temperature reaches a safe level.
Homemade Chicken Chimichangas Recipe
These easy homemade Chicken Chimichangas are quick to make, and full of hearty Tex-Mex flavor! You’ll love the mouthwatering combo of chicken, beans, and cheese in a crispy, fried tortilla.
Author: Katerina | Easy Weeknight Recipes
Prep Time: 10 minutes
Cook Time: 10 minutes
Total Time: 30 minutes
Servings: 4
Ingredients:
- 1 pound cooked chicken, shredded
- ½ cup salsa
- 2 teaspoons cumin
- 1 teaspoon chili powder
- 1 teaspoon salt
- ½ teaspoon smoked paprika
- 4 burrito-size flour tortillas
- 1 can (16 ounces) refried beans
- 1 cup shredded Mexican blend cheese
- ¼ cup oil (for frying)
Toppings (Optional):
- Sliced avocado
- Pico de gallo
- Sour cream
- Hot sauce
- Chopped cilantro
- Chopped red onion
- Lime wedges
Instructions:
- In a large bowl, combine the shredded cooked chicken, salsa, cumin, chili powder, salt, and smoked paprika. Mix gently until all ingredients are evenly combined.
- Lay one burrito-size flour tortilla flat. Spread about ¼ cup of refried beans evenly over the center. Top with ½ cup of the chicken mixture and ¼ cup of shredded cheese. Fold the bottom edge of the tortilla up over the filling, then fold in both sides towards the center, and finally roll it up tightly from bottom to top into a burrito shape. Repeat for the remaining tortillas.
- Heat ¼ cup of oil in a large pan or skillet over medium heat. Once the oil is hot and shimmering, carefully place the chimichangas into the pan, seam-side down first. Fry for approximately 1½ to 2 minutes on each side, turning gently, until they are golden brown and crispy all over.
- Once cooked, transfer the chimichangas to a plate lined with paper towels or a wire rack to drain any excess oil.
- Garnish with your favorite optional toppings and serve immediately while hot.
Nutrition Information (Estimate per 1 chimichanga):
Calories: 594kcal | Carbohydrates: 31g | Protein: 50g | Fat: 29g | Saturated Fat: 8g | Polyunsaturated Fat: 6g | Monounsaturated Fat: 13g | Trans Fat: 1g | Cholesterol: 123mg | Sodium: 1931mg | Potassium: 469mg | Fiber: 7g | Sugar: 6g | Vitamin A: 743IU | Vitamin C: 1mg | Calcium: 304mg | Iron: 4mg
Nutritional information is an estimate and provided as a courtesy. Values may vary according to the specific ingredients and tools used. Please use your preferred nutritional calculator for more detailed and precise information.
Expand Your Tex-Mex Horizons with More Easy Recipes
If you’ve fallen in love with these homemade chicken chimichangas, you’re in for a treat! The world of Tex-Mex cuisine is full of bold flavors and comforting dishes that are surprisingly simple to prepare. Here are a few more easy recipes to help you continue your culinary adventure and bring more fiesta to your table:
- Instant Pot Chicken Burritos: For those busy nights when you need a quick yet satisfying meal, these Instant Pot Chicken Burritos are a game-changer. Tender, flavorful chicken filling comes together in record time, perfect for rolling into soft tortillas with your favorite additions.
- Hearty Chili Con Carne: A classic comfort food that’s perfect for a chilly evening or a robust family gathering. This Chili Con Carne recipe delivers a rich, savory, and perfectly spiced bowl of goodness that will warm you from the inside out. Serve it with a dollop of sour cream and shredded cheese.
- Easy Ground Beef Tacos: Tacos are a universally loved dish for a reason! This recipe for Easy Ground Beef Tacos makes weeknight taco night a breeze. Seasoned ground beef, crisp lettuce, cheese, and your favorite toppings piled into crunchy or soft shells make for a fun and customizable meal everyone will enjoy.
- Quick Chicken Fajitas: Sizzling strips of chicken and bell peppers, seasoned to perfection and served with warm tortillas, is another fantastic and fast Tex-Mex option. The vibrant colors and smoky flavors make it a crowd-pleaser.
- Cheesy Enchilada Casserole: Layer corn tortillas with seasoned chicken or beef, plenty of cheese, and your favorite enchilada sauce, then bake until bubbly and golden. It’s a comforting dish that’s great for feeding a crowd.