
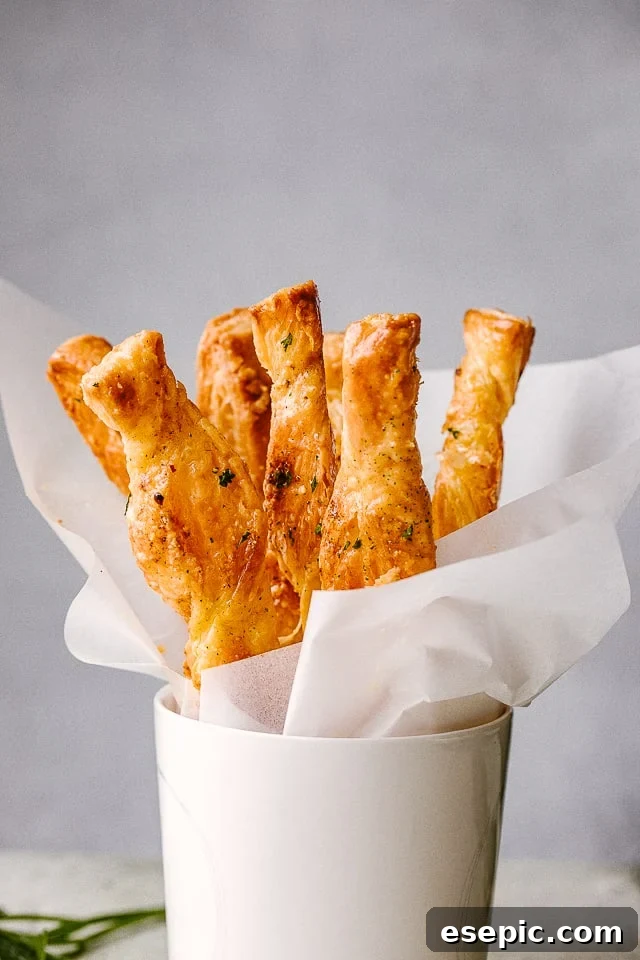
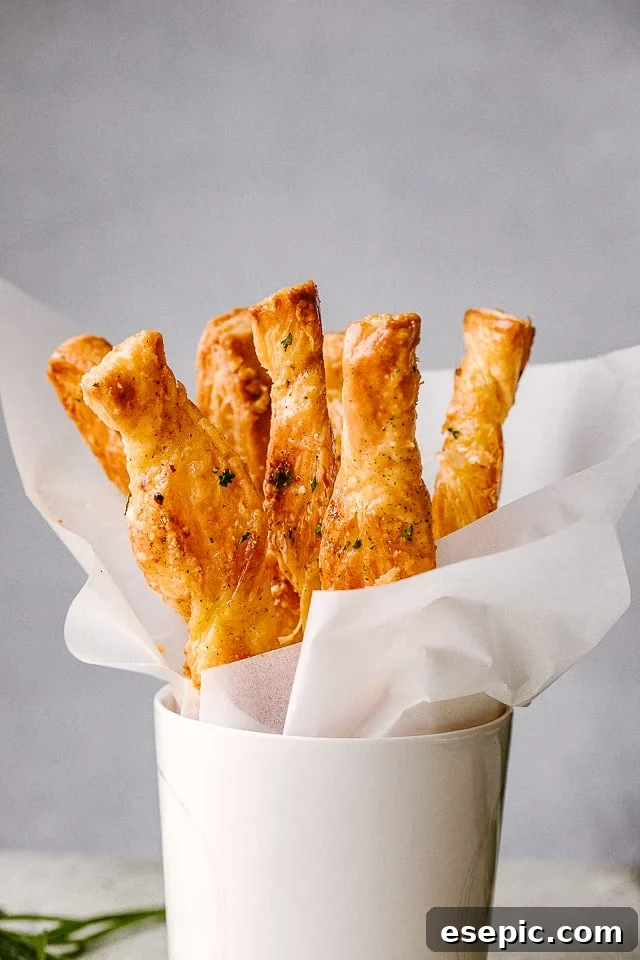
Puff Pastry Cheese Sticks are an irresistible delight, perfect for elevating your movie nights, game day gatherings, or any party spread. These golden, flaky sticks, bursting with melted cheese and your favorite savory seasonings, promise a satisfying crunch with every bite. Forget the usual popcorn; these addictive treats are about to become your family’s most requested indulgence. They serve wonderfully as a versatile finger food, a quick and easy appetizer, or even a flavorful side dish, pairing beautifully with hearty meals like stuffed pasta shells or a classic beef lasagna.
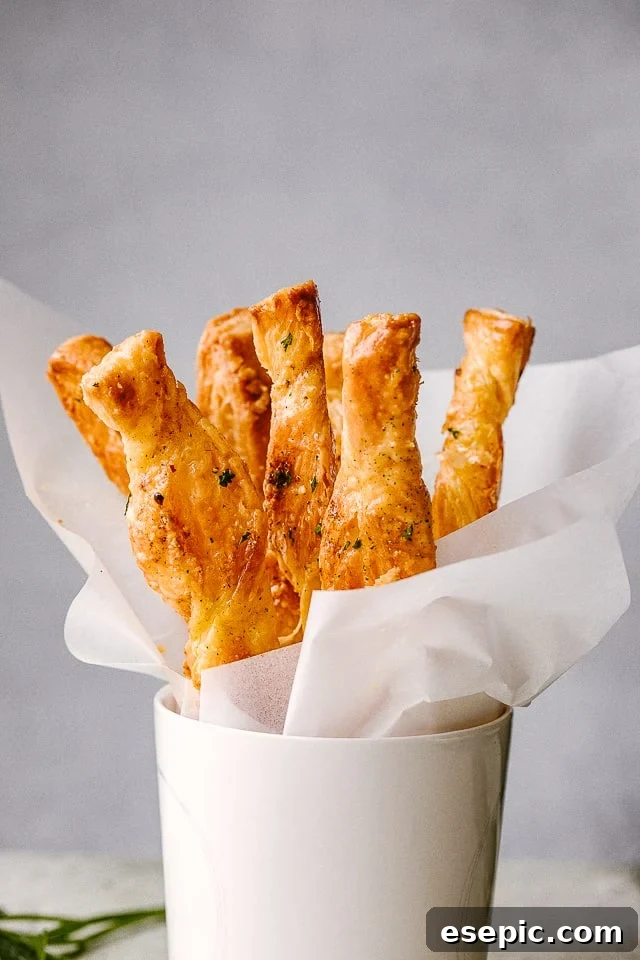
When discussing ideal movie snacks with friends, the conversation often revolves around popcorn – be it plain, spiced, or mixed into elaborate concoctions. While popcorn has its place, in my home, a different star takes center stage: homemade Puff Pastry Cheese Sticks. They offer a unique texture and flavor profile that truly sets them apart from the crowd.
Why These Cheese Sticks Will Become Your New Favorite
These Puff Pastry Cheese Sticks aren’t just a snack; they’re an experience. Here’s why they’re destined to become a staple in your kitchen:
- A Guaranteed Crowd-Pleaser for Any Occasion: From casual movie nights with the family to spirited game day celebrations and elegant party appetizers, these cheese sticks are an undeniable hit. Their sophisticated simplicity appeals to adults, while their cheesy goodness and fun twisted shape are adored by kids. They bridge the gap between gourmet and comfort food, making them perfect for any gathering.
- Explosion of Flavor and Texture: Each bite delivers a harmonious blend of savory, cheesy richness encased in a wonderfully light, airy, and flaky pastry. Once you dip these crunchy sticks into your favorite sauce, you’ll discover a flavor combination so satisfying, there’s truly no turning back. The contrast between the crisp exterior and the warm, gooey interior is simply irresistible.
- Superior to Traditional Mozzarella Sticks: While fried mozzarella sticks offer a certain gooey charm, they can often feel heavy and greasy after just a few bites. Our puff pastry rendition, however, offers a lighter, more refined alternative. They combine the best aspects of a delicate, homemade breadstick with the satisfying crunch and melt of a cheese stick, without the heavy fried sensation. They’re addictive in the best possible way!
- Universally Kid-Friendly: In a house where snacks compete fiercely for attention, these cheese sticks consistently outperform even beloved popcorn or classic candy apples. Rest assured, my children aren’t unique foodie prodigies; they simply gravitate towards delicious, fun, and cheesy treats. The easy-to-hold stick shape and delightful texture make them an instant favorite for little hands and picky eaters.
Unveiling the Magic of Puff Pastry
Puff pastry is truly a culinary marvel – pure buttery, light, and exquisitely flaky goodness. If you haven’t experienced its delicate texture and rich flavor, you are in for a treat!
Beyond its deliciousness, puff pastry has a fascinating structure. Technically speaking, it’s a delicate laminated dough composed of just four core ingredients: butter, water, flour, and salt. The magic happens through a meticulous process where the dough is repeatedly rolled out, generously dotted with butter, then folded and turned multiple times. This creates hundreds of distinct, paper-thin layers of butter separated by dough. When baked, the water in these layers rapidly evaporates, creating steam that forces the layers apart. This process results in the signature airy, incredibly flaky, and wonderfully crisp texture that gives puff pastry its name and widespread appeal.
While making puff pastry from scratch is a rewarding, albeit time-consuming and challenging, endeavor for seasoned bakers, there’s absolutely no need to feel pressured. For everyday recipes and consistent results, I wholeheartedly recommend and typically use high-quality frozen puff pastry dough. It’s a fantastic shortcut that delivers professional-grade flakiness with minimal effort, allowing you to enjoy gourmet results without the extensive prep.
Gather Your Simple Ingredients
Crafting these delectable cheese sticks requires only a handful of readily available ingredients:
- Puff Pastry Dough: This is the star of our show. While the truly ambitious can embark on the journey of making it from scratch, I highly recommend opting for good quality frozen puff pastry. It’s incredibly convenient, performs beautifully, and saves a significant amount of time without compromising on the signature flaky texture. Ensure it’s thawed according to package directions before use.
- Olive Oil: A light brushing of olive oil not only helps the seasonings adhere but also contributes to the beautiful golden-brown color and extra crispness of the baked sticks. Any good quality olive oil will do.
- Seasonings: Our base recipe calls for the classic trio of smoked (or sweet) paprika, salt, and freshly ground black pepper. This combination adds a lovely depth and subtle warmth. However, feel free to unleash your creativity here! Garlic powder, onion powder, a pinch of cayenne for heat, Italian herb blend, or even everything bagel seasoning would all make fantastic additions, allowing you to tailor the flavor to your preference.
- Cheese: For optimal flavor and melt, we’ll use a combination of finely shredded cheddar cheese and freshly grated Parmesan cheese. The cheddar provides a creamy, rich melt, while the Parmesan adds a sharp, nutty complexity. A crucial tip: please steer clear of pre-grated Parmesan in the green can; its texture and flavor simply don’t compare to freshly grated, which melts beautifully and offers superior taste. Opt for block cheeses and grate them yourself for the best results.
Effortless Steps to Perfect Puff Pastry Cheese Sticks
Making these cheese sticks is remarkably simple and yields incredibly satisfying results. Follow these straightforward steps:
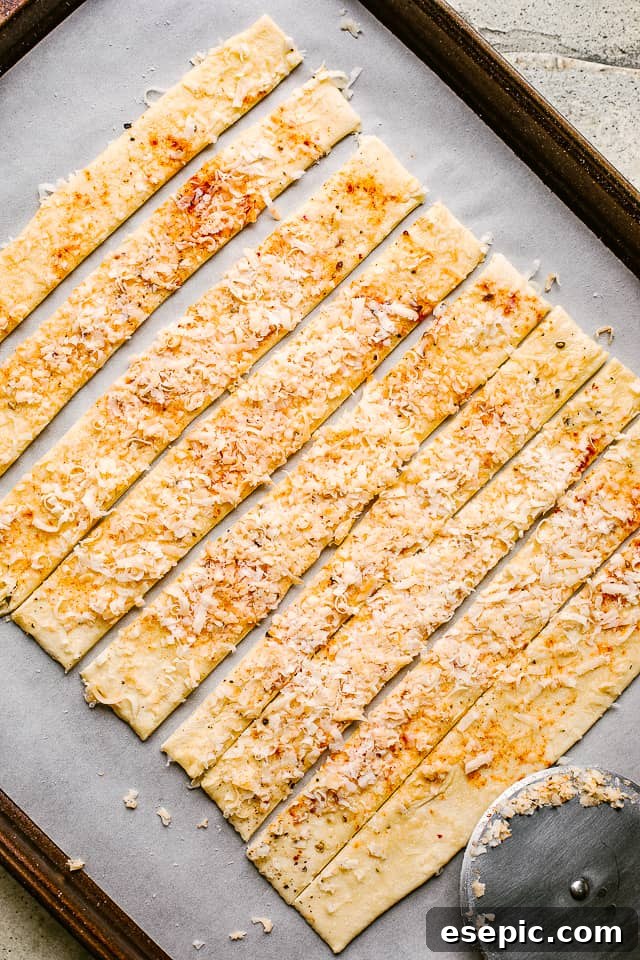
- Prepare Your Workspace: Begin by preheating your oven to a precise 400°F (200°C). While the oven heats, line a large baking sheet with parchment paper. This step is crucial for preventing sticking and ensures easy cleanup.
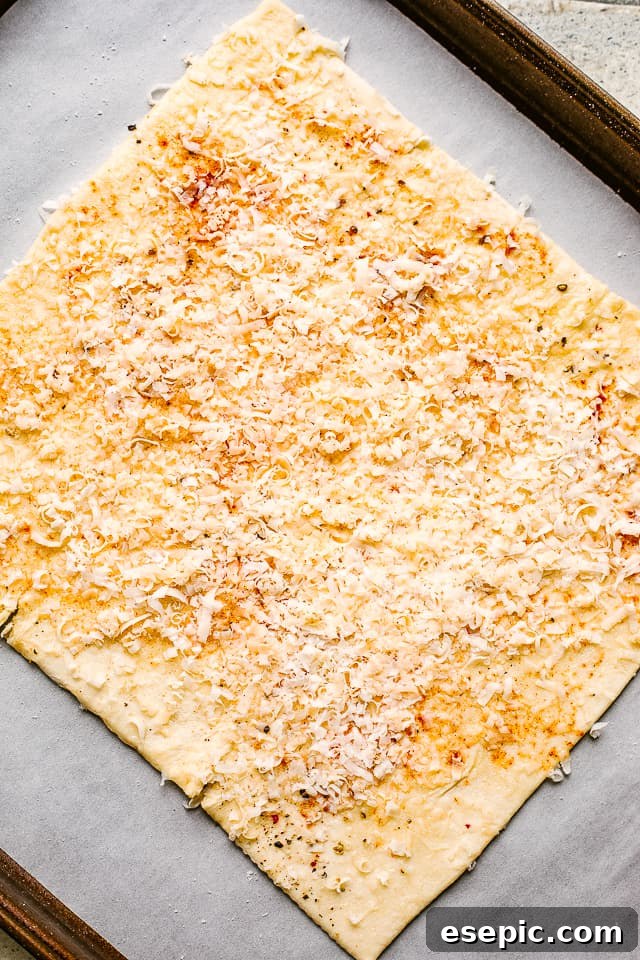
- Thaw and Season: Gently unfold your frozen puff pastry dough onto a lightly floured work surface. Allow it to thaw completely until it’s pliable but still cool. This usually takes about 20-30 minutes at room temperature. Once thawed, brush the entire surface of the pastry with a thin, even layer of olive oil. Next, generously sprinkle with salt, freshly ground black pepper, and paprika. Finish by scattering the cheddar and Parmesan cheeses evenly over the top. Lightly press the cheese into the dough to help it adhere during the twisting and baking process.
- Cut into Strips: Using a pizza cutter or a sharp knife, carefully cut the pastry dough into 10 to 12 long strips, each approximately 1-inch (2.5 cm) wide. Aim for even widths to ensure uniform baking.
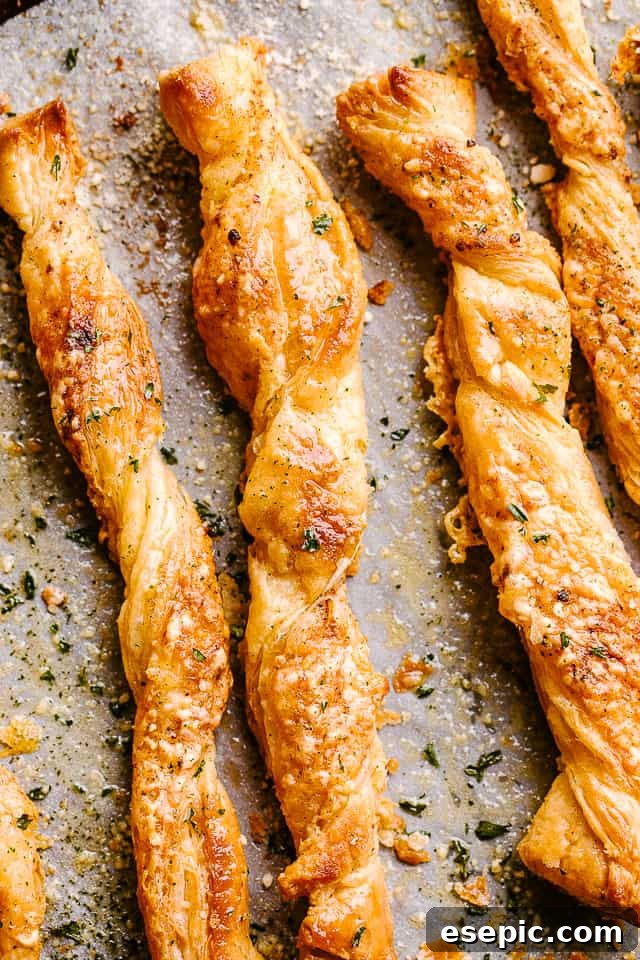
- Twist with Care: Pick up one strip of dough. Place one end seasoned-side-down on your work surface, holding it steady with one hand. With your other hand, gently twist the other end of the strip about 8 times. This creates the appealing spiral shape and helps to create more flaky layers. Ensure the twists are not too tight, which could prevent puffing, nor too loose, which might unravel.
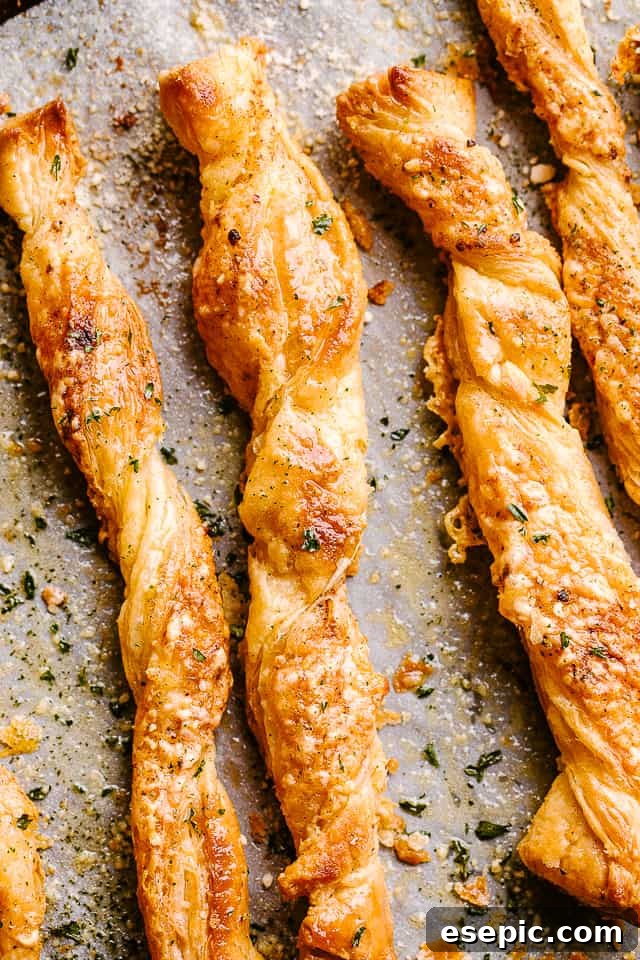
- Bake to Golden Perfection: Carefully transfer each twisted strip of dough to your prepared baking sheet, leaving a little space between them for air circulation. Bake for an initial 10 minutes. At this point, they should be slightly puffed and golden on one side. Gently flip each cheese stick over and continue to bake for another 5 to 8 minutes, or until they are beautifully browned, crisp, and the cheese is bubbly and melted.
- Serve Warm and Enjoy: Remove the golden cheese sticks from the oven. Let them cool on the baking sheet for a minute or two before transferring to a serving platter. They are best enjoyed warm, ideally with your favorite dipping sauce.
Expert Tips for Perfect Cheese Sticks Every Time
Unlock even more flavor and versatility with these helpful tips and creative variations:
- Unleash Your Inner Chef with Seasoning Variations: The possibilities for seasoning these homemade breadsticks are endless. Experiment with different flavor profiles:
- Garlic & Herb: Add garlic powder, onion powder, dried oregano, thyme, or a pre-made Italian seasoning blend.
- Spicy Kick: Introduce a pinch of cayenne pepper, chili powder, or red pepper flakes for a warming heat.
- Umami Boost: A dash of nutritional yeast or even a sprinkle of finely grated dried mushrooms can add a savory depth.
- “Everything” Flavor: Generously sprinkle with everything bagel seasoning for a complex blend of sesame, poppy seeds, garlic, and onion.
- Sweet Indulgence (Hot Take!): Don’t limit yourself to savory! Try a dessert variation by brushing with melted butter, sprinkling with cinnamon and sugar, and even a tiny dash of nutmeg. These make fantastic sweet treats!
- Explore a World of Cheesy Delights: Don’t stick to just cheddar and Parmesan. Swap out the cheeses to discover new favorites:
- Sharp & Pungent: Blue cheese or goat cheese crumbles offer a distinct, tangy flavor.
- Spicy & Melty: Pepper jack cheese will add a pleasant kick and a fantastic melt.
- Nutty & Earthy: Gruyère or smoked Gouda provide a sophisticated, rich flavor.
- Creamy & Mild: Provolone or Monterey Jack are excellent melting cheeses that offer a milder profile.
- Mediterranean Twist: Feta cheese crumbles with a sprinkle of dried oregano and a touch of lemon zest.
- Mastering the Twist for Desired Texture: The way you twist your dough strips directly impacts the final texture:
- Crispier Sticks: If you desire a crunchier, more cracker-like texture, roll your strips a bit thinner and twist them tighter and with more turns. This compacts the layers, leading to a crisper result.
- More Bread-Like: For a softer, more bread-like texture, cut wider strips and twist them more loosely, with fewer turns. This allows the pastry to puff up more, creating a chewier, airy interior.
- Don’t Overcrowd the Baking Sheet: Give your cheese sticks plenty of space on the baking sheet. Overcrowding can lead to uneven baking and prevent them from achieving their optimal flakiness and crispness. Use multiple baking sheets if necessary.
- Monitor Your Oven: Ovens can vary. Keep a close eye on your cheese sticks during the last few minutes of baking. They can go from perfectly golden to over-browned quickly. Look for a deep golden color and a firm, crisp feel.
Perfect Pairings: What to Serve with Your Cheese Sticks
These versatile puff pastry cheese sticks are fantastic on their own, but they truly shine when paired with the right accompaniment. Here are some delicious ideas:
- Classic Dipping Sauces:
- Marinara Sauce: An obvious, timeless choice that complements the cheesy goodness beautifully.
- Garlic Butter Sauce: For an elevated, luxurious dip, try a rich homemade garlic butter sauce from our sister site, Diethood.
- Spicy Dips: Kick things up a notch with buffalo chicken dip for a zesty, creamy heat, or a vibrant hot sauce.
- Creamy Dips: A warm, comforting spinach artichoke dip or a cool ranch dressing makes a delightful contrast.
- Herb-infused Dips: Pesto, chimichurri, or a fresh herb yogurt dip offer bright, aromatic flavors.
- Guacamole or Salsa: For a Tex-Mex twist, these dips add a refreshing element.
- Sweet Dipping Sauces (for sweet variations): If you venture into the sweet territory with cinnamon-sugar breadsticks, I highly recommend serving them with my indulgent chocolate dipping sauce. A caramel sauce or even a fruit compote would also be exquisite.
- As a Side Dish: These cheese sticks make an excellent substitute for traditional breadsticks alongside almost any meal. Their flaky texture and savory flavor are perfect for soaking up delicious sauces from stews, soups, or pasta dishes. Imagine them next to a hearty chili, a creamy tomato soup, or a flavorful chicken cacciatore – they’ll add an extra layer of enjoyment to your meal.
Storage and Reheating Tips for Leftovers
It’s a rare occurrence to have any leftovers of these highly addictive cheese sticks! However, should you find yourself with an extra one or two (perhaps cleverly hidden for a midnight snack), here’s how to handle them:
- Storing Leftovers: Place any cooled leftover cheese sticks in an airtight container. They can be safely stored at room temperature for about 3-5 days. Be aware that as they sit, they will naturally lose some of their initial crispness and may become slightly drier.
- Reheating for Best Results: To bring back their delightful crunch and avoid any sogginess, I strongly recommend reheating these cheese sticks in the oven or an air fryer.
- Oven Method: Preheat your oven to 350°F (175°C). Spread the cheese sticks in a single layer on a baking sheet. Reheat for 5-10 minutes, or until they are warmed through and have regained their crisp texture.
- Air Fryer Method: Place the sticks in a single layer in your air fryer basket. Cook at 350°F (175°C) for 3-5 minutes, shaking the basket once, until hot and crispy.
- Microwave (Not Recommended): While you *can* microwave them, it will result in a soft, potentially chewy texture, and they will lose all their delightful crispiness. Only use this method if time is of the absolute essence and texture is not a primary concern.
- Freezing Baked Cheese Sticks: For longer storage, you can freeze baked cheese sticks. Allow them to cool completely, then arrange them in a single layer on a baking sheet and freeze until solid. Transfer the frozen sticks to a freezer-safe bag or container. They can be stored for up to 1-2 months. Reheat from frozen in the oven or air fryer as described above, adding a few extra minutes to the cooking time.
More Irresistible Party Food Ideas
If you loved these Puff Pastry Cheese Sticks, you’re sure to enjoy these other fantastic appetizer and snack recipes, perfect for any gathering:
- Bacon Wrapped Jalapeno Poppers: Spicy jalapeños, creamy cheese, and crispy bacon – a flavor explosion!
- Homemade Pigs in a Blanket: A timeless classic, elevated with a homemade touch.
- Soft Pretzels: Warm, chewy, and perfect for dipping in cheese sauce or mustard.
- Popcorn Shrimp: Bite-sized, crispy shrimp that are always a hit.
- Bagel Chips: Crunchy and versatile, ideal for scooping up dips or enjoying on their own.
Puff Pastry Cheese Sticks
By: Katerina | Easy Weeknight Recipes
Puff Pastry Cheese Sticks are a flaky and addictive movie night snack idea! Packed full of melted cheese and your favorite spices, these crunchy sticks will be your new favorite snack indulgence.
Prep Time: 10 minutes
Cook Time: 15 minutes
Servings: 12 cheese sticks
Ingredients
- 1 frozen puff pastry dough, thawed
- 1 tbsp olive oil
- Salt and freshly ground pepper, to taste
- ¼ tsp smoked or sweet paprika, to taste
- ¼ cup finely shredded cheddar cheese (I like to use a blend of white and yellow cheddar)
- ¼ cup freshly grated Parmesan cheese
Instructions
- Preheat oven to 400˚F (200°C).
- Line a baking sheet with parchment paper and set aside.
- Set puff pastry dough onto a lightly floured work surface to thaw.
- Brush the top of the puff pastry with olive oil.
- Season puff pastry with salt, pepper, and paprika.
- Sprinkle the top of the pastry with the cheeses and press down gently on the cheeses to adhere them to the dough.
- Using a pizza cutter or sharp knife, cut the dough into 10 to 12 long strips, about 1-inch wide.
- Pick up a strip of dough, place it seasoned-side-down on your work surface; hold one end with one hand, and the other end with your other hand, and twist from both ends about 8 times.
- Transfer each twisted strip of dough to the previously prepared baking sheet, ensuring some space between them.
- Bake for 10 minutes; then, flip them over and continue to bake for 5 to 8 more minutes, or until browned and crisp.
- Remove from oven and serve warm.
Nutrition Information
(Approximate values per serving)
- Calories: 141 kcal
- Carbohydrates: 9g
- Protein: 3g
- Fat: 10g
- Saturated Fat: 3g
- Cholesterol: 4mg
- Sodium: 97mg
- Potassium: 12mg
- Fiber: 1g
- Sugar: 1g
- Vitamin A: 42IU
- Calcium: 42mg
- Iron: 1mg
Nutritional information is an estimate and provided as a courtesy. Values may vary according to the ingredients and tools used. Please use your preferred nutritional calculator for more detailed information.