
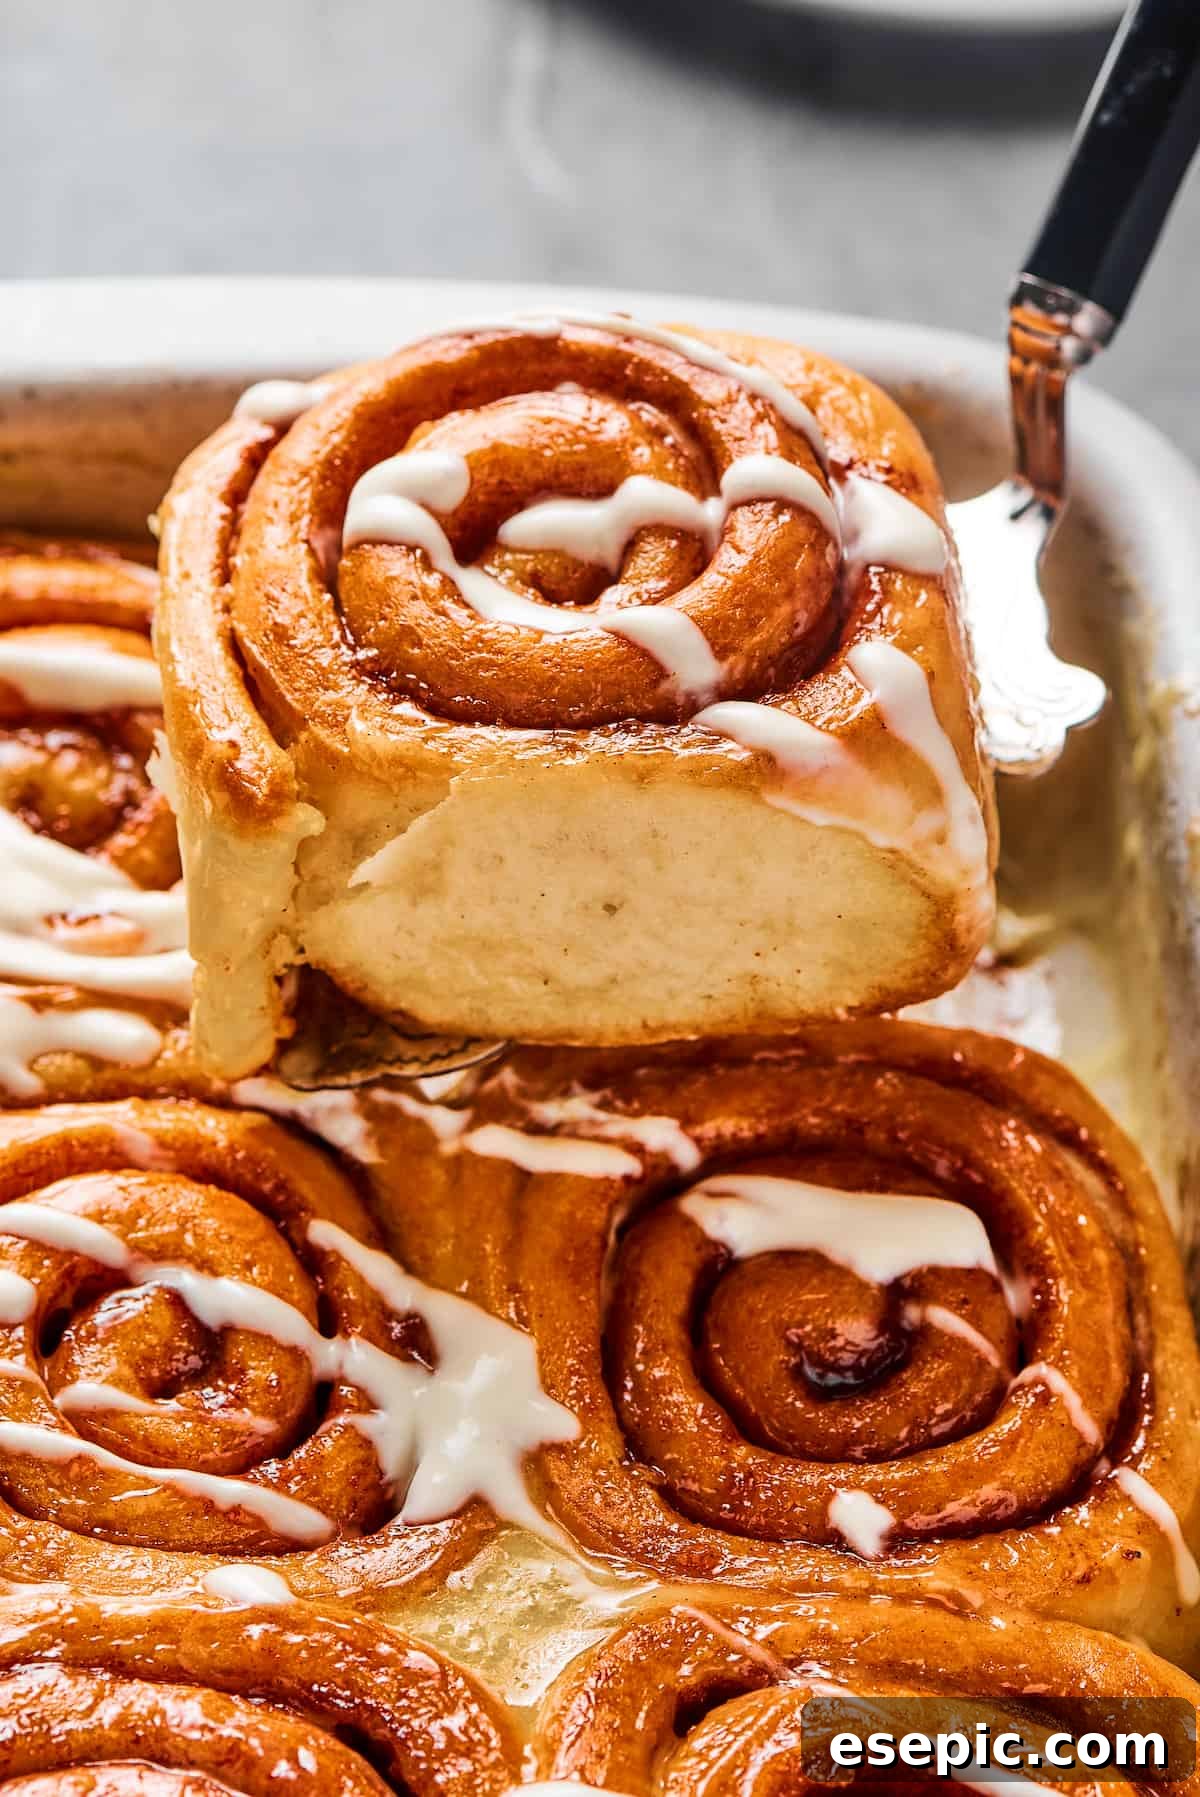
Indulge in the irresistible allure of unbelievably soft, gloriously sticky Cinnamon Rolls from Scratch. This ultimate guide will walk you through creating bakery-quality cinnamon rolls right in your own kitchen, a culinary triumph that promises to be both rewarding and utterly delicious. Imagine a warm, sweet yeast dough, generously swirled with rich real butter and aromatic cinnamon sugar, then crowned with a luscious, creamy glaze. These homemade delights are so heavenly, your family will undoubtedly declare them the best and eagerly vie for the very last roll!
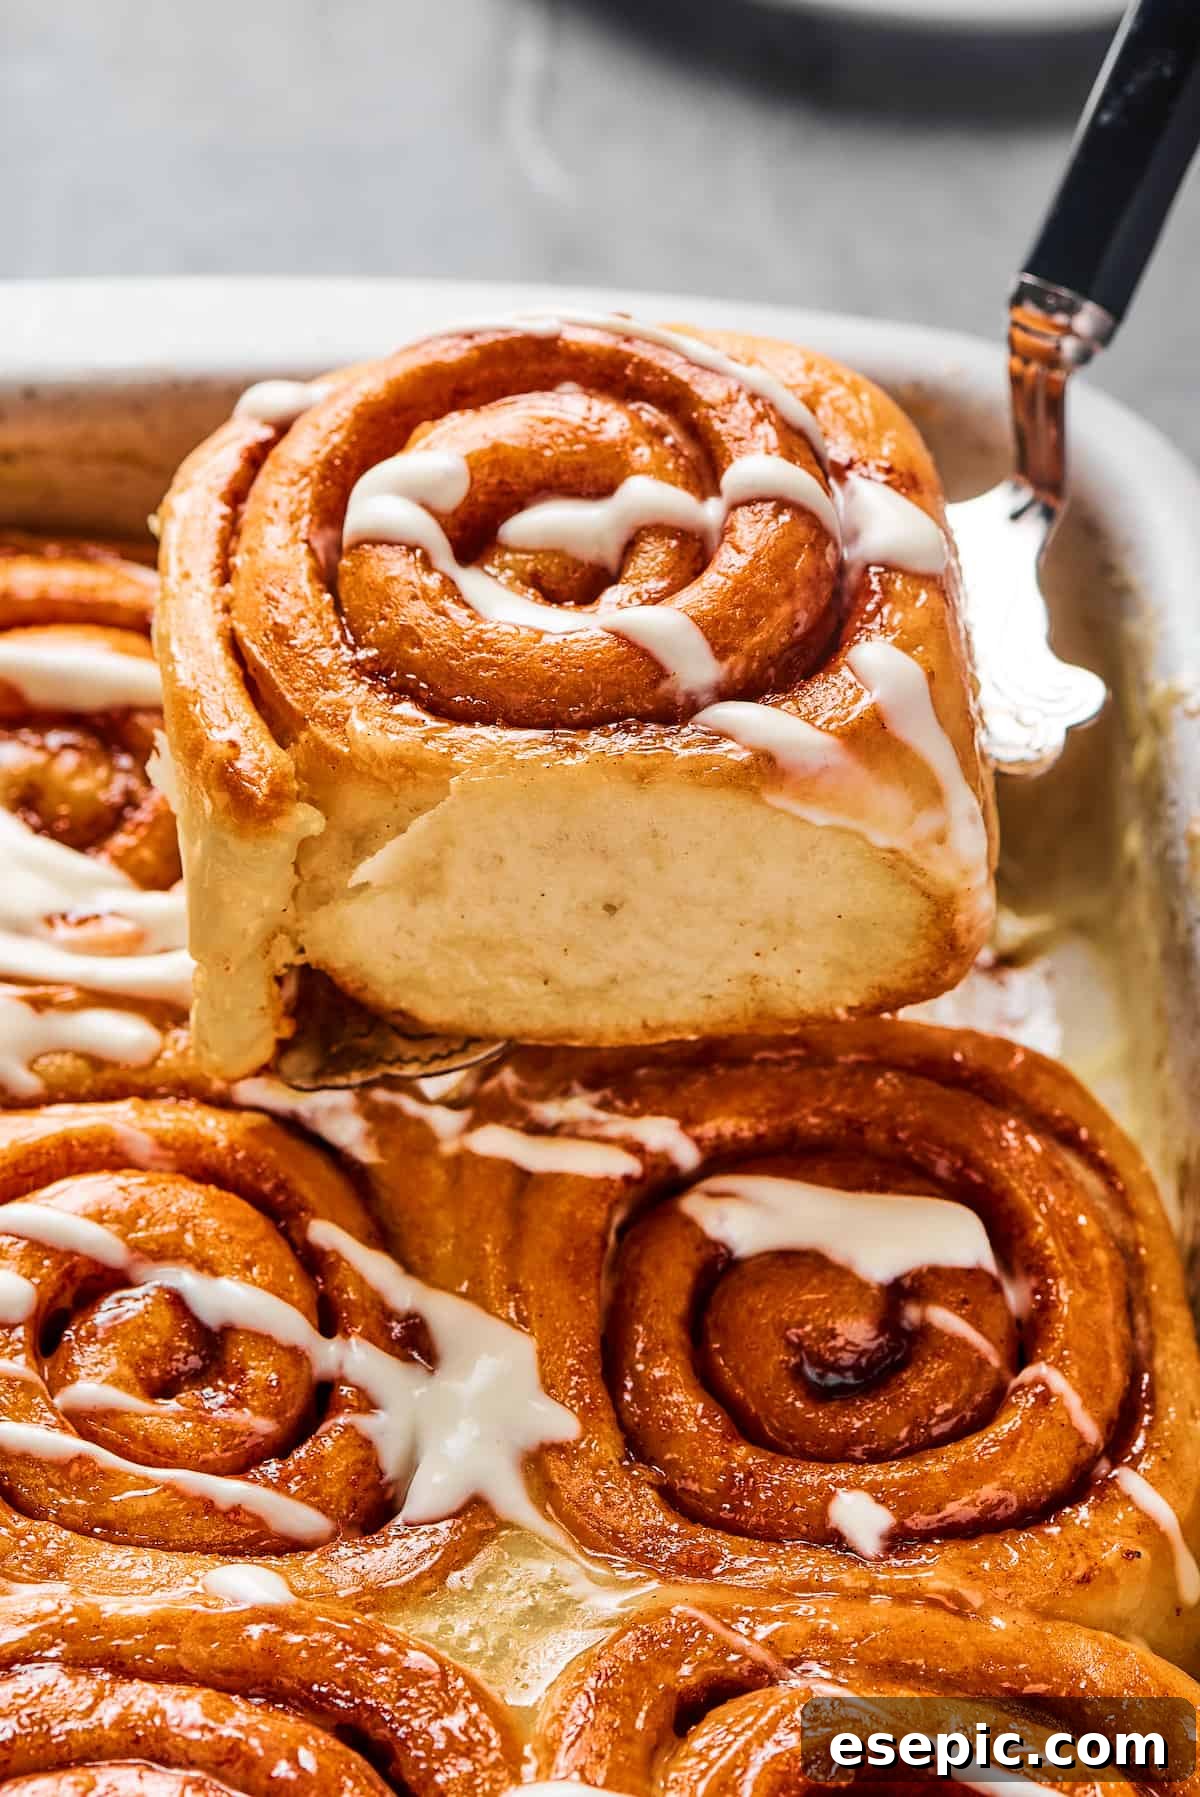
The Unmatched Joy of Real, Made-From-Scratch Cinnamon Rolls
While there’s a time and place for convenience – a quick stop at your local bakery or coffee shop for a treat – some moments truly call for the dedication and satisfaction of creating something extraordinary from the ground up. Crafting your own bakery-style delights, like these exquisite homemade cinnamon rolls, offers an unparalleled sense of achievement and a taste that simply can’t be replicated by store-bought versions.
Whether it’s the festive cheer of Christmas cookies, the romantic sweetness of a Valentine’s dessert, or a perfectly baked batch of fluffy cinnamon rolls, the most memorable and cherished sweets are almost always the ones you lovingly prepare yourself. There’s a magic in the process, from kneading the dough to watching it rise, that transforms simple ingredients into something truly special.
I find immense joy in baking cinnamon rolls, or any sweet yeast roll for that matter, on a leisurely weekend morning. It’s particularly delightful during spring or summer breaks, when the mornings are still cool enough to fire up the oven, filling the house with an inviting aroma, and surprising the kids with a warm, gooey breakfast before the day heats up. Of course, these sweet rolls are equally perfect for chasing away the chill on a crisp winter’s day, providing comfort and warmth from the inside out. Regardless of the season, the process is surprisingly straightforward, and dare I say, quite enjoyable!
Beyond the delicious outcome, baking from scratch offers several advantages. You have complete control over the quality of ingredients, ensuring no artificial flavors or preservatives. It’s a wonderful way to connect with your food, understand the baking process, and create cherished memories with loved ones gathered around a fresh batch. The delightful aroma that permeates your home as these rolls bake is a bonus, creating an atmosphere of warmth and hospitality.
Cinnamon Rolls vs. Cinnamon Buns: Unraveling the Sweet Mystery
It’s trivia time for sweet pastry enthusiasts! You might often hear the terms “cinnamon roll” and “cinnamon bun” used interchangeably, and you wouldn’t be entirely wrong. In many regions and bakeries, these two iconic sweet treats are essentially the same thing, offering a rich, spiced, and often glazed experience. You could easily order a “cinnamon roll” at one establishment and a “cinnamon bun” at another, and find yourself enjoying a very similar, equally delightful pastry.
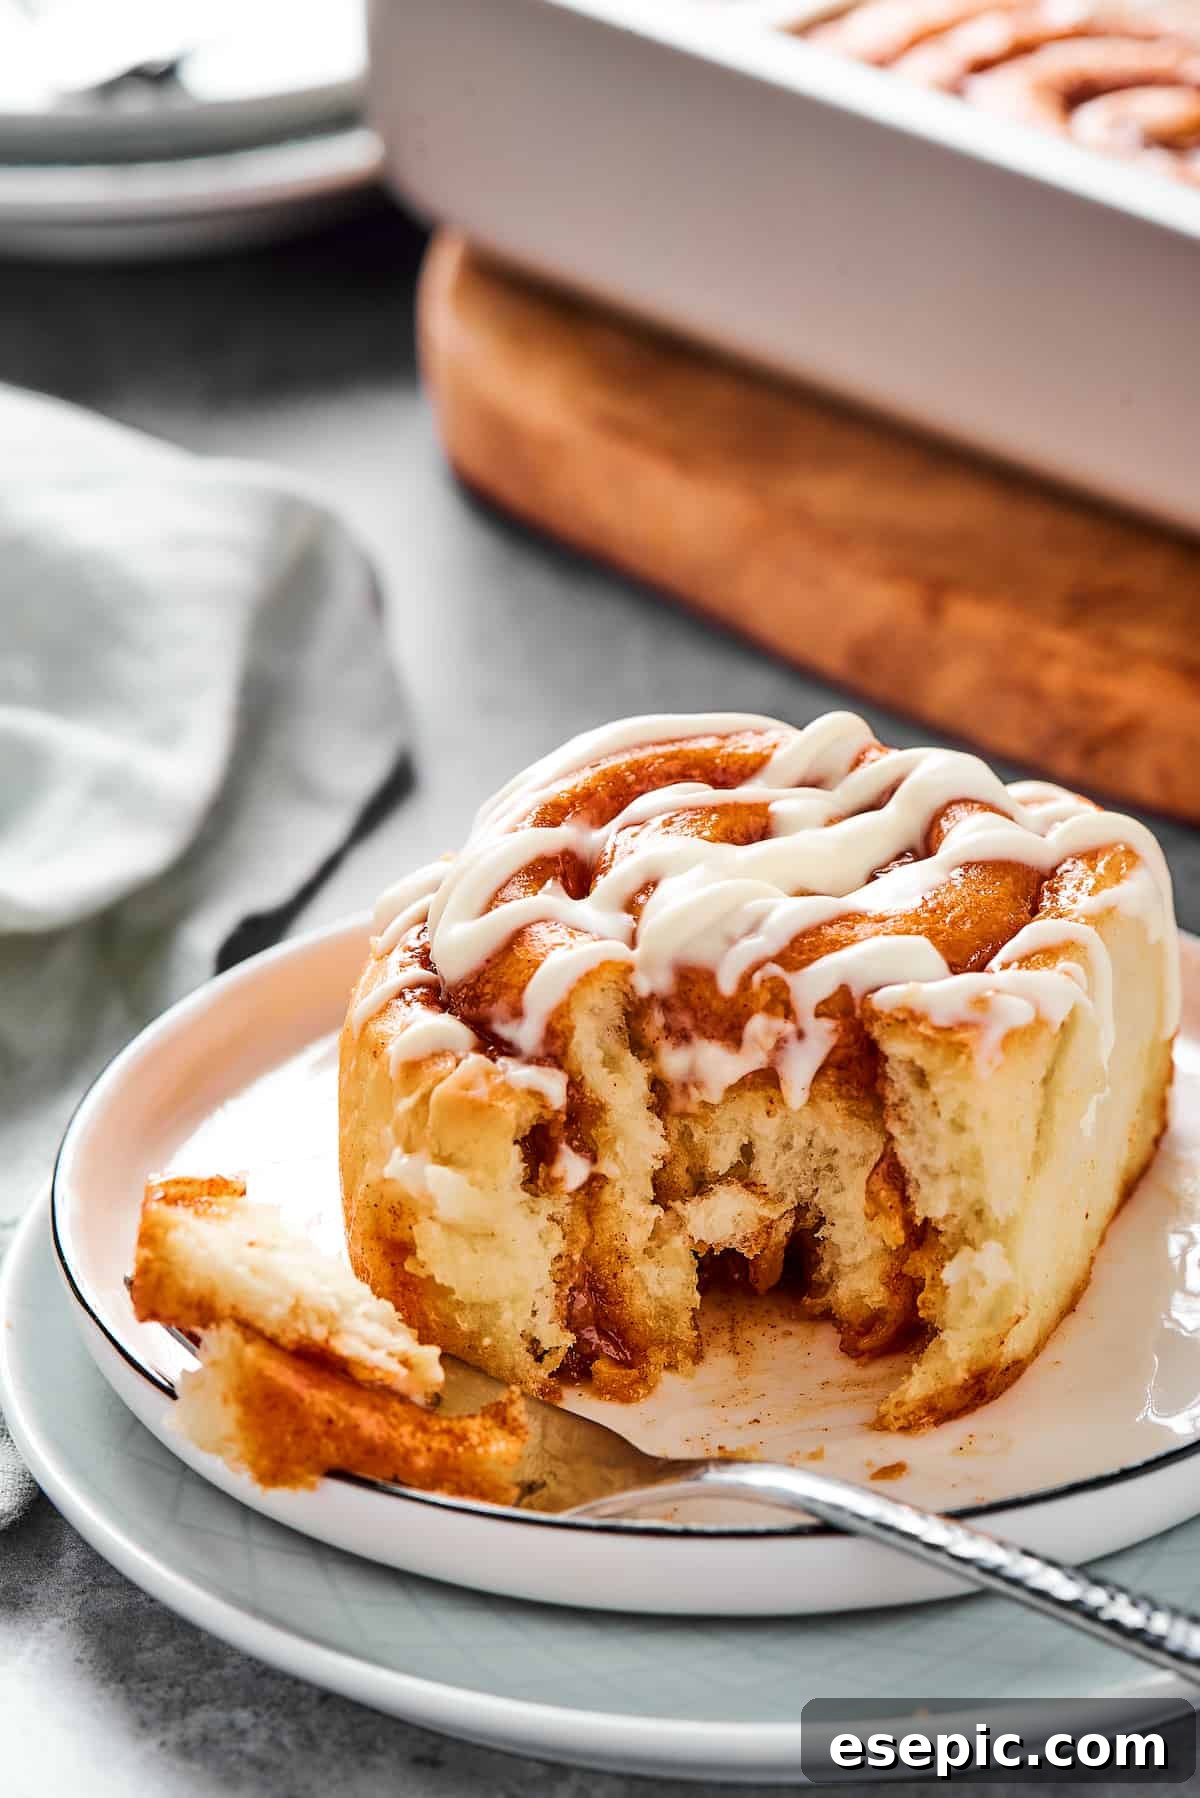
However, for those who love to delve into the finer details of culinary distinctions, there can be subtle differences. Historically, some traditions suggest that “cinnamon buns” are more likely to incorporate nuts (such as pecans or walnuts) into their filling or topping, and might even forgo a creamy glaze in favor of a stickier, caramelized sugar coating, often baked upside down. “Cinnamon rolls,” on the other hand, are typically defined by their soft, fluffy dough, generous cinnamon-sugar swirl, and a thick, sweet cream cheese or vanilla glaze drizzled over the top. This recipe, with its soft dough, abundant cinnamon-sugar filling, and smooth, creamy glaze, firmly falls into the beloved “cinnamon roll” category.
Ultimately, whether you call them rolls or buns, the core elements remain a sweet, spiced, and utterly comforting pastry. Whatever the nomenclature, rest assured, these homemade treats are designed to satisfy every craving for a classic, gooey, and utterly delicious cinnamon roll experience.
The Essential Ingredients for Perfect Cinnamon Rolls
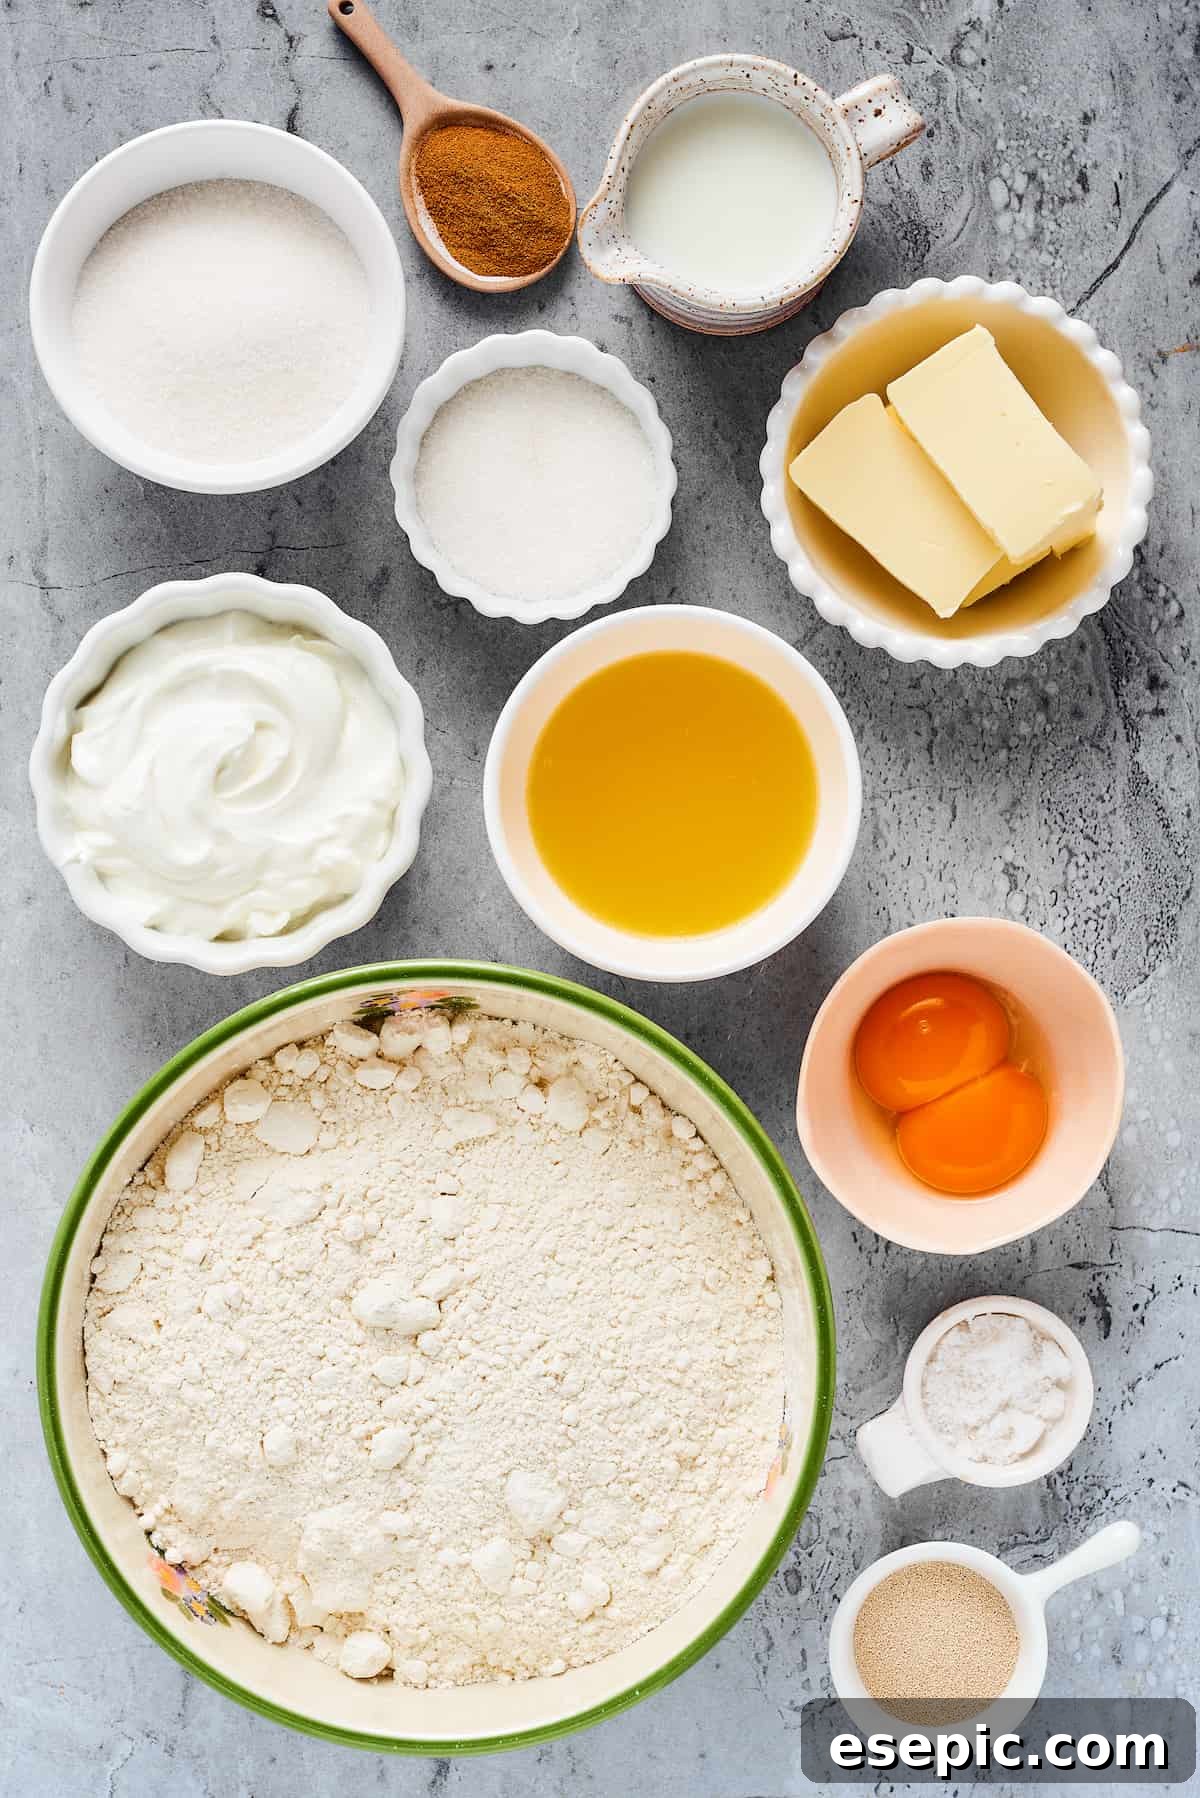
Creating truly authentic, melt-in-your-mouth cinnamon rolls from scratch requires only a handful of simple, wholesome ingredients. There’s no need for anything artificial here; just pure, high-quality components that come together to form a remarkably decadent treat. You can truly feel good about indulging in these, even with all their delightful calories, because you know exactly what goes into them. Let’s gather our pantry staples!
For the Velvety Dough
- Flour: We’ll be using soft spelt flour for its delicate texture and slightly nutty flavor. You’ll also need a little extra for dusting your work surface during rolling and kneading to prevent sticking. Spelt flour creates a wonderfully tender crumb, but all-purpose flour can be used as an alternative (see ‘Recipe Notes’ for adjustments).
- Milk: Crucial for activating the yeast and adding moisture to the dough. Ensure the milk is warm, ideally between 105-115°F (40-46°C), but never hot, as excessively high temperatures will kill the yeast.
- Yeast: Instant dry yeast is our secret weapon for a speedy and reliable rise. It doesn’t require prior proofing, making the dough-making process even simpler.
- Butter: Melted butter infuses the dough with rich flavor and contributes to its tender, luxurious texture. Quality butter makes a noticeable difference in the final taste.
- Sugar: A modest amount of granulated sugar provides just enough sweetness to the dough itself, complementing the sweet filling without being overpowering.
- Salt: A pinch of salt is vital for balancing the flavors and enhancing the overall taste of the dough. Don’t skip it!
- Egg Yolks: These are the magic touch that enriches the dough, lending it a beautiful golden hue, incredible tenderness, and that unmistakable “bakery-style” taste and texture we all crave.
For the Irresistible Filling
- Butter: More butter! This time, softened at room temperature, it acts as the adhesive for the cinnamon sugar and contributes to the gooey texture of the filling.
- Cinnamon and Sugar: The iconic duo! A generous blend of aromatic ground cinnamon and finely granulated confectioners’ sugar creates that classic, sweet, and spicy swirl.
- Salt: Just a tiny pinch here too, to enhance the depth of flavor in the filling.
For the Silky Glaze
- Cream: Heavy cream forms the base of our glaze, ensuring it’s luxuriously rich, smooth, and flows beautifully over the warm rolls.
- Confectioners’ Sugar: Also known as powdered sugar, this dissolves effortlessly into the cream, creating a smooth glaze without needing any cooking or heating. It gives the glaze its desirable sweetness and silky texture.
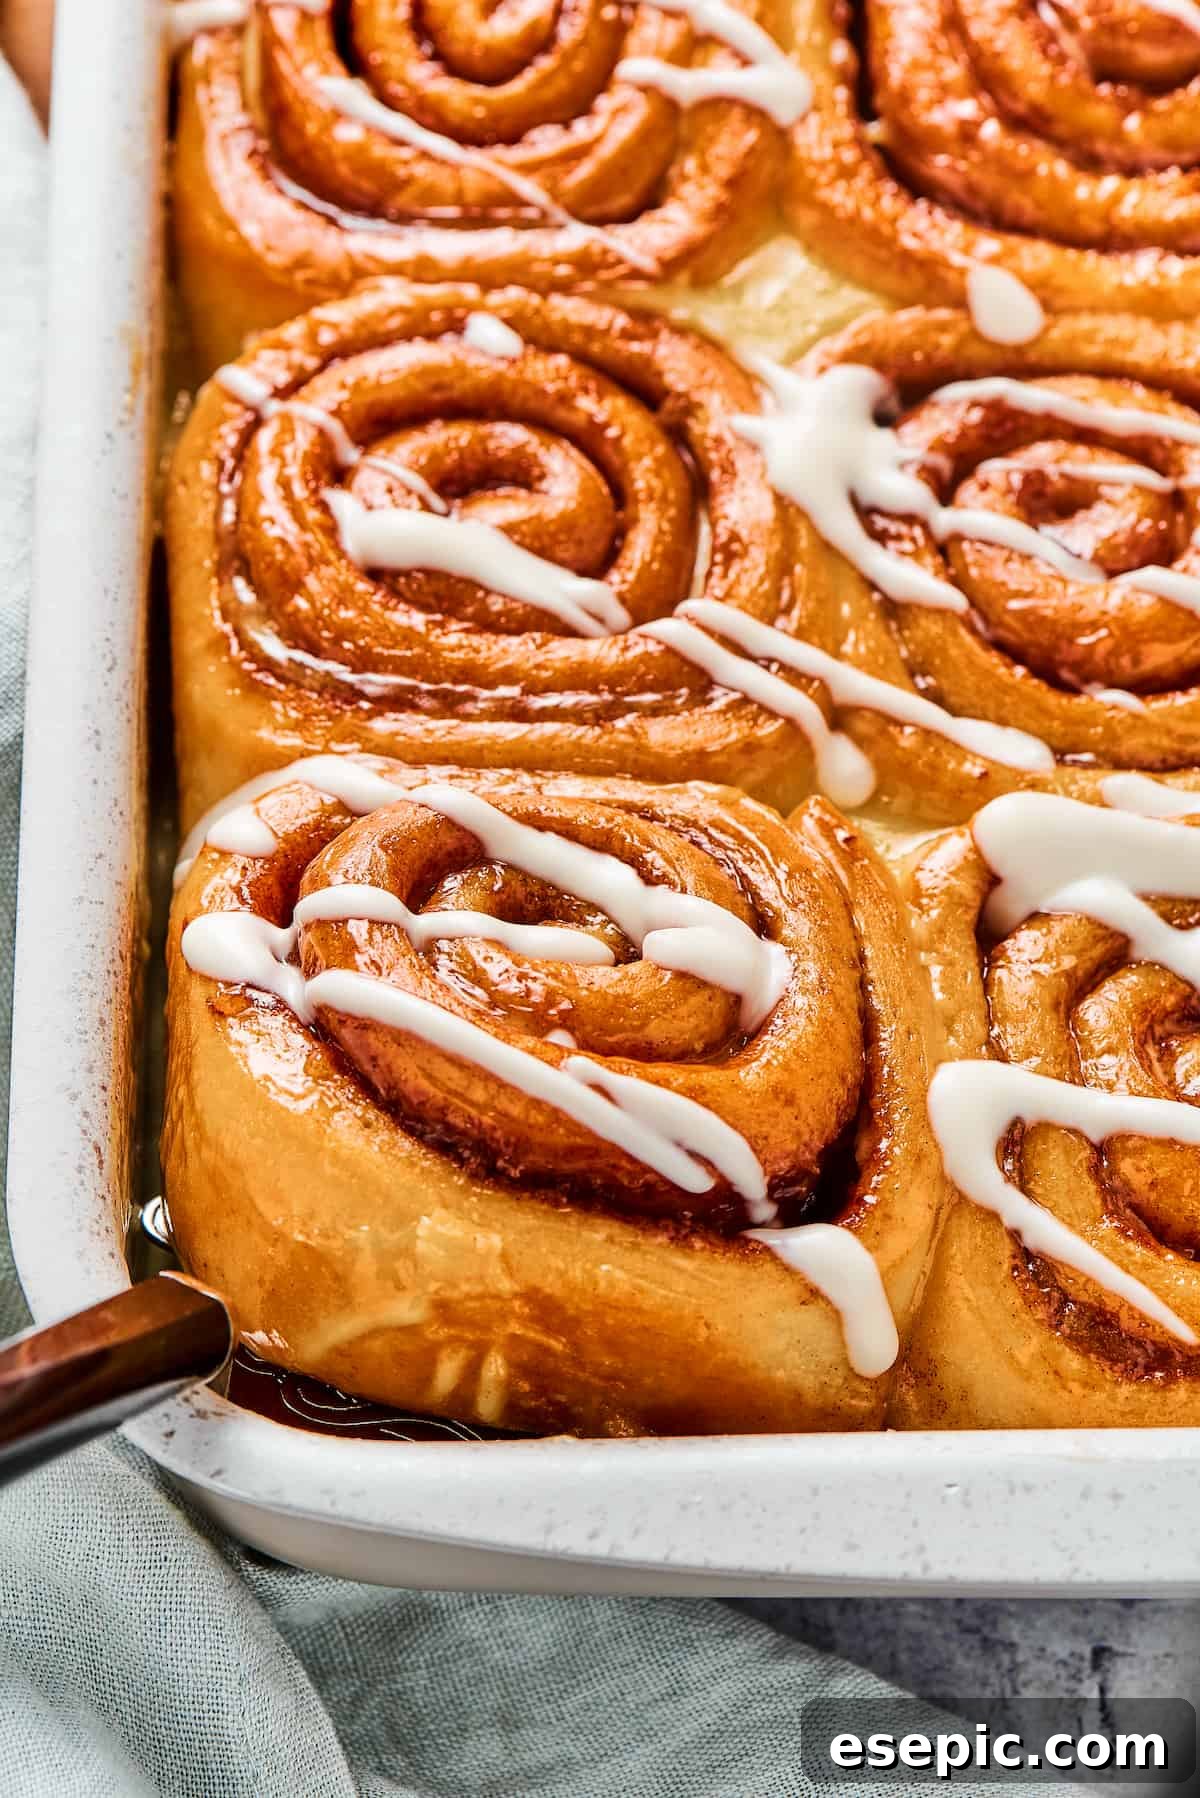
Crafting Perfection: A Step-by-Step Guide to Homemade Cinnamon Rolls
Making cinnamon rolls from scratch is a labor of love, a delightful baking journey divided into three main stages. While it does require a little time and patience, the incredible results are well worth every moment. For the most satisfying outcome, I highly recommend reading through the entire recipe a few times before you begin. This will help you visualize each step and ensure a smooth baking experience. Don’t worry if your rolls finish baking earlier than expected – these beauties reheat wonderfully, maintaining their soft and gooey texture.

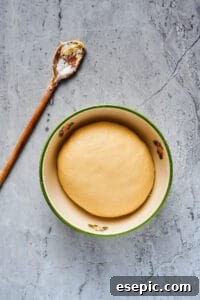
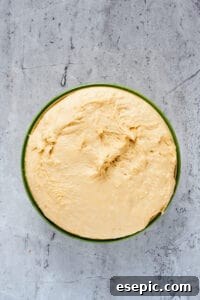
Phase 1: Preparing the Perfect Dough
- Combine Dry and Wet Ingredients: Begin by grabbing a spacious mixing bowl. Into this bowl, whisk together your flour, granulated sugar, and instant dry yeast until they are thoroughly combined. Next, introduce the wet ingredients: the melted butter, the carefully warmed (but not hot!) milk, the rich egg yolks, and the essential pinch of salt. Stir these ingredients together vigorously, either with a sturdy spoon or a dough hook on a stand mixer, until a cohesive dough starts to form, pulling away from the sides of the bowl.
- Knead for Elasticity: Turn the emerging dough out onto a clean, lightly floured work surface. Now comes the kneading – an essential step for developing the gluten structure. Knead the dough consistently for about 5 to 8 minutes. You can also perform this step effectively in your stand mixer using the dough hook attachment until it forms a smooth, elastic ball. The goal is a dough that feels stretchy and slightly sticky to the touch, but crucially, not wet or excessively tacky. This elasticity will give your rolls their signature fluffy texture.
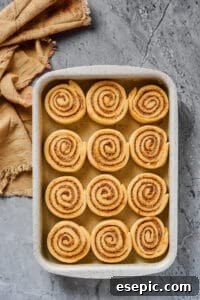
- The First Rise (Proofing): Gently form your kneaded dough into a smooth ball. Lightly oil a clean bowl, then place the dough ball inside, turning it over once to ensure it’s thinly coated with oil on all sides. This prevents the dough from drying out. Cover the bowl snugly with plastic wrap and place it in a warm, draft-free spot. This is where the magic of yeast happens! Allow the dough to rise for approximately 1 to 1 ½ hours, or until it has visibly doubled in size. The exact time will depend on the warmth of your kitchen environment.
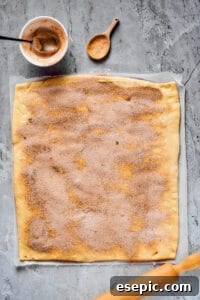

Phase 2: Filling and Shaping the Rolls
- Prepare the Cinnamon Sugar: Once your dough has beautifully risen, take a small bowl and combine the confectioners’ sugar with the ground cinnamon. Stir well to ensure an even distribution of spices. Set this fragrant mixture aside for a moment.
- Roll Out the Dough: Gently punch down the risen dough to release the air. Turn it out onto a clean work surface that has been lightly floured. Using a rolling pin, carefully roll the dough into a large rectangle, aiming for dimensions of approximately 16×19 inches. If you desire even more delightful swirls in your finished cinnamon rolls, you can roll the dough slightly larger, around 19×22 inches. The key here is to maintain a fairly even thickness across the entire rectangle to ensure consistent baking.
- Generously Apply Filling: Now for the delicious heart of the rolls! Evenly spread the softened room-temperature butter across the entire surface of the dough rectangle, extending it all the way to the edges. Following this, generously sprinkle the prepared cinnamon sugar mixture evenly over the butter. This buttery, sugary layer will melt and caramelize during baking, creating that iconic gooey filling.
- Roll and Slice: Starting from one of the long sides of your dough rectangle, carefully and tightly roll the dough inwards, creating a long, uniform log. Rolling it tightly is crucial for achieving those beautiful, well-defined spirals. Once rolled, turn the log over so that the seam side is resting underneath. Using a very sharp knife or even a piece of dental floss (unwaxed, unflavored works best!), slice the dough log into 12 even portions. Arrange these individual cinnamon roll spirals in a greased baking dish, ensuring they are evenly spaced to allow for expansion during their second rise.
- The Second Rise: Cover your arranged rolls loosely with plastic wrap. Place the baking dish in a warm area and allow the rolls to undergo their second rise for about 30 minutes, or until they have visibly doubled in size and look puffy. This final rise contributes to their ultimate lightness and fluffiness.
Phase 3: Baking and Glazing to Perfection
- Preheat the Oven: As your cinnamon rolls are nearing the end of their second rise, preheat your oven to 350°F (175°C). This ensures the oven is at the correct temperature for even baking.
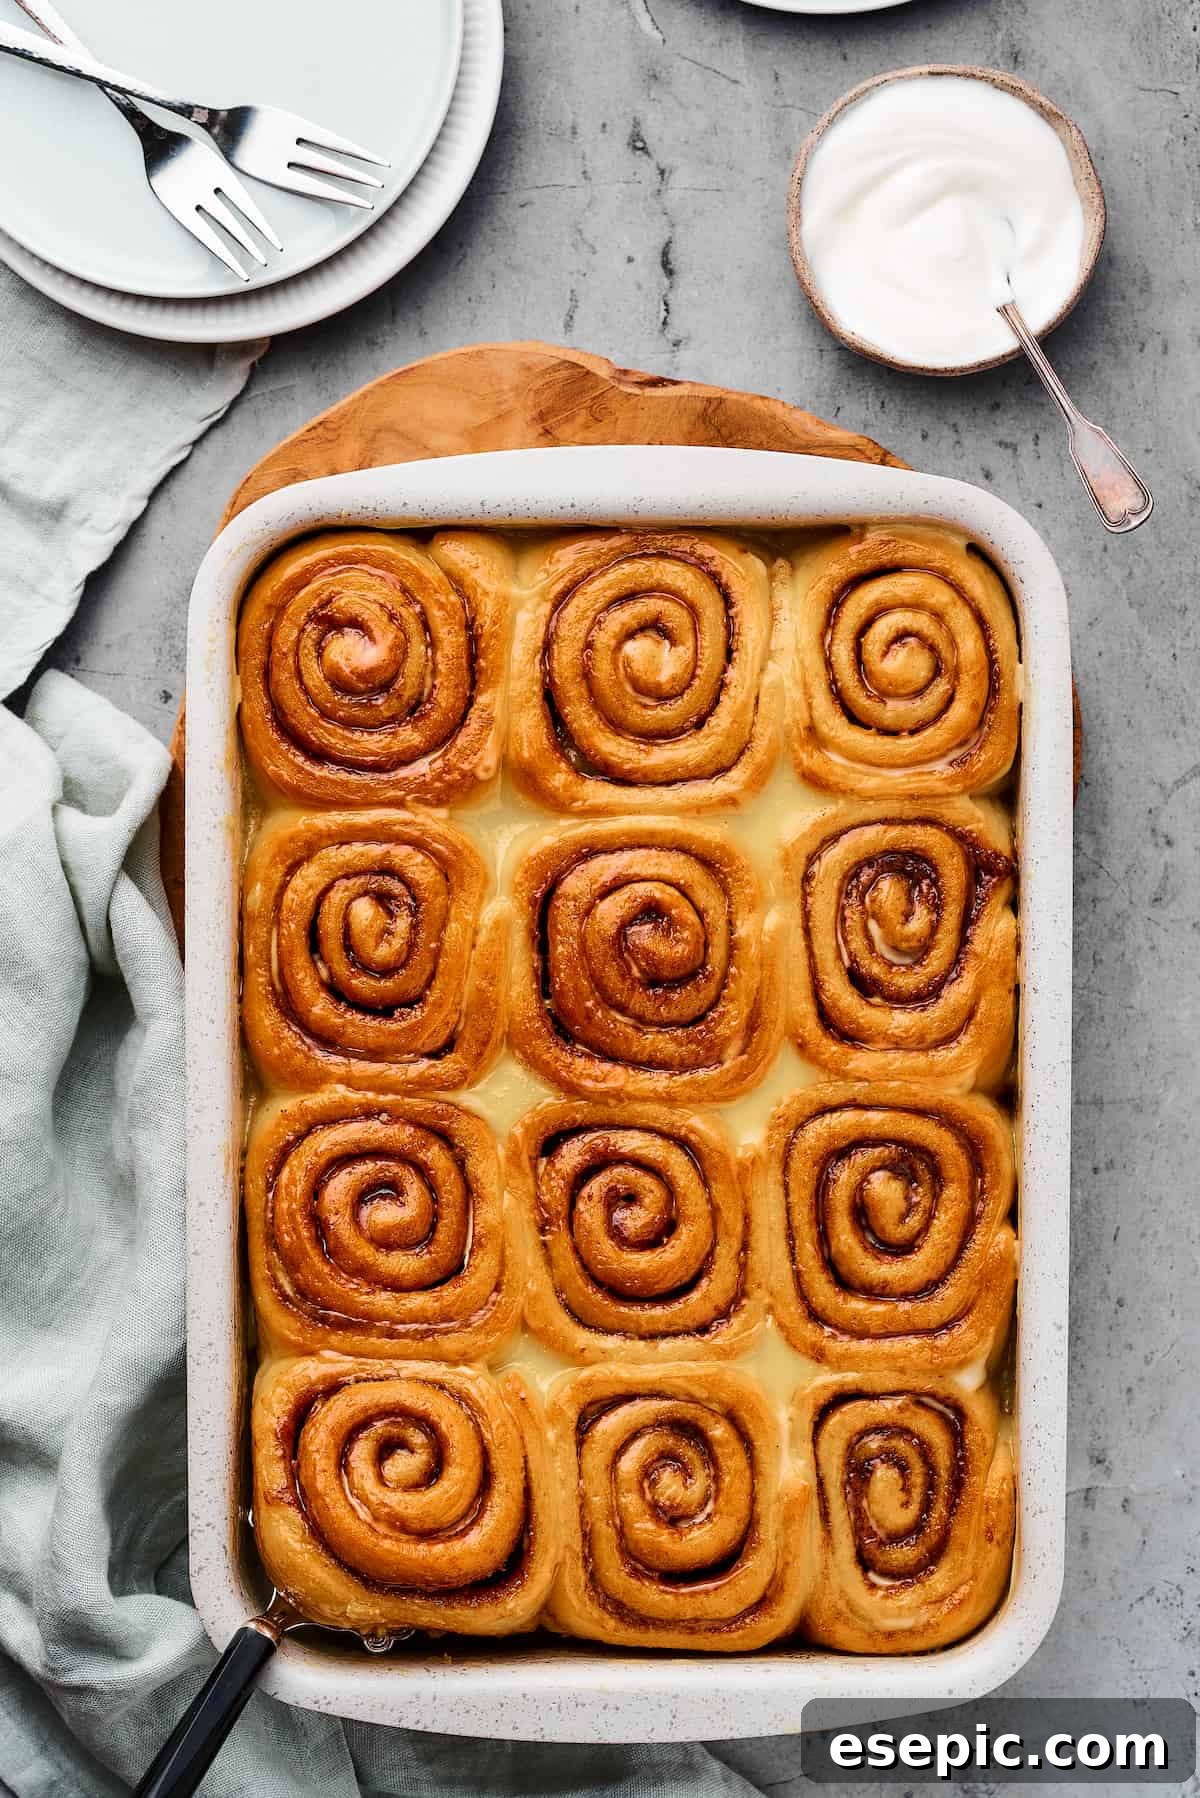
- Bake Until Golden: Carefully remove the plastic wrap from the risen cinnamon rolls. Place the baking dish into the preheated oven and bake for approximately 17 to 20 minutes. Keep a close eye on them; they are perfectly done when the tops are beautifully golden-brown and the centers feel soft and puffy. Once baked, remove them from the oven and set them aside to cool slightly while you prepare the irresistible glaze.
Finishing Touch: The Creamy Glaze
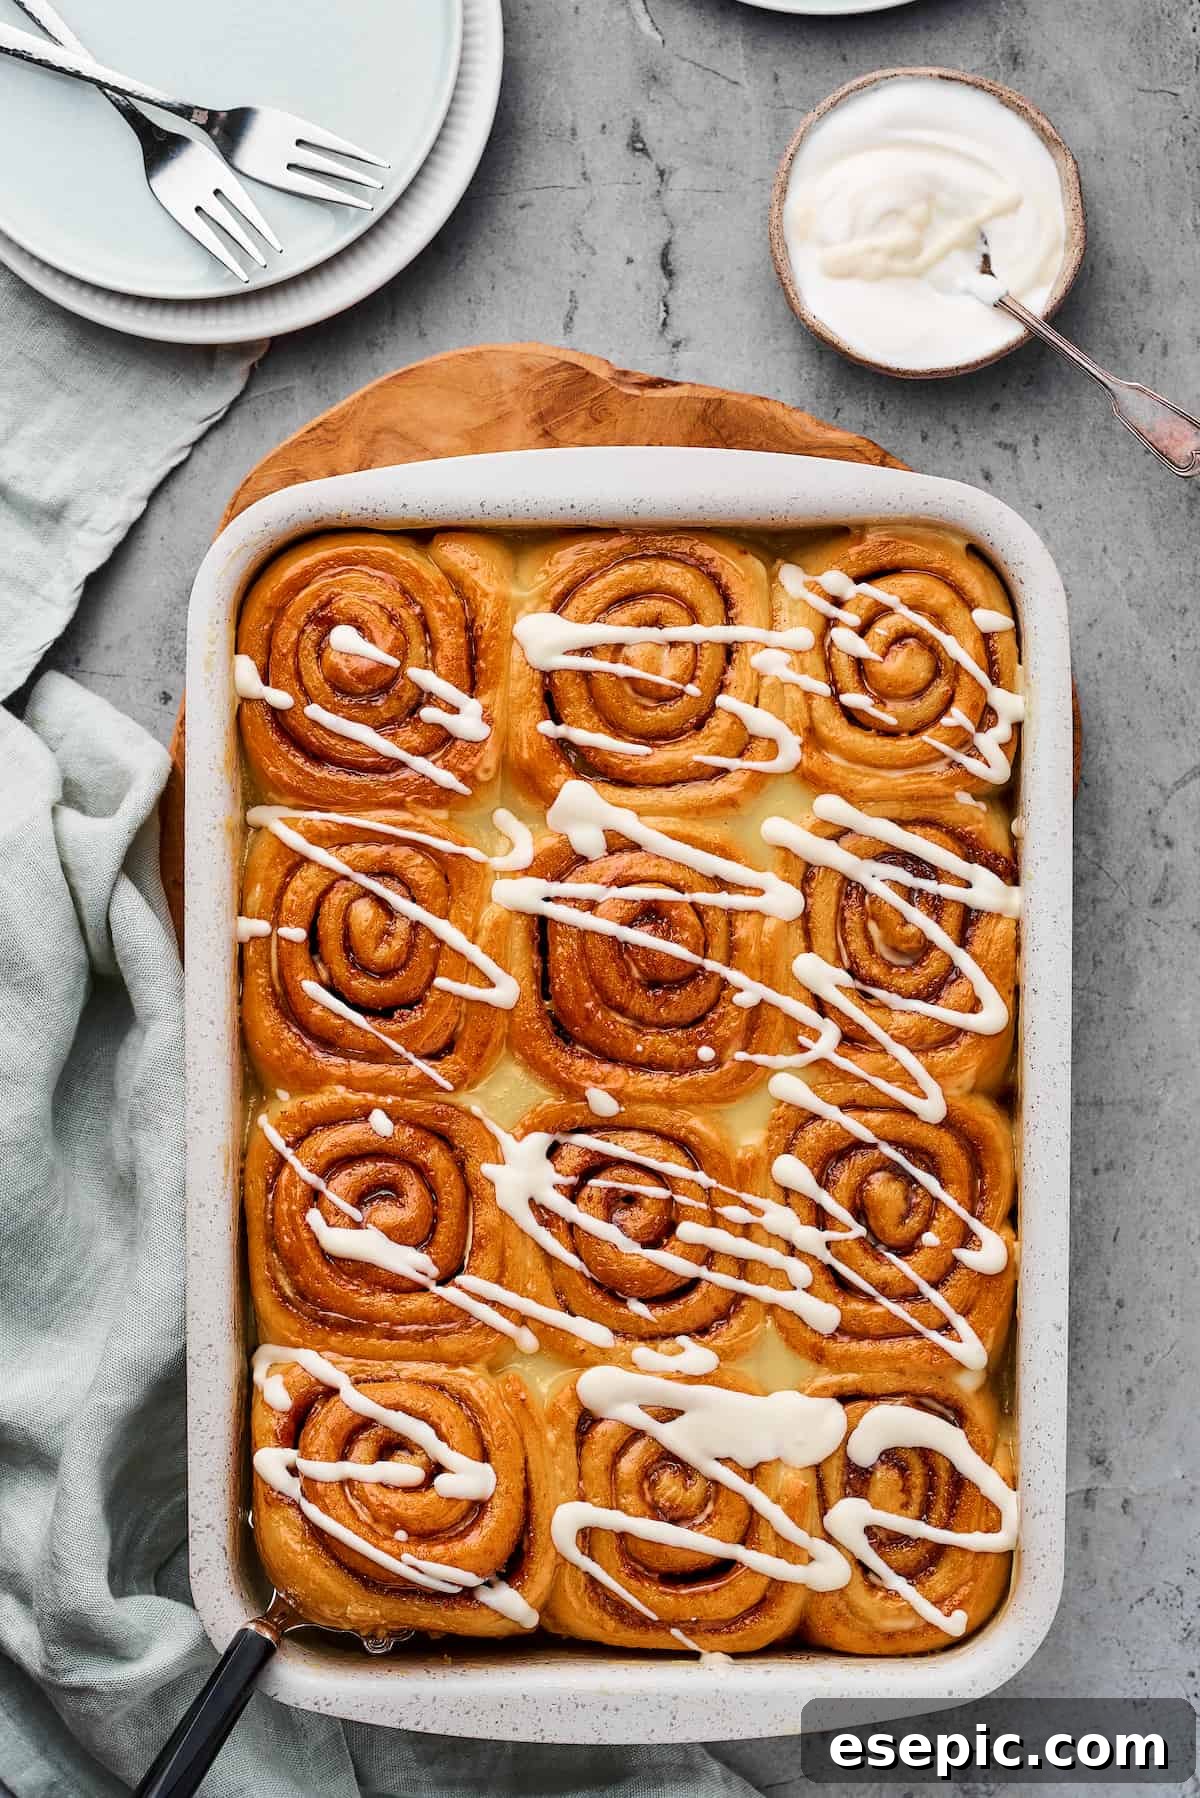
- Whisk the Glaze: In a medium-sized mixing bowl, combine the confectioners’ sugar and the heavy cream. Whisk these two ingredients together thoroughly until you achieve a wonderfully smooth, pourable glaze with no lumps. For an extra touch of flavor, a splash of vanilla extract can be added to the glaze.
- Glaze Generously: While the cinnamon rolls are still warm (but not piping hot), generously spoon or drizzle the creamy glaze over the entire pan. The warmth of the rolls will help the glaze melt slightly and seep into all the nooks and crannies, making them incredibly moist and sticky. For an even more indulgent experience, feel free to add an extra layer or a delicate sprinkle of glaze just before serving.
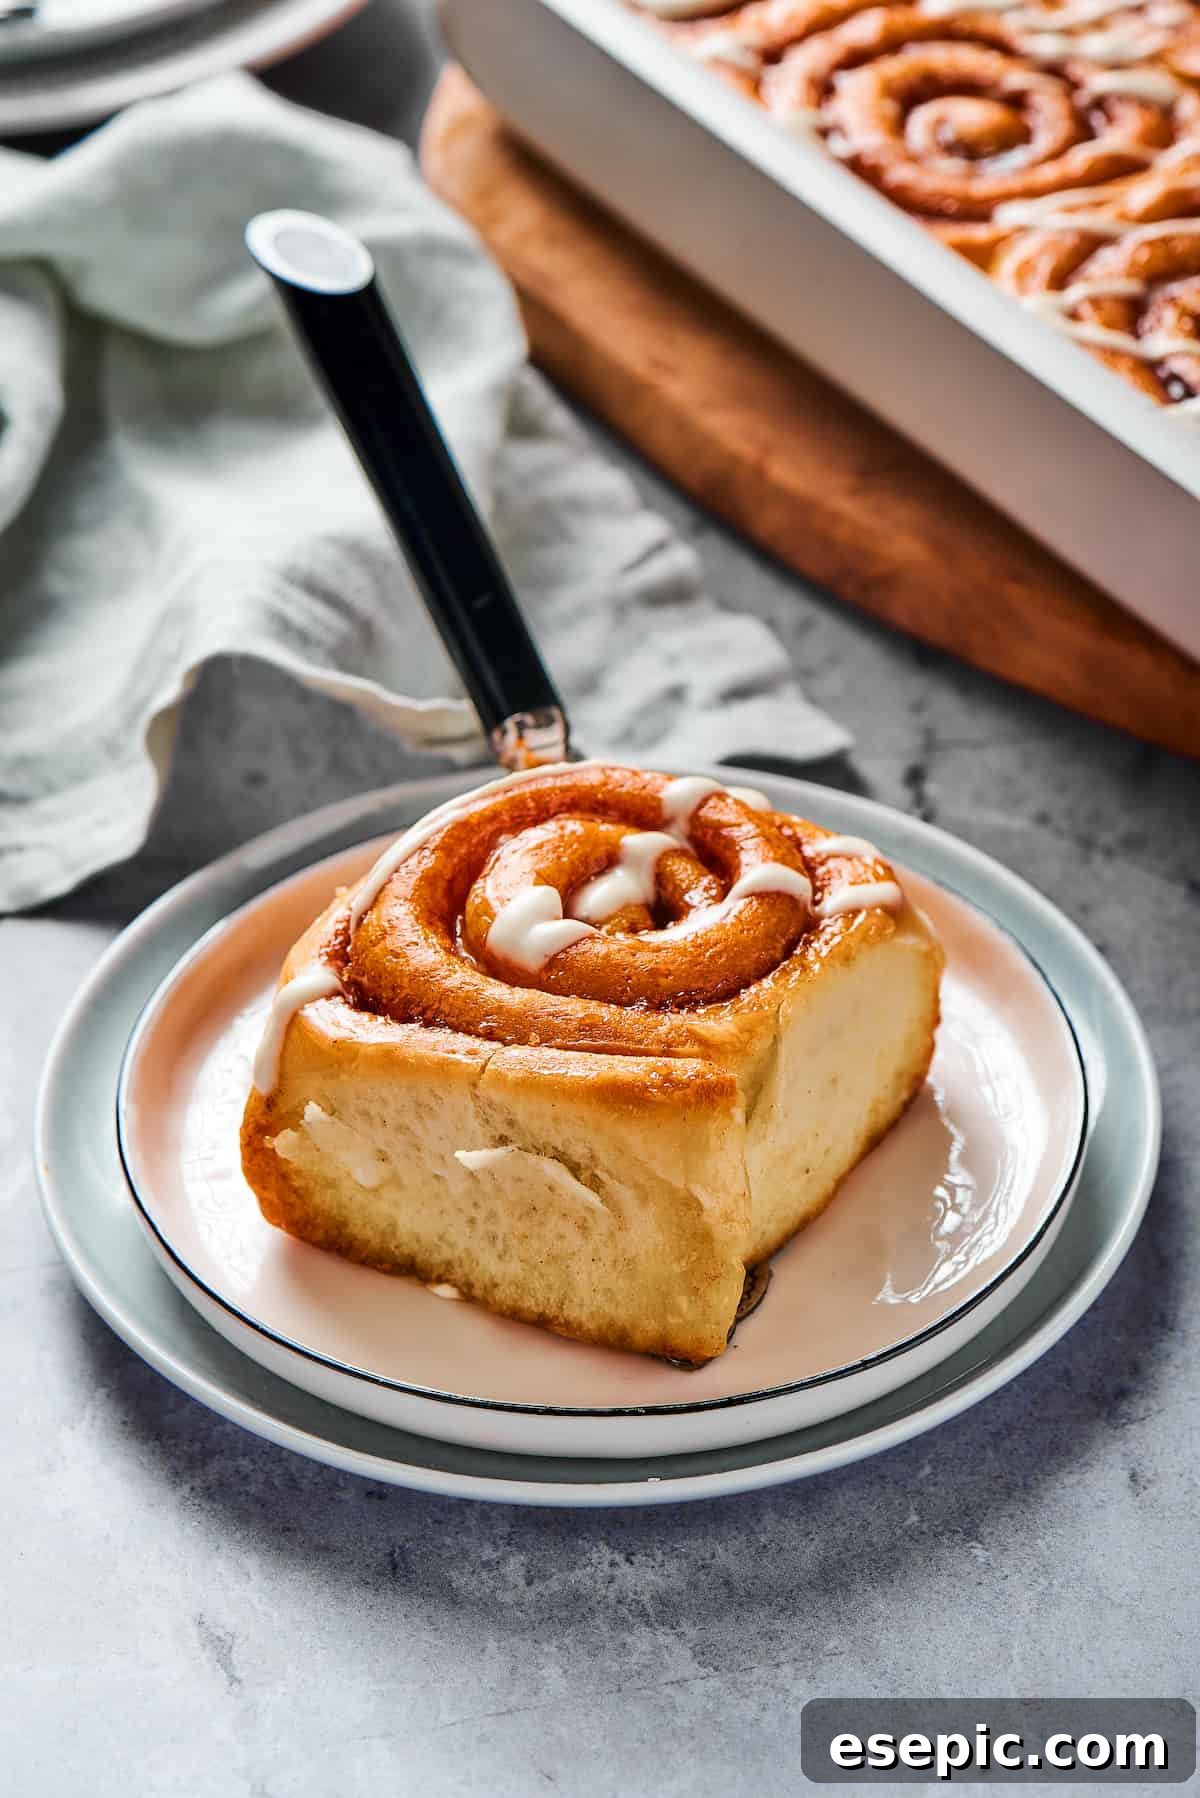
- Serve and Enjoy! These homemade cinnamon rolls are best enjoyed fresh from the oven, warm and gooey. Prepare for immediate adoration and requests for seconds!
Expert Tips for Cinnamon Roll Success
To ensure your homemade cinnamon rolls turn out absolutely perfect every time, I’m thrilled to share a few more helpful hints and troubleshooting tips. These simple insights are designed to make your baking experience smooth and your breakfast an undeniable triumph.
- Flour Choices and Adjustments: While this recipe calls for spelt flour, which contributes to a wonderfully tender crumb, other flours like all-purpose flour are certainly viable alternatives. However, different flours absorb liquids at varying rates. If you opt for all-purpose flour or notice your dough feels too dry and stiff, you might need to add a touch more warm milk, a teaspoon at a time, until the desired consistency is achieved. Conversely, if your dough feels too wet or sticky, sprinkle in a little more flour until it becomes manageable and stretchy. The key is to achieve a dough that is soft, pliable, and slightly tacky, but not unworkably sticky.
- Instant Yeast Simplicity: One of the beauties of instant dry yeast is its convenience. Unlike active dry yeast, there’s no need to “proof” or dissolve it in warm milk beforehand. You can confidently add it directly into your dry ingredients (flour, sugar) and then mix in the wet components. Just ensure your milk is warm enough to activate it, but not too hot.
- Kneading Techniques: Kneading is fundamental for developing the gluten that gives your cinnamon rolls their structure and chewiness. Feel free to knead your dough by hand, enjoying the tactile process of bringing the ingredients together. Alternatively, a stand mixer fitted with a dough hook makes the task effortless. Whichever method you choose, dedicate the full 5-8 minutes to kneading until the dough transforms into a smooth, elastic, and springy ball. A well-kneaded dough will stretch without tearing easily.
- Mastering the Rise: Dough rising times are highly variable and largely depend on the temperature of your kitchen. A warmer environment will result in a faster rise, while a cooler kitchen will slow the process significantly. Instead of strictly adhering to the exact timeframes in the recipe, rely on visual cues: the dough should double in size. For a warm spot, you can place the covered bowl in a slightly warm (but turned off) oven, near a sunny window, or on top of a warm appliance. Avoid overly hot spots, which can overproof the dough or affect its flavor.
- Cutting the Rolls: For perfectly clean, uniform slices, a very sharp, un-serrated knife works wonders. Alternatively, many bakers swear by using unflavored, unwaxed dental floss! Simply slide a piece of floss under the log, cross the ends over the top, and pull them tightly to cut through the dough. This method creates beautifully round rolls without squishing them.
- Don’t Overbake: Cinnamon rolls are best when they are slightly underbaked in the center, ensuring a gooey, moist texture. Watch for golden-brown tops, but don’t wait for them to turn dark brown, as this could lead to dry rolls.
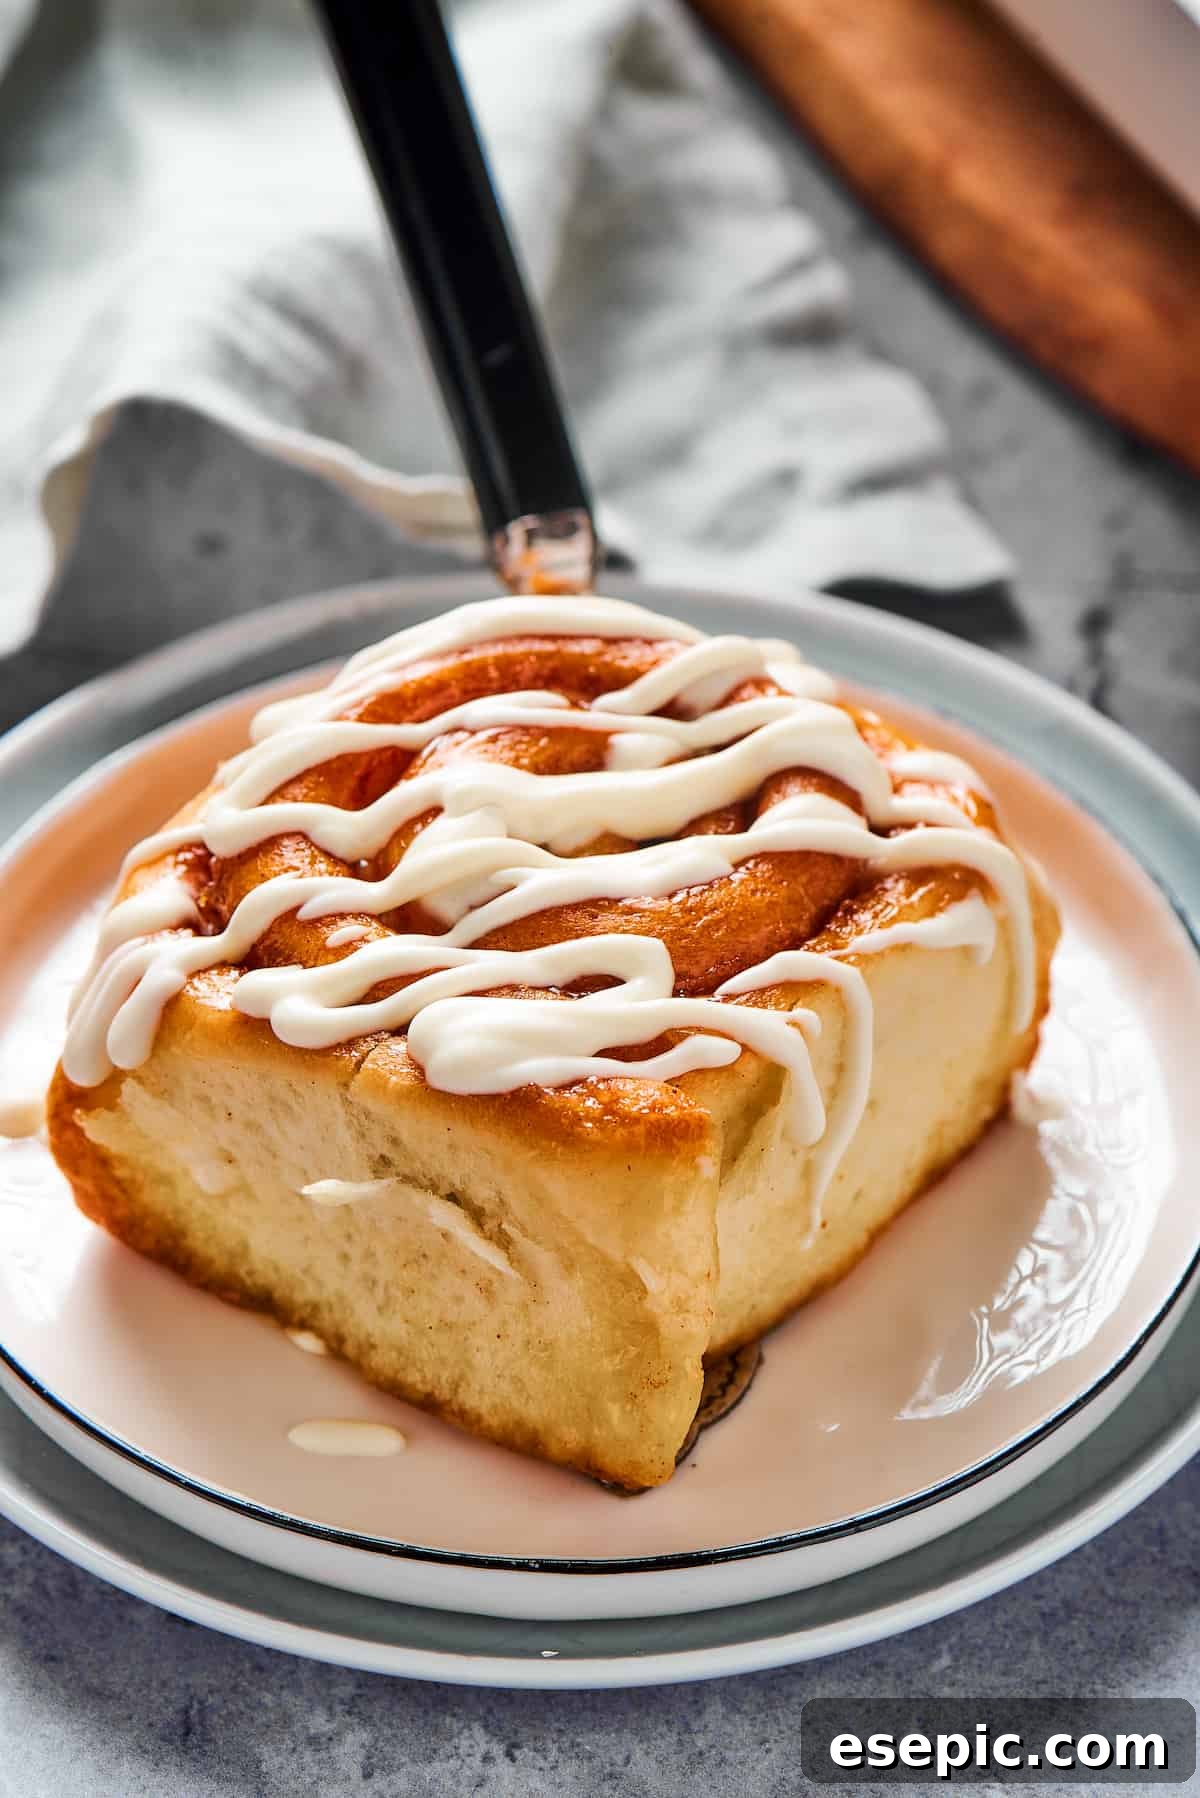
Perfect Pairings: What to Serve with Homemade Cinnamon Rolls
When you’ve just baked a batch of glorious cinnamon rolls from scratch, they are undeniably the star of the show. So soft, sticky, and fragrant, they truly need little else to create a memorable breakfast or brunch. A simple cup of freshly brewed coffee, a robust tea, or a tall glass of ice-cold milk (especially for the kids!) is often all that’s required to complete the blissful experience. However, if you’re planning a more elaborate breakfast or brunch spread, these luscious spirals can perfectly complement a variety of savory or fruity dishes. Here are a few mouthwatering ideas to round out your menu:
- Hearty Egg Muffin Cups: For a delightful balance of sweet and savory, these Sausage and Egg Breakfast Cups are an excellent choice. Made with savory Italian sausage, rich cheese, and a flaky biscuit crust, they’re easy to prepare and portion-controlled, offering a protein-packed counterpoint to the sweet rolls.
- Classic Quiche Lorraine: Elevate your brunch with a traditional Quiche Lorraine with Bacon. This timeless favorite features a silky custard filling with eggs and cheese, salty bacon, and colorful vegetables, all nestled in a flaky pie crust. It’s elegant, satisfying, and pairs beautifully with the sweetness of cinnamon rolls.
- Crowd-Pleasing Baked Omelette: Who could resist a slice of this incredible breakfast casserole? A Baked Denver Omelette is packed with flavorful onions, vibrant peppers, diced ham, and plenty of cheese. It’s a super simple recipe to prepare, perfect for feeding a crowd, and provides a delightful savory contrast to the sweet rolls.
- Fresh Fruit Salad: For a lighter, refreshing touch, a bowl of seasonal fresh fruit salad offers a beautiful splash of color and natural sweetness. Berries, melon, and citrus segments provide a welcome contrast to the richness of the rolls.
- Crispy Bacon or Sausage Links: Sometimes, the simplest additions are the best. A side of crispy bacon or perfectly cooked sausage links adds a salty, savory crunch that many find irresistible alongside a sweet pastry.
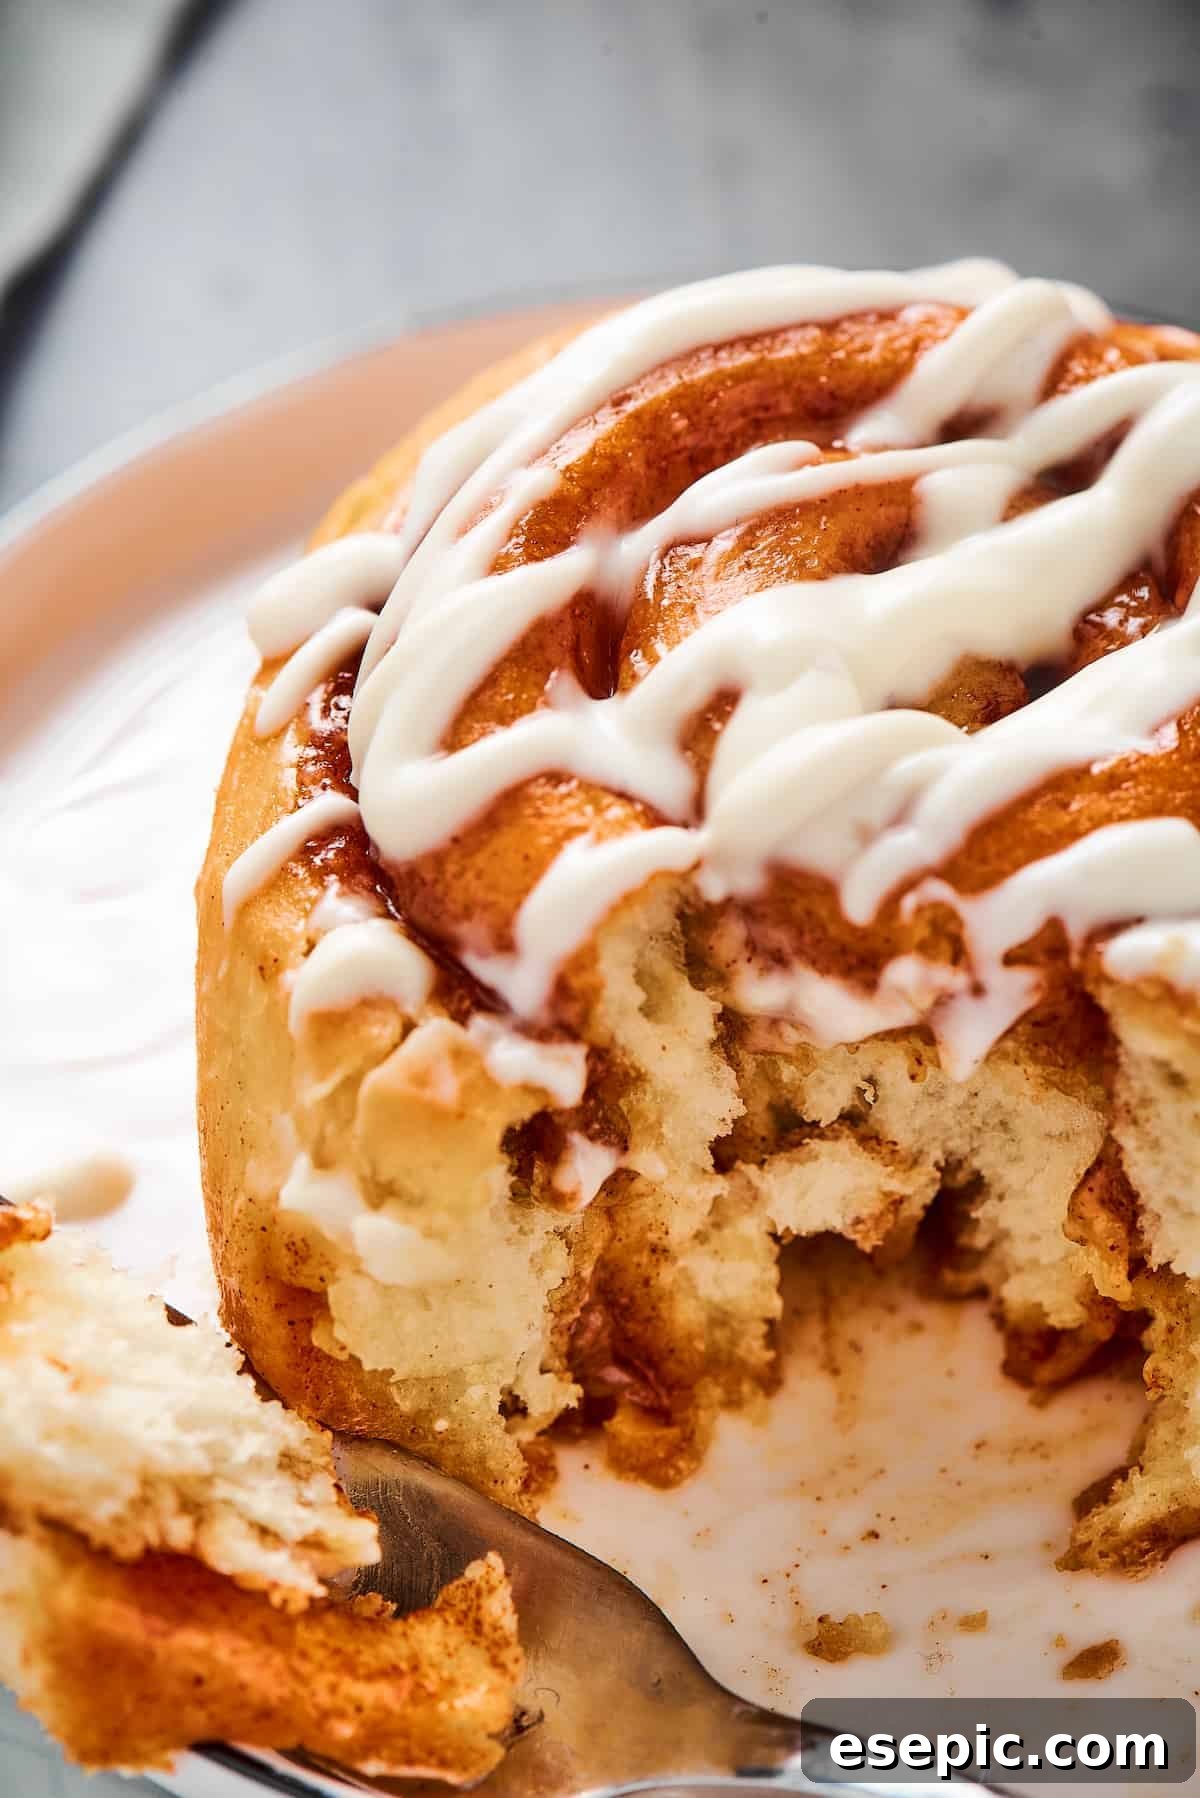
Storing and Reheating Your Delicious Leftover Cinnamon Rolls
While it’s hard to imagine having any leftover cinnamon rolls, sometimes a lucky few survive! Proper storage and reheating will ensure they remain as delightful as when they first emerged from the oven.
- To Store: For ultimate freshness, place any leftover cinnamon rolls in airtight containers or reliable zip-top bags. They can be stored at room temperature on your counter for up to two days. If you reside in a particularly warm or humid climate, or simply wish to extend their shelf life, it’s best to refrigerate them for up to four days. Ensure they are completely cooled before storing to prevent condensation.
- To Reheat: To bring your rolls back to their warm, gooey glory, you have a couple of excellent options.
- Microwave Method: For a quick fix, microwave individual rolls for just a few seconds until they are warm to the touch. Be cautious not to microwave for too long, as this can make them scalding hot and potentially tough. A few short bursts are better than one long one.
- Oven Method: For a more evenly heated result, pop them into a preheated 350°F (175°C) oven for about 5 to 10 minutes. This method helps to restore their soft texture and re-melt the glaze beautifully.
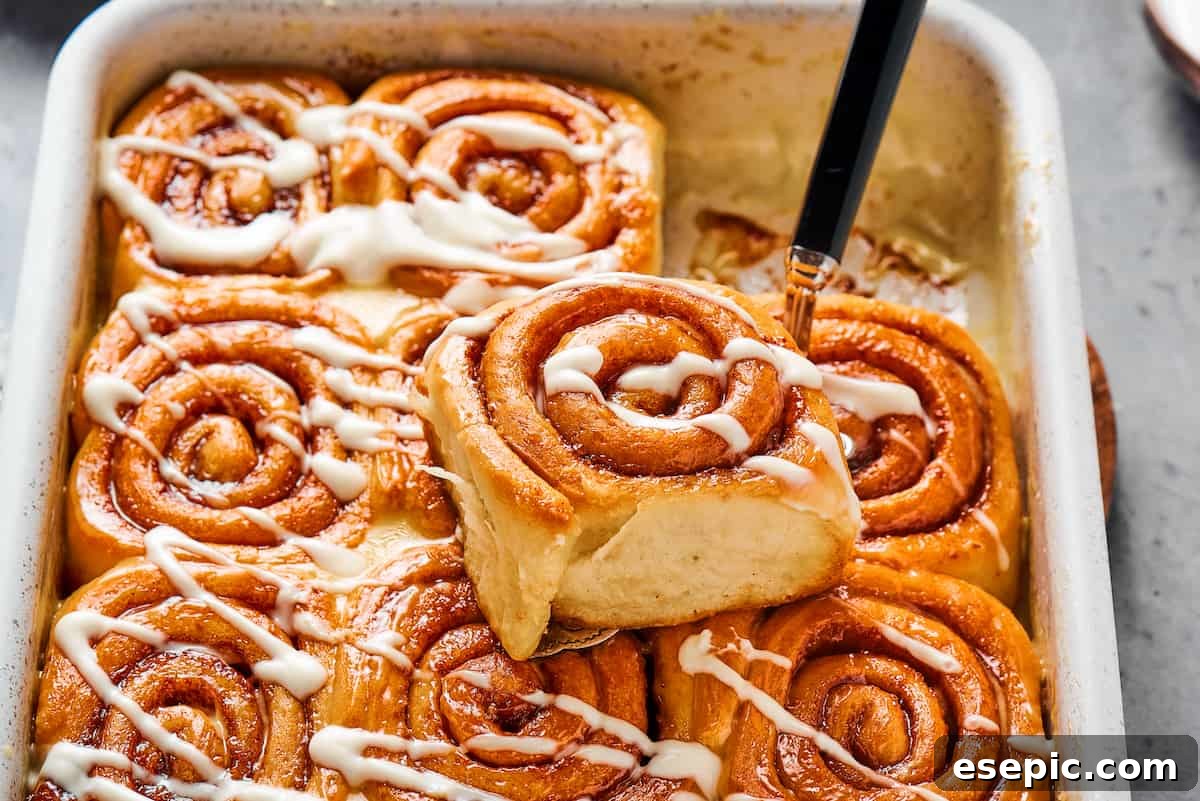
Freezing and Make-Ahead Options for Cinnamon Rolls
Preparing cinnamon rolls can be a delightful project, and with these freezing and make-ahead instructions, you can enjoy their freshly baked goodness even on busy mornings! There are two primary ways to freeze cinnamon rolls: after they’re baked, or before they hit the oven.
Freezing Baked Leftovers
- If you find yourself with leftover baked cinnamon rolls (a rare but welcome occurrence!), freezing them is incredibly simple. First, ensure they have cooled completely. Then, wrap each roll individually in a layer of plastic wrap, followed by a layer of aluminum foil. This double wrapping helps prevent freezer burn. Store them in the freezer for up to three months.
- When you’re ready to enjoy them, simply thaw the frozen rolls in the refrigerator overnight. Once thawed, you can reheat them using the microwave or oven methods described above to restore their fresh-baked warmth and softness.
Make-Ahead: Freezing Unbaked Cinnamon Rolls
- To enjoy fresh, warm cinnamon rolls with minimal effort on the day of serving, freezing them unbaked is a fantastic make-ahead strategy. Follow all the steps for preparing the dough, rolling it out, adding the filling, and slicing it into individual rolls. However, instead of allowing them to undergo their second rise, arrange the cut cinnamon rolls on a baking sheet lined with parchment paper, ensuring they don’t touch. Place the baking sheet in the freezer until the rolls are completely frozen solid.
- Once frozen, transfer the solid rolls to a large freezer-safe bag or an airtight container. They can be stored in the freezer for up to three months.
- The night before you plan to bake them, remove the desired number of frozen rolls and arrange them in your greased baking dish. Cover the dish loosely with plastic wrap and place it in the refrigerator to thaw and slowly rise overnight (typically 8-12 hours).
- Hint: If, after an overnight stay in the fridge, your rolls haven’t quite doubled in size, let them finish rising at room temperature for another half an hour or more until they look puffy. Once risen, bake them as directed in the recipe, and you’ll be treated to fresh, warm cinnamon rolls that taste like they were just prepared!

Cinnamon Rolls from Scratch
Ingredients
For the Dough
- 5 cups spelt flour,, plus more for rolling and kneading
- 1 ⅓ cups warm milk
- 1 tablespoon instant dry yeast
- 7 tablespoons butter,, melted
- 3 tablespoons sugar
- 1 teaspoon salt
- 2 egg yolks
For the Filling
- 8 tablespoons butter,, softened at room temperature
- 1 ½ tablespoons ground cinnamon
- 1 cup confectioners sugar
- Pinch of salt
For the Glaze
- 1 cup heavy cream
- 3 tablespoons confectioners sugar
Instructions
Make the Dough
-
In a large bowl, combine flour, sugar, and yeast. Mix well.Add the melted butter, warmed (not hot) milk, egg yolks, and salt. Stir and knead the dough for about 5 to 8 minutes, until it forms a ball and pulls away from the sides of the bowl. The dough should be stretchy and slightly sticky, but not wet.
-
Place the dough in an oiled bowl, and turn it so that the top and bottom are now thinly coated with oil. Cover with plastic wrap, and place in a warm place to rise for 1 to 1 ½ hours, or until doubled in size.
Fill and Shape the Rolls
-
Combine the sugar and cinnamon in a small bowl, and set aside.
-
Turn the risen dough out onto a lightly floured surface.
-
Roll out the dough into a rectangle, about 16×19 inches. (If you would like your cinnamon rolls to have even more swirls, roll out the dough larger, about 19×22 inches.) The dough should be an even thickness all the way across.
-
Spread the softened butter over the dough, and then sprinkle the cinnamon sugar evenly over the butter, all the way to the edges.
-
Roll the dough up, starting with a long side and rolling tightly to make a long log. Turn the log over so that the seam is underneath.
-
Cut the dough into 12 even portions, using a very sharp knife. Place in a greased baking pan, evenly spaced.
-
Cover the rolls with plastic wrap, and allow them to rise for about 30 minutes in a warm area until they are doubled in size.
-
During this rise, preheat the oven to 350°F (175°C).
-
Once the cinnamon rolls have risen, remove the plastic wrap and bake them for 17 to 20 minutes, or until the rolls are golden-brown on top.
-
Remove them from the oven, and set them aside until the glaze is prepared.
Glaze
-
Combine the powdered sugar and heavy cream in a mixing bowl, and whisk until smooth. Spread the glaze over the warm cinnamon rolls.
-
The glaze will be evenly distributed over the cinnamon rolls, making them shiny. If you wish, add an extra layer or sprinkle of glaze to the rolls just before serving.
Nutrition
| Calories: 434kcal
| Carbohydrates: 55g
| Protein: 9g
| Fat: 25g
| Saturated Fat: 14g
| Polyunsaturated Fat: 1g
| Monounsaturated Fat: 6g
| Trans Fat: 1g
| Cholesterol: 96mg
| Sodium: 325mg
| Potassium: 75mg
| Fiber: 7g
| Sugar: 5g
| Vitamin A: 819IU
| Vitamin C: 0.2mg
| Calcium: 65mg
| Iron: 3mg
Nutritional information provided is an estimate and offered as a courtesy. Values may fluctuate based on specific ingredients and tools utilized. For precise details, please consult your preferred nutritional calculator.
More Scrumptious Sweet Treats to Explore
If you’ve enjoyed the delightful experience of making these homemade cinnamon rolls, you’ll surely love expanding your baking repertoire with these other fantastic sweet recipes. Each offers a unique flavor and baking adventure!
- New Orleans-Style Beignets: Dive into the delightful world of these classic French-inspired doughnuts, dusted generously with powdered sugar. Perfect for a taste of the Big Easy!
- Easy Tiramisu Recipe: Indulge in layers of coffee-soaked ladyfingers and a rich, creamy mascarpone mixture in this simplified version of the beloved Italian dessert.
- Easy Cake Pops: Fun, bite-sized, and customizable, these cake pops are a fantastic treat for parties or a delightful way to use leftover cake.
- Classic Chocolate Chip Cookies: Sometimes, you just can’t beat the timeless appeal of a warm, gooey chocolate chip cookie, fresh from the oven.
- Lemon Drizzle Cake: For something bright and zesty, a tender lemon drizzle cake offers a refreshing sweetness, perfect for afternoon tea or a light dessert.