
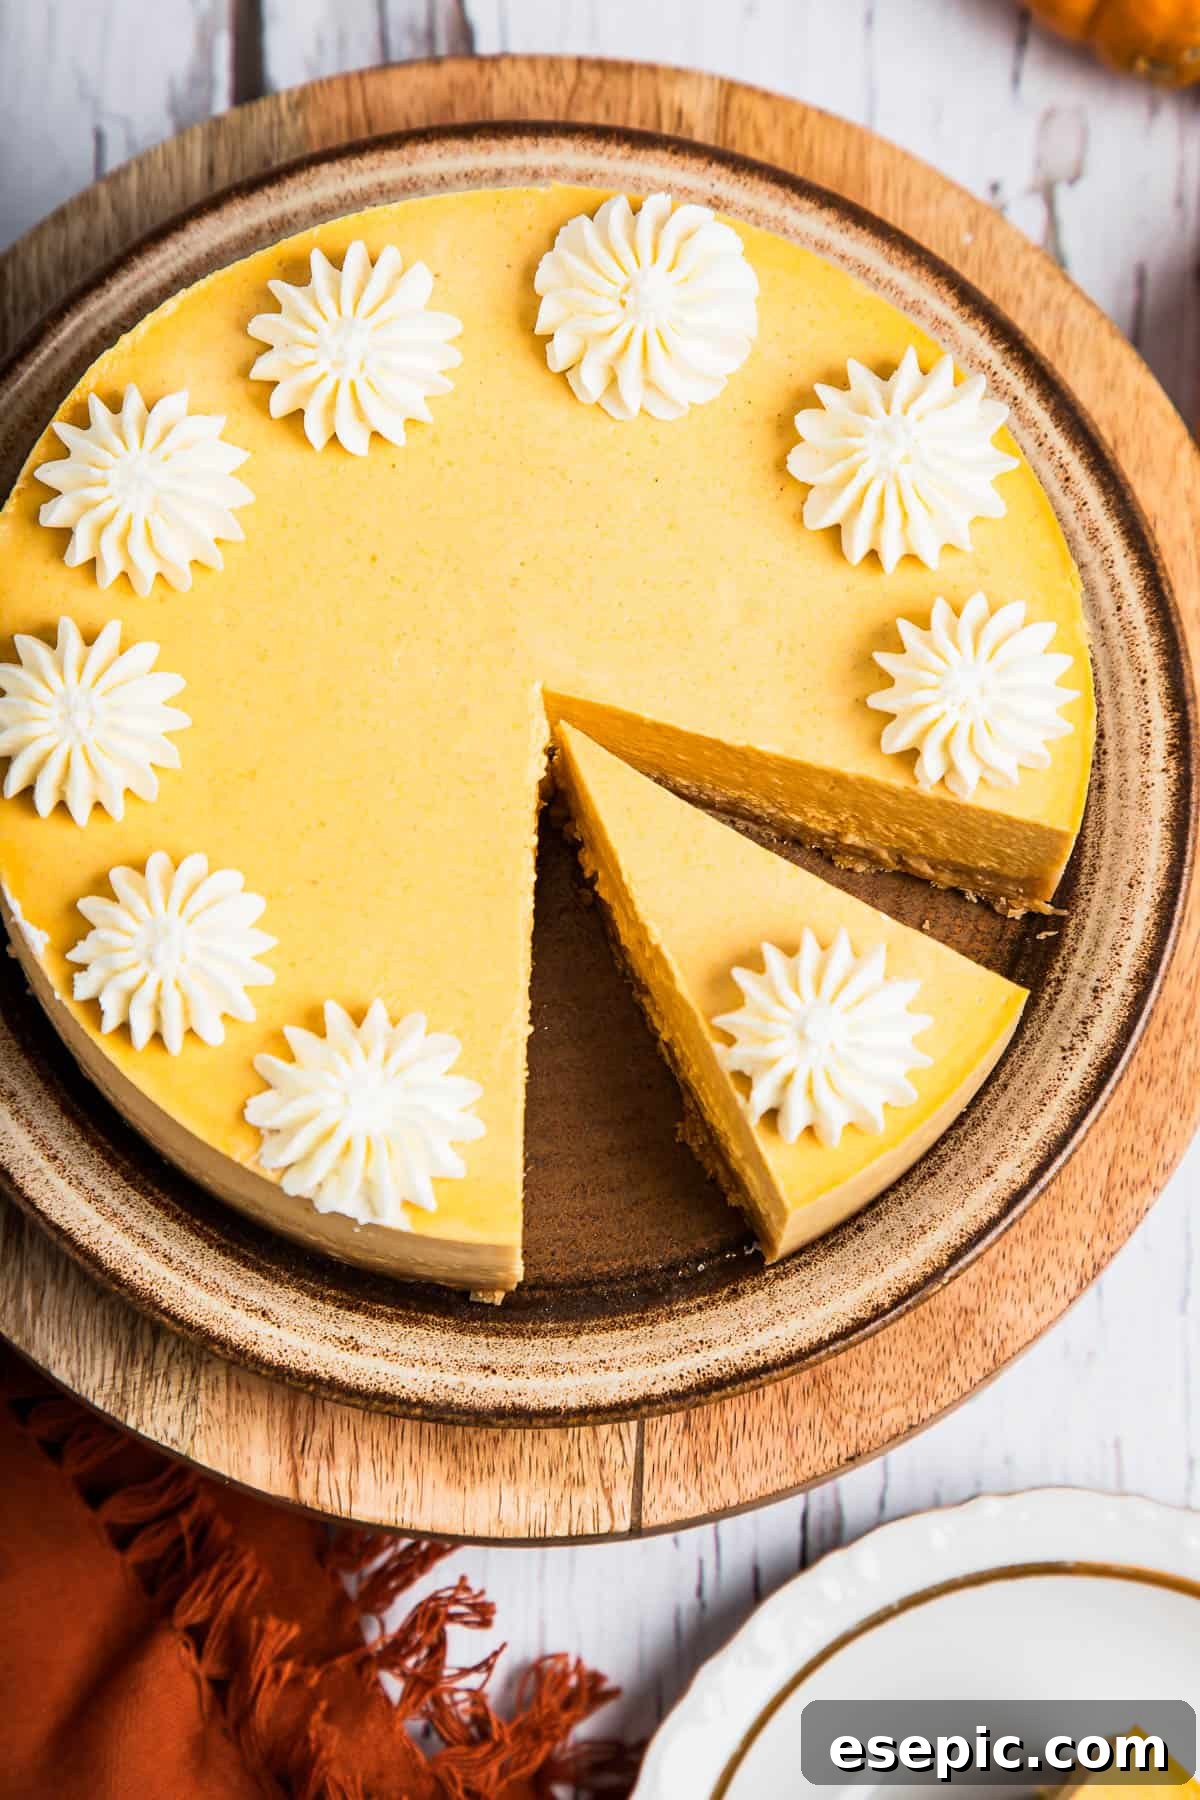
Indulge in the rich, comforting flavors of autumn with this incredibly easy **Instant Pot Pumpkin Cheesecake**. Crafted with real pumpkin puree and a generous blend of aromatic pumpkin pie spices, this dessert delivers a creamy, dreamy texture that’s simply irresistible. Perfect for holiday gatherings or a special weeknight treat, this recipe transforms the traditional cheesecake-making process into a quick and convenient Instant Pot adventure that the entire family will adore. Say goodbye to complicated water baths and long oven times, and welcome a perfectly baked cheesecake with minimal effort.
Effortless Homemade Cheesecake: The Instant Pot Advantage
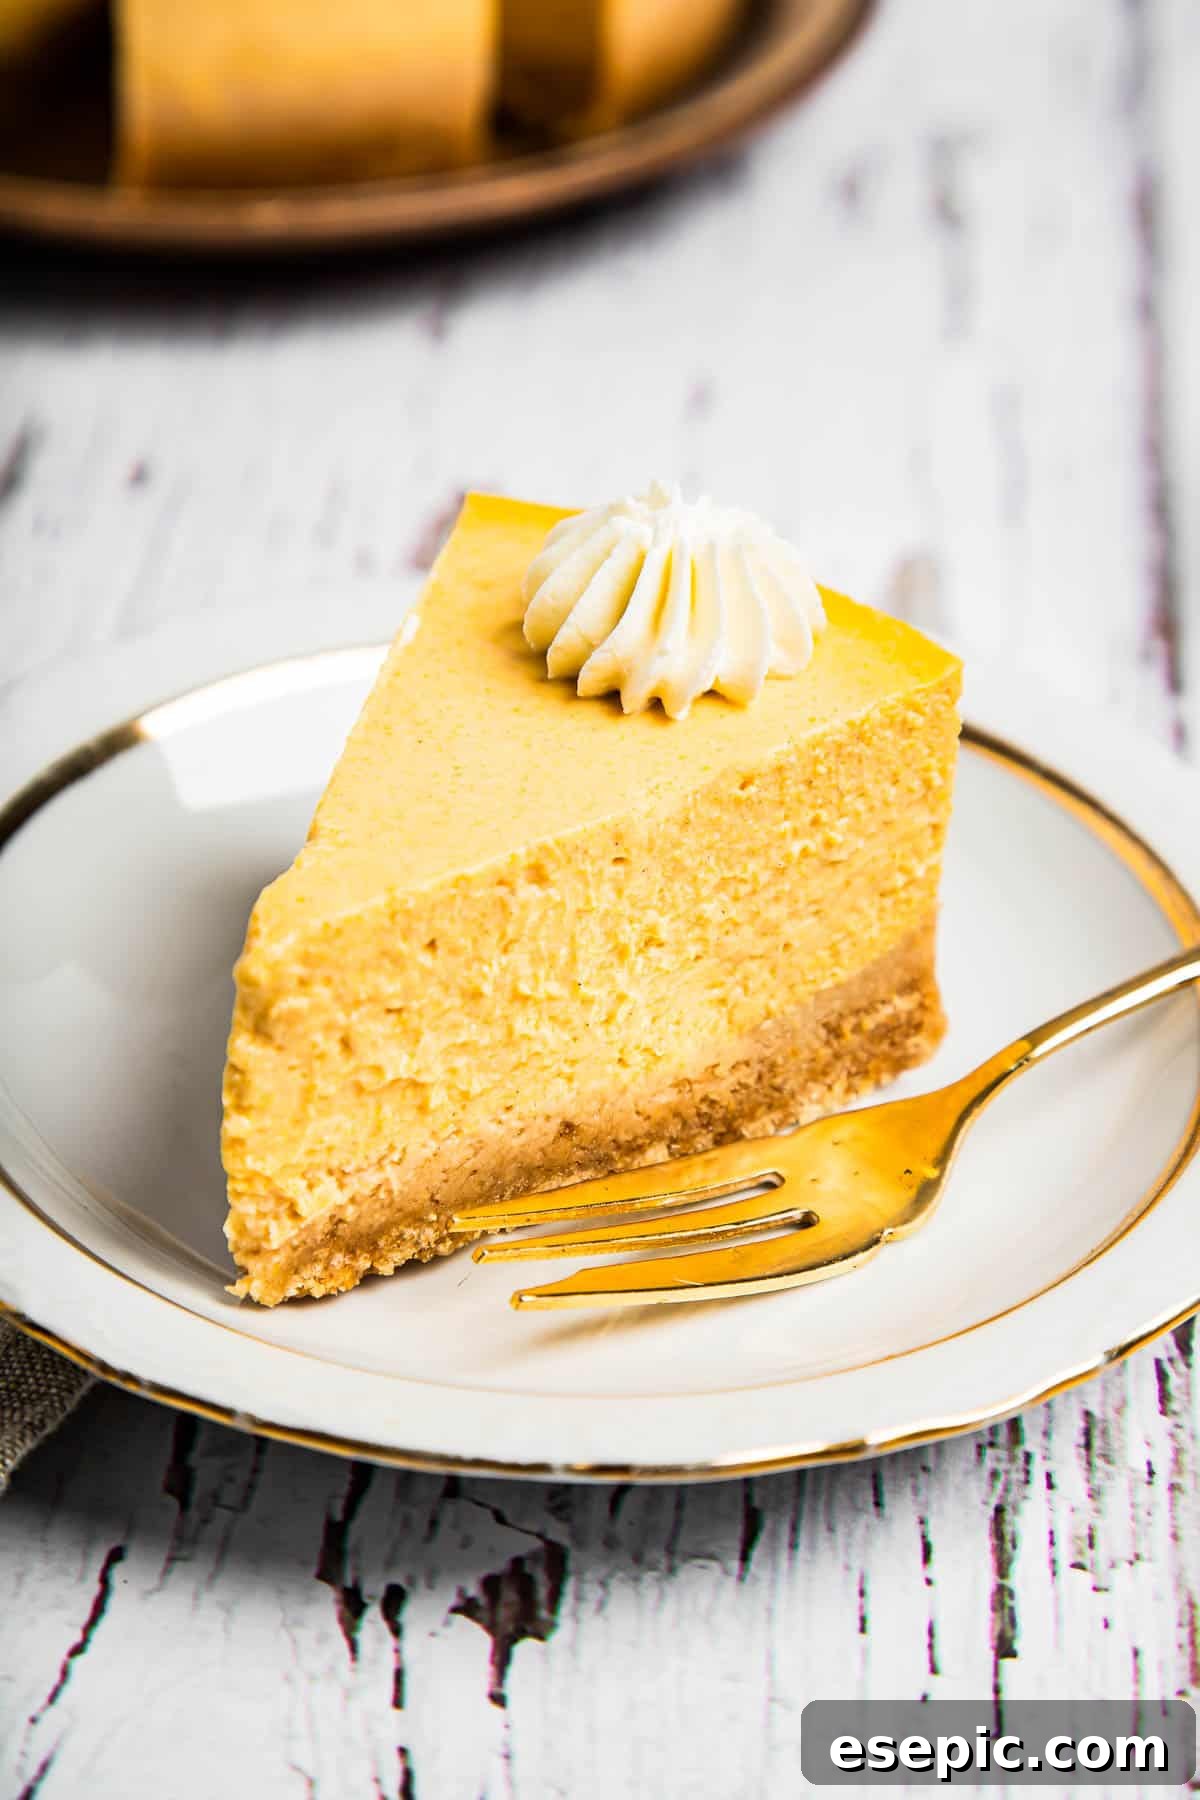
Are you a devoted cheesecake enthusiast? Join the club! From classic New York style to decadent chocolate and fruity variations, cheesecake holds a special place in the hearts of dessert lovers everywhere. But what if we told you that achieving a flawlessly smooth and rich cheesecake could be simpler than ever? This recipe takes a delightful detour from conventional oven baking, utilizing the magic of your Instant Pot.
The Instant Pot, renowned for its pressure cooking capabilities, uses steam to create an incredibly moist and even cooking environment. This method eliminates the common pitfalls of oven-baked cheesecakes, such as cracking and dry edges. By placing your cheesecake pan on a trivet, suspended above a small amount of water, the pressurized steam works its wonder, resulting in a cheesecake with an unparalleled silky texture. In just about half an hour of active pressure cooking, your “baked” cheesecake is ready for its essential chilling period, emerging as a firm, delectable masterpiece.
Gather Your Ingredients: What You’ll Need for the Perfect Pumpkin Cheesecake
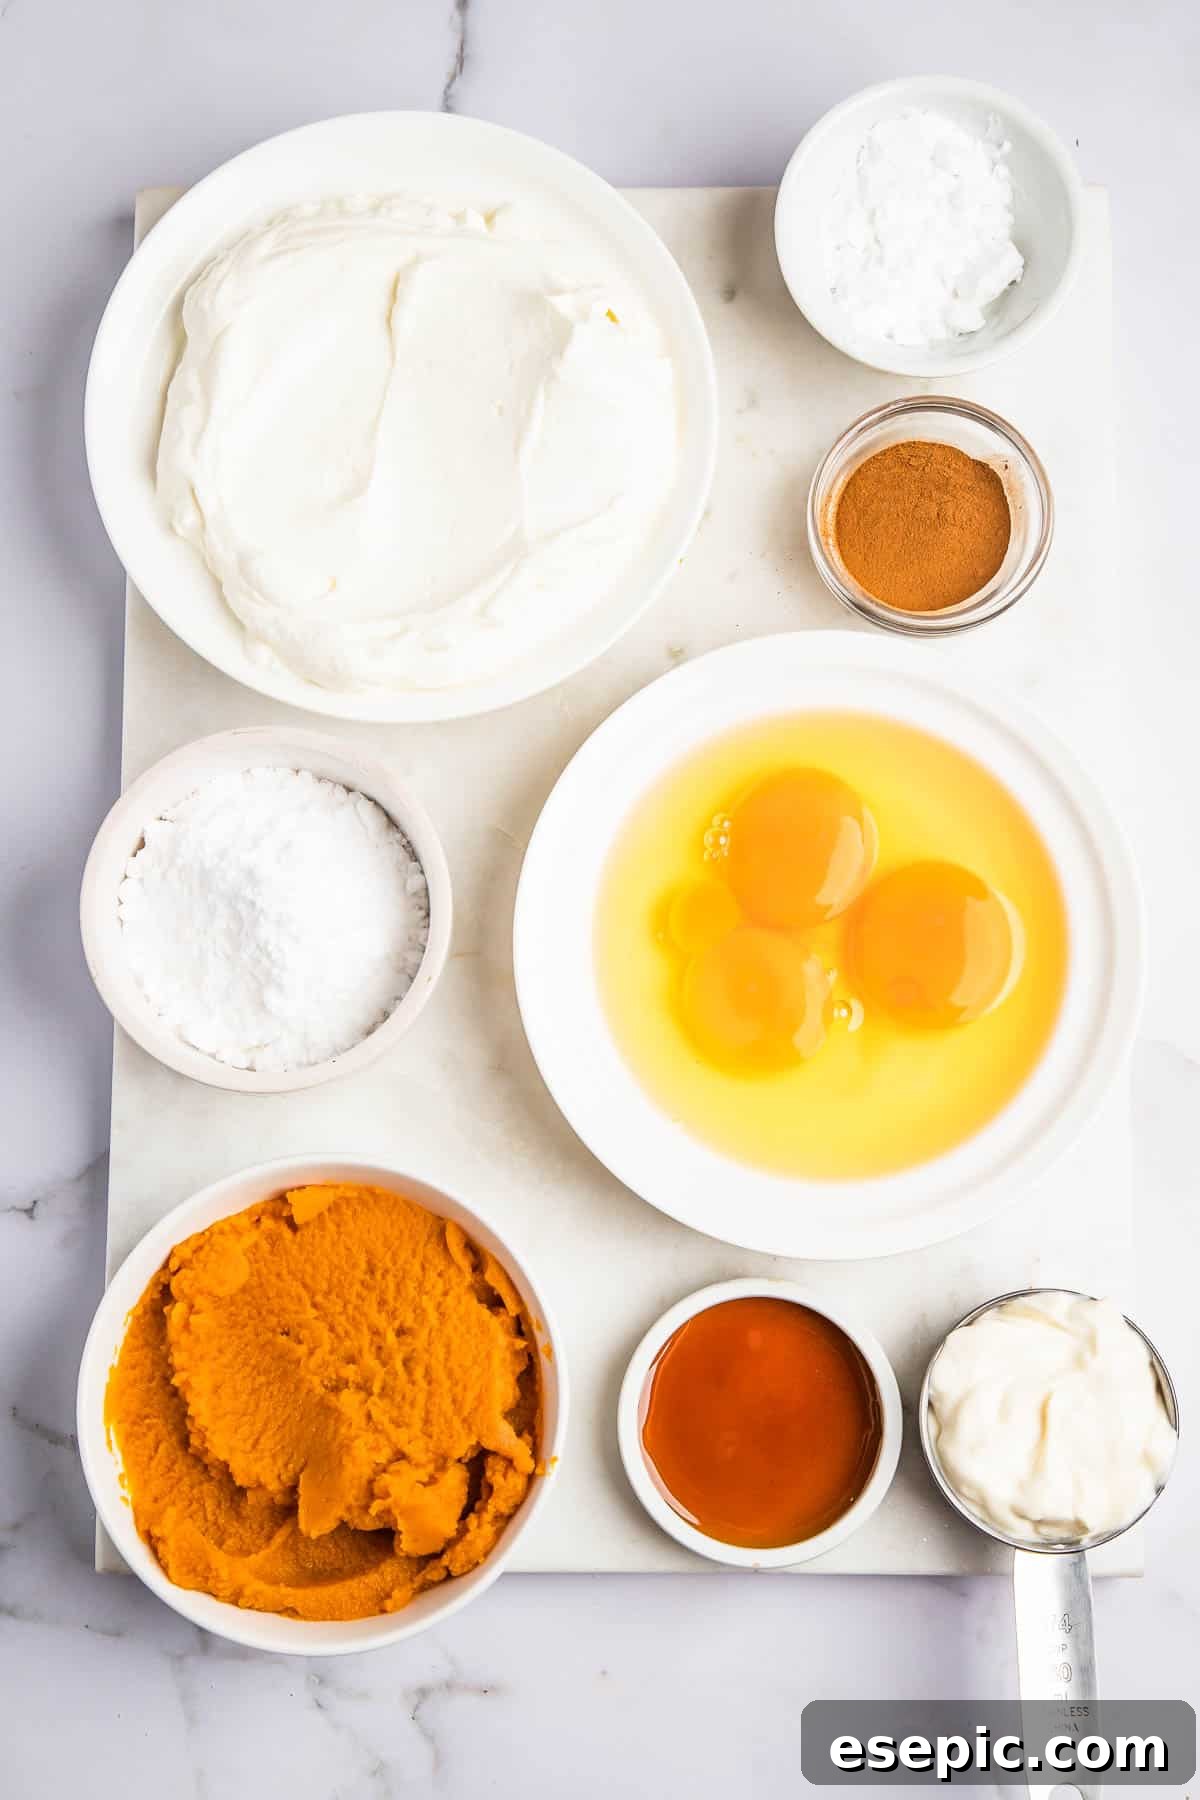
Crafting this seasonal delight requires a blend of standard cheesecake components and a few key autumnal additions. The quality of your ingredients plays a crucial role in the final flavor and texture, so opt for fresh, high-quality items where possible. You’ll find a complete, detailed recipe card with precise measurements and nutritional information at the conclusion of this article.
For the Crust: A Crunchy Foundation
- Graham Crackers: The classic choice for cheesecake crusts, graham crackers provide a sweet, buttery foundation. For fine, even crumbs, process them in a food processor or simply place them in a zip-top bag and crush them with a rolling pin – a surprisingly satisfying stress reliever!
- Melted Butter: Essential for binding the graham cracker crumbs together, melted butter not only creates a firm crust but also infuses it with a rich, inviting flavor. Unsalted butter is usually preferred to control the overall saltiness of the dessert.
- Brown Sugar: A touch of brown sugar adds a deeper, molasses-like sweetness to the crust, complementing the pumpkin filling perfectly. While optional, it enhances the overall caramel notes. Adjust the amount to your personal preference for sweetness.
For the Cheesecake Filling: Creamy Pumpkin Perfection
- Cream Cheese: The star of any cheesecake! For the smoothest, most lump-free filling, ensure your full-fat cream cheese is softened to room temperature. This allows it to blend seamlessly with other ingredients.
- Pumpkin Puree: This is where the autumnal magic happens! Be sure to use 100% pure pumpkin puree, not pumpkin pie filling. Pumpkin pie filling contains added sugars and spices that can alter the taste and consistency of your cheesecake. Always double-check the label!
- Sour Cream: A small but mighty addition, sour cream contributes to the cheesecake’s characteristic tang and helps achieve an incredibly smooth, velvety texture. It balances the sweetness beautifully.
- Eggs: Two whole eggs plus an extra egg yolk are crucial for binding the cheesecake mixture and adding a luxurious richness. Remember not to overmix the eggs; gentle incorporation is key to preventing cracks.
- Powdered Sugar: Finer and smoother than granulated sugar, powdered sugar (confectioners’ sugar) dissolves easily, ensuring a truly smooth and silken filling without any grainy texture.
- Pumpkin Pie Spice: The quintessential fall flavor! This blend typically includes cinnamon, ginger, nutmeg, allspice, and cloves. You can use a pre-mixed spice blend for convenience or craft your own for a customized aroma and flavor profile.
- Cornstarch (or All-Purpose Flour): This acts as a stabilizer and thickener, preventing the cheesecake from cracking and ensuring it sets beautifully. Either cornstarch or all-purpose flour will work effectively.
- Salt: A tiny pinch of salt enhances all the other flavors, bringing out the sweetness and spice without making the dessert taste salty.
- Pure Vanilla Extract: While optional, a tablespoon of good quality vanilla extract adds an extra layer of warmth and depth to the filling, complementing the pumpkin and spices wonderfully.
- Garnishes (Optional): Elevate your finished cheesecake with a dollop of fresh whipped cream, a drizzle of luscious caramel sauce, or a sprinkle of toasted pecans for an extra touch of decadence.
Step-by-Step Guide: How to Craft Your Instant Pot Pumpkin Cheesecake
Making cheesecake in the Instant Pot is surprisingly straightforward, delivering professional-quality results with minimal fuss. A crucial tool for this method is your Instant Pot’s trivet. If you happen to be missing yours, don’t fret! You can easily improvise one using several sturdy metal cookie cutters or tightly scrunched-up balls of aluminum foil to elevate your cheesecake pan above the water.
- Prepare the Crust: In a medium mixing bowl, combine the graham cracker crumbs, melted butter, and brown sugar. Stir thoroughly with a fork until the mixture resembles wet sand and holds together when pressed. For easy removal, line the bottom of a small (7-inch recommended) springform pan with parchment paper before re-attaching the sides. Press the crumb mixture evenly into the bottom of the prepared pan, using the back of a glass or measuring cup to create a firm, flat base. Transfer the pan to the freezer to chill while you prepare the filling, ensuring a perfectly crisp crust.
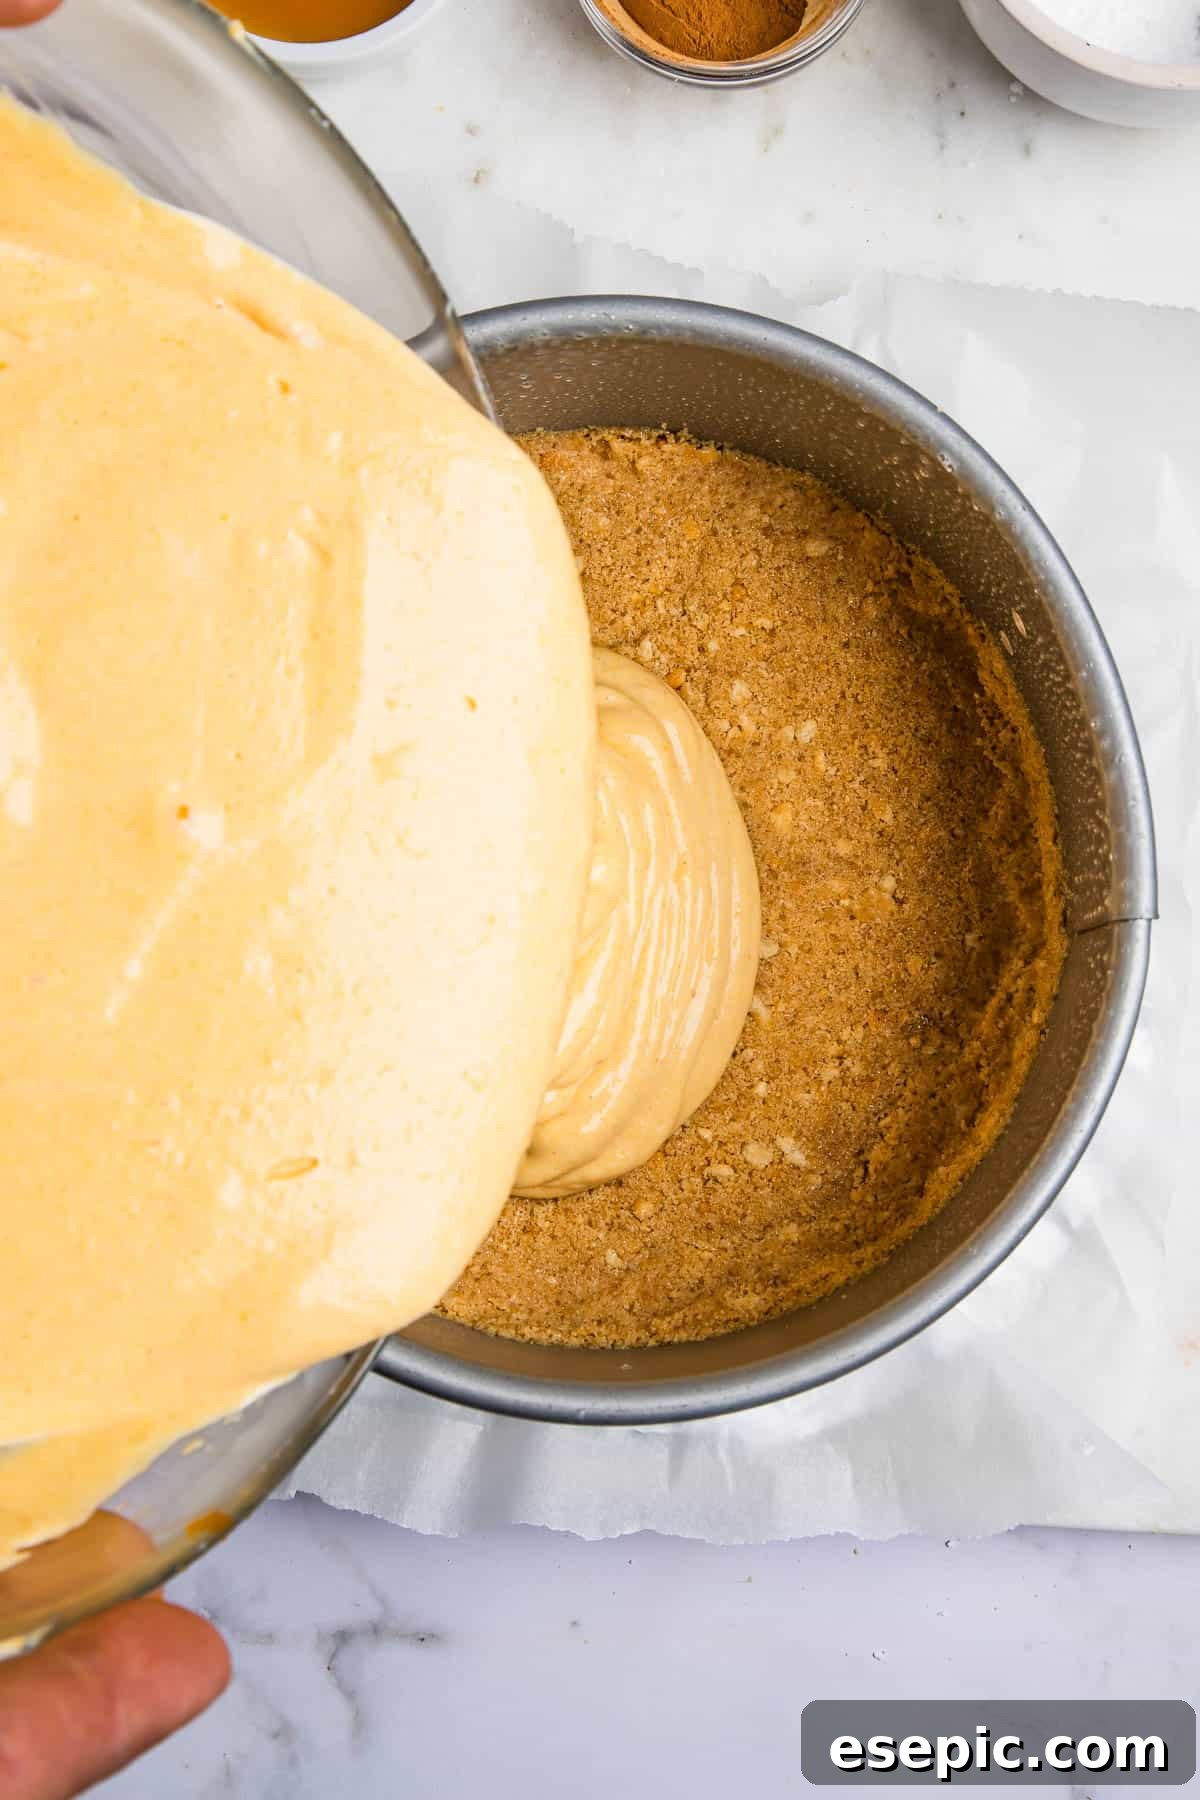
- Whip Up the Filling: In a large mixing bowl, combine the softened cream cheese, sour cream, and cornstarch (or flour). Using a hand mixer, beat on medium speed for about 30 seconds until just smooth. Next, add the powdered sugar and vanilla extract, mixing until fully incorporated and creamy. Gently beat in the eggs and the extra yolk, mixing only until just combined. Overmixing at this stage can introduce too much air, leading to cracks. Finally, fold in the pumpkin puree, a pinch of salt, and the fragrant pumpkin pie spice until the batter is uniformly smooth and beautifully orange.
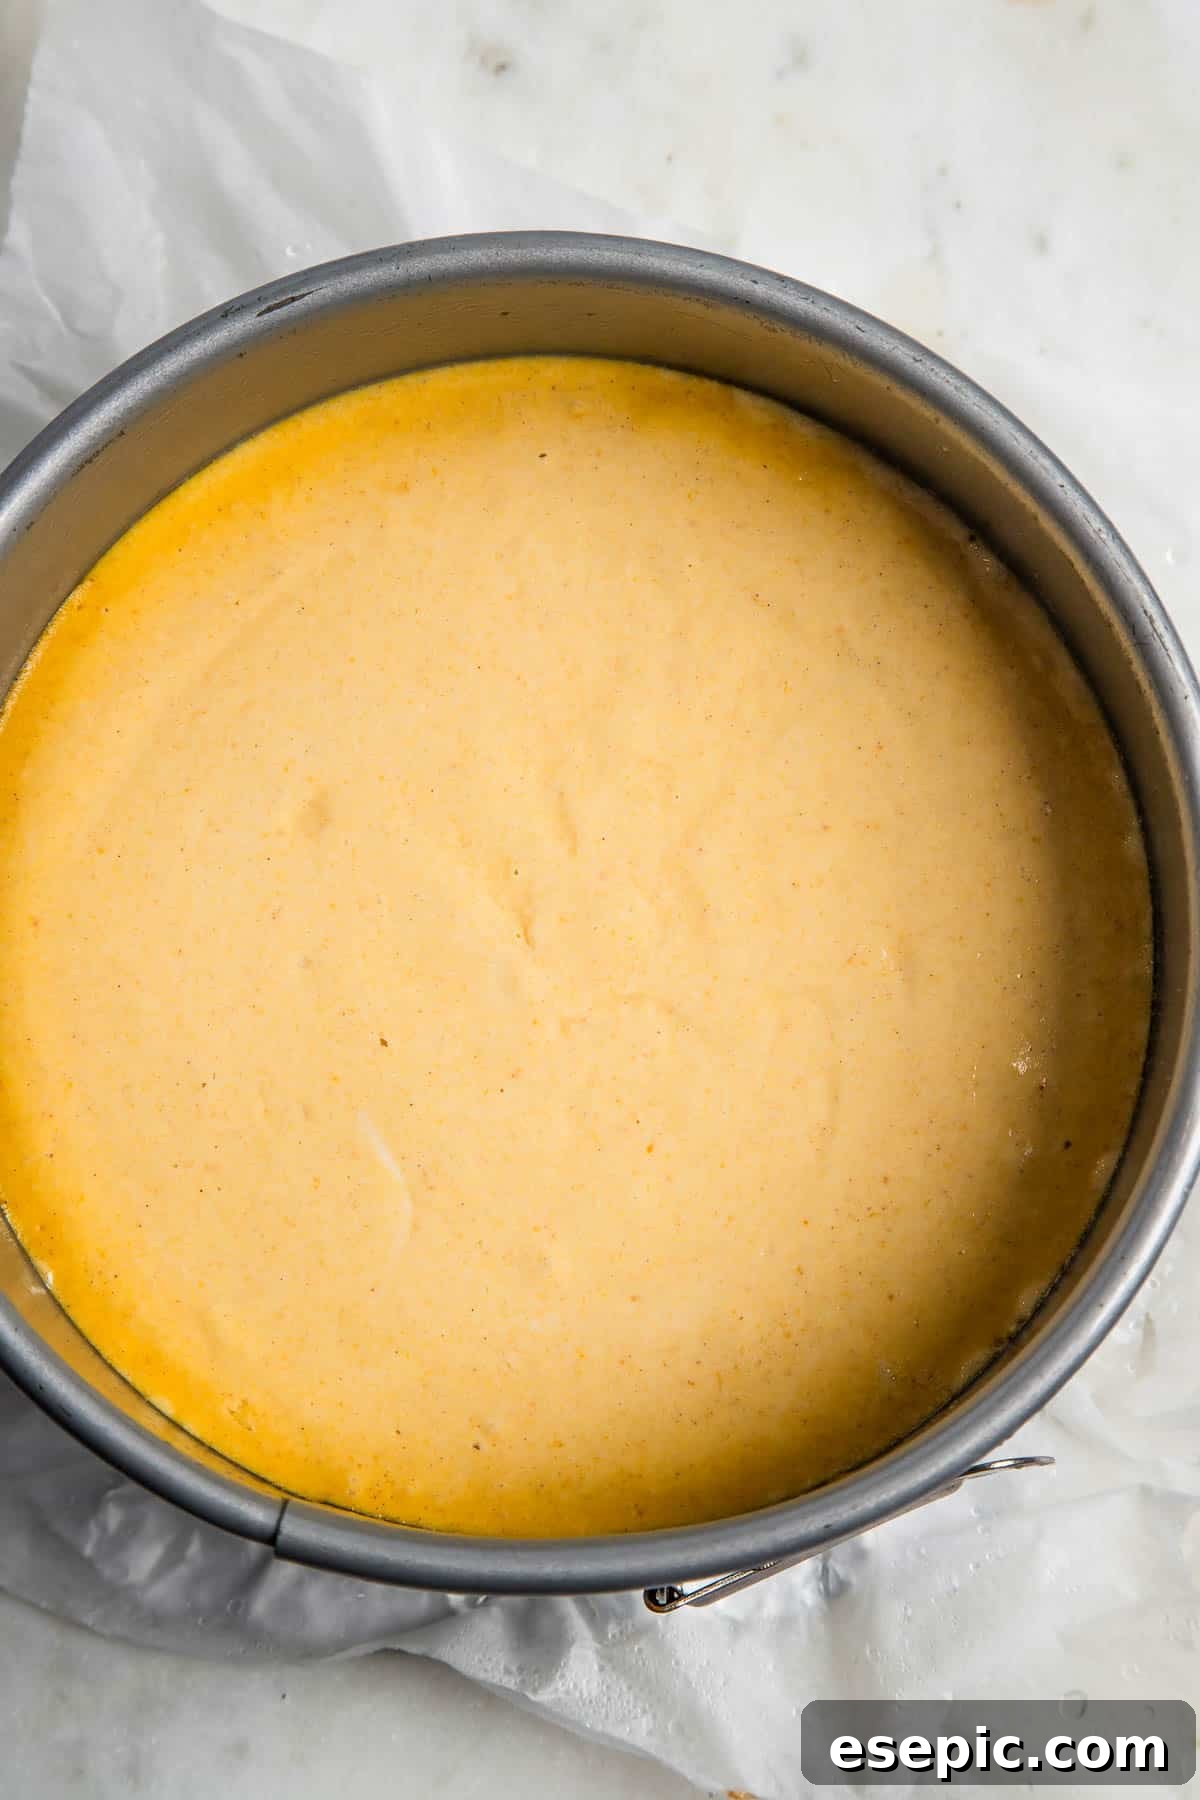
- “Bake” in the Instant Pot: Carefully pour the luscious cheesecake batter over the chilled crust in the springform pan. Pour about 1 cup of water into the bottom of your Instant Pot insert. Place the trivet inside the pot, ensuring it’s stable. Gently lower the cheesecake pan onto the trivet. Secure the Instant Pot lid, twisting it to lock into place, and ensure the steam release valve is set to the “Sealing” position. Select the “Pressure Cook” (or “Manual”) setting on High pressure and set the timer for 30 minutes.
- Allow Natural Pressure Release: Once the pressure cooking cycle is complete, resist the urge to immediately open the lid! Allow the pressure to release naturally. This typically takes about 10-15 minutes. The Instant Pot’s floating valve indicator will drop when all the pressure has safely released. Only then should you carefully slide the valve to “Venting” (just to be extra sure) and unlock the lid, being mindful of any residual steam.
- Cool and Chill: Due to the steam-based cooking method, you might notice some condensation on the surface of your cheesecake. Gently blot away any droplets with a paper towel. Carefully lift the cheesecake from the Instant Pot using the trivet handles. Place the pan on a wire rack or countertop to cool completely to room temperature. This slow cooling process is vital for the cheesecake to continue setting. Once at room temperature, cover the cheesecake loosely with plastic wrap and transfer it to the refrigerator to chill for a minimum of 4 hours, or ideally, overnight. This chilling period is crucial for achieving its signature firm yet creamy texture.
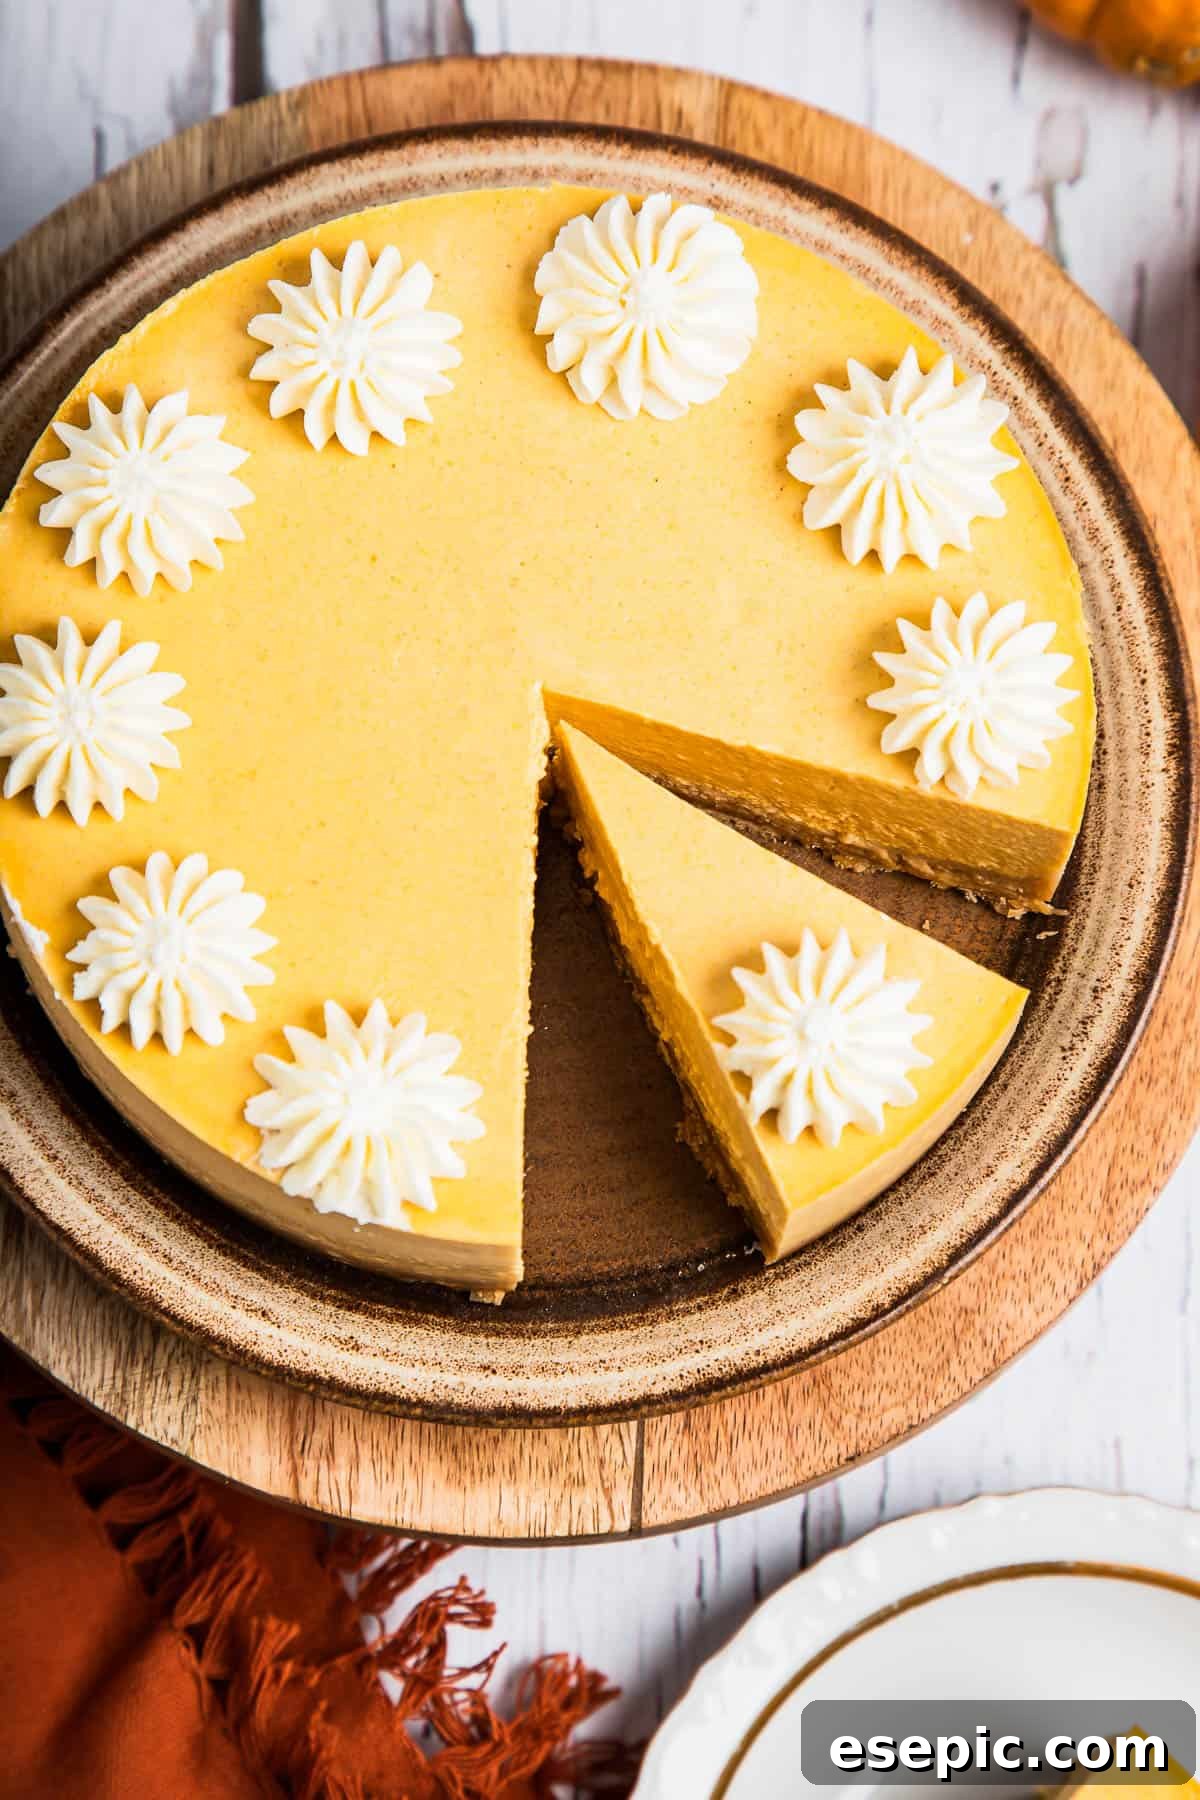
- Serve and Enjoy: Once fully chilled and set, release the sides of the springform pan and transfer the cheesecake to a serving plate. Slice with a sharp, warm knife for clean cuts. This pumpkin cheesecake is delightful on its own, but truly shines when garnished with a swirl of whipped cream, a drizzle of warm caramel sauce, or a sprinkle of cinnamon. Share and savor this autumnal masterpiece!
Can I make cheesecake without a springform pan?
Absolutely! While a springform pan is highly recommended for its ease of serving and perfect presentation, you can certainly bake this cheesecake in any small, oven-safe baking pan that fits inside your Instant Pot and is safe for high heat and pressure. For instance, a 7-inch round cake pan or even a deep pie dish could work. Just ensure the pan is greased and lined appropriately, and be prepared for a slightly different extraction method, perhaps serving it directly from the pan.
Expert Tips for Instant Pot Cheesecake Success
Instant Pot baking might seem unconventional, but with these expert tips, your pumpkin cheesecake will turn out perfectly every time. These pointers are designed to help you achieve that coveted creamy texture and prevent common cheesecake mishaps.
- Avoid Overmixing the Eggs: This is a golden rule for cheesecake. Once you’ve added the eggs to the batter, mix only until they are just combined. Overmixing introduces excess air, which can cause the cheesecake to puff up dramatically during cooking and then crack or sink as it cools. For best results, consider folding in the eggs by hand with a spatula after the initial mixing.
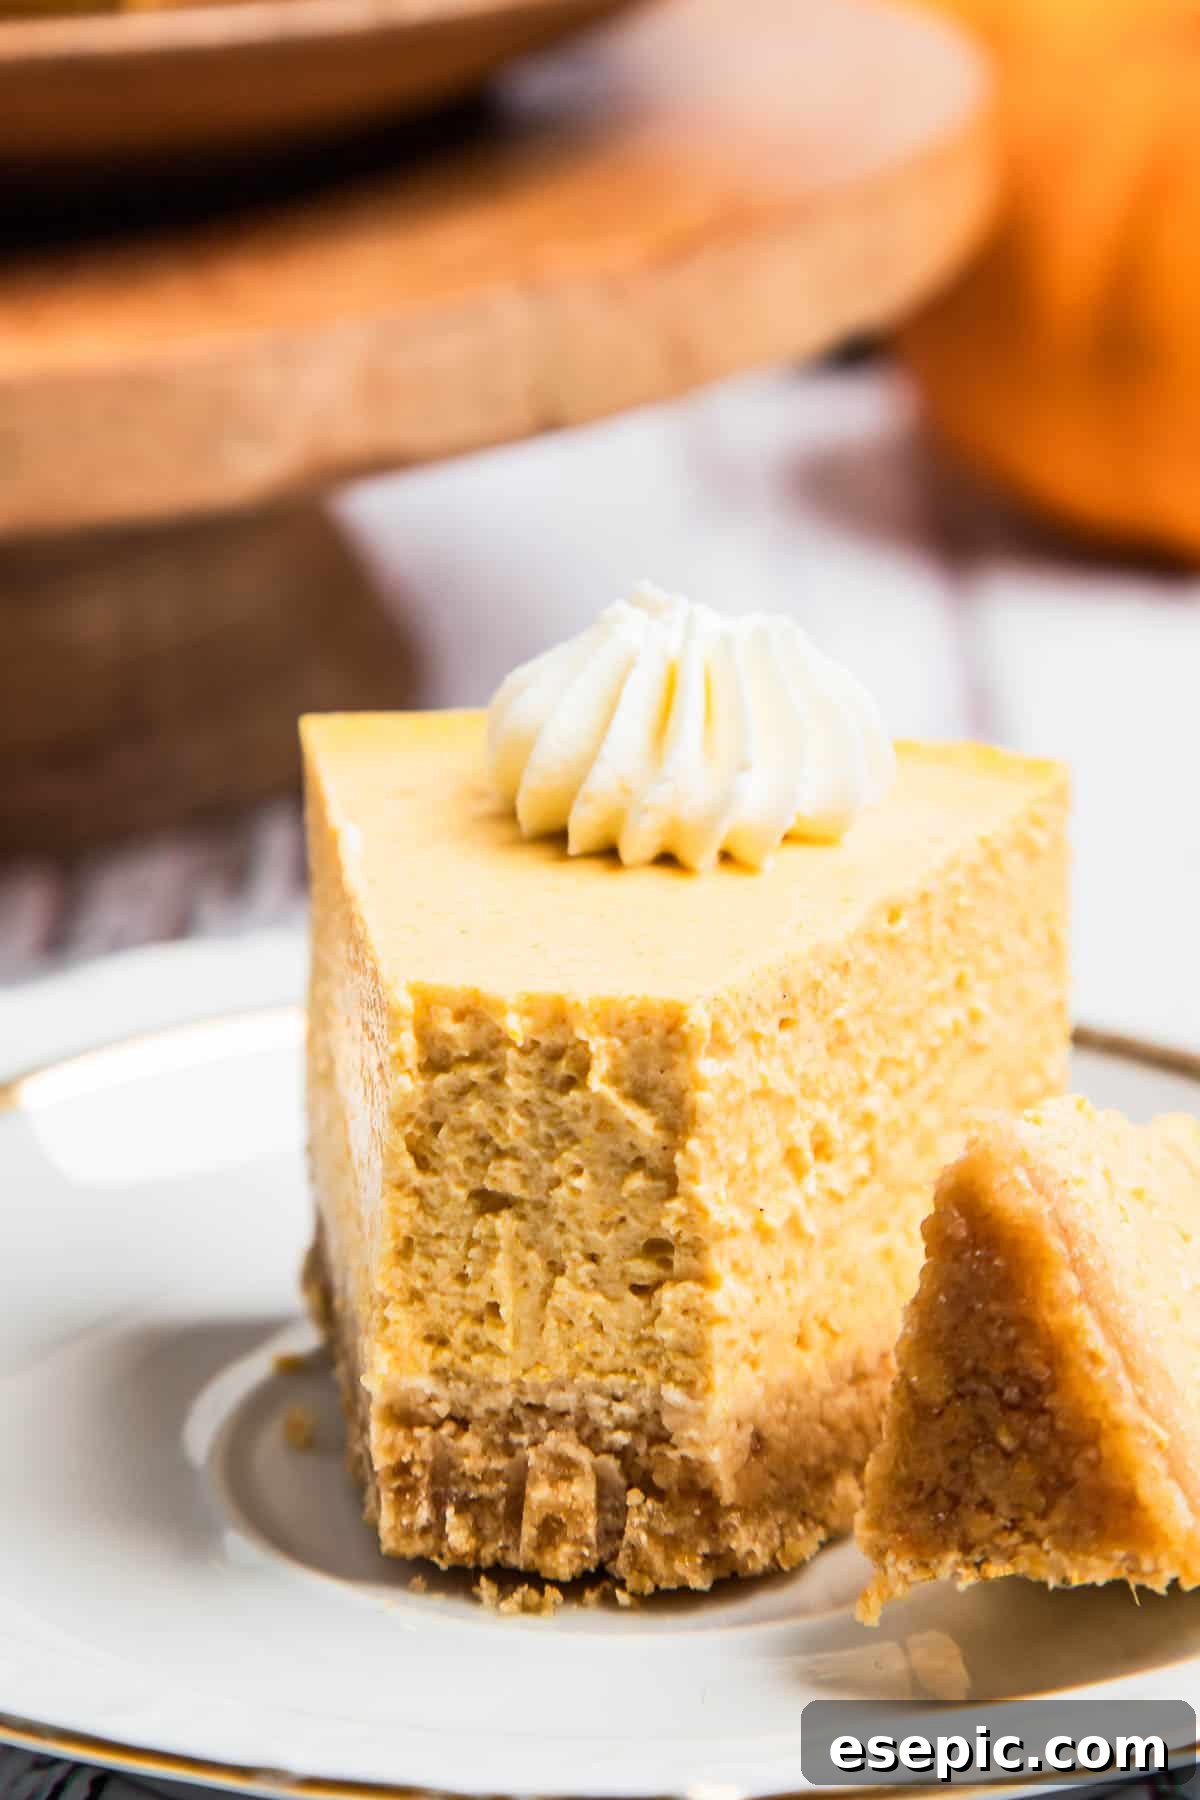
- Know When It’s Done: After the natural pressure release and once you’ve carefully removed your cheesecake from the Instant Pot, give the pan a gentle shake. The edges should appear set, but the very center (about a 1-inch diameter) should still have a slight jiggle. This subtle movement indicates perfect doneness. If more than an inch of the center is visibly jiggly, it needs a little more time. Return it to the Instant Pot and pressure cook on High in 5-minute increments until it reaches the desired consistency.
- The Importance of Cooling: Patience is paramount! It might be tempting to rush your cheesecake into the fridge as soon as it’s out of the Instant Pot, but resisting this urge is crucial. Allowing the cheesecake to cool gradually to room temperature on a wire rack allows it to continue setting gently and evenly. Rapid temperature changes can lead to cracking. Only once it has fully cooled should it be transferred to the refrigerator for its final, essential chill, which solidifies its structure and enhances its flavor.
- Room Temperature Ingredients: Ensure your cream cheese, eggs, and sour cream are at room temperature. This allows them to blend smoothly and incorporate air evenly, resulting in a consistent, lump-free batter.
- Prevent a Soggy Crust: To help keep your graham cracker crust crisp, ensure it’s thoroughly chilled or even briefly frozen before adding the filling. You can also lightly brush the baked crust with a thin layer of melted white chocolate or a small amount of egg white and bake it for a few minutes before adding the filling, creating a barrier against moisture.
Irresistible Serving Suggestions for Your Pumpkin Cheesecake
This Instant Pot Pumpkin Cheesecake is a standalone triumph, perfect when served simply chilled, perhaps alongside a steaming mug of coffee or a cozy cup of spiced tea. However, for those looking to elevate the experience, here are some fabulous topping ideas that beautifully complement its rich pumpkin and spice notes:
- Heath Bar Crumbles: The buttery crunch and chocolatey goodness of Heath Bar toffee bits add a delightful textural contrast and sweet depth.
- Chocolate Shavings: Elegant and decadent, dark or milk chocolate shavings melt slightly upon contact with the cheesecake, creating a luxurious mouthfeel.
- White Chocolate Ganache: A silky, sweet white chocolate ganache offers a creamy counterpoint and a beautiful visual appeal.
- Dark Chocolate Ganache: For the ultimate chocolate lover, a rich dark chocolate ganache provides a sophisticated bitterness that perfectly balances the pumpkin’s sweetness.
- Caramel Sauce: A classic pairing! A generous drizzle of warm caramel sauce enhances the autumnal essence of the cheesecake.
- Dulce de Leche: Similar to caramel but with a unique, deeper caramelized milk flavor, dulce de leche adds an indulgent, velvety layer.
- Marshmallow Creme: For a touch of whimsical sweetness, pipe swirls of marshmallow creme on top and perhaps even lightly toast them with a kitchen torch for a s’mores-like effect.
- Crushed Gingersnap Crumbles: These spicy, crunchy cookies amplify the warming spices of the cheesecake, offering another layer of seasonal flavor and texture.
How to Store Your Delicious Pumpkin Cheesecake
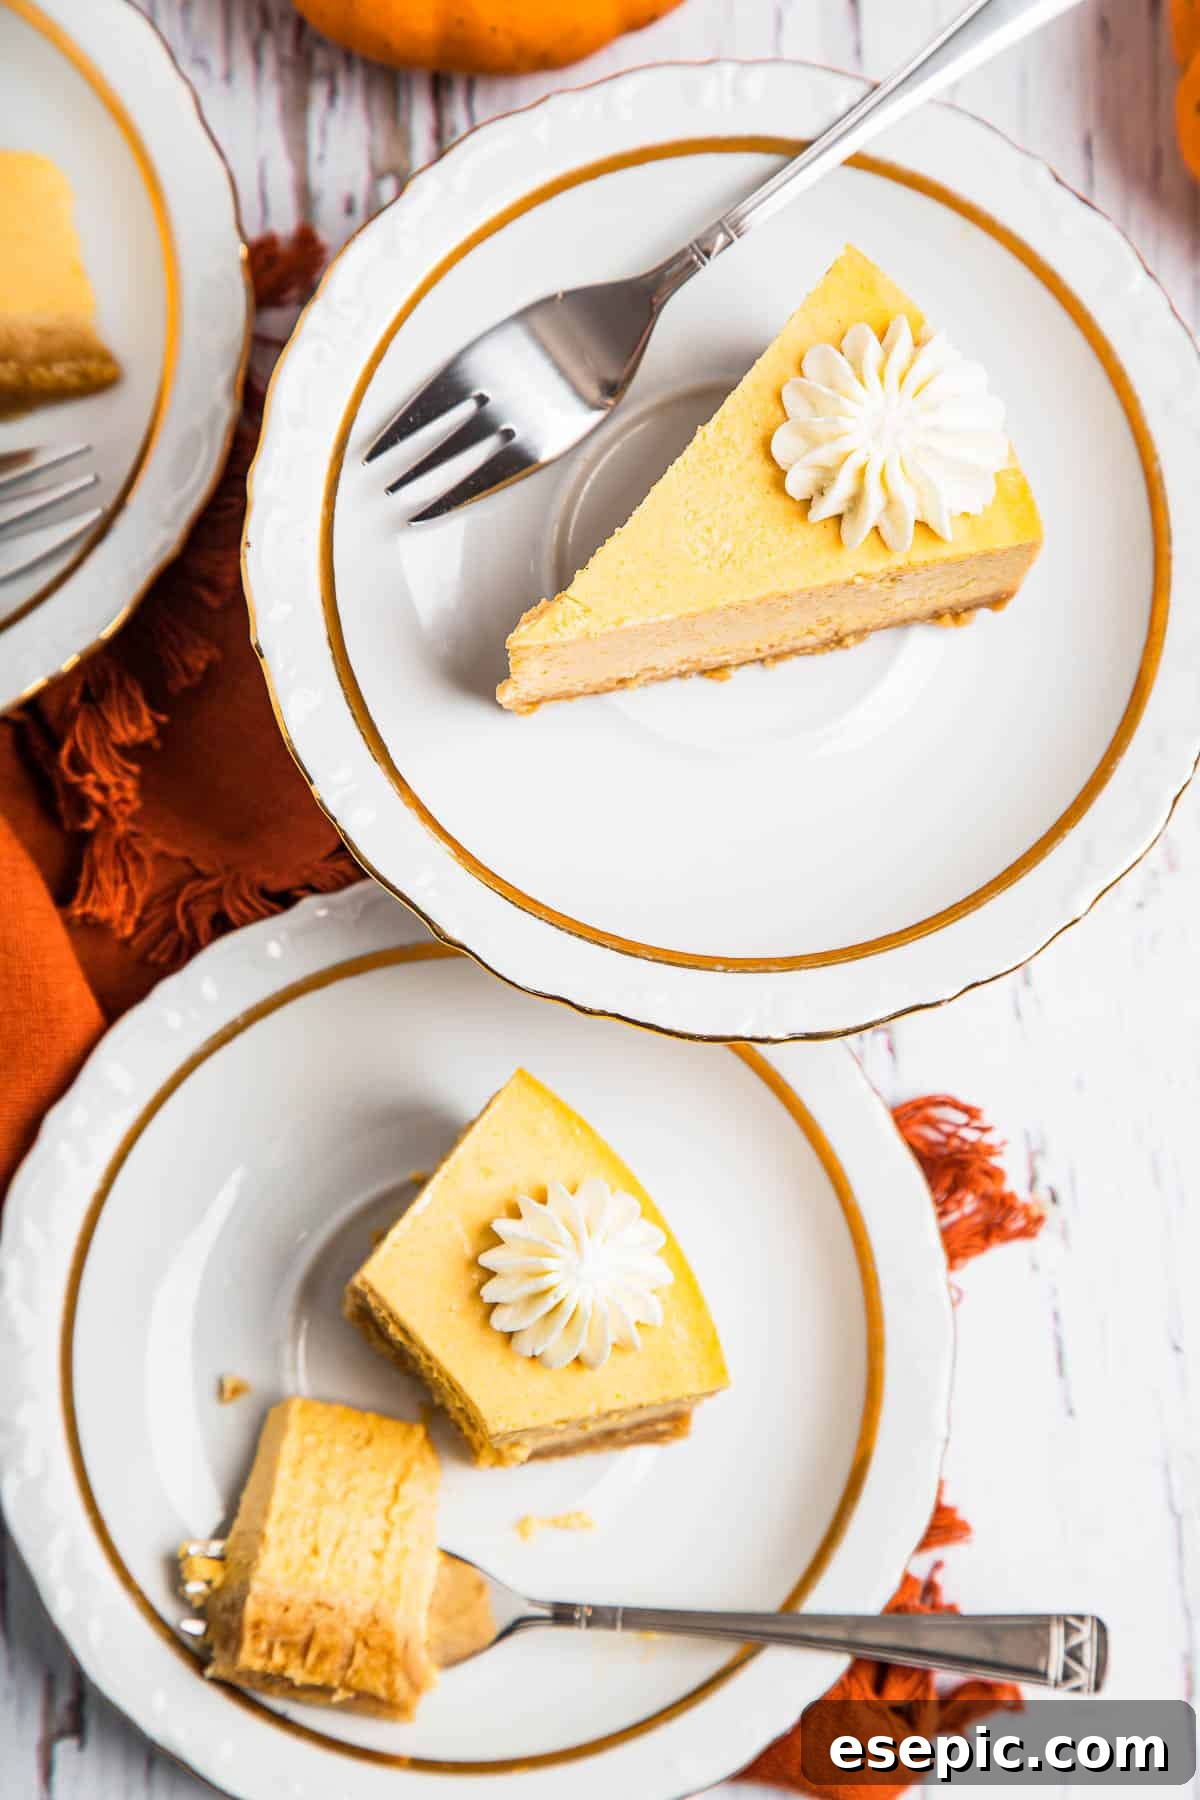
Proper storage is essential to maintain the firm texture and delightful freshness of your Instant Pot Pumpkin Cheesecake. Unlike many other baked goods, cheesecake thrives in a chilled environment.
- First, allow the cheesecake to cool completely to room temperature as instructed. Then, transfer it to an airtight container. You can store individual slices in smaller containers for convenient grab-and-go treats, or keep the entire cheesecake on a cake plate equipped with a fitted, airtight dome lid.
- When stored correctly in the refrigerator, your Instant Pot Pumpkin Cheesecake will remain wonderfully fresh and flavorful for up to 5 days.
Can I Freeze Pumpkin Cheesecake?
Yes, you can absolutely freeze pumpkin cheesecake, making it a fantastic make-ahead dessert option! While the texture might slightly change upon thawing, it will still be delicious.
- To freeze, ensure the cheesecake is completely cooled and chilled. For best results, freeze individual slices or the entire cheesecake unwrapped until solid, then wrap tightly in plastic wrap, followed by a layer of aluminum foil.
- Store in an airtight, freezer-safe container or heavy-duty freezer bag for up to 1 month.
- When ready to enjoy, thaw the cheesecake overnight in the refrigerator before serving.
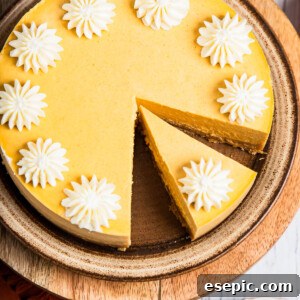
Instant Pot Pumpkin Cheesecake
Katerina | Easy Weeknight Recipes
15
30
10
1
8
Ingredients
For the Crust:
- 1 cup graham cracker crumbs
- 5 tablespoons melted butter
- 2 teaspoons brown sugar
For the Cheesecake Filling:
- 16 ounces cream cheese
- 1 cup pumpkin puree
- 2 tablespoons sour cream
- 2 eggs
- 1 yolk
- ¾ cup powdered sugar
- ½ teaspoon pumpkin spice
- 2 tablespoons cornstarch or all-purpose flour
- Pinch of salt
- 1 tablespoon pure vanilla extract, optional
- Whipped cream or caramel sauce, for serving (optional)
Instructions
-
Combine the graham cracker crumbs, brown sugar, and melted butter in a mixing bowl. Stir with a fork to combine.
-
Remove the bottom of a 7-inch springform pan, wrap in parchment, and fit back into the pan.
-
Spoon the crust mixture into the pan, and use a flat-bottomed glass or measuring cup to press the mixture into the bottom.
-
Place the pan with crust into the freezer while you make the cheesecake batter.
-
In a large mixing bowl, beat the cream cheese, sour cream, and flour with a hand mixer for 30 seconds.
-
Add the sugar and vanilla extract, and mix well.
-
Add the eggs, and mix until just combined.
-
Add the pumpkin puree and pumpkin spice, and mix until combined.
-
Pour the cheesecake batter over the prepared crust.
-
Pour about 1 cup of water into the bottom of your Instant Pot, and then place the trivet on top. Carefully lower your cheesecake onto the trivet.
-
Lock the lid into place, and make sure the valve is set to “sealed.”
-
Select the Pressure Cooking option (Manual) and set the pressure to High. Set the timer for 30 minutes.
-
When the time is up, allow the pressure to release naturally.
When the floating pressure indicator drops and the pressure has all released, carefully open the lid.
-
Use a paper towel to gently pat away any condensation from the top of the cheesecake.
-
Allow the cheesecake to cool completely at room temperature, and then place it in the refrigerator to chill for at least 4 hours or overnight.
-
Serve with whipped cream or caramel sauce.
Nutrition
Carbohydrates: 27g |
Protein: 6g |
Fat: 28g |
Saturated Fat: 16g |
Polyunsaturated Fat: 1g |
Monounsaturated Fat: 8g |
Trans Fat: 1g |
Cholesterol: 144mg |
Sodium: 323mg |
Potassium: 188mg |
Fiber: 1g |
Sugar: 18g |
Vitamin A: 5813IU |
Vitamin C: 1mg |
Calcium: 88mg |
Iron: 1mg
Nutritional info is an estimate and provided as courtesy. Values may vary according to the ingredients and tools used. Please use your preferred nutritional calculator for more detailed info.
Did you make a recipe? Leave a rating
More Delightful Dessert Recipes
If you’re eager to explore more sweet treats and perfect your baking skills, be sure to check out these other fantastic dessert recipes:
- Peach Crisp Recipe: A comforting classic, bursting with juicy peaches and a buttery, crumbly topping.
- Easy Chocolate Cake: A simple yet decadent chocolate cake, perfect for any occasion and guaranteed to satisfy your sweet tooth.
- Cherry Kuchen Bars: Sweet and tart cherry bars with a delightful streusel topping, ideal for potlucks and family gatherings.