

There are few dishes that evoke the warm embrace of home cooking quite like a hearty pot pie. This easy chicken pot pie casserole takes everything you adore about that classic comfort food and transforms it into a fuss-free, family-friendly bake. Imagine golden, fluffy, homemade buttermilk biscuits crowning a rich, creamy filling packed with tender chicken and vibrant vegetables, all baked to perfection in a convenient casserole dish. It’s the ultimate cozy meal without the effort of a traditional pie crust!
Once you’ve savored every spoonful of this delightful casserole, and if you’re craving more beloved American classics, be sure to explore my tuna noodle casserole or chicken stuffing casserole next. They are equally fantastic, comforting, and perfect for any weeknight dinner or special occasion gathering.

Are you ready to elevate your dinnertime experience with a dish that promises pure, cozy perfection? Today, we’re diving into the delightful world of chicken pot pie casserole. This recipe delivers all the robust flavors and heartwarming goodness of classic chicken pot pie but bypasses the often-intimidating step of crafting a traditional pie crust. Instead, we’ll whip up a supremely simple yet incredibly flavorful chicken filling, prepare a batch of our signature fluffy homemade biscuits, and then combine everything into a single casserole dish. Bake it until it’s bubbly, golden, and utterly irresistible – it’s comfort food reimagined for modern convenience.
Why This Chicken Pot Pie Casserole Will Become Your New Favorite
This biscuit-topped chicken pot pie casserole isn’t just another dinner recipe; it’s a culinary hug that simplifies your time in the kitchen without compromising on taste. Here’s why you’ll find yourself returning to this recipe again and again:
- Effortlessly Fuss-Free. Forget the stress of rolling out delicate pie dough. This simple recipe captures all the beloved flavors and textures of a classic chicken pot pie in an easier-to-assemble casserole format. It’s perfect for busy weeknights when you crave homemade comfort but don’t have hours to spend. The beauty of a casserole is its ability to deliver maximum flavor with minimal fuss, and this recipe is a shining example.
- Delightfully Homemade Biscuits. What truly sets this casserole apart are the light, airy, and utterly delicious homemade biscuits that serve as its golden crown. These fluffy wonders take the place of a traditional pie crust, offering a tender, buttery contrast to the creamy filling below. The biscuit dough recipe is incredibly straightforward, requiring no chilling time, so you can have them ready in a flash. For those extra-busy days, you can even opt for store-bought biscuit dough without sacrificing too much on the delicious factor, making this recipe incredibly versatile.
- Irresistibly Creamy Filling. The heart of this chicken pot pie casserole is its rich, silky, and deeply satisfying filling. It’s generously packed with succulent pieces of juicy chicken and an abundance of tender, wholesome vegetables. Each spoonful offers a harmonious blend of savory flavors, all simmered together in a luscious sauce that clings perfectly to every ingredient. Once baked, the filling becomes wonderfully hot and bubbly, creating a comforting experience that’s hard to beat.
- A Guaranteed Family Favorite. Casseroles inherently possess an undeniable appeal, and this chicken pot pie rendition is no exception. It’s a hearty, wholesome meal that truly hits the spot for all ages. The familiar flavors and comforting textures make it a surefire hit with both children and adults, virtually guaranteeing requests for second helpings. It’s the kind of dish that brings everyone to the table, eager to enjoy a delicious meal together.
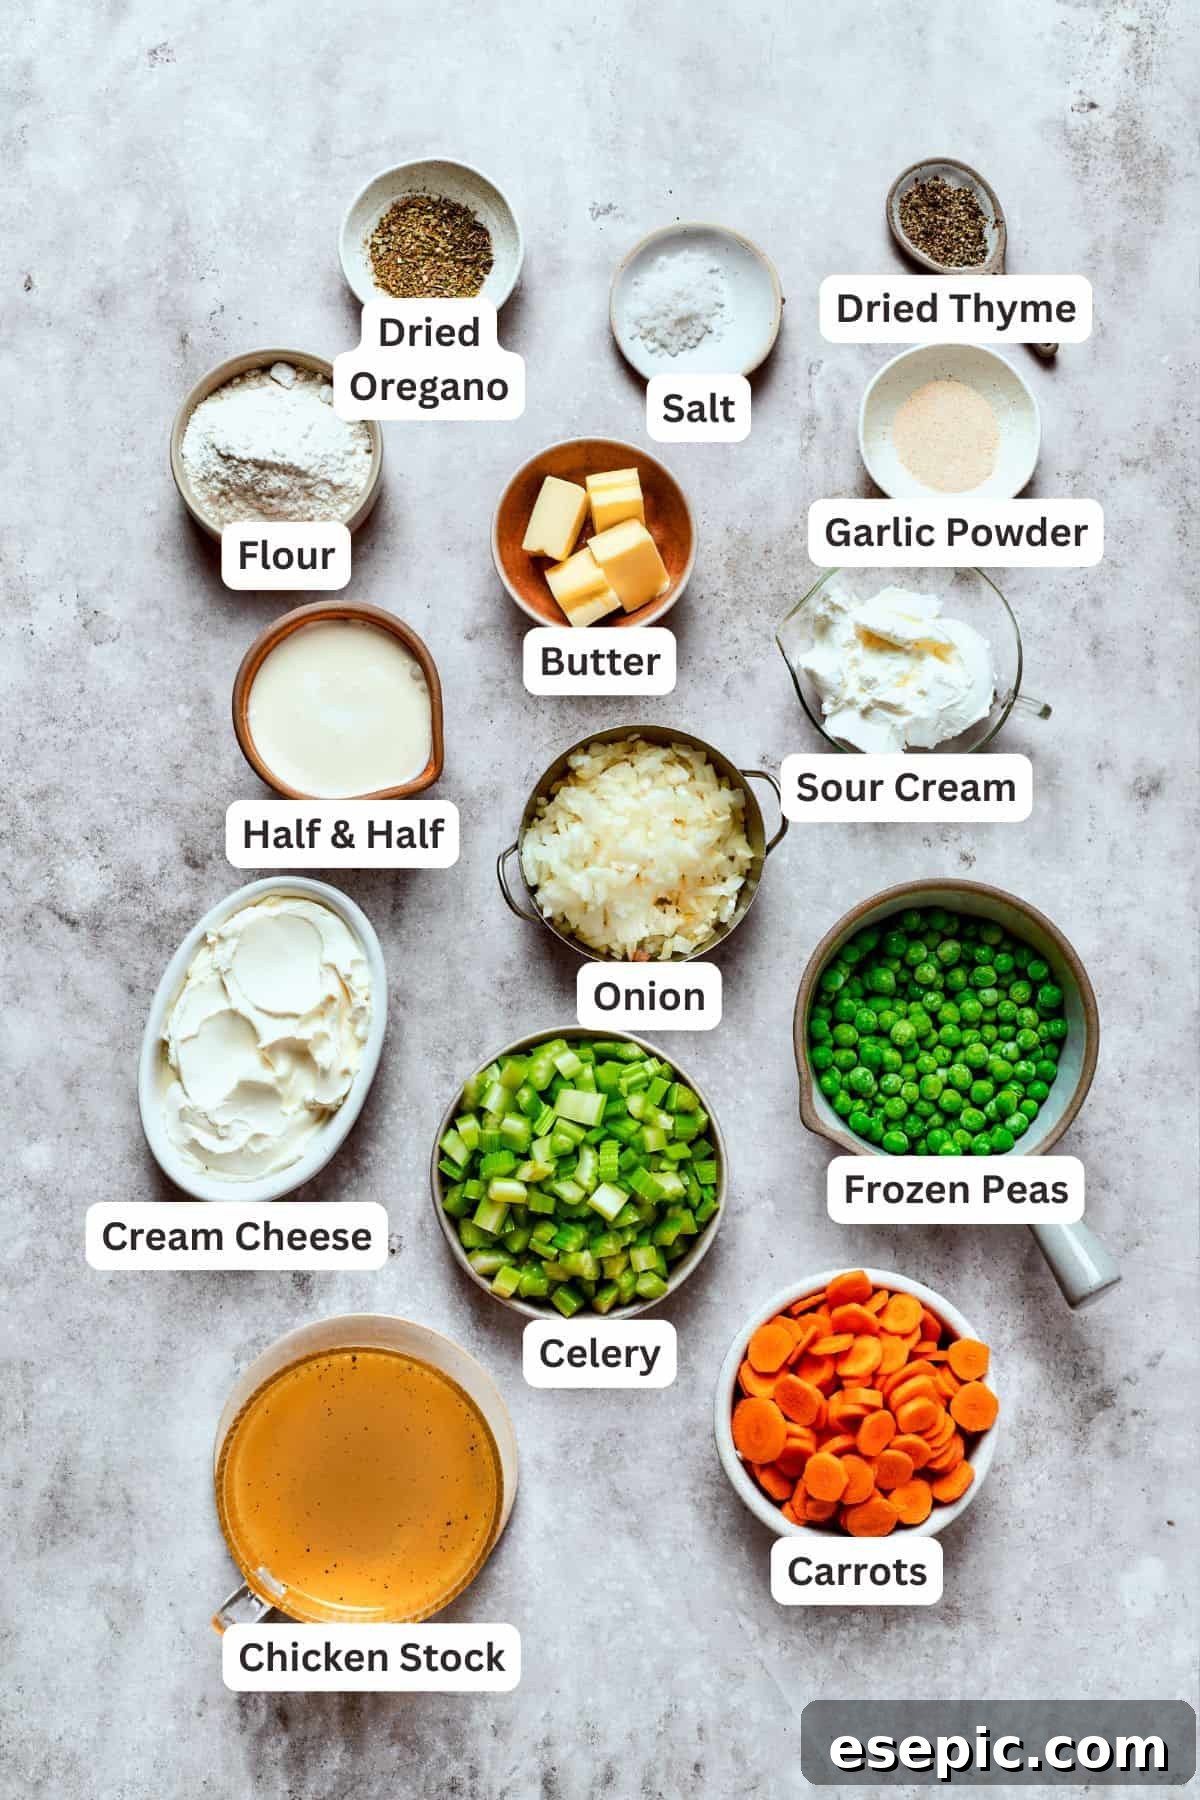
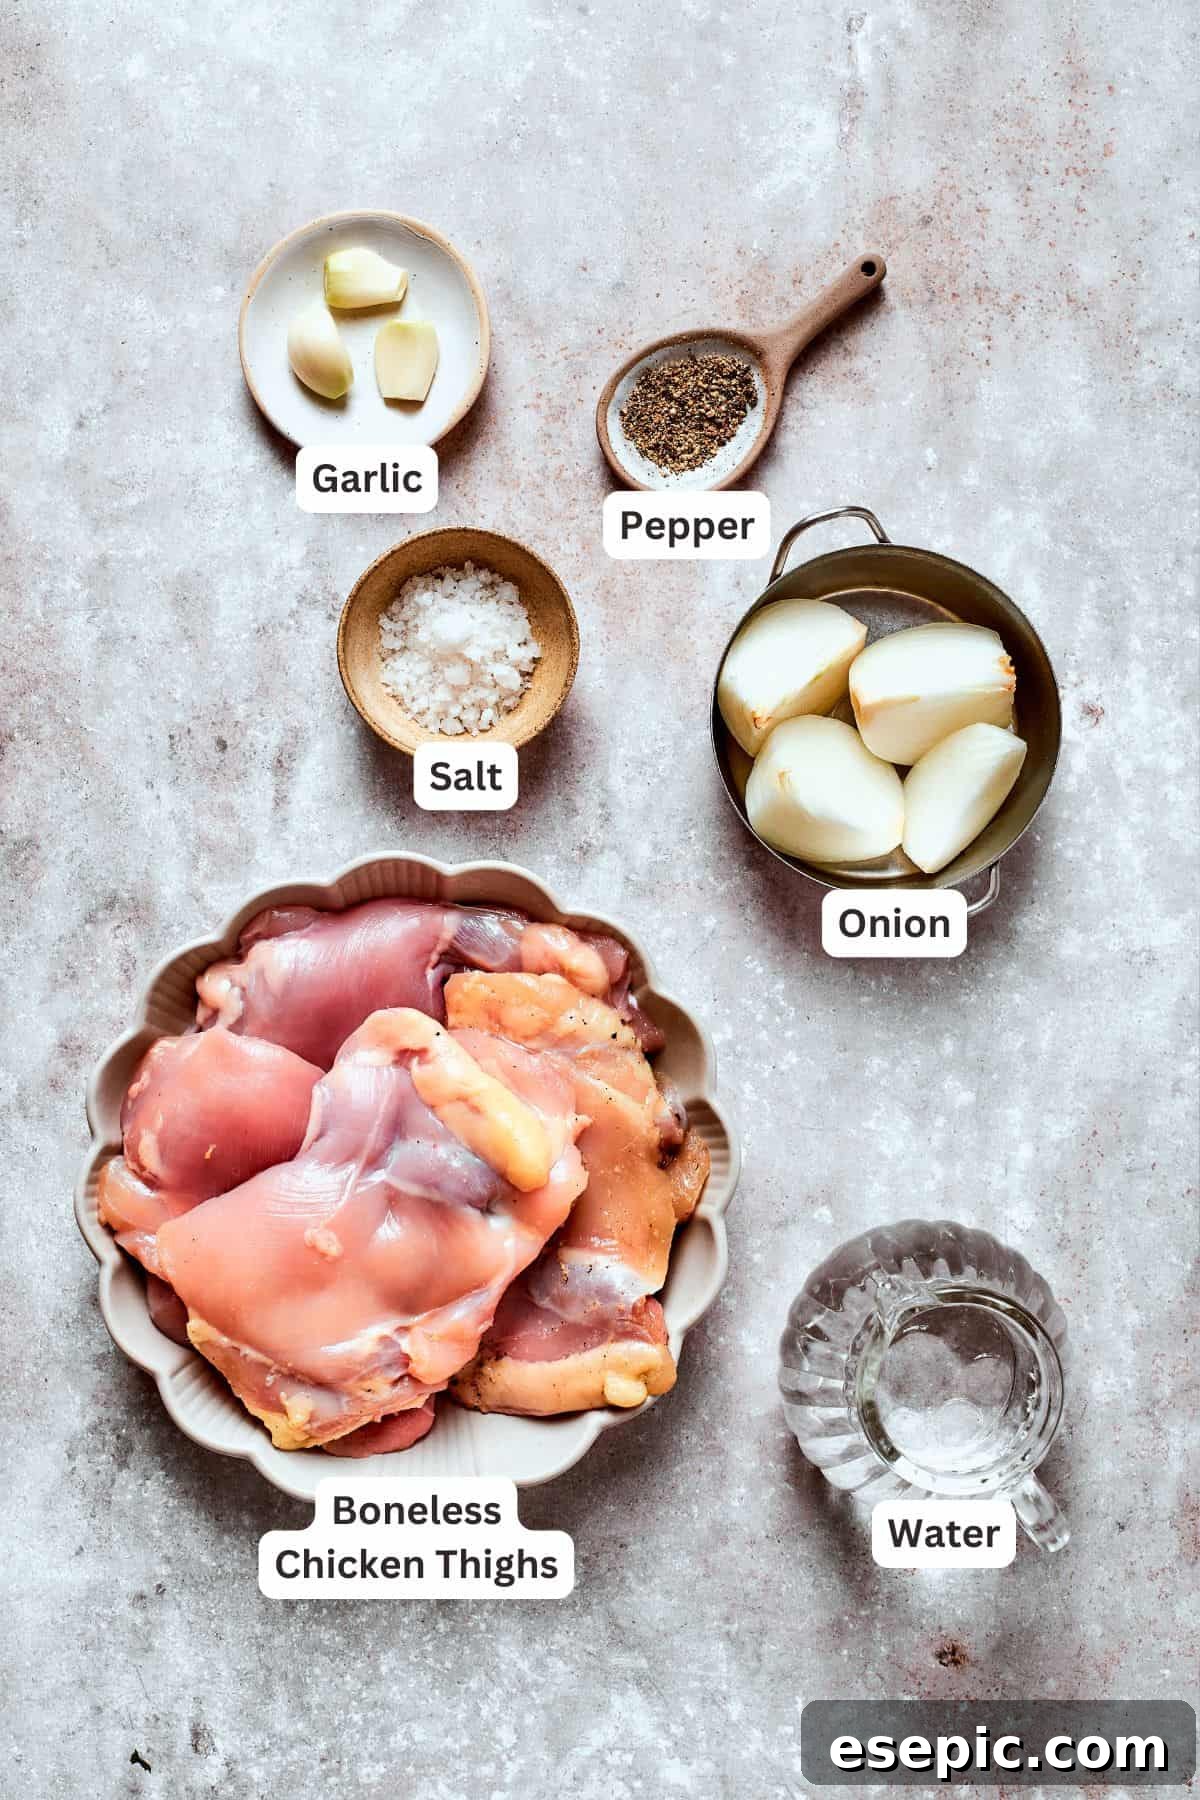
Essential Ingredients for Your Pot Pie Masterpiece
Crafting this incredible chicken pot pie casserole starts with gathering fresh, quality ingredients. While the full, printable list with precise measurements can be found in the recipe card below, here are some helpful notes and insights into the key components:
For the Flavorful Pot Pie Filling
- Chicken Thighs – We recommend using boneless, skinless chicken thighs for their incredible juiciness and rich flavor, which holds up beautifully in the creamy sauce. However, if you prefer a leaner option, an equal amount of boneless, skinless chicken breasts will work wonderfully too. Just be mindful not to overcook them to keep them tender.
- Aromatic Veggies – The foundation of our filling’s flavor comes from a classic mirepoix: carrots, onion, and celery. Sautéed gently in butter until tender, these vegetables release their sweet and savory notes, building a deep, comforting base for the entire dish. Fresh garlic is also added for that essential pungent kick.
- Seasonings – A carefully balanced blend of salt, black pepper, garlic powder, dried thyme, and oregano infuses the filling with a classic, herbaceous aroma that truly defines pot pie. These spices are pantry staples and work in harmony to create that signature cozy taste.
- All-Purpose Flour – This is our secret weapon for achieving that perfectly thick and luscious gravy. It acts as a natural thickener, binding all the delicious liquids and flavors together into a velvety smooth sauce.
- Chicken Stock – High-quality chicken stock is essential for deepening the savory profile of the filling. If you happen to have vegetable stock on hand, that’s a perfectly acceptable substitute and will still yield a delicious result.
- Half-and-Half – For that signature creamy texture and rich mouthfeel, half-and-half is ideal. If you’re looking to make the filling even more indulgent, heavy cream can be used for an extra decadent touch. Conversely, if you prefer a slightly lighter filling without sacrificing creaminess, whole milk can be substituted.
- Cream Cheese – Softened to room temperature, cream cheese is a fantastic addition that contributes an irresistible tang and extra richness, making the sauce incredibly smooth and luxurious. It melts seamlessly into the hot filling, ensuring a uniform creaminess.
- Sour Cream – Adding another layer of creamy tang, sour cream brightens the flavors and helps create a balanced richness. If you’re out of sour cream or prefer an alternative, plain or Greek yogurt can be used as a suitable substitute, offering a similar tang.
- Green Peas – These vibrant little gems add a burst of sweetness and color to the filling. Whether fresh or frozen, they cook quickly and maintain their texture. If peas aren’t your favorite, feel free to omit them or swap them out for another quick-cooking vegetable like chopped mushrooms or corn kernels.
- Fresh Parsley – A sprinkle of fresh chopped parsley at the end adds a bright, herbaceous finish that lifts the entire dish. Always opt for fresh over dried parsley here for the best flavor and visual appeal. Fresh thyme also works beautifully as an alternative or an addition.
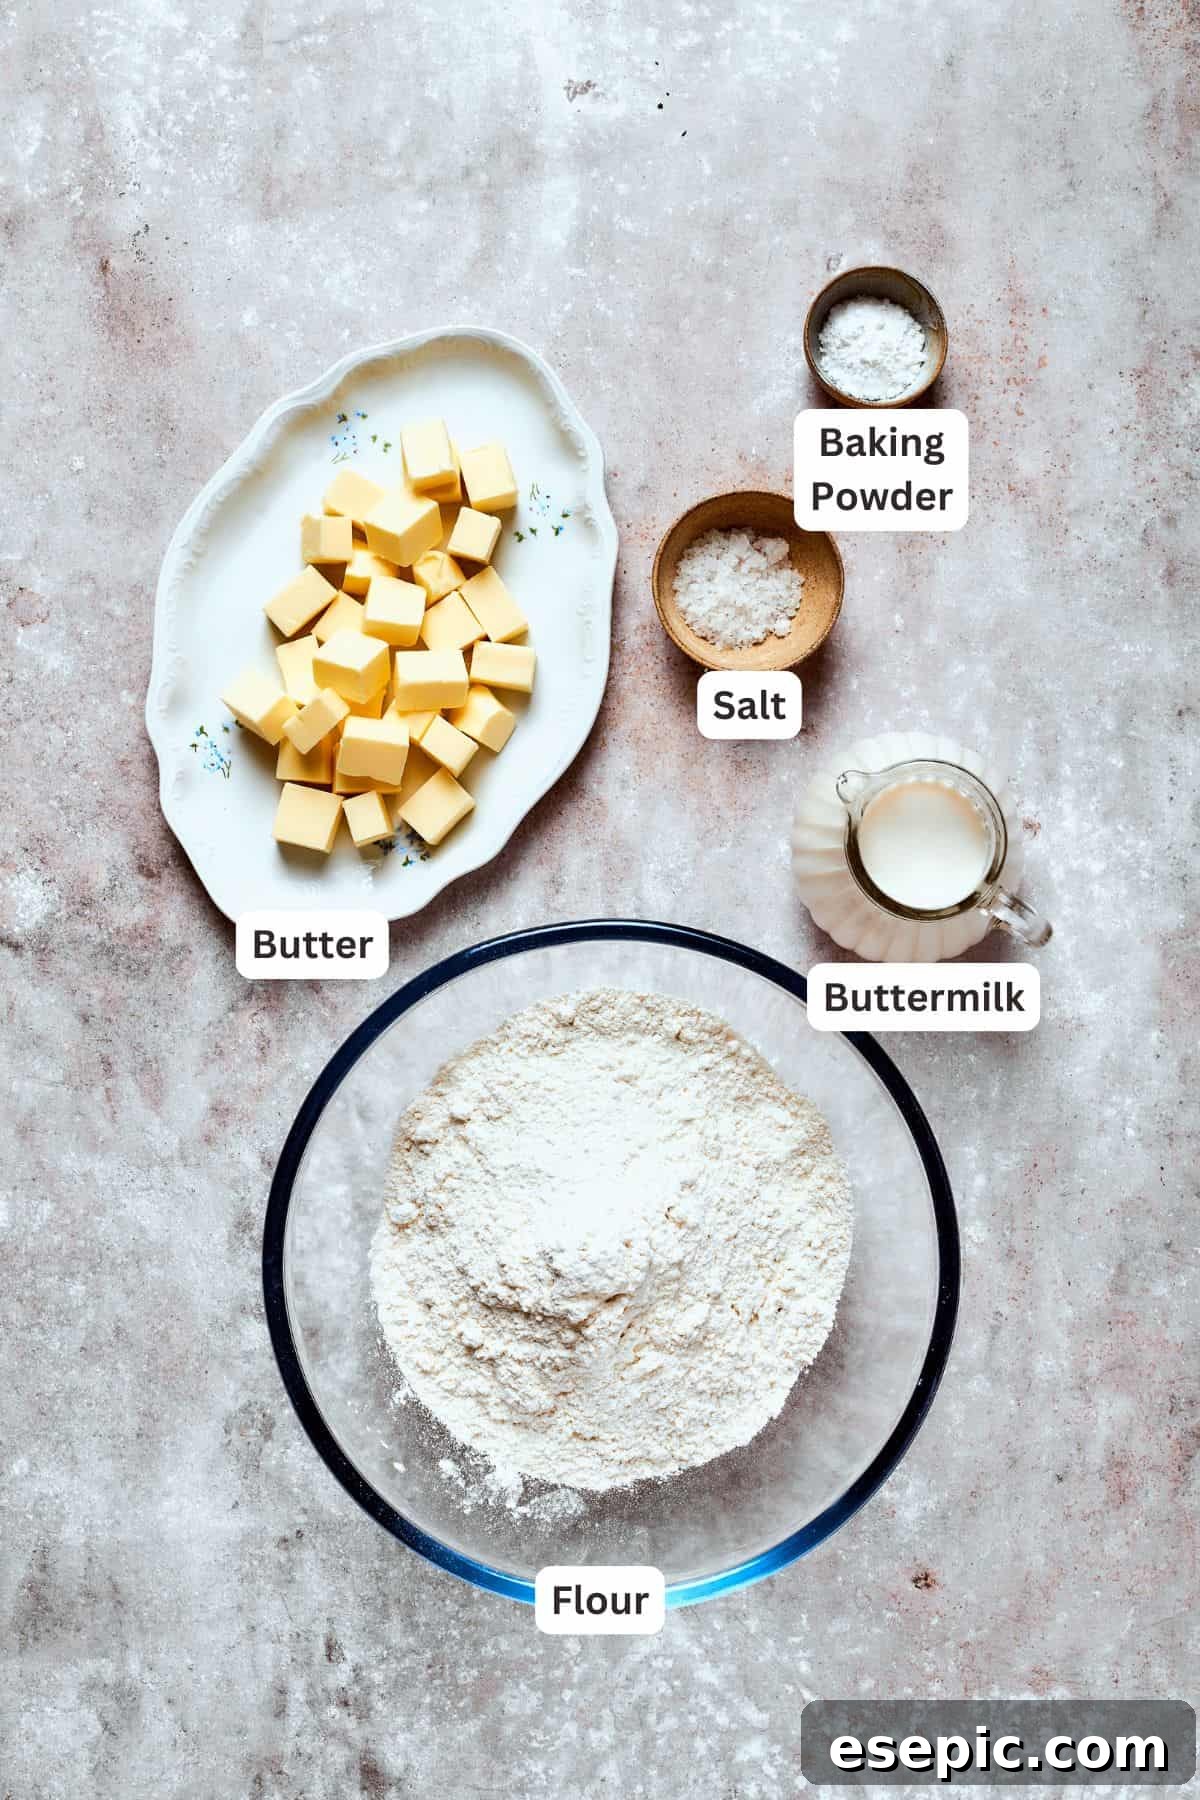
For the Fluffy Buttermilk Biscuits
- Unsalted Butter – Chilled, unsalted butter is crucial for creating tender, flaky biscuits. Using unsalted butter gives you control over the overall sodium content of the dish. The cold butter creates pockets of steam as it bakes, resulting in those coveted flaky layers.
- Dry Ingredients – This simple blend forms the structure of our biscuits. You’ll need good quality all-purpose flour for a tender crumb, baking powder to give them their lofty rise, and a touch of salt to enhance all the flavors.
- Buttermilk – The star ingredient for truly tender and flavorful biscuits! Buttermilk reacts with the baking powder to create extra lift and contributes a slight tang that enhances the overall taste. If you don’t have buttermilk on hand, don’t fret! You can easily make a homemade substitute by combining 1 tablespoon of fresh lemon juice (or white vinegar) with 1-1/4 cups of regular milk. Let the mixture sit for about 5 minutes until it curdles slightly, stir, and then use it as directed in the recipe.
Crafting Your Homemade Chicken Pot Pie Casserole: A Step-by-Step Guide
Ready to create this incredibly satisfying casserole? Let’s walk through the process together. This simple guide breaks down each stage, ensuring a smooth and enjoyable cooking experience. Remember to scroll down to the full recipe card for detailed instructions and precise measurements!
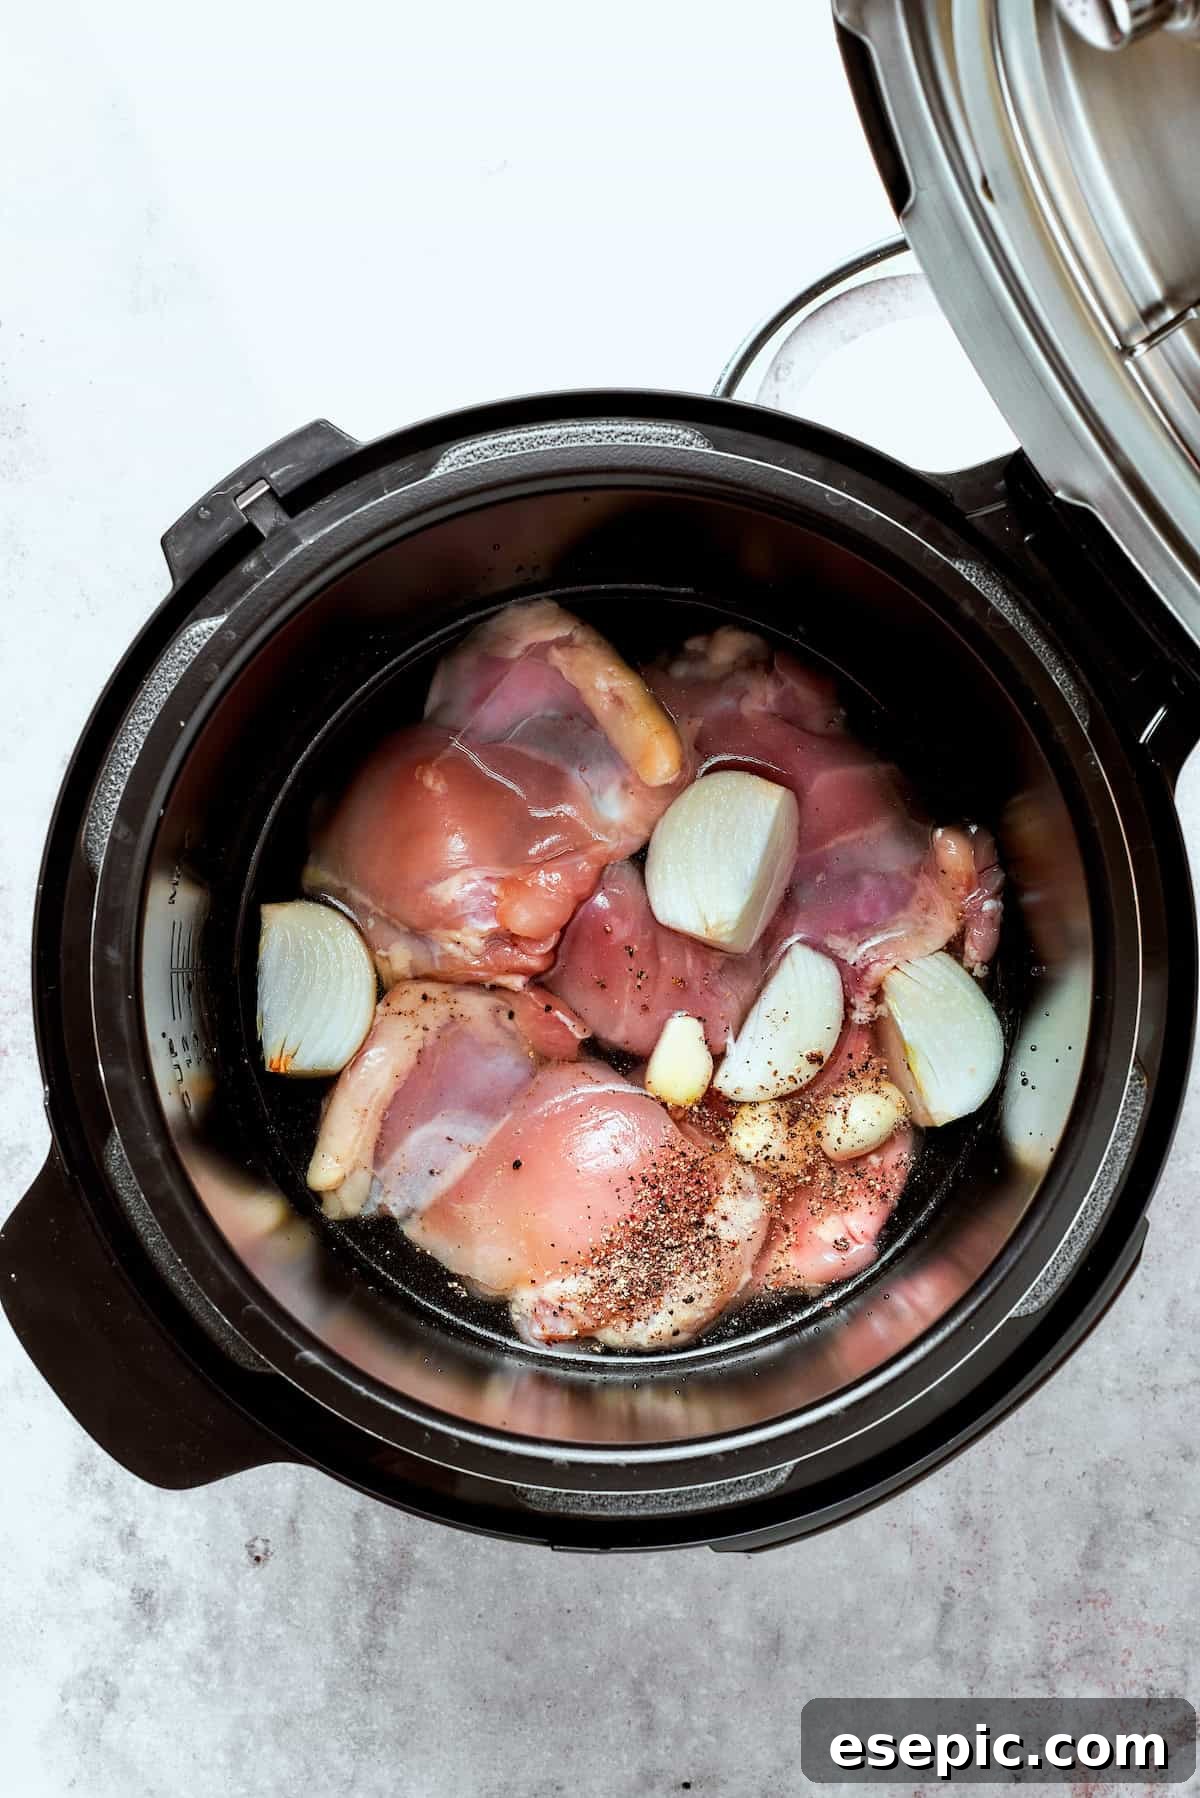
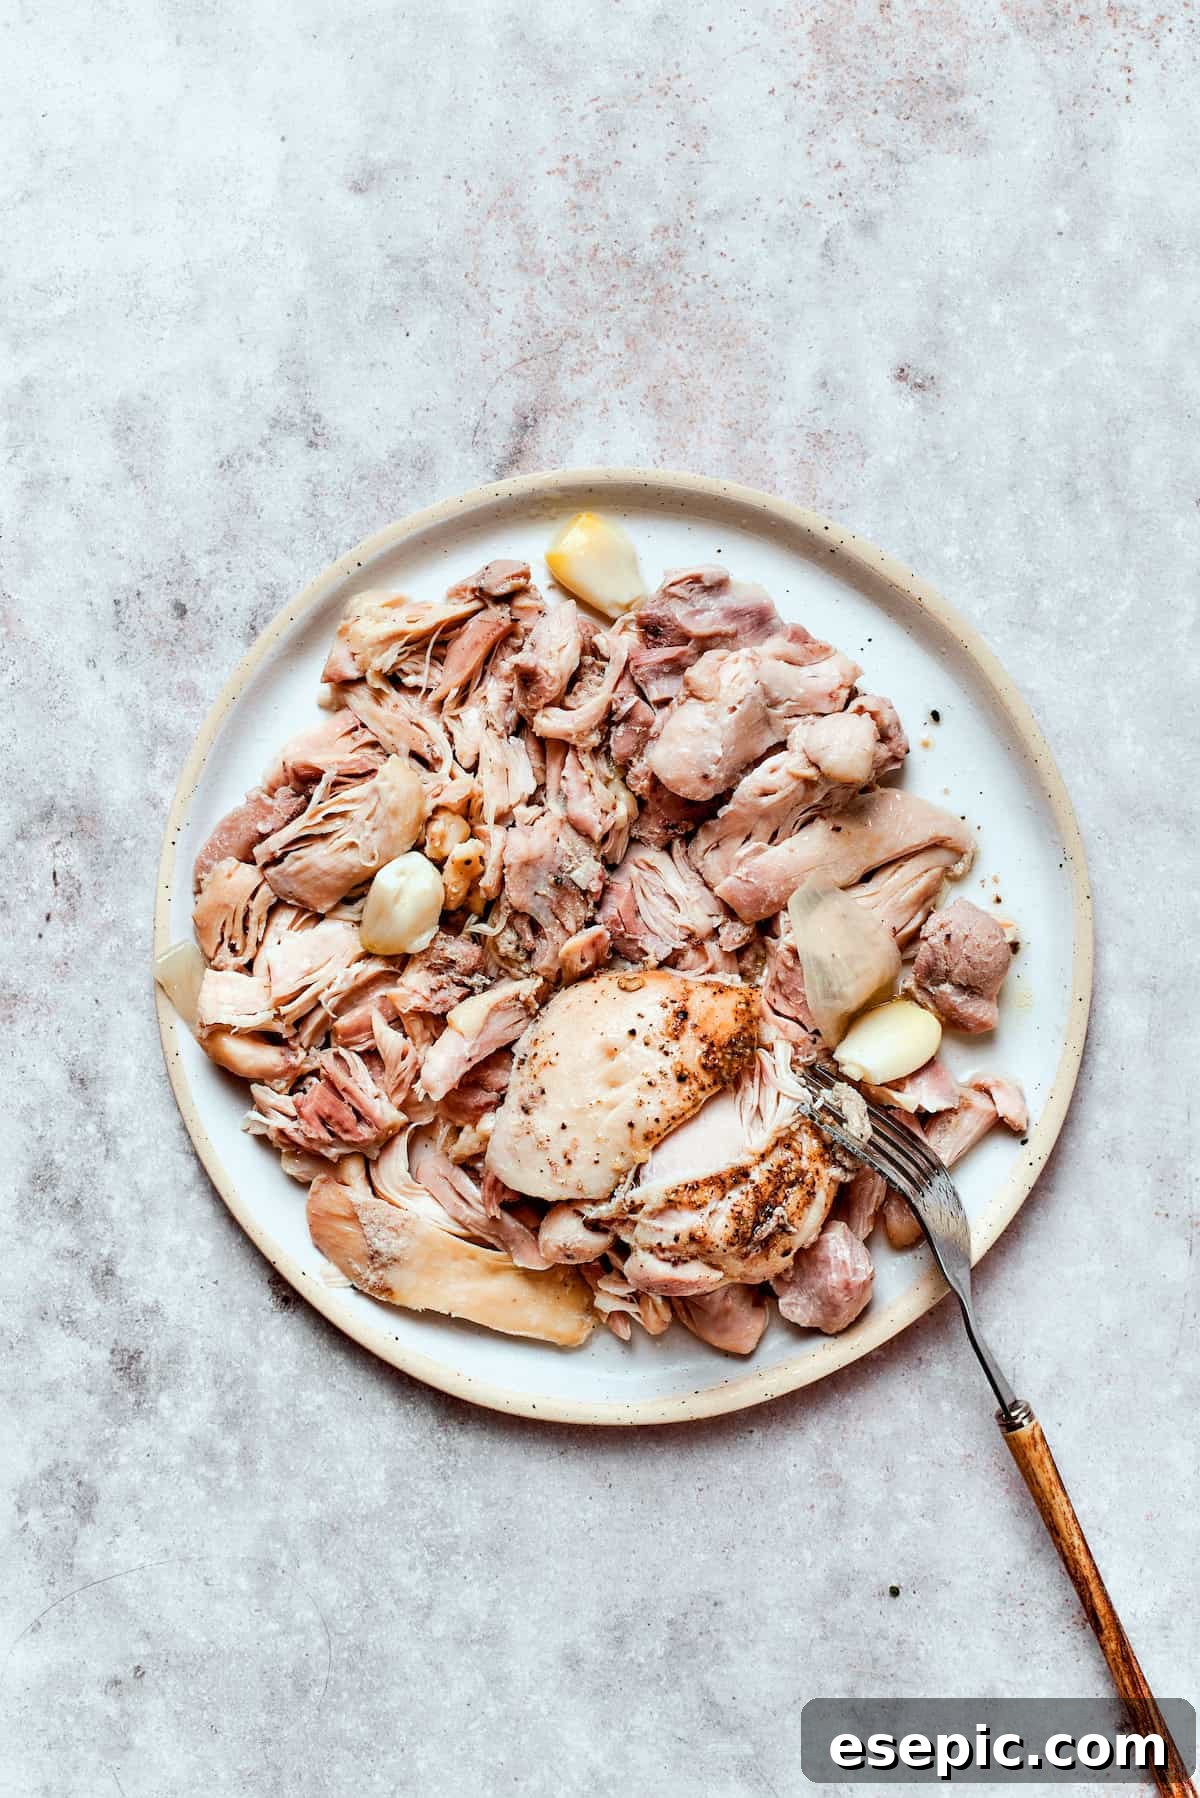
Step 1: Prepare the Tender Chicken
The first step involves cooking the chicken until it’s perfectly tender and ready to be shredded. Using an Instant Pot makes this process incredibly quick and efficient, locking in moisture and flavor.
- Load the Instant Pot. Begin by placing your boneless, skinless chicken thighs directly into the Instant Pot. Add the quartered onion, whole garlic cloves, kosher salt, ground black pepper, and 1 cup of water. Give everything a quick stir to ensure the seasonings are distributed.
- Pressure Cook to Perfection. Secure the lid on your Instant Pot, ensuring it’s sealed. Set it to cook on high pressure for 15 minutes. Once the cooking time is complete, carefully perform a manual pressure release. Once the pressure has fully released, open the lid and remove the onion and garlic (they’ve infused their flavor into the cooking liquid, which you can discard or save for other uses).
- Shred the Chicken. Transfer the cooked chicken thighs to a clean cutting board. Using two forks, easily shred the chicken into bite-sized pieces. This tender, flavorful chicken will be a star in your pot pie filling. Set it aside for later assembly.
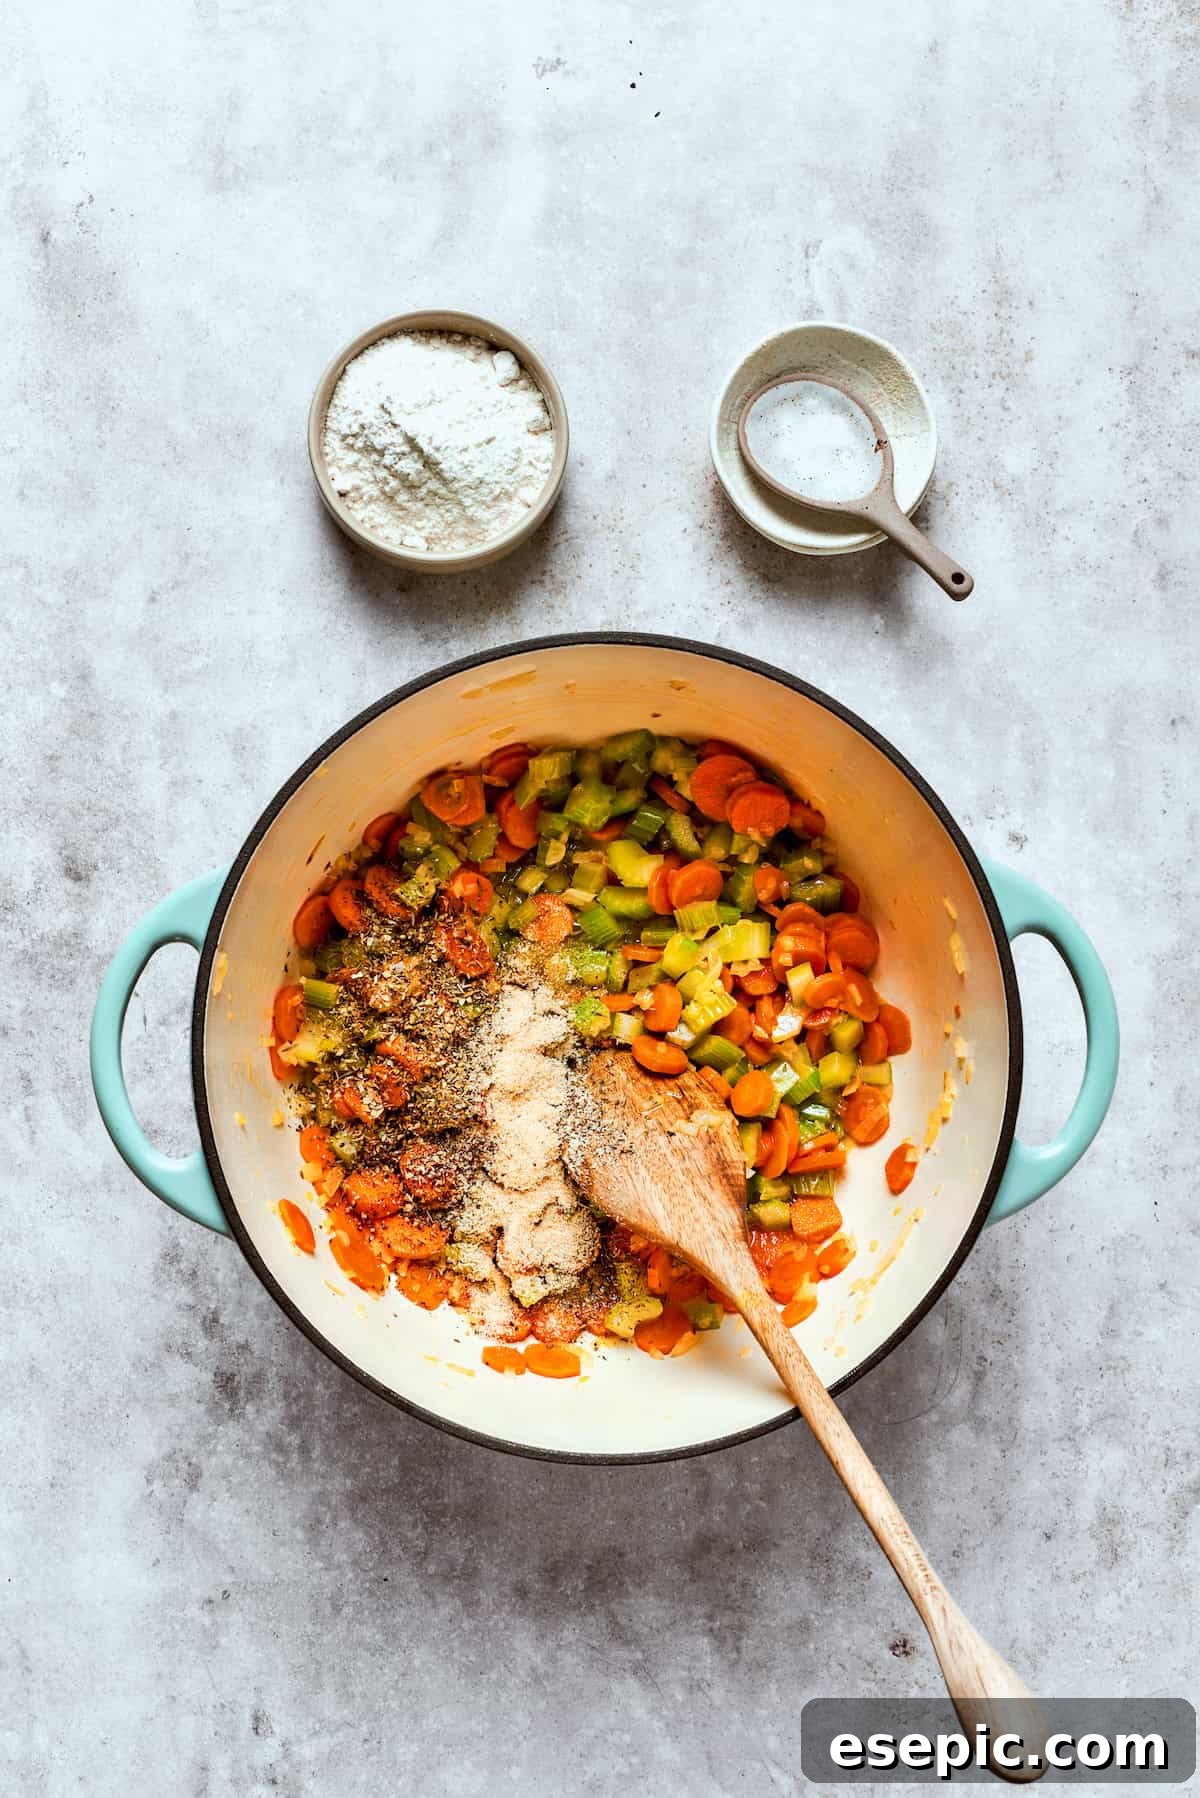
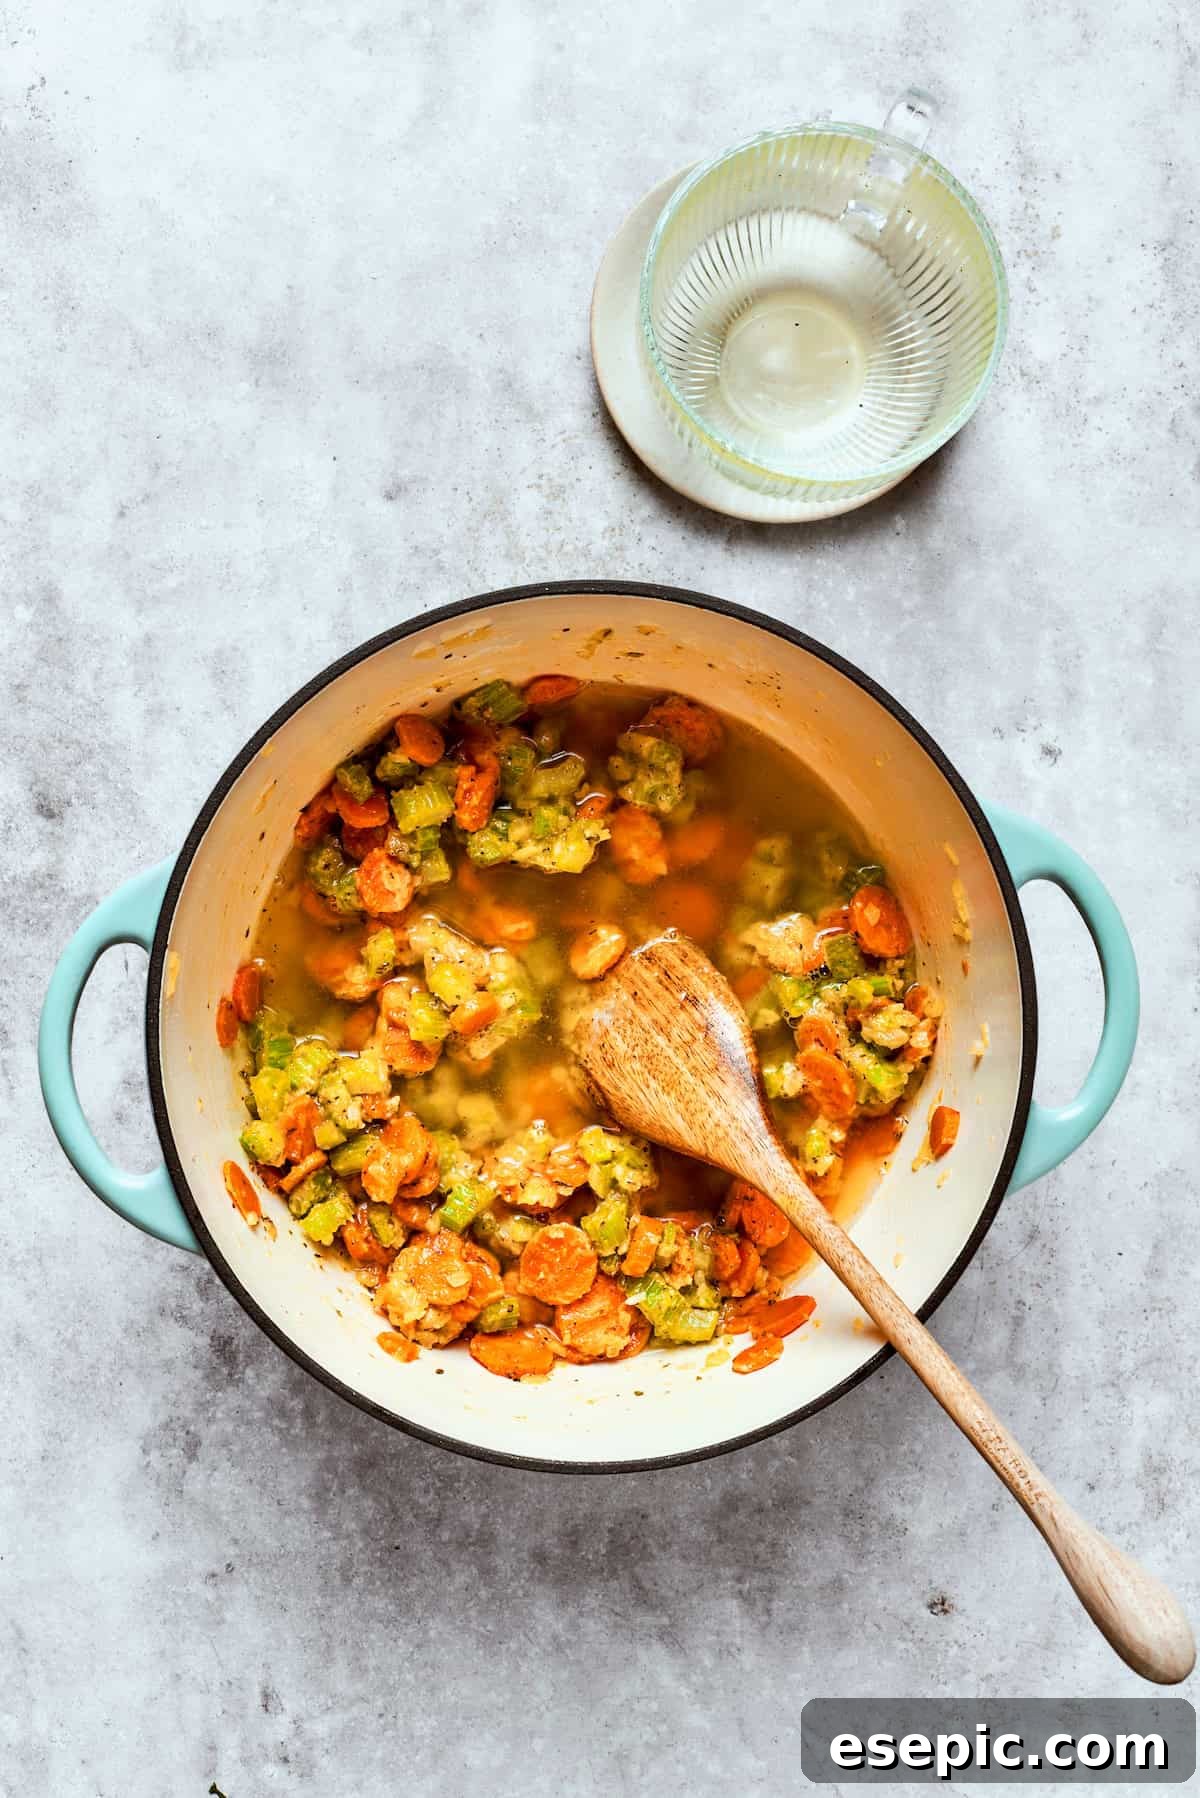


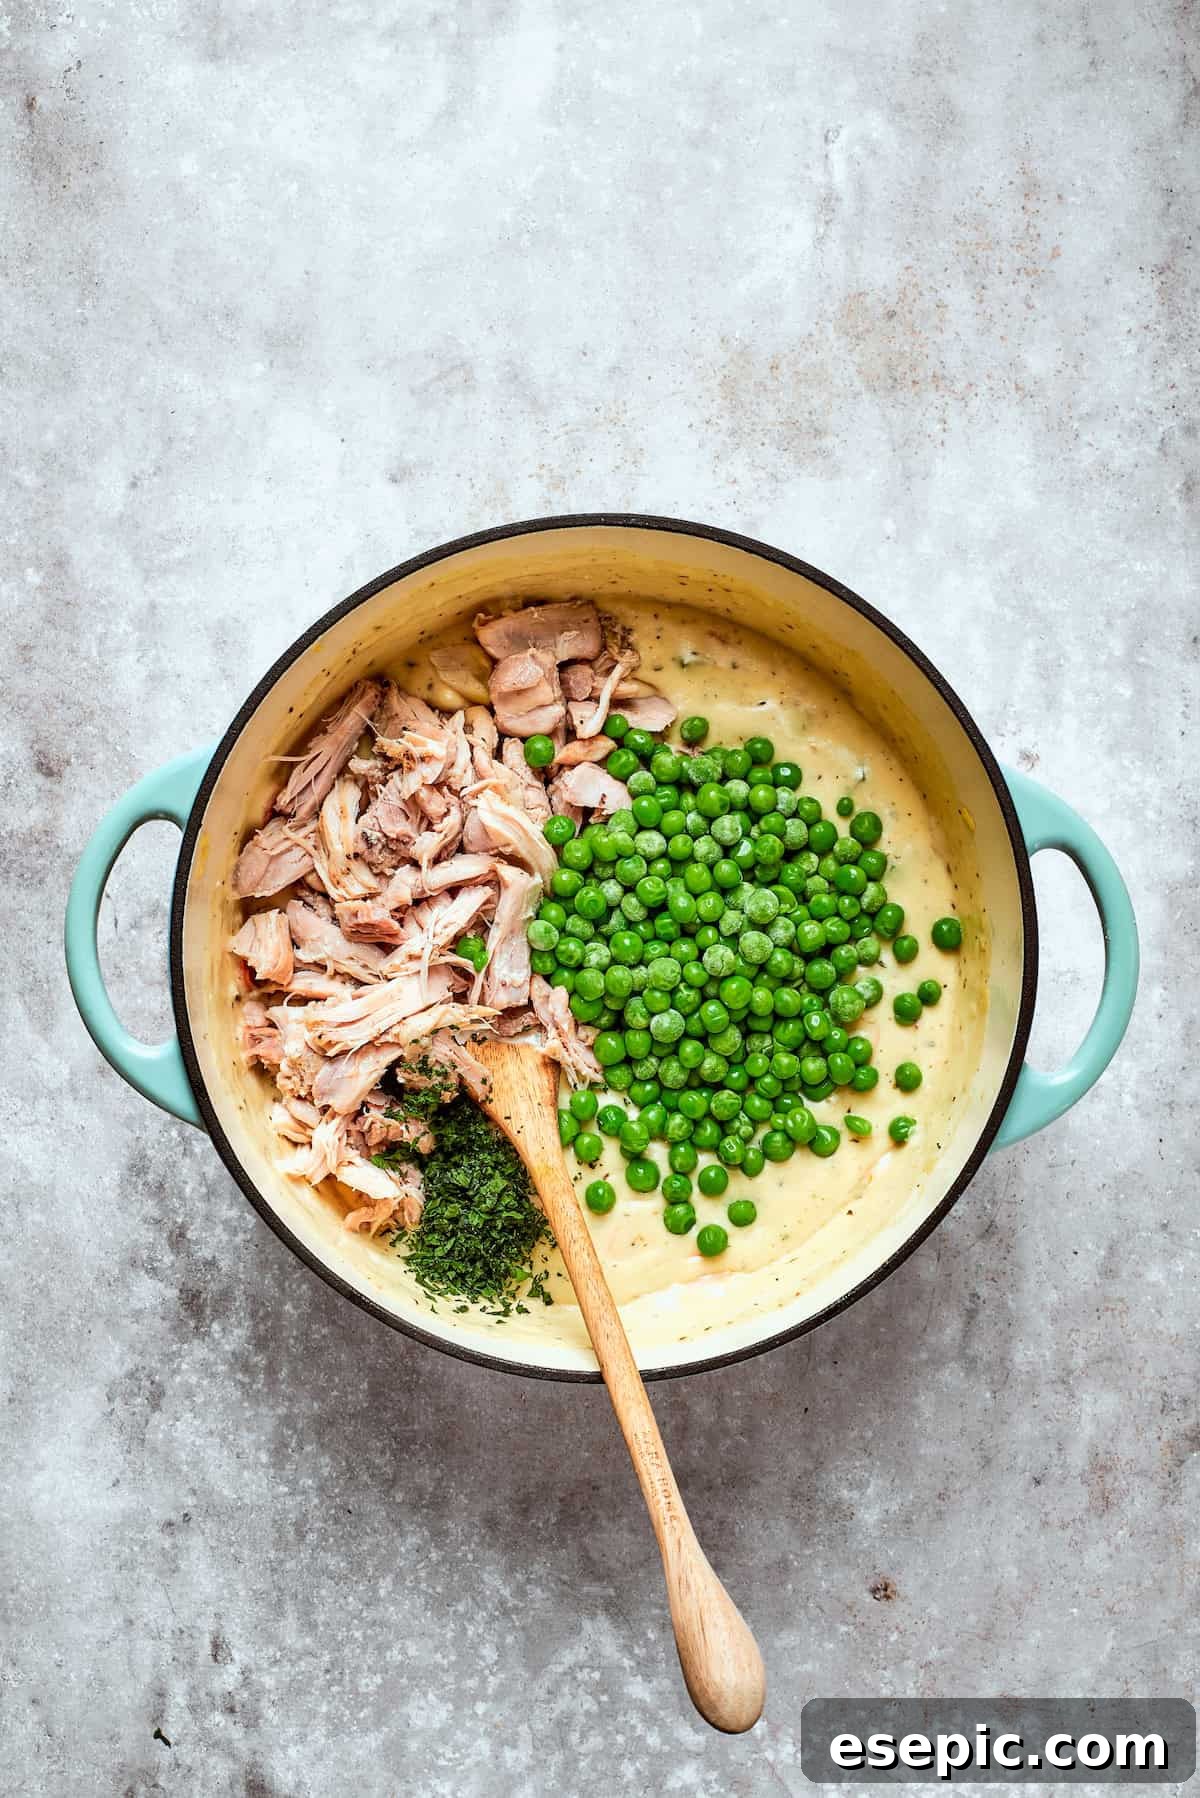
Step 2: Create the Rich and Creamy Filling
With the chicken ready, it’s time to build the luscious, savory heart of our casserole – the pot pie filling. This is where all the comforting flavors come together.
- Sauté the Aromatics. In a large, heavy-bottomed saucepan or Dutch oven, melt the butter over medium heat. Add the sliced carrots, chopped onion, and sliced celery. Season generously with salt. Sauté the vegetables, stirring occasionally, until they are wonderfully softened, fragrant, and slightly translucent – this usually takes about 8-10 minutes.
- Build the Velvety Sauce. Stir in the remaining seasonings: black pepper, garlic powder, dried thyme, and dried oregano. Cook for about 30 seconds, allowing the spices to become fragrant. Next, sprinkle in the all-purpose flour, stirring constantly for another minute to create a roux. Gradually pour in the chicken stock, whisking continuously to prevent lumps. Follow with the half-and-half, continuing to whisk until fully incorporated. Bring the mixture to a gentle boil, then reduce the heat to low and let it simmer, stirring occasionally, until the filling visibly thickens to a rich, gravy-like consistency – this should take about 5-7 minutes.
- Infuse Creaminess. Remove the saucepan from the heat. Add the softened cream cheese, stirring vigorously until it has completely melted into the sauce, making it incredibly smooth and luxurious. Then, stir in the sour cream, ensuring it’s well combined for an added layer of tang and richness.
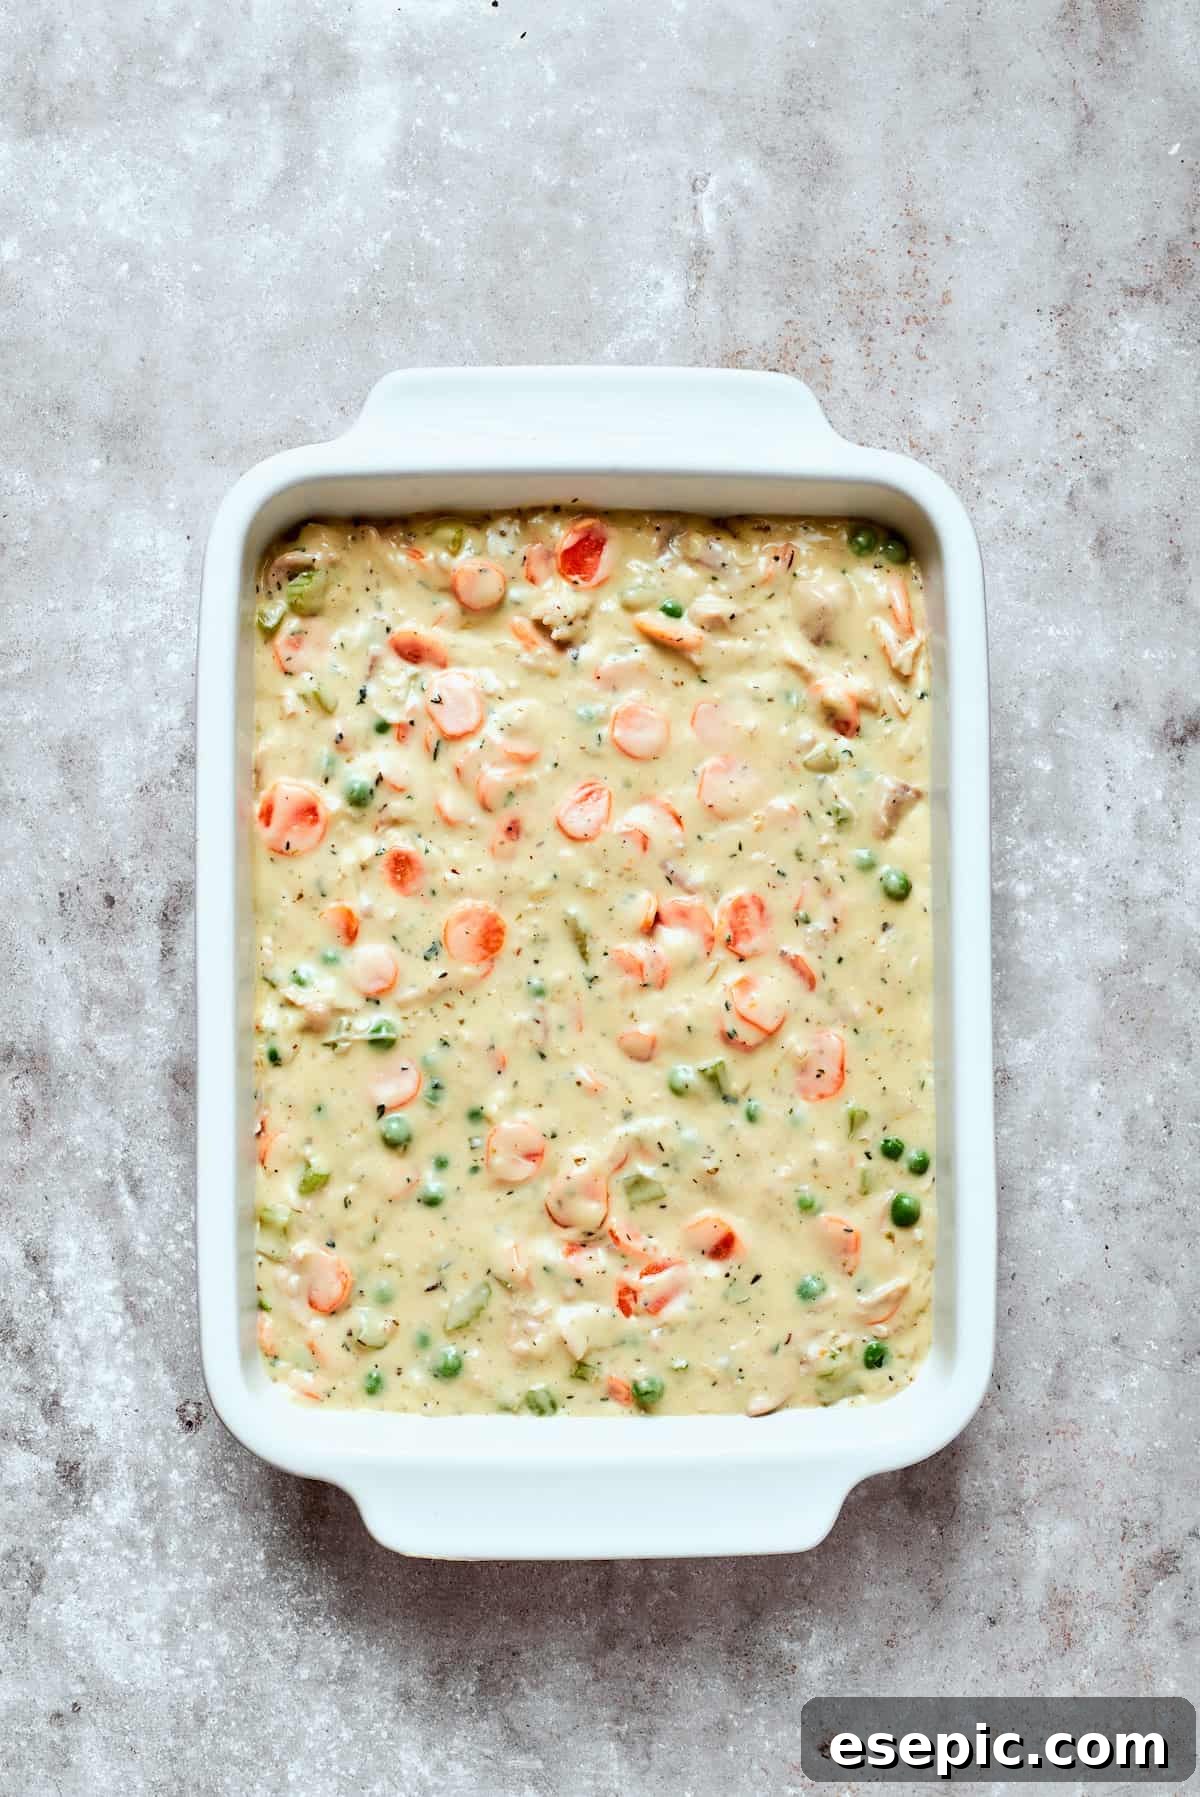
- Combine and Prepare for Baking. Finally, stir in the frozen peas (no need to thaw!) and the fresh chopped parsley. Gently fold in the shredded chicken you prepared earlier until everything is evenly distributed throughout the creamy filling. Your delicious pot pie filling is now ready!


Step 3: Bake with Golden Buttermilk Biscuits
Now for the crowning glory – those beautiful, fluffy buttermilk biscuits that turn this casserole into a true masterpiece. The final assembly and baking are the easiest parts!
- Oven Preheat & Dish Prep. Preheat your oven to a toasty 400°F (200°C). Lightly grease a large casserole dish (a 9×13 inch dish works perfectly) with butter to prevent sticking and aid in browning.
- Prepare the Dry Biscuit Ingredients. In a large mixing bowl (or the bowl of a stand mixer), combine the all-purpose flour, baking powder, and salt. Whisk or mix on low speed until these dry ingredients are thoroughly combined.
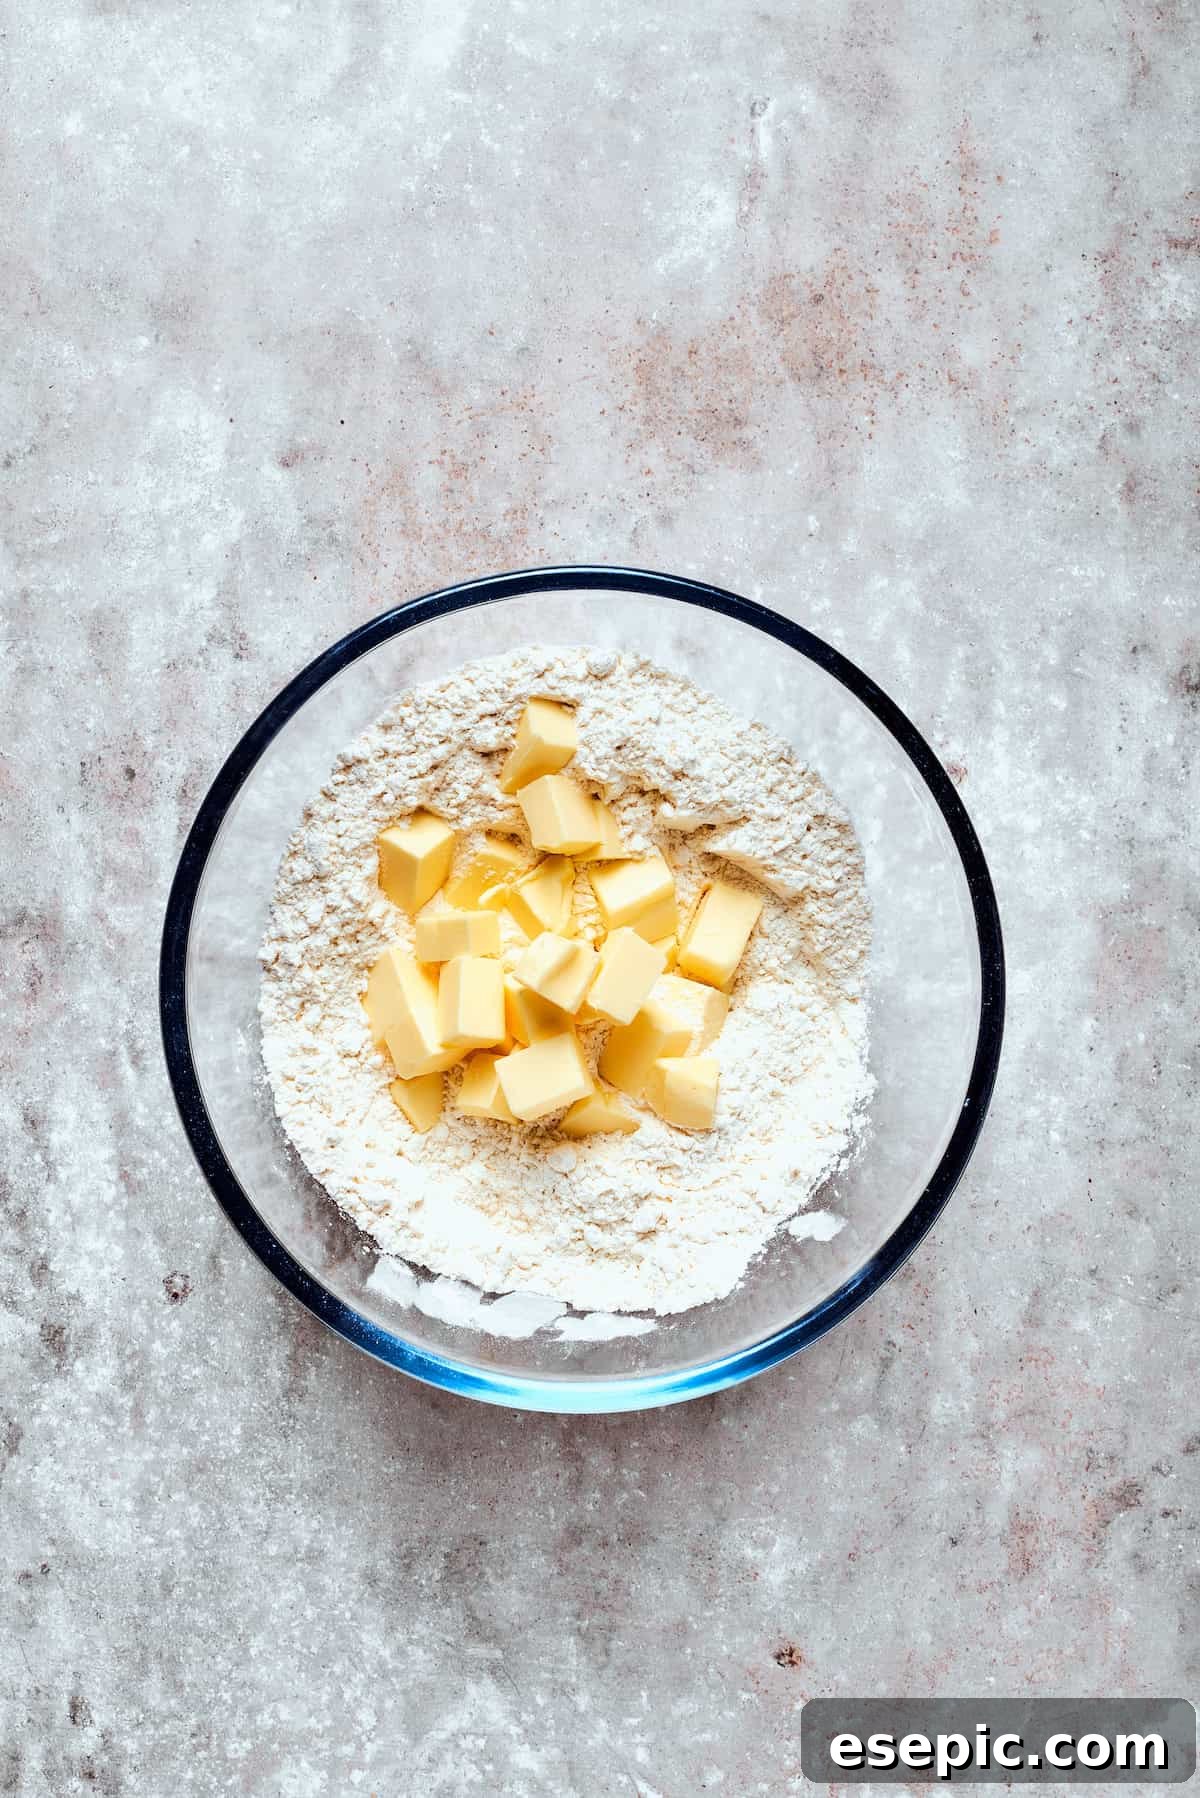
- Incorporate the Cold Butter. Cut your chilled butter into small cubes. Add these butter cubes to the dry ingredients. Using your fingertips, a pastry blender, or a stand mixer on low speed, work the butter into the flour mixture until it resembles coarse breadcrumbs, with some pea-sized pieces of butter remaining. This is key for flaky biscuits!
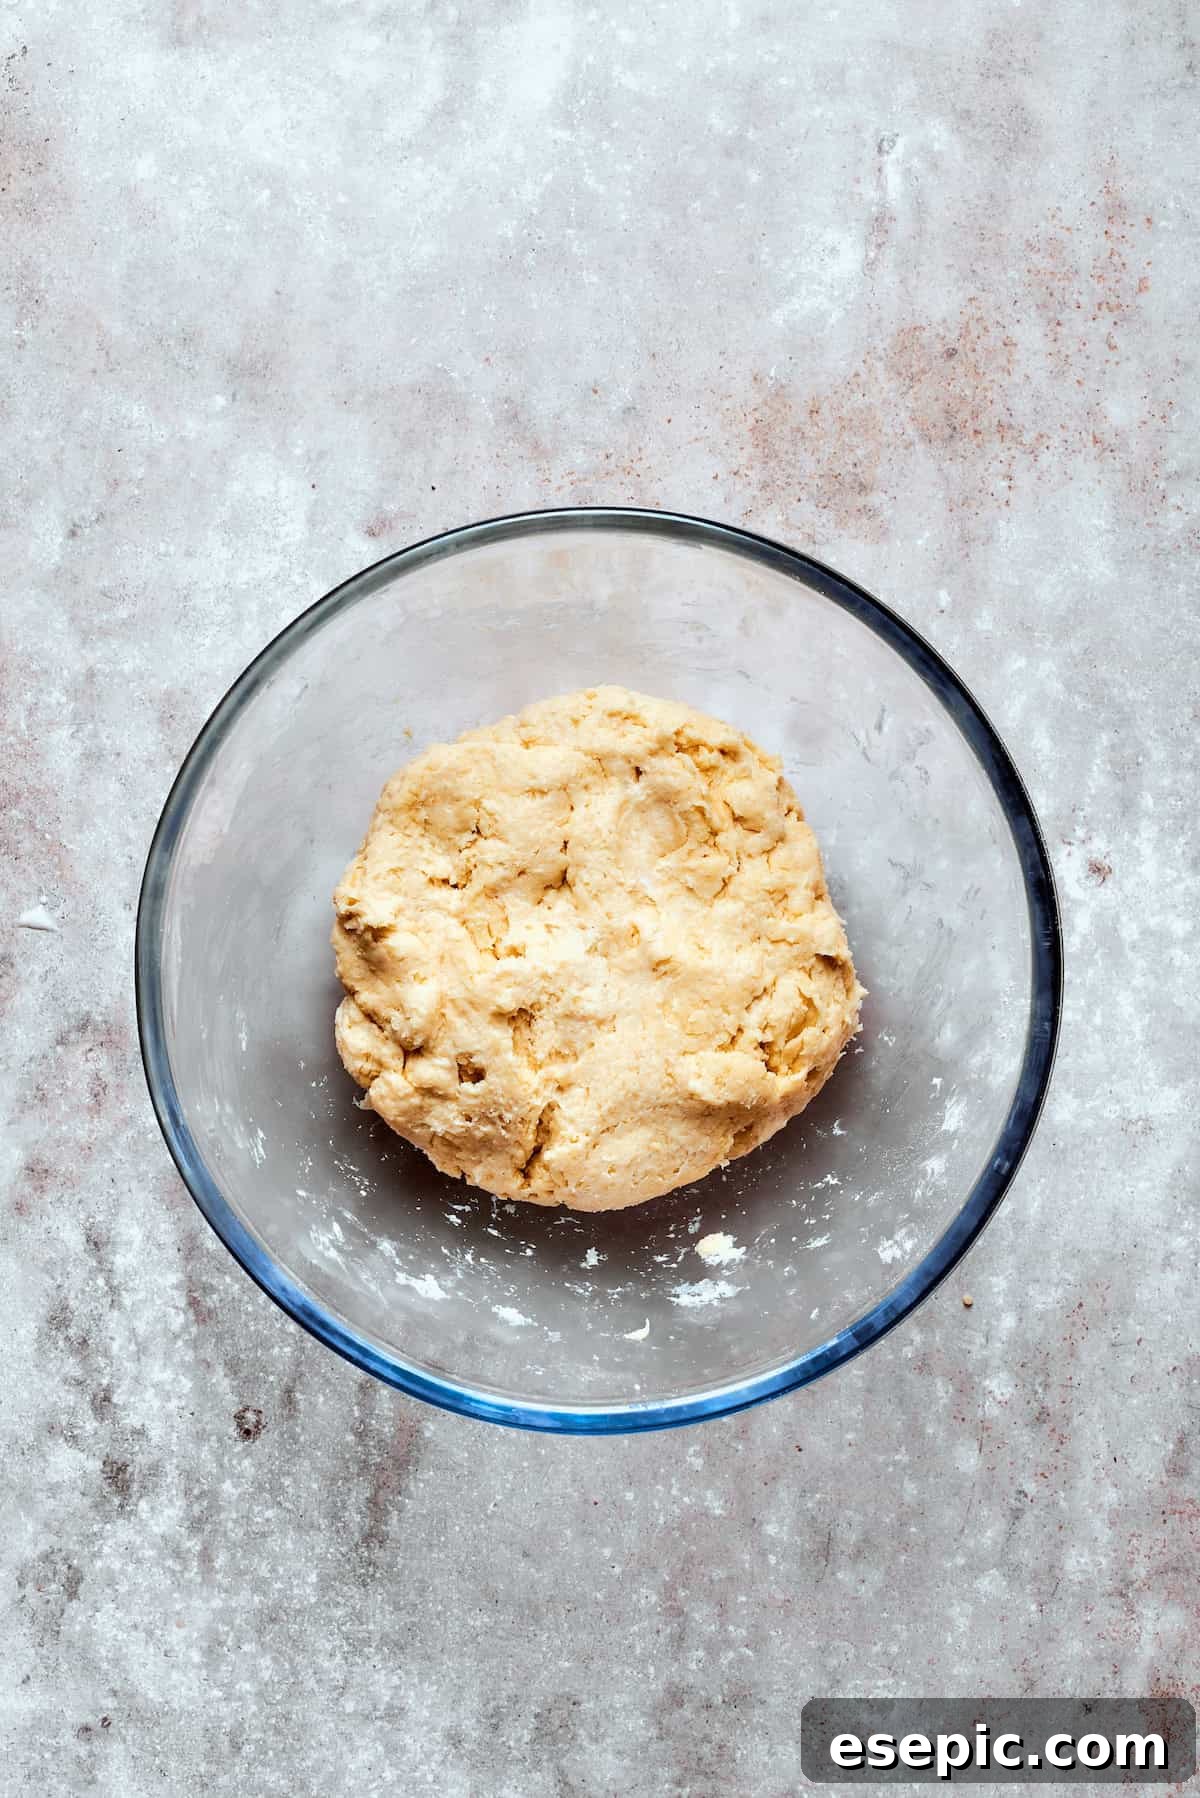
- Add the Buttermilk. Pour in 1 cup of the buttermilk (reserving ¼ cup for brushing). Mix gently until the dough just comes together. Be careful not to overmix, as this can lead to tough biscuits. A slightly shaggy dough is ideal.
- Shape and Fold the Dough. Turn the biscuit dough out onto a lightly floured work surface. Roll the dough flat with a rolling pin to about a ¾-inch thickness. For extra flaky layers, fold the dough over itself into thirds (like a letter) and then roll it flat again. Repeat this folding and rolling process once more. This creates multiple layers of butter and dough.
- Cut the Biscuits. Using a round biscuit cutter (or a knife for square biscuits), cut out approximately 14 circles from the dough. Arrange the cut biscuits on a parchment-lined baking sheet if baking separately, or directly onto the casserole.
- Assemble the Casserole. Pour the warm, creamy chicken pot pie filling into your prepared casserole dish, spreading it evenly. Carefully arrange 12 of your freshly cut biscuits over the top of the filling, creating three rows of four. You’ll have 2 biscuits leftover; these can be baked separately on a small baking sheet at 400°F (200°C) for about 20 minutes, or until golden brown and fluffy, to enjoy on the side.
- Bake to Golden Perfection. Brush the tops of the biscuits in the casserole with the remaining ¼ cup of buttermilk. This helps them achieve that beautiful golden-brown color and a slightly crisp crust. Transfer the casserole to the preheated oven and bake for 25 minutes, or until the biscuit topping is golden brown and the filling is bubbling invitingly around the edges.
- Rest and Serve. Once baked, carefully remove the casserole from the oven. Allow it to rest for 5 to 10 minutes before serving. This brief resting period allows the filling to set slightly and prevents it from being too runny, ensuring perfect, satisfying portions.

Expert Tips & Creative Variations for Your Casserole
Make this chicken pot pie casserole truly your own with these helpful tips and exciting variations:
- Master the Biscuit Cut. For perfectly round, clean-edged biscuits that rise beautifully, avoid twisting the cutter. Instead, press the biscuit cutter straight down into the dough and then lift straight up. Twisting can seal the edges of the dough, which hinders the rise and results in less flaky biscuits.
- Prevent Over-Browning. Keep an eye on your biscuits during baking. If you notice the tops of the biscuits browning too quickly before the filling is fully heated through or the rest of the casserole has cooked sufficiently, simply tent the casserole dish loosely with aluminum foil. This will protect the tops from further browning while allowing the rest of the dish to finish cooking evenly.
- Streamline with Rotisserie Chicken. To significantly cut down on prep time, opt for a pre-cooked rotisserie chicken from your local grocery store. Simply shred the meat and add it to your filling. This is a fantastic hack for truly easy weeknight meals. You can also utilize leftover cooked chicken, such as baked chicken thighs, making this recipe a clever way to repurpose leftovers.
- Explore Other Meats. Chicken isn’t the only star for this casserole! Feel free to experiment with other cooked meats. Leftover turkey from a holiday meal is an excellent choice, as is diced cooked ham, which adds a lovely smoky flavor. Ensure any substitute meat is already cooked and diced into bite-sized pieces.
- Boost Your Veggies. This casserole is incredibly versatile when it comes to vegetables. Feel free to add more of your favorites or swap out the peas for other delicious options. Consider diced zucchini, chopped fresh mushrooms (sauté them with the other aromatics), sweet corn kernels, tender baby spinach (stir in at the very end as it wilts quickly), or finely chopped kale for extra nutrition and flavor.
- Make Ahead Option: You can prepare the chicken pot pie filling up to 2 days in advance and store it in an airtight container in the refrigerator. When ready to bake, pour the chilled filling into your casserole dish, then prepare the fresh biscuit dough and top the casserole just before baking. This makes entertaining or busy weeknights even easier.
- Freezing Instructions: This casserole freezes beautifully! You can freeze the entire assembled casserole (without baking the biscuits yet) by wrapping it tightly in plastic wrap and then foil. Freeze for up to 3 months. Thaw overnight in the refrigerator before baking as directed. Alternatively, you can freeze individual portions of the baked casserole for quick microwaveable meals.

Perfect Pairings: What to Serve with Your Casserole
This chicken pot pie casserole is a satisfying meal all on its own, but it pairs wonderfully with a few simple sides to create a complete and balanced dinner:
- Serve your casserole alongside a crisp green salad tossed with a light vinaigrette. The fresh, tangy notes of the salad will beautifully cut through the richness of the creamy pot pie, offering a refreshing contrast.
- For another simple vegetable option, consider lightly sautéed green beans or quick zucchini chips. These offer a fresh, vibrant crunch that complements the comforting warmth of the casserole without overpowering it.
- A side of roasted asparagus or a simple steamed broccoli can also add a healthy, verdant element to your plate.
Storing and Reheating Your Delicious Leftovers
While this casserole is undeniably at its best enjoyed fresh from the oven, any leftovers are still incredibly delicious and make for fantastic quick meals. Here’s how to store and reheat them properly:
- Storing in the Fridge: The biscuits on top of this casserole are at their crispiest and flakiest on the day it’s made. However, if you find yourself with leftovers, store the chicken pot pie casserole in an airtight container in the refrigerator for up to 3 days. This ensures its freshness and prevents any absorption of fridge odors.
- Best Way to Reheat: For the best results, especially to help crisp up those biscuit tops again, reheat individual portions or the entire casserole in the oven. Preheat your oven to 300°F (150°C), cover the dish loosely with foil, and bake for 20-30 minutes, or until heated through. If reheating an entire casserole, it might take closer to 45 minutes to an hour. In a pinch, for a quicker option, you can also use the microwave, though the biscuits might lose some of their crispness.
- Freezing Leftovers: Leftover casserole can also be frozen for longer storage. Allow the casserole to cool completely, then portion it into individual freezer-safe containers. Freeze for up to 3 months. Thaw overnight in the refrigerator before reheating.
Discover More Effortless Casserole Recipes
If you’ve fallen in love with the convenience and comfort of this chicken pot pie casserole, you’re in for a treat! Casseroles are the champions of easy, satisfying meals. Explore these other fantastic and simple casserole recipes from our collection:
- Hearty Cheeseburger Casserole
- Irresistible Hashbrown Casserole
- Brunch-Ready Eggs Benedict Casserole
- The Legendary John Wayne Casserole

Chicken Pot Pie Casserole
Ingredients
For the chicken
- 2 pounds boneless skinless chicken thighs
- 1 yellow onion, quartered
- 3 garlic cloves
- 2 teaspoons kosher salt
- 1 teaspoon ground black pepper
- 1 cup water
For the filling
- 3 tablespoons butter
- 7 carrots, sliced into rounds
- 1 large onion, chopped
- 5 celery ribs, sliced
- 1 teaspoon salt
- ½ teaspoon black pepper
- 2 teaspoons garlic powder
- 1 teaspoon dried thyme
- 2 teaspoons dried oregano
- ½ cup all purpose flour
- 2 cups chicken stock
- 2 cups half and half
- 6 ounces cream cheese, softened at room temperature
- ½ cup sour cream
- 1 cup frozen peas
- ¼ cup chopped fresh parsley
For the biscuits
- 1 cup unsalted butter, chilled and cubed
- 3 cups all-purpose flour
- 3 tablespoons baking powder
- 1¼ teaspoon salt
- 1¼ cups buttermilk, divided (1 cup for dough, ¼ cup for brushing)
Instructions
For the chicken
- Load the Instant Pot. Add the chicken, onion, garlic, salt, pepper, and water to the Instant Pot and stir to combine.
- Cook. Seal the Instant Pot and cook on high pressure for 15 minutes. Manually release the pressure when the time is up and discard everything but the chicken.
- Shred. Transfer the chicken to a cutting board and shred it with 2 forks. Set aside.
For the filling
- Saute the veggies. Melt the butter in a large, heavy bottomed saucepan over medium heat. Add the carrots, onion, and celery and season with salt. Saute until softened, about 8-10 minutes.
- Make it saucy. Season the veggies with pepper, garlic powder, thyme, and oregano, and stir in the flour. Cook for 30 seconds, stirring constantly. Stir in the chicken stock, followed by the half and half. Bring the mixture to a light boil, reduce the heat to low, and simmer until the filling has thickened, about 5-7 minutes.
- Make it creamy. Turn the heat off and stir in the cream cheese. Keep stirring until it has fully melted into the sauce. Stir in the sour cream.
- Put it all together. Stir in the frozen peas, parsley, and shredded chicken.
To make the biscuits and finish the casserole
- Prep. Preheat the oven to 400°F (200°C) and grease a casserole dish with butter.
- Combine the dry ingredients. In a large bowl or the bowl of a standup mixer, combine the flour, baking powder, and salt and mix together on low speed.
- Add the butter. Add the chilled, cubed butter. Work it into the dry ingredients with your fingers or on low speed until the cubes of butter are spread evenly throughout the flour mixture and resemble coarse breadcrumbs.
- Add the buttermilk. Mix 1 cup buttermilk into the dough until just incorporated. Do not overmix.
- Roll out the dough. Turn the dough out onto a well floured work surface and roll it flat with a rolling pin to about ¾-inch thickness. Fold the dough over itself into thirds and roll flat again. Repeat this step once more for flakier biscuits.
- Cut the dough into biscuits. Cut the dough into 14 circles using a biscuit cutter.
- Assemble the casserole. Pour the filling into the casserole dish and top with 12 biscuits (you’ll have 3 rows of 4). You will have 2 biscuits leftover; feel free to bake them separately at 400°F (200°C) for 20 minutes or until golden brown and fluffy.
- Bake. Brush the biscuits on the casserole with the remaining ¼ cup buttermilk and bake for 25 minutes or until golden brown and bubbly.
- Serve. Pull it out of the oven and let it rest for 5 to 10 minutes before serving.
Nutrition
| Carbohydrates: 63g
| Protein: 33g
| Fat: 66g
| Saturated Fat: 33g
| Polyunsaturated Fat: 6g
| Monounsaturated Fat: 20g
| Trans Fat: 1g
| Cholesterol: 238mg
| Sodium: 2246mg
| Potassium: 894mg
| Fiber: 6g
| Sugar: 11g
| Vitamin A: 10776IU
| Vitamin C: 15mg
| Calcium: 499mg
| Iron: 5mg
Nutritional info is an estimate and provided as courtesy. Values may vary according to the ingredients and tools used. Please use your preferred nutritional calculator for more detailed info.