
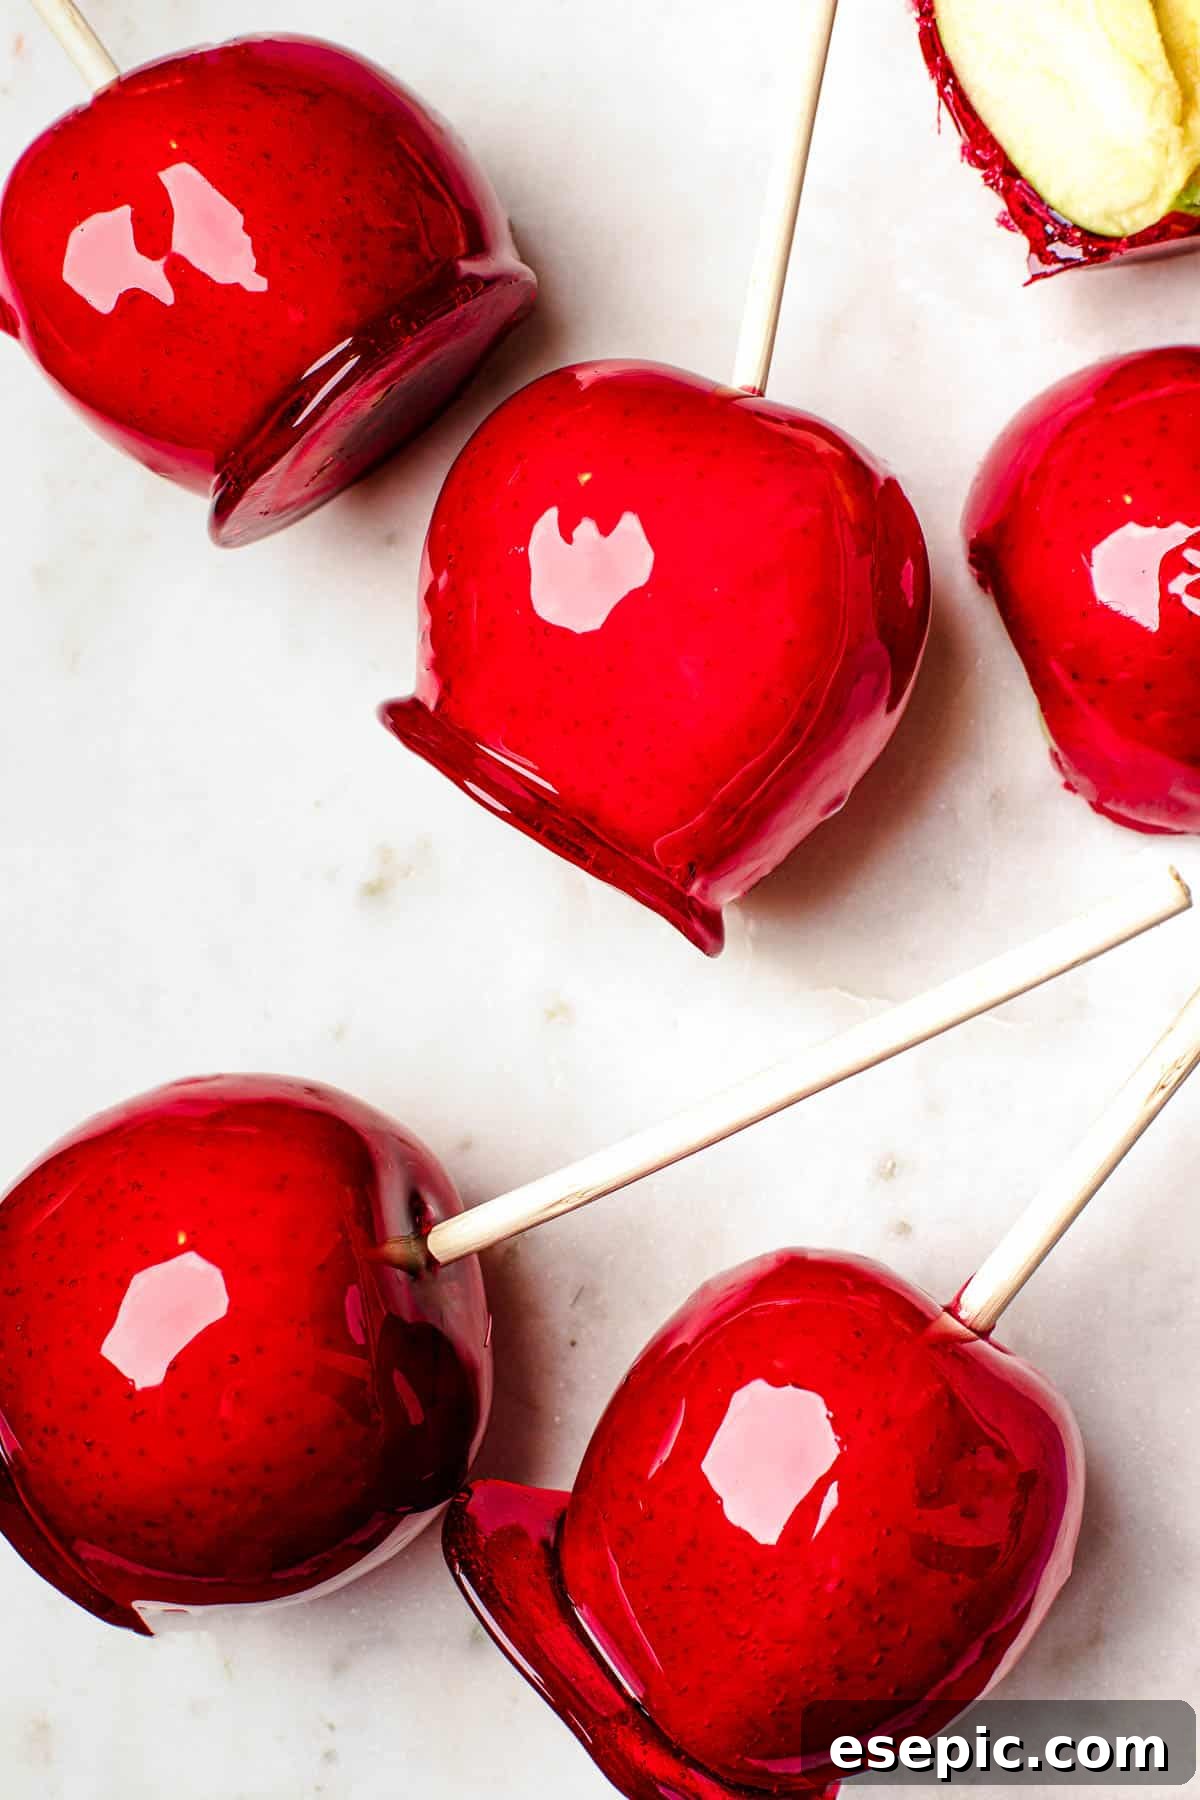
Step into a world of nostalgic delight with our guide to creating perfect, ruby-red Homemade Candy Apples. A true classic that captures the essence of crisp autumn days and festive winter nights, these old-fashioned treats are a feast for both the eyes and the palate. Combining the tart crunch of fresh Granny Smith apples with a shimmering, homemade sugar candy shell, they are more than just a dessert; they are a cherished tradition.
There’s something undeniably magical about a candy apple. Its brilliant, glossy red coating beckons, promising a satisfying crackle before revealing the juicy, refreshing fruit beneath. This recipe ensures a thin, delicate candy layer that’s easy to bite into, offering that perfect balance of sweet and tart with every single bite. Ideal for holiday gatherings, family gifts, or simply a cozy evening indulgence, these candy apples are guaranteed to bring smiles and a touch of homemade charm to any occasion.
The Timeless Allure of Crisp and Crunchy Red Candy Apples
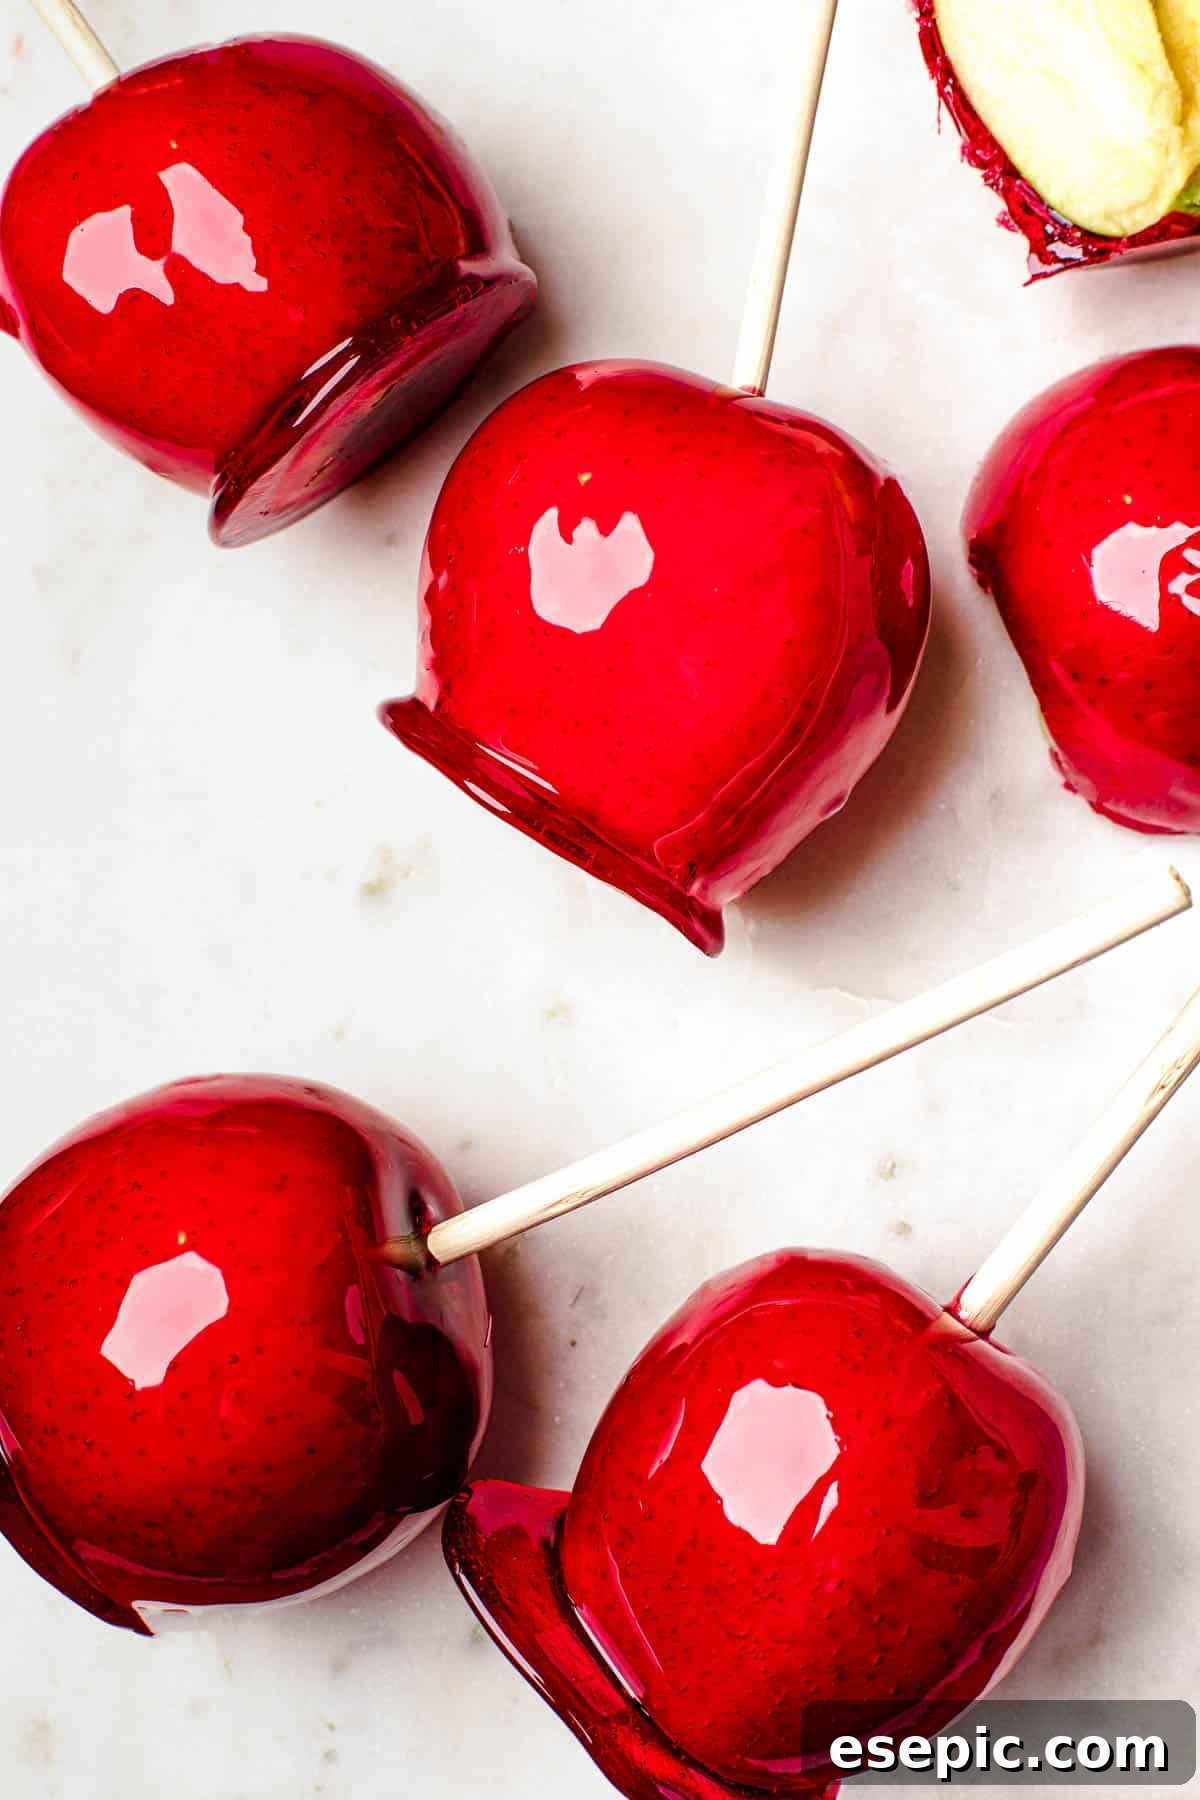
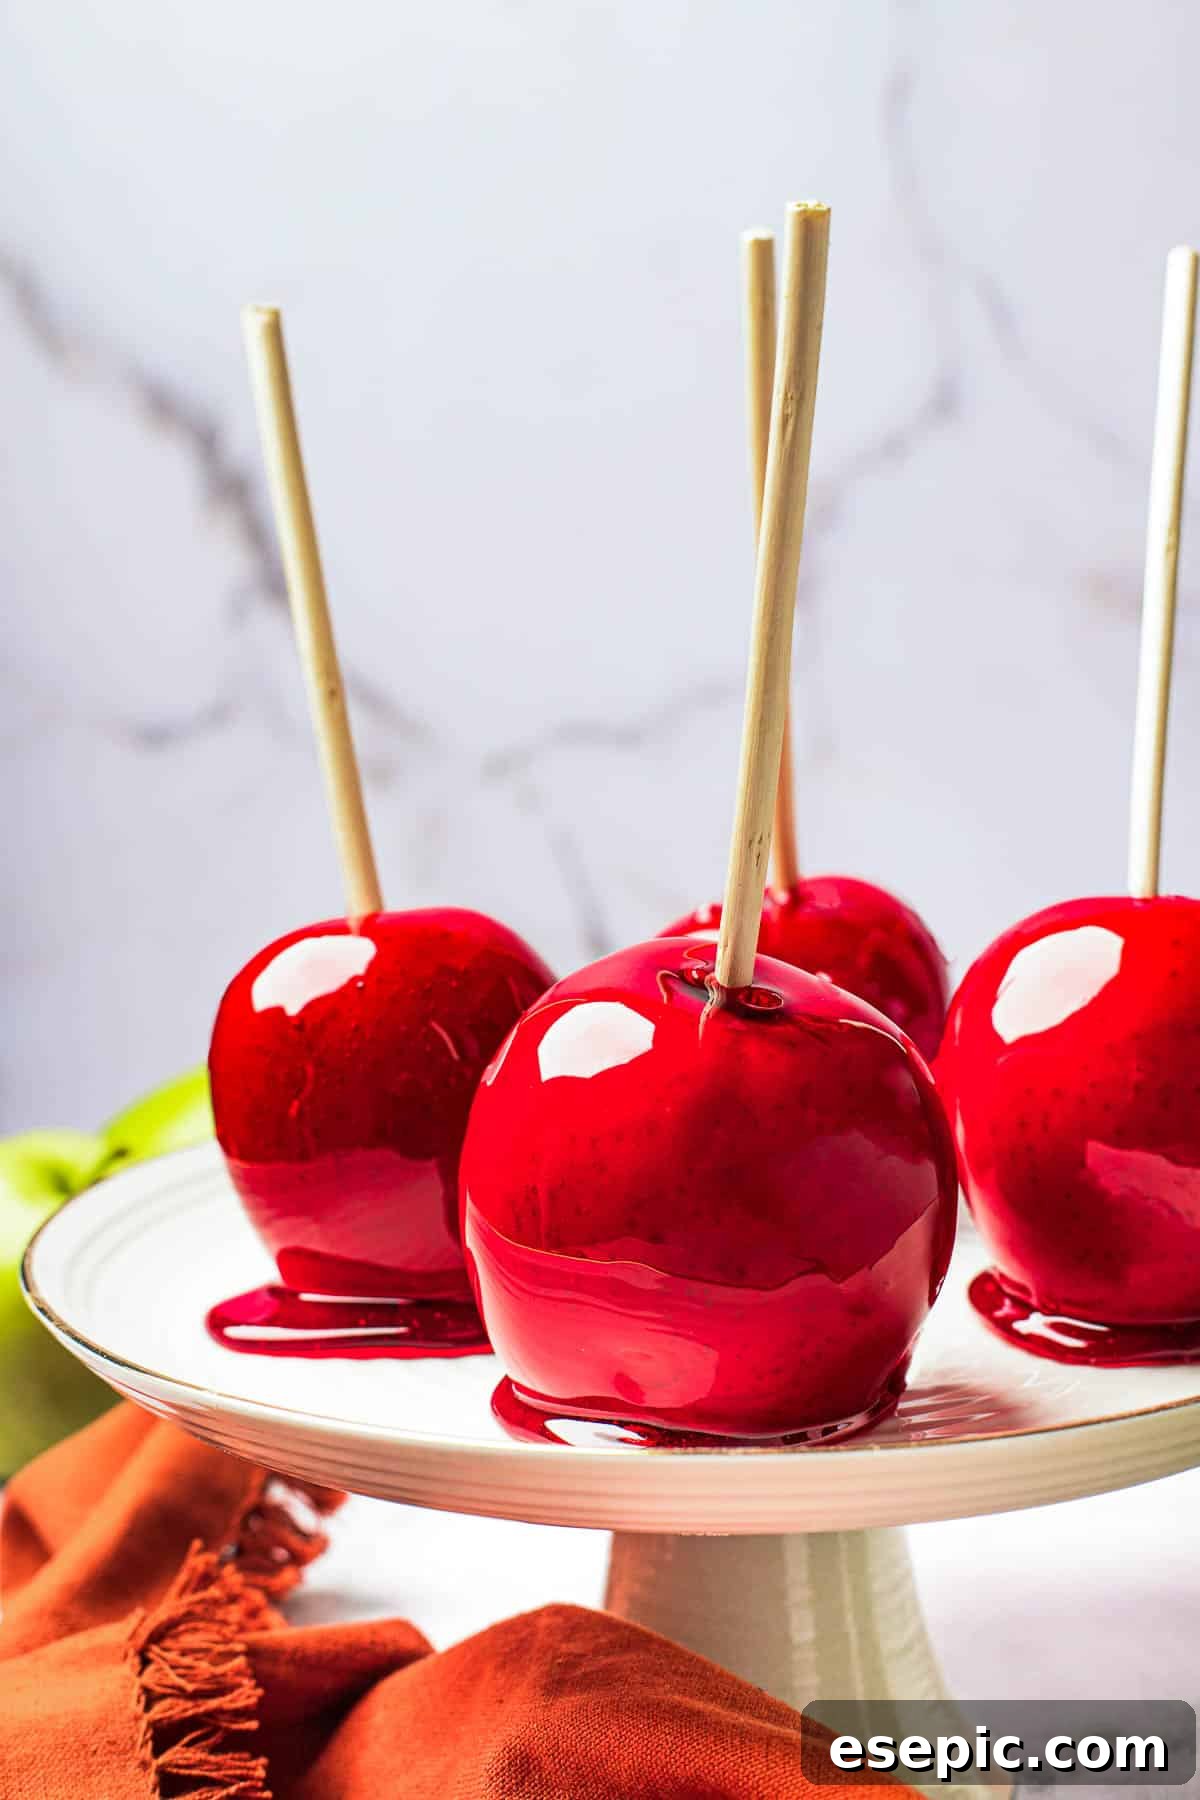
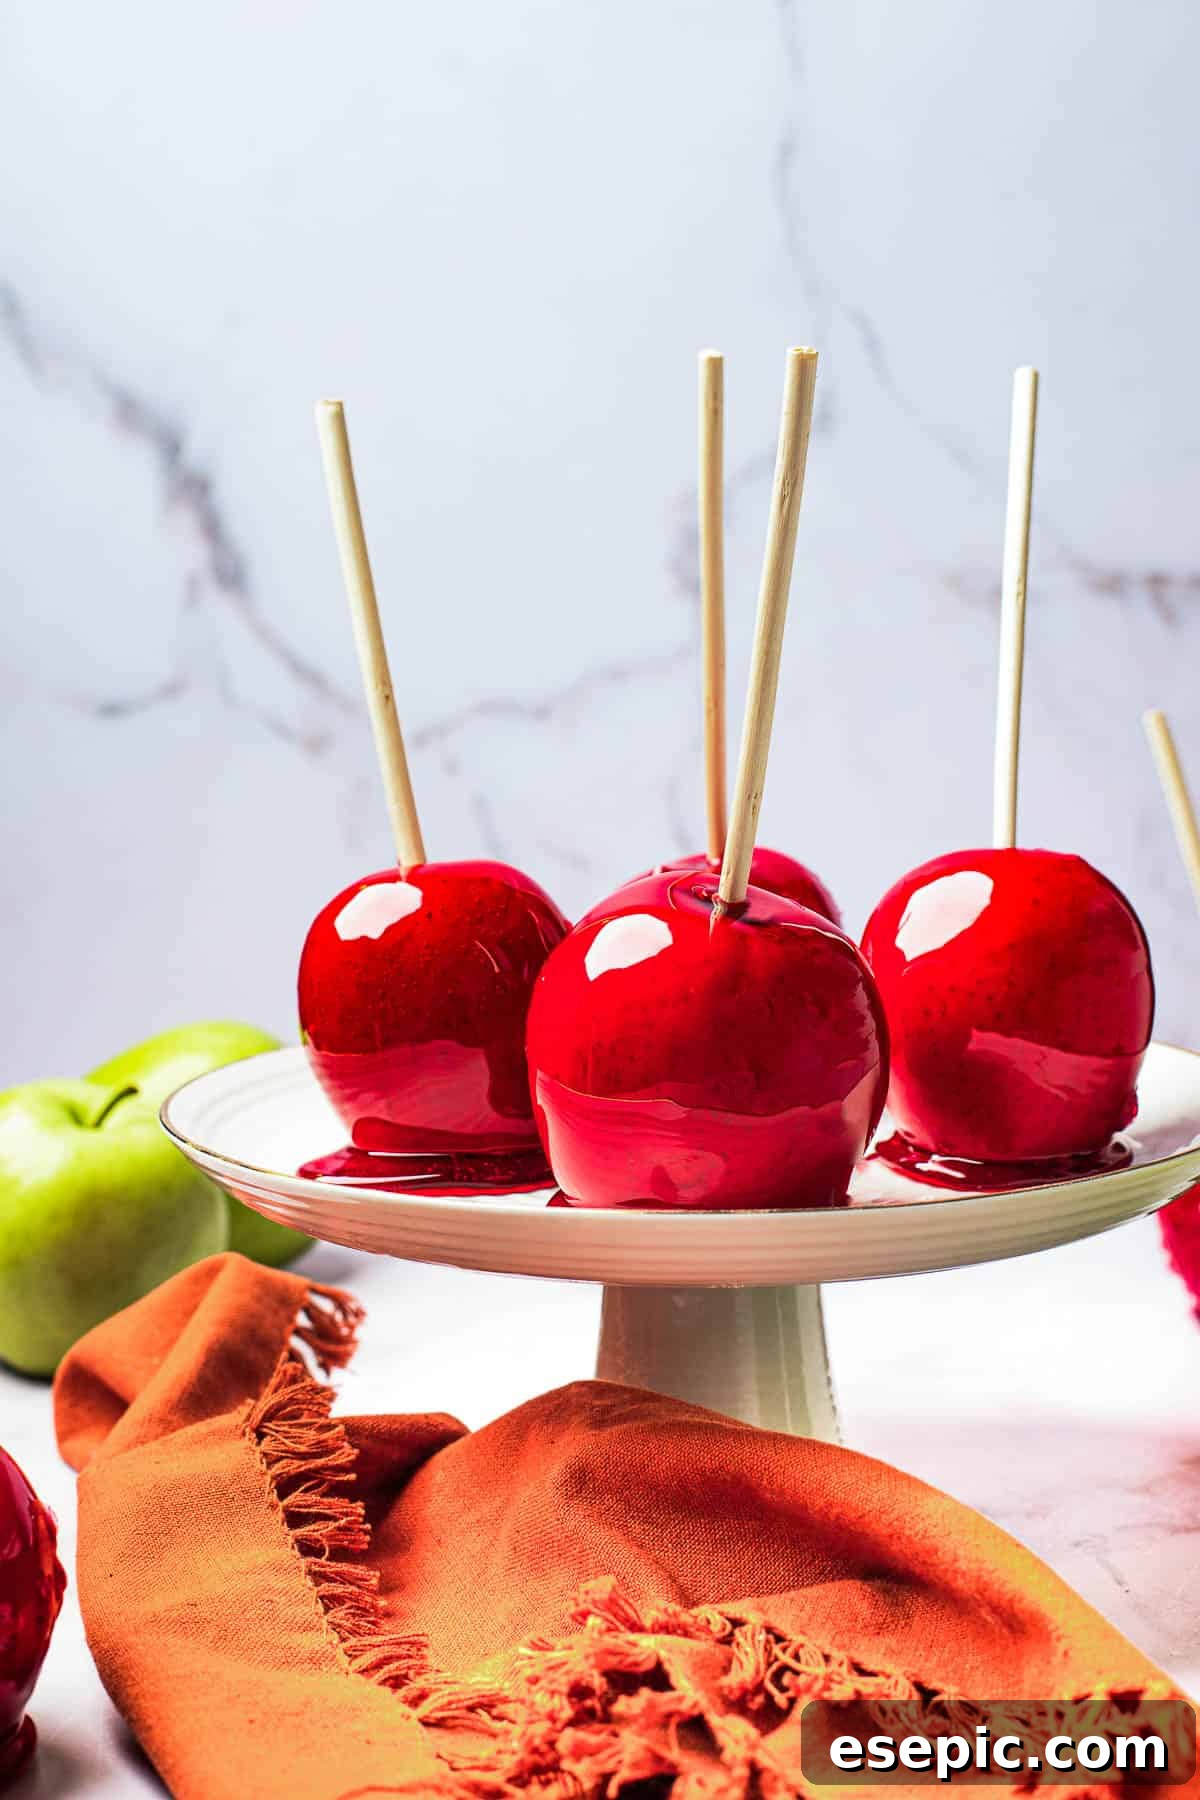
Candy apples are an iconic American classic, instantly recognizable by their vibrant, shiny red hue and inviting aroma. They resemble oversized lollipops, but with a delightful difference: a real fruit center! The contrast between the crunchy, sweet candy shell and the crisp, tart apple creates a unique texture and flavor experience that has enchanted generations. Their brilliant ruby-red color makes them an especially popular choice for festive seasons like Christmas and Halloween, adding a cheerful splash of color to any holiday spread.
These sweet apple treats are particularly beloved by children, making them an excellent choice for family gifts or as a special dessert for a family movie night. Imagine the excitement as little ones unwrap their own glossy, red apple, ready to crunch into a sugary wonderland. However, while the end result is kid-friendly, the preparation process demands extreme caution. The sugar mixture reaches incredibly high temperatures, posing a significant burn risk. For this reason, parents should handle the hot sugar mixture alone, ideally wearing heatproof gloves, and keep children safely away from the cooking area.
Essential Ingredients and Tools for Perfect Candy Apples
Crafting your own batch of irresistible candy apples requires a handful of common ingredients and a couple of specialized tools. With the right preparation and attention to detail, you’ll be dipping your way to homemade perfection in no time.
Key Ingredients:
- Apples: The foundation of this treat! While Granny Smith apples are a popular choice due to their crisp texture and tart flavor, any firm, tart apple variety will work beautifully. The tartness provides a wonderful counterpoint to the sweetness of the candy coating.
- Granulated Sugar: The star of the candy coating. Regular granulated sugar dissolves smoothly to create a clear, hard candy shell. You could experiment with substituting a small portion of the granulated sugar with brown sugar for a subtle caramel note, though this might slightly alter the color.
- Water: Essential for dissolving the sugar and honey into a syrup before it cooks down to the hard crack stage.
- Honey: Approximately half a cup of your favorite honey is crucial for the candy syrup. Honey helps prevent crystallization of the sugar, ensuring a smooth, glossy, and less brittle candy coating. It also adds a lovely depth of flavor.
- Red Food Coloring: To achieve that classic, vibrant ruby-red color. Gel food coloring often provides a more intense color with less liquid, which is beneficial in candy making.
Essential Tools:
- Candy Thermometer: Absolutely indispensable for candy making! This tool ensures the sugar mixture reaches the precise temperature required for a hard, stable candy coating. Without it, the candy may not harden properly, resulting in a sticky, messy finish.
- Popsicle or Lollipop Sticks: For easy handling and serving of your candy apples.
- Heavy-Bottomed Saucepan with a Lid: A heavy bottom helps distribute heat evenly and prevents the sugar from burning. The lid is used in the initial stage to help dissolve sugar crystals.
- Parchment Paper or Silicone Baking Mat: To line your baking tray, preventing the coated apples from sticking as they cool.
- Heatproof Gloves: Highly recommended for safely handling hot sugar and dipping the apples, protecting your hands from potential burns.
Selecting the Best Apples for Candy Apples
The success of your candy apples largely depends on the apples you choose. The most suitable apples for candying are those that are tart, firm, and full of flavor. These characteristics ensure the apple maintains its structure during dipping and provides a refreshing balance against the sweet candy. Granny Smith is a widely favored option for its distinct tartness and firm flesh. Other excellent choices include:
- Lady Alice: Known for its crisp texture and sweet-tart flavor.
- Pink Lady: Offers a delightful balance of sweet and tart with a firm, juicy bite.
- Honeycrisp: Exceptionally crisp and juicy, with a predominantly sweet flavor that still holds up well.
- Braeburn: A firm, aromatic apple with a good sweet-tart balance.
- Jonathan: Tart with a slightly spicy note, and a crisp texture.
Ultimately, choose any firm, tart apple variety that you love and that will stand up to the hot candy coating without becoming mealy or losing its delightful crunch.
Step-by-Step Guide: Crafting Your Ruby-Red Candy Apples
Making candy apples is a delightful process, but it requires precision and, most importantly, extreme caution when working with hot sugar. Always remember that hot sugar can cause severe burns, so take all necessary safety measures, including using heatproof gloves and keeping children away from the kitchen during candy preparation.
- Prepare the Apples and Your Cooling Tray: Begin by setting out a baking tray and lining it with either parchment paper or a silicone baking mat. This will be where your candy-coated apples cool without sticking. Next, thoroughly wash the apples in hot water. This step is crucial for removing any wax coating that might be present on the apple skin, which could prevent the candy from adhering properly. After washing, dry each apple meticulously with paper towels or a clean tea towel. Any residual moisture can cause issues with the candy setting. Twist off the stems and, for best results, place the clean, dry apples in the refrigerator while you prepare the candy mixture. Chilling the apples helps the hot candy set more quickly and evenly when dipped.
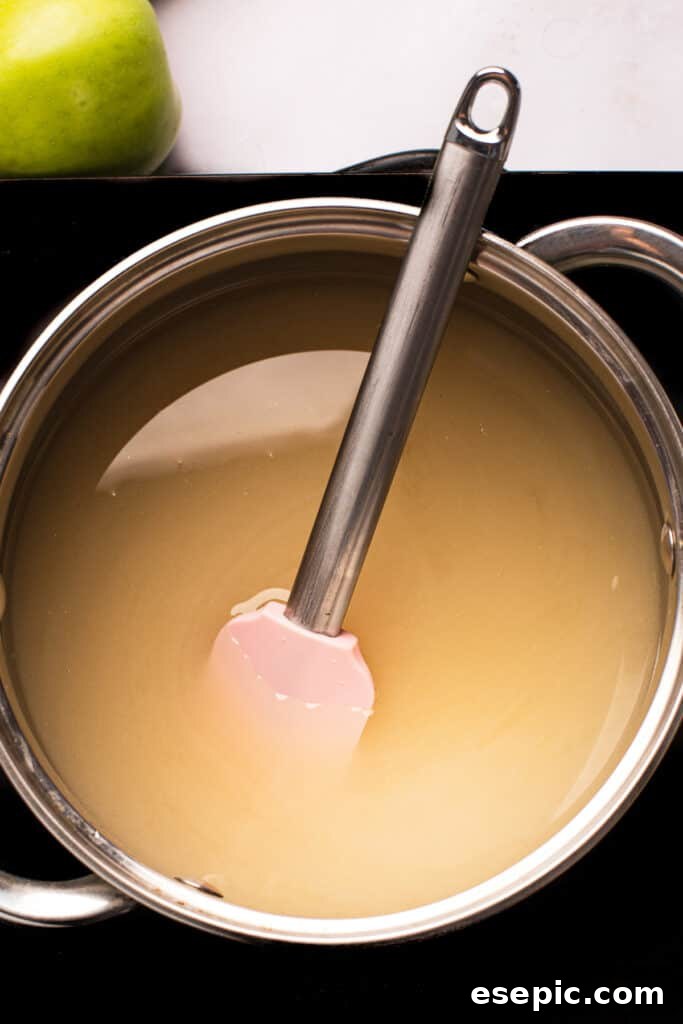
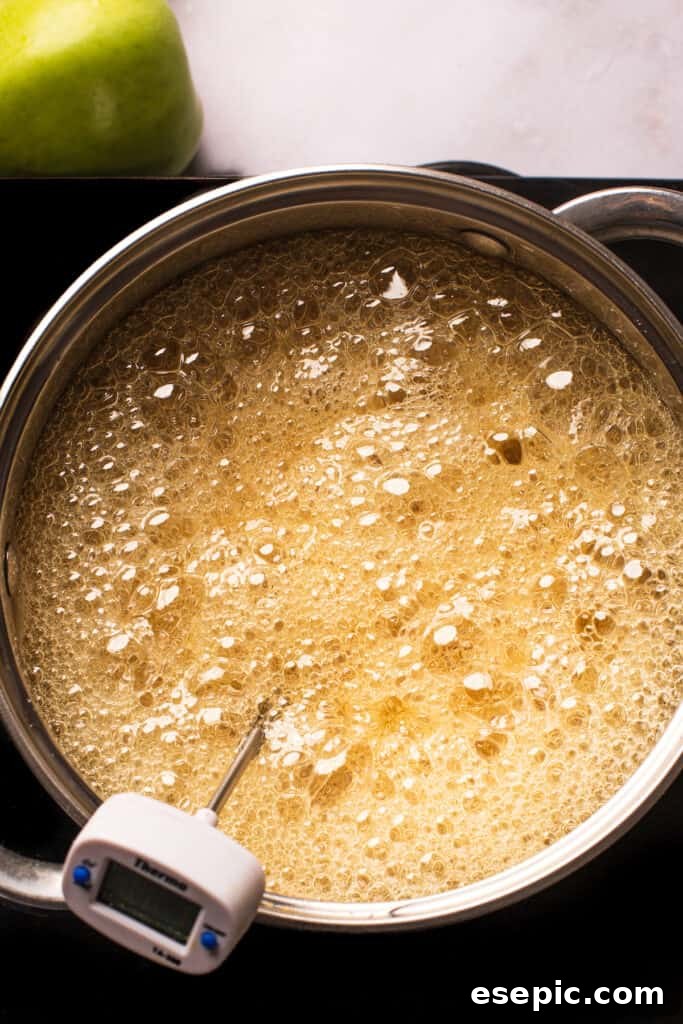
- Initiate the Sugar Candy Syrup: In a heavy-bottomed saucepan (preferably one with a lid), combine the granulated sugar, honey, and water. Stir or whisk these ingredients together thoroughly until they are well combined and the sugar begins to dissolve. Cover the saucepan with the lid and bring the mixture to a rolling boil over medium-high heat. The lid helps to trap steam, which washes down any sugar crystals that might cling to the sides of the pan, preventing unwanted crystallization in your finished candy. Once the mixture is boiling vigorously and is very bubbly, carefully remove the lid.
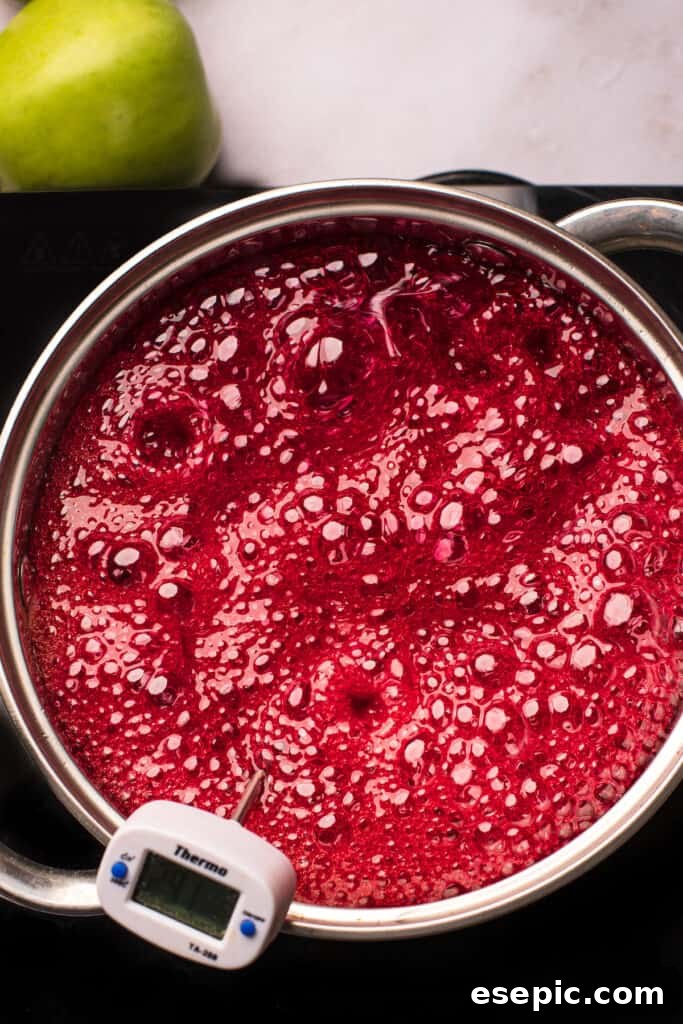
- Reach the Hard Ball Stage (290°F): Attach a reliable candy thermometer to the side of the saucepan, ensuring the tip is submerged in the syrup but not touching the bottom of the pan. Allow the candy mixture to continue boiling, without stirring, until it reaches 290°F (approximately 143°C). At this “hard ball” stage, much of the water will have evaporated, and the syrup will be thick. This process typically takes between twenty and thirty minutes, depending on your stovetop and pan. When the thermometer registers 290°F, carefully add the red food coloring. Be prepared, as adding liquid to the hot syrup can cause it to boil even harder for a moment, so exercise extra caution.
- Achieve the Hard Crack Stage (300°F): Continue to boil the candy mixture, still without stirring, until it reaches 300°F (approximately 149°C). This is known as the “hard crack” stage, where the sugar mixture will be extremely hot and, once cooled, will shatter easily. As soon as the candy reaches 300°F, immediately and carefully remove the saucepan from the heat. Gently stir the candy mixture one or two times to ensure even color and consistency, then allow it to cool slightly for a minute or two to prevent excessive bubbling, which can create a too-thick coating.
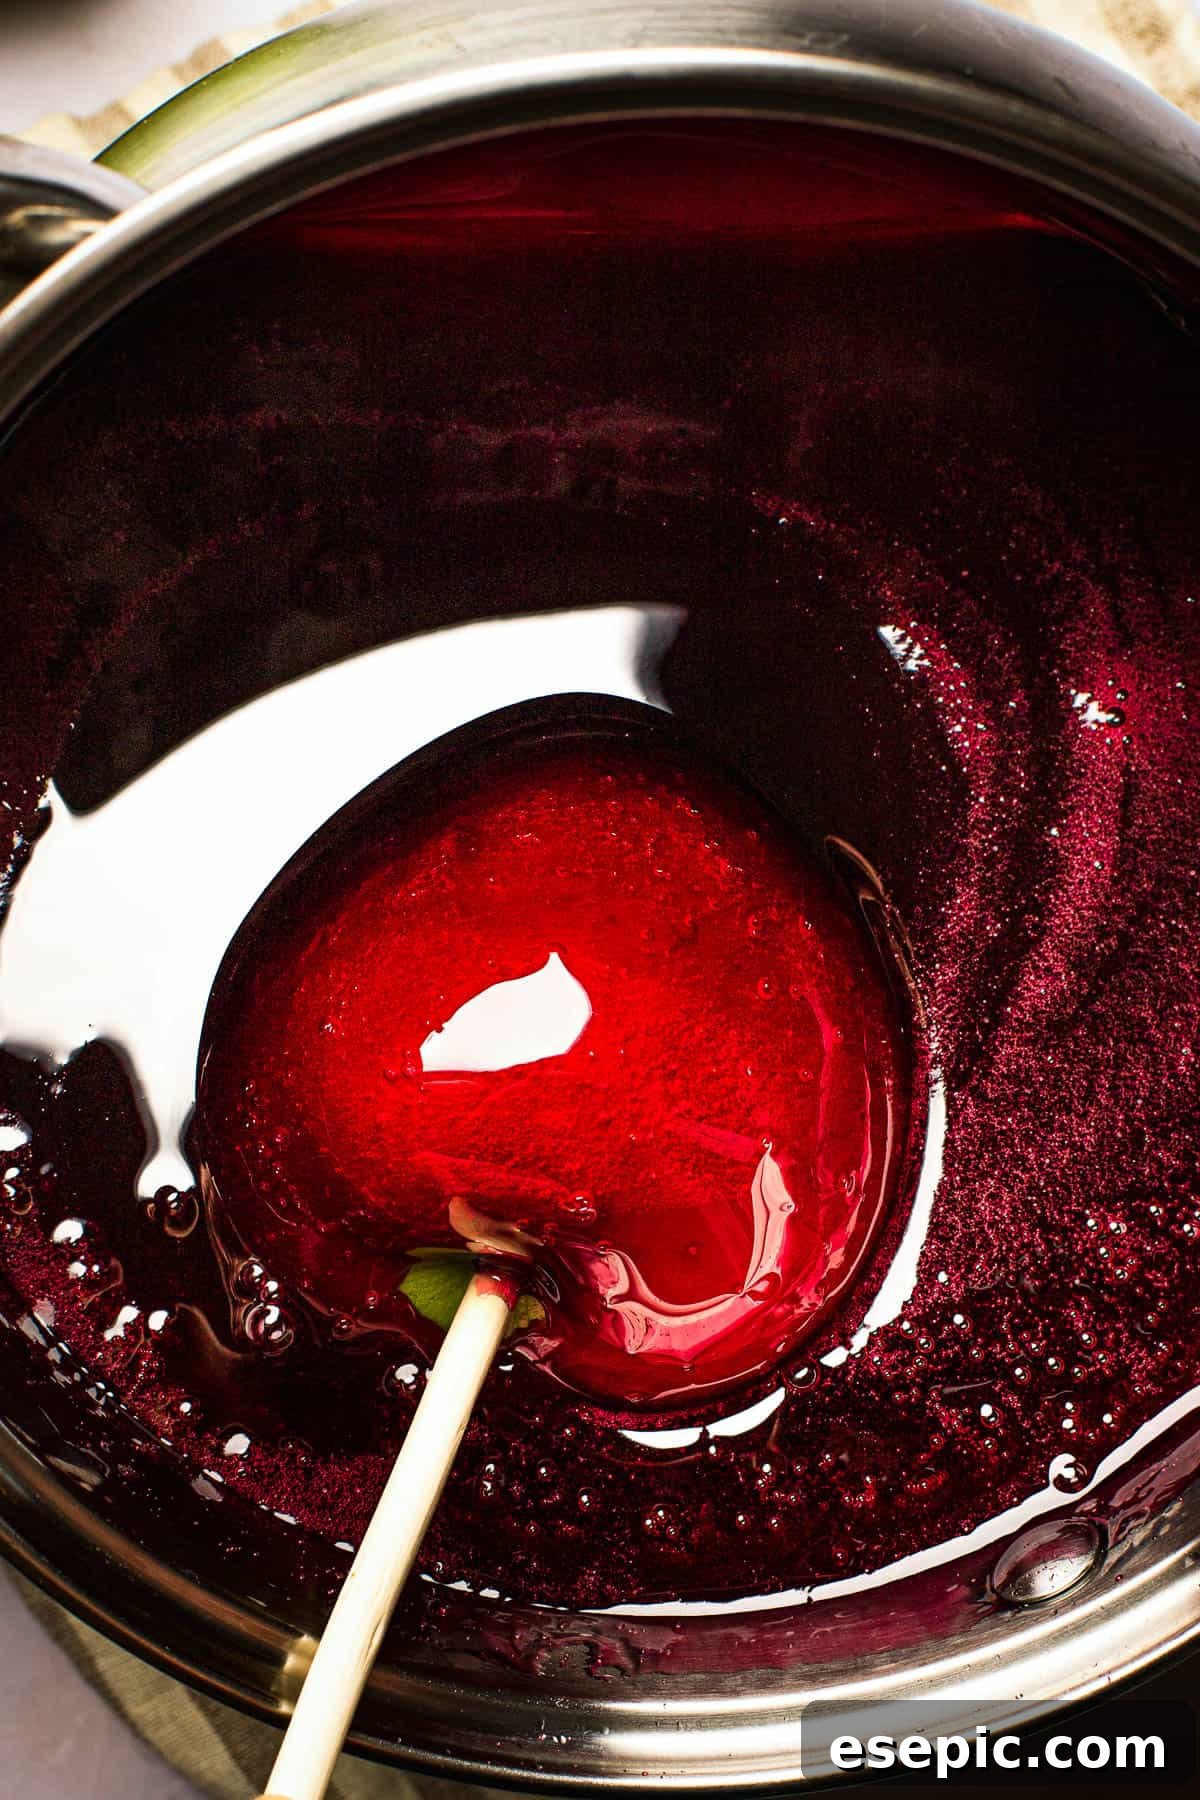
- Apply the Sticks and Coat the Apples: Retrieve your chilled apples from the refrigerator. Firmly push a popsicle stick or lollipop stick into the stem end of each apple. Don your heatproof gloves to protect your hands. Carefully tilt the saucepan slightly to create a deeper pool of candy syrup. One by one, dip each apple into the hot candy mixture, rolling it to ensure the apple is completely coated all the way up to the stick. Lift the apple and allow any excess candy mixture to drip back into the saucepan. You want a thin, even coating, not a thick, clumpy one. As each apple is coated, place it individually on the prepared tray to cool and set.
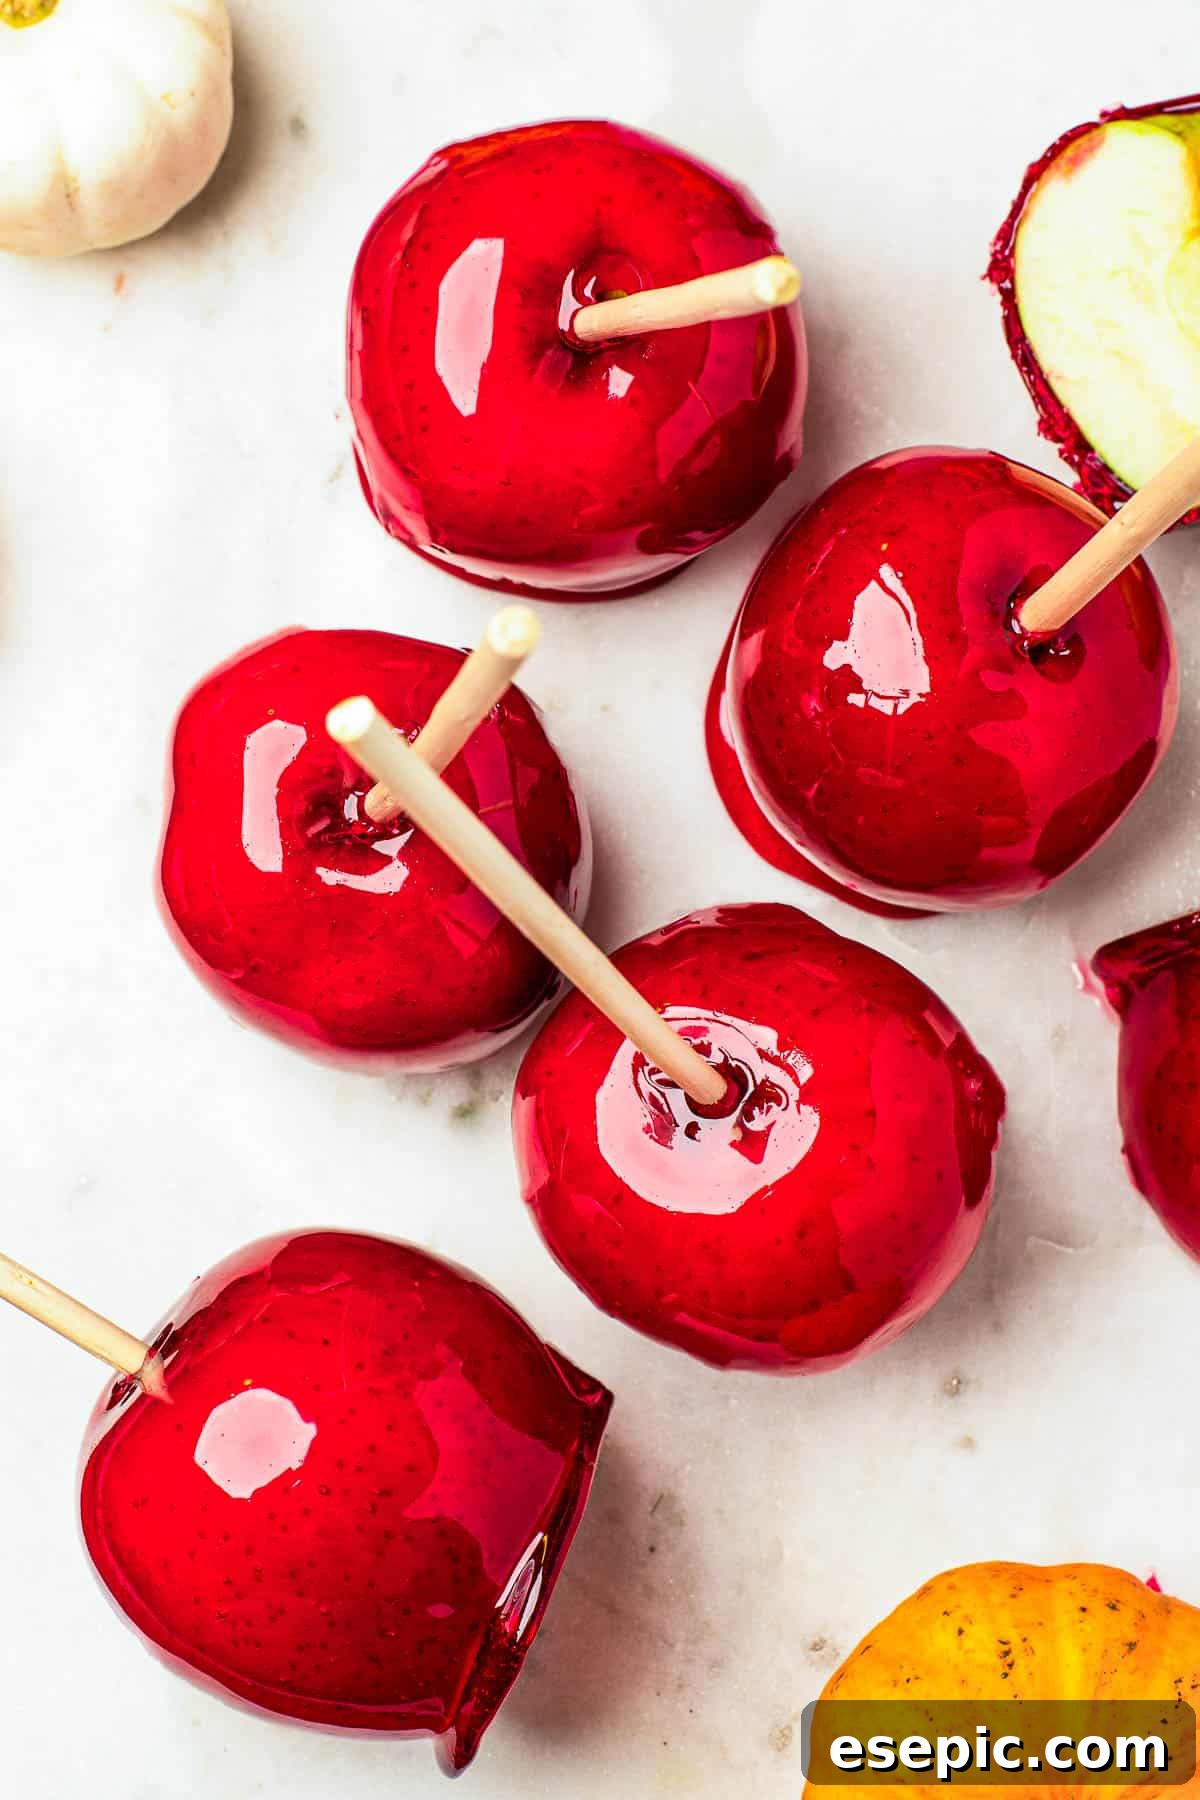
- Cool Completely and Savor: Allow the candy apples to cool completely and harden before serving. This can take anywhere from 30 minutes to an hour, depending on your room temperature and humidity. Once fully cooled, the candy shell will be firm and shiny. Now, they are ready to be enjoyed!
Expert Tips for Candy Apple Perfection
Achieving candy apple perfection is easier with a few insider tricks. Here are some helpful tips to ensure your homemade treats are nothing short of spectacular:
- Infuse with Spice: For a delightful seasonal twist, consider adding a pinch of ground cinnamon, nutmeg, or even a touch of apple pie spice to your candy mixture along with the food coloring. These warm spices complement the apple flavor beautifully, adding an extra layer of autumn or winter cheer.
- Customize the Color: While classic red is traditional, don’t hesitate to get creative with your food coloring! Imagine vibrant purple apples for a mystical Halloween treat, emerald green for a playful touch, or even electric blue for a unique party favor. Remember that the natural color of the apple will subtly show through, especially with lighter candy shades, so choose colors that harmonize. Gel food coloring provides the most intense and consistent results.
- Aim for a Thin, Even Coating: The goal is a delicate, shell-like candy coating, not a thick, clunky layer. After dipping each apple, lift it and gently rotate it, allowing any excess candy mixture to drip off thoroughly back into the saucepan. A thick coating can be difficult and even painful to bite through, diminishing the enjoyment of your candy apple. A thin, crisp shell provides the perfect crunch.
- Slice for Easier Enjoyment: While whole candy apples are iconic, they can be challenging to eat, especially for children or those with dental concerns. Once your candied apples have completely cooled and hardened, you can use a large, sharp knife to carefully cut them into slices. Be prepared for some of the candy shell to shatter and crumble as you cut, but that’s perfectly normal and part of the rustic charm. Slices of candied apple are still incredibly delicious and much easier for everyone to enjoy.
- Prioritize Safety Above All: This cannot be stressed enough: be extremely careful when handling hot sugar! It reaches temperatures far beyond boiling water and can cause severe, painful burns if it drips or splashes onto skin. Always wear heatproof gloves during the dipping process. Keep pets and, especially, young children at a safe distance from the stovetop and the hot candy mixture at all times to prevent accidents. Your safety is paramount.
Storing Your Homemade Candy Apple Creations
Proper storage is key to maintaining the crispness and integrity of your homemade candy apples. Once completely cooled and hardened, store them in a tall, airtight container. It’s crucial that the container is airtight to protect the candy layer from humidity. Moisture in the air is the enemy of hard candy, as it will cause the sugar to absorb water, leading to a sticky, gummy, and unpleasantly soft coating.
Store your candy apples in a cool, dry place, away from direct sunlight and heat. A pantry or a cool countertop is often ideal. Avoid refrigerating them, as the humid environment of a refrigerator can also make the candy sticky. When stored correctly, homemade candy apples can retain their quality for up to 3 days. Beyond this period, the candy shell may start to soften, and the apple itself might begin to degrade in texture, though they may still be edible.
Homemade Candy Apples
by Katerina | Easy Weeknight Recipes
Ruby-red candy apples are made with a sweet sugar candy coating, and crisp, tart Granny Smith apples. They are a classic treat that’s perfect for fall and winter!
Prep Time: 15 minutes | Cook Time: 30 minutes | Total Time: 45 minutes
Servings: 8
Ingredients
- 8 Granny Smith apples, or any tart apples
- 3 cups granulated sugar
- 1 ½ cups water
- ½ cup honey
- ¼ teaspoon red food coloring
Instructions
- Wash the apples under hot water to remove any wax from the apple skin. Dry the apples thoroughly, remove the stems, and refrigerate them while you prepare the candy.
- In a heavy-bottomed saucepan, combine the sugar, honey, and water. Stir well to combine these ingredients.
- Cover the saucepan with a lid and bring the mixture to a boil. Once the candy is vigorously bubbling, carefully remove the lid.
- Attach a candy thermometer to the saucepan. Allow the candy to boil without stirring until it reaches 290°F. By this point, much of the water should have evaporated. This step typically takes between 20 and 30 minutes.
- When the candy has reached 290°F, carefully add the red food coloring. Be cautious, as this may cause the mixture to boil even harder for a moment.
- When the mixture reaches 300°F, immediately remove the saucepan from the heat. Stir the candy mixture gently and allow it to cool slightly for a minute or two.
- Take the apples out of the refrigerator, and firmly push a popsicle or lollipop stick into the stem end of each apple.
- Using heatproof gloves for protection, tilt the saucepan at an angle to create a deeper pool of candy. Dip the apples one by one, rolling them in the candy all the way up to the sticks to ensure a full coating.
- Let the excess candy drip off of the apples to create a thin, even candy shell. Place the coated apples one by one on a tray lined with parchment paper or a silicone baking mat.
- Allow the candy apples to completely cool and harden before serving.
Nutrition
Serving: 1 candied apple | Calories: 449kcal | Carbohydrates: 118g | Protein: 1g | Fat: 1g | Saturated Fat: 1g | Polyunsaturated Fat: 1g | Monounsaturated Fat: 1g | Sodium: 6mg | Potassium: 207mg | Fiber: 4g | Sugar: 111g | Vitamin A: 98IU | Vitamin C: 8mg | Calcium: 14mg | Iron: 1mg
Nutritional information is an estimate and provided as a courtesy. Values may vary according to the ingredients and tools used. Please use your preferred nutritional calculator for more detailed information.
Explore More Festive Sweet Treats
If you’ve enjoyed crafting these classic candy apples, you’ll surely love exploring other delightful homemade desserts perfect for holidays and special occasions. Diversify your sweet repertoire with these fun and flavorful recipes:
- Churros with Chocolate Dipping Sauce: Indulge in warm, crispy churros dusted with cinnamon sugar, perfect for dipping into rich chocolate sauce.
- Candy Cane Cookies: A festive classic, these charming peppermint-flavored cookies are as fun to make as they are to eat, bringing holiday cheer to any cookie platter.
- Pumpkin Cheesecake Crescent Rolls: A quick and easy dessert featuring the cozy flavors of pumpkin and cream cheese, baked inside flaky crescent roll dough.