
Welcome to the ultimate guide for crafting the most delicious and effortlessly prepared sausage balls! These savory, cheesy, and utterly irresistible bites are the perfect solution for everything from a quick family snack to an impressive party appetizer. Forget complicated recipes; with the help of Bisquick, you can whip up a batch of these golden-brown goodies in no time, leaving you more moments to savor with your loved ones. Get ready to discover a recipe that will become your go-to for game days, holiday gatherings, or simply a comforting treat.

I absolutely adore versatile recipes that can effortlessly transition from a fantastic appetizer to a satisfying main course. This incredible sausage balls recipe is a shining example, requiring just a handful of straightforward ingredients like rich sharp cheddar cheese and aromatic Italian seasoning. They’re an instant crowd-pleaser, ideal for tailgating, holiday brunches, or simply a cozy evening at home. For those nights when you want to transform them into a more substantial meal, I love pairing them with a warm loaf of fresh-baked no-knead Dutch oven bread, a generous scoop of creamy mashed potatoes, and a comforting side of corn souffle. The possibilities are truly endless!
Why You’ll Love These Easy & Cheesy Sausage Balls
If you’re searching for a recipe that delivers on taste, convenience, and versatility, look no further. Our Bisquick sausage balls are poised to become your new favorite. Here’s why these delightful bites will capture your heart and palate:
- Unbelievably Quick & Simple: Say goodbye to lengthy prep times! In just about 10 minutes of hands-on work and under 30 minutes total, you can have a batch of these savory morsels ready to serve. This makes them perfect for unexpected guests, busy weeknights, or when you need a speedy appetizer for any gathering.
- Effortless Make-Ahead Option: Planning a party or looking to save time during a hectic week? These sausage balls are incredibly make-ahead friendly. You can prepare them in advance and freeze them, either baked or unbaked, ensuring you always have a delicious snack or appetizer on standby. We’ll provide all the details below on how to properly store and freeze them.
- Perfect for Any Occasion: From casual family dinners to elegant holiday parties, these sausage balls fit right in. They’re a fantastic addition to brunch spreads, game day menus, potlucks, or even as a fun finger food for kids. Their bite-sized nature makes them easy to enjoy standing or mingling.
- Incredibly Versatile & Flavorful: While delicious on their own, the beauty of these sausage balls lies in their adaptability. They pair wonderfully with a vast array of dipping sauces, allowing you to customize the flavor experience every time. Plus, they can be easily scaled up or down, and you can even experiment with different types of sausage and cheese to suit your taste.
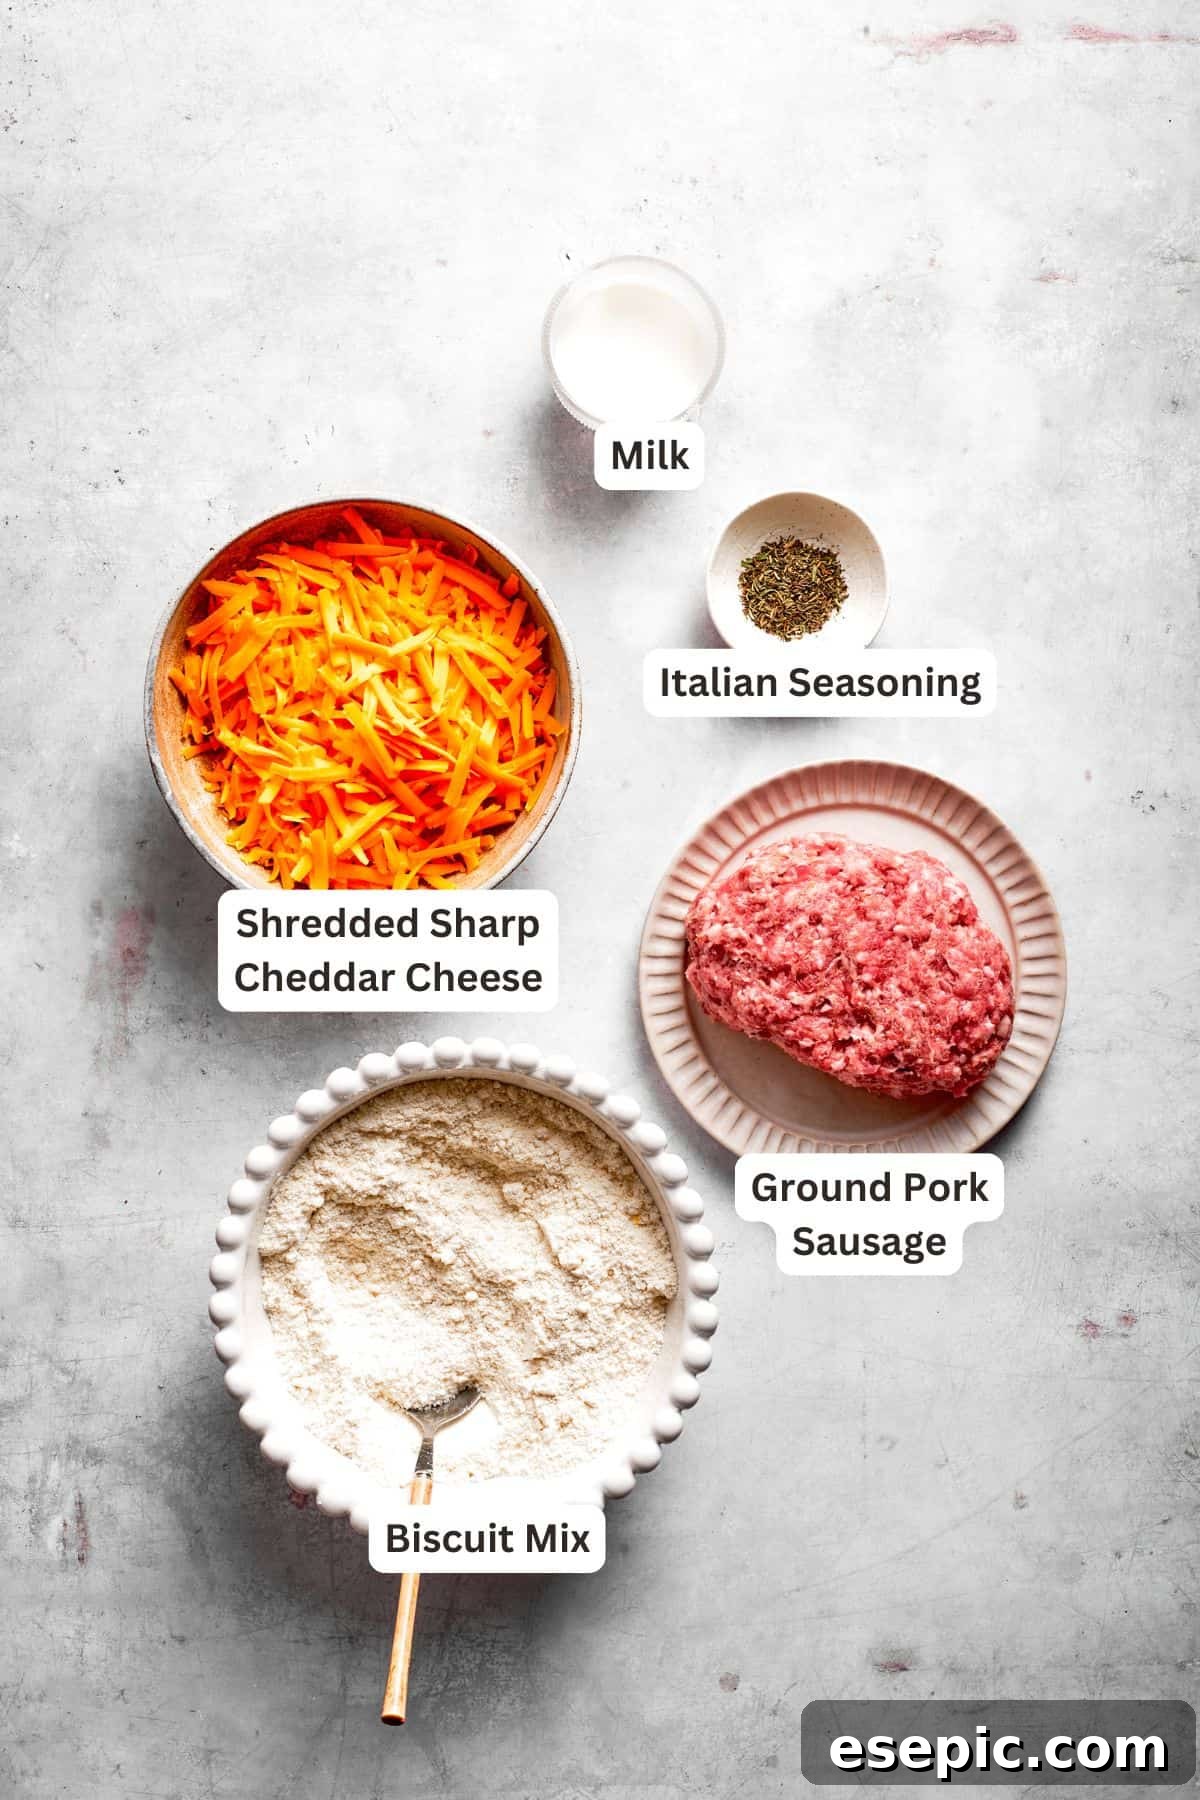
Essential Ingredients for the Perfect Sausage Balls
Creating these scrumptious sausage balls couldn’t be simpler, thanks to a streamlined list of just five core ingredients. You’ll be amazed at how quickly these come together – often in 10 minutes or less! These ingredients are widely available, making this a convenient recipe you can whip up anytime. Here’s a closer look at what you’ll need to gather:
- Biscuit Mix: The star of our easy recipe! A premade biscuit mix, like Bisquick, is crucial for achieving that light, fluffy texture and helps bind all the ingredients together effortlessly. It’s the secret weapon for ultimate convenience.
- Cheddar Cheese: I highly recommend using sharp cheddar cheese and shredding it yourself from a block. Freshly shredded cheese melts more beautifully and provides a richer, more authentic cheesy flavor compared to pre-shredded varieties, which often contain anti-caking agents. However, feel free to use your preferred type of cheddar – mild, medium, or even a blend of cheeses – to customize the taste.
- Pork Sausage: A pound of ground pork sausage forms the flavorful base of these balls. For optimal taste, choose a good quality breakfast sausage or a mild Italian sausage. If you don’t consume pork, you can easily substitute with ground chicken sausage, turkey sausage, or a plant-based sausage alternative. Adjust seasoning if using unflavored ground meat.
- Italian Seasoning: This blend of herbs adds a fantastic depth of flavor, complementing the savory sausage and cheese perfectly. If you don’t have Italian seasoning on hand, you can create your own by mixing equal parts dried basil, oregano, and a pinch of thyme or marjoram. Don’t underestimate the aromatic punch this simple spice provides!
- Milk: A small amount of milk helps bring the dough together, ensuring it’s pliable enough to form into balls. Whole milk or 2% milk both work wonderfully. Start with the recommended amount and add a tiny bit more if the mixture feels too dry, but be careful not to make it too wet.

Expert Tips for Flawless Sausage Balls & Creative Variations
Achieving perfectly cooked, flavorful sausage balls every time is easy with a few key techniques. Plus, don’t be afraid to get creative and customize this recipe to your liking!
- Opt for Freshly Shredded Cheese: This is a game-changer! Pre-shredded cheese often contains anti-caking agents like cellulose, which can prevent it from melting smoothly and alter the texture of your sausage balls. For the absolute best melt, superior flavor, and a truly cheesy experience, take the extra minute to shred sharp cheddar from a block.
- Bring Ingredients to Room Temperature: For easier mixing and a more uniform texture, allow your ground sausage and shredded cheese to come to room temperature for about 15-20 minutes before combining. This helps them incorporate more evenly into the Bisquick mixture, making the dough less stiff and simpler to roll.
- Master the Mixture Consistency: The perfect dough should hold together without being overly sticky or crumbly. If your mixture feels too dry and crumbly after initial mixing, gradually add a little more milk, one tablespoon at a time, until it achieves the right consistency. Conversely, if it’s too sticky and hard to handle, incorporate a bit more biscuit mix until it’s workable.
- Ensure Uniform Size for Even Baking: Consistency is key for even cooking! Use a small cookie scoop (about 1-inch in diameter) or a measuring spoon to portion out the mixture. This ensures all your sausage balls are roughly the same size, leading to consistent baking times and preventing some balls from being undercooked while others dry out.
- Achieve a Crispier Texture: If you love a crispier exterior on your sausage balls, consider baking them on a wire rack placed over a baking sheet. This setup allows air to circulate around all sides of the balls and helps any excess fat to drain away as they bake, resulting in a delightfully crisp crust.
- Spice It Up: For a kick, add a pinch of red pepper flakes to the mixture. A dash of cayenne pepper or a smoky paprika can also introduce exciting new flavor dimensions.
- Cheese Variations: Don’t limit yourself to just cheddar! Try incorporating Monterey Jack, Colby, pepper jack for a spicy twist, or even a parmesan blend to your sausage balls for a different cheesy profile.
- Herb Boost: Enhance the Italian seasoning with fresh minced herbs like parsley, chives, or even a little rosemary for an extra layer of gourmet flavor.
- Vegetable Additions: Finely minced bell peppers, onions, or even spinach can be added to the mixture for extra flavor and nutrients. Just be sure to sauté them first to remove excess moisture.
Delicious Dipping Sauces! So Many Options.
While these Bisquick sausage balls are incredibly delicious on their own, pairing them with the right dipping sauce can elevate your snacking experience to a whole new level. Almost anything goes, from classic ketchup to gourmet homemade creations. Here are some fantastic options to consider:
- Classic Ketchup: Sometimes, the simplest choice is the best. The tangy sweetness of ketchup offers a familiar and comforting contrast to the savory sausage and cheese. It’s a perennial favorite for a reason!
- Sweet & Tangy Honey Mustard: The delightful combination of sweet honey and pungent mustard creates a sauce that perfectly balances the rich flavors of the sausage balls. It’s a wonderfully addictive dip that’s easy to make at home or buy pre-made.
- Creamy Ranch Dressing: A bowl of your favorite ranch dressing is always a hit. Its cool, herby, and tangy notes provide a refreshing counterpoint to the warm, savory sausage balls. It’s especially popular with kids and adults alike.
- Spicy Mayonnaise or Aioli: For those who love a bit of heat, whisk a touch of your favorite hot sauce into mayonnaise for a quick spicy mayo. Alternatively, make a simple garlic aioli by combining mayonnaise with minced garlic, a squeeze of lemon juice, and a pinch of salt. The creamy texture and zesty kick are fantastic!
- Easy Mayo-Ketchup Mix (Fry Sauce): This homemade sauce couldn’t be easier to prepare. Simply whisk together equal parts ketchup and mayonnaise, and perhaps a dash of Worcestershire sauce or garlic powder for extra depth. It’s a surprisingly delicious and incredibly versatile dip that will disappear fast!
- BBQ Sauce: A smoky, sweet, or spicy BBQ sauce can add a fantastic Southern flair to your sausage balls, especially if you’ve used a milder pork sausage.
- Marinara Sauce: For an Italian-inspired twist, serve your sausage balls with a warm bowl of marinara sauce. It’s like a mini meatball experience!
- Sriracha Mayo: Combine mayonnaise with Sriracha for a fiery, creamy dip that adds a modern, spicy kick.

Storing and Reheating Your Sausage Balls
One of the many advantages of this easy sausage balls recipe is how well they store, making them ideal for meal prepping or simply ensuring you always have a quick snack on hand. Whether you’ve made a double batch or have a few leftovers, here’s how to properly store and reheat them to maintain their deliciousness:
- In the Fridge (Cooked): Once your sausage balls have cooled completely to room temperature, transfer them to an airtight container or a resealable plastic bag. They will keep beautifully in the refrigerator for up to 3 days. This makes them perfect for quick grab-and-go snacks or light lunches throughout the week.
- Freezing (Unbaked): If you want to prepare a batch ahead of time, roll the mixture into 1-inch balls as directed in the recipe. Then, arrange them in a single layer on a baking sheet and place the sheet in the freezer until the balls are completely solid (this prevents them from sticking together). Once frozen, transfer the solid sausage balls to a freezer-safe bag or airtight container. They can be stored in the freezer for up to 3 months. When ready to bake, you can cook them from frozen at 375°F, simply adding an extra 5-10 minutes to the baking time, or thaw them in the refrigerator overnight before baking as usual.
- Freezing (Baked): Cooked sausage balls also freeze exceptionally well. Allow them to cool completely, then place them in a single layer on a baking sheet and freeze until solid. Transfer to an airtight freezer bag or container. They will last for up to 3 months.
- To Reheat (From Fridge): Preheat your oven to 350°F (175°C). Place the chilled sausage balls on a baking sheet and heat for 10-15 minutes, or until they are thoroughly hot in the center and slightly crispy on the outside. You can also microwave them for 30-60 seconds, though the texture might be softer.
- To Reheat (From Freezer, Cooked): You can reheat frozen, pre-baked sausage balls directly from the freezer. Preheat your oven to 350°F (175°C) and bake for 20-25 minutes, or until heated through.
Explore More Pork Recipes
If you’re a fan of delicious pork dishes, you’ll love these other fantastic recipes that are perfect for any weeknight or special occasion:
- Pork Loin Roast with Vegetables
- Pork Katsu
- Juicy Grilled Pork Chops
- Pesto Stuffed Pork Chops

Pin
Sausage Balls
Katerina | Easy Weeknight Recipes
10 minutes
15 minutes
25 minutes
28
balls
Ingredients
-
2
cups
biscuit mix,
such as Bisquick -
1
pound
shredded sharp cheddar cheese -
1
pound
ground pork sausage -
1
teaspoon
Italian seasoning -
⅓
cup
milk,
or as much as needed
Instructions
-
Preheat the Oven. Preheat your oven to 375°F (190°C). Prepare a large baking sheet by lining it with parchment paper or lightly greasing it with nonstick cooking spray to prevent sticking.
-
Mix the Ingredients. In a spacious mixing bowl, combine the biscuit mix, freshly shredded sharp cheddar cheese, ground pork sausage, and Italian seasoning. Begin to mix these dry and solid ingredients. Gradually add the milk, a little at a time, mixing until the entire mixture comes together and forms a cohesive dough that can hold its shape. Be careful not to overwork the dough, as this can lead to tougher sausage balls.
-
Shape the Sausage Balls. Using a small cookie scoop (approximately 1 inch in diameter) or your hands, roll the mixture into uniform, bite-sized balls. Place them onto the prepared baking sheet, ensuring they are slightly spaced apart to allow for even baking and browning.
-
Bake the Sausage Balls. Carefully transfer the baking sheet to your preheated oven. Bake for 13-15 minutes, or until the sausage balls are beautifully golden brown on the outside and thoroughly cooked through with a tender, cheesy center. The exact baking time may vary slightly depending on your oven.
-
Cool and Serve. Once baked, remove the sausage balls from the oven. Let them cool for a few minutes on the baking sheet before transferring to a serving platter. These are best enjoyed warm, either on their own as a savory snack or alongside your favorite dipping sauce.
Nutrition
Carbohydrates: 6g |
Protein: 7g |
Fat: 11g |
Saturated Fat: 5g |
Polyunsaturated Fat: 1g |
Monounsaturated Fat: 4g |
Trans Fat: 0.03g |
Cholesterol: 28mg |
Sodium: 319mg |
Potassium: 72mg |
Fiber: 0.2g |
Sugar: 1g |
Vitamin A: 181IU |
Vitamin C: 0.1mg |
Calcium: 136mg |
Iron: 0.5mg
Nutritional info is an estimate and provided as courtesy. Values may vary according to the ingredients and tools used. Please use your preferred nutritional calculator for more detailed info.
Step-by-Step: How to Make These Easy Bisquick Sausage Balls
Making these delicious sausage balls is a breeze. Follow these simple steps, complete with visual aids, to create perfect bite-sized appetizers every time!
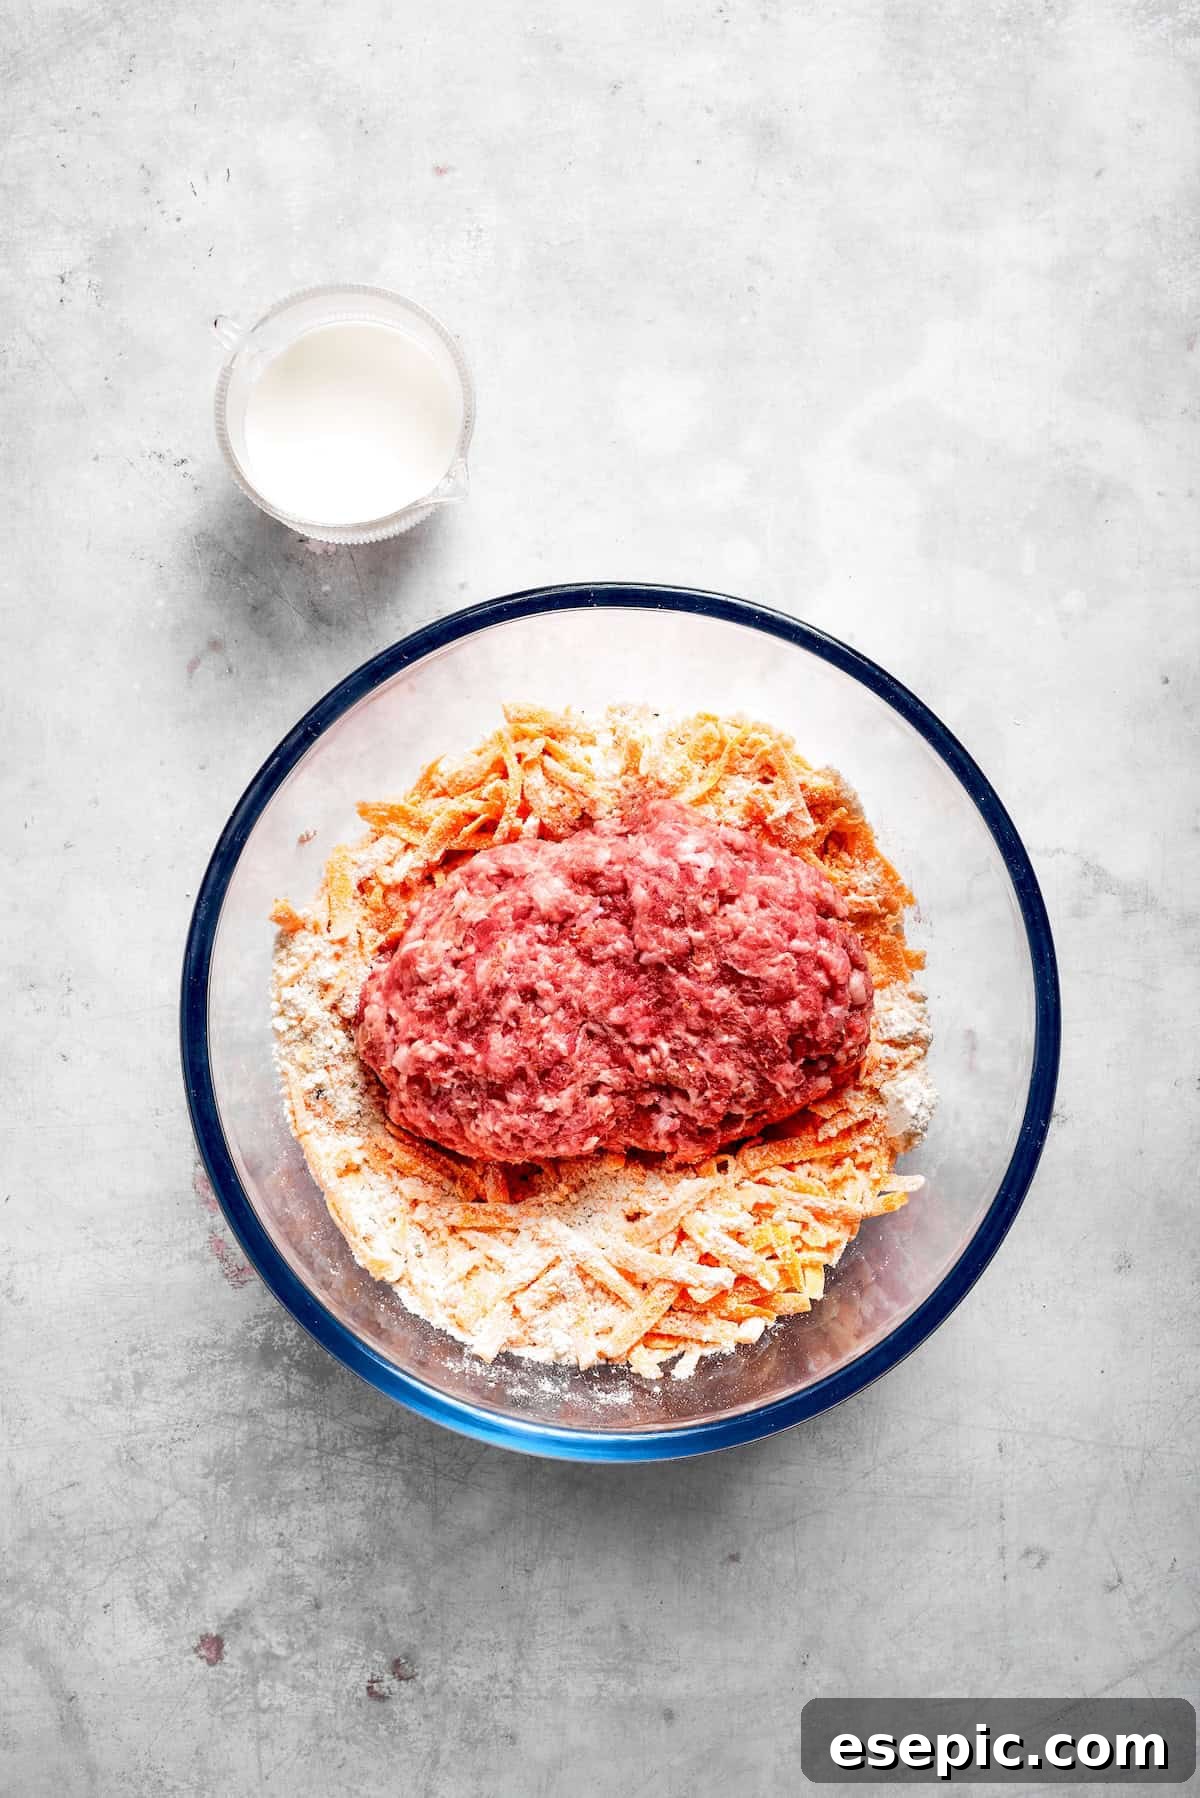
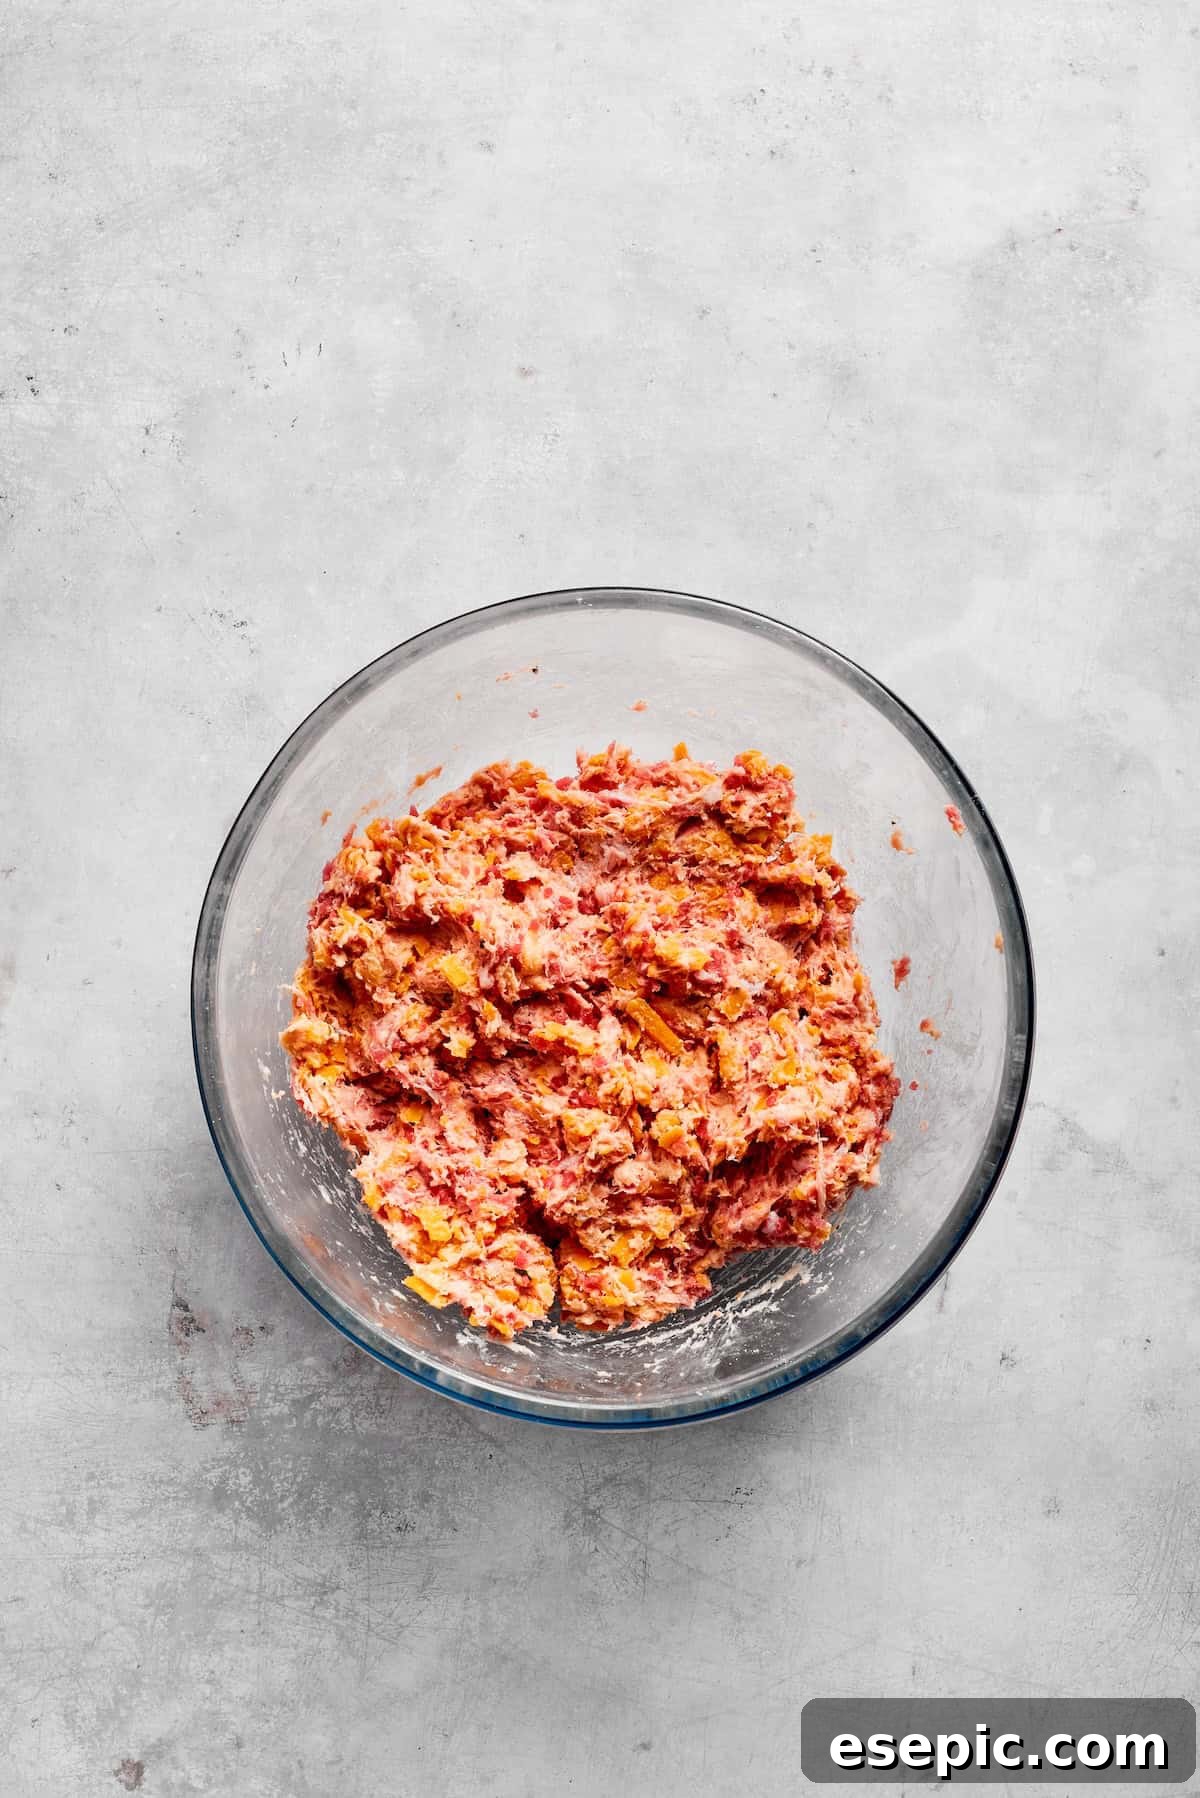
- Step 1: Preheat and Prepare. Start by preheating your oven to 375°F (190°C). While the oven heats, line a large baking sheet with parchment paper or lightly grease it with cooking spray. This will ensure your sausage balls don’t stick and make cleanup a breeze.
- Step 2: Mix the Ingredients. In a large mixing bowl, combine the Bisquick biscuit mix, shredded sharp cheddar cheese, ground pork sausage, and Italian seasoning. Use your hands or a sturdy spoon to break up the sausage and begin mixing everything together. Gradually add the milk, a tablespoon at a time, until the mixture is well combined and forms a firm, cohesive dough that can easily be rolled into balls. Be careful not to overmix, as this can make the sausage balls tough.


- Step 3: Shape the Sausage Balls. Using a small cookie scoop or your hands, roll the seasoned sausage and cheese mixture into uniform 1-inch balls. Arrange them on the prepared baking sheet, leaving a little space between each one to allow for even cooking.
- Step 4: Bake to Perfection. Transfer the baking sheet to your preheated oven. Bake for approximately 13-15 minutes, or until the sausage balls are beautifully golden brown on the outside and cooked through in the center. They should feel firm to the touch and have a delightful crunch.
- Step 5: Cool and Serve. Once baked, remove the sausage balls from the oven and let them cool on the baking sheet for a few minutes. This allows them to set slightly and become easier to handle. Serve them warm, either on their own as a delicious bite-sized snack or with your favorite dipping sauce. Enjoy!