
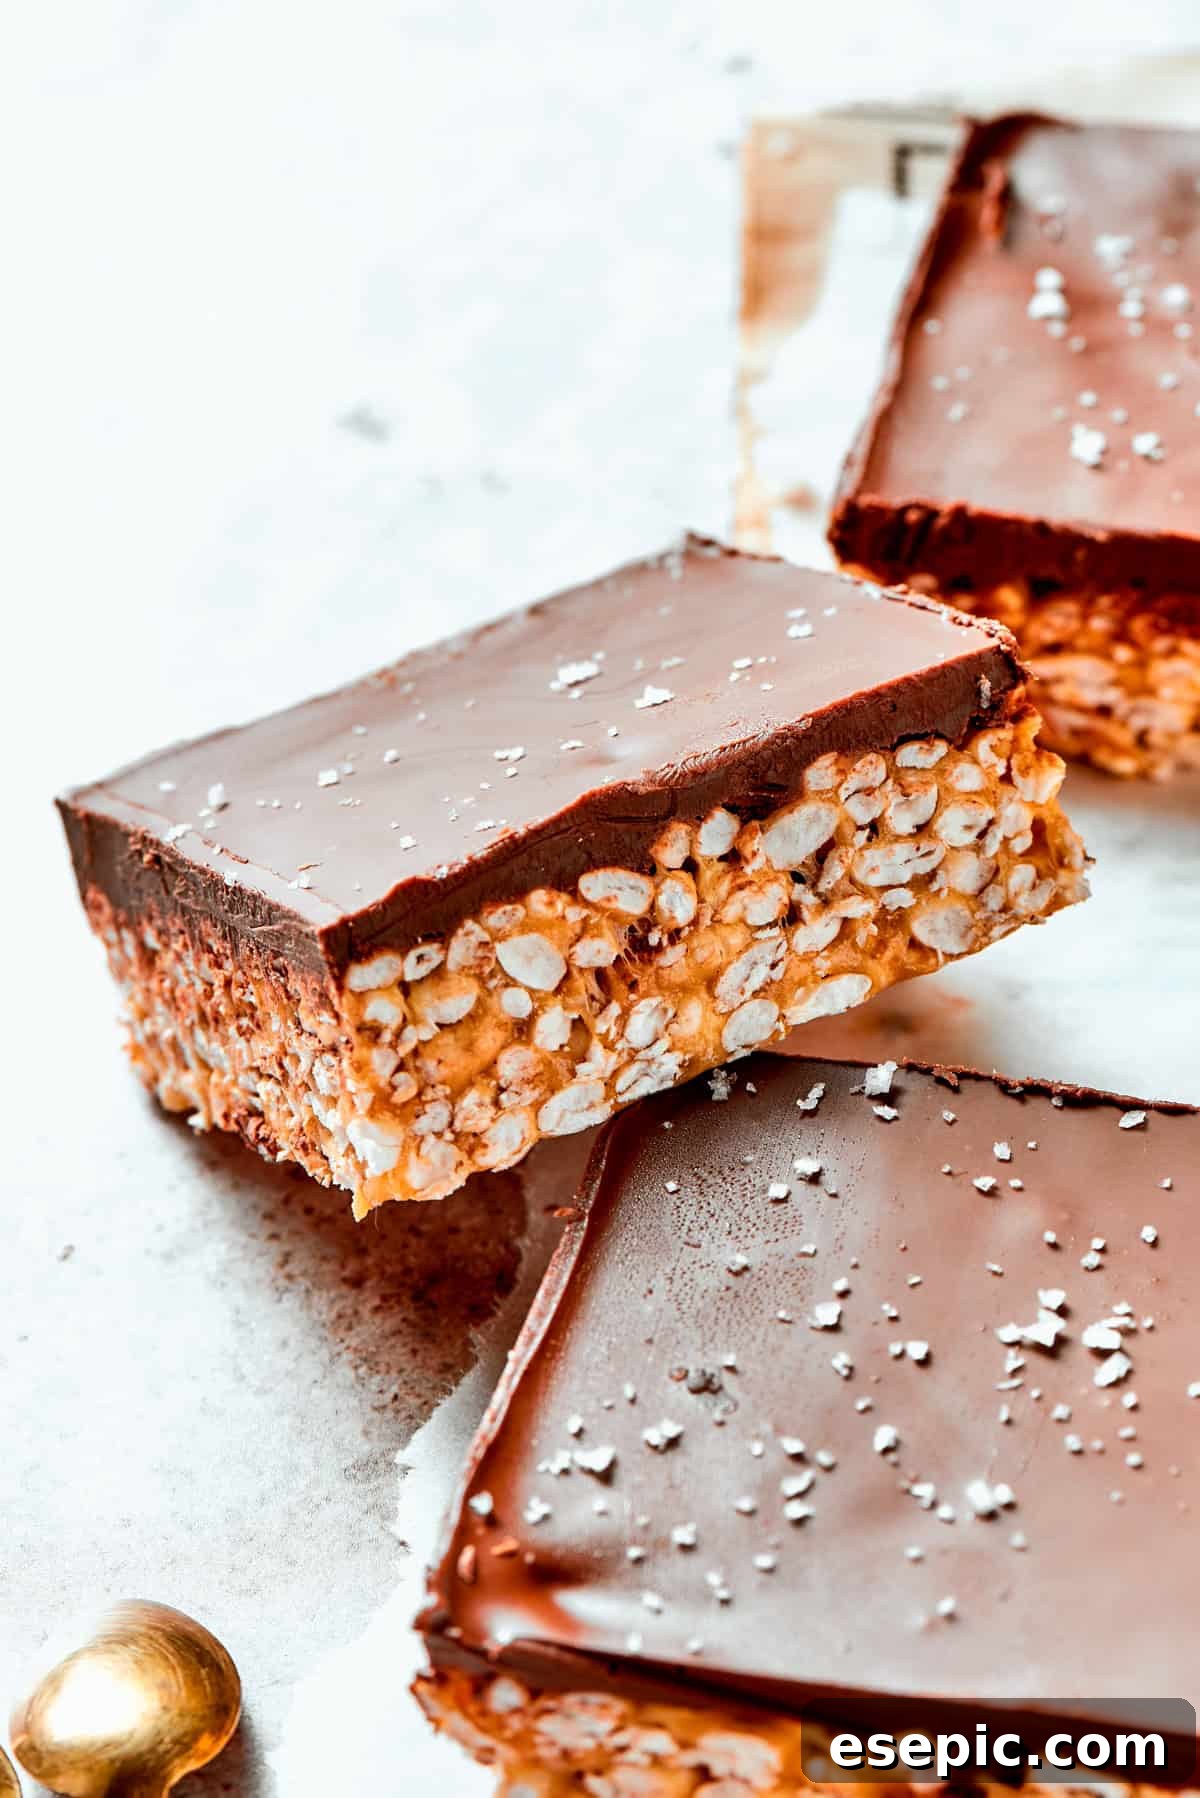
Indulge in the irresistible allure of our no-bake Peanut Butter Rice Crispy Treats, a delightful twist on a beloved classic. These chewy, sweet bars are a symphony of flavors and textures, featuring a creamy peanut butter swirl at their heart, crowned with a decadent layer of smooth, melted milk chocolate. Effortlessly easy to prepare, they represent the ultimate hassle-free dessert, perfect for satisfying any sweet craving with minimal effort.
If you’re a connoisseur of easy-to-make dessert bars and crave new ways to delight your palate, you’ll adore these. And while you’re here, be sure to explore our vibrant Lemon Bars for a burst of refreshing citrus, or dive into the rich, comforting layers of our Pumpkin Cheesecake Bars. For a taste of fruity nostalgia, these sweet and tangy Cherry Kuchen Bars are an absolute must-try. Each recipe offers a unique journey of flavor, ensuring there’s a perfect treat for every occasion and craving!
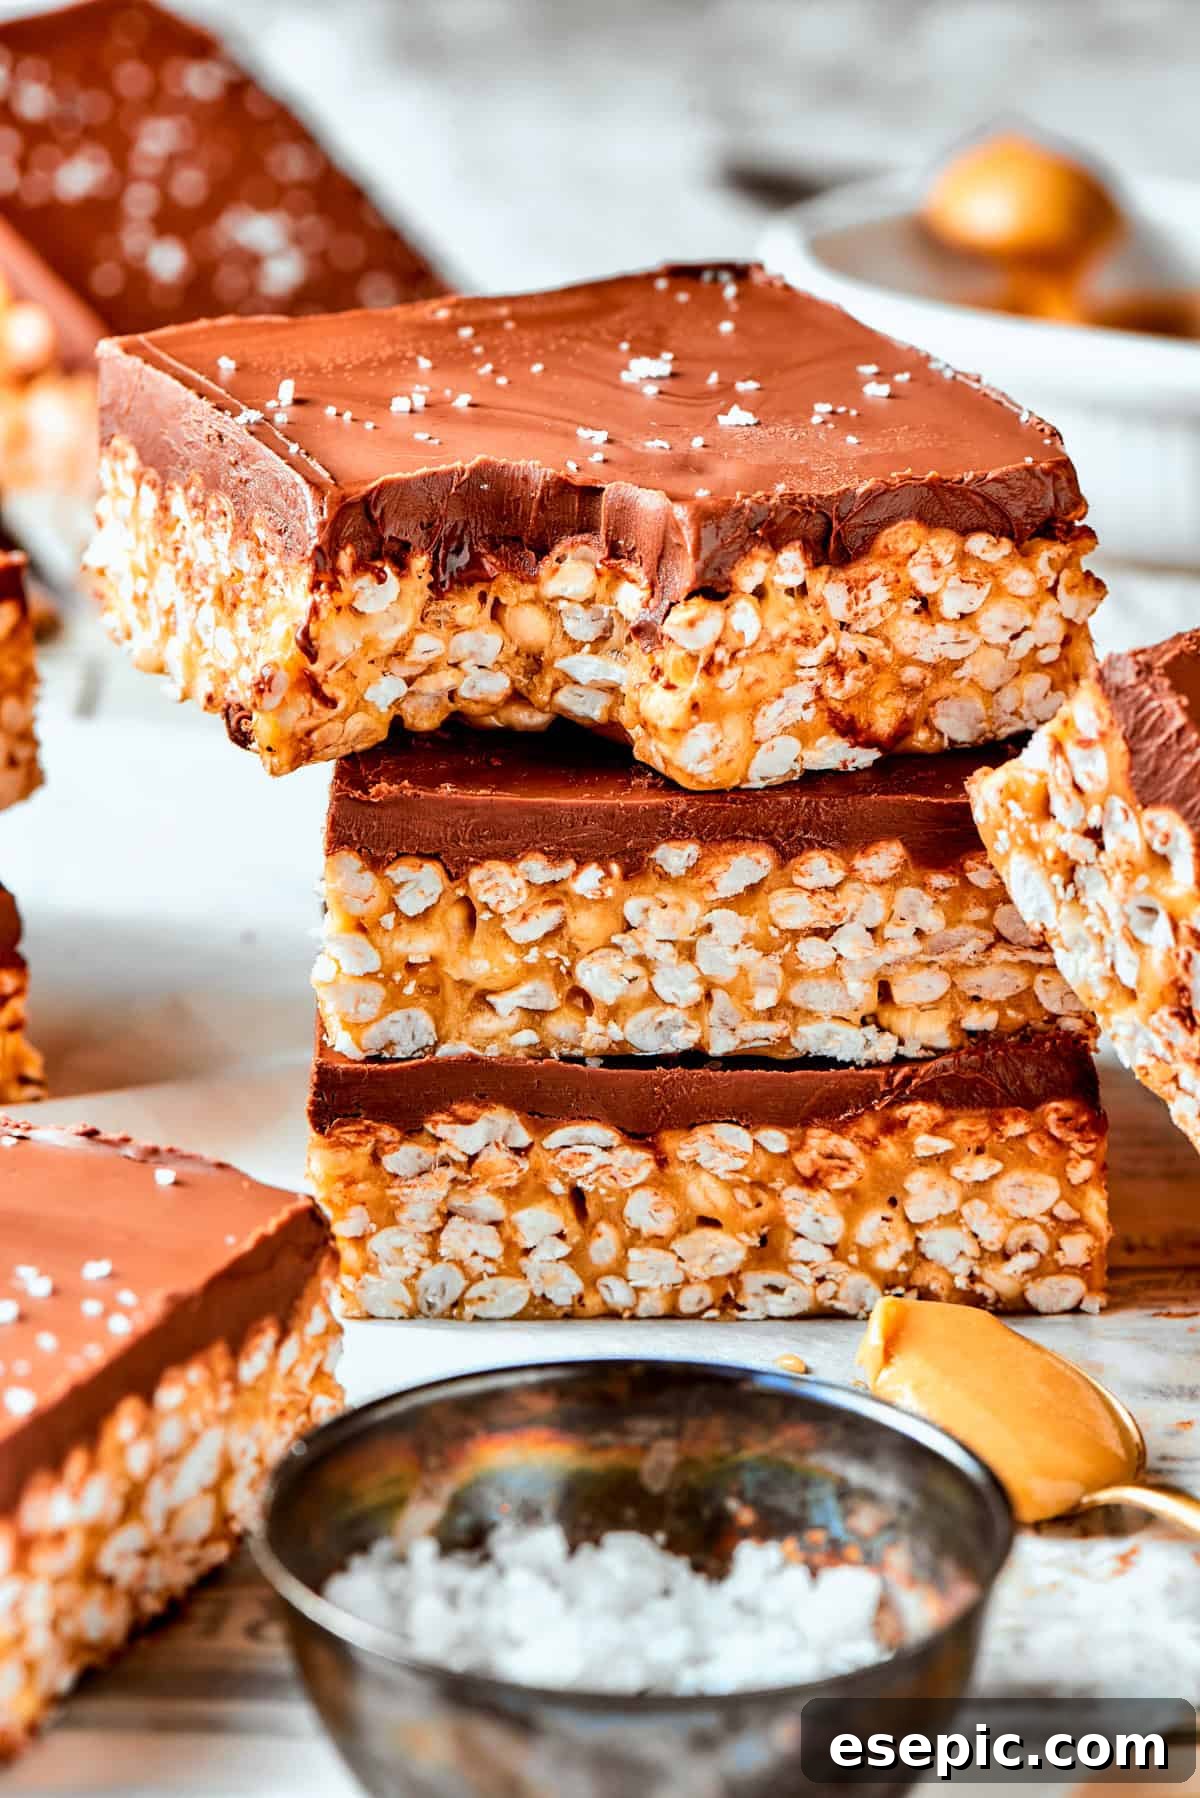
The timeless pairing of peanut butter and chocolate finds its perfect expression in these chewy rice crispy treats, offering a sublime upgrade to the traditional no-bake dessert bar. Generous amounts of smooth, creamy peanut butter are blended with a touch of maple syrup for balanced sweetness, fluffy mini marshmallows, and crisp rice cereal, all harmoniously finished with a luxurious layer of milk chocolate. This recipe is destined to become a new family favorite, captivating everyone with its irresistible combination of flavors and its wonderfully satisfying texture. Prepare to be thoroughly impressed by this elevated take on a classic treat!
Why These Peanut Butter Rice Crispy Treats Are Irresistible
There are countless reasons why these Peanut Butter Rice Crispy Treats have earned a permanent spot in my recipe rotation. They aren’t just a dessert; they’re an experience—a quick, satisfying indulgence that brings joy to any occasion. Here’s why I adore them:
- Effortless Preparation: No-bake desserts are my go-to for convenience, and this recipe truly shines in its simplicity. If you’ve ever whipped up classic rice krispie treats, you already know the drill: a straightforward process of melting, stirring, and allowing to set. This means less time in the kitchen and more time enjoying your delicious creation. It’s the perfect recipe for beginners or busy individuals seeking a quick yet impressive dessert.
- The Iconic Peanut Butter and Chocolate Duo: Is there any combination more universally loved than peanut butter and chocolate? I think not! This recipe celebrates this dynamic duo, blending rich, nutty peanut butter into the crispy treat base, which is then beautifully complemented by a luscious blanket of melted milk chocolate. Each bite offers that perfect balance of salty-sweet, creating a flavor profile that’s simply heavenly and deeply satisfying.
- A Sophisticated Twist on a Childhood Classic: While traditional rice krispies treats hold a special place in our hearts, I sometimes find them a tad too sweet. This peanut butter rendition offers a delightful solution. The inherent sweetness of the marshmallows is skillfully balanced by the savory richness of the peanut butter, and further enhanced by a subtle sprinkle of flaky sea salt on top. This touch of salt not only cuts through the sweetness but also elevates the overall flavor, making these bars more complex and utterly addictive. It’s a grown-up version of a childhood favorite that still appeals to all ages.
- Versatile and Crowd-Pleasing: These treats are incredibly versatile. Whether you’re bringing them to a potluck, making them for a school event, or simply enjoying them as an afternoon snack, they are always a hit. Their no-bake nature makes them ideal for warmer weather when you don’t want to turn on the oven, and their universal appeal ensures everyone will reach for a second (or third!) piece.
Gather Your Ingredients: Essential Supplies for Perfection
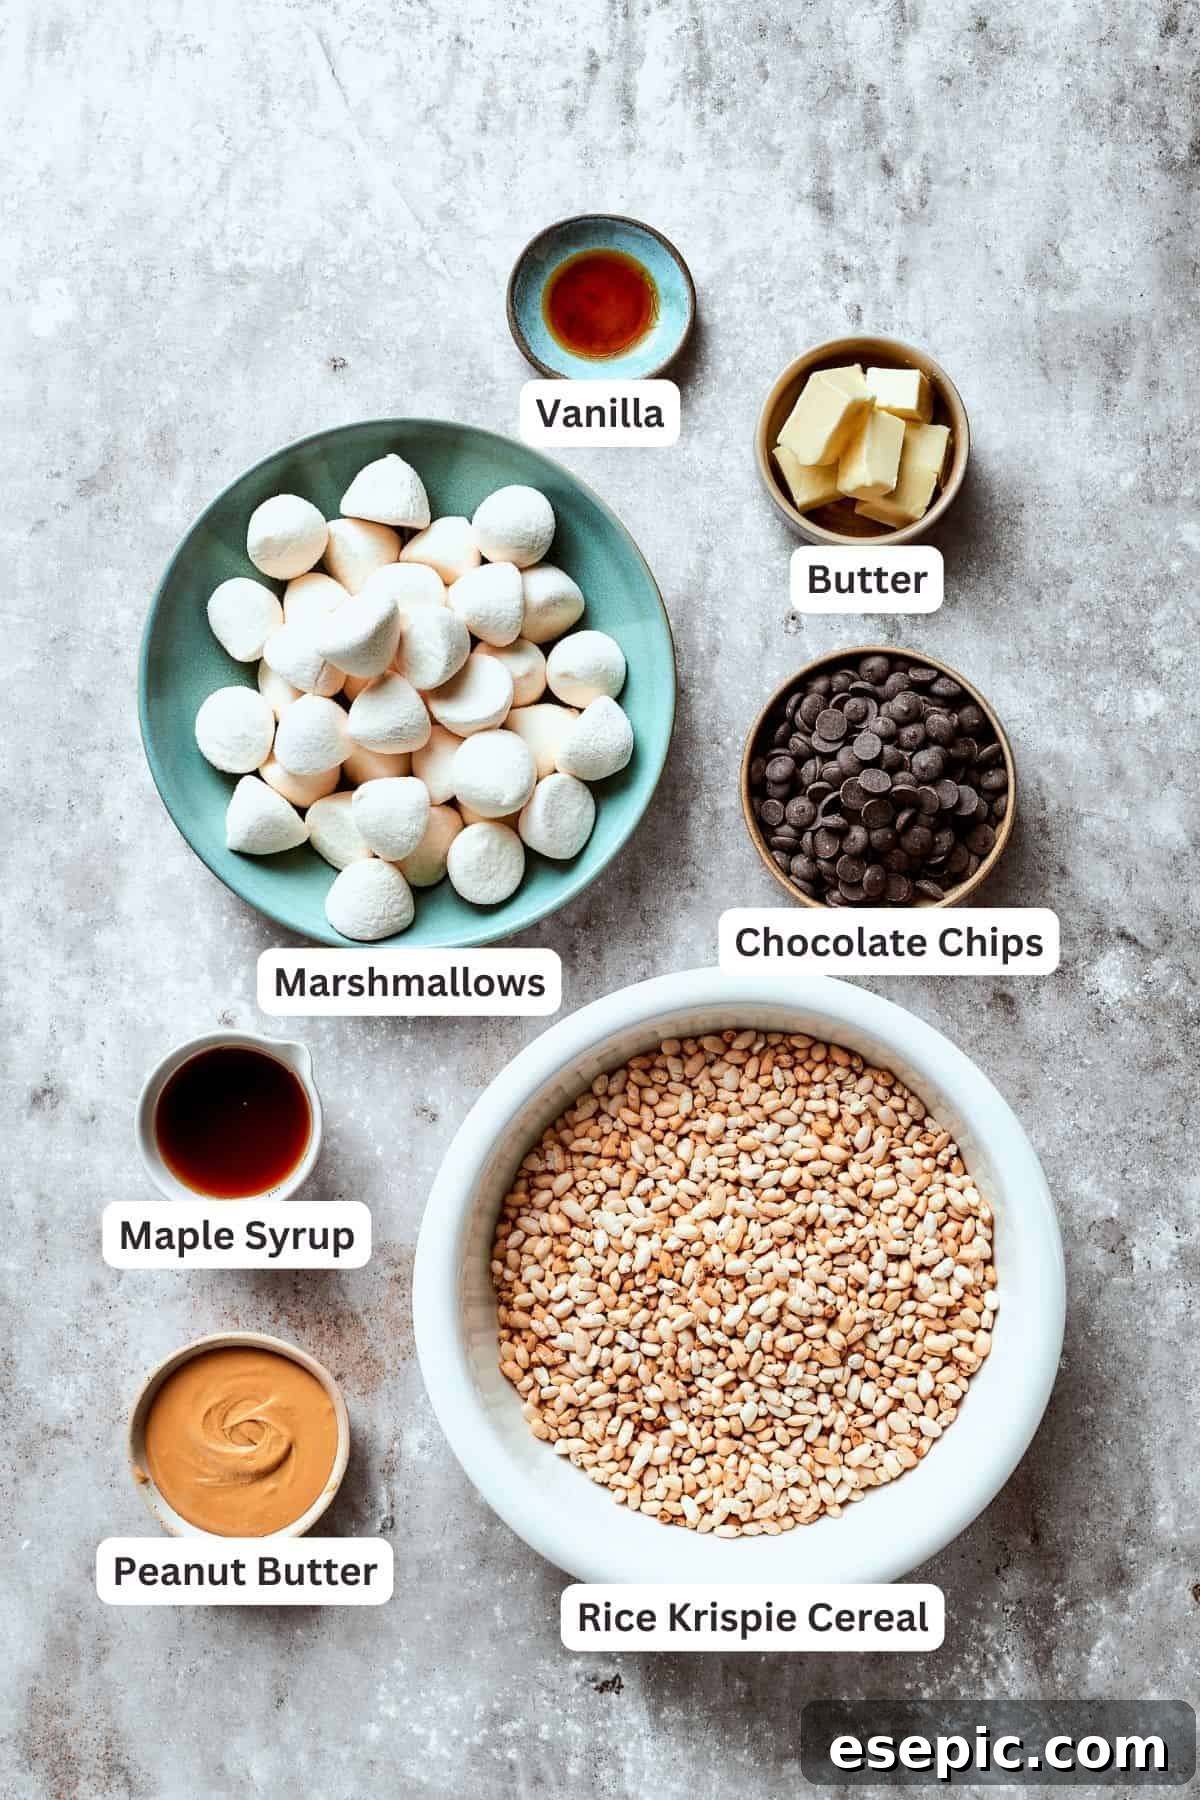
Crafting these delectable homemade rice crispy treats requires a selection of readily available ingredients. Each component plays a crucial role in achieving the perfect balance of flavor and texture. Here’s a detailed look at what you’ll need to pick up. For precise measurements, please refer to the comprehensive recipe card below.
- Unsalted Butter: We opt for unsalted butter to have complete control over the saltiness of the treats. This allows us to add a delicate sprinkle of flaky sea salt at the end, providing a contrasting flavor that truly makes the chocolate and peanut butter sing.
- Maple Syrup: A natural sweetener that adds a nuanced depth of flavor beyond just sugar. Its rich, earthy notes complement the peanut butter beautifully. If genuine maple syrup isn’t on hand, a good quality honey can serve as an excellent substitute, offering a similar sticky sweetness and aroma.
- Mini Marshmallows: These small, fluffy pillows are essential for the signature chewiness of rice crispy treats. Their smaller size helps them melt more quickly and evenly, creating a smoother, more consistent binder for the cereal. However, if only regular-sized marshmallows are available, simply ensure you use the same total weight – 10 ounces – and allow a little extra time for them to melt thoroughly.
- Creamy Peanut Butter: For the smoothest and most consistent texture in these bars, creamy peanut butter is the ideal choice. I specifically recommend avoiding natural peanut butter in this recipe, as its tendency for oil separation can lead to a greasier or less uniform consistency in the finished treats. A conventional creamy peanut butter ensures a perfect swirl and holds everything together beautifully.
- Pure Vanilla Extract: A dash of pure vanilla extract is crucial for elevating and rounding out the flavors. It adds a warm, aromatic note that enhances both the sweetness of the marshmallows and the richness of the peanut butter and chocolate, creating a more complex and inviting taste.
- Rice Krispie Cereal: The star of the show, providing that iconic light and crispy texture. While the familiar Rice Krispies brand is a classic, feel free to use your preferred brand of crispy rice cereal. The key is to ensure it’s fresh and crunchy to guarantee the best texture in your finished bars.
- Milk Chocolate Chips: I personally love the rich, creamy sweetness that milk chocolate chips bring to the topping of these bars. They melt into a smooth, luscious layer that perfectly balances the savory peanut butter base. The sweetness of milk chocolate creates a harmonious blend that is utterly delightful.
- Flaky Sea Salt: This ingredient is optional but highly recommended for garnish. A delicate sprinkle of flaky sea salt on top of the melted chocolate layer works wonders. It provides a subtle counterpoint to the sweetness, enhancing all the flavors and adding a touch of gourmet sophistication.
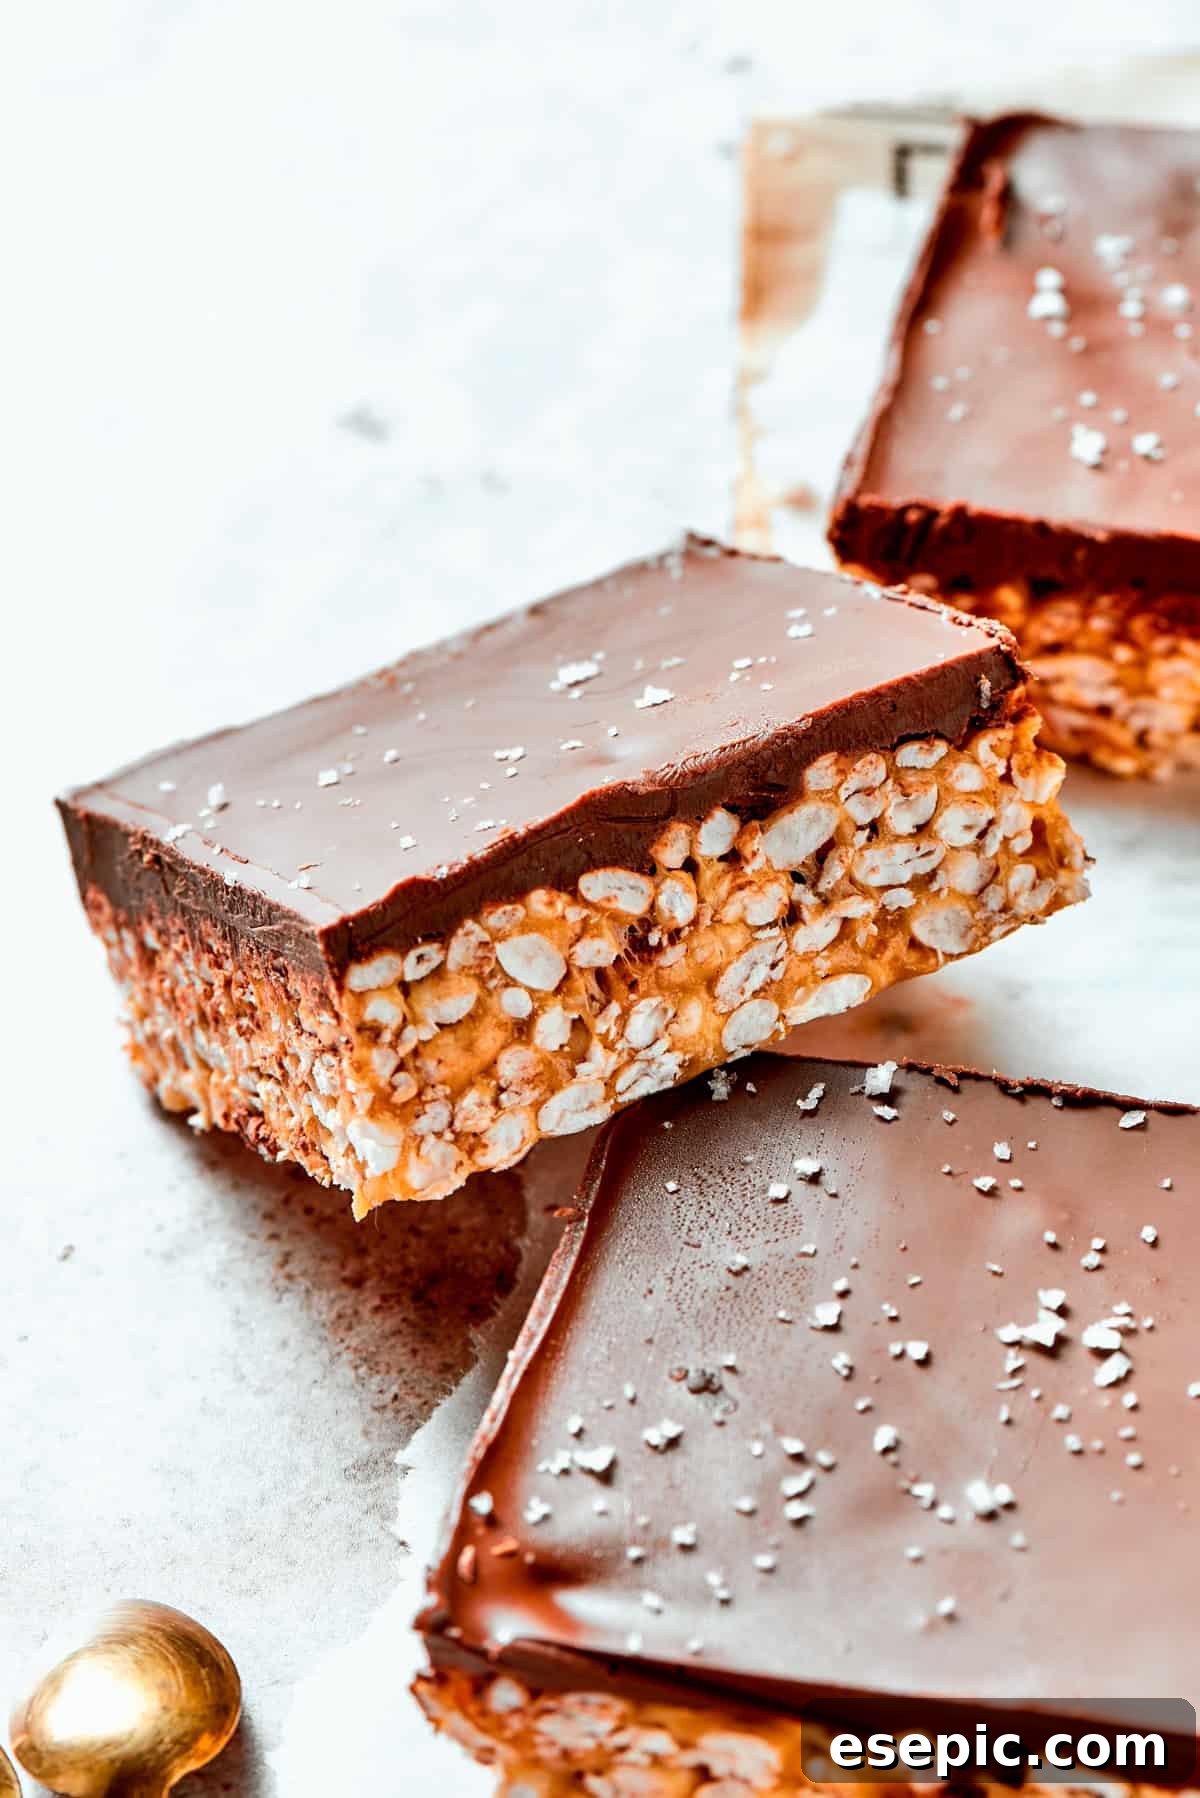
How To Craft Irresistible Chocolate Peanut Butter Rice Crispy Treats
Creating these sensational chocolate peanut butter rice crispy treats is incredibly straightforward, requiring just a few minutes of active preparation time. The beauty of this recipe lies in its simplicity and speed, allowing you to whip up a batch of delicious, chewy bars without the need for an oven. Follow these easy steps to achieve perfect results every time.

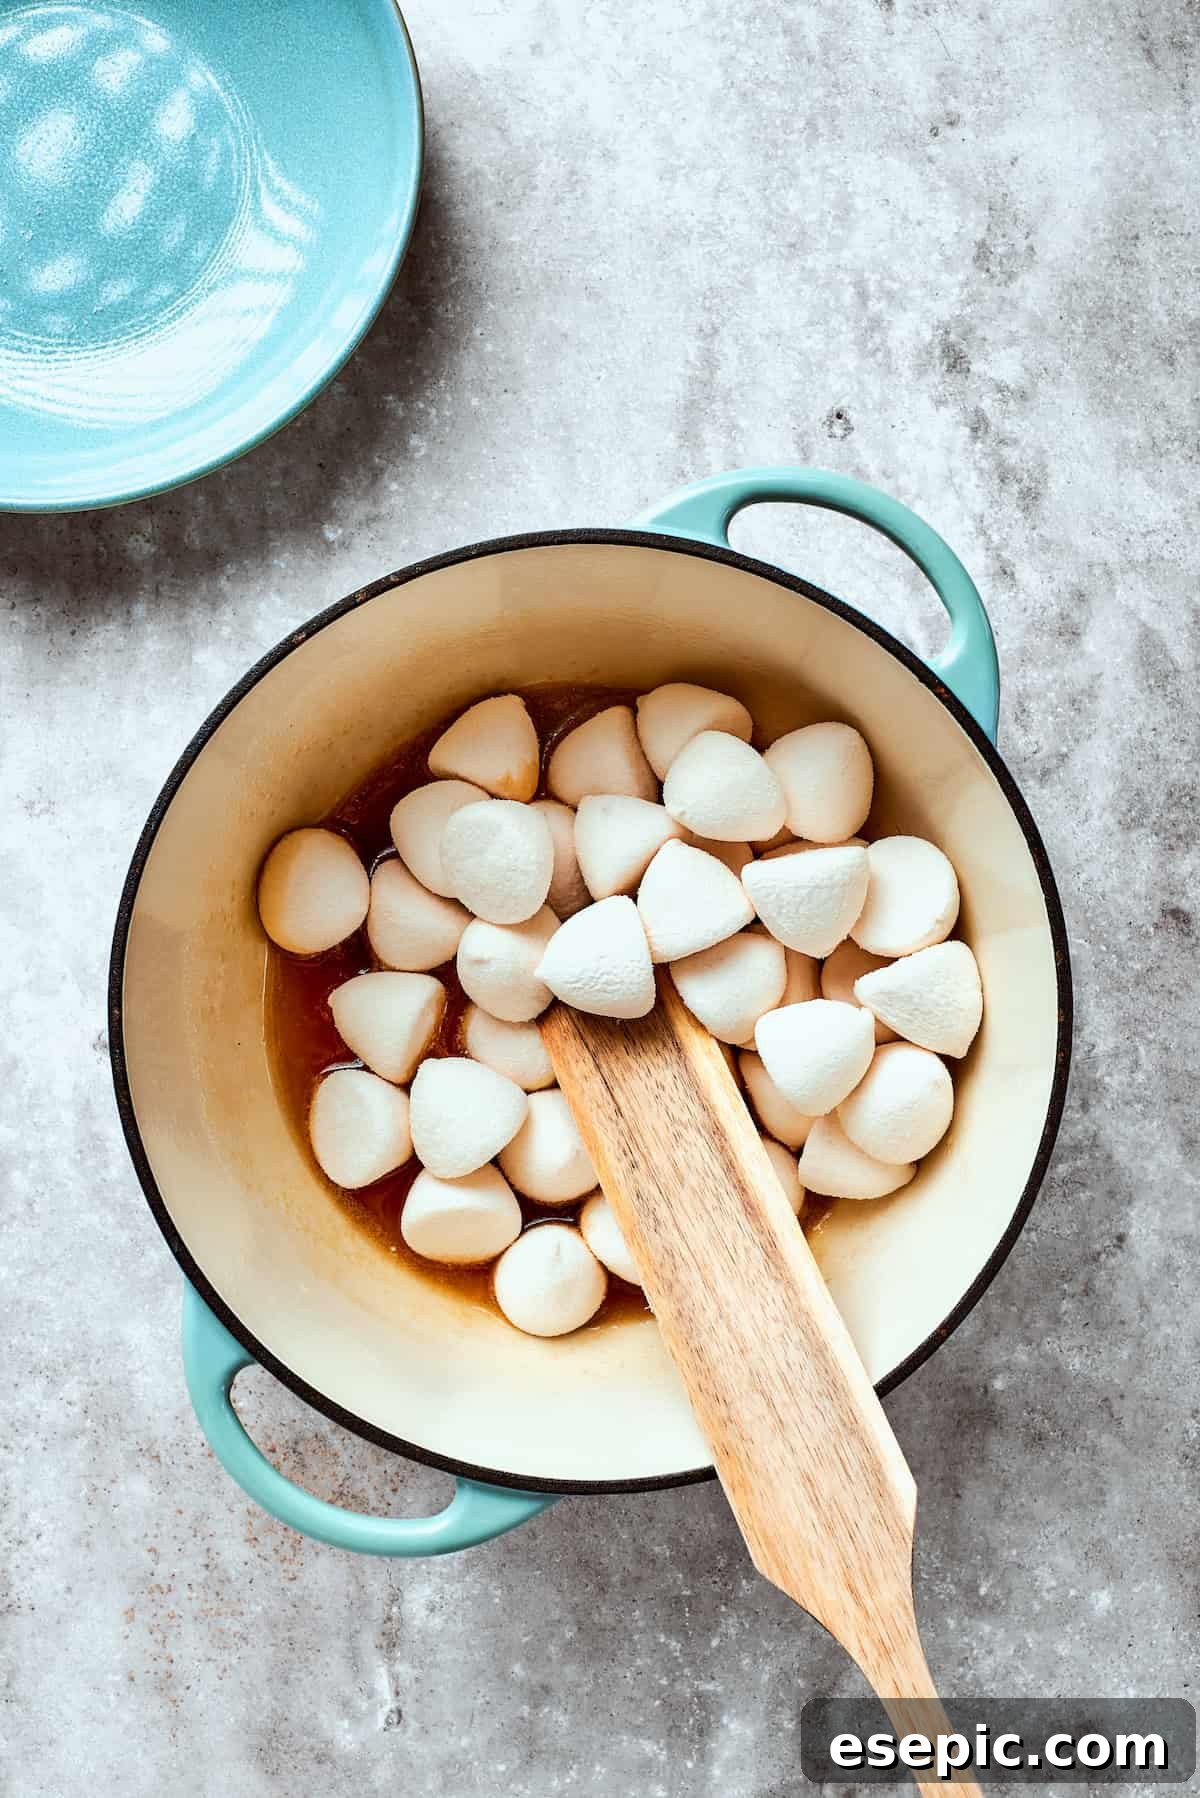
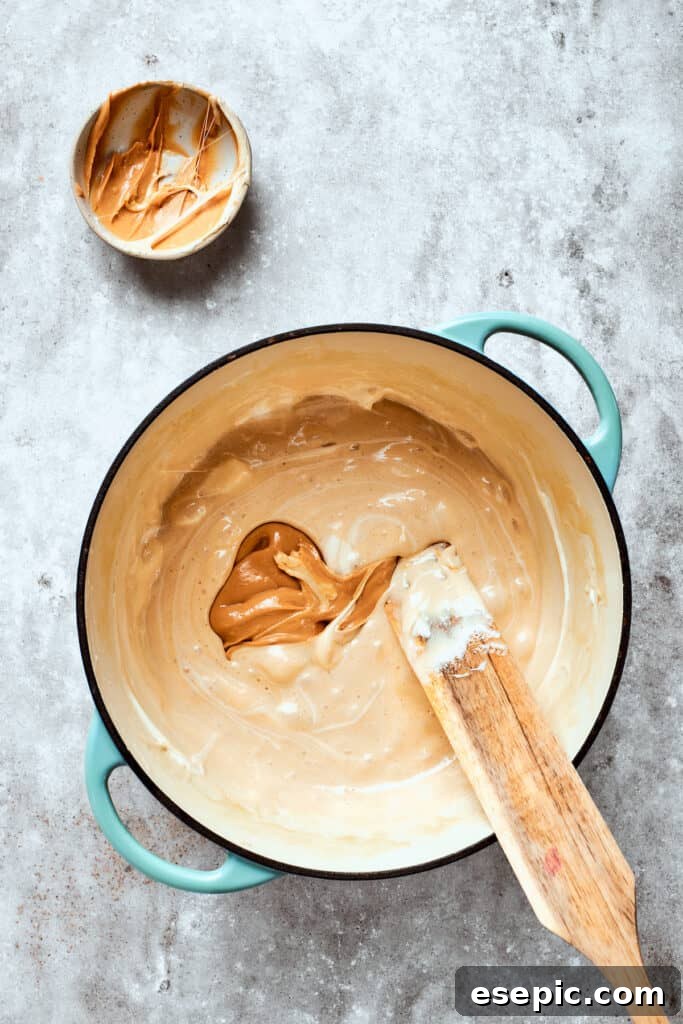
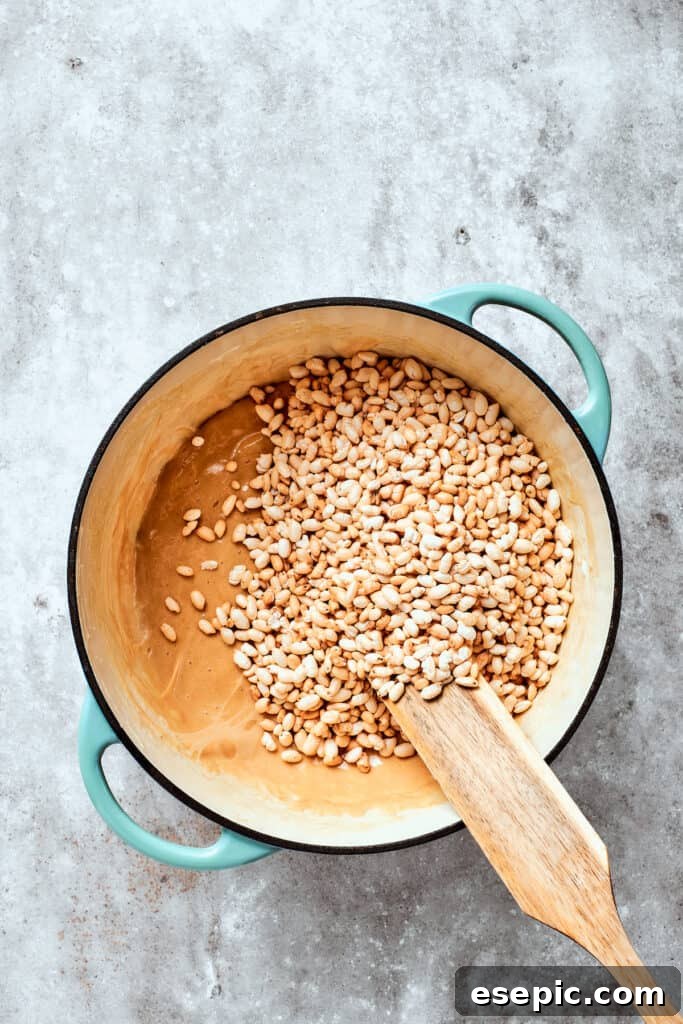
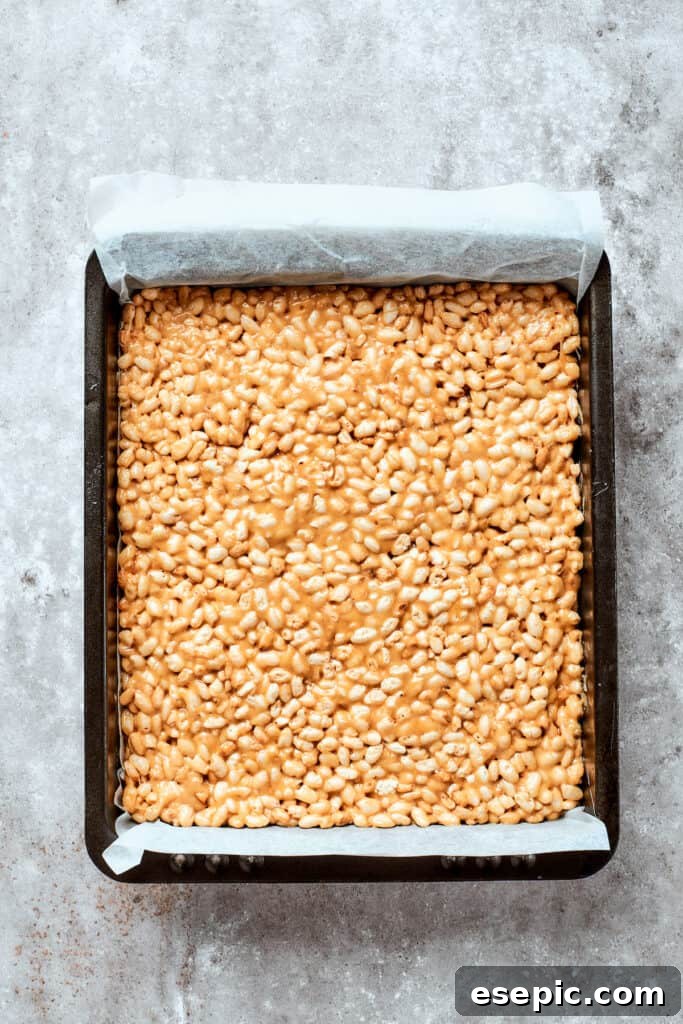
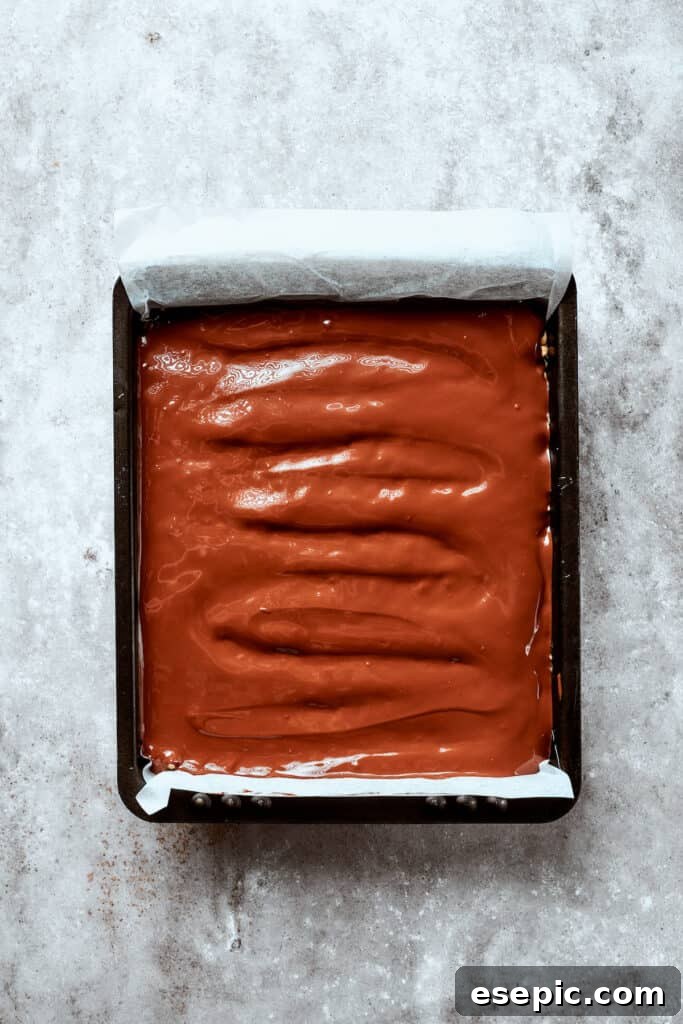
- Prepare Your Pan: Begin by lining a 9×13-inch baking dish with parchment paper. Ensure you leave a generous overhang on two sides; this thoughtful step creates “handles” that will allow you to easily lift the entire slab of treats out of the pan once they’ve set, making for clean, effortless cutting.
- Melt Butter and Syrup: In a large, heavy-bottomed saucepan, combine the unsalted butter and maple syrup. Place the saucepan over medium heat, allowing the butter to melt slowly and fully integrate with the syrup. Continue cooking, stirring occasionally, until the mixture is completely melted, shimmering, and begins to form small bubbles around the edges. This ensures proper caramelization and depth of flavor.
- Incorporate Marshmallows: Reduce the heat to low, then add all the mini marshmallows to the melted butter and syrup mixture. Stir continuously with a spatula or wooden spoon. It’s crucial to stir constantly to prevent sticking and burning. Continue until the marshmallows are completely melted and have transformed into a smooth, sticky, and uniform liquid. This gooey marshmallow mixture is the binder that holds your treats together.
- Add Peanut Butter and Vanilla: Once the marshmallows are fully melted and smooth, remove the saucepan from the heat. Immediately stir in the creamy peanut butter until it is thoroughly combined and seamlessly integrated into the marshmallow mixture. Then, add the pure vanilla extract, stirring it in quickly to distribute its aromatic notes throughout the base.
- Fold in Cereal: Working swiftly, gently fold in the Rice Krispie cereal. Use a large spatula to carefully incorporate the cereal into the warm, sticky mixture, ensuring that every single crisp is evenly coated. This step requires speed, as the mixture will begin to cool and set quickly. Avoid overmixing, as this can crush the cereal and compromise the airy, crispy texture.
- Press into Pan: Transfer the entire cereal mixture to your prepared baking dish. Using a piece of parchment paper, waxed paper, or a lightly greased spatula (or even lightly buttered hands), press the mixture firmly and evenly into the bottom of the pan. The key is to press gently but consistently to create a compact, uniform layer without crushing the cereal too much, which can make the treats hard.
- Top with Chocolate: In a microwave-safe bowl, melt the milk chocolate chips in 30-second intervals, stirring well after each interval, until completely smooth and melted. Alternatively, you can use a double boiler: place the chocolate chips in a heatproof bowl over a saucepan of simmering water (ensuring the bowl doesn’t touch the water), stirring until melted and glossy. Pour the melted chocolate evenly over the pressed rice crispy mixture, spreading it right to the edges with a spatula to create a smooth, appealing top layer.
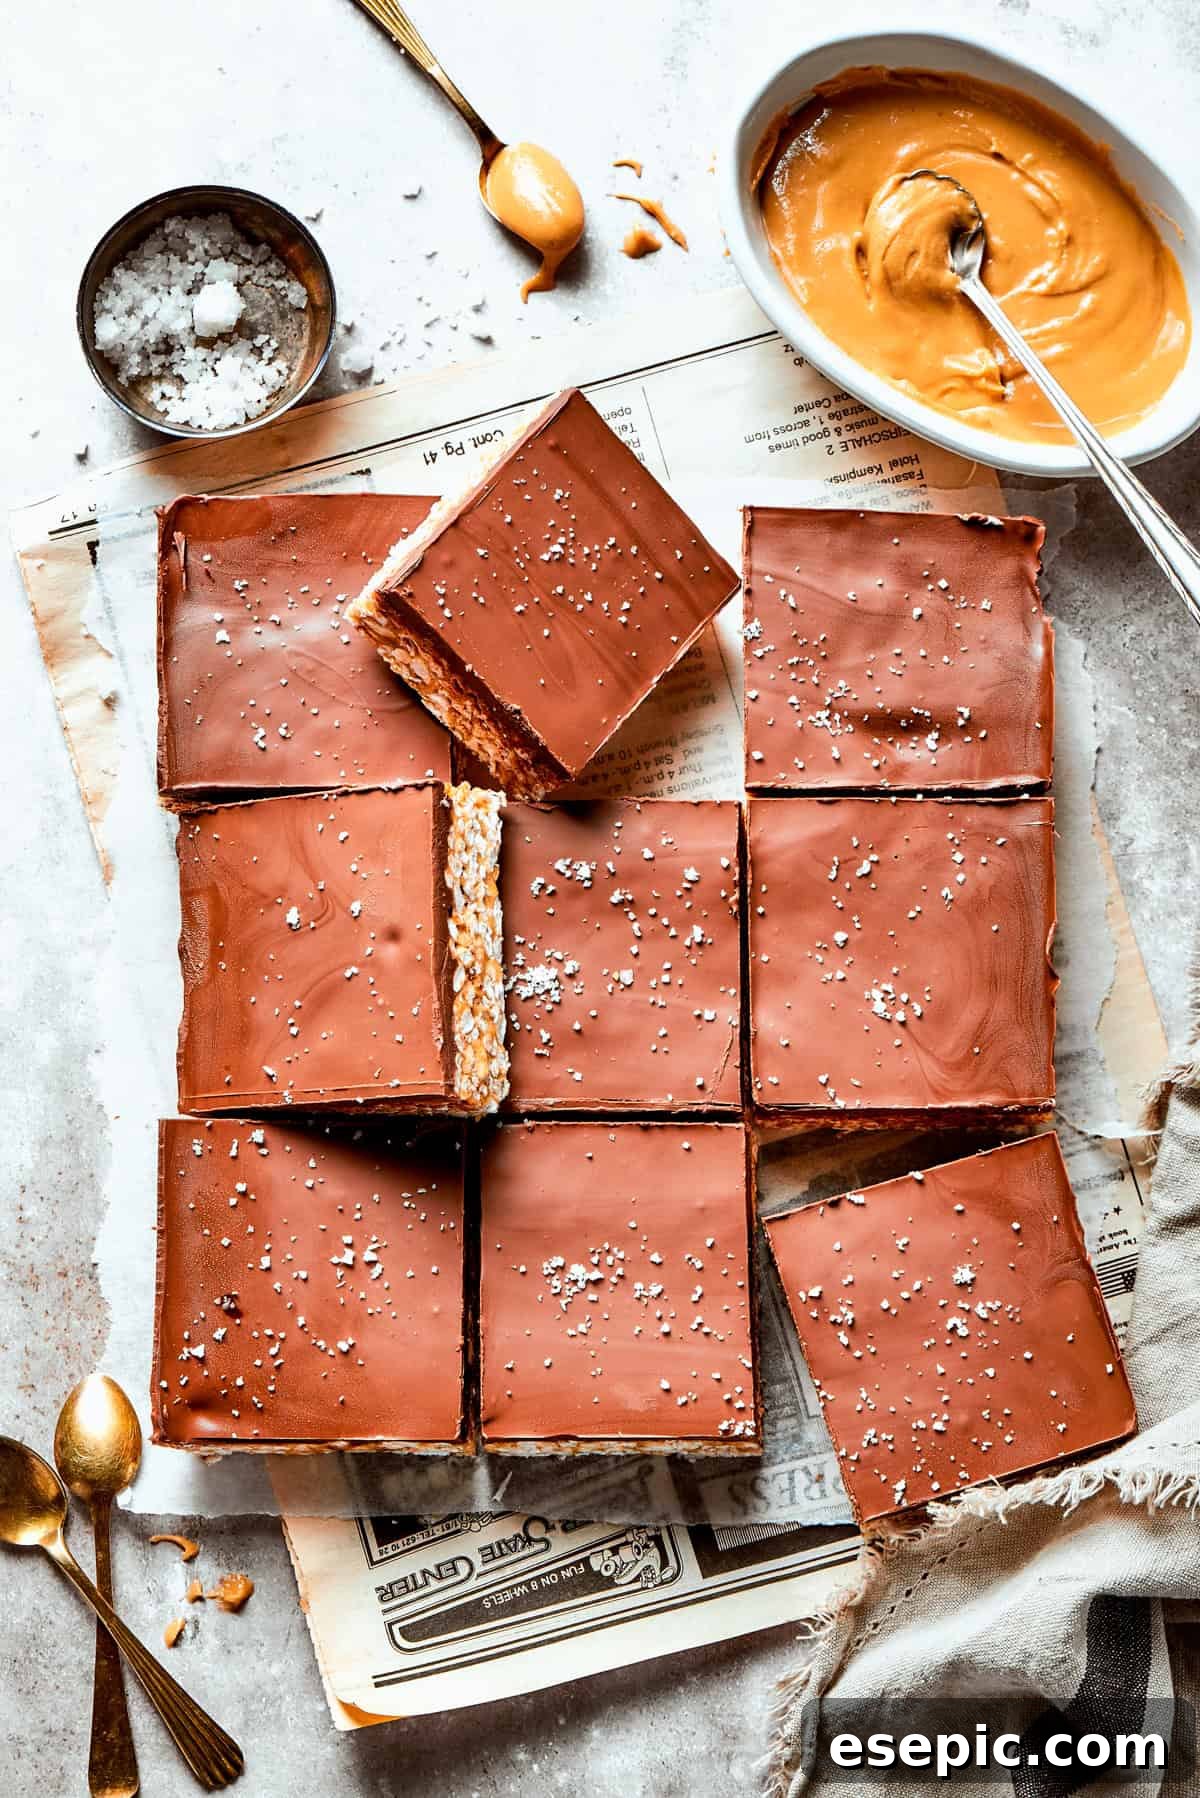
- Sprinkle Sea Salt (Optional): For an extra layer of flavor and visual appeal, lightly sprinkle a pinch of flaky sea salt over the still-wet melted chocolate. This touch of salt beautifully enhances the chocolate and peanut butter flavors.
- Allow to Set: Place the baking dish in the refrigerator for approximately 30 minutes, or until the chocolate topping is completely set and firm. This chilling time ensures the bars are easy to cut and hold their shape beautifully.
- Cut and Serve: Once thoroughly chilled and set, use the parchment paper overhangs to lift the entire slab of treats out of the pan. Place it on a cutting board and use a sharp, non-serrated knife (lightly greased if desired) to cut them into individual squares or bars. Serve immediately and enjoy!
Mastering Your Treats: Expert Tips for Success
- Achieve Gluten-Free Perfection: Transforming these into a gluten-free delight is wonderfully simple. The only modification needed is to ensure you use a certified gluten-free crispy rice cereal. Most major brands now offer gluten-free versions, ensuring that everyone can enjoy these delicious peanut butter rice crispy treats without compromise. Always double-check ingredient labels to confirm.
- Experiment with Nut Butters: While creamy peanut butter is a classic choice, don’t hesitate to explore other nut butter options for a different flavor profile. Almond butter offers a slightly sweeter, milder nuttiness, while cashew butter provides an incredibly creamy and buttery texture. For those with nut allergies or who prefer a nut-free alternative, sunflower seed butter (like SunButter) is an excellent choice, delivering a similar rich, savory depth without any nuts. Ensure your chosen butter is creamy and not natural/separated for best results.
- Consider Salted Butter for Longevity: To potentially extend the freshness of your treats, try using salted butter instead of unsalted butter. The salt acts as a natural preservative, helping the rice crispy treats stay softer and more palatable for a longer duration. If you opt for salted butter, you might want to omit or significantly reduce the flaky sea salt garnish on top to avoid an overly salty taste.
- Semisweet vs. Milk Chocolate: I personally adore the creamy sweetness of milk chocolate, which provides a lovely contrast to the peanut butter. However, for those who prefer a more sophisticated, slightly bittersweet chocolate experience, semisweet chocolate chips are an excellent substitute. This will lend a deeper, richer cocoa flavor to the topping, creating a more complex and less overtly sweet treat that chocolate purists will appreciate.
- Don’t Overcook the Marshmallows: When melting the marshmallows, keep the heat on low and stir constantly. Overcooking marshmallows can make them hard and brittle once cooled, resulting in a tough and chewy treat instead of a perfectly gooey one. The goal is to melt them just until smooth and combined, not to caramelize them excessively.
- Press Gently, Not Hard: When pressing the cereal mixture into the pan, resist the urge to compact it too aggressively. Pressing too hard can crush the crispy cereal, making the finished treats dense and brick-like. Instead, aim for a firm but gentle pressure to create an even layer that still retains some airiness and chew.
- Customize Your Topping: Beyond just chocolate chips, feel free to get creative with your topping! You could drizzle white chocolate, add a sprinkle of mini peanut butter cups, chopped peanuts, or even some festive sprinkles for holidays.
Optimal Storage for Lasting Freshness
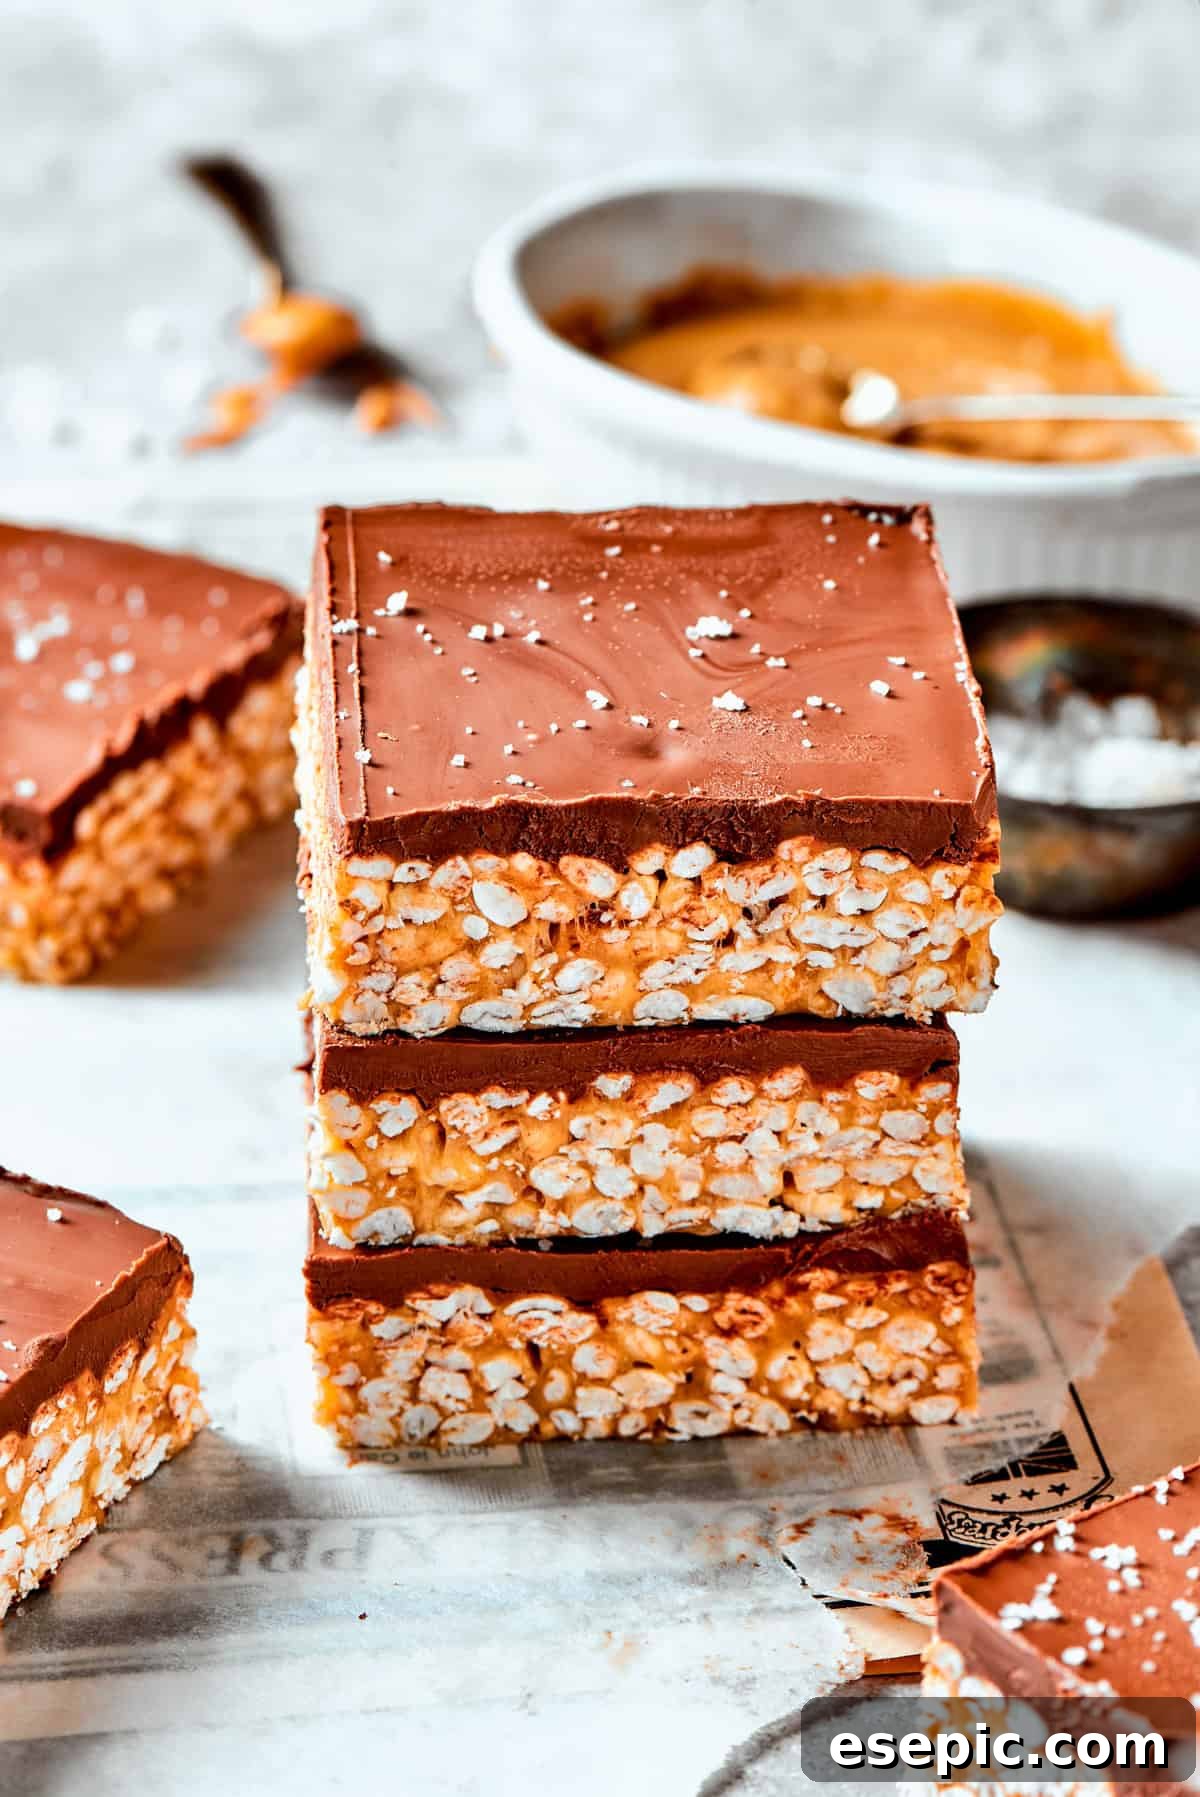
To maintain the delightful chewiness and freshness of your Peanut Butter Rice Crispy Treats, proper storage is key. Once completely cooled and cut, store the bars in an airtight container at room temperature. They will remain wonderfully fresh and delicious for up to 5 days. For best results, you can place a piece of parchment paper between layers of bars if stacking them, which prevents sticking. Avoid storing them in the refrigerator for extended periods, as this can sometimes make them overly firm and hard. However, if you prefer them slightly firmer, a short stint in the fridge won’t hurt. For longer storage, these treats can also be frozen for up to 3 months; simply thaw at room temperature before serving.
Explore More Peanut Butter Creations
- Classic Muddy Buddies
- Delectable No-Bake Oatmeal Cookies
- Savory Peanut Butter Chicken
Peanut Butter Rice Crispy Treats
Ingredients
- ¾ cup unsalted butter
- 5 tablespoons maple syrup
- 10 ounces mini marshmallows
- ½ cup creamy peanut butter
- ½ teaspoon pure vanilla extract
- 4 cups Rice Krispie Cereal
- 2 cups milk chocolate chips
- sea salt, for garnishing
Instructions
-
Line a 9×13-inch baking dish with parchment paper, leaving some overhang on both sides. This will make it easier to lift the treats out of the pan later.
-
In a large saucepan over medium heat, melt the unsalted butter and maple syrup until completely melted and bubbles form.
-
Add the mini marshmallows to a saucepan and stir constantly until they completely melt and the mixture becomes smooth and sticky.
-
Stir in the creamy peanut butter until fully combined with the melted marshmallow mixture. Mix in the pure vanilla extract to enhance the flavor of the mixture.
-
Remove the saucepan from the heat and quickly fold in the Rice Krispie Cereal until evenly coated with the marshmallow mixture. The mixture will start to set, so work swiftly.
-
Transfer the cereal mixture to the prepared baking dish and work fast to shape and press it firmly and evenly into the pan. To prevent sticking, moisten your hands with spray cooking oil or use a damp spoon to smooth the mixture.
-
Melt the milk chocolate chips in the microwave in 30-second intervals, stirring between intervals until smooth, or use a double boiler. If using a double boiler, place the chocolate chips in a heatproof bowl set over a pot of simmering water. Stir occasionally until the chocolate has melted.
-
Pour the melted chocolate over the pressed cereal mixture, spreading it evenly with a spatula.
-
Sprinkle a pinch of sea salt over the chocolate layer.
-
Place the dish in the refrigerator for about 30 minutes or until the chocolate is set and the treats are firm.
-
Once set, remove the treats from the refrigerator, cut them into bars, and serve.
Nutrition
Carbohydrates: 54g |
Protein: 4g |
Fat: 26g |
Saturated Fat: 14g |
Polyunsaturated Fat: 2g |
Monounsaturated Fat: 6g |
Trans Fat: 0.5g |
Cholesterol: 31mg |
Sodium: 117mg |
Potassium: 182mg |
Fiber: 1g |
Sugar: 38g |
Vitamin A: 975IU |
Vitamin C: 6mg |
Calcium: 40mg |
Iron: 3mg
Nutritional info is an estimate and provided as courtesy. Values may vary according to the ingredients and tools used. Please use your preferred nutritional calculator for more detailed info.
Did you make a recipe? Leave a rating