
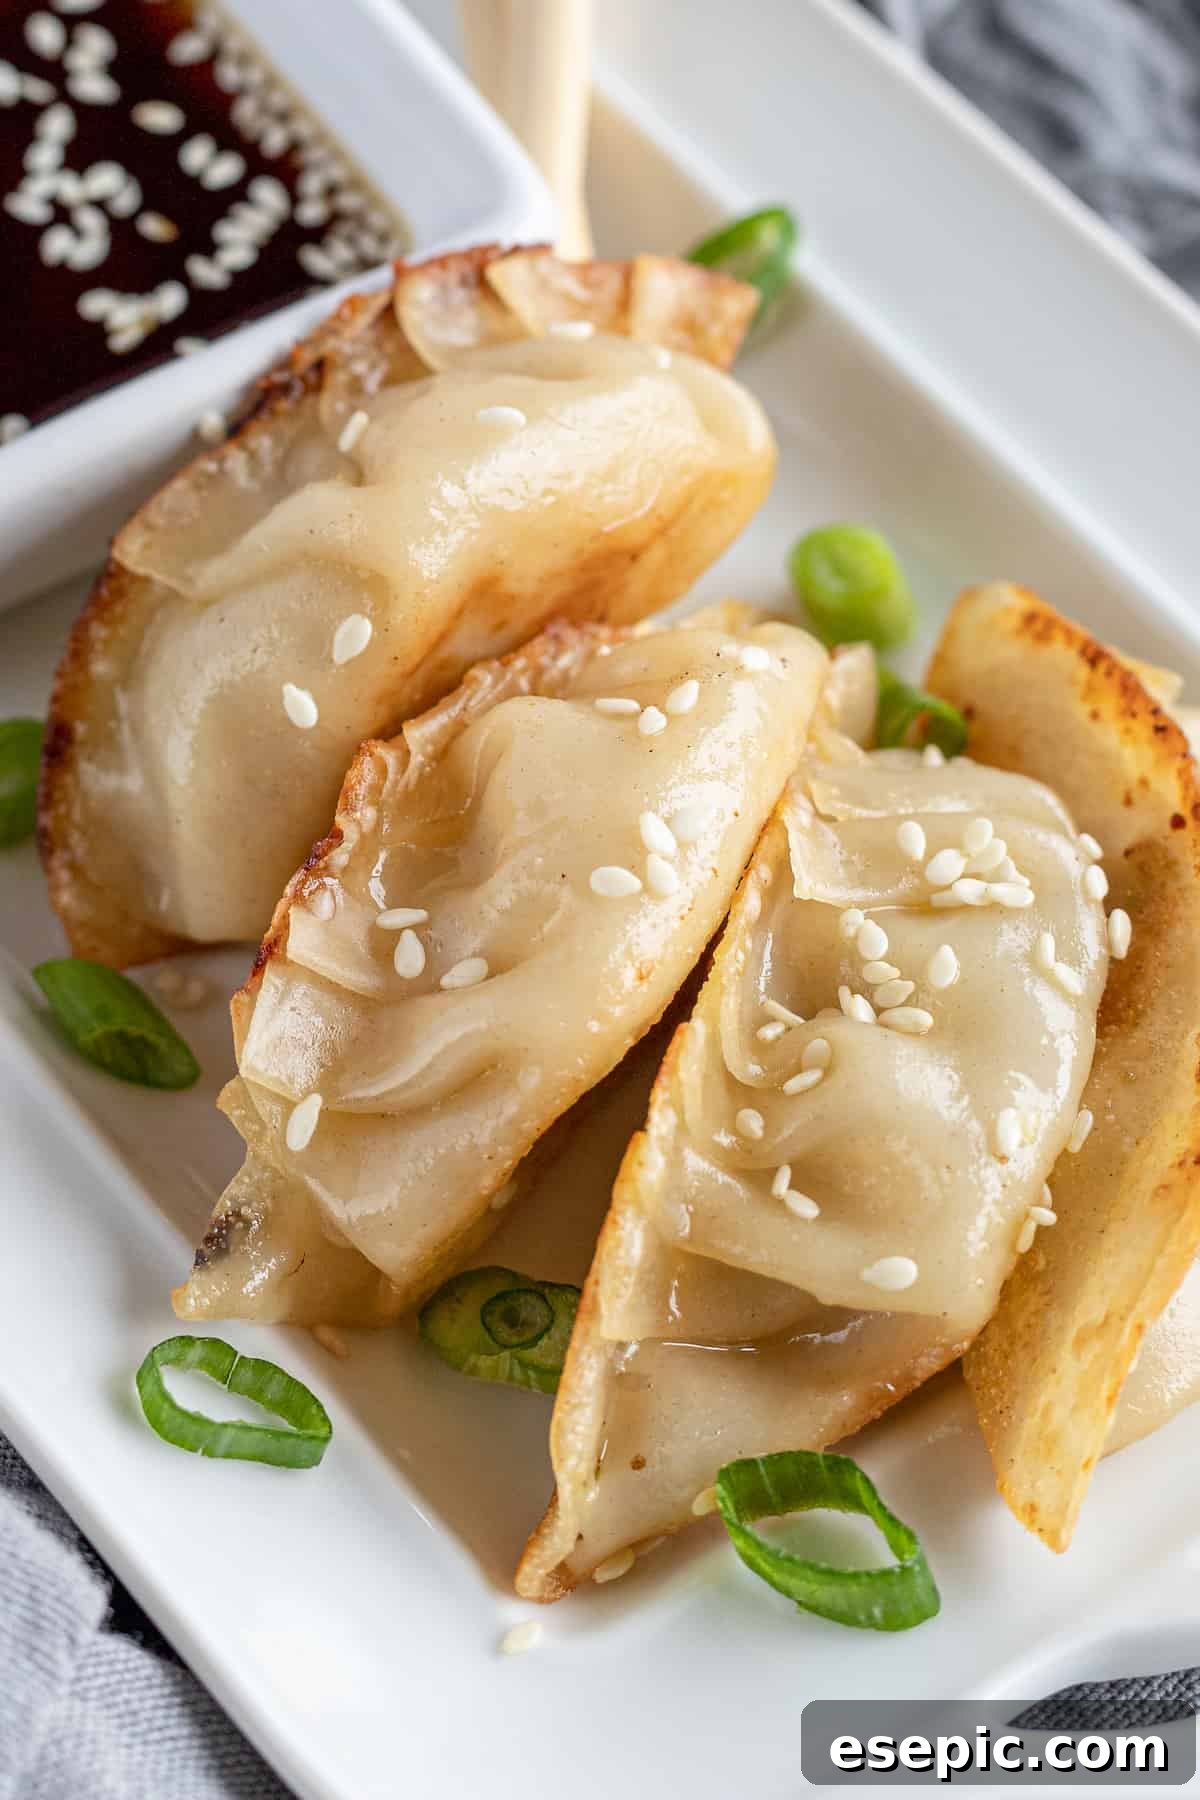
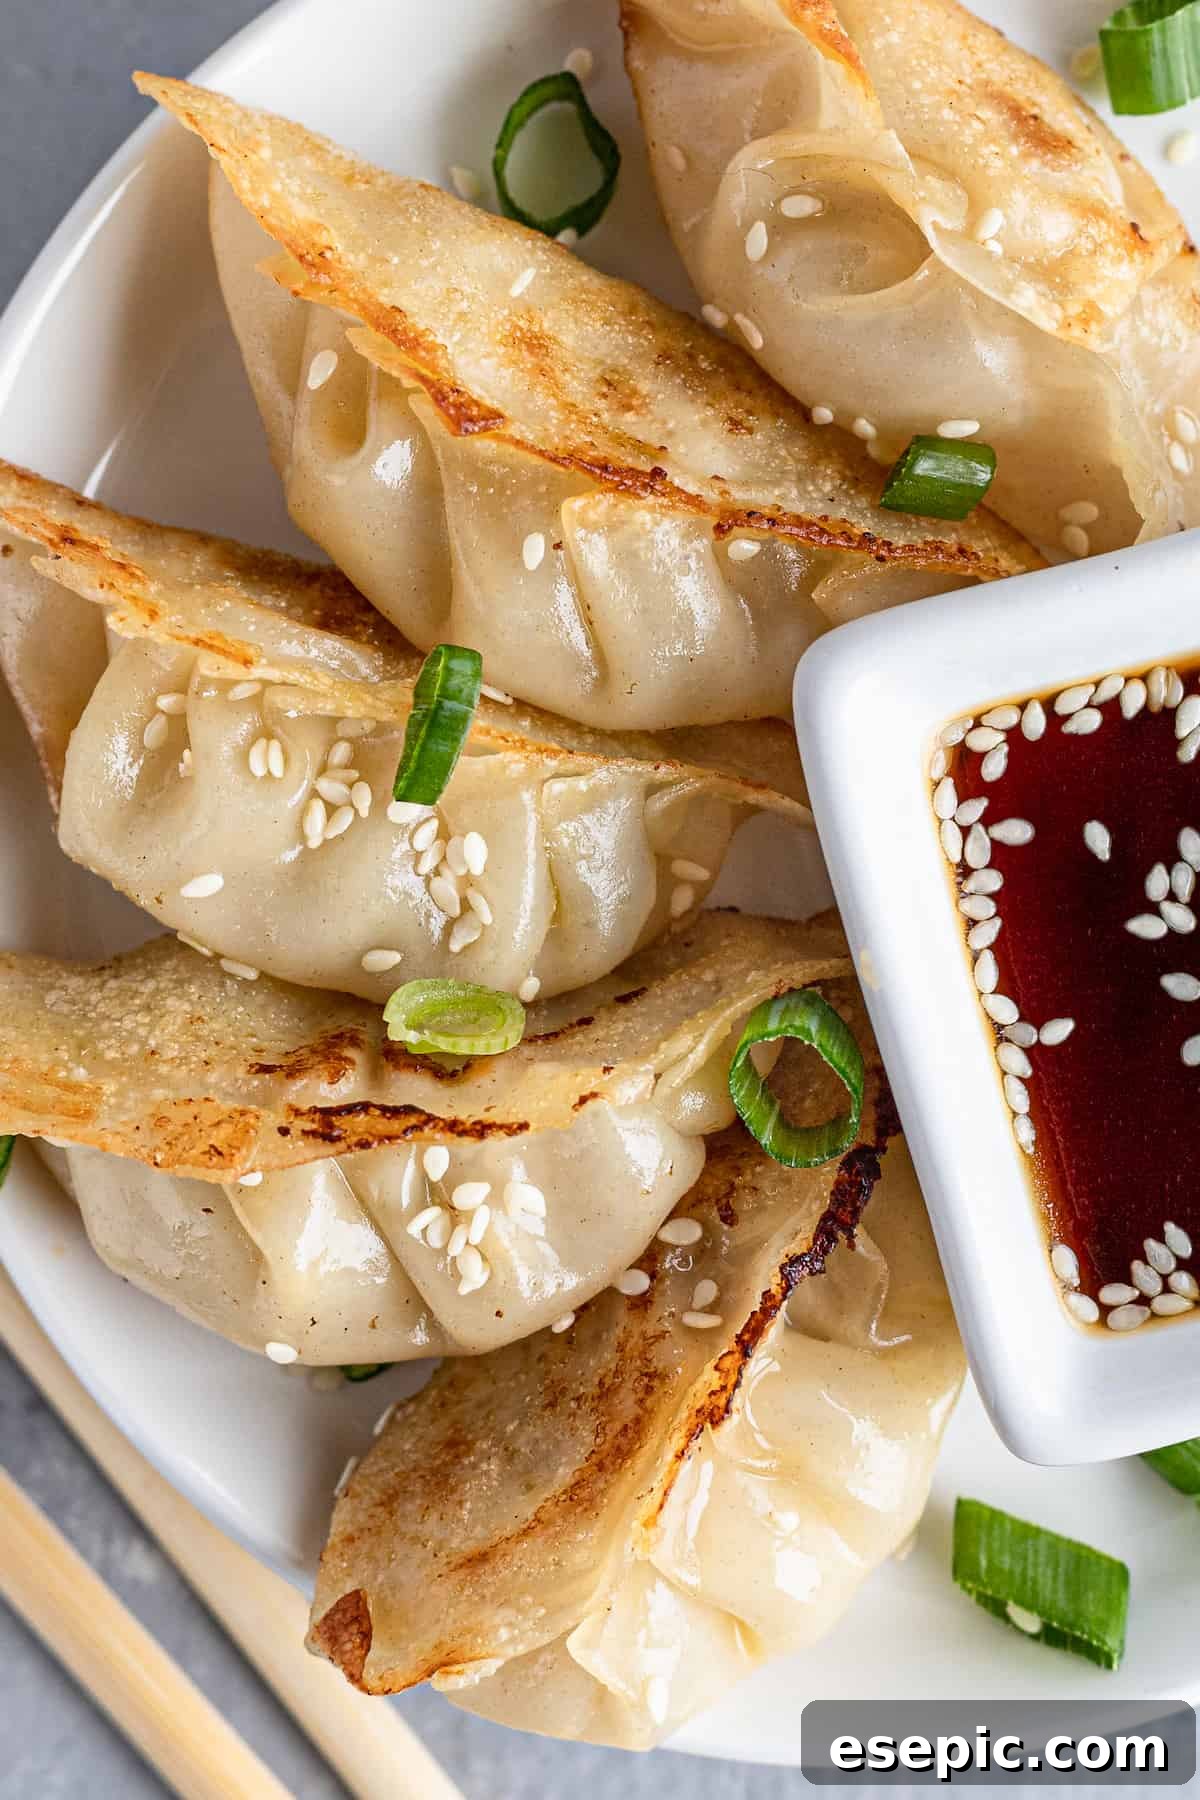
Get ready to elevate your home cooking with these incredibly easy and utterly delicious homemade Chicken Potstickers! Forget expensive takeout; our recipe brings the authentic flavors and satisfying crunch of perfectly pan-fried dumplings right to your kitchen. Succulent ground chicken, crisp cabbage, fresh scallions, rich soy sauce, and a medley of savory seasonings are expertly encased in delicate dumpling wrappers, promising a culinary experience that’s both simple to prepare and unforgettable to taste.
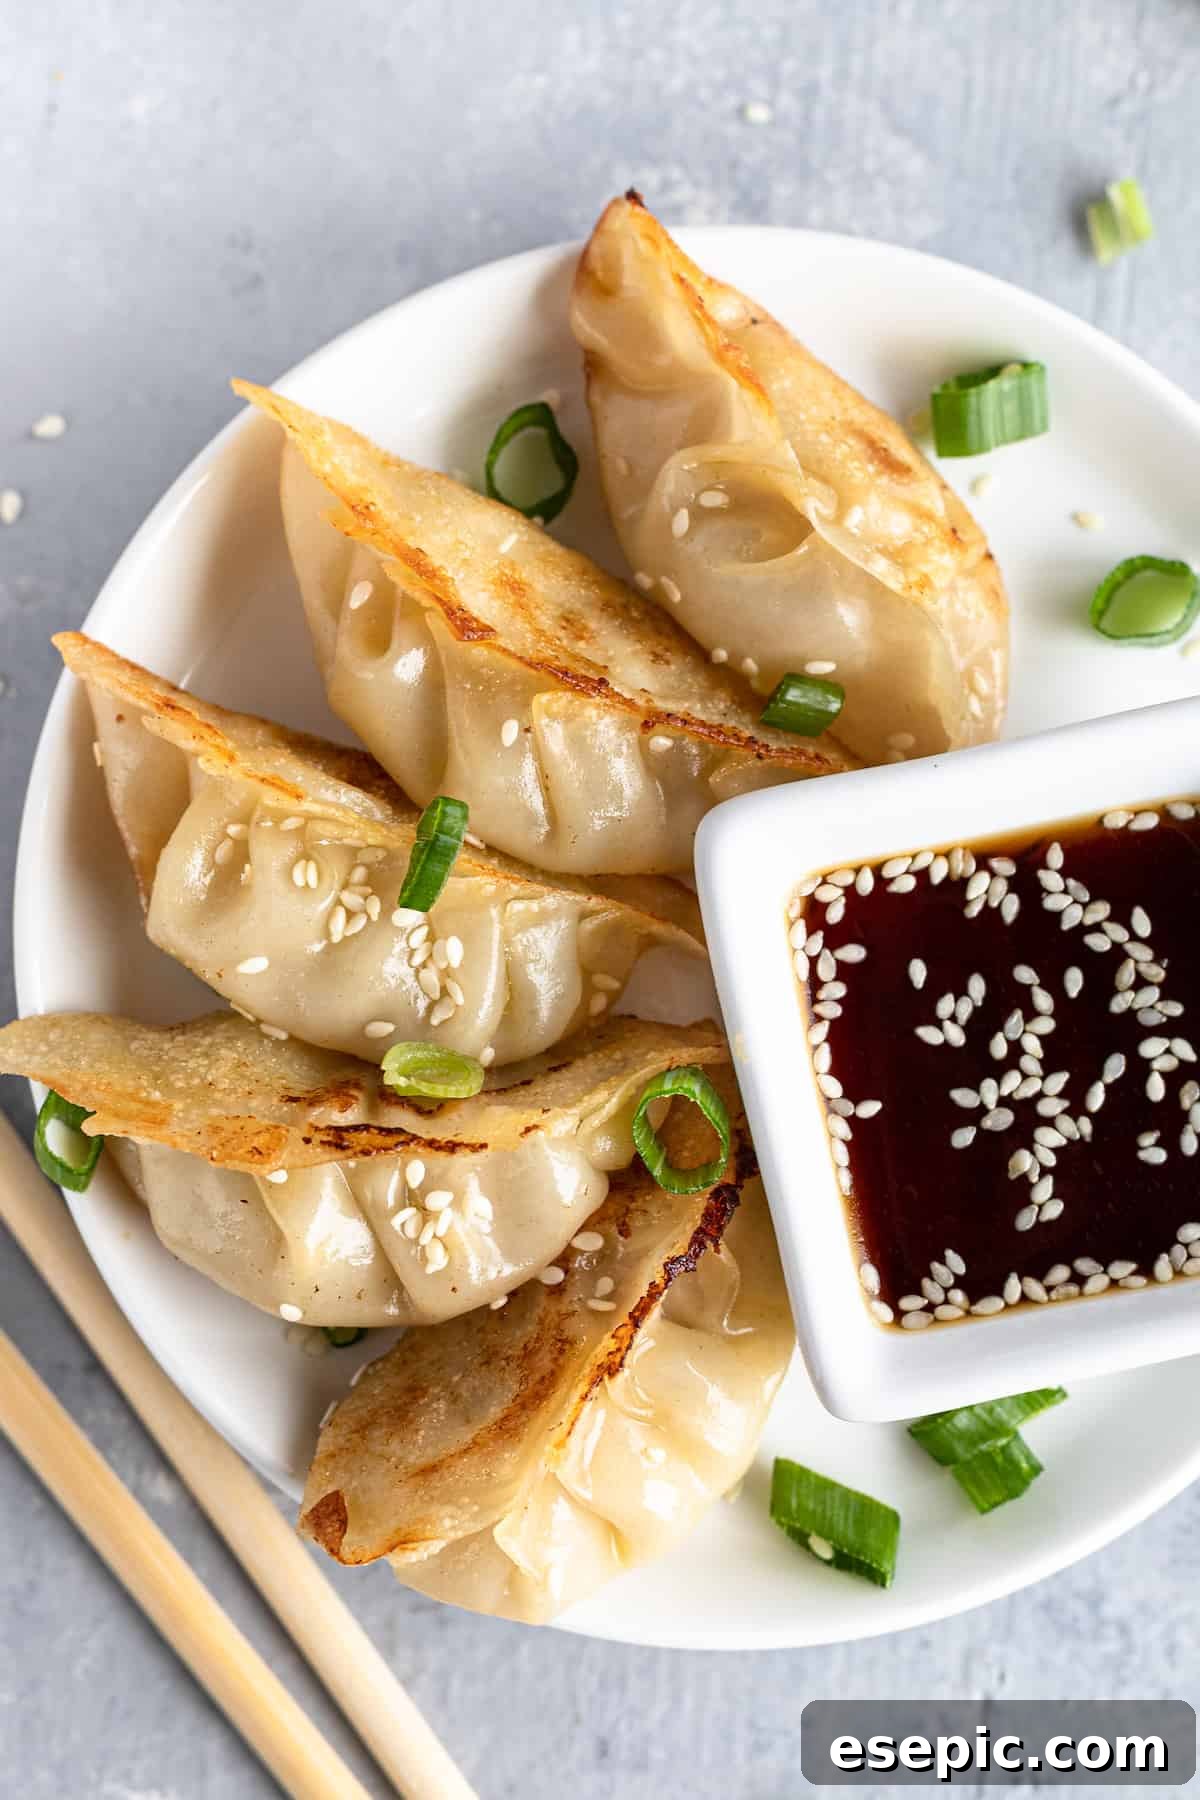
Mastering Homemade Chicken Potstickers: Better Than Takeout
There’s a special magic in creating your favorite dishes from scratch, and these chicken potstickers are no exception. Far more flavorful and undoubtedly healthier than anything you’d order for delivery, this recipe utilizes fresh, wholesome ingredients to deliver that crave-worthy taste you adore. What’s more, these delectable dumplings cook up in just about 15 minutes on your stovetop, making them an ideal choice for a quick appetizer, a satisfying snack, or even a light and healthy main course. Their versatility shines through, pairing beautifully with virtually any dipping sauce you can imagine.
While these potstickers are fantastic on their own, I’ve included the recipe for my signature classic soy dipping sauce. It’s a harmonious blend of savory, tangy, and a hint of spice that perfectly complements the rich filling. Whether you stick with ground chicken or experiment by substituting ground beef or pork, this dipping sauce is a must-have accompaniment. This recipe is designed to be a crowd-pleaser, serving everyone at your table with a dish that’s both deeply comforting and surprisingly light.
What Exactly Are Potstickers? A Culinary Journey
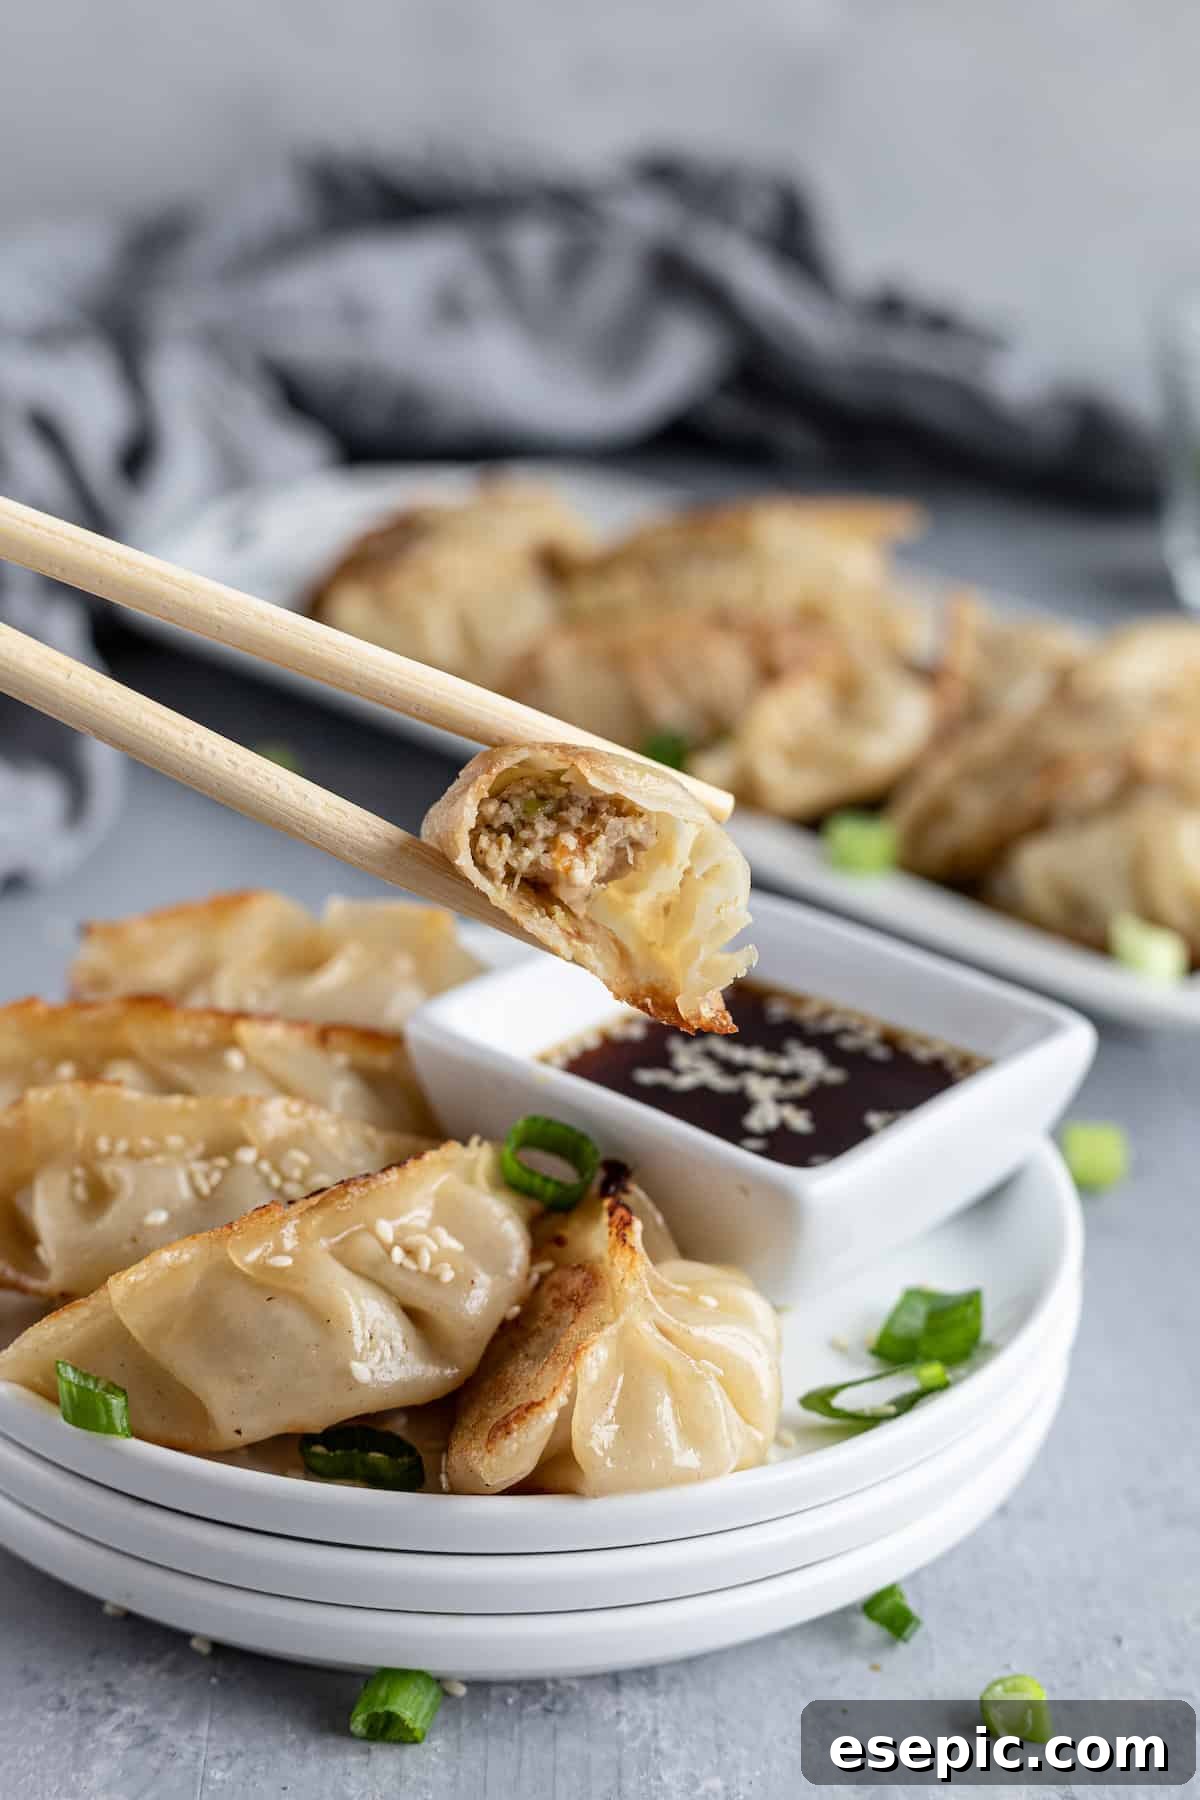
Often referred to as pan-fried dumplings, potstickers are a beloved staple of Chinese cuisine, celebrated for their crispy bottoms and tender, savory fillings. The name “potsticker” itself carries a charming culinary legend dating back to China’s Song Dynasty. The story goes that a chef, accidentally leaving dumplings in a wok for too long, discovered that the bottoms had browned and crisped up beautifully, sticking to the pan – and thus, the “potsticker” was born!
These savory parcels, typically filled with a delightful mixture of meat and/or vegetables, are a popular street food across Northern China. They hold particular significance during cultural celebrations, most notably Chinese New Year, symbolizing wealth and good fortune due to their shape resembling ancient gold ingots. While many types of dumplings exist, potstickers are distinguished by their unique cooking method: first pan-fried to achieve that signature golden, crispy crust, then steamed with a splash of water and a lid, creating a perfectly cooked filling and a soft top. This dual cooking process results in a textural masterpiece that is crunchy, juicy, and utterly satisfying.
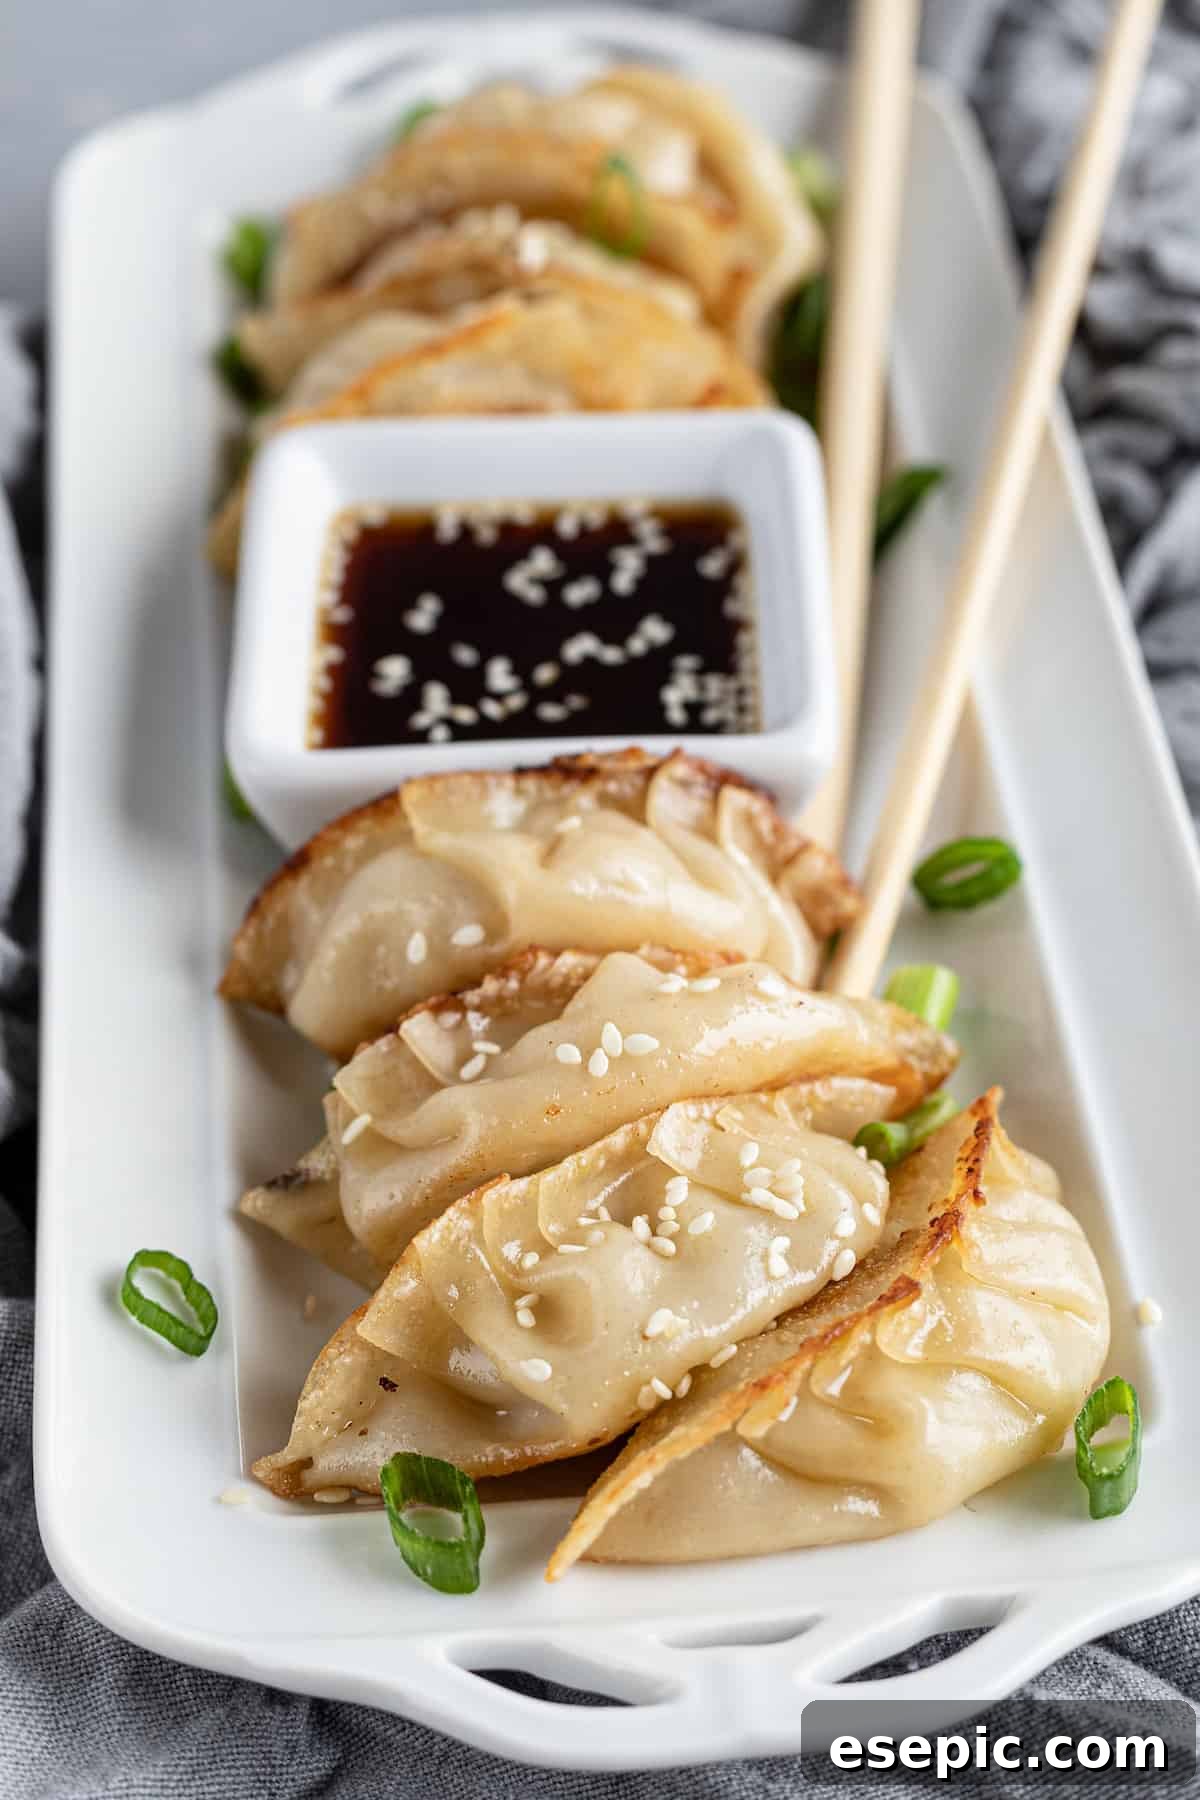
Essential Ingredients for Perfect Potstickers
Crafting these delectable chicken potstickers requires a selection of fresh ingredients that combine to create an explosion of flavor in every bite. There’s an undeniable satisfaction that comes from a warm dumpling, perfectly filled and seasoned. Here’s a breakdown of what you’ll need for both the savory chicken potstickers and our irresistible soy dipping sauce:
For the Flavorful Chicken Potstickers
- Cabbage Coleslaw Mix: You’ll need 3 cups of this convenient mix, providing a lovely texture and subtle sweetness.
- Garlic Cloves: Freshly minced garlic is key for an aromatic and pungent flavor base.
- Olive Oil: Used for sautéing the vegetables and pan-frying the dumplings to a golden crisp.
- Ground Chicken: One pound of lean ground chicken forms the core of our savory filling.
- Egg: Acts as a binder, helping to hold the filling ingredients together.
- Scallions: Diced scallions (green onions) add a fresh, mild oniony bite and vibrant color.
- Soy Sauce: A couple of tablespoons are crucial for umami depth and classic Asian flavor.
- Sea Salt: Essential for enhancing all the natural flavors within the dumpling filling.
- Black Pepper: Freshly cracked black pepper provides a subtle warmth and aromatic finish.
- Asian Dumpling Wrappers: Look for a package of round wrappers, typically 10-12 ounces. These are the foundation of your potstickers.
- Water: Needed for sealing the dumpling wrappers and for the steaming process during cooking.
- Extra Olive Oil: For ensuring a perfectly crispy fry on the potstickers.
For the Flavorful Soy Dipping Sauce
- Soy Sauce: The primary base for a rich and salty dip.
- Rice Vinegar: Two tablespoons of rice vinegar add a crucial tangy counterpoint.
- Red Pepper Flakes: An optional addition for those who appreciate a touch of heat and visual appeal.
- Salt & Pepper: To taste, allowing you to fine-tune the seasoning of your sauce.
- Sesame Seeds: A decorative and textural garnish, adding a nutty aroma.
Step-by-Step Guide to Crafting Chicken Potstickers
While making potstickers might seem intricate, the process is surprisingly straightforward and incredibly rewarding. Taking the time to assemble these dumplings is well worth the effort, promising a seriously delicious side dish or main course that will impress. Just follow these detailed instructions, and you’ll have a batch of perfectly cooked potstickers ready to enjoy!
1. Preparing Your Delectable Filling
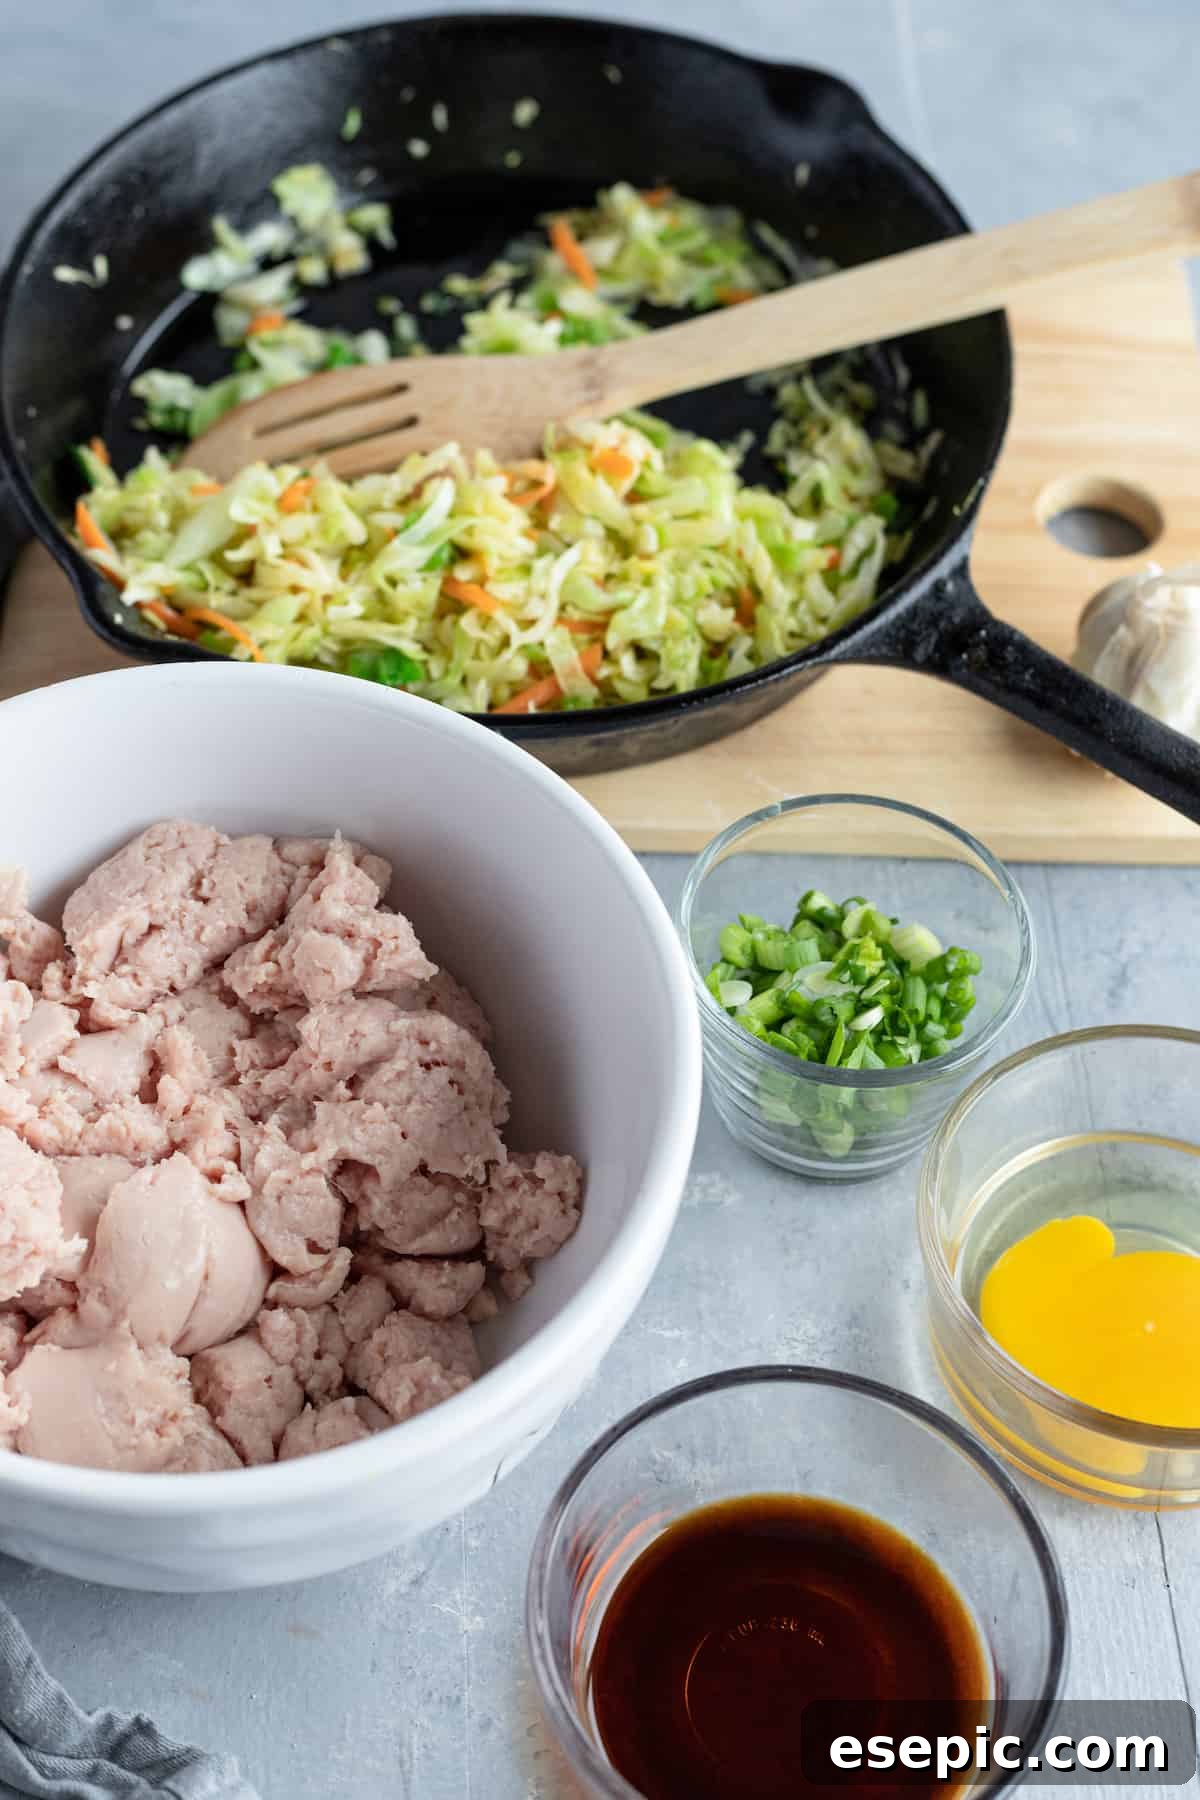
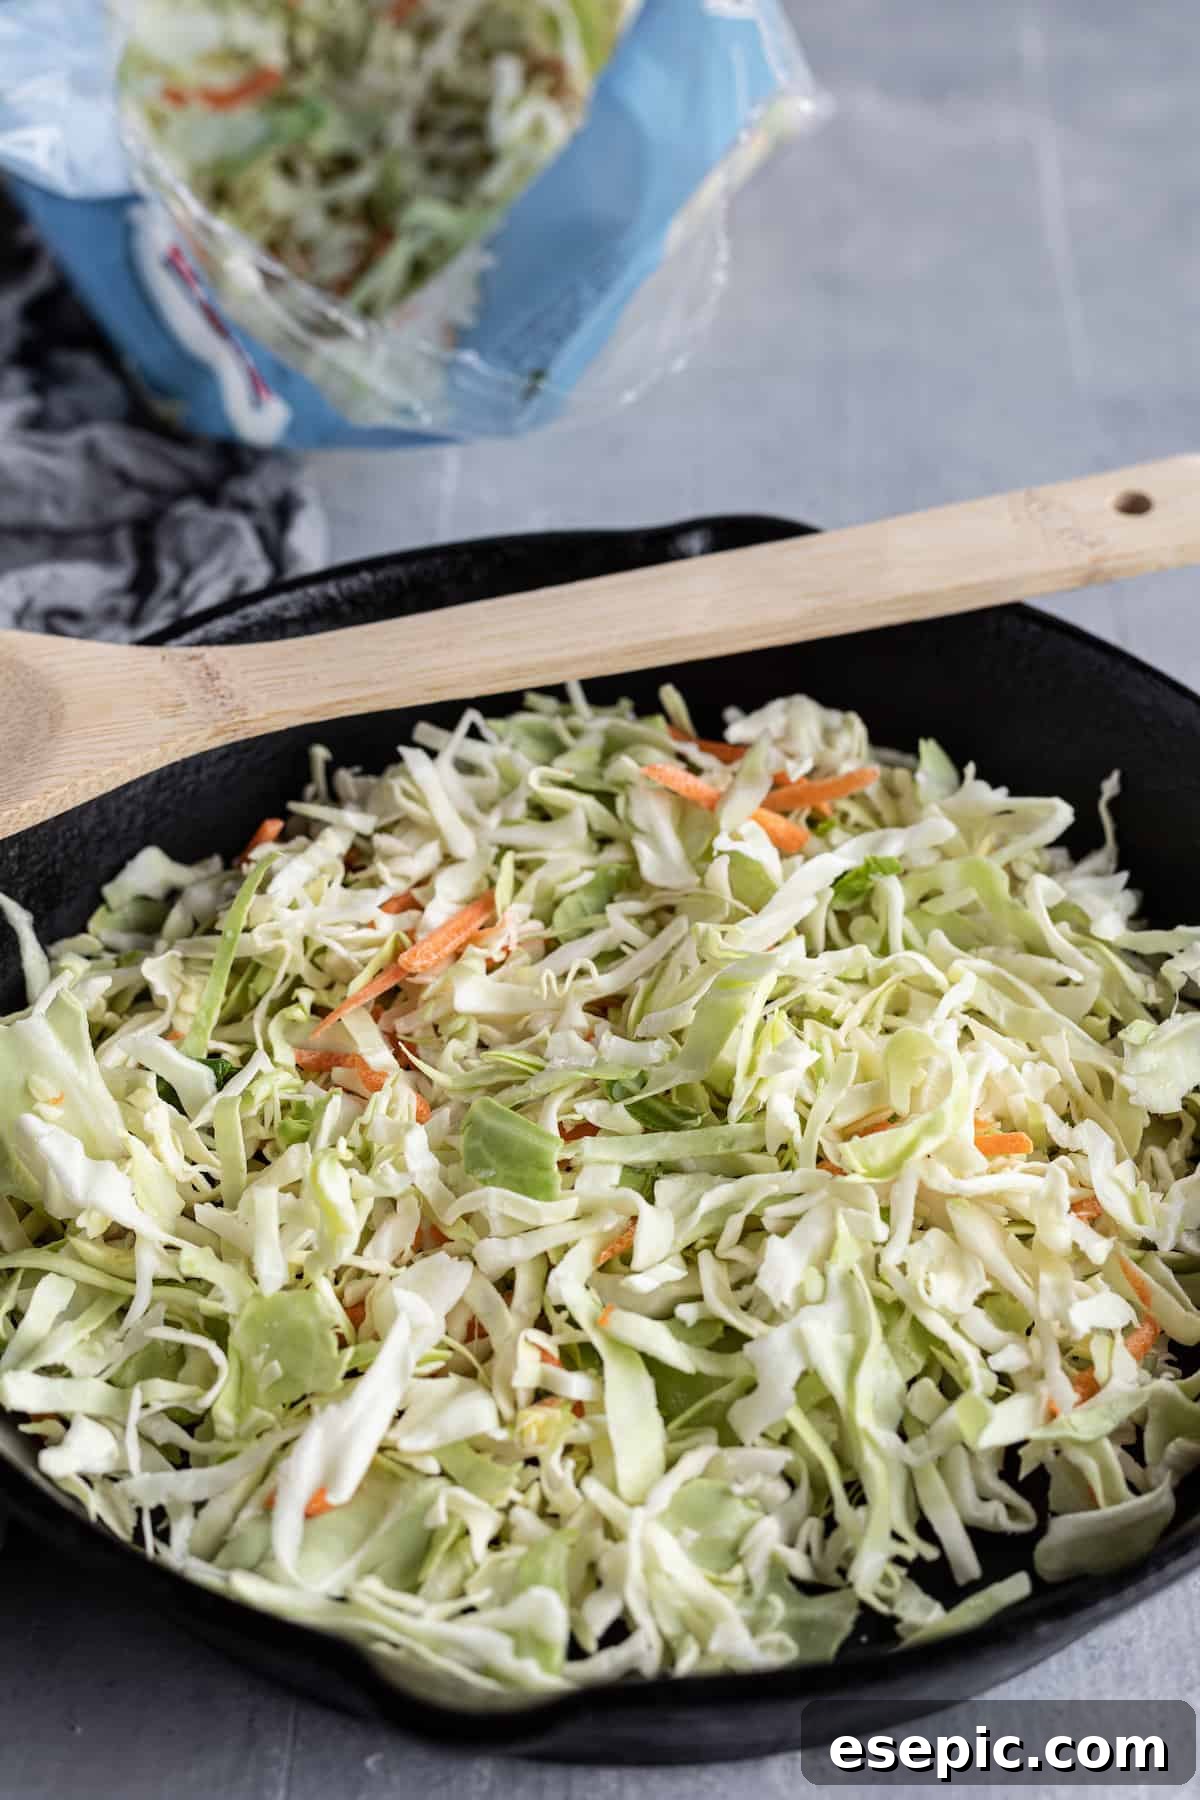
- Sauté Coleslaw & Garlic: Begin by heating 1 tablespoon of olive oil in a medium skillet over medium heat. Add 3 cups of cabbage coleslaw mix and the minced garlic. Sauté for approximately 5 minutes, or until the coleslaw has softened and wilted, and the garlic releases its fragrant aroma. This step ensures the vegetables are tender and flavorful within the dumpling.
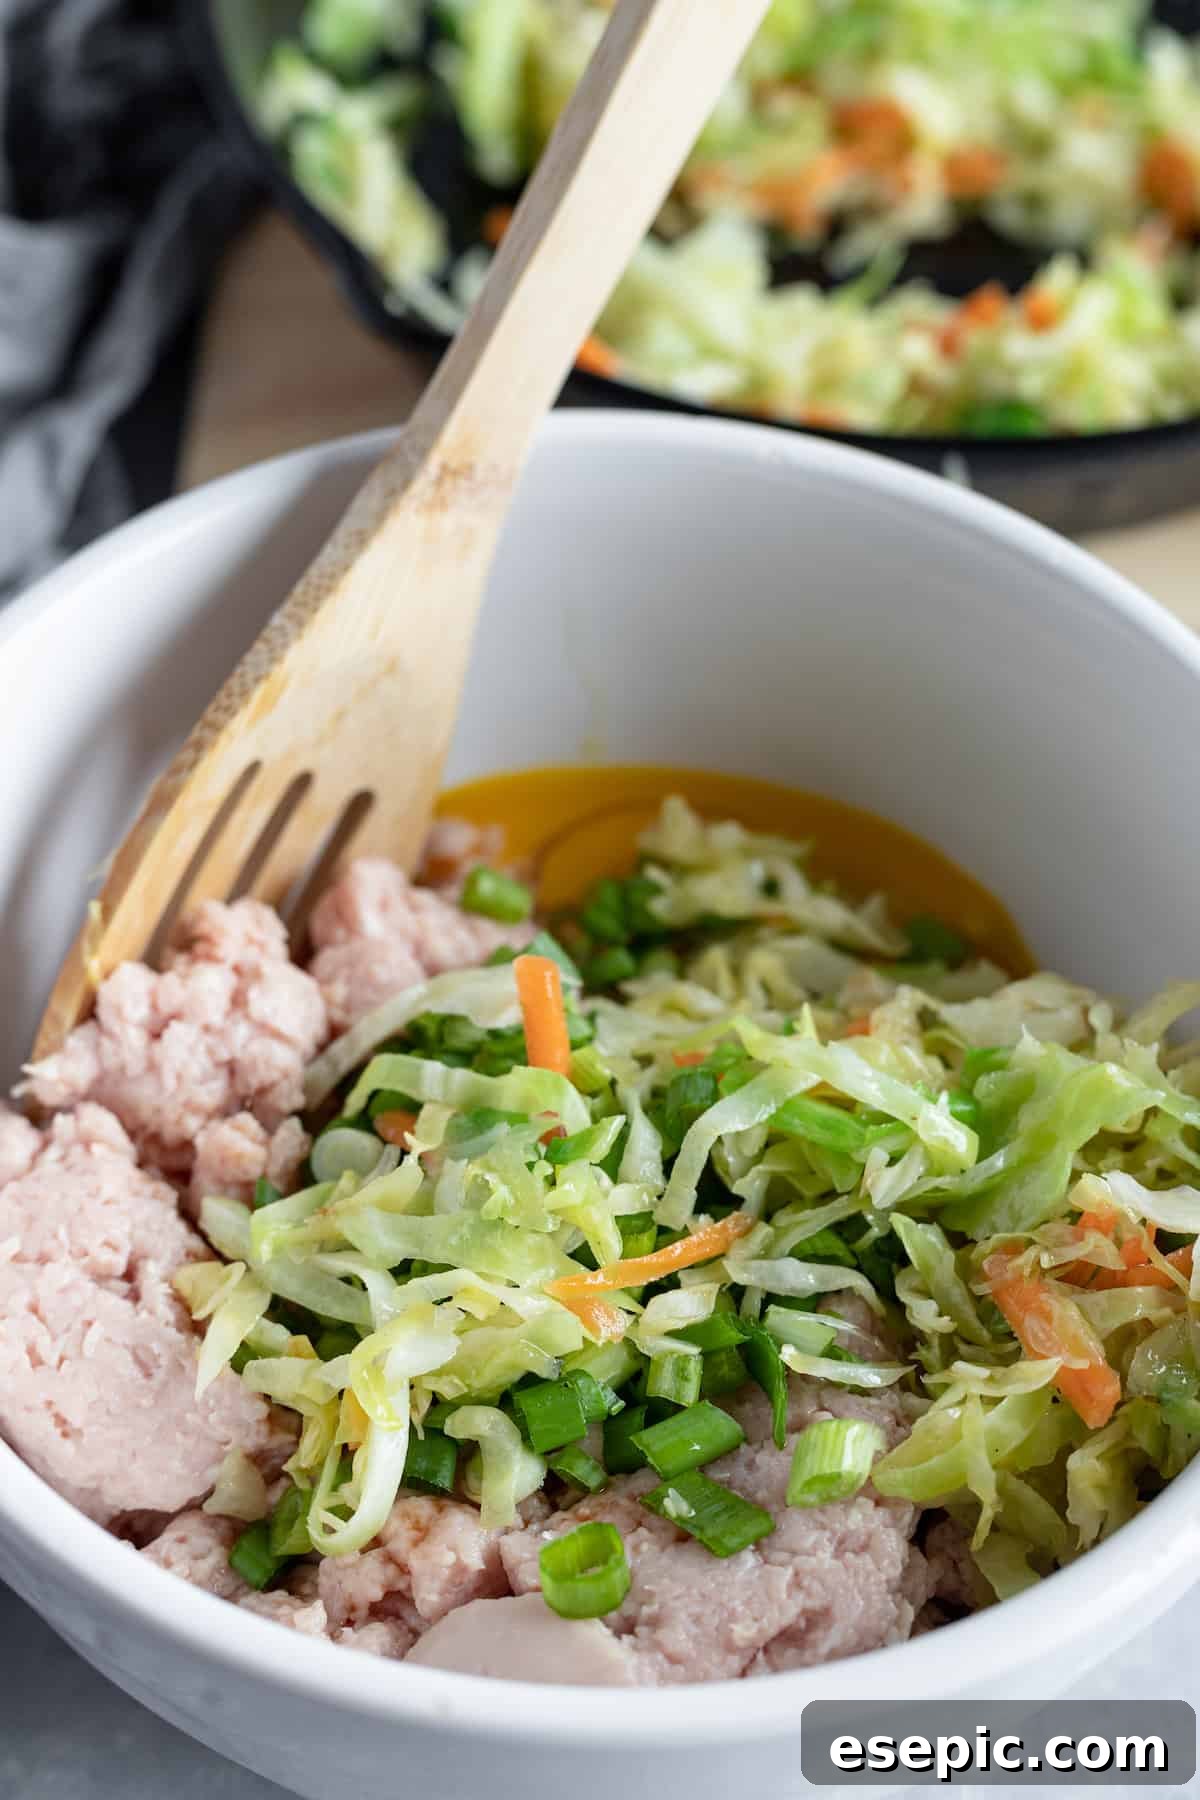
- Combine Filling Ingredients: In a large mixing bowl, combine the ground chicken, one egg, diced scallions, soy sauce, the cooked coleslaw and garlic mixture, sea salt, and fresh ground black pepper. Use your hands to gently but thoroughly mix all the ingredients until they are uniformly combined. Avoid overmixing, which can make the chicken tough. Set this flavorful filling aside while you prepare your wrappers.
2. Expertly Shaping Your Potstickers
- Prepare Your Workspace: Set up an efficient assembly line for shaping. Lay out your bowl of prepared filling, a stack of round potsticker wrappers, and a small dish of water. The water will be crucial for sealing the edges of the wrappers securely.
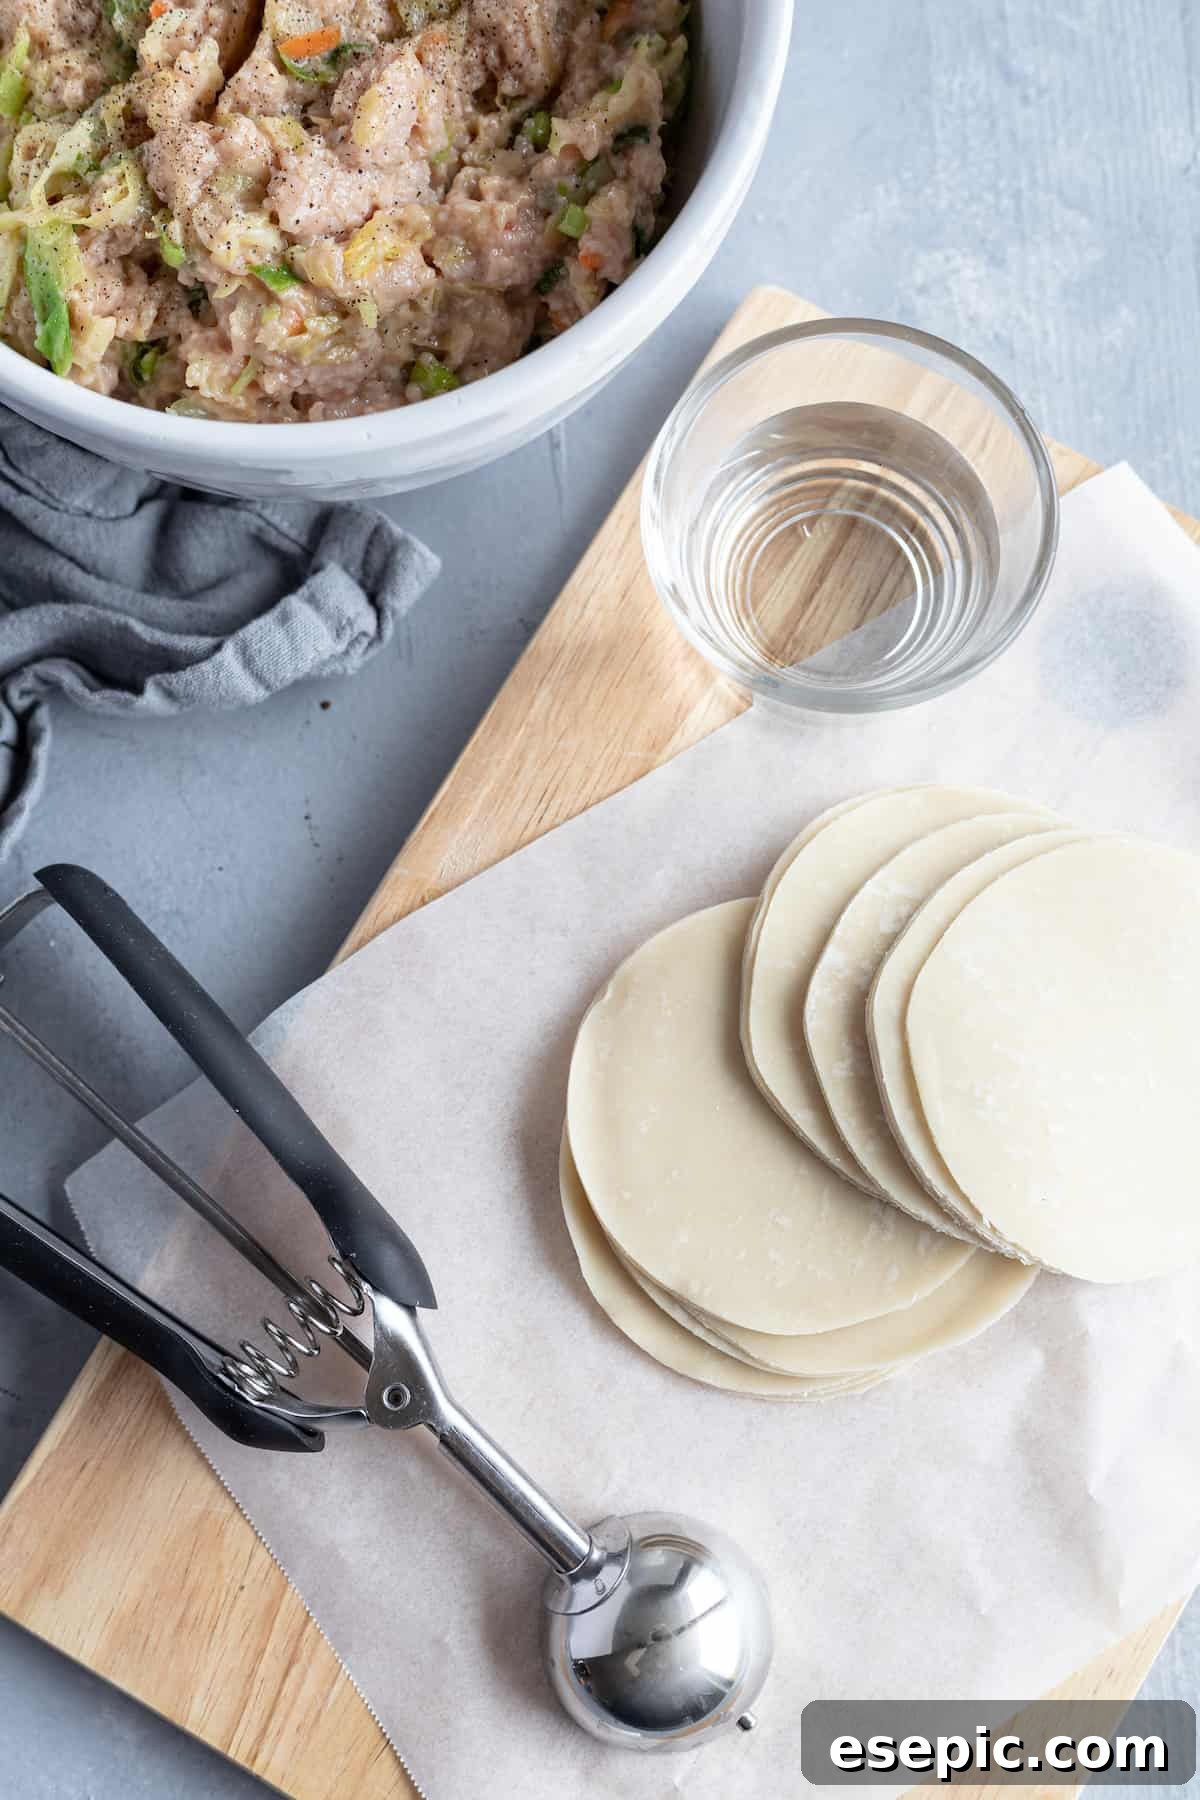
- Fill the Wrappers: Place three wrappers onto your clean work surface or table. Using your finger, lightly moisten the entire circumference of each wrapper with water. This creates the “glue” needed for sealing. Spoon approximately 1 teaspoon of the chicken mixture into the center of each wrapper. Be mindful not to overfill, as this can make sealing difficult.
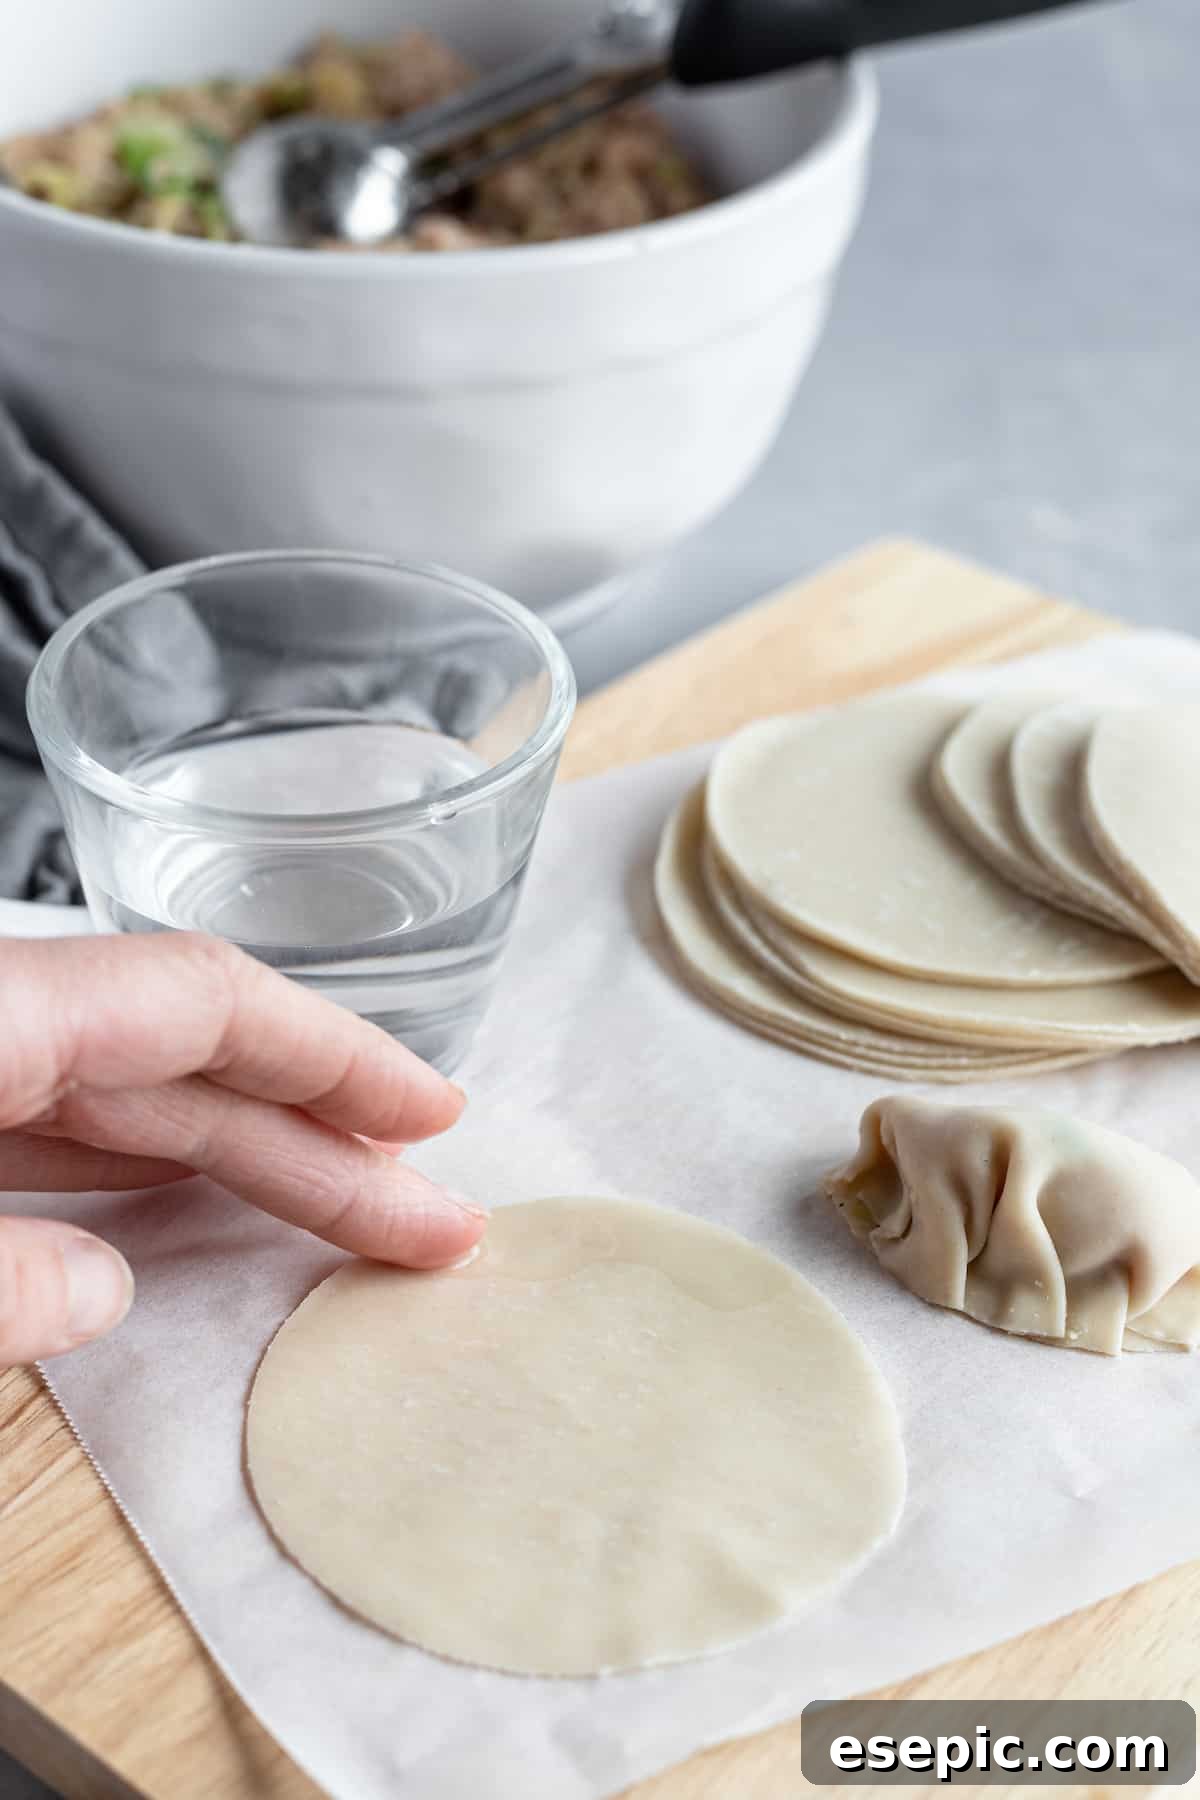
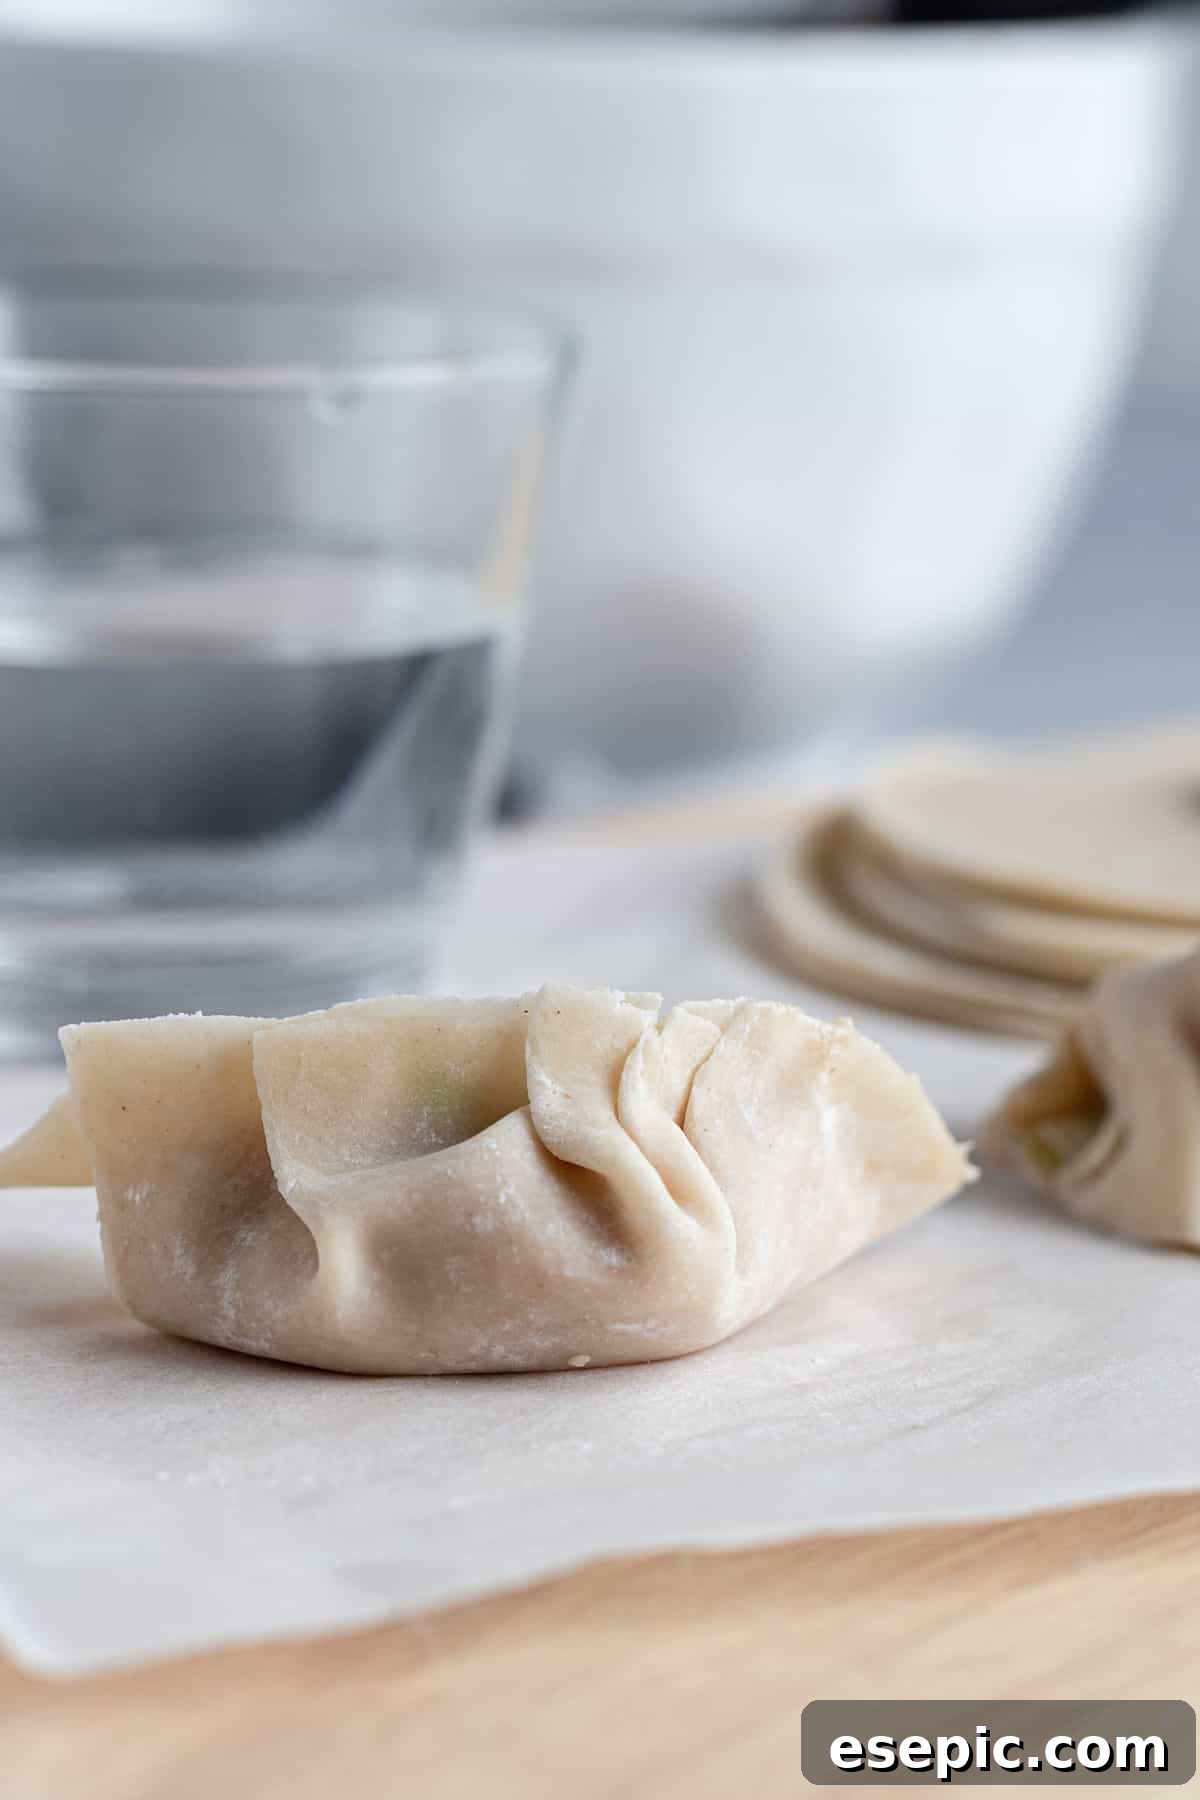
- Form and Seal Potstickers: To form a classic potsticker, fold the wrapper in half over the filling, creating a half-moon shape. Pinch one end to start. Then, gently create small pleats along one side of the wrapper, pressing the top edges together firmly as you go until the potsticker is completely sealed. If needed, apply a little more water to ensure a tight seal, preventing the filling from escaping during cooking. Place each completed potsticker on a separate plate or a baking sheet lined with parchment paper to prevent sticking. Once all your potstickers are shaped, you can either cook them immediately or freeze them for future enjoyment (see freezing instructions below).
3. The Perfect Pan-Frying and Steaming Technique
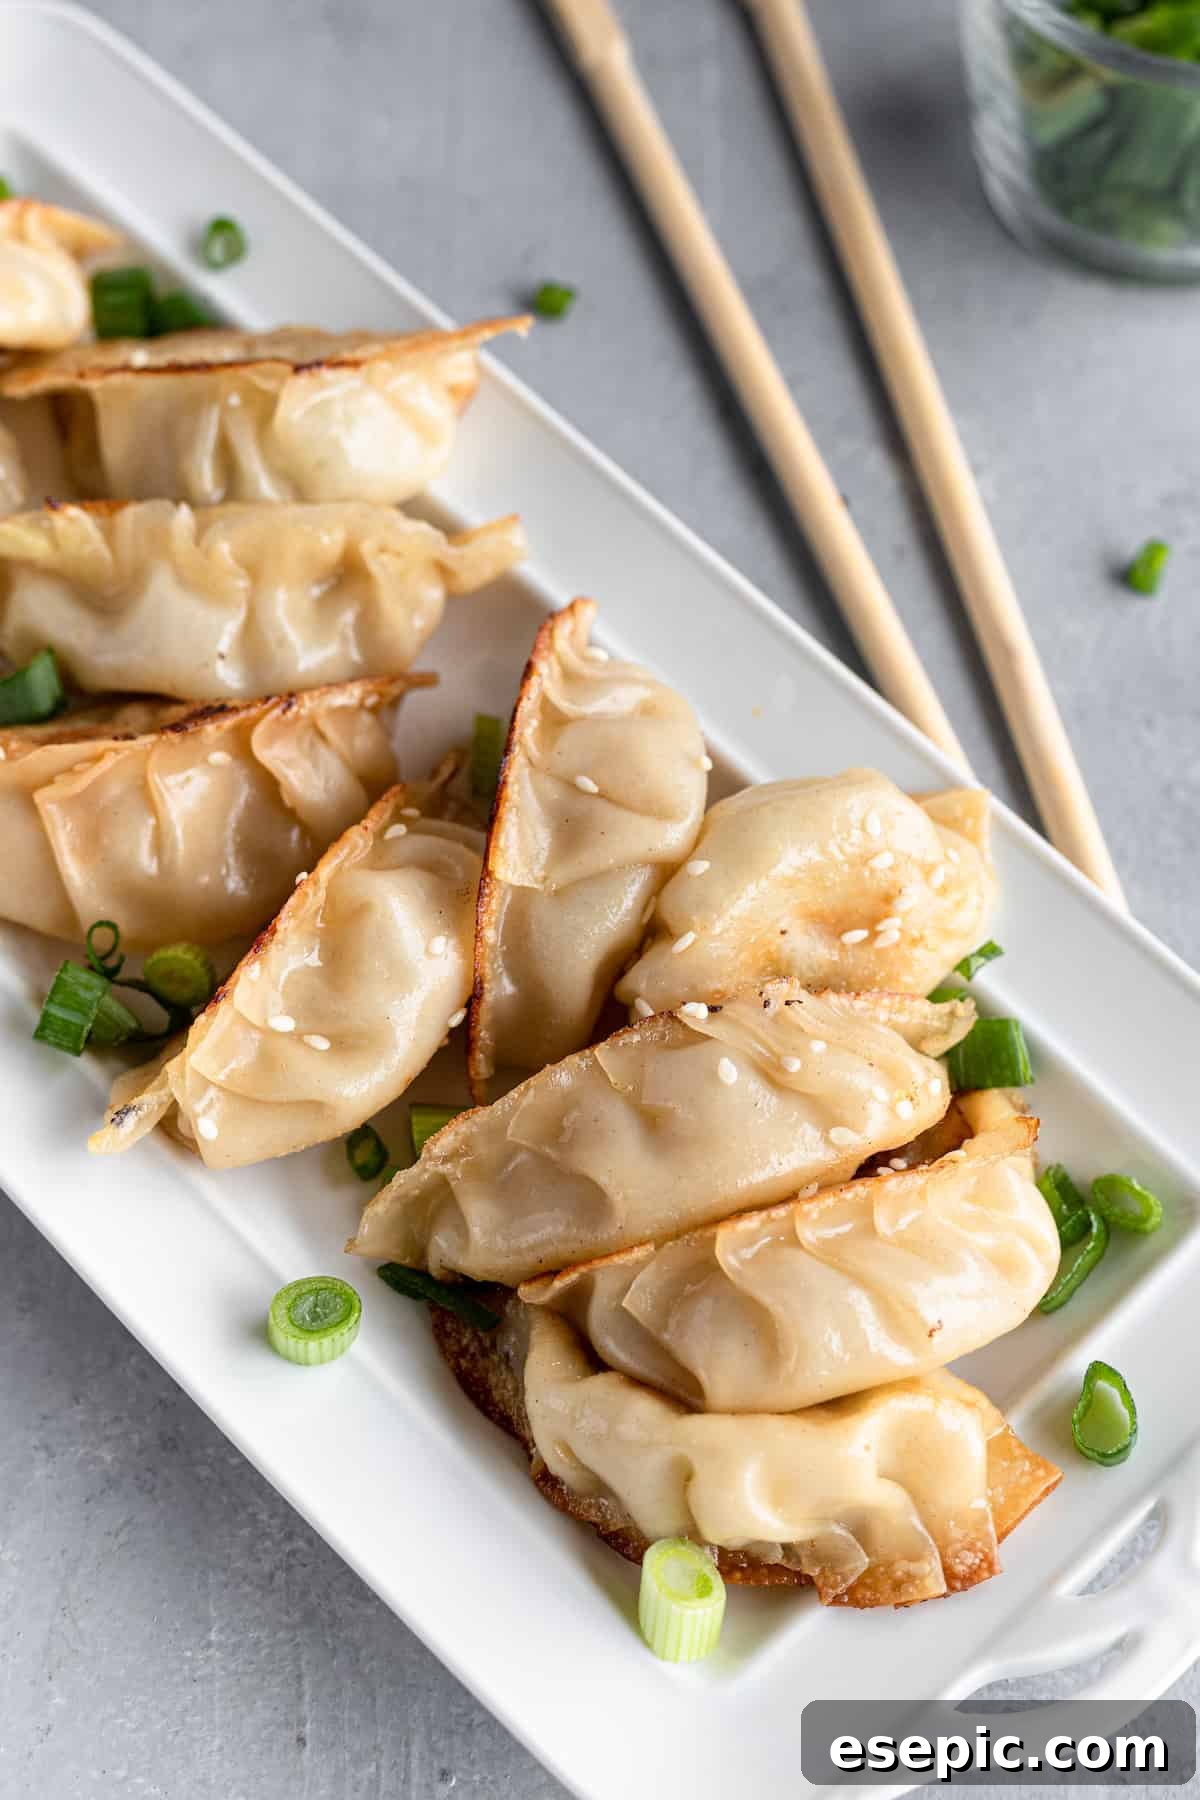
- Heat Oil & Fry First Batch: If cooking a large quantity, you’ll likely need to work in batches to avoid overcrowding the pan. For your first batch, heat 1-2 tablespoons of olive oil in a large frying pan or non-stick skillet over medium heat. Arrange about 12 potstickers (pleat-side up) in a single layer in the hot pan. Cook, uncovered, for 3 minutes, or until the bottoms achieve a beautiful golden-brown crisp.
- Steam to Perfection: Carefully pour 4 cups of water into the pan, then immediately cover it with a tight-fitting lid. Reduce the heat slightly to maintain a steady simmer and continue to cook for 6-7 minutes. This steaming process cooks the filling through.
- Finish Cooking: Remove the lid and gently flip the potstickers to their other side. Continue to cook for an additional 4 minutes, allowing any remaining water to evaporate and the sides to lightly crisp. Repeat these frying and steaming steps in small batches until all your potstickers are cooked to perfection.
- Garnish & Serve: Once cooked, transfer the potstickers to a serving platter. Garnish generously with freshly chopped green onions and a sprinkle of sesame seeds for added flavor and visual appeal.
4. Crafting the Signature Soy Dipping Sauce
- Combine Ingredients: In a small dish or bowl, whisk together all the ingredients for the dipping sauce: soy sauce, rice vinegar, red pepper flakes (if using), and a pinch of salt and pepper.
- Taste & Adjust: Taste the sauce and adjust the seasonings as needed. You might prefer a bit more vinegar for tang, or an extra dash of pepper flakes for heat.
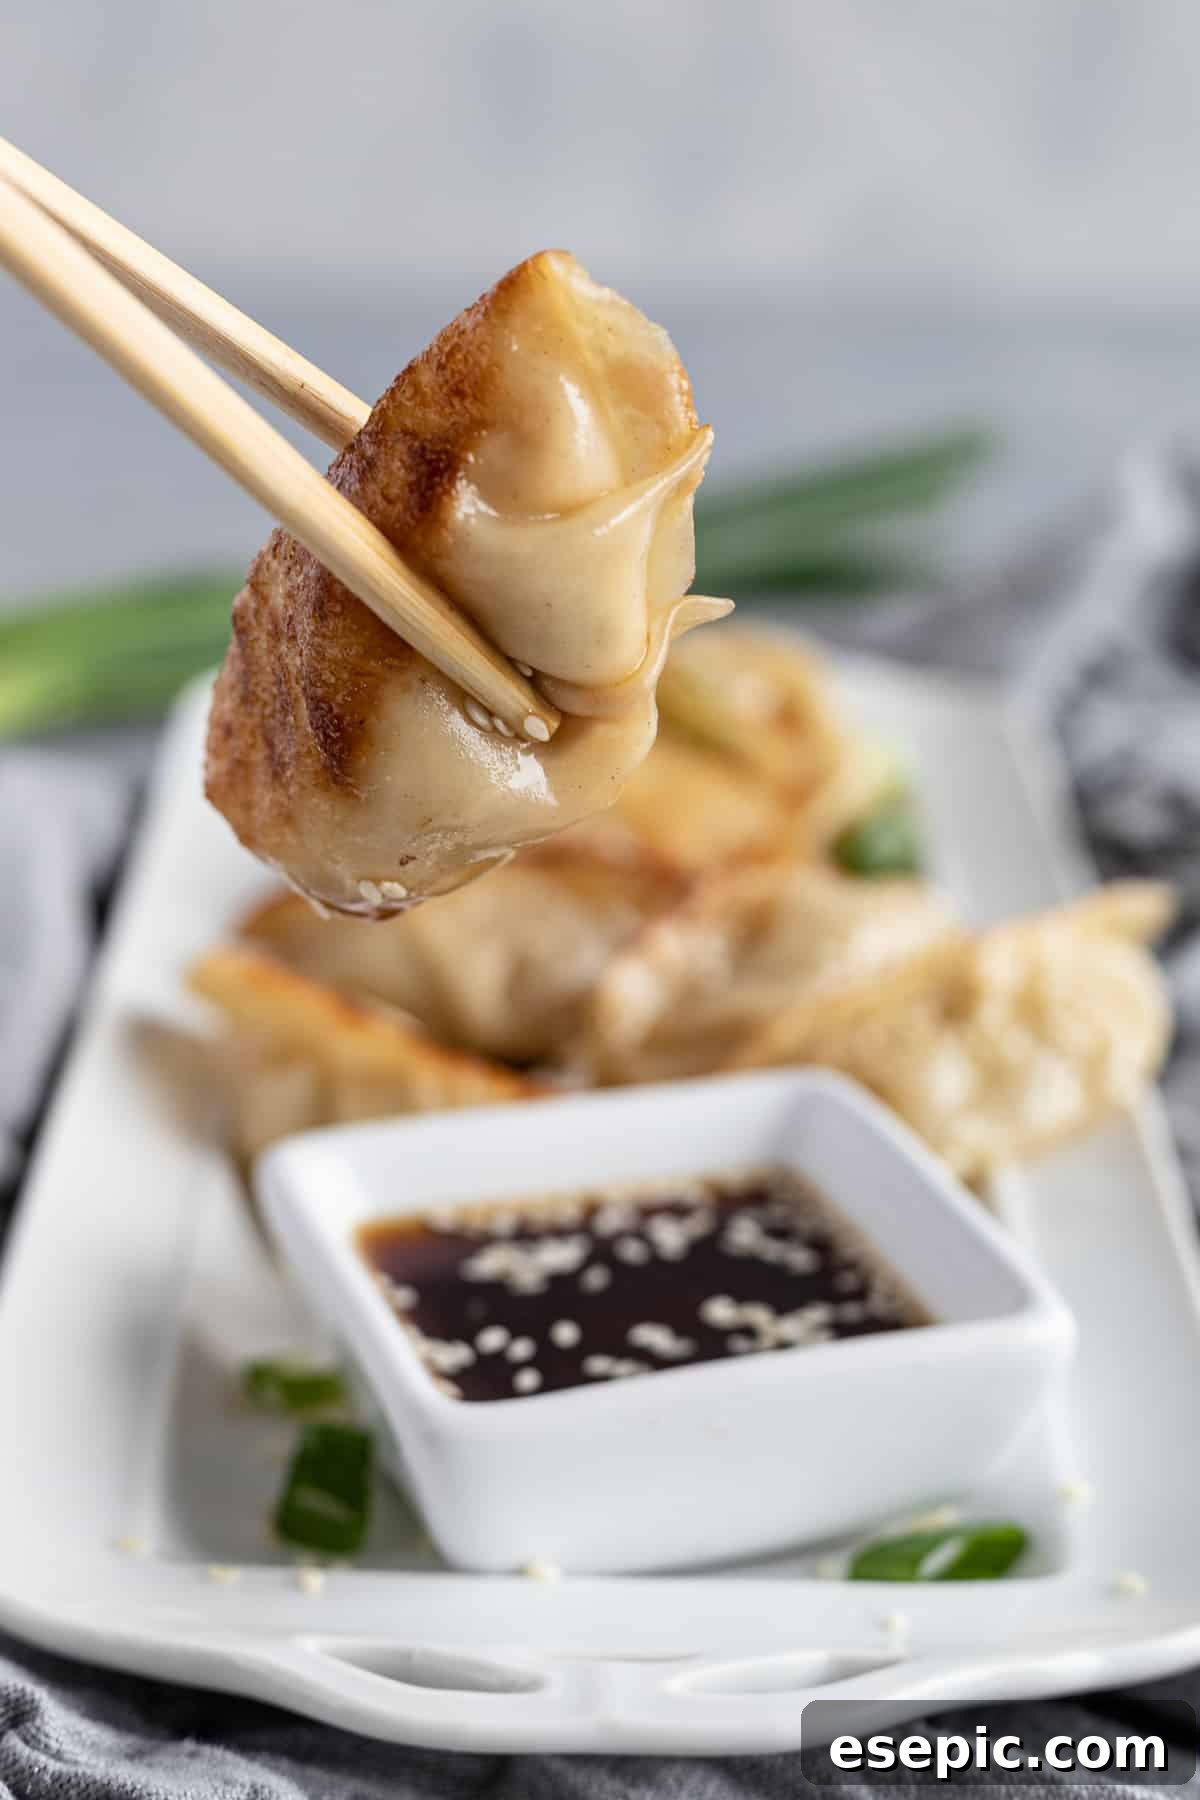
- Garnish & Serve: Once satisfied with the flavor, garnish the sauce with a sprinkle of sesame seeds. Serve this vibrant dipping sauce alongside your warm, crispy chicken potstickers and prepare for a delightful culinary experience!
Pro Tips for Potsticker Perfection
Making delicious potstickers is an art that can be mastered with a few helpful tips. Here are my go-to tricks for ensuring your homemade dumplings turn out perfectly every time:
- Finely Dice Scallions: The smaller and more uniform your scallion pieces are, the easier it will be to wrap your dumplings without tearing the delicate wrappers. This also ensures even flavor distribution.
- Ensure a Secure Seal: Do not skimp on the water when sealing your dumpling wrappers. A well-sealed potsticker is crucial to prevent the filling from escaping during cooking. If the edges feel dry, don’t hesitate to use a little more water and press firmly to create a tight bond.
- Avoid Overfilling: It’s tempting to pack in as much filling as possible, but overfilling is a common pitfall. Start with slightly less filling than you think you need for your first potsticker to gauge the optimal amount. Aim for about 1 teaspoon of filling per wrapper. Also, try to avoid trapping too much air inside with the filling, as this can cause the wrappers to burst.
- Cook in Batches for Best Results: While it might seem faster to cram all the potstickers into one pan, overcrowding can lead to uneven cooking and steaming rather than frying. Ensure there’s ample space between each potsticker in the frying pan. Depending on the size of your pan, I found that cooking 10-12 at a time yields the best golden-brown crust and even cooking.
- Don’t Rush the Browning: That golden, crispy bottom is what makes a potsticker truly special. Allow enough time (around 3 minutes) during the initial fry for a beautiful crust to form before adding water and steaming.
Delightful Serving Ideas for Your Potstickers
Chicken potstickers are incredibly versatile and can be paired with a wide array of dishes, transforming them from a simple appetizer into a truly satisfying meal. Their savory profile and satisfying texture make them a fantastic complement to many culinary creations. Here are some especially tasty ideas to serve alongside these hearty dumplings:
- Complement with a Fresh Salad: Imagine the comforting warmth of crispy potstickers followed by the refreshing coolness of a vibrant dinner salad. This combination offers a delightful contrast in temperatures and textures. My personal recommendation is a light and zesty Avocado Tomato Salad – its creamy avocado and juicy tomatoes perfectly balance the richness of the dumplings.
- Serve with Other Flavorful Finger Foods: These dippable dumplings are a natural partner for an array of your favorite finger foods, creating an exciting appetizer spread or a fun casual meal. Consider serving them alongside my Crispy Oven-Baked Asparagus Fries for another irresistible, crispy bite.
- Explore Different Dipping Sauces: While our classic soy dipping sauce is fantastic, don’t limit yourself! These potstickers are incredibly adaptable and will taste amazing with virtually any dipping sauce you prefer. If you’re looking to experiment with a little heat and sweetness, one of my go-to alternatives is a Creamy Honey Sriracha sauce. Its spicy-sweet kick offers an exciting new dimension to the potstickers.
- Alongside a Noodle or Rice Dish: For a more complete meal, serve your potstickers next to a simple stir-fried noodle dish or a fragrant garlic fried rice. This creates a well-rounded Asian-inspired feast.
Storing and Reheating Leftover Potstickers
One of the many great things about homemade potstickers is how well they store and reheat, making them perfect for meal prep or enjoying delicious leftovers. To ensure they retain their quality:
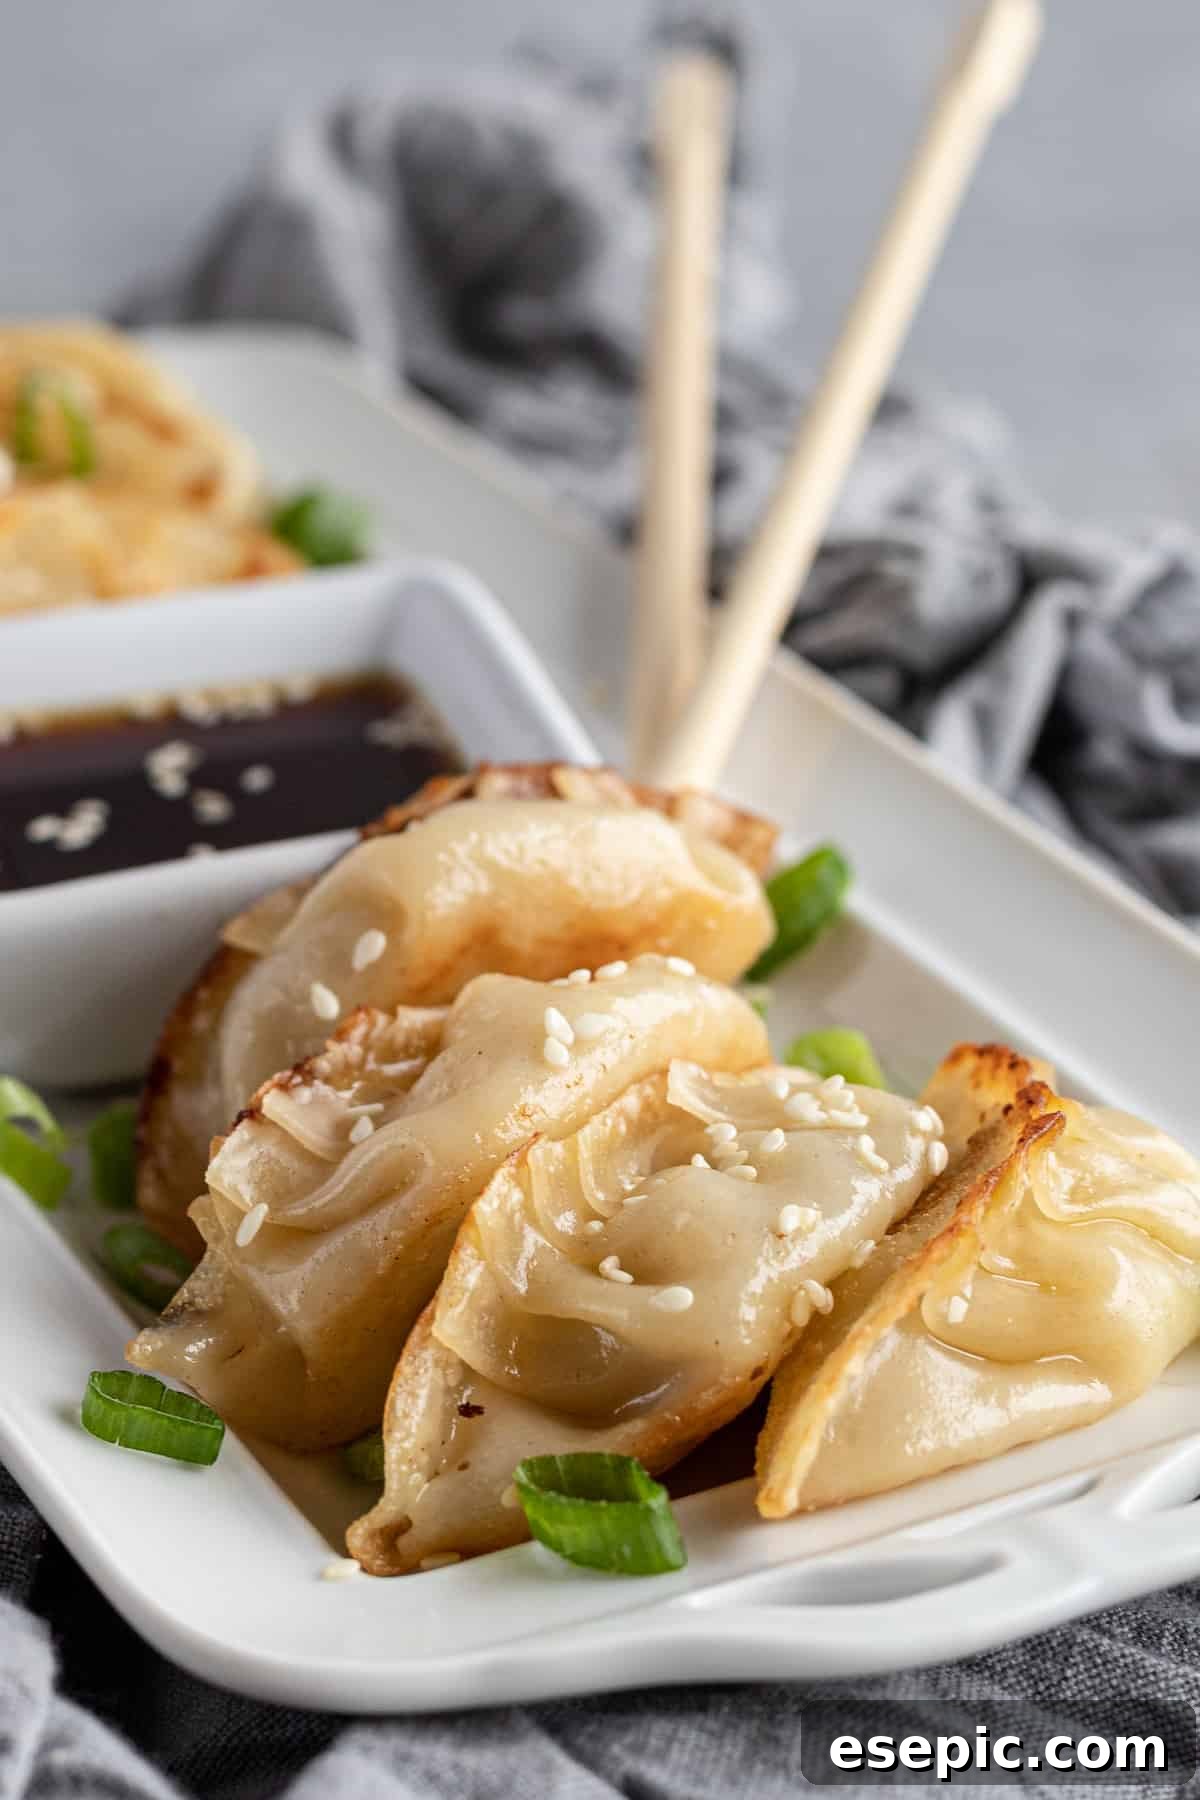
- Refrigeration: Any leftover cooked chicken potstickers should be stored in an airtight container in the refrigerator. Properly stored, they will maintain their freshness and flavor for up to 4 days. If you’ve made a batch of the dipping sauce, be sure to store it in a separate airtight container to prevent the potstickers from becoming soggy.
- Reheating Options: These dumplings can be wonderfully reheated on the stovetop or quickly in the microwave.
- Microwave Method: For a quick reheat, arrange a plate of potstickers in a single layer, ensuring none of them are touching. Heat them in 30-second intervals until they are thoroughly warmed through. Be aware that this method might soften the crispy exterior.
- Stovetop Method: To restore some of that delicious crispiness, heat a small amount of olive oil in a frying pan over medium heat. Place the potstickers in the pan and cook for about 1 minute per side, or until they are warmed through and the bottoms have re-crisped to your liking. This method is highly recommended for the best texture.
Can You Freeze Homemade Chicken Potstickers? Absolutely!
Making a large batch of chicken potstickers and freezing them for later is a fantastic way to enjoy a quick, delicious meal on busy weeknights. These dumplings are 100% freezer-friendly, allowing you to have a ready-made stash whenever a craving strikes. However, there’s a specific technique for freezing them uncooked to preserve their quality:
- Flash-Freezing Uncooked Potstickers: It’s crucial not to cook them before freezing. Instead, once you’ve shaped your potstickers, arrange them in a single layer on a parchment-lined baking sheet. Make sure they are not touching each other to prevent them from sticking together. Place the entire baking sheet into the freezer and flash-freeze them until they are completely solid. This usually takes about 1-2 hours.
- Long-Term Storage: Once the potstickers are solid, carefully transfer them from the baking sheet into an airtight freezer-safe ziploc bag or container. This step is important for preventing freezer burn and maintaining their flavor and texture. Return them to the freezer, where they can be stored for up to 2-3 months.
- Thawing and Cooking: Before you’re ready to cook and enjoy your frozen potstickers, remember to thaw them out. Transfer the desired number of potstickers from the freezer to the refrigerator and let them thaw overnight. Once thawed, you can cook them following the regular instructions for making chicken potstickers, ensuring they still achieve that delightful crispy bottom and tender filling.
Chicken Potstickers Recipe
Chicken Potstickers – Ground chicken, cabbage coleslaw, scallions, soy sauce, and plenty of savory seasonings are nestled in a dumpling wrapper and fried to perfection. This easy recipe yields delicious results every time!
Prep Time: 3 hours | Cook Time: 15 minutes | Total Time: 3 hours 15 minutes | Servings: 40
Ingredients
For the Chicken Potstickers
- 3 cups cabbage coleslaw mix
- 3 cloves garlic, minced
- 1 tablespoon olive oil
- 1 pound ground chicken
- 1 egg
- 1/4 cup diced scallions
- 2 tablespoons soy sauce
- 1/2 teaspoon sea salt
- 1/4 teaspoon fresh ground black pepper
- 1 package (10 to 12 ounces) round dumpling wrappers
- 1 tablespoon water, plus more for sealing and cooking
- 1/2 cup olive oil, for frying
For the Soy Dipping Sauce
- 1/4 cup soy sauce
- 2 tablespoons rice vinegar
- 1/8 teaspoon red pepper flakes (optional)
- Salt and pepper, to taste
- 1/2 teaspoon sesame seeds, for garnish
Instructions
Make Filling
- In a medium skillet, heat 1 tablespoon of olive oil. Add 3 cups of coleslaw mix and minced garlic. Cook about 5 minutes or until coleslaw is wilted and garlic is fragrant.
- In a mixing bowl, add the ground chicken, egg, diced scallions, soy sauce, cooked coleslaw mixture, salt and pepper. Using your hands, mix together until well combined. Set aside.
Form Potstickers
- Prepare your workspace by laying out a small pile of potsticker wrappers and filling a small dish with water (to use for sticking the edges of the wrappers together).
- Place three wrappers out on the table or work surface. Using your finger, gently wet all the way around the edge of the wrapper. Place roughly 1 teaspoon of chicken mixture in the middle of each.
- Start by folding and pinching one end of the wrapper and gently pleat on one side of the wrapper, pressing together the tops of the edges until completely closed. (Use a bit more water to seal the edges if needed). Place each folded potsticker on a separate plate or baking sheet until all are completed. Once all are folded, you can either cook right away or freeze for later use (see notes below).
Cook Potstickers
- If cooking all of the potstickers at the same time, you will need to cook your potstickers in batches.
- For your first batch, heat 2 tablespoons of olive oil in a frying pan over medium heat.
- Place 12 potstickers (pleated-side up) in the frying pan and cook uncovered for 3 minutes or until the bottoms are nicely browned. Then, add 4 cups of water in the pan and cover. Continue cooking for 6 minutes.
- Uncover and flip the potstickers to the other side. Continue to cook for an additional 4 minutes. Repeat in small batches until all the potstickers are cooked.
- Garnish with chopped green onions and sesame seeds. Serve immediately.
Make Dipping Sauce
- Combine all ingredients for the dipping sauce in a small dish.
- Serve with warm potstickers and enjoy!
Equipment
- Stovetop
- Large Frying Pan or Skillet
- Mixing Bowls
- Small Dish for Sauce
Notes
This recipe makes approximately 32-40 potstickers, depending on how much filling you use per wrapper. For freezing instructions, please refer to the “Can You Freeze Homemade Chicken Potstickers?” section above.
Nutrition Information
Nutritional information is an estimate and provided as a courtesy. Values may vary according to the ingredients and tools used. Please use your preferred nutritional calculator for more detailed info.
Per potsticker: Calories: 73kcal | Carbohydrates: 6g | Protein: 3g | Fat: 4g | Saturated Fat: 1g | Trans Fat: 1g | Cholesterol: 15mg | Sodium: 167mg | Potassium: 82mg | Fiber: 1g | Sugar: 1g | Vitamin A: 14IU | Vitamin C: 2mg | Calcium: 9mg | Iron: 1mg
More Easy & Delicious Side Dish Ideas
If these chicken potstickers have ignited your appetite for more savory and simple sides, you’re in luck! Here are a few more fantastic recipes that are perfect for weeknights and gatherings alike. Expand your culinary repertoire with these delightful options:
- Classic Swedish Meatballs: Tender, flavorful meatballs in a creamy, rich sauce – a comforting dish that’s always a hit.
- Indulgent Steakhouse Creamed Spinach: A luxurious and surprisingly easy side, perfect for adding a touch of elegance to any meal.
- Quick Spinach and Feta No-Yeast Bread: A wonderfully savory bread that comes together quickly, with no proofing required, making it ideal for busy cooks.