
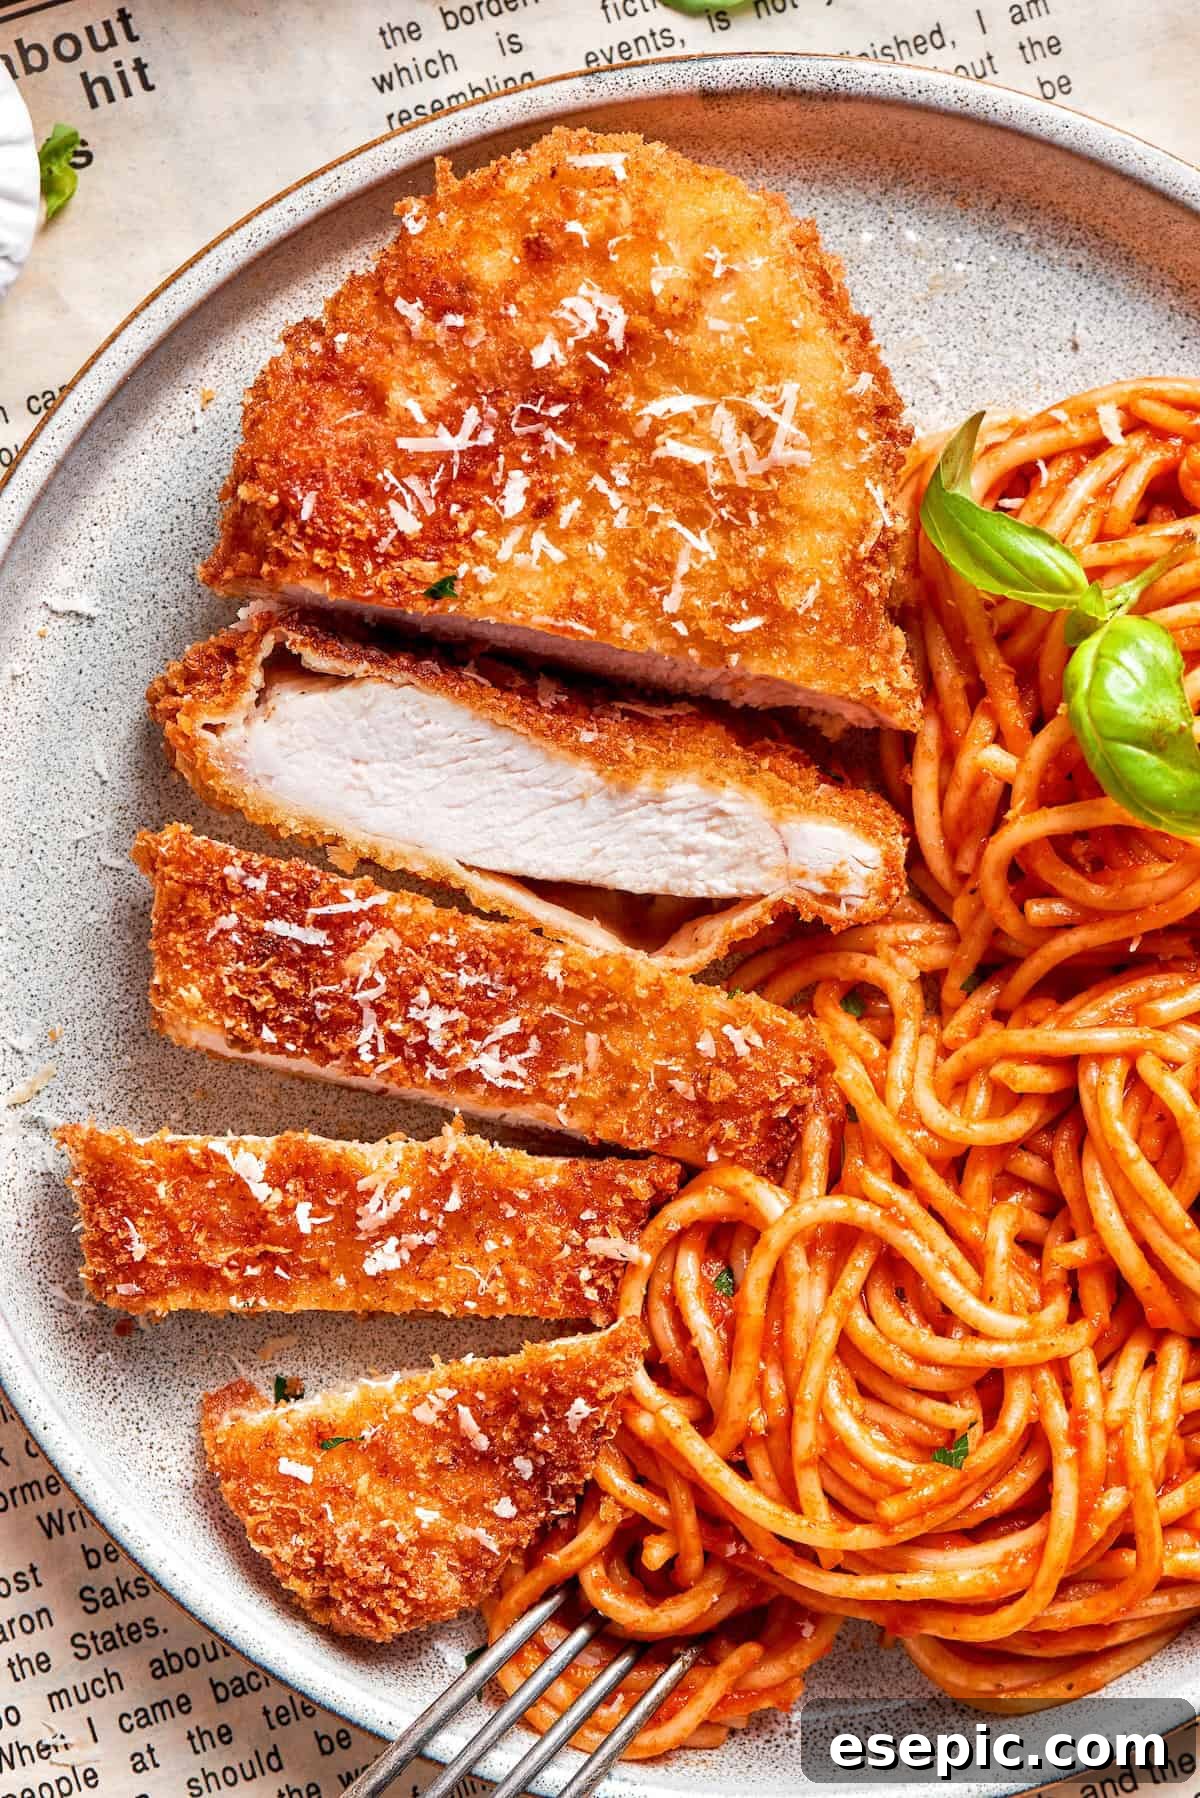
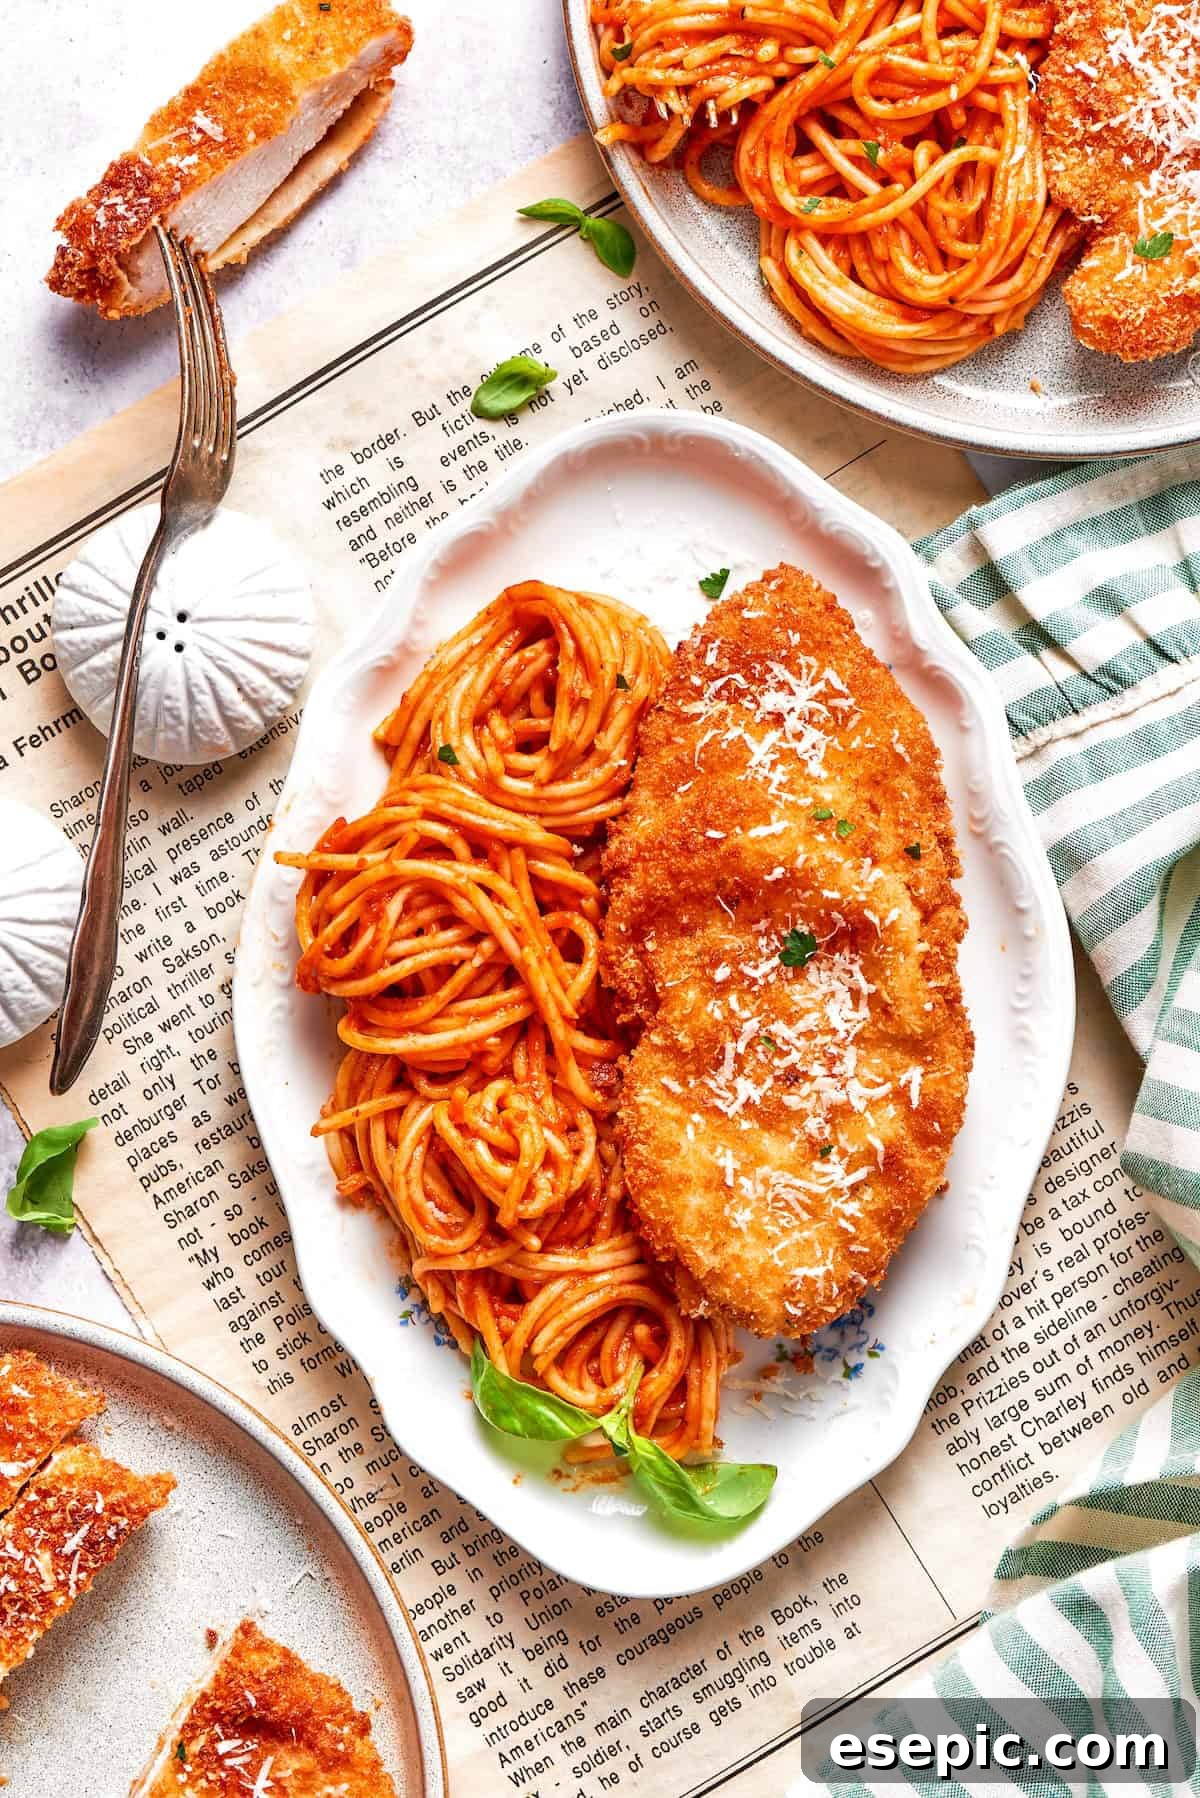
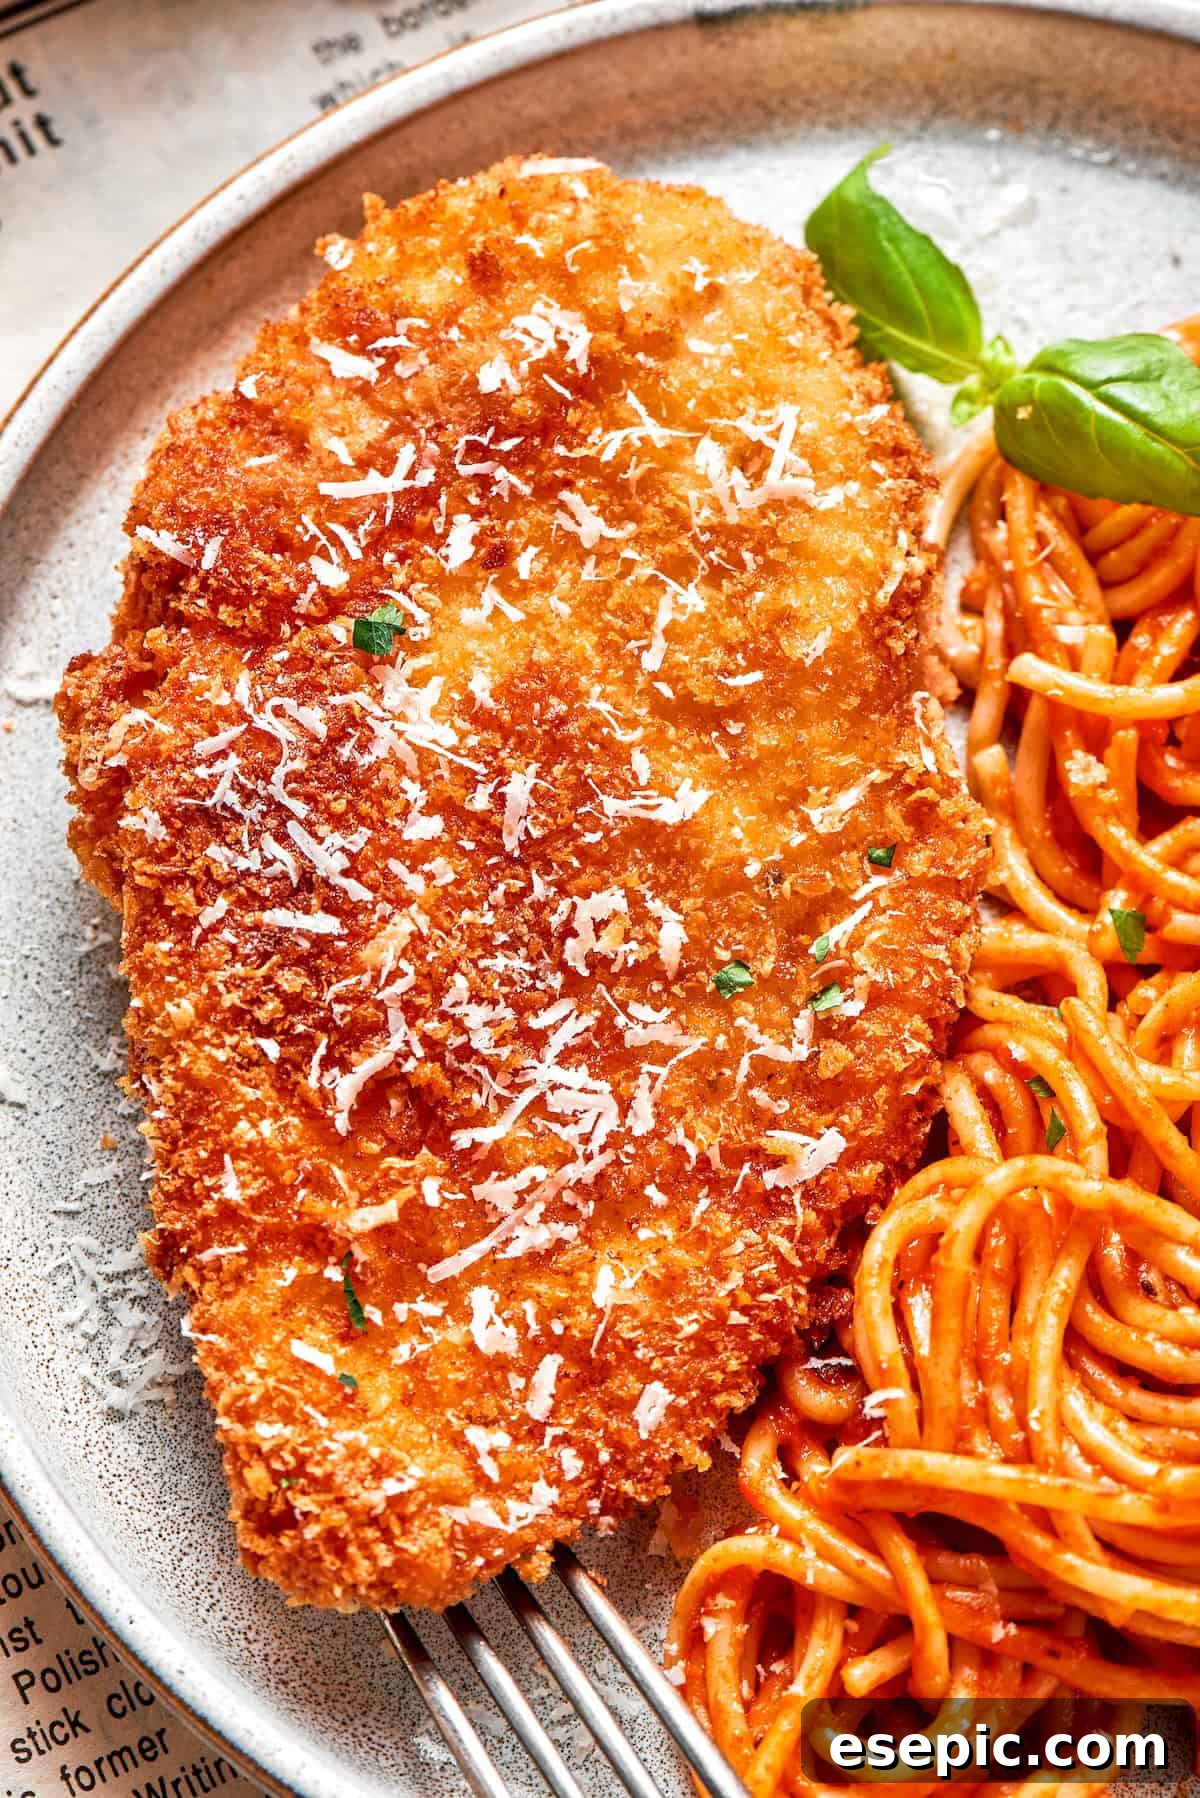
Craving the unforgettable taste of Cheesecake Factory’s Crusted Chicken Romano? You’re in luck! This detailed copycat recipe brings that beloved restaurant-quality dish right into your home kitchen. Imagine perfectly crispy, golden-brown breaded chicken cutlets, served atop a generous bed of tender spaghetti, all harmoniously coated in a rich, savory marinara sauce. It’s a culinary experience that promises to delight your taste buds and become a cherished addition to your weekly meal rotation.
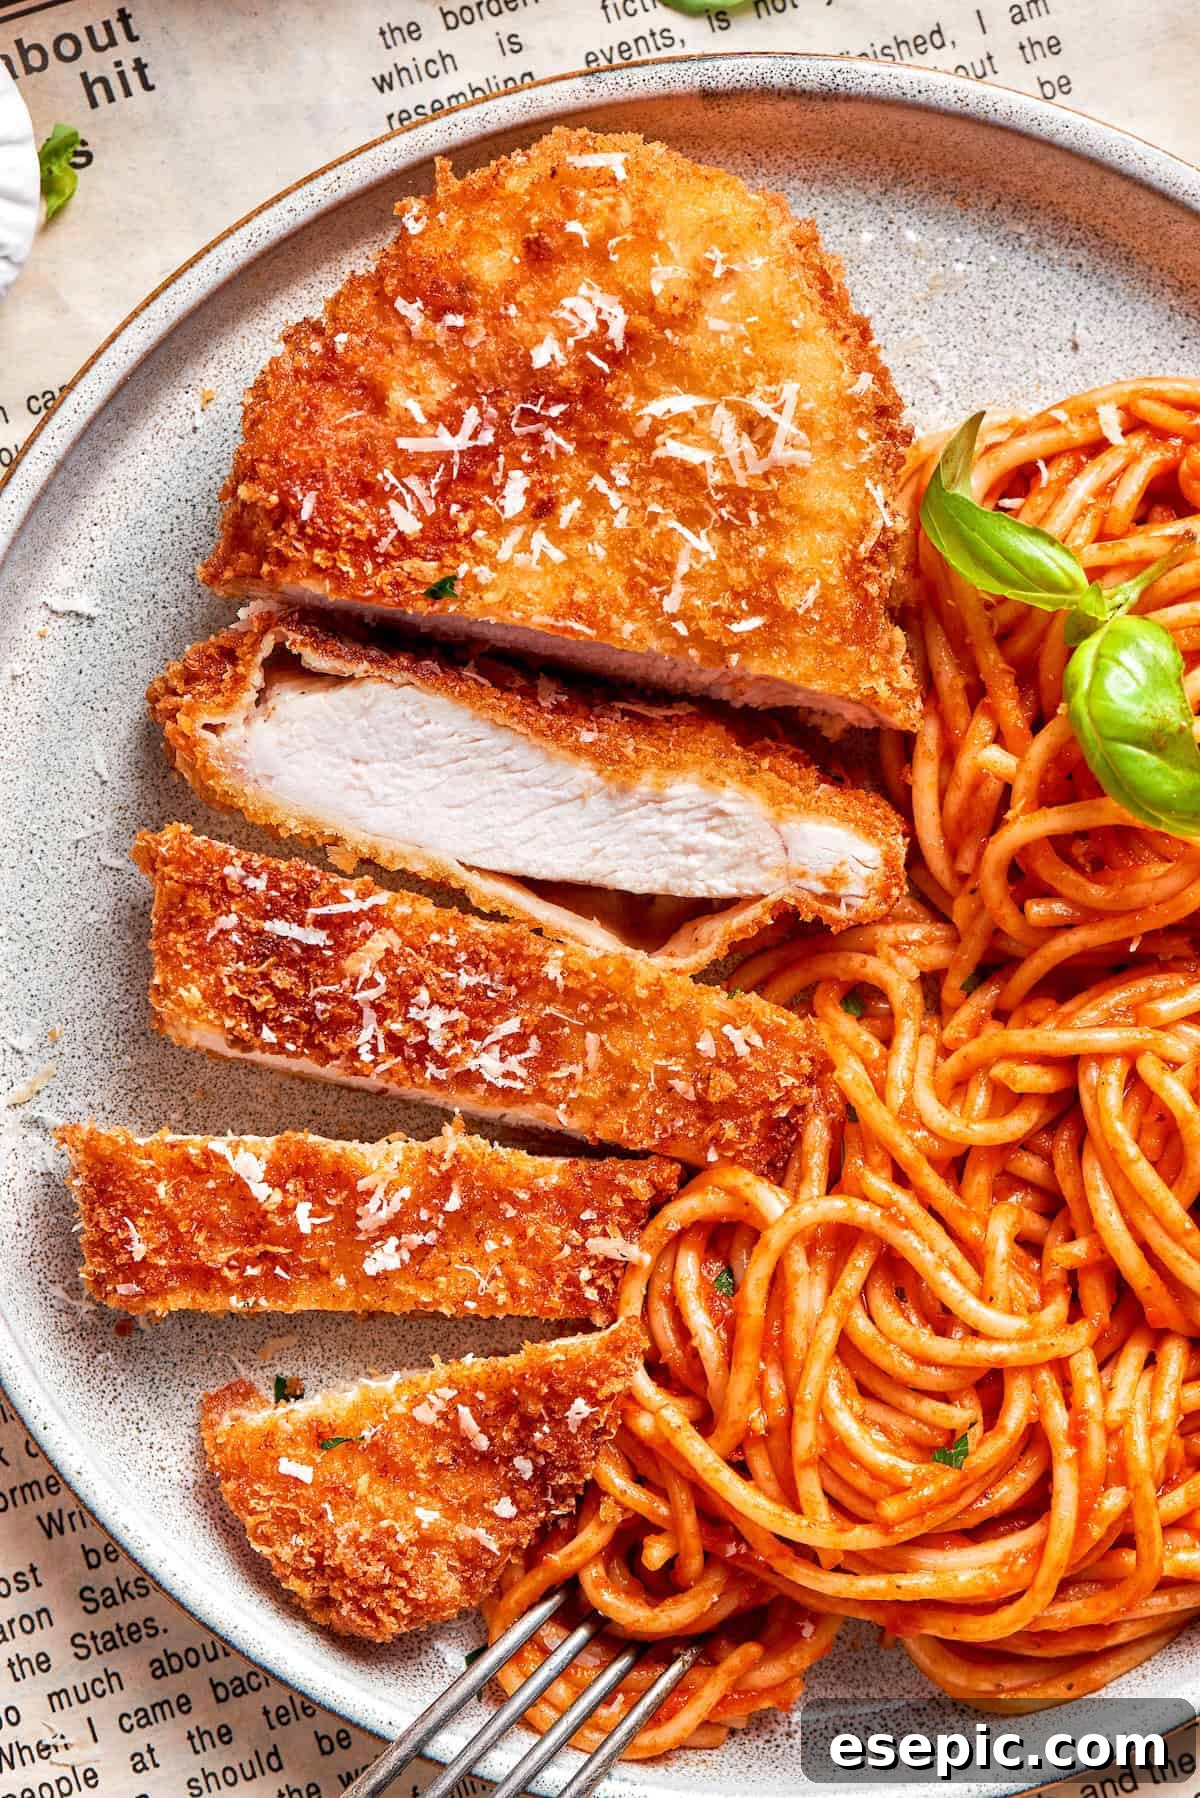
For those who adore the Cheesecake Factory’s signature dishes, mastering their Crusted Chicken Romano at home is a truly rewarding endeavor. This recipe captures the essence of juicy chicken nestled among comforting pasta, creating a symphony of flavors and textures that rivals the original. There’s an undeniable joy in recreating our favorite dining-out experiences, adding a personal touch, and savoring the results in the comfort of our own homes. Just like my other Cheesecake-inspired creations, such as the zesty Chicken Piccata and the decadent Chicken Madeira, this Crusted Chicken Romano tastes just as incredible, if not better. Plus, you’ll save precious time and money by preparing this restaurant-worthy meal yourself. Pair it with a refreshing side like our Avocado Tomato Salad for a complete and satisfying feast!
Why You’ll Love This Homemade Crusted Chicken Romano Recipe
Discovering a recipe that delivers on taste, convenience, and value is a true kitchen win. This Crusted Chicken Romano ticks all those boxes and more. Here’s why this recipe is destined to become a household favorite:
- Effortlessly Elegant: While the idea of breading and frying might seem complex, this recipe is surprisingly straightforward. With only about 25 minutes of active cooking time, you can assemble this sophisticated dish with ease, making it perfect for both busy weeknights and special occasions when you want to impress without the stress. The clear, step-by-step instructions ensure a smooth cooking process from start to finish.
- Budget-Friendly Indulgence: Enjoying a lavish meal doesn’t have to break the bank. By preparing restaurant-style dishes like Crusted Chicken Romano at home, you unlock significant savings compared to dining out. You get to control the quality of your ingredients, tailor portions to your liking, and enjoy a delicious, high-end meal without the hefty price tag. It’s smart, economical, and incredibly satisfying.
- Incredibly Versatile: The beauty of these crispy, cheesy chicken cutlets extends far beyond their classic pairing with pasta. While tender spaghetti and marinara create an iconic duo, these breaded cutlets are wonderfully adaptable. Imagine them nestled in a warm bun, topped with melted mozzarella and extra marinara for a phenomenal chicken Romano sandwich. Or, slice them thinly and add a delightful crunch to a fresh, vibrant salad, creating a gourmet lunch or a lighter dinner option.
Essential Ingredients for Crusted Chicken Romano
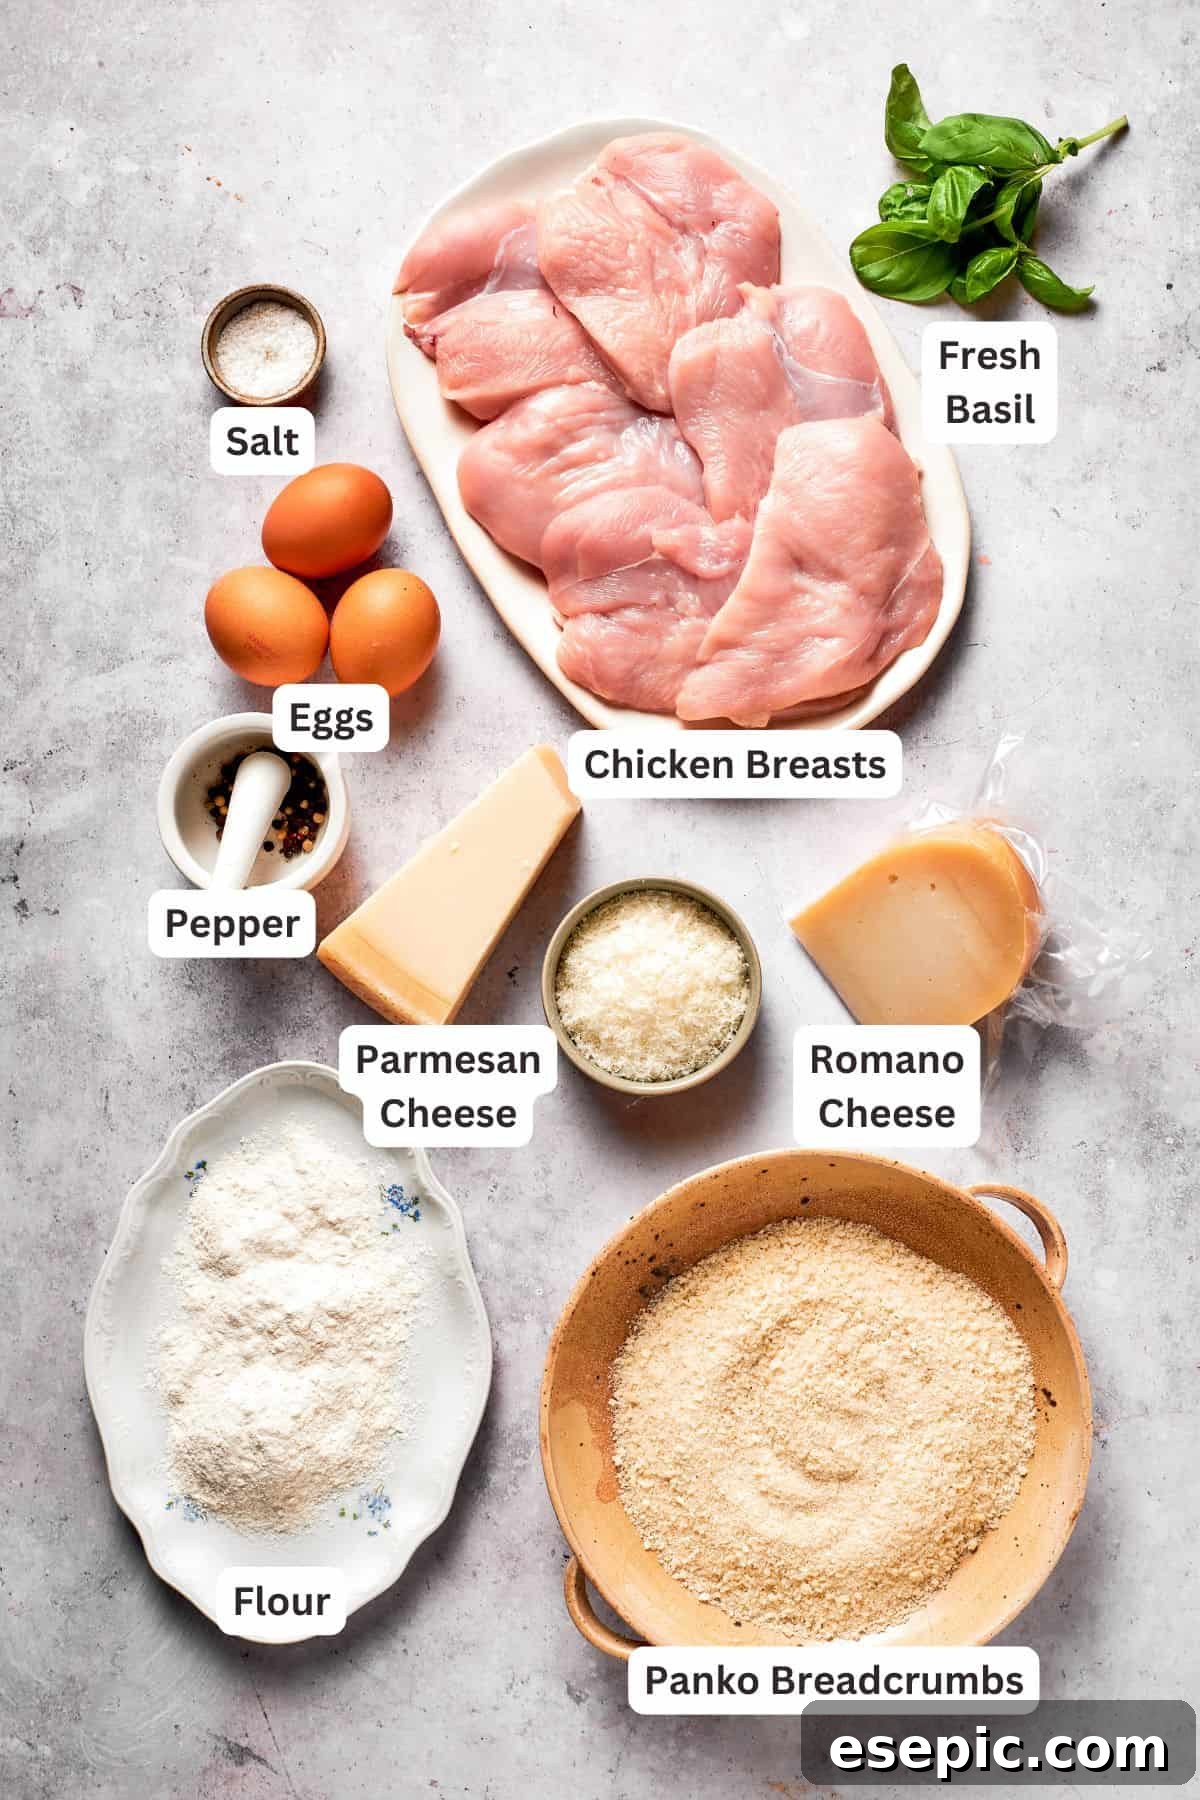
Preparing your dredging stations efficiently before you begin will streamline the cooking process, making your active time in the kitchen even quicker. Here’s a detailed look at the simple yet crucial ingredients you’ll need to create this amazing Crusted Chicken Romano. You’ll find the complete, precise measurements in the comprehensive recipe card conveniently located at the end of this post.
- Chicken: For optimal tenderness and quick cooking, I highly recommend using thin, skinless chicken cutlets. If starting with larger skinless, boneless chicken breasts, you can easily slice them horizontally to create thinner pieces, ensuring even cooking and a delightful, juicy result.
- Dredging Mixture: This foundational layer for our crispy crust consists of all-purpose flour, seasoned perfectly with kosher salt, and freshly ground black pepper. This initial coating helps the egg wash adhere effectively, laying the groundwork for that irresistible golden exterior.
- Eggs: Large eggs, thoroughly whisked, act as the essential binder, creating a sticky surface that allows the breadcrumb and cheese mixture to cling firmly to the chicken. This crucial step is key to achieving a robust and flavorful crust.
- Breadcrumbs: Panko breadcrumbs are my top choice for this recipe. Their distinct flakier texture and larger crumb size yield an exceptionally crispier, lighter, and more airy coating compared to standard breadcrumbs. If Panko isn’t available, regular breadcrumbs can be substituted, though the texture will be slightly different.
- Cheeses: A blend of pungent Romano cheese and savory Parmesan cheese forms the heart of our flavorful crust. Romano cheese offers a sharper, saltier kick, while Parmesan provides a nutty, milder depth, creating a perfectly balanced and incredibly delicious coating that melts and crisps beautifully.
- Oil: Vegetable oil is ideal for frying the chicken due to its neutral flavor and high smoke point, which ensures even cooking and a beautifully golden-brown crust without imparting unwanted tastes. Canola or grapeseed oil are also excellent alternatives.
- Marinara Sauce: You have the flexibility here to use your favorite store-bought marinara sauce for convenience, or you can elevate the dish further by preparing a homemade marinara from scratch. Whichever you choose, ensure it’s a quality sauce that complements the rich chicken.
- Spaghetti: The classic pairing for Crusted Chicken Romano is tender spaghetti, which beautifully twirls with the marinara. However, feel free to experiment with other long pasta shapes like linguine or even a shorter pasta like penne or rigatoni if you prefer.
- Fresh Basil: A garnish of fresh basil leaves not only adds a vibrant pop of color but also introduces a wonderful aromatic, sweet, and slightly peppery flavor that brightens the entire dish. Fresh parsley is another excellent herb alternative for garnish.
Expert Tips and Creative Variation Ideas
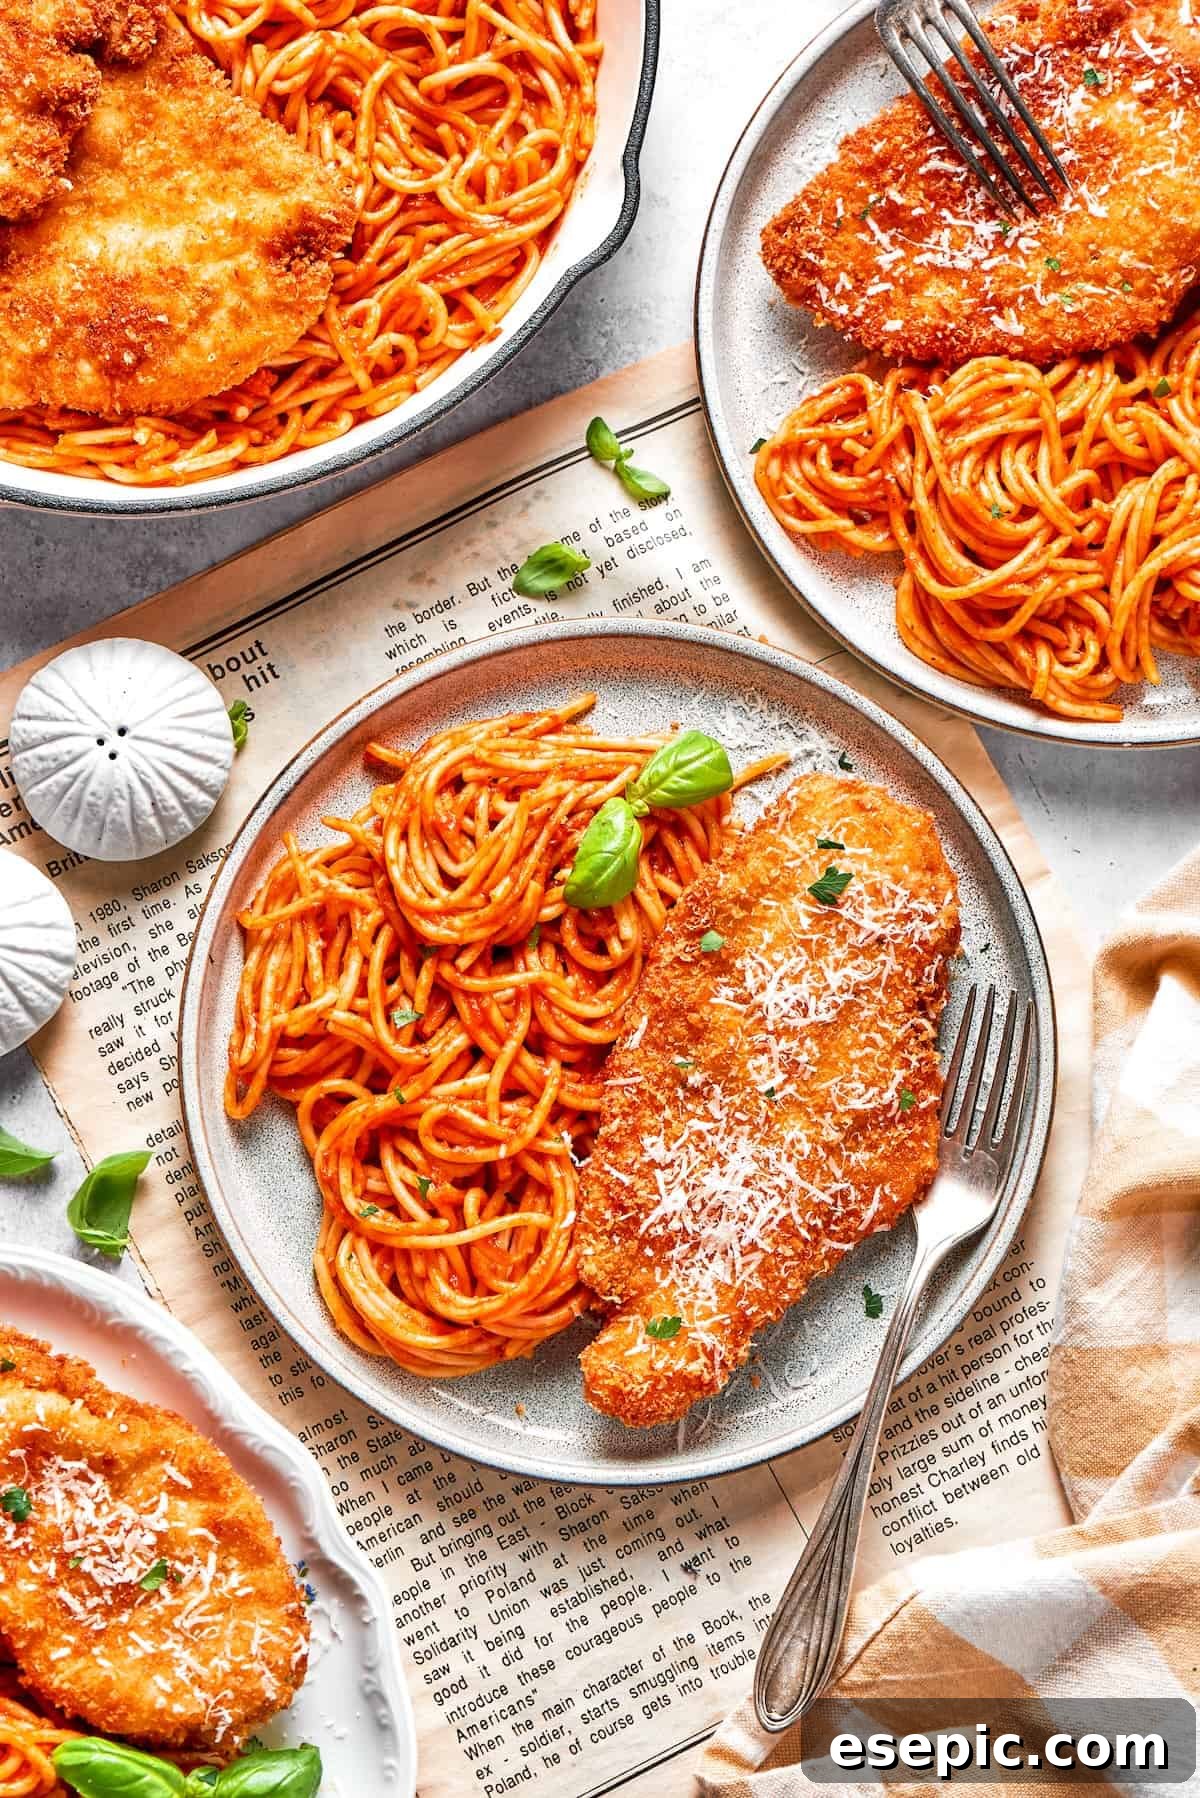
Achieving restaurant-level perfection with your homemade Crusted Chicken Romano is easier than you think with these expert tips and delightful variations. Elevate your cooking and make this dish truly your own:
- Pound the Chicken to Perfection: This crucial step ensures uniform thickness, which means every cutlet cooks evenly and quickly. Place chicken breasts between two sheets of plastic wrap and pound them gently with a meat mallet or a rolling pin until they are about ¼ inch thick. This not only guarantees consistent cooking but also tenderizes the meat, resulting in exceptionally juicy chicken.
- Press Firmly for a Superior Crust: When dredging the chicken in the breadcrumb and cheese mixture, don’t be shy! Press the mixture firmly onto both sides of the cutlet. This creates a dense, well-adhered crust that will turn beautifully golden and extra crispy during frying, ensuring maximum flavor and satisfying texture with every bite.
- Avoid Overcrowding the Pan: For truly crispy chicken, it’s vital to give each cutlet enough space in the skillet. Frying too many pieces at once can lower the oil’s temperature, causing the chicken to steam rather than fry. Cook in batches, leaving ample room between each piece, to maintain consistent heat and achieve that coveted golden crispness.
- Make it Gluten-Free: Adapting this recipe for gluten-free diets is incredibly simple. Just swap out the regular all-purpose flour for a gluten-free all-purpose flour blend and use your favorite gluten-free Panko breadcrumbs. You’ll still achieve a delicious, crispy crust and enjoy all the flavors of this classic dish without compromise.
- Lighter Air Fryer Option: If you’re looking to reduce the amount of oil, the air fryer is your best friend. After breading, place the cutlets in a single layer in your air fryer basket (you may need to work in batches). Air fry at 400˚F (200˚C) for approximately 7-9 minutes, flipping them halfway through, until golden brown and cooked through.
- Explore Beyond Pasta: While pasta is traditional, don’t hesitate to experiment with different side dishes. Crusted Chicken Romano is wonderfully versatile! Serve it with a mound of light and fluffy classic creamy mashed potatoes for a comforting meal, or pair it with roasted vegetables, a quinoa salad, or even polenta for a unique twist.
Complementary Serving Suggestions
A hearty main dish like Crusted Chicken Romano truly shines when accompanied by thoughtfully chosen sides. To balance the rich flavors and crispy textures, fresh vegetables and a light starter are absolute musts. Consider these delightful pairings to complete your restaurant-quality meal:
- Fresh Greens: A simple yet elegant green salad tossed with a bright, lemony vinaigrette offers a refreshing contrast. Combine crisp baby greens with thinly sliced cucumbers and sweet halved cherry tomatoes for a burst of freshness.
- Roasted or Grilled Vegetables: Embrace the vibrant flavors of the garden with perfectly cooked vegetables. Try a medley of grilled vegetables with lemon dressing, such as bell peppers, zucchini, and asparagus, for a smoky and tangy complement. Alternatively, lightly sautéed fresh green beans or crisp roasted sugar snap peas offer a delightful crunch and a hint of sweetness.
- Garlic Bread or Knots: No Italian-American meal is complete without a delicious bread component to soak up every last drop of that savory marinara. A batch of warm, buttery easy garlic knots or classic garlic bread is always a welcome addition, providing both flavor and texture contrast.
Storing and Reheating Your Crusted Chicken Romano
Ensuring your delicious leftovers taste just as good the next day is key. Proper storage and reheating techniques will preserve the flavors and textures of your Crusted Chicken Romano, making meal prep a breeze.
- Fridge Storage: For the best results and to maintain the chicken’s crispiness, it’s advisable to store the cooled leftover chicken cutlets and the pasta with sauce in separate airtight containers. This prevents the chicken from becoming soggy from the sauce. Stored correctly, they will remain fresh and delicious in the refrigerator for up to 3 days.
- Reheating for Optimal Enjoyment: To restore the chicken’s delightful crisp exterior, place the cutlets on a baking sheet and reheat them in a preheated oven at 300°F (150°C) until they are heated through and the crust is crispy once more. Meanwhile, the pasta and sauce can be gently reheated in a covered microwave-safe bowl. Heat in 1-minute increments, stirring after each interval to ensure even heating and prevent drying out. Once both components are warm, assemble the dish by placing a reheated chicken cutlet on top of the sauced pasta just before serving.
Explore More Delicious Chicken Dinner Ideas
If you’re a fan of versatile and flavorful chicken dishes, you’ll love these other fantastic recipes perfect for any weeknight or special occasion:
- Air Fryer Chicken Parmesan
- Baked Caesar Chicken
- Chicken Parmesan Casserole
- Marry Me Chicken Pasta
Cheesecake Factory Copycat Crusted Chicken Romano
Ingredients
For the Crispy Crusted Chicken:
- 3 large chicken breasts, sliced horizontally to create 6 thin cutlets, or 6 pre-sliced skinless chicken cutlets
- Kosher salt & freshly ground black pepper, to taste, for seasoning chicken
- ½ cup all-purpose flour
- ½ teaspoon sea salt, for flour mixture
- ⅓ teaspoon freshly ground black pepper, for flour mixture
- 3 large eggs, whisked for egg wash
- ½ cup Panko breadcrumbs, for extra crispiness
- ½ cup grated Pecorino Romano cheese
- ⅓ cup grated Parmesan cheese
- ¼ cup vegetable oil, or enough for shallow frying
For Serving:
- 16 ounces marinara sauce, your favorite store-bought or homemade
- 12 ounces spaghetti, or other preferred pasta shape like linguine
- Additional grated Romano cheese, for garnish
- Sea salt, to taste, for seasoning pasta water
- Fresh basil leaves, roughly chopped or torn, for garnish
Instructions
Step 1: Prepare the Chicken Cutlets
-
If you are starting with whole chicken breasts, carefully slice each breast in half horizontally to create two thinner cutlets. This should result in six cutlets in total, each with a thickness of approximately ¼ inch. This ensures even cooking and a tender result.
-
Lightly sprinkle both sides of each prepared chicken cutlet with kosher salt and freshly ground black pepper, seasoning generously to taste. Set the seasoned chicken aside while you prepare the breading stations.
Step 2: Set Up the Breading Stations
-
Prepare the Flour Mixture: In the first shallow dish, combine the all-purpose flour, ½ teaspoon sea salt, and ⅓ teaspoon black pepper. Use a fork or whisk to mix these ingredients thoroughly, ensuring the seasoning is evenly distributed throughout the flour.
-
Prepare the Egg Wash: In the second shallow dish, crack the three large eggs. Beat them vigorously with a fork or whisk until the yolks and whites are completely combined and the mixture is uniform and slightly frothy.
-
Prepare the Breadcrumb Mixture: In the third shallow dish, combine the Panko breadcrumbs, grated Pecorino Romano cheese, and grated Parmesan cheese. Stir these ingredients together until they are well combined, creating a flavorful and crispy coating mixture.
Step 3: Bread the Chicken
-
Take one chicken cutlet and place it into the flour mixture. Press lightly to ensure both sides are lightly and evenly coated with flour. Gently shake off any excess flour before moving to the next step.
-
Next, carefully submerge the floured cutlet into the beaten eggs, making sure it is fully coated on all sides. Lift the cutlet out and allow any excess egg to drip back into the dish.
-
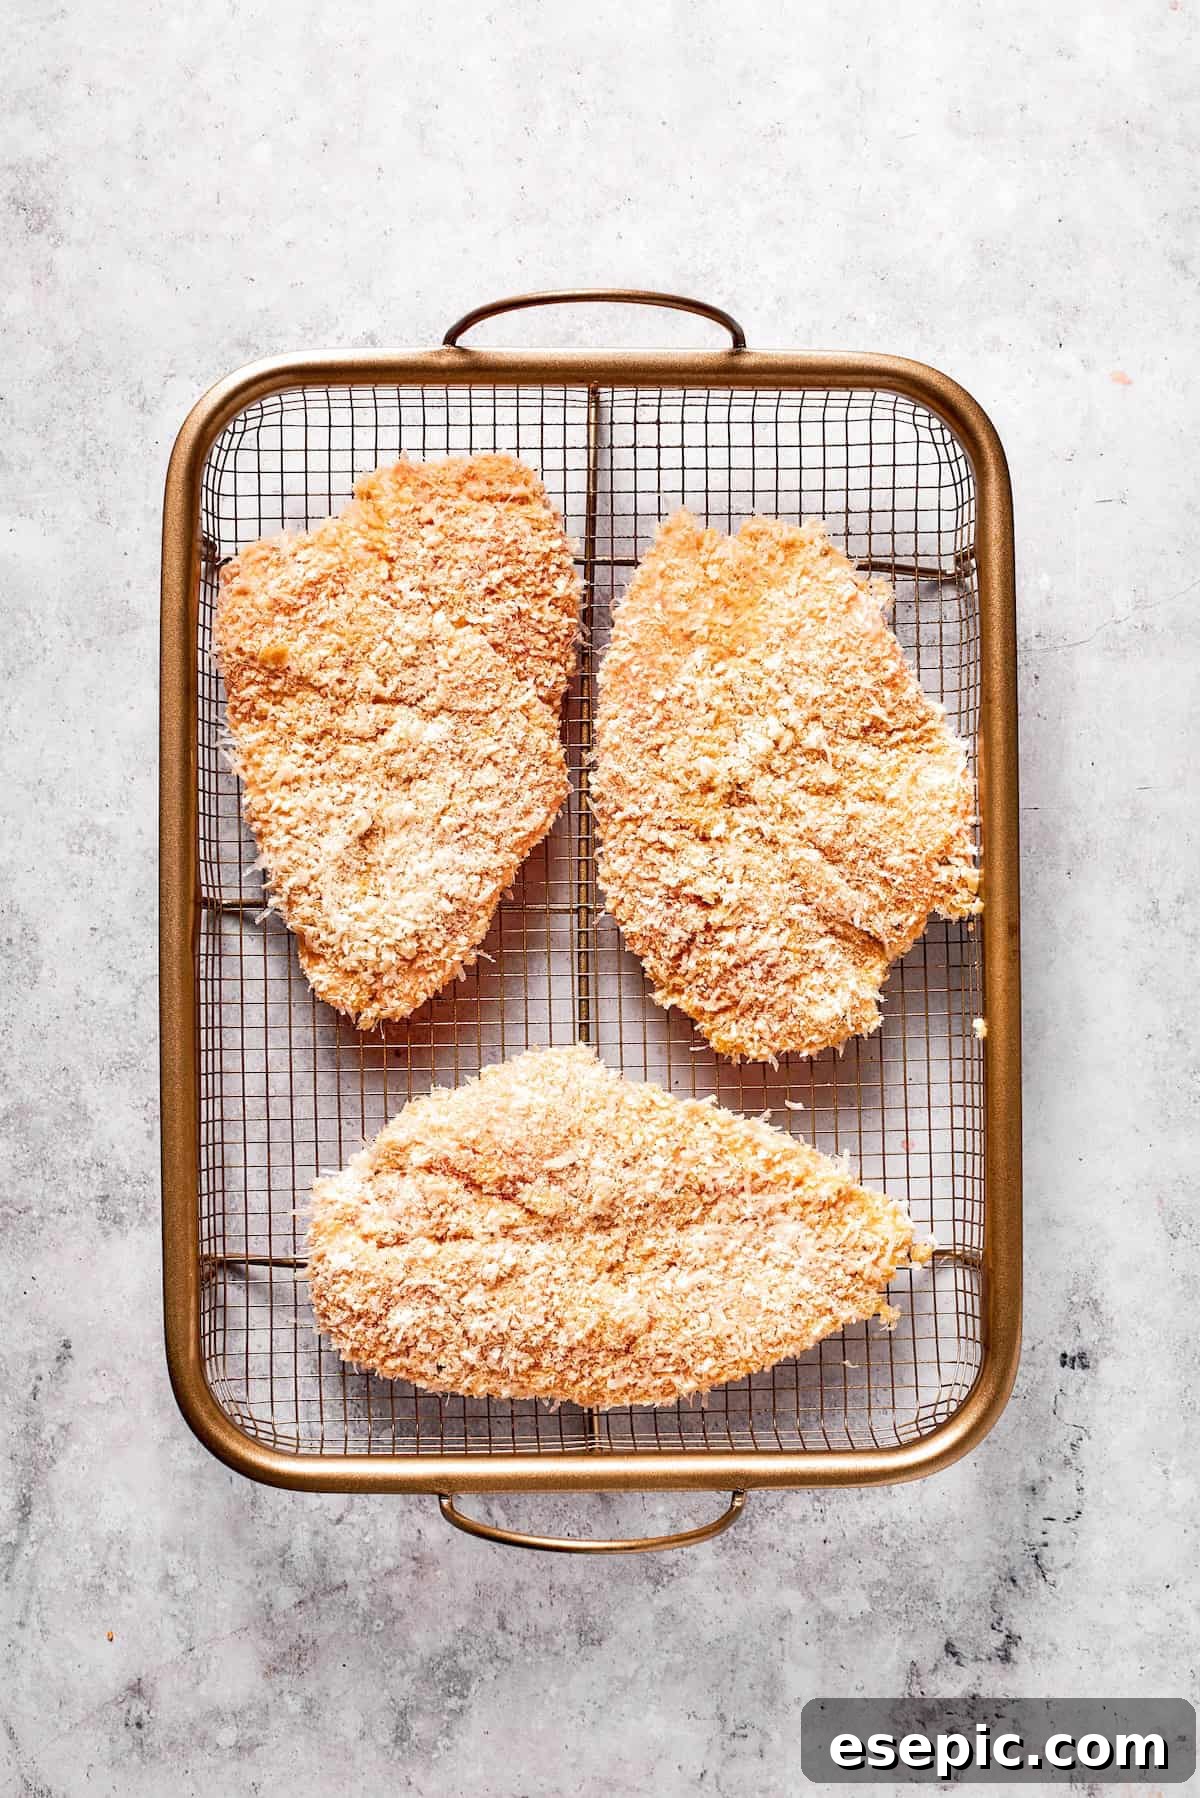
Finally, place the egg-coated cutlet into the breadcrumb and cheese mixture. Press down gently but firmly, ensuring the mixture adheres well and the cutlet is fully covered on both sides for that perfect crust. Transfer the fully breaded cutlet to a clean plate. Repeat this entire breading process with the remaining chicken cutlets, arranging them in a single layer on the plate.
Step 4: Cook the Crispy Chicken
-
In a large, sturdy skillet, pour in ¼ cup of vegetable oil. Place the skillet over medium heat and allow the oil to heat up thoroughly until it begins to shimmer. You can test if the oil is ready by dropping a small piece of the breadcrumb mixture into the skillet; if it sizzles upon contact, the oil has reached the ideal temperature for frying.
-
Carefully place two to three breaded cutlets into the hot skillet, ensuring you do not overcrowd the pan. Overcrowding can significantly lower the oil temperature, leading to less crispy chicken.
-
Fry each cutlet for approximately 3 to 4 minutes on the first side, or until the bottom is beautifully golden brown and crispy. Using tongs, carefully flip each cutlet and cook for an additional 3 to 4 minutes on the other side. Ensure the chicken is cooked through and the crust is uniformly golden and crisp. The internal temperature of the thickest part of the chicken should reach 165°F (74°C) as verified with a meat thermometer.
-
Once cooked, transfer the crispy chicken cutlets to a plate lined with paper towels to drain any excess oil, helping to maintain their crispness. Continue frying the remaining cutlets in batches, adding a little more oil to the skillet if needed and allowing it to heat properly before adding more chicken.
Step 5: Prepare the Spaghetti and Marinara Sauce
-
While the chicken is cooking, bring a large pot of water to a rolling boil. Add a generous pinch of sea salt to the boiling water, which flavors the pasta. Add 12 ounces of spaghetti to the pot and cook according to the package instructions until al dente. Once cooked, drain the spaghetti thoroughly in a colander.
-
In a separate saucepan, pour 16 ounces of your chosen marinara sauce. Place the saucepan over medium heat and gently warm the sauce, stirring occasionally, until it is heated through and simmering lightly. Return the drained spaghetti to the large pot or transfer it to a spacious mixing bowl. Pour the warmed marinara sauce over the spaghetti and, using tongs or a large fork and spoon, toss until the pasta is evenly coated with the savory sauce.
Step 6: Assemble and Serve
-
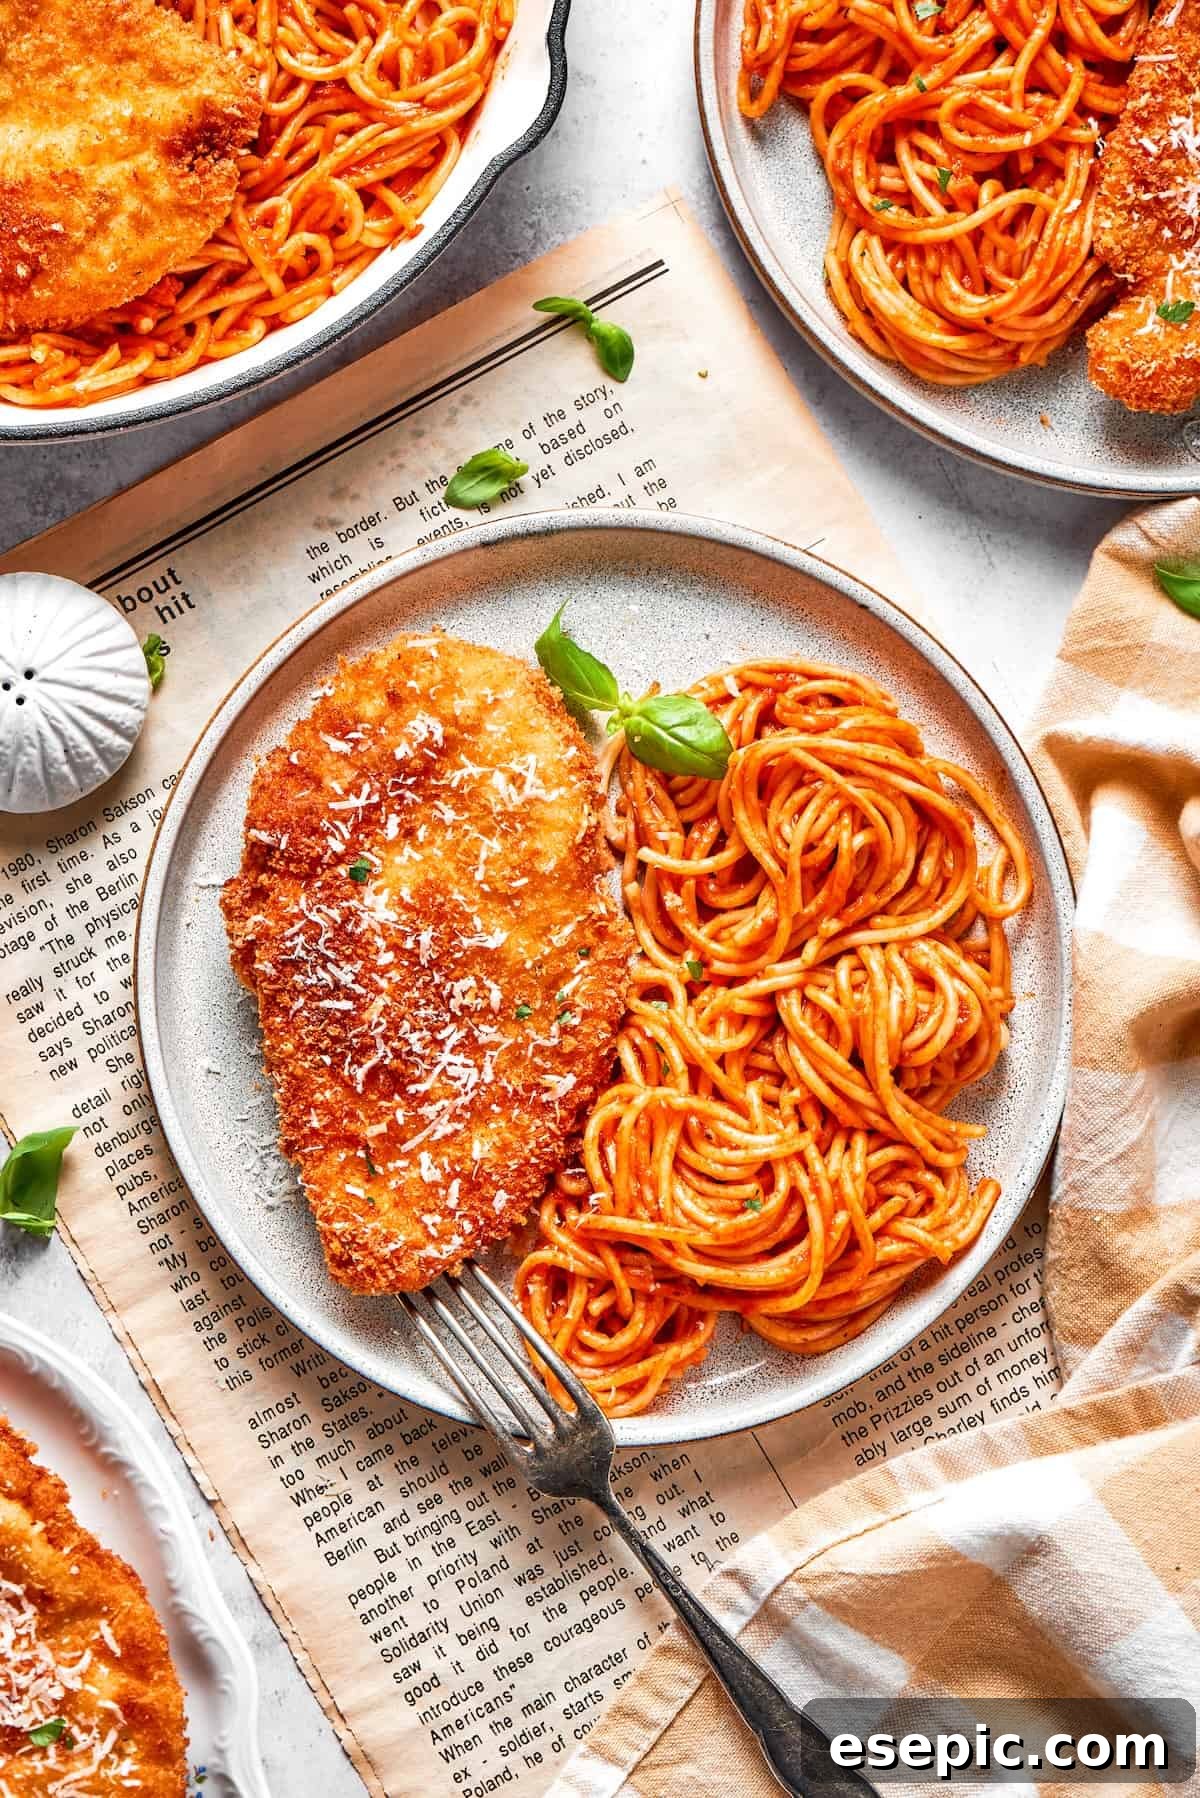
To assemble, divide the sauced spaghetti among individual serving plates. For a more elegant presentation, twirl the spaghetti into neat mounds. Place one perfectly cooked, crispy chicken cutlet on top of each serving of spaghetti.
-
Finish each plate with a generous sprinkle of additional grated Pecorino Romano cheese over both the chicken and pasta. Garnish with fresh basil leaves for a burst of vibrant color and fresh herbaceous flavor. Serve immediately and enjoy your homemade Cheesecake Factory-style Crusted Chicken Romano!
Equipment Needed
-
Mixing Bowls (3 shallow dishes for dredging)
-
Large Frying Pan or Skillet
-
Large Pot (for pasta)
-
Saucepan (for marinara)
-
Meat Mallet or Rolling Pin (optional, for pounding chicken)
Nutrition Information (Estimated Per Serving)
Nutritional info is an estimate and provided as courtesy. Values may vary according to the ingredients and tools used. Please use your preferred nutritional calculator for more detailed info.
Did you make this delicious recipe? We’d love for you to leave a rating and comment!
Step-by-Step Visual Guide: Making Crusted Chicken Romano
For a clear and easy-to-follow cooking experience, refer to these step-by-step visuals that accompany the detailed instructions in the recipe card above. This guide will help you visualize each stage of preparing your perfect Cheesecake Factory-style Crusted Chicken Romano.
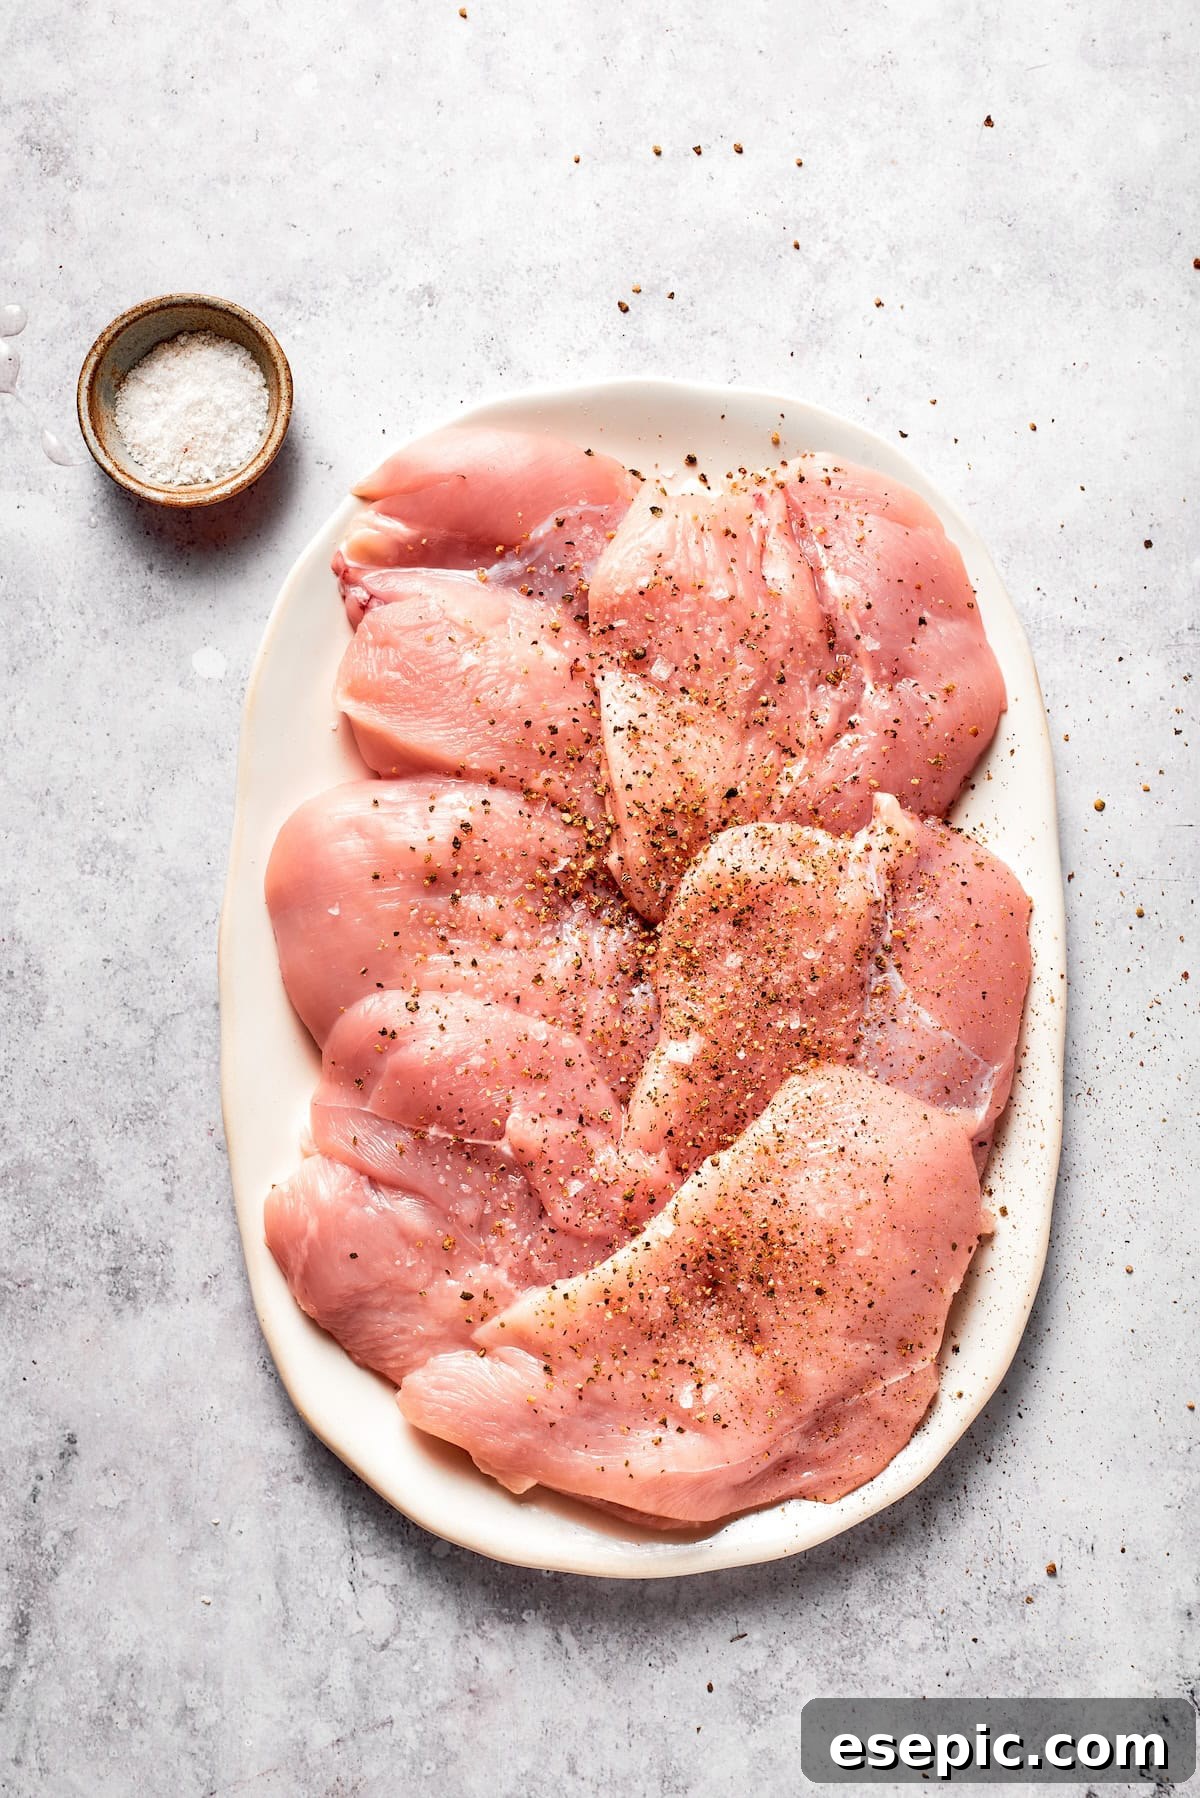
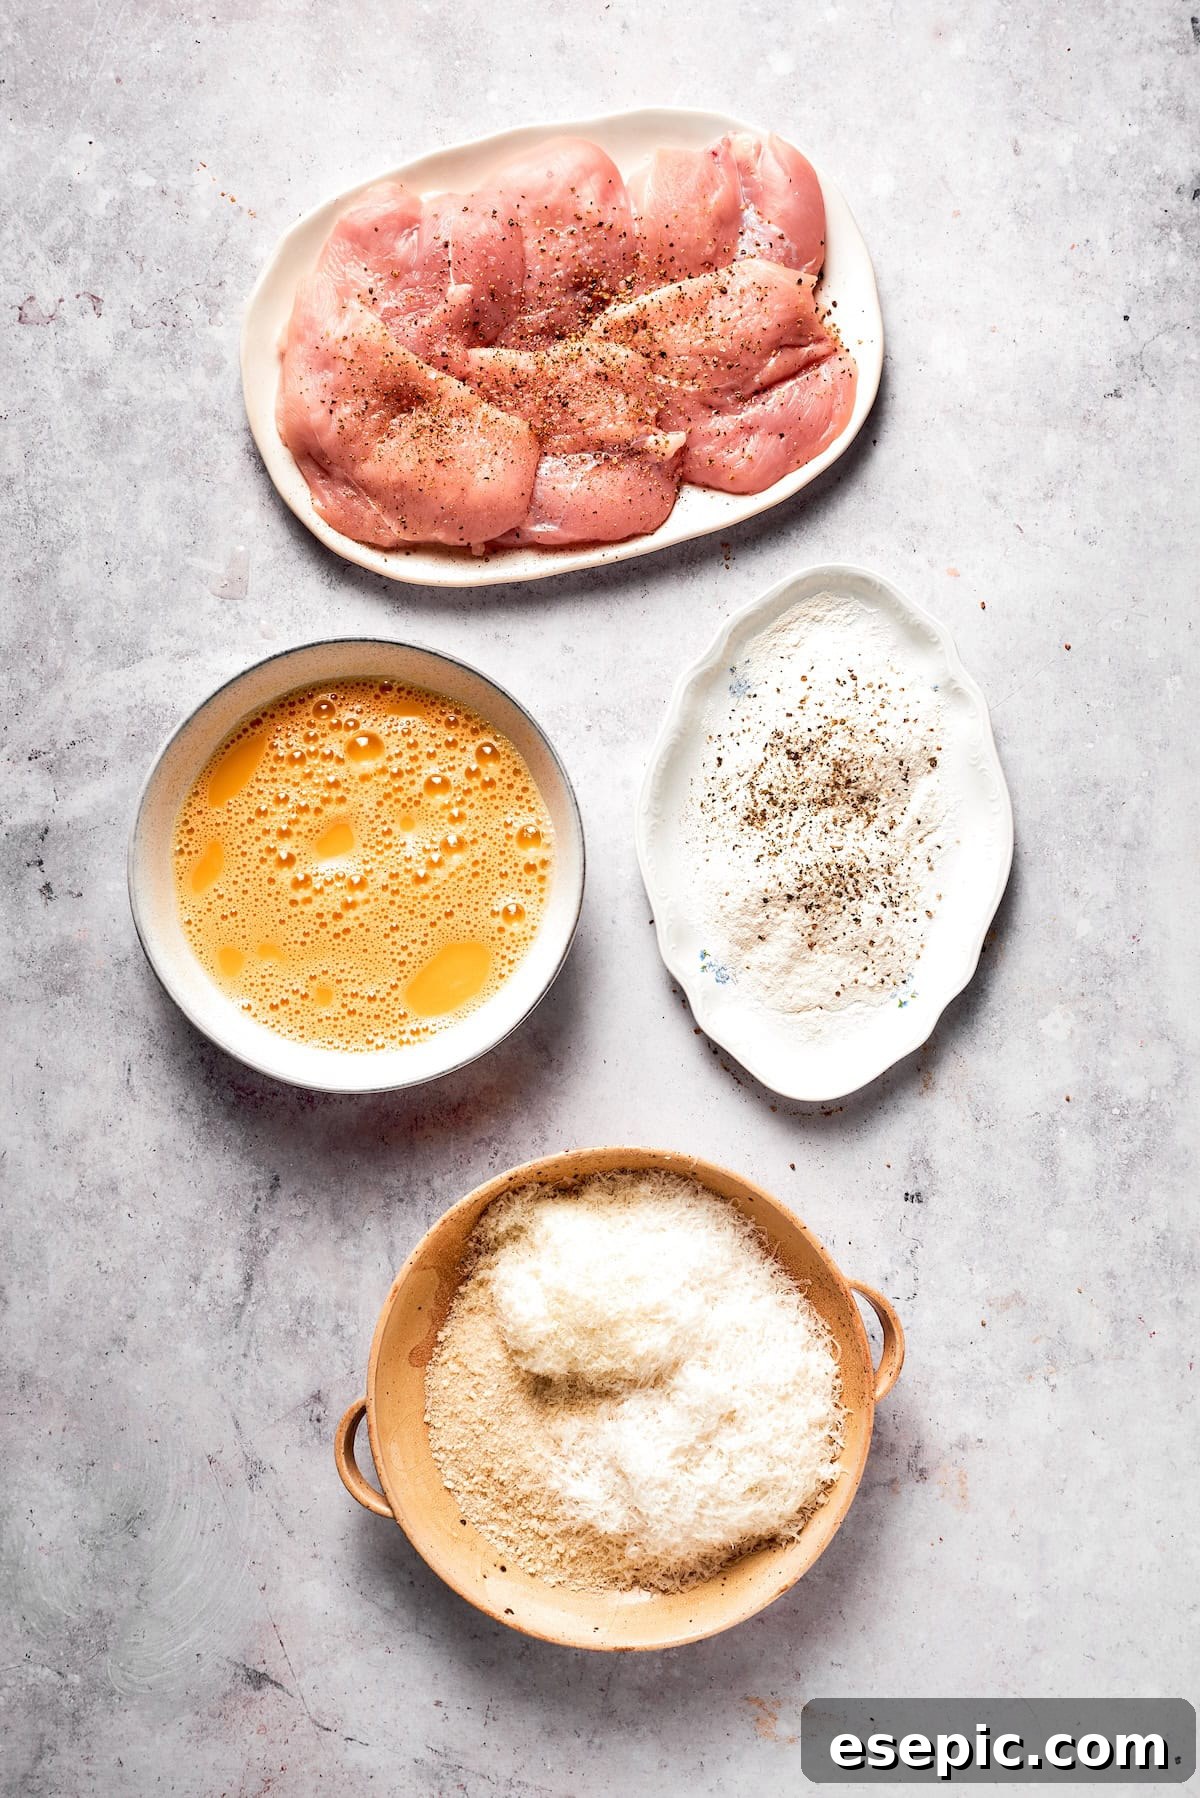
- Prep the Chicken: Start by pounding chicken breasts into thin cutlets if necessary, then generously season them with salt and freshly ground black pepper on both sides.
- Set Up Dredging Stations: Arrange three shallow dishes in a row: the first with the seasoned flour mixture, the second with whisked eggs, and the third with the Panko breadcrumbs blended with Romano and Parmesan cheeses.
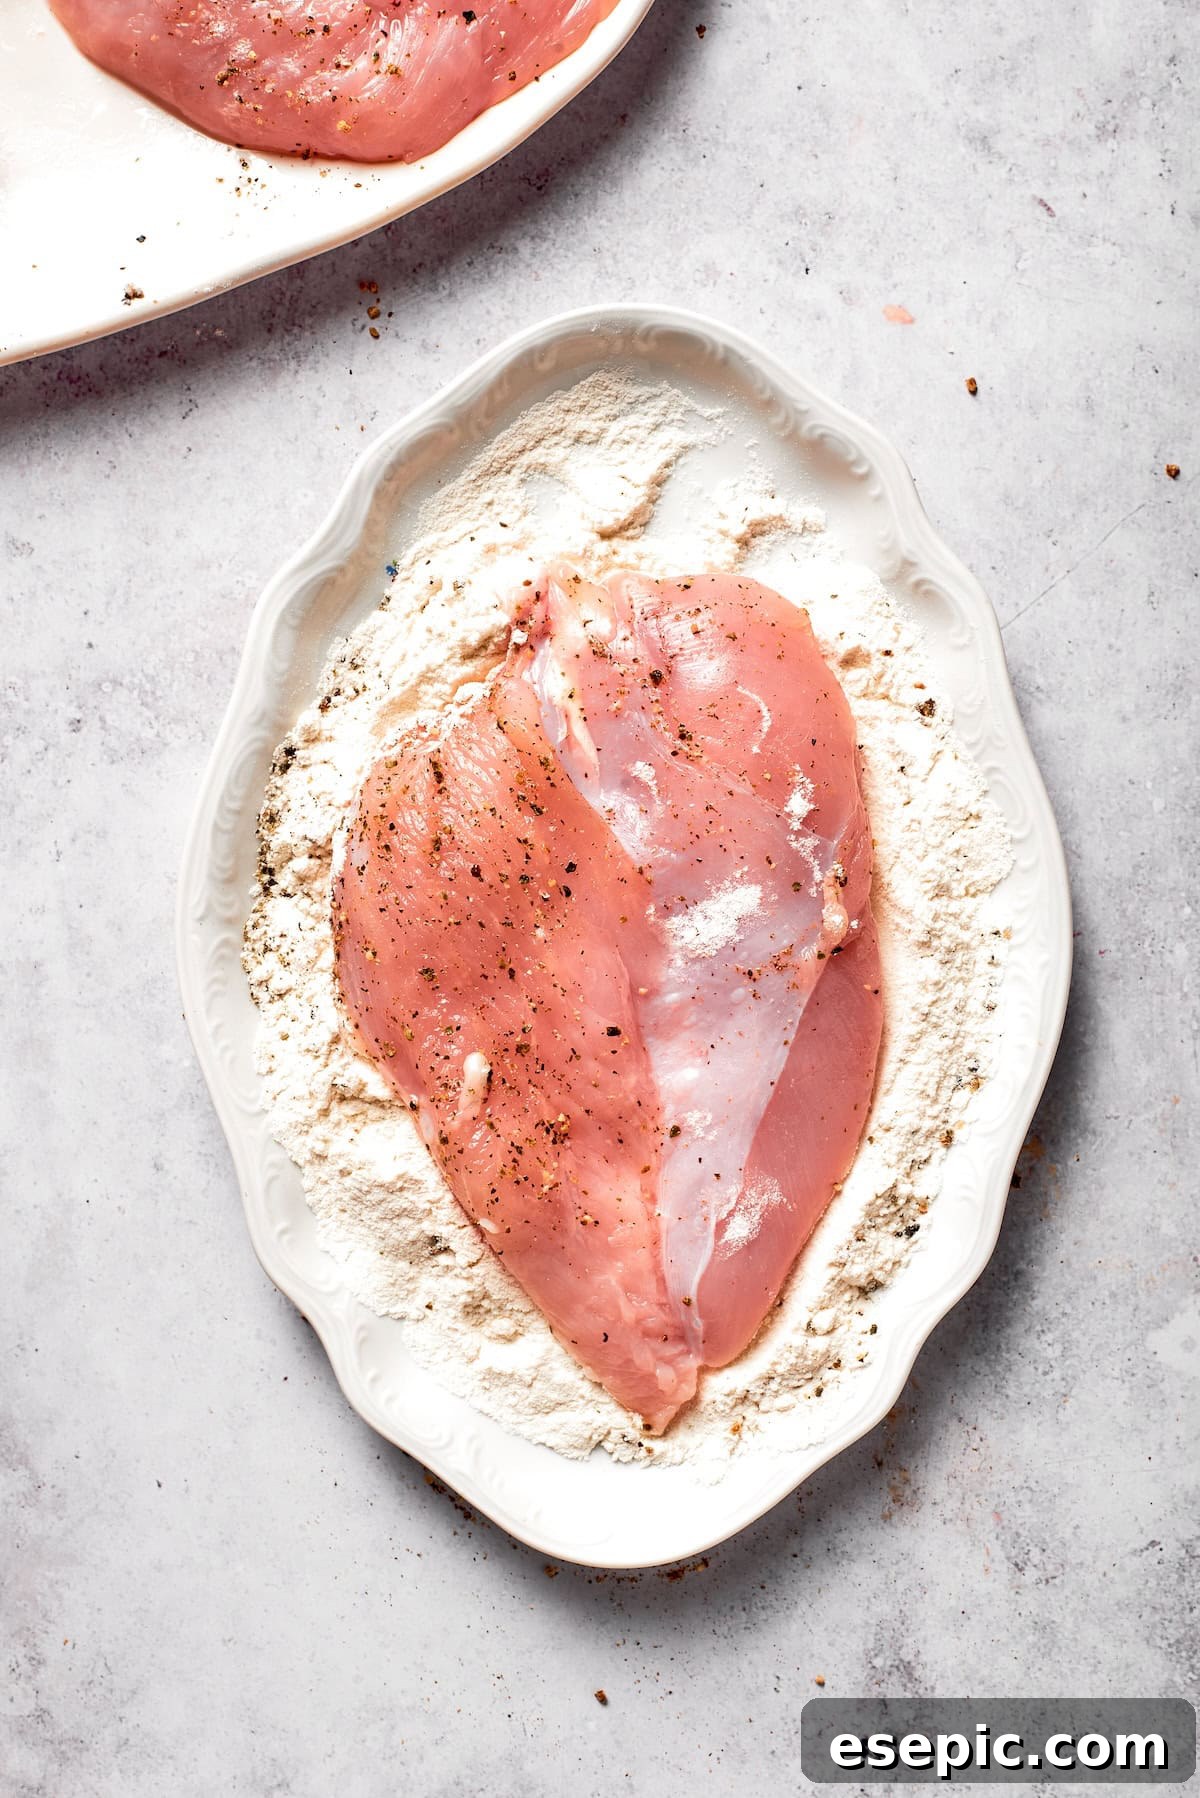

- Flour First: Dip each seasoned chicken piece into the flour mixture, ensuring both sides are lightly and evenly coated. Shake off any excess.
- Egg Dip: Next, completely submerge the floured chicken cutlet into the beaten eggs, allowing any excess to drip off before proceeding.
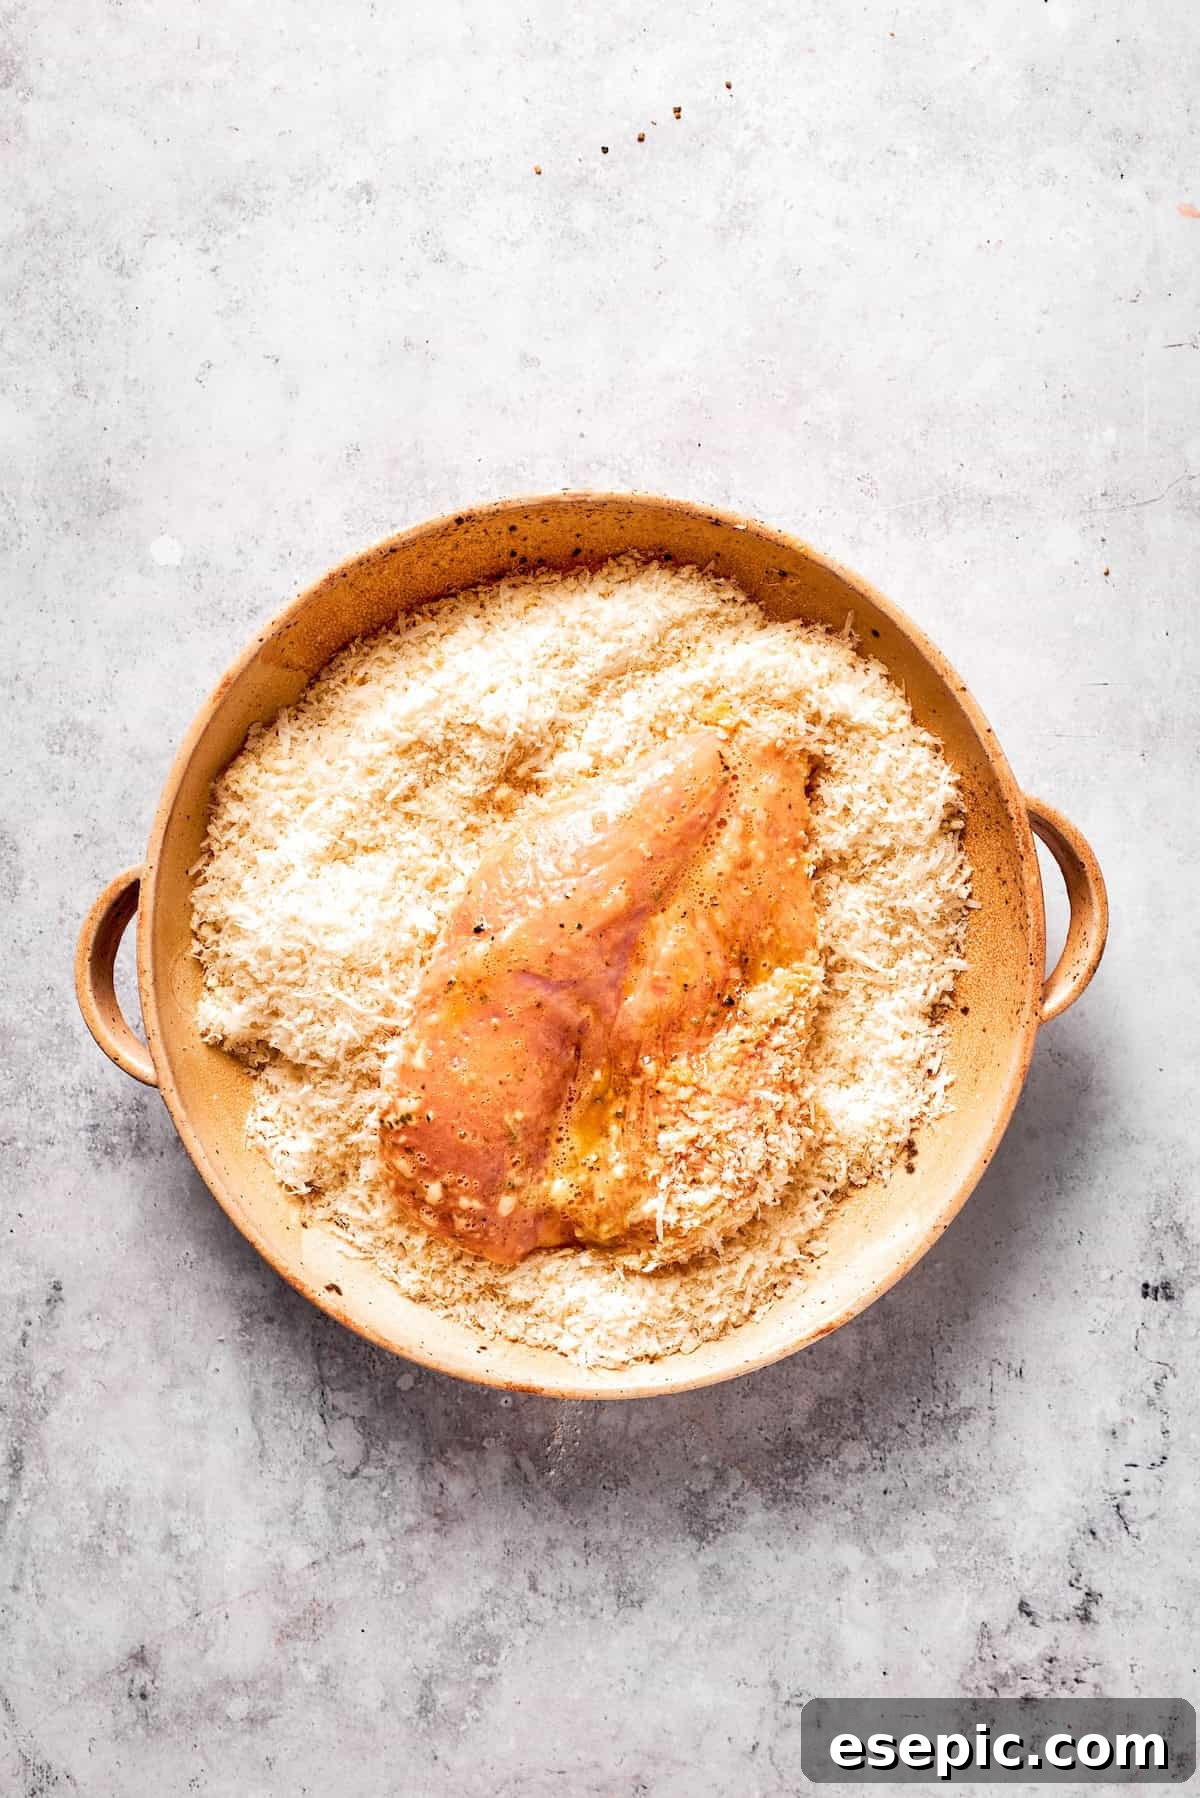
- Cheese and Crumb Coating: Place the egg-coated cutlet into the breadcrumb and cheese mixture. Press down gently but firmly to ensure the coating adheres well and fully covers both sides.
- Repeat and Organize: Transfer the fully breaded cutlet to a clean plate. Continue this breading process with all remaining chicken pieces, arranging them in a single layer until ready to cook.
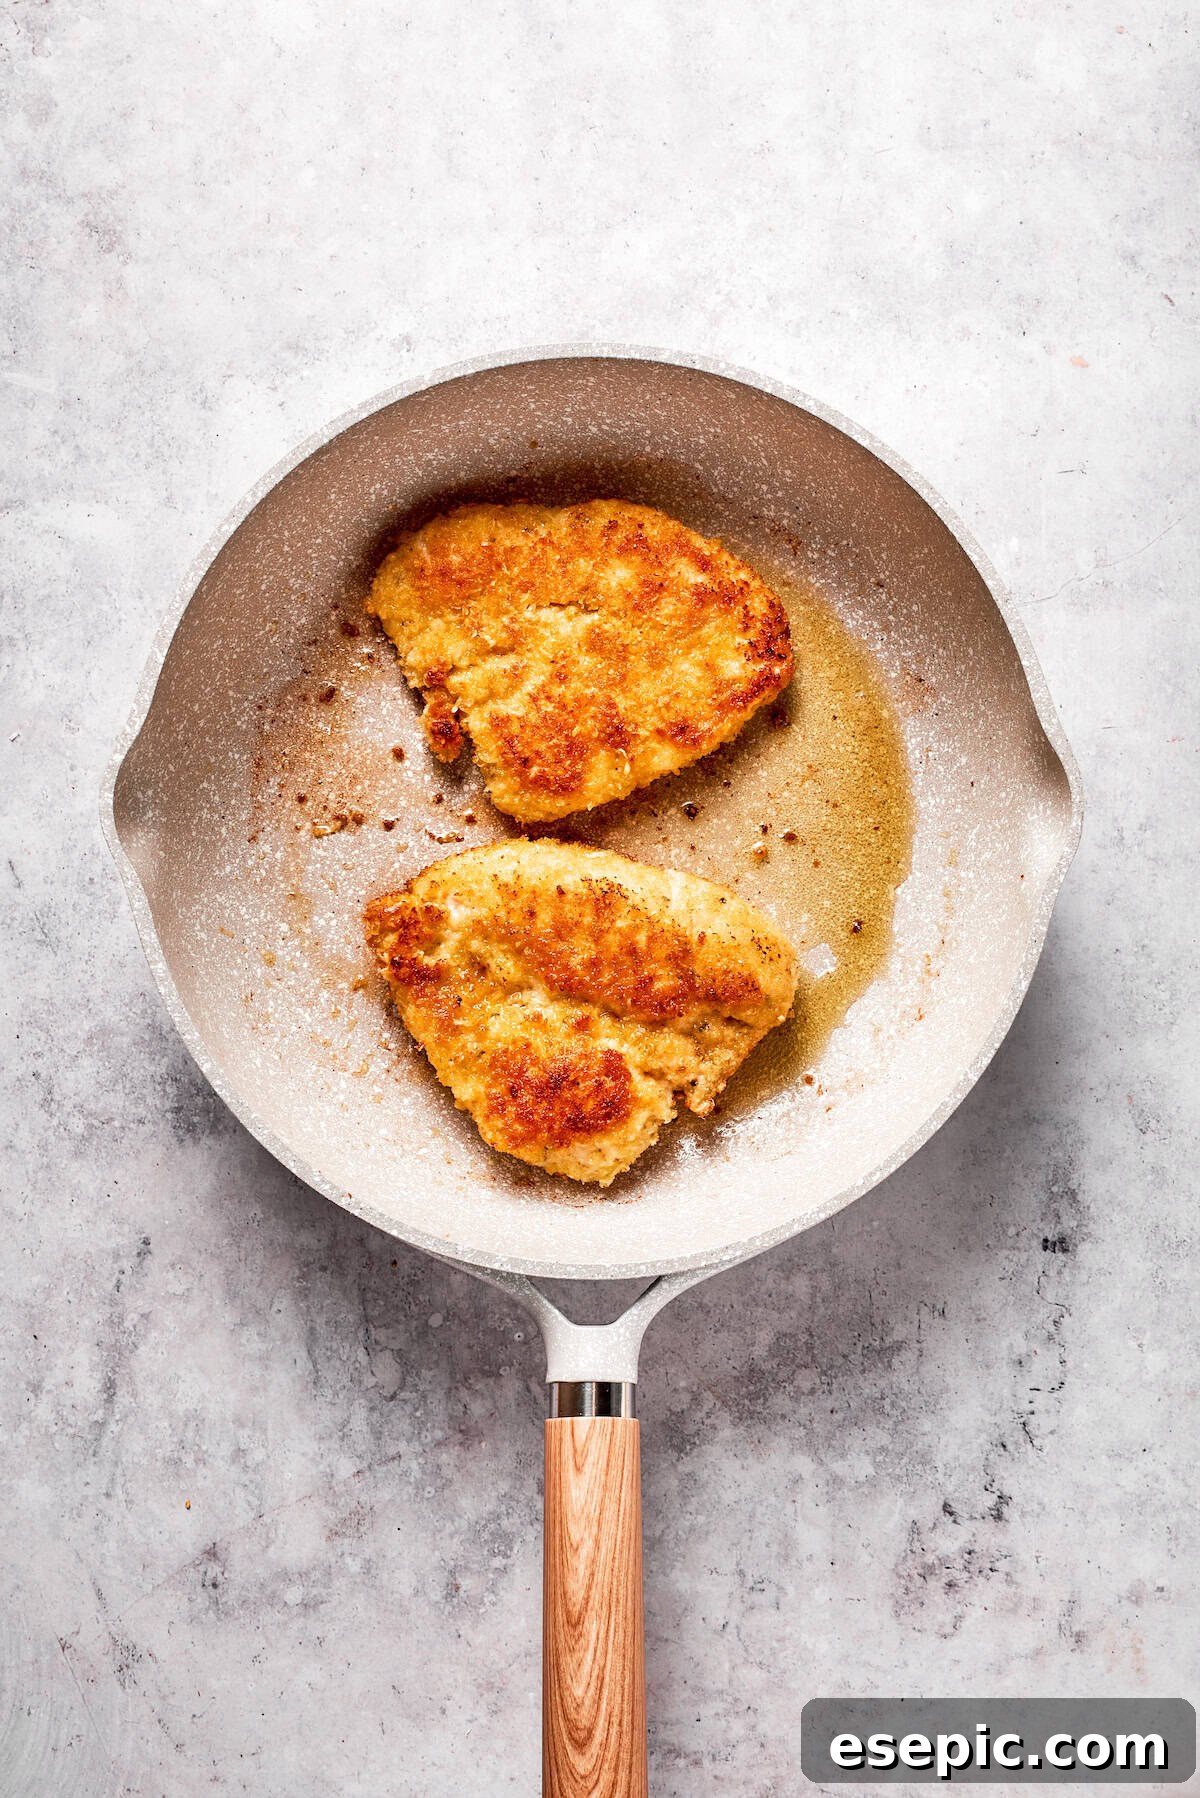
- Cook the Chicken: Heat vegetable oil in a large skillet over medium heat. Carefully place 2-3 breaded chicken pieces into the hot oil and fry for 3-4 minutes per side, or until they are golden brown, crispy, and cooked through. Remove to a paper towel-lined plate.
- Prepare Pasta & Sauce: While the chicken cooks, prepare your spaghetti according to package directions. Simultaneously, warm your marinara sauce in a saucepan. Once both are ready, toss the drained spaghetti with the warmed marinara sauce until fully coated.
- Assemble Your Plate: Divide the sauced spaghetti among your serving plates, creating neat mounds if desired. Place one crispy Crusted Chicken Romano cutlet on top of each portion of pasta. Garnish with fresh basil and an extra sprinkle of Romano cheese, then serve immediately.