
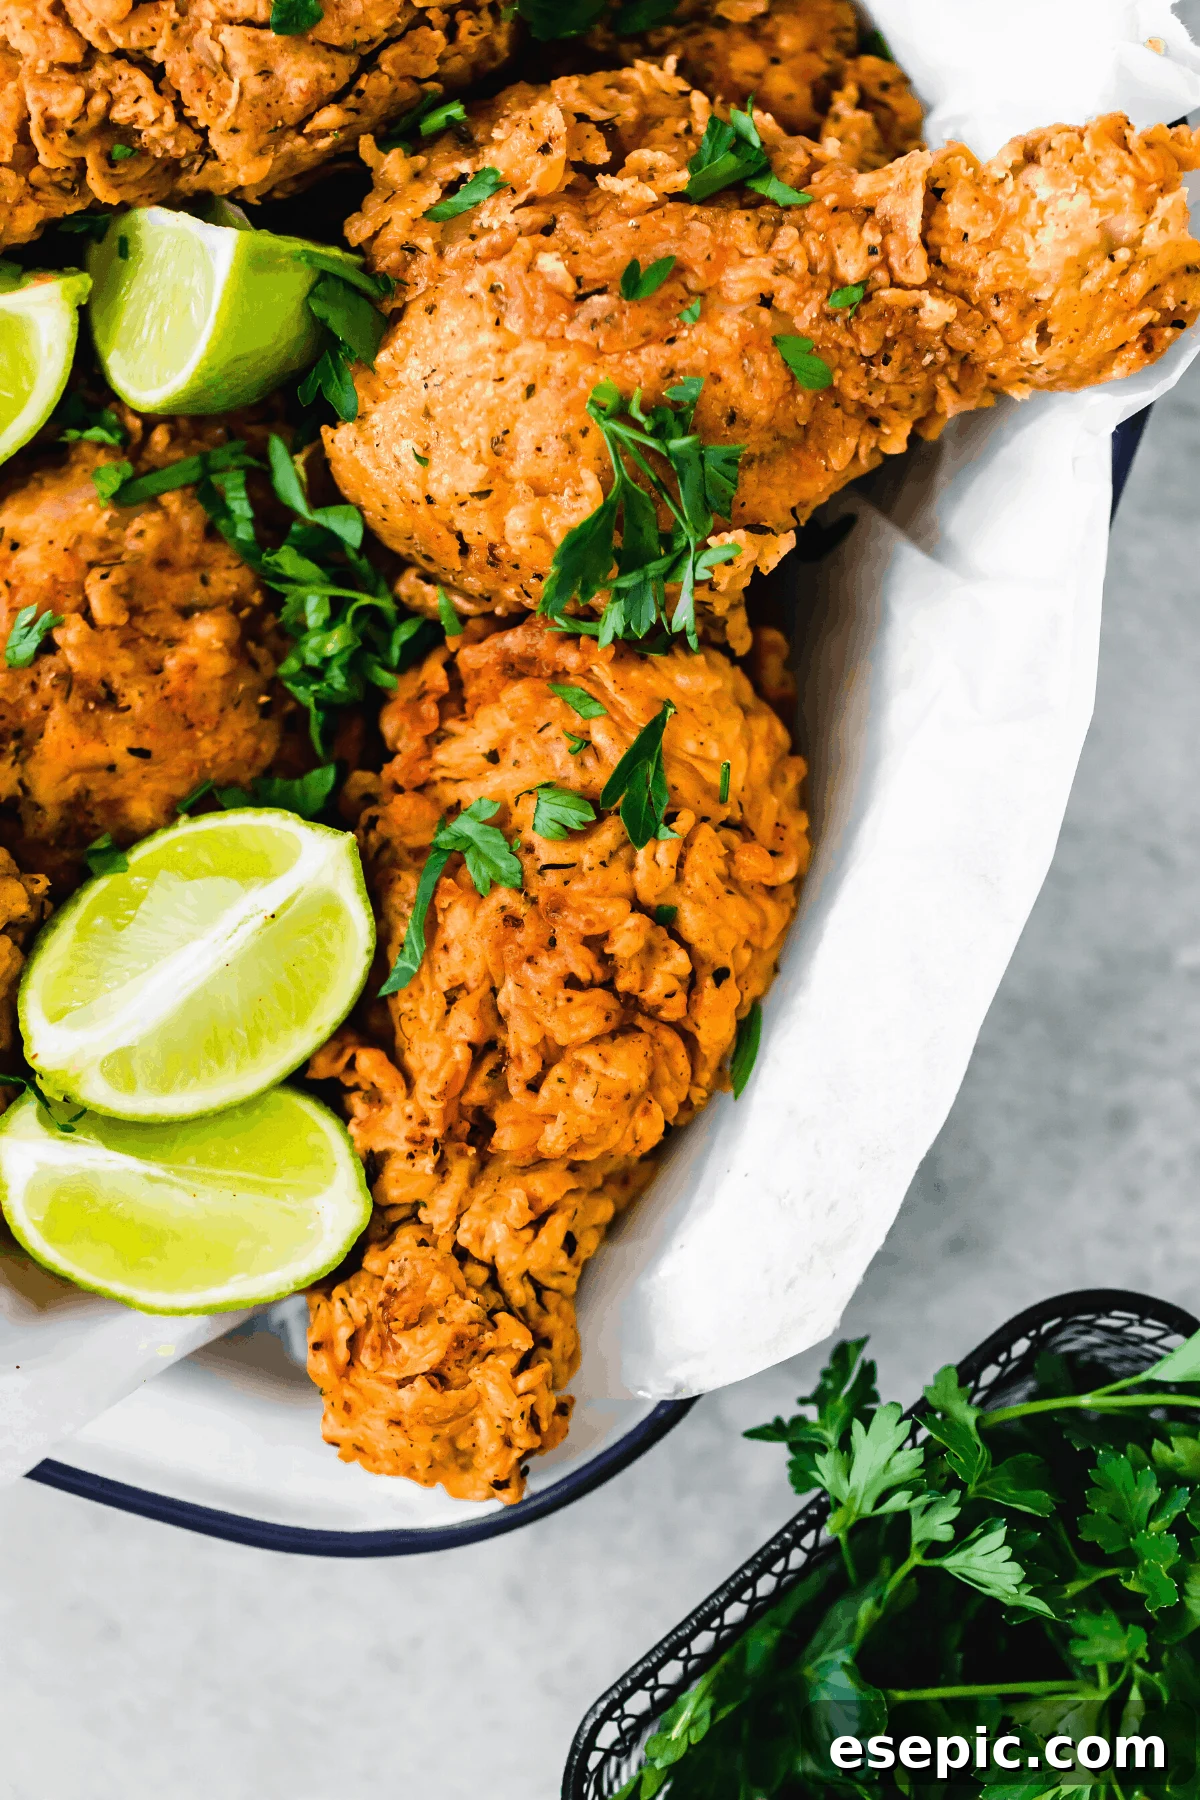
Welcome to the ultimate guide for crafting the most delectable **Buttermilk Fried Chicken** you’ll ever taste! This classic Southern comfort food is a true culinary masterpiece, renowned for its irresistible crispy, golden-brown coating and incredibly juicy, tender meat. While many recipes focus on mixed chicken pieces, our version specifically utilizes all dark meat – drumsticks and thighs – to guarantee an unparalleled succulent result. The secret lies in a flavorful buttermilk marinade that works wonders, tenderizing the chicken and creating the perfect canvas for our savory, crunchy breading.
There’s nothing quite like a plate of perfectly fried chicken to bring smiles to the table. Whether you’re planning a casual weeknight dinner, a festive Sunday gathering, or simply craving a taste of authentic Southern hospitality, this recipe delivers every time. If you’re a fan of hearty, comforting meals, you might also enjoy exploring other Southern-inspired dishes like our robust Chicken Fried Steak or the equally delicious and crispy Beer Battered Chicken. Get ready to transform your kitchen into a haven of aromatic bliss and create fried chicken that will become an instant family favorite!
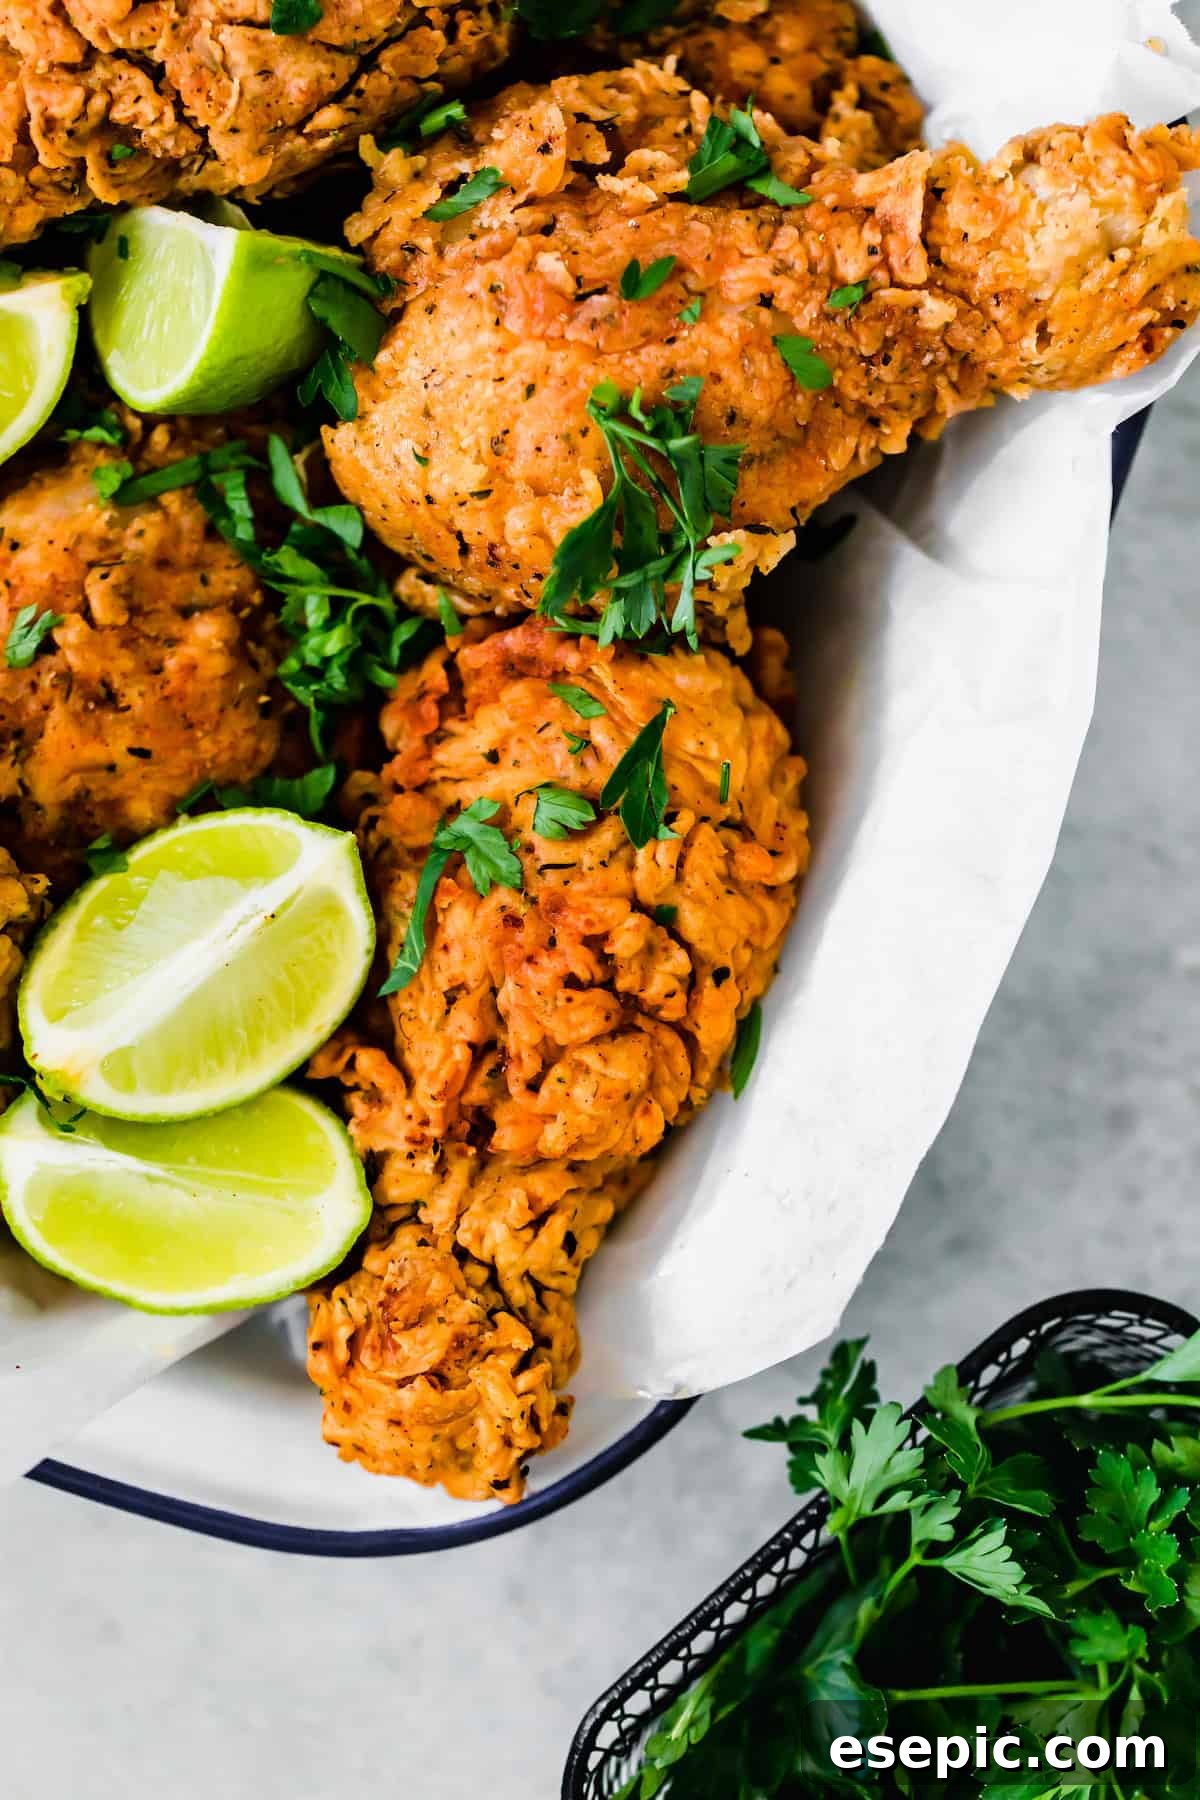
The Art of Crispy Buttermilk Fried Chicken
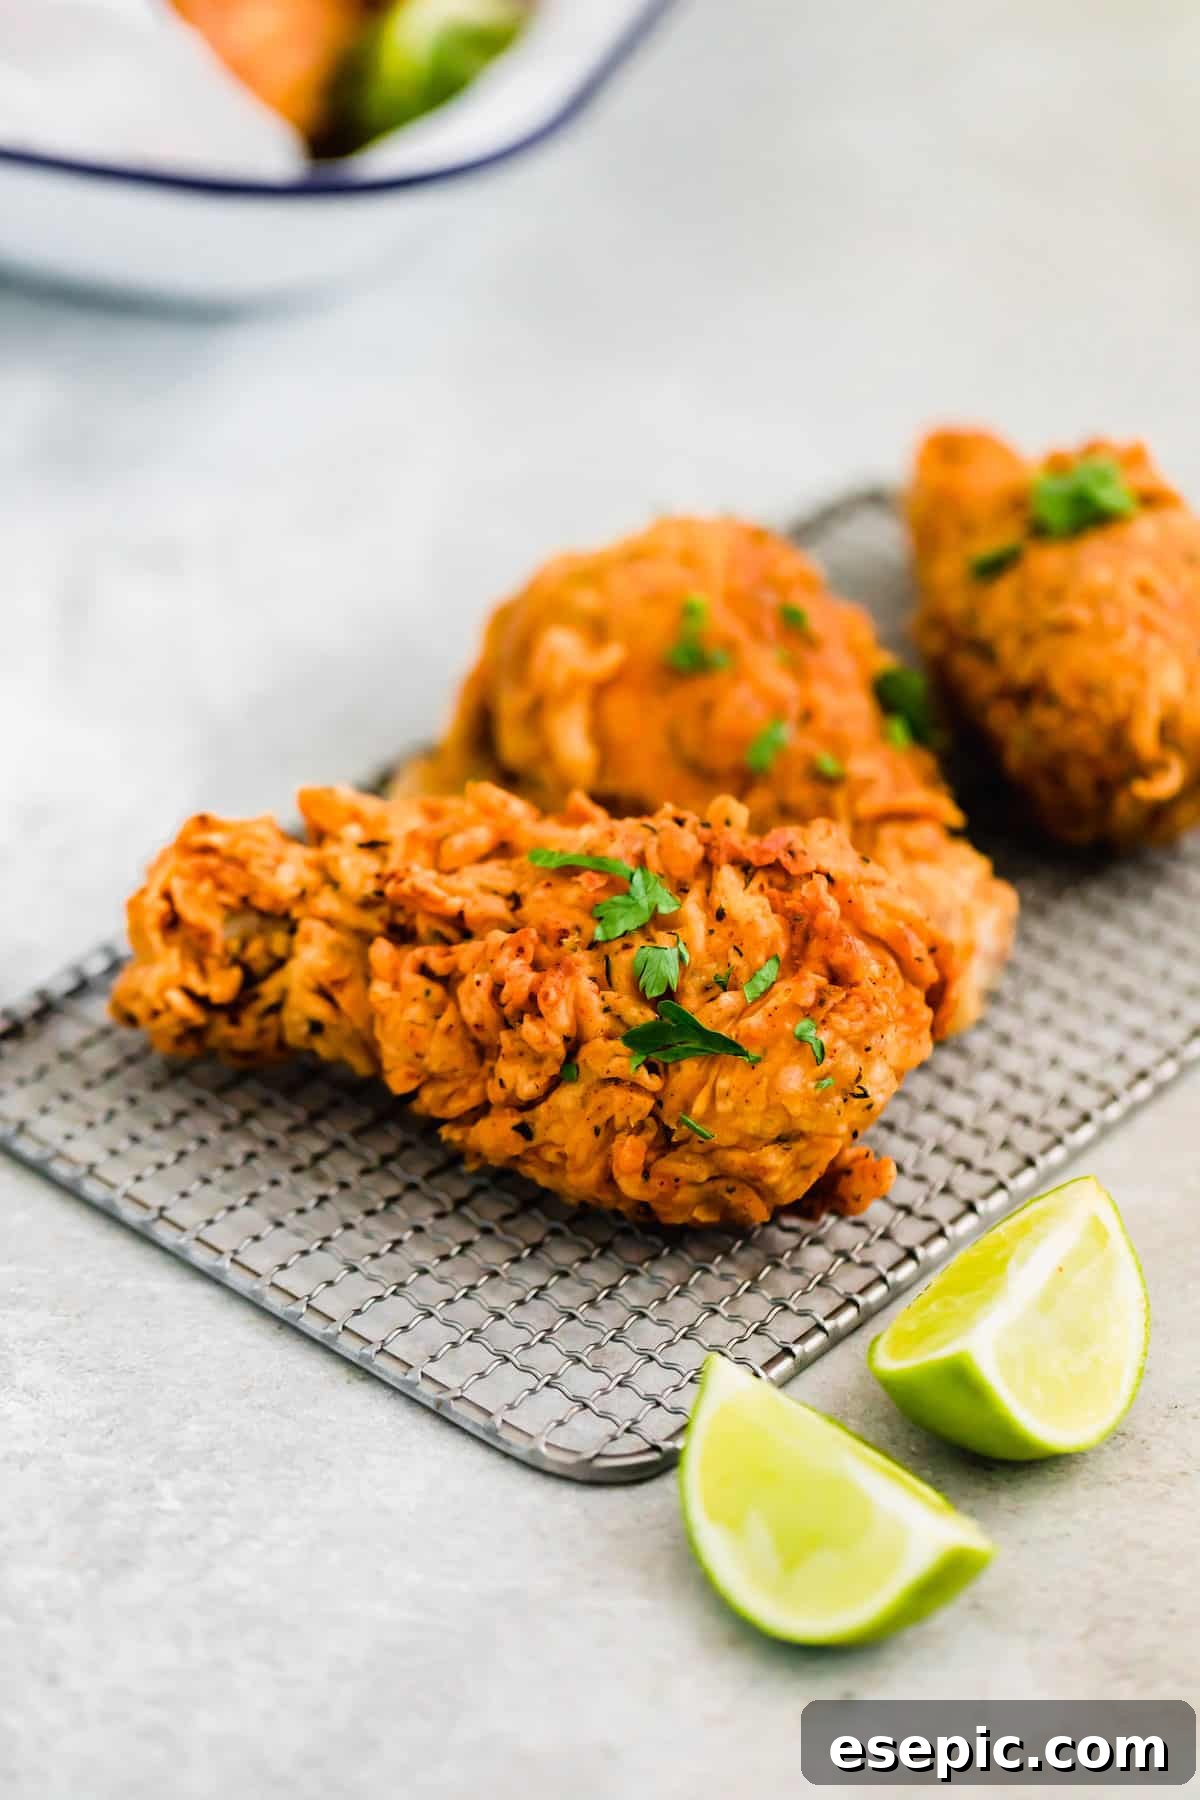
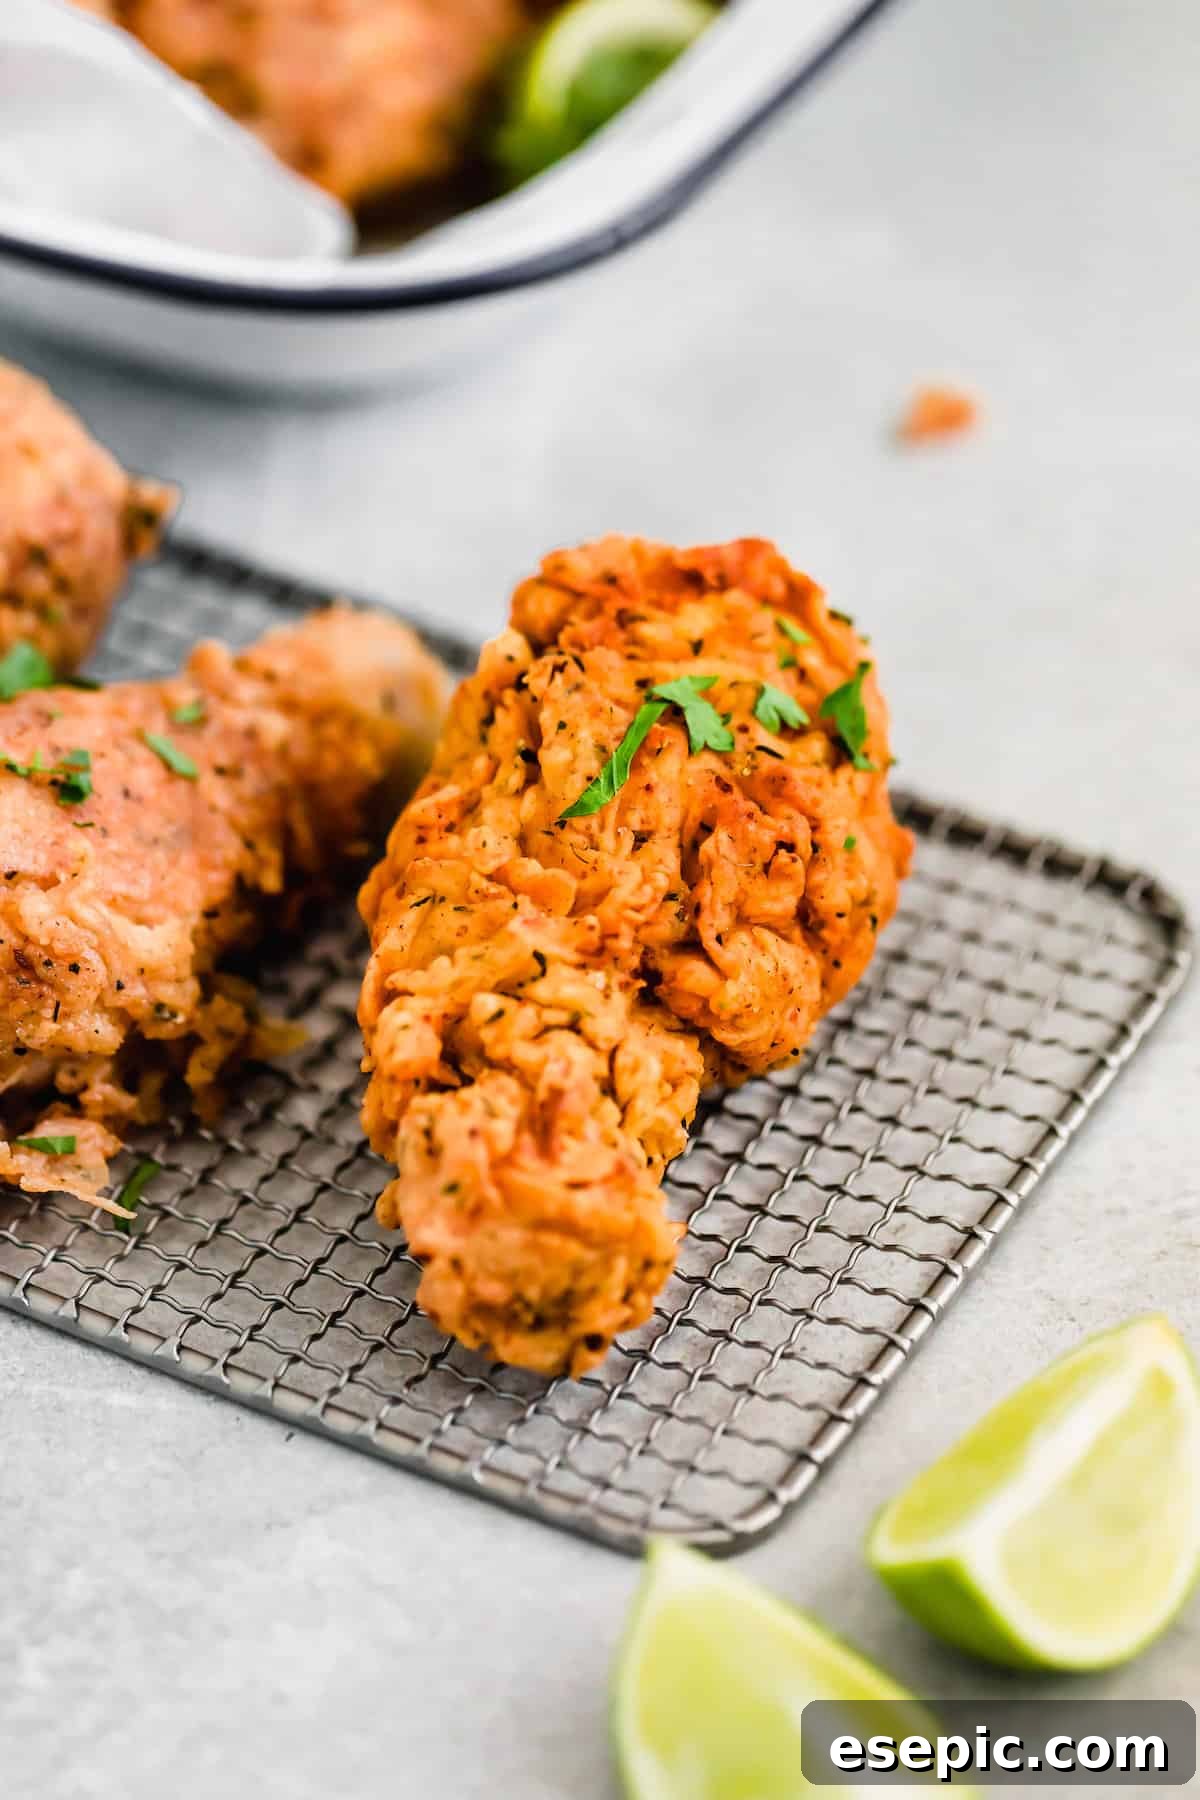
There’s a reason why classic buttermilk fried chicken holds such a special place in the hearts of food lovers worldwide. This isn’t just a meal; it’s an experience. Each piece emerges from the hot oil with a dazzling golden-brown crust, giving way to an explosion of savory flavor and satisfying crunch. Beneath that irresistible exterior lies chicken so moist and tender, it practically melts in your mouth.
This timeless recipe is engineered to produce a hot, juicy heap of sizzling chicken pieces, all perfectly seasoned and cooked to perfection. It’s a versatile dish that truly shines in any setting. Imagine serving this mouthwatering chicken dinner on a busy weeknight alongside a pile of golden fries, or elevating it for a relaxed Sunday evening with creamy mashed cauliflower and fluffy butter swim biscuits. The beauty of fried chicken is its adaptability – it can be dressed up for a special occasion or served simply for everyday enjoyment. No matter how you choose to enjoy it, our crispy buttermilk fried chicken promises a truly unforgettable meal. 🍽
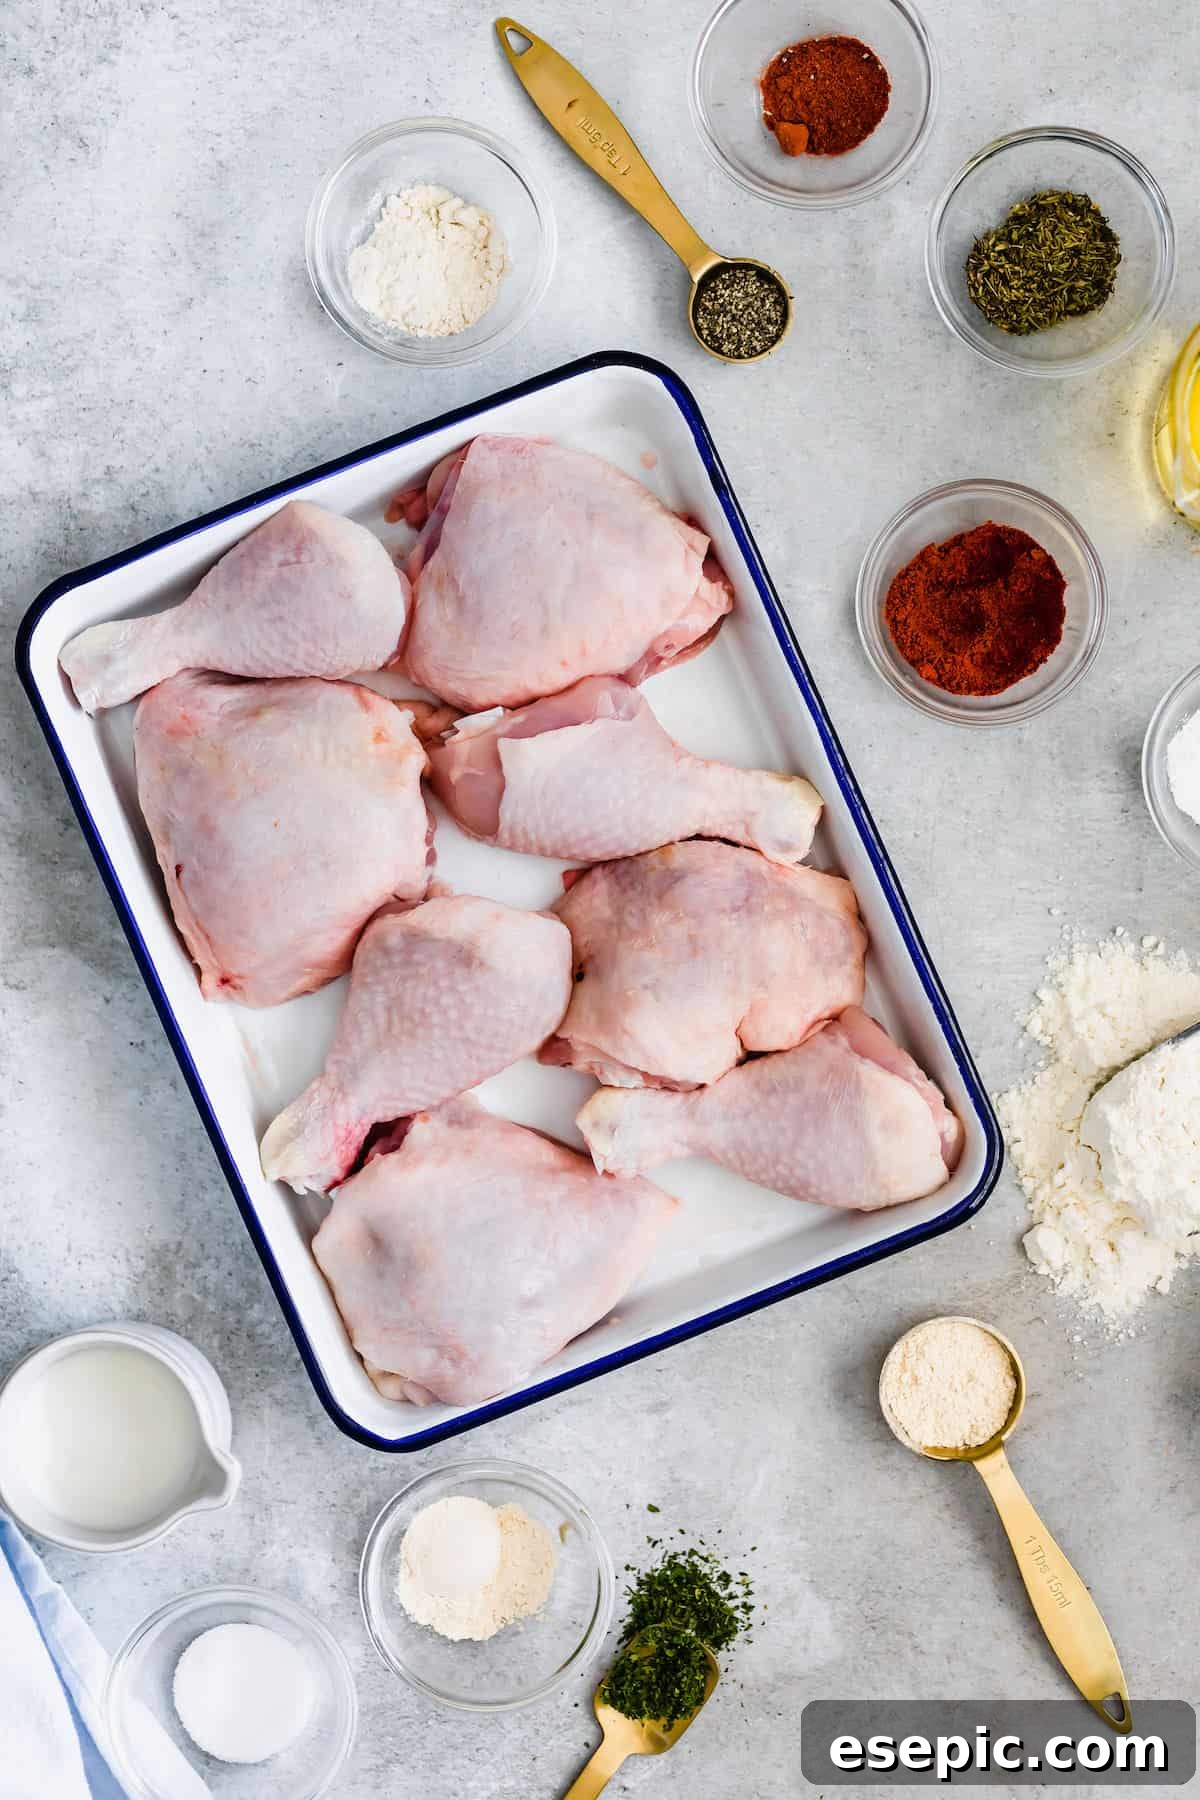
Essential Ingredients for Perfect Fried Chicken
Crafting the perfect buttermilk fried chicken starts with selecting the right ingredients. While the list might appear extensive at first glance, don’t be deterred! It breaks down into three straightforward components: the chicken itself, the tangy buttermilk marinade, and the seasoned flour mixture that creates that iconic crispy crust. Each element plays a crucial role in achieving the desired flavor and texture.
For the Chicken Selection and Frying
- Frying Oil: The choice of oil is paramount for deep frying. You’ll need a generous amount of oil with a high smoke point to ensure a truly crispy crust without burning. Vegetable oil is a common and reliable choice, but peanut oil, canola oil, or even shortening can be used. Ensure you have enough oil to create a depth of approximately two inches in your chosen frying vessel, whether it’s a sturdy pot, a Dutch oven, or a deep skillet.
- Chicken Drumsticks & Thighs: This recipe specifically calls for four bone-in chicken drumsticks and four bone-in chicken thighs. Dark meat is favored here for its inherent juiciness and rich flavor, which holds up beautifully to the frying process. You can opt for skinless or skin-on chicken; skin-on will yield a richer flavor and an even crispier exterior. Make sure your chicken pieces are roughly similar in size for even cooking.
- Fresh Herbs for Garnish: A sprinkle of freshly chopped parsley or other fresh herbs like chives or cilantro adds a touch of vibrant color and a burst of fresh flavor to the finished dish. It’s an optional but highly recommended flourish.
For the Flavorful Flour Mixture
- All-Purpose Flour: The foundation of our crispy coating is one cup of all-purpose flour. This creates a robust base that adheres well to the buttermilk-marinated chicken. For those with dietary restrictions, gluten-free flour blends can be used, and some adventurous cooks even experiment with almond flour, though all-purpose flour generally delivers the most classic and satisfying results.
- Baking Powder: A teaspoon of baking powder is a key ingredient for achieving that coveted light, airy, and extra-crispy finish. It reacts with the heat, creating tiny air pockets in the coating.
- Aromatic Spices: Our flour mixture is generously seasoned with a thoughtfully chosen blend of spices. This includes rich smoked paprika for depth, garlic powder and onion powder for an umami kick, a touch of cayenne pepper for a subtle warmth, and earthy dried thyme and parsley for a herbaceous note. This combination ensures every bite is bursting with flavor.
- Salt & Pepper: Essential for balancing and enhancing all the other flavors. We recommend adjusting to your personal taste.
For the Tangy Buttermilk Marinade
- Buttermilk: The star of the marinade, you’ll need three cups of buttermilk. Its creamy texture and mild acidity are crucial for both tenderizing the chicken and imparting a unique tangy flavor.
- Salt and Cracked Black Pepper: Seasoning the marinade ensures flavor penetrates deep into the chicken. Using cracked black pepper instead of finely ground adds a more robust pepper flavor and a pleasant textural element.
- Garlic Powder and Thyme: These essential seasonings complement the buttermilk beautifully, infusing the chicken with an aromatic and earthy flavor profile that truly brings out its best.
The Magic of the Buttermilk Soak: Flavor and Tenderness Unleashed
Soaking chicken pieces in buttermilk isn’t just a traditional step; it’s a culinary technique that achieves two vital goals, resulting in superior fried chicken. First, the buttermilk infuses the chicken with an incredible depth of flavor. Its creamy, slightly tangy profile penetrates the meat, adding a richness that plain milk or water simply cannot. This creates a more complex and satisfying taste from the inside out.
Second, and equally important, the natural acidity present in buttermilk acts as a gentle tenderizer. This mild acid works by subtly breaking down some of the tough protein structures in the chicken before cooking. Unlike stronger marinades that can sometimes make meat mushy, buttermilk tenderizes without compromising texture, leaving the chicken with both robust body and remarkable tenderness. The result is fried chicken that is not only packed with flavor but also incredibly juicy and soft, a hallmark of truly exceptional Southern fried chicken. For optimal results, aim for at least 4-6 hours of marination, though overnight (up to 24 hours) will yield even more tender and flavorful chicken.

Step-by-Step: How to Make Irresistible Buttermilk Fried Chicken
Making truly exceptional buttermilk fried chicken is simpler than you might imagine, provided you follow a few key steps and prepare properly. Before you even begin, set yourself up for success. Have a large roasting pan, a sturdy sheet pan, or a wide platter ready, lined with several layers of paper towels. This will be your landing spot for the freshly fried chicken, allowing excess oil to drain off and helping to maintain that desirable crispiness. Trust me on this—I’ve made the mistake of rushing and scrambling for a plate at the last minute too many times!
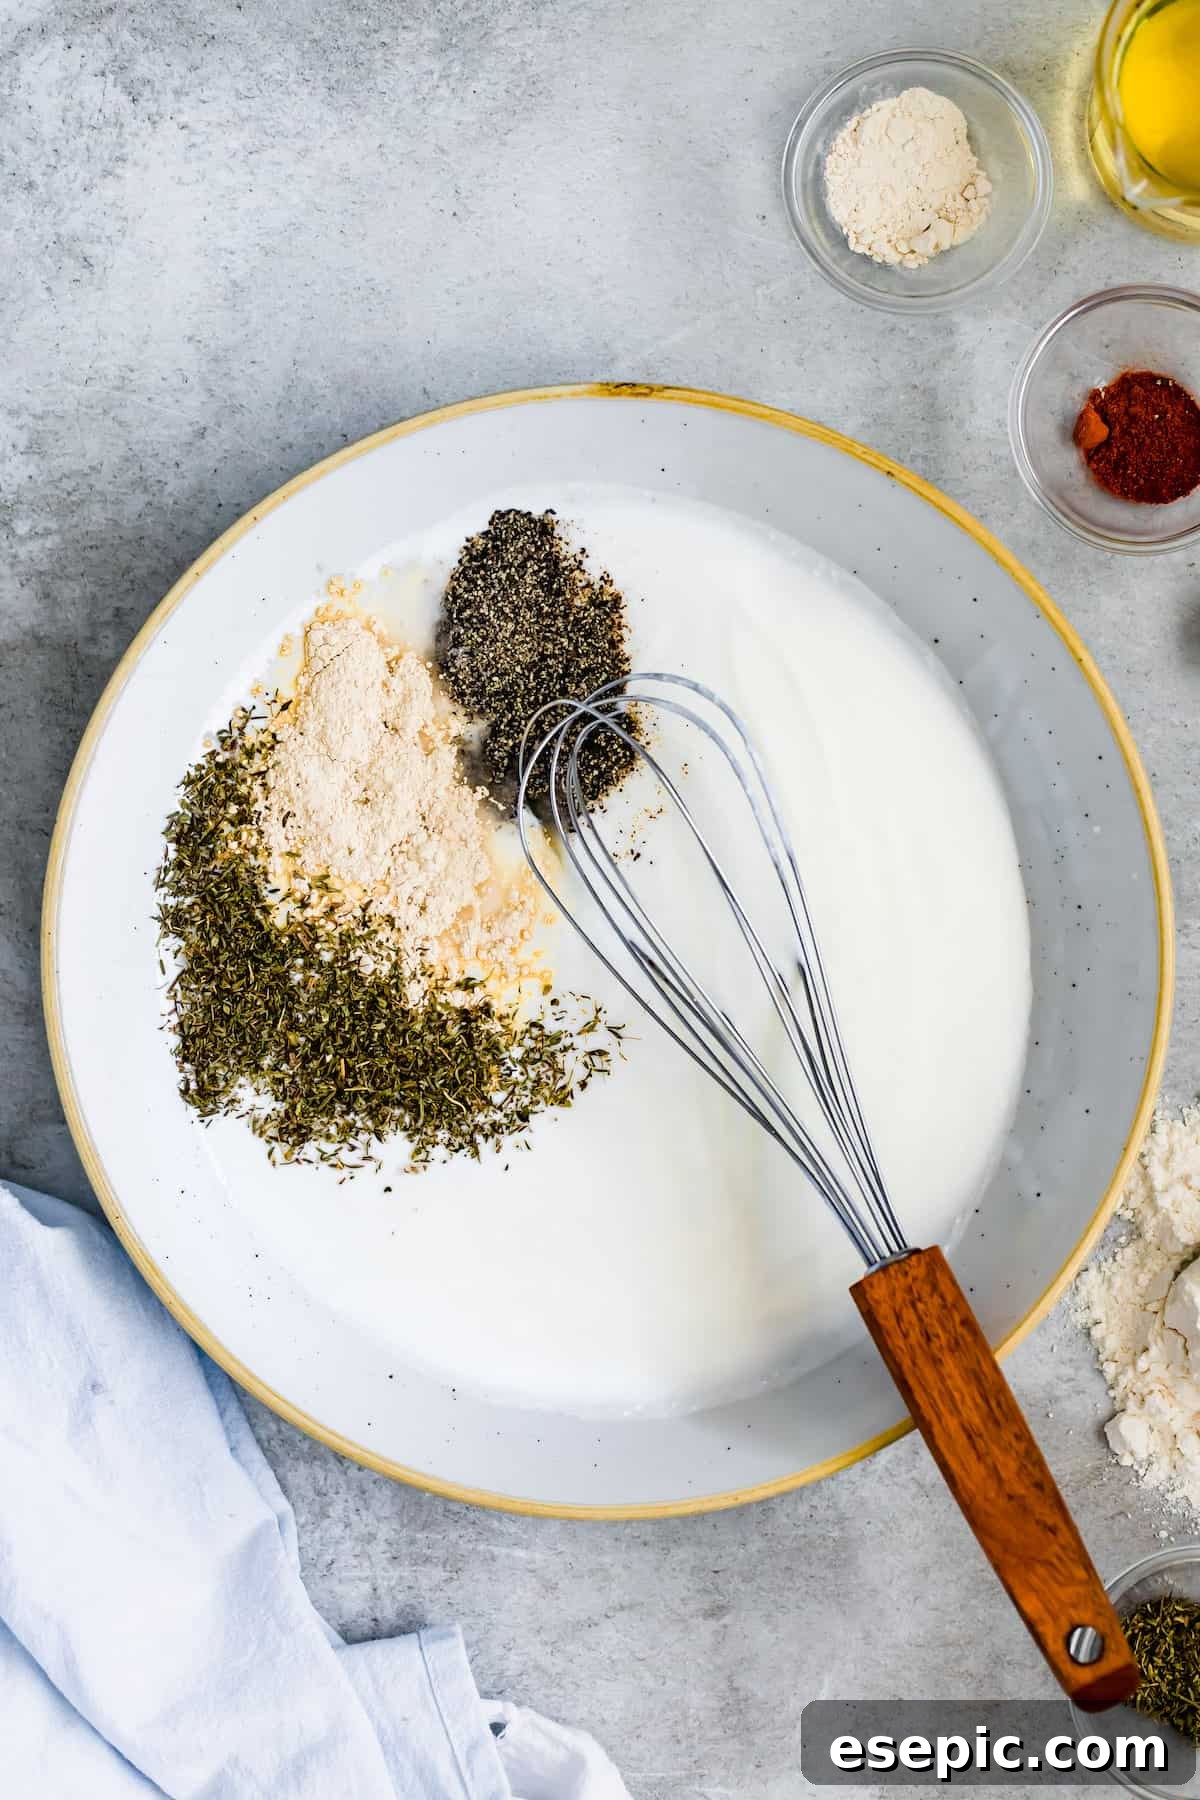
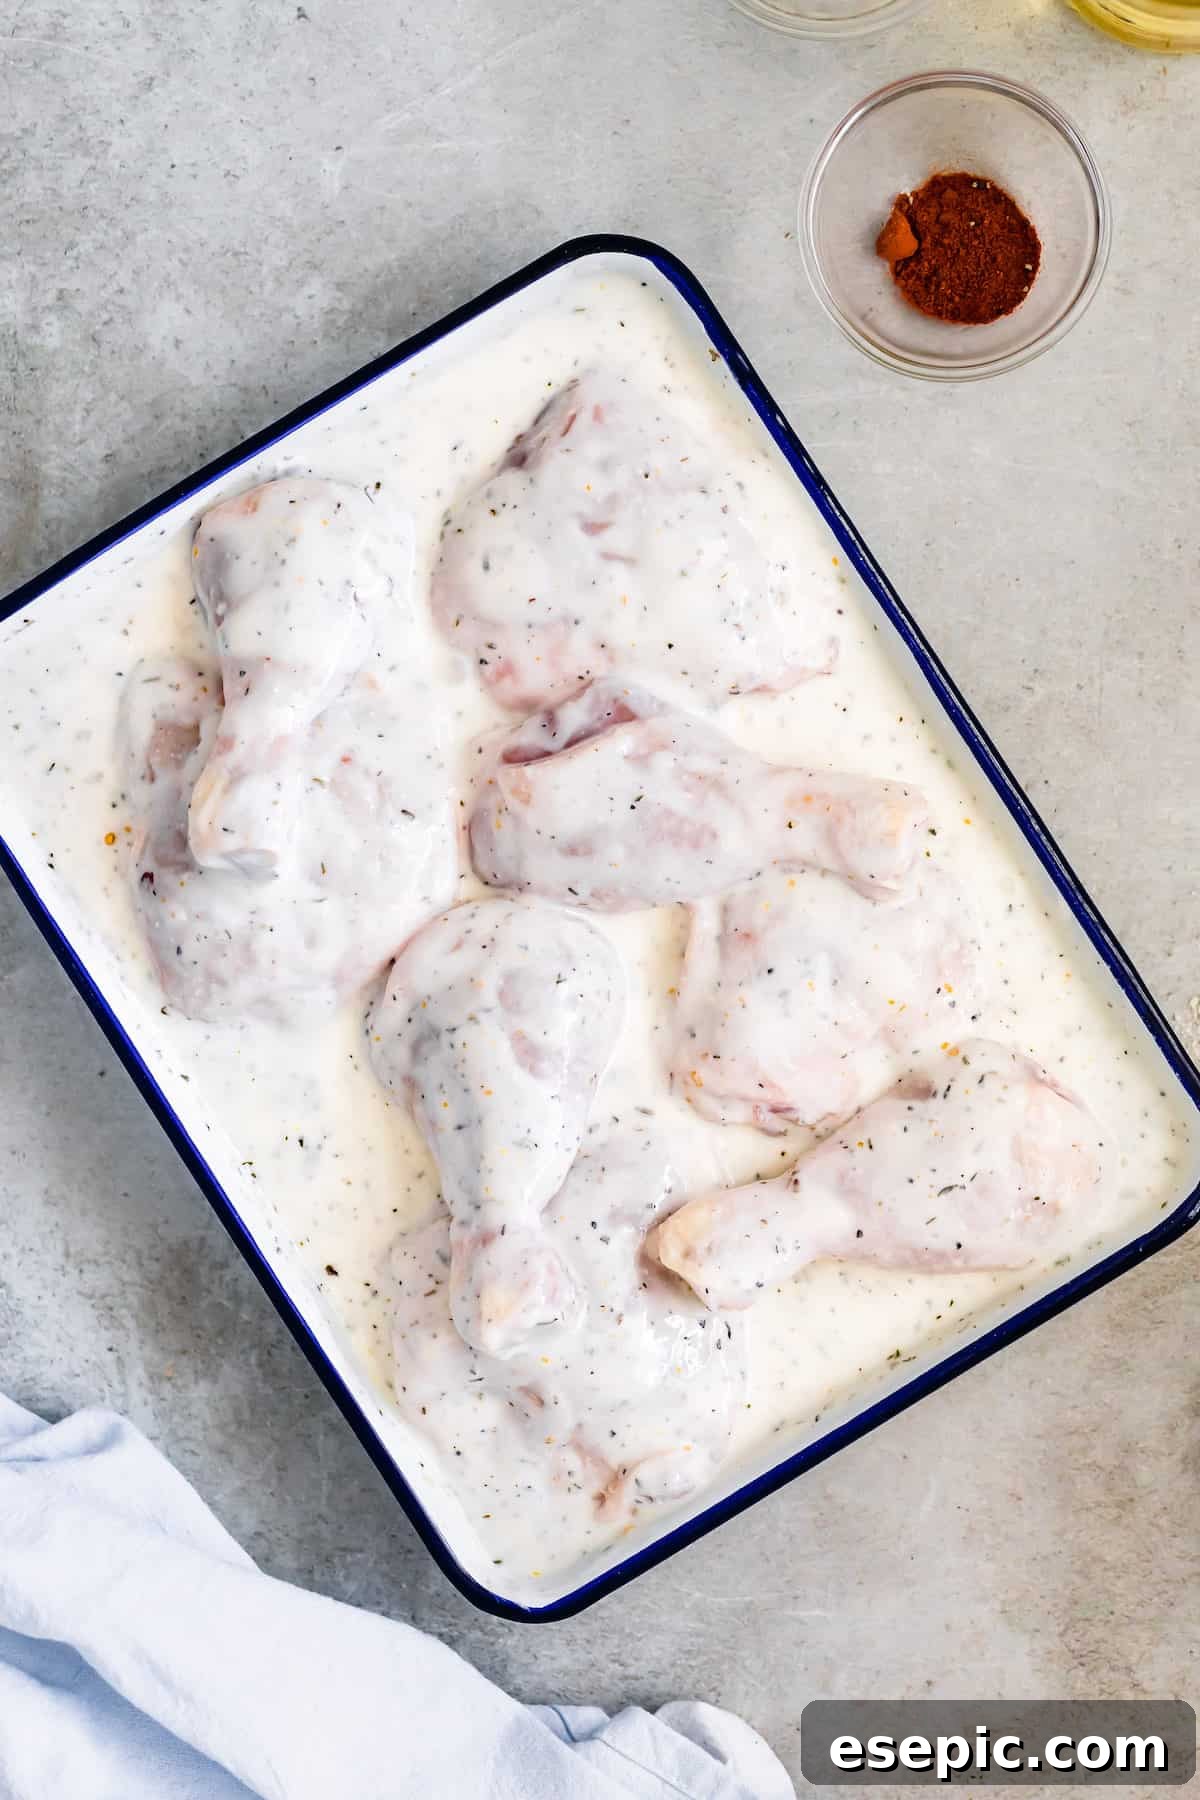
- Marinate the Chicken for Maximum Flavor: In a large bowl, whisk together all the ingredients for the buttermilk mixture (buttermilk, salt, cracked black pepper, dried thyme, and garlic powder). Add your chicken drumsticks and thighs to this flavorful marinade, ensuring each piece is fully submerged and coated. Cover the bowl tightly with plastic wrap and refrigerate for a minimum of 6 hours. For the most tender and flavorful results, marinating overnight (up to 24 hours) is highly recommended. This extended soak is key to the chicken’s tenderness and deeply absorbed flavor.
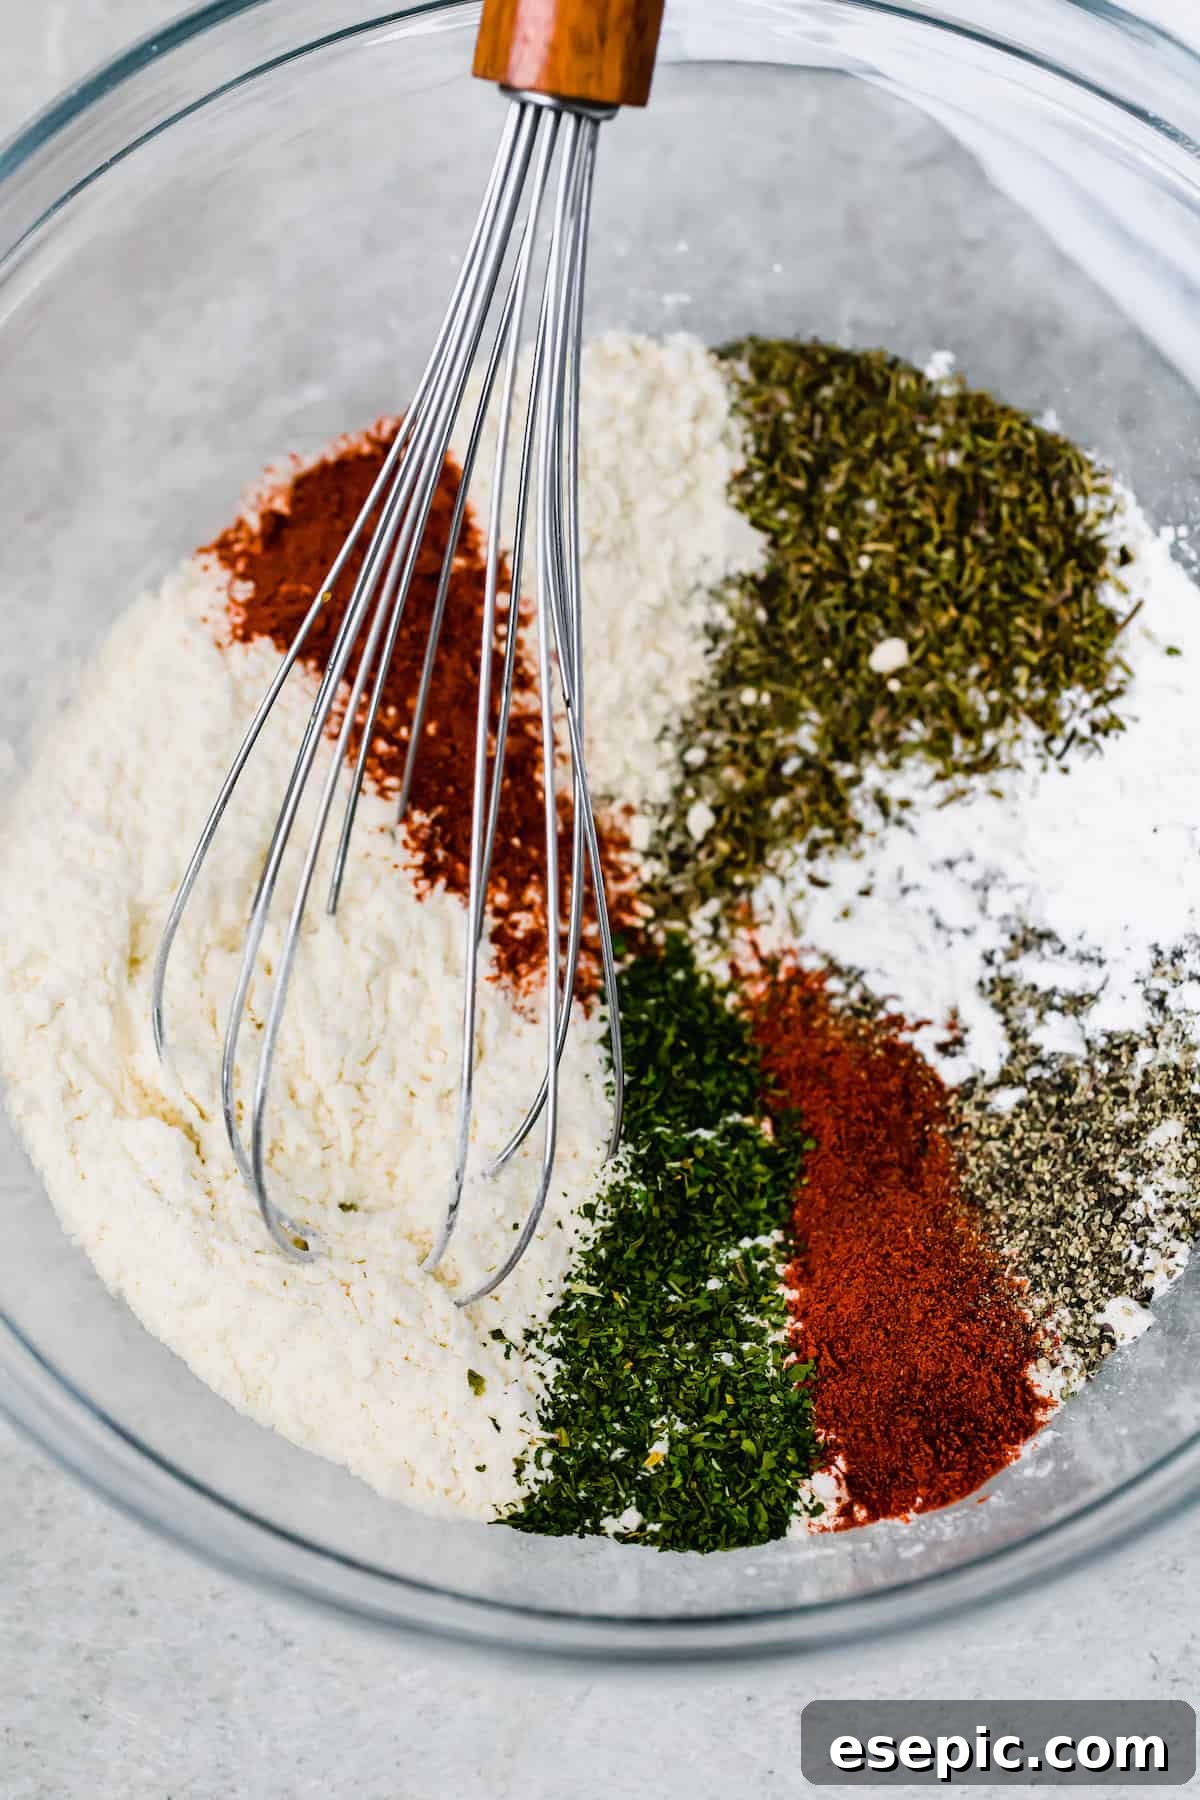
- Prepare the Crispy Coating: When you’re ready to cook, combine all the ingredients for the flour dredging mixture (all-purpose flour, baking powder, smoked paprika, garlic powder, onion powder, cayenne pepper, dried thyme, dried parsley, salt, and cracked black pepper) in a separate large mixing bowl. Whisk everything together thoroughly until well combined and evenly distributed.
- Dredge the Chicken for the Perfect Crust: Working with one piece of chicken at a time, remove it from the buttermilk mixture, allowing any excess marinade to drip off. Transfer the chicken directly into the seasoned flour mixture. Ensure the chicken is completely coated, pressing the flour onto all surfaces. Gently shake off any excess flour. Repeat this process for all chicken pieces. For an extra-crispy crust, consider a double dredge: after the first flour coating, dip the chicken back into a fresh bowl of buttermilk (or a beaten egg) and then dredge it in the flour mixture a second time.
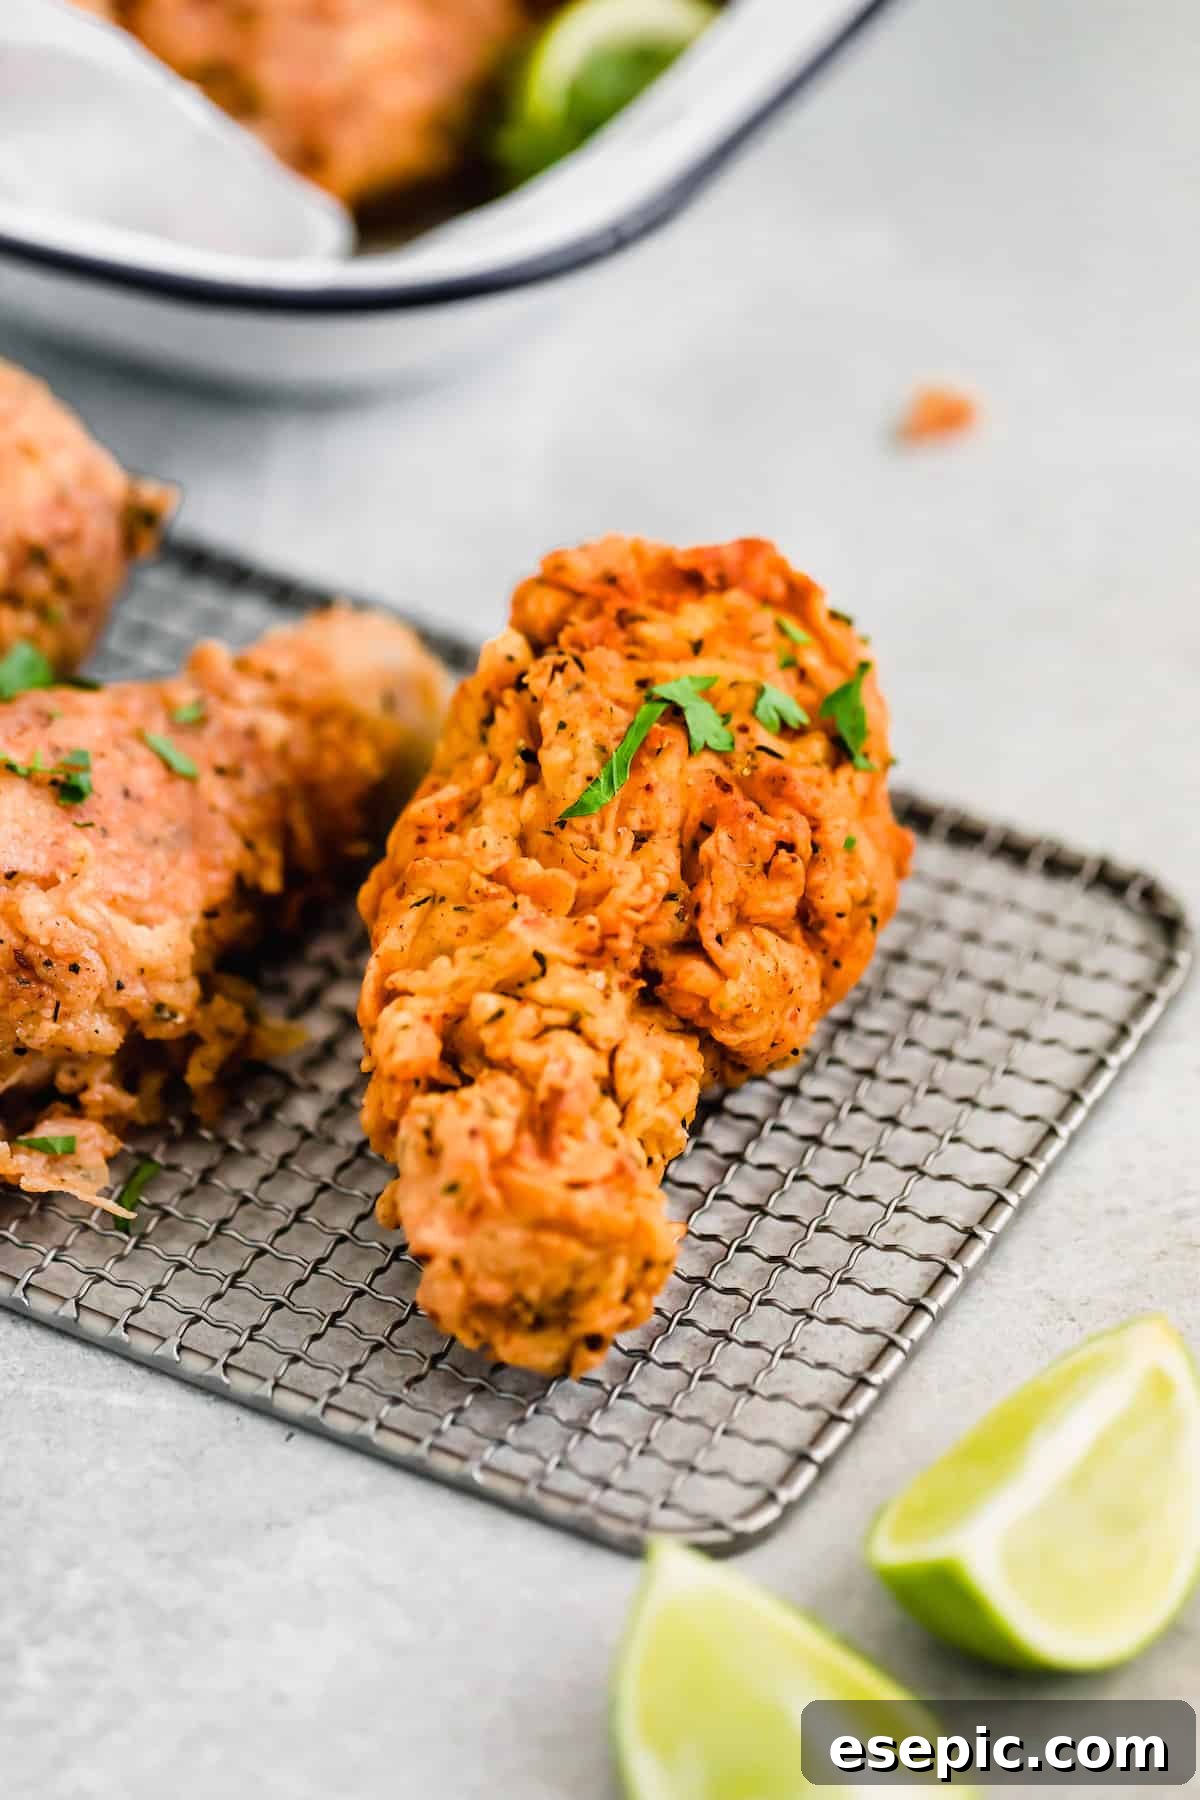
- Deep Fry to Golden Perfection: Pour your chosen frying oil into a deep skillet, Dutch oven, or large pot. The oil should be about 1.5 to 2 inches deep. Heat the oil over medium-high heat until it reaches a steady temperature of 350°F (175°C). Use a thermometer to accurately monitor the temperature, as consistent heat is crucial for perfectly cooked chicken. Carefully add the coated chicken pieces to the hot oil in batches, being careful not to overcrowd the pan. Overcrowding can lower the oil temperature and result in soggy chicken. Cook for approximately 15 minutes, turning the chicken halfway through, until it is golden brown on all sides and the internal temperature reaches 165°F (74°C) as measured with an instant-read thermometer.
- Drain and Serve Immediately: Once the chicken is thoroughly cooked and beautifully golden, carefully remove it from the oil using tongs and transfer it to your prepared pan lined with paper towels. This allows any excess oil to drain off, preserving the crispy crust. Serve your buttermilk fried chicken immediately, garnished with fresh herbs if desired, or keep it warm in a low oven (around 200°F / 93°C) until you’re ready to serve. Enjoy this magnificent homemade meal!
Expert Tips for the Best Homemade Fried Chicken
Achieving that perfectly crispy, juicy, and flavorful fried chicken isn’t just about following the recipe – it’s also about incorporating a few expert techniques. Heed these tips to elevate your buttermilk fried chicken from great to truly extraordinary. I can’t wait for you to give this amazing recipe a try!
- Buttermilk Substitutions: Don’t have buttermilk on hand, or prefer an alternative? No problem! You can easily “sour” your favorite milk at home. For every cup of milk (whole milk, soy milk, almond milk, or coconut milk work well), simply stir in one tablespoon of lemon juice or white vinegar. Let it sit for 5-10 minutes until it slightly thickens and curdles. Alternatively, plain yogurt or sour cream, thinned with a little water or milk until it reaches a pourable consistency, can also be used.
- Double-Dredge for Maximum Crispiness: For an exceptionally thick, craggy, and crispy coating, employ the double-dredge technique. After the first coating in the seasoned flour mixture, dip the chicken piece back into a fresh bowl of buttermilk (or a beaten egg) and then return it to the flour mixture for a second thorough coating. This creates extra layers of crunch and ensures no spot is missed.
- Maintain Optimal Oil Temperature: This is arguably the most crucial tip for perfect fried chicken. The oil temperature should consistently stay between 350°F (175°C) and 375°F (190°C). If the oil is too cool, the chicken will absorb too much oil, resulting in a greasy, soggy crust. If it’s too hot, the exterior will burn before the interior is cooked through. Use a reliable thermometer and adjust heat as needed. A key part of maintaining temperature is not to overcrowd the pan, as this significantly drops the oil’s heat. Fry in small batches!
- Don’t Skimp on Marinating Time: While a minimum of 6 hours is suggested, the longer the chicken marinates in the buttermilk (up to 24 hours), the more tender and flavorful it will become. Plan ahead for the best results.
- Rest the Dredged Chicken: After dredging, let the coated chicken rest on a wire rack for 10-15 minutes before frying. This allows the flour mixture to absorb some moisture and adhere better to the chicken, reducing the chance of the coating falling off during frying and creating a crispier crust.
- Safety First with Hot Oil: Always be cautious when working with hot oil. Use a deep, heavy-bottomed pot, never fill it more than halfway, and keep a lid nearby to smother any potential oil fires. Never add water to hot oil.

Delicious Serving Suggestions for Buttermilk Fried Chicken
Buttermilk fried chicken is one of those fantastic main dishes that truly pairs well with a seemingly endless array of side dishes. Its savory, crispy, and juicy profile makes it a versatile canvas for many culinary creations. Here are some of my favorite accompaniments to complete your comfort food feast:
- Fries Galore: A classic pairing that never disappoints! I love fries anytime and with anything, and these pizza fries or my amazing garlic fries are fantastic choices. For a lighter yet equally satisfying option, Air Fryer zucchini fries are like a party in your mouth, especially when paired with the rich flavor of buttermilk fried chicken!
- Creamy Mashed Cauliflower: For a delightful, low-carb alternative to traditional mashed potatoes, creamy mashed cauliflower is an excellent choice. In addition to the mashed cauliflower recipe I mentioned earlier, this Instant Pot loaded mashed cauliflower would be incredibly flavorful and amazing with fried chicken!
- Classic Pasta Salad: The undisputed queen of potlucks and picnics everywhere, a refreshing macaroni salad offers a wonderful textural and temperature contrast to hot, crispy fried chicken. It’s fresh, easy to make, incredibly satisfying, and complements the richness of the chicken perfectly. Yum!
- Fresh Green Salad: A simple, crisp green salad with a light vinaigrette can cut through the richness of the fried chicken, offering a refreshing balance to your meal.
- Corn on the Cob or Creamed Corn: Sweet corn, whether grilled, boiled, or prepared as a rich creamed corn, is a quintessential Southern side that harmonizes beautifully with fried chicken.
- Coleslaw: The tangy crunch of a homemade coleslaw provides a bright, refreshing contrast and is a traditional favorite with fried chicken.
How to Store and Reheat Leftovers for Best Results
If you somehow manage to have any leftover buttermilk fried chicken – a rare but welcome occurrence! – storing and reheating it properly is key to enjoying it later. You can easily refrigerate or freeze your chicken, depending on how long you wish to keep it, and restore much of its original crispiness.
- To Refrigerate: Allow the fried chicken pieces to cool completely to room temperature. This is important to prevent sogginess. Place the cooled chicken in shallow, airtight food-storage containers. For best results, place a paper towel at the bottom of the container to absorb any condensation. Leftover fried chicken will keep well in the refrigerator for up to 3-4 days.
- To Freeze: For longer storage, freezing is an excellent option. Once the chicken is completely cool, wrap each individual piece tightly in plastic wrap, then place the wrapped pieces into freezer-safe bags or an airtight container. This prevents freezer burn. Fried chicken can be kept frozen for up to 3-4 months.
- To Reheat: To bring your leftover fried chicken back to life with a crispy exterior, avoid the microwave, which will make it soggy. If frozen, thaw the chicken overnight in the refrigerator. Preheat your oven or air fryer to 375°F (190°C). Place the chicken pieces on a wire rack set inside a sheet pan or roasting pan (this allows air to circulate around all sides, ensuring crispiness). Bake for 15-20 minutes, or until heated through and the skin is crispy again. An air fryer will typically reheat faster, around 10-12 minutes. For an even crispier result, you can also pan-fry the chicken in a little oil on the stovetop until heated and re-crisped.
Explore More Delicious Chicken Recipes
Chicken is an incredibly versatile and universally loved main dish, offering endless possibilities for delicious meals. If you enjoyed this buttermilk fried chicken recipe, you’ll surely love exploring these other fantastic ways to prepare chicken. Each recipe offers a unique flavor profile and cooking method, guaranteeing a delightful culinary adventure!
- Slow Cooker Glazed Chicken Drumsticks: Effortlessly tender and packed with sweet and savory flavors.
- Hearty Chicken and Gravy: A classic comfort food dish perfect for a cozy night in.
- Juicy Whole Roast Chicken with Fall Vegetables: A complete meal that’s both impressive and surprisingly simple to make.
- Quick and Easy Chicken Stir Fry: A vibrant and healthy option for a fast weeknight dinner.
- Perfect Oven Baked Chicken Tenders: Crispy on the outside, tender on the inside – a kid-friendly favorite!

Buttermilk Fried Chicken
Ingredients
For the Buttermilk Mixture
- 3 cups buttermilk
- 2 teaspoons salt
- 1 teaspoon cracked black pepper
- 1 teaspoon dried thyme
- 1 teaspoon garlic powder
For the Chicken
- 4 chicken drumsticks
- 4 chicken thighs
For the Flour Mixture
- 1 cup all-purpose flour
- 1 teaspoon baking powder
- 1 teaspoon smoked paprika
- 1 teaspoon garlic powder
- 1 teaspoon onion powder
- 1 teaspoon cayenne pepper
- 1 teaspoon dried thyme
- 1 teaspoon dried parsley
- ½ teaspoon cracked black pepper
- 1 teaspoon salt
- vegetable oil for deep frying, or other high-heat oil
- fresh herbs for garnish
Instructions
-
Combine all the ingredients for the buttermilk mixture in a bowl.
-
Add the chicken pieces to the buttermilk mixture and cover the bowl with plastic wrap. Place in the fridge for 4 to 6 hours.
-
When ready to cook, place all the Flour Mixture ingredients in a mixing bowl and whisk until combined.
-
Remove one piece of chicken at a time from the buttermilk mixture, and dredge in the flour mixture. Repeat the process until all chicken pieces are coated.
-
Pour the vegetable oil in a deep skillet, large pot, or Dutch oven. The oil should be about 1.5 to 2 inches deep in the skillet.Set the skillet over medium-high heat and heat the oil to 350°F. If possible, use an instant read thermometer to check the temperature.
-
Add the chicken to the hot oil in batches, and cook until the internal temperature of the chicken is 165°F, about 15 minutes. Flip the chicken halfway through cooking time.
-
Once chicken is cooked through and golden brown, remove from the oil and place on paper towels to drain.
-
Serve immediately, or keep warm in an oven until ready to serve. Garnish with fresh chopped herbs.
-
Notes: For best crunchy results, repeat the coating process for each piece twice to ensure the chicken pieces are properly coated.
Nutritional info is an estimate and provided as courtesy. Values may vary according to the ingredients and tools used. Please use your preferred nutritional calculator for more detailed info.
Did you make a recipe? Leave a rating