
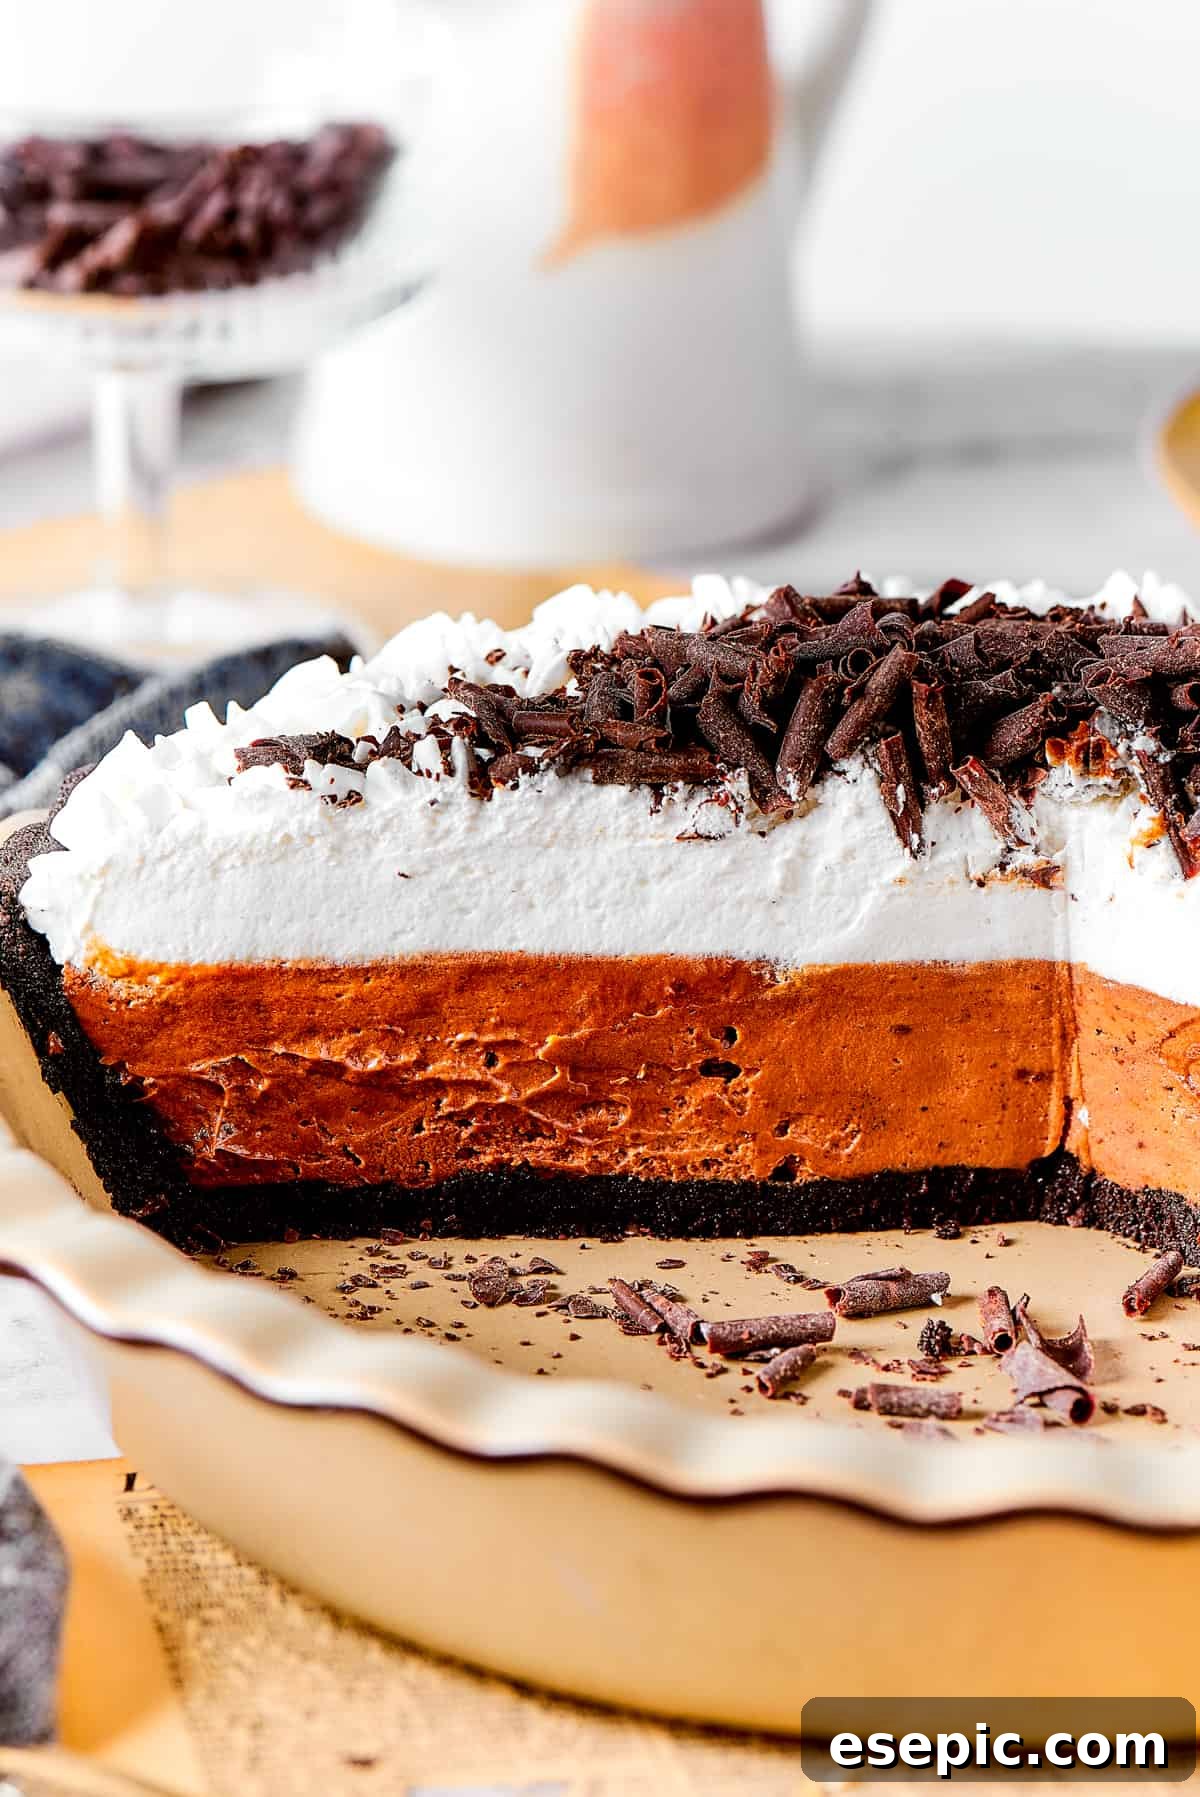
French Silk Pie: The Ultimate Decadent Chocolate Dessert
Indulge in a truly spectacular dessert experience with this rich and velvety French Silk Pie. Imagine a silky-smooth, dark chocolate filling, perfectly balanced on a crisp Oreo cookie crust, and crowned with generous, fluffy swirls of homemade whipped cream. This classic confection is more than just a pie; it’s a celebration in every single bite, designed to delight and impress.
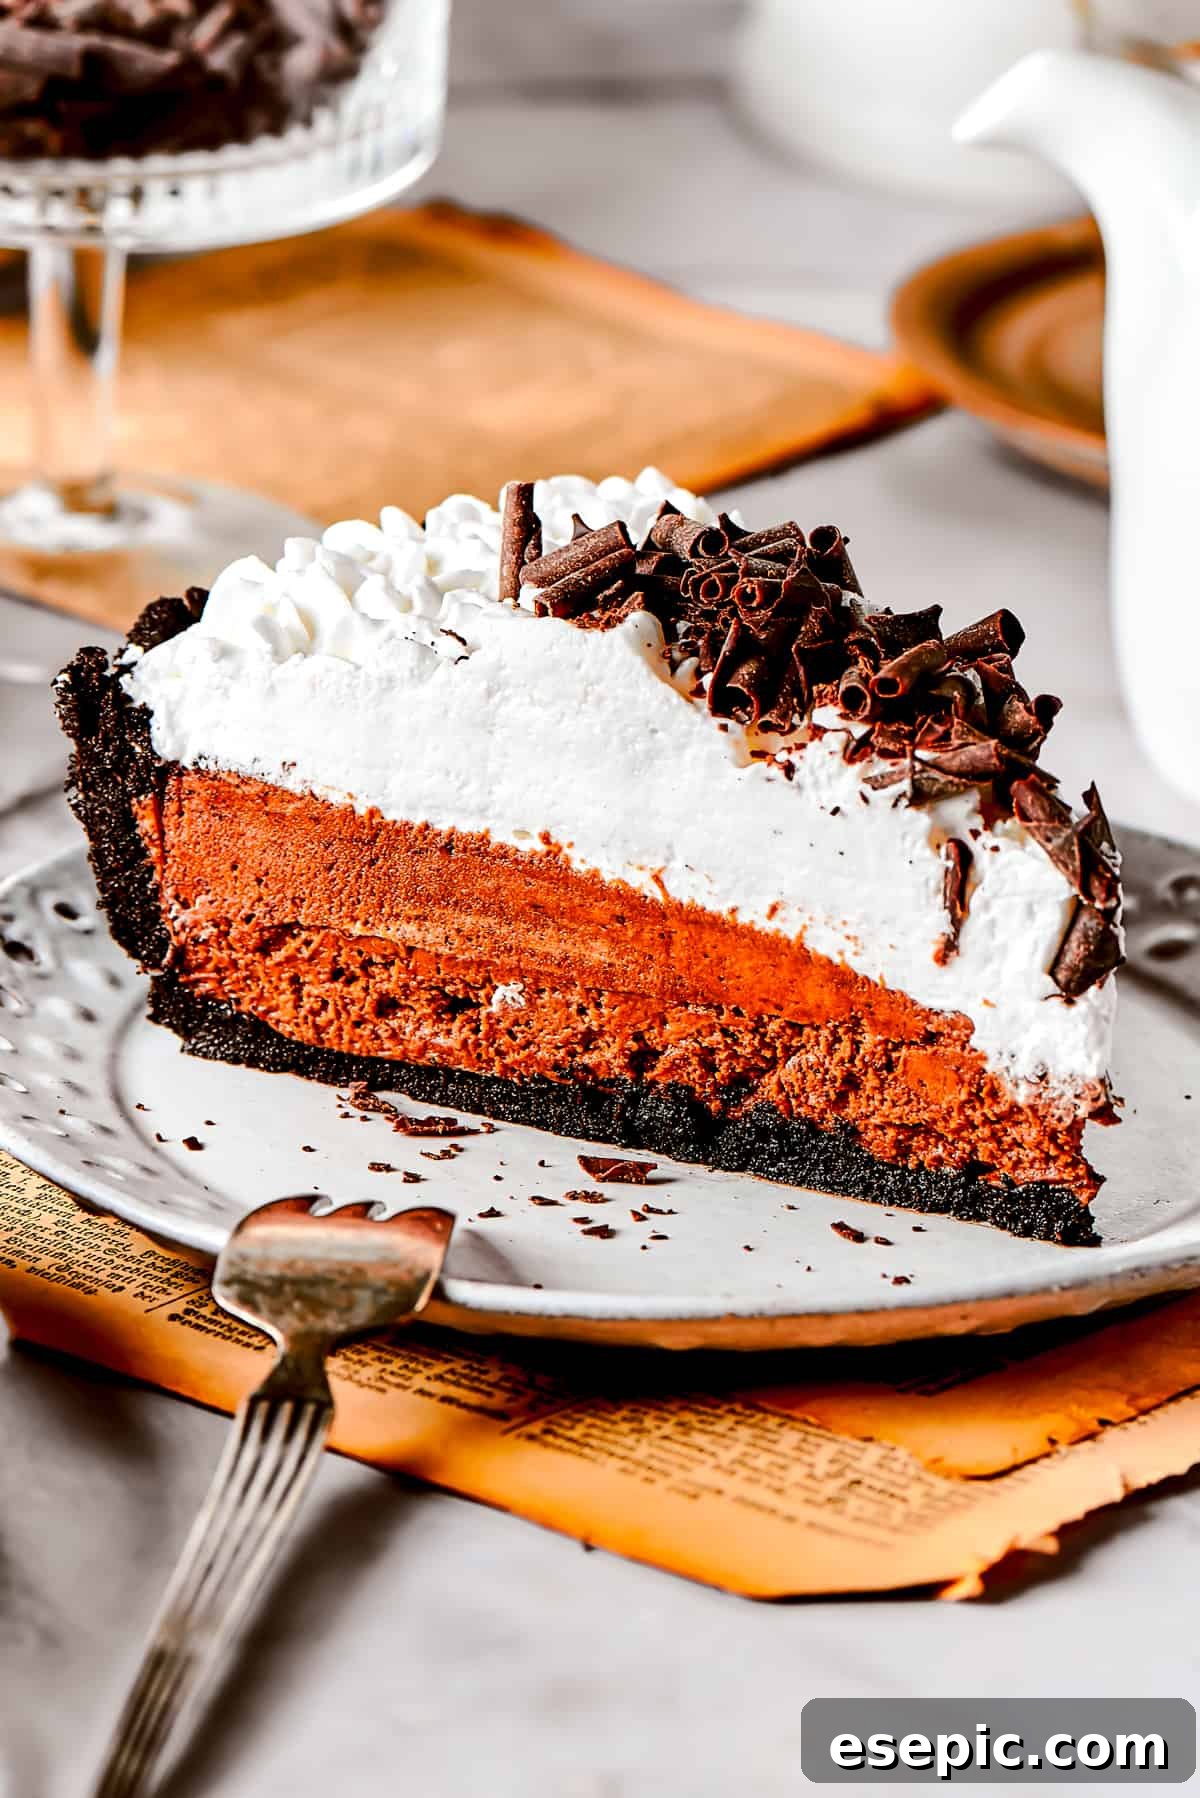
Our luscious chocolate French Silk Pie recipe promises a dessert that is not just decadent but truly silky in texture. The filling achieves an unparalleled smoothness and richness, while the plush, from-scratch whipped cream on top elevates it to an extra-luxurious culinary masterpiece. Whether you’re a seasoned baker or new to the world of pies, this recipe provides a clear path to creating an unforgettable treat.
Why You’ll Fall in Love with This French Silk Pie
This isn’t just another pie recipe; it’s an invitation to create something truly special. Here’s why our French Silk Pie will become a cherished favorite in your dessert repertoire:
- A Showstopper for Special Occasions: The sheer elegance and richness of the dark chocolate filling, combined with the ethereal whipped cream topping, make this pie an ideal centerpiece for holidays, birthdays, anniversaries, or any gathering that calls for a celebratory flourish. It effortlessly elevates the mood and leaves a lasting impression on your guests.
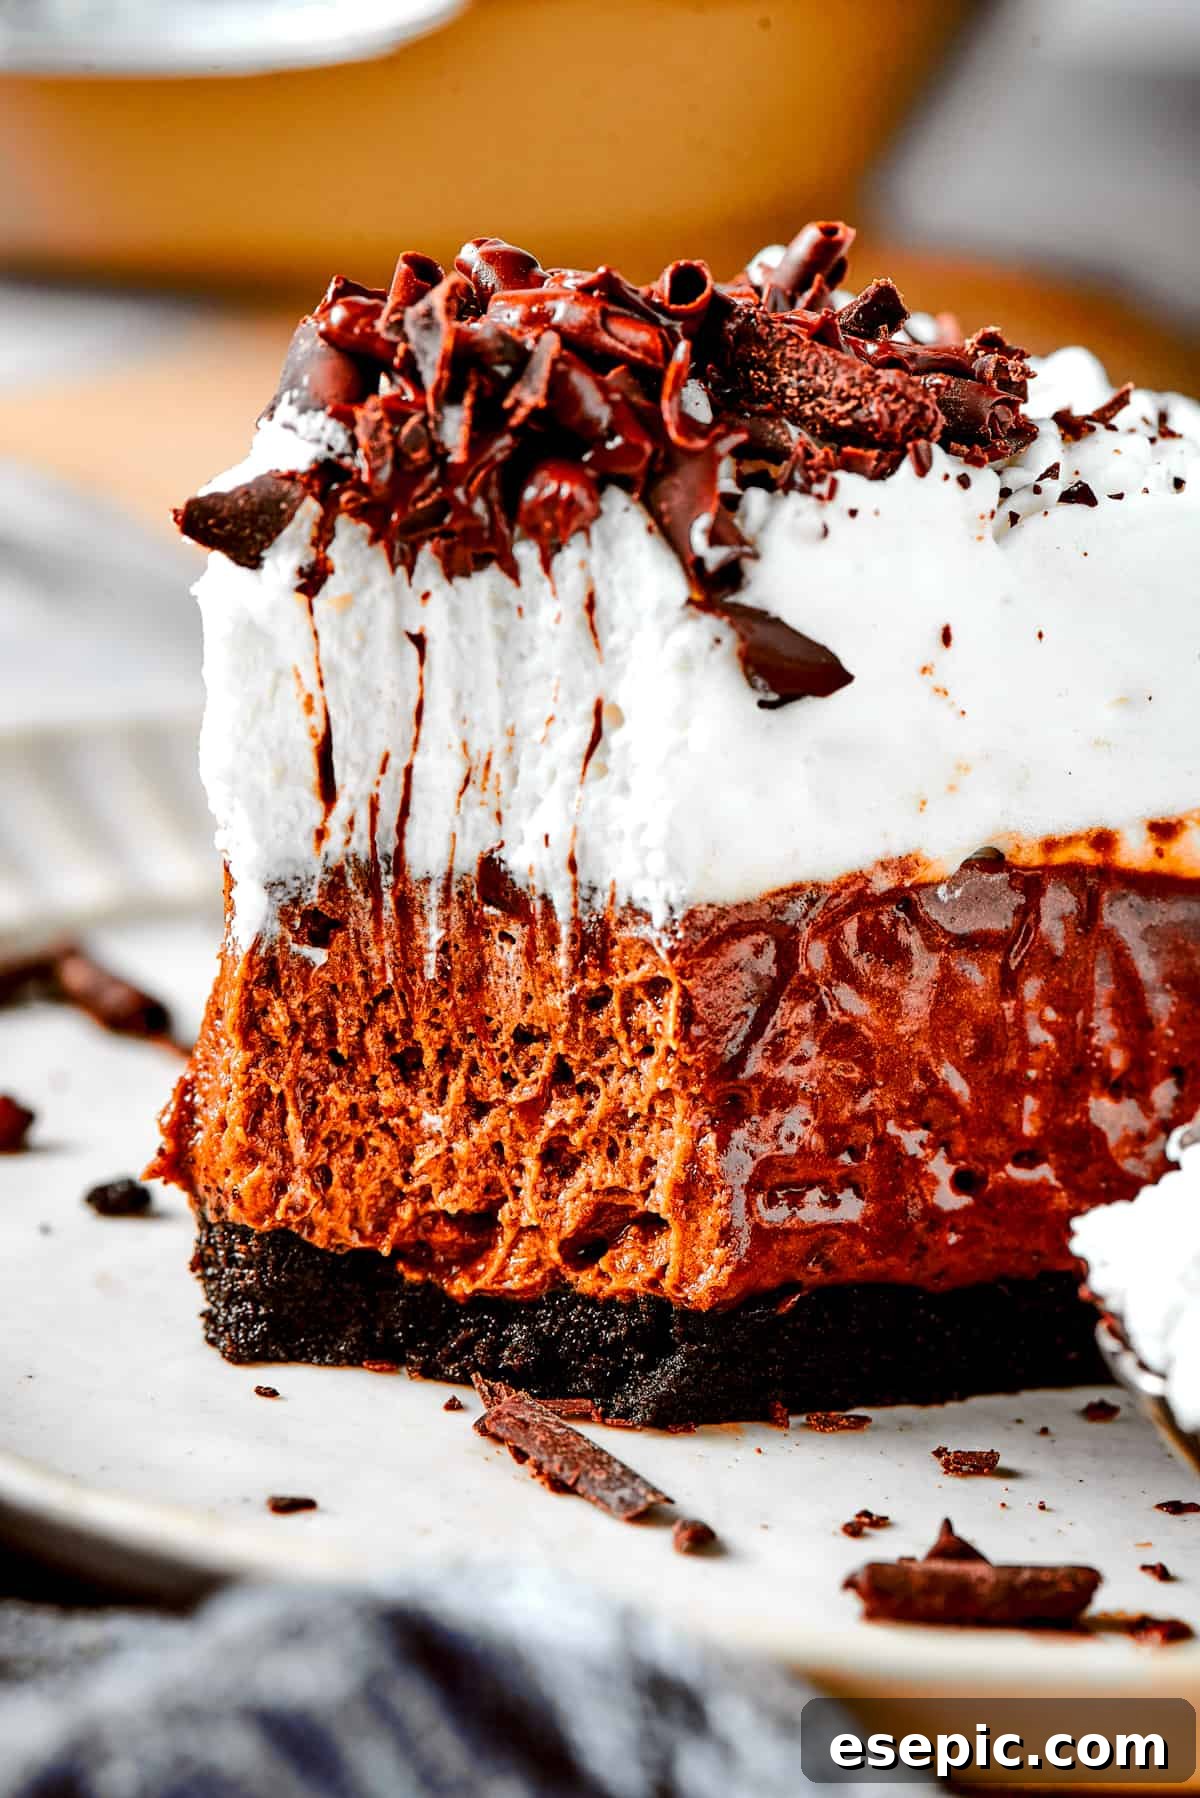
- An Exquisite Symphony of Textures: Prepare your palate for an incredible journey. The buttery, slightly salty, and delightfully crumbly Oreo cookie crust provides a fantastic textural contrast to the light, airy, yet intensely rich mousse-like chocolate filling. Each bite offers a harmonious blend of crispness, creaminess, and melt-in-your-mouth delight.
- Surprisingly Achievable Elegance: While the end result looks incredibly sophisticated, the process of making this French Silk Pie is remarkably straightforward. Despite involving several distinct steps for the crust, filling, and topping, none are overly complicated. With clear instructions and a little patience, even novice bakers can achieve a perfectly silken and beautiful pie. The satisfaction of creating such a refined dessert from scratch is truly rewarding.
- Deep, Unforgettable Chocolate Flavor: This pie is a true testament to the power of quality chocolate. Using bittersweet or semisweet chocolate ensures a profound, complex cocoa flavor that is neither overly sweet nor bitter, appealing to even the most discerning chocolate lovers.
- Versatile Pairing: French Silk Pie pairs wonderfully with a myriad of beverages. Serve it alongside a rich cup of coffee, a robust espresso, a glass of cold milk, or even a dessert wine for a truly sophisticated end to any meal.
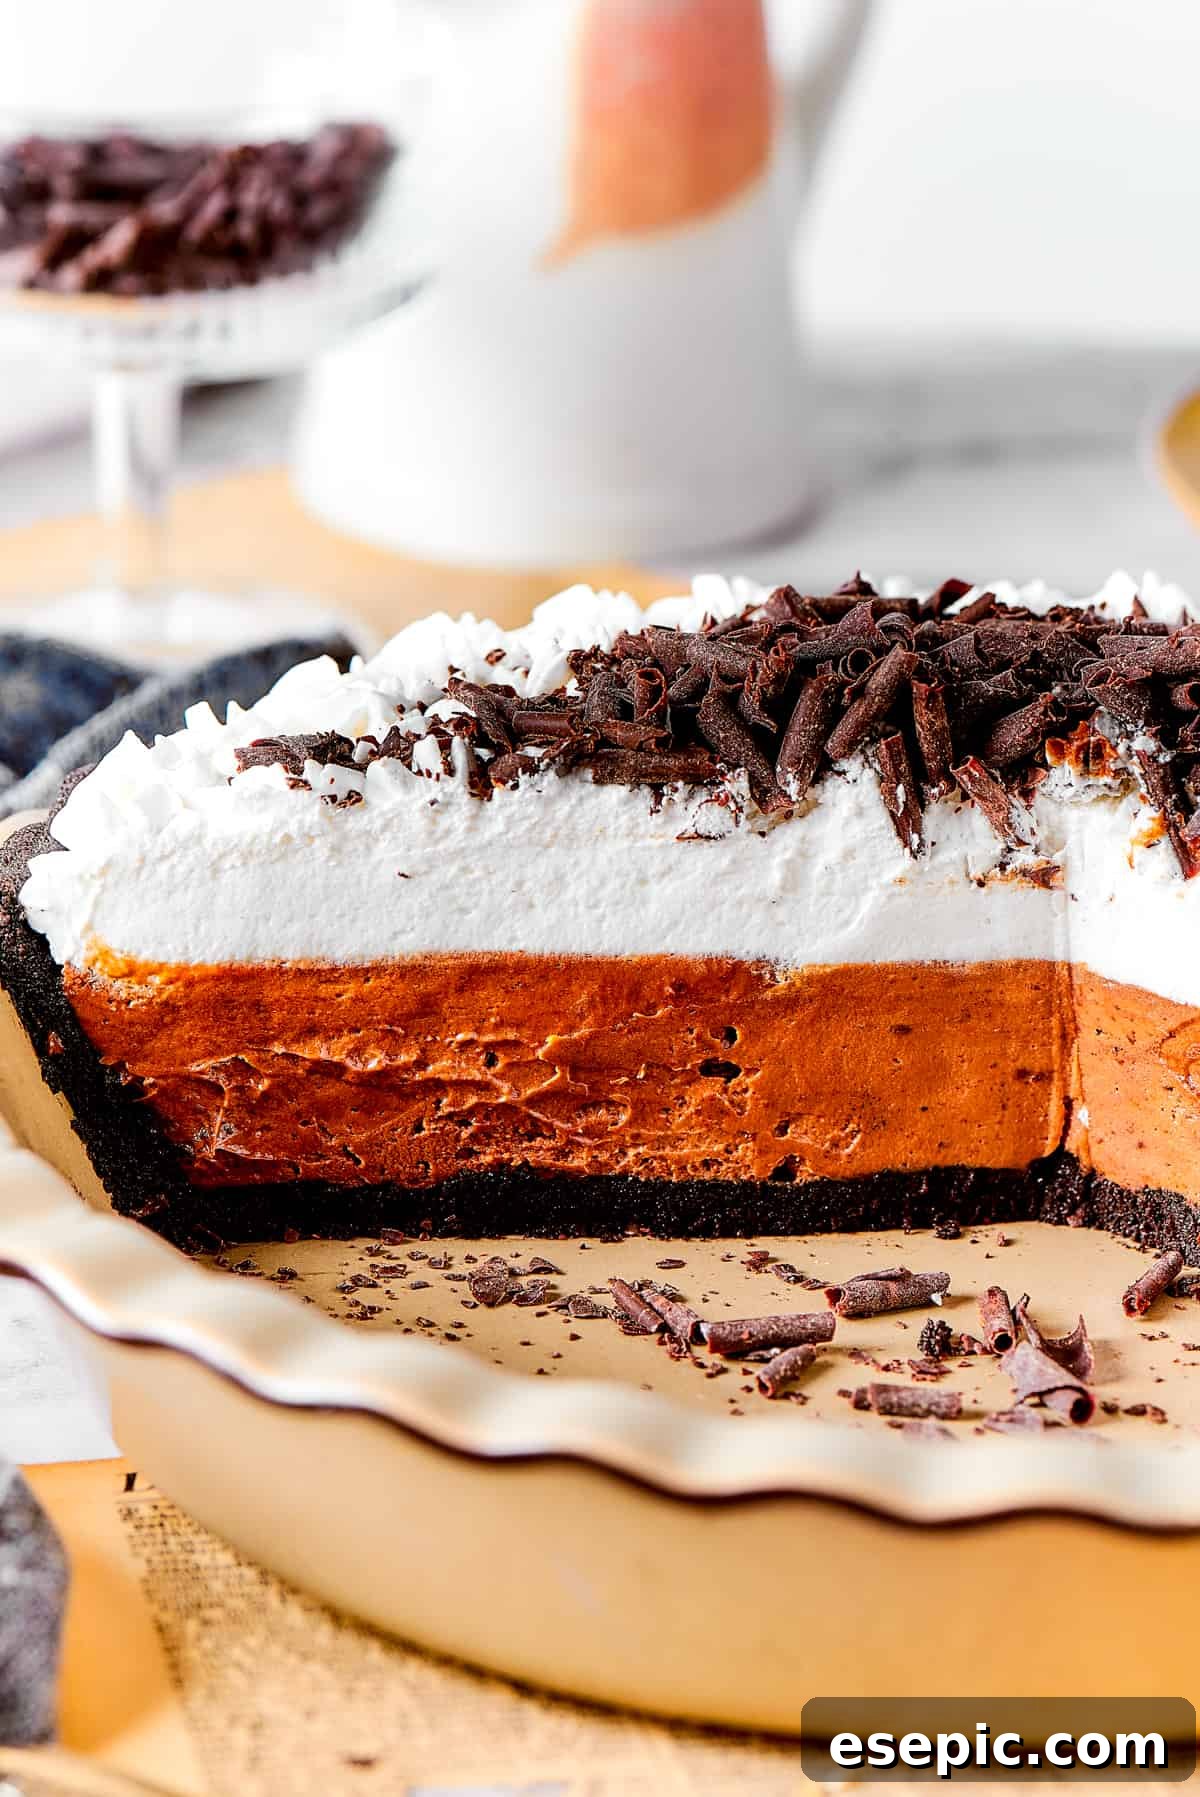
Essential Ingredients for Your French Silk Pie Masterpiece
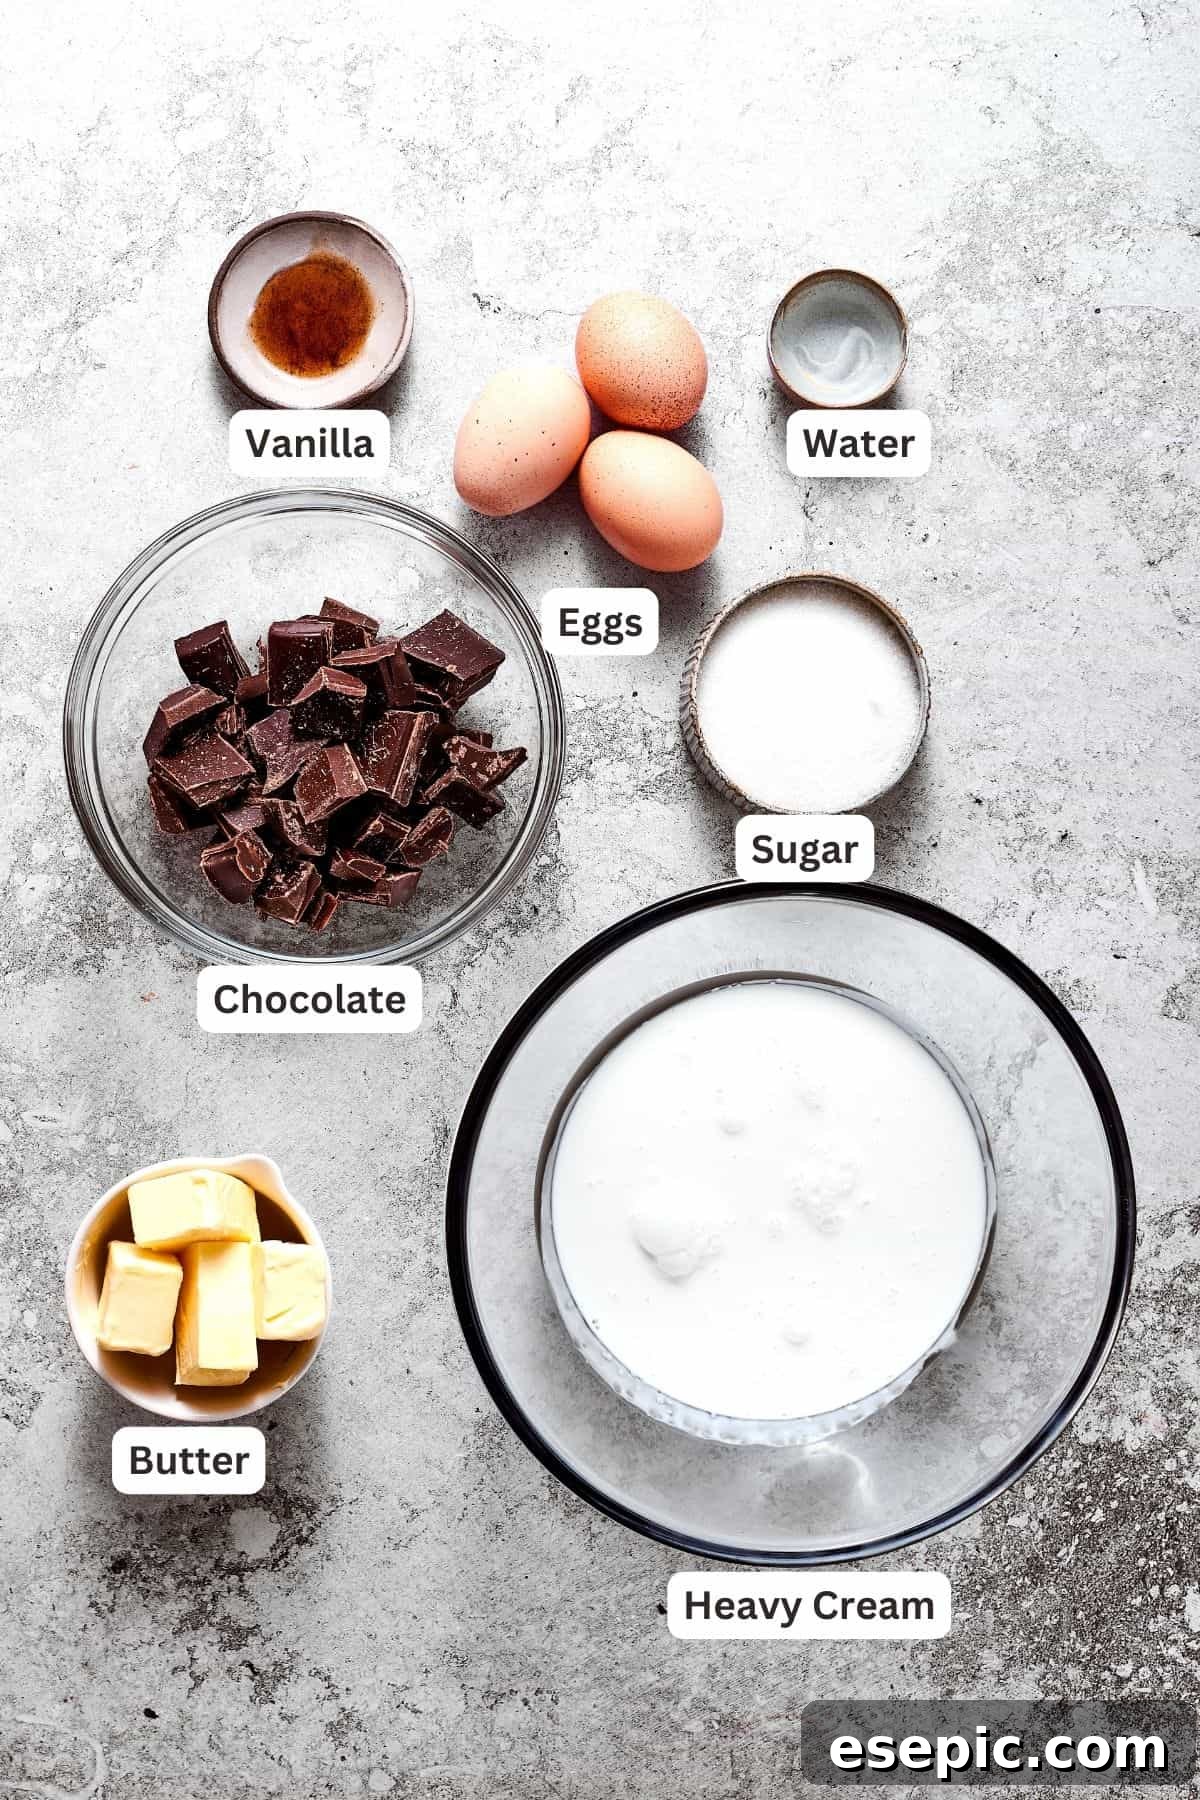
Crafting the perfect French Silk Pie begins with selecting the right ingredients. Here’s a detailed overview of what you’ll need to create each delectable layer of this iconic dessert. Be sure to scroll down to the full recipe card for precise measurements and quantities.
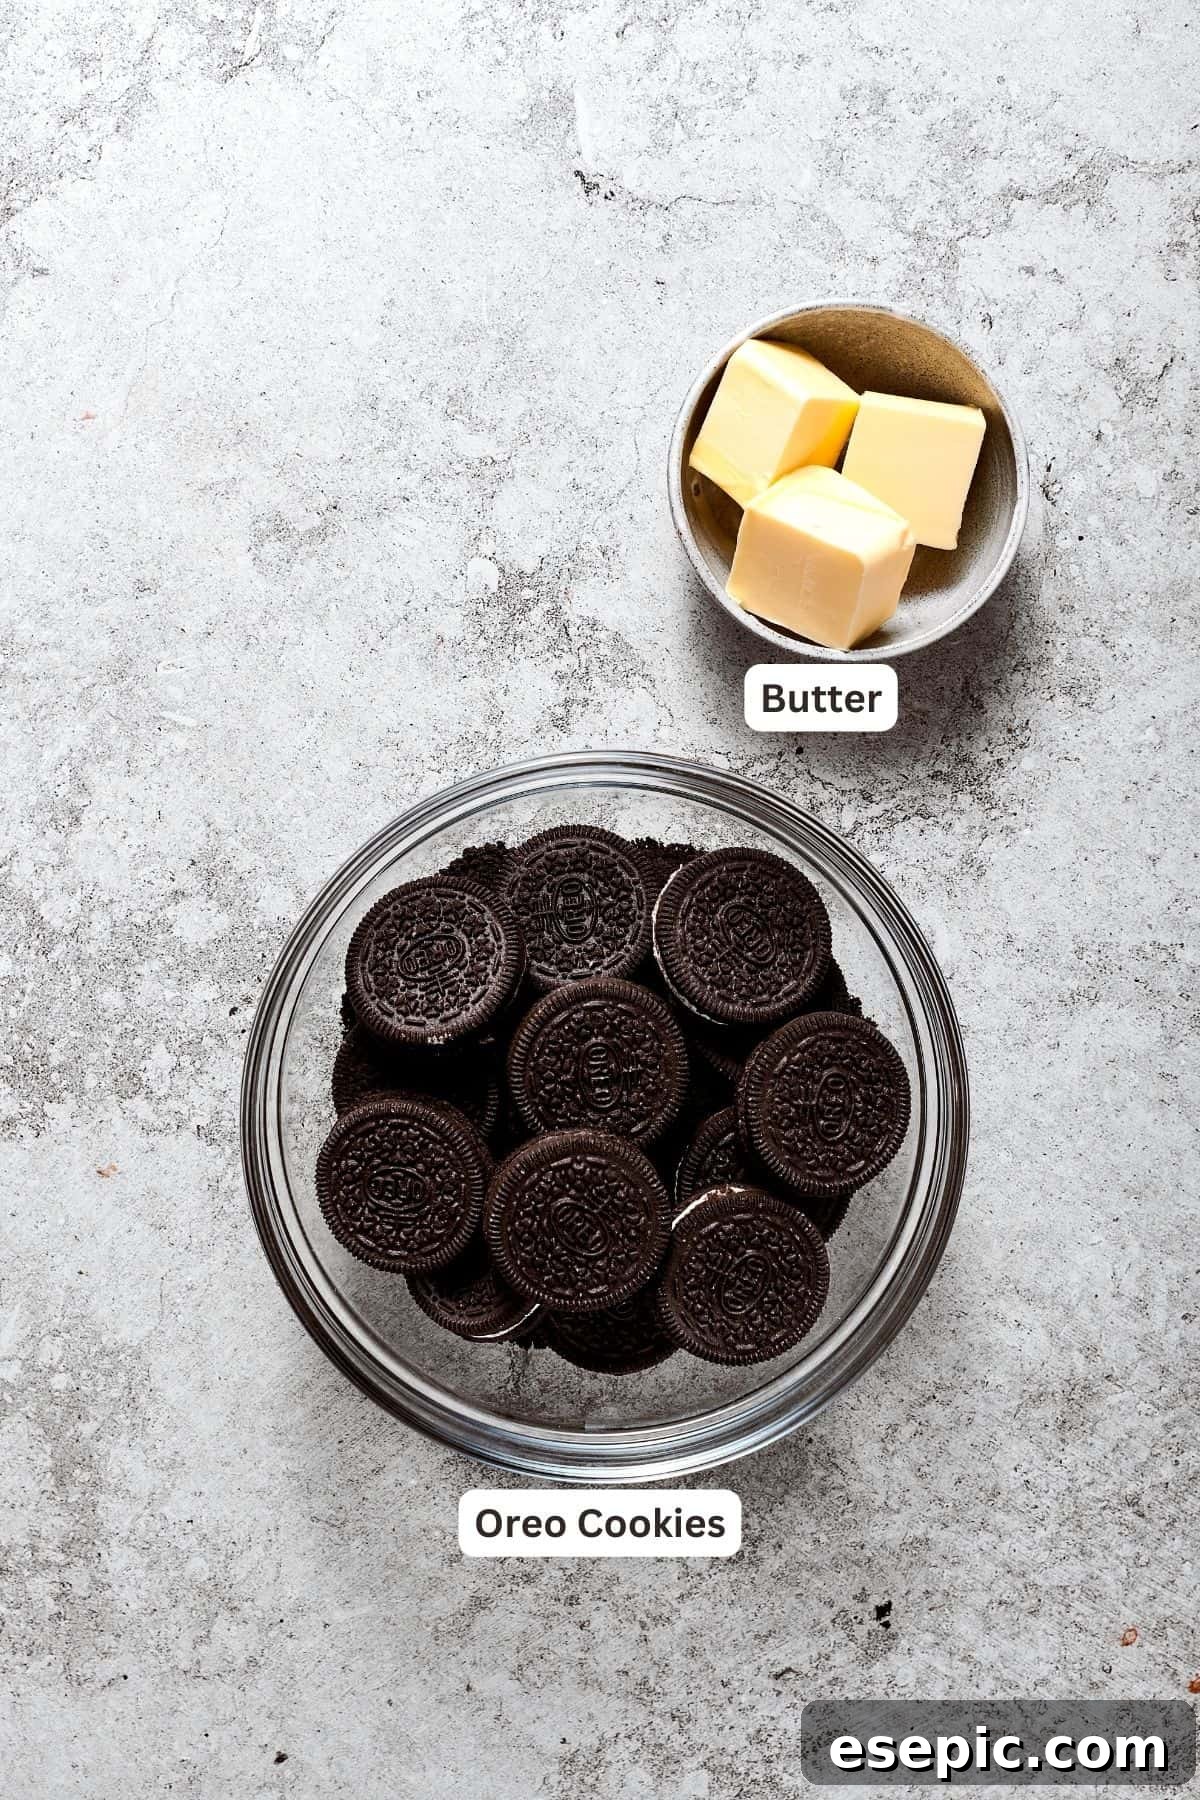
For the Irresistible Oreo Cookie Crust
- Oreo Cookies: The star of our crust! You’ll use whole Oreo cookies, including their creamy filling, to process into fine crumbs. This creates a wonderfully flavorful and perfectly textured base that complements the rich chocolate filling beautifully.
- Unsalted Butter: Melted butter binds the cookie crumbs together. Using unsalted butter is always recommended in baking, as it gives you precise control over the overall saltiness of the dessert, preventing it from competing with the sweetness. Ensure it’s at room temperature for easy incorporation.
For the Decadent Chocolate Filling
- Bittersweet or Semisweet Chocolate: This is where the magic happens! Choose a high-quality chocolate, finely chopped, for the best flavor and smoothest melt. Bittersweet chocolate offers a deeper cocoa profile, while semisweet provides a slightly sweeter balance.
- Large Eggs: Essential for the filling’s signature silky texture and richness. We’ll gently cook them with sugar over a double boiler to ensure food safety while creating a stable emulsion. Room temperature eggs blend more evenly.
- Granulated Sugar: Provides the perfect level of sweetness to balance the intensity of the dark chocolate and helps to stabilize the egg mixture.
- Water: A small amount of water combined with the sugar and eggs helps create a smooth base for our filling and aids in the gentle cooking process.
- Pure Vanilla Extract: A touch of pure vanilla extract enhances the chocolate flavor, adding warmth and depth. Avoid imitation vanilla for the best taste.
- Unsalted Butter: Softened to room temperature, this butter is whipped until light and fluffy, contributing significantly to the filling’s luxurious, airy consistency.
- Heavy Cream: This ingredient is folded into the chocolate mixture to make the filling incredibly rich, smooth, and wonderfully mousse-like. It adds an extra layer of decadence.
For the Cloud-Like Whipped Cream Topping
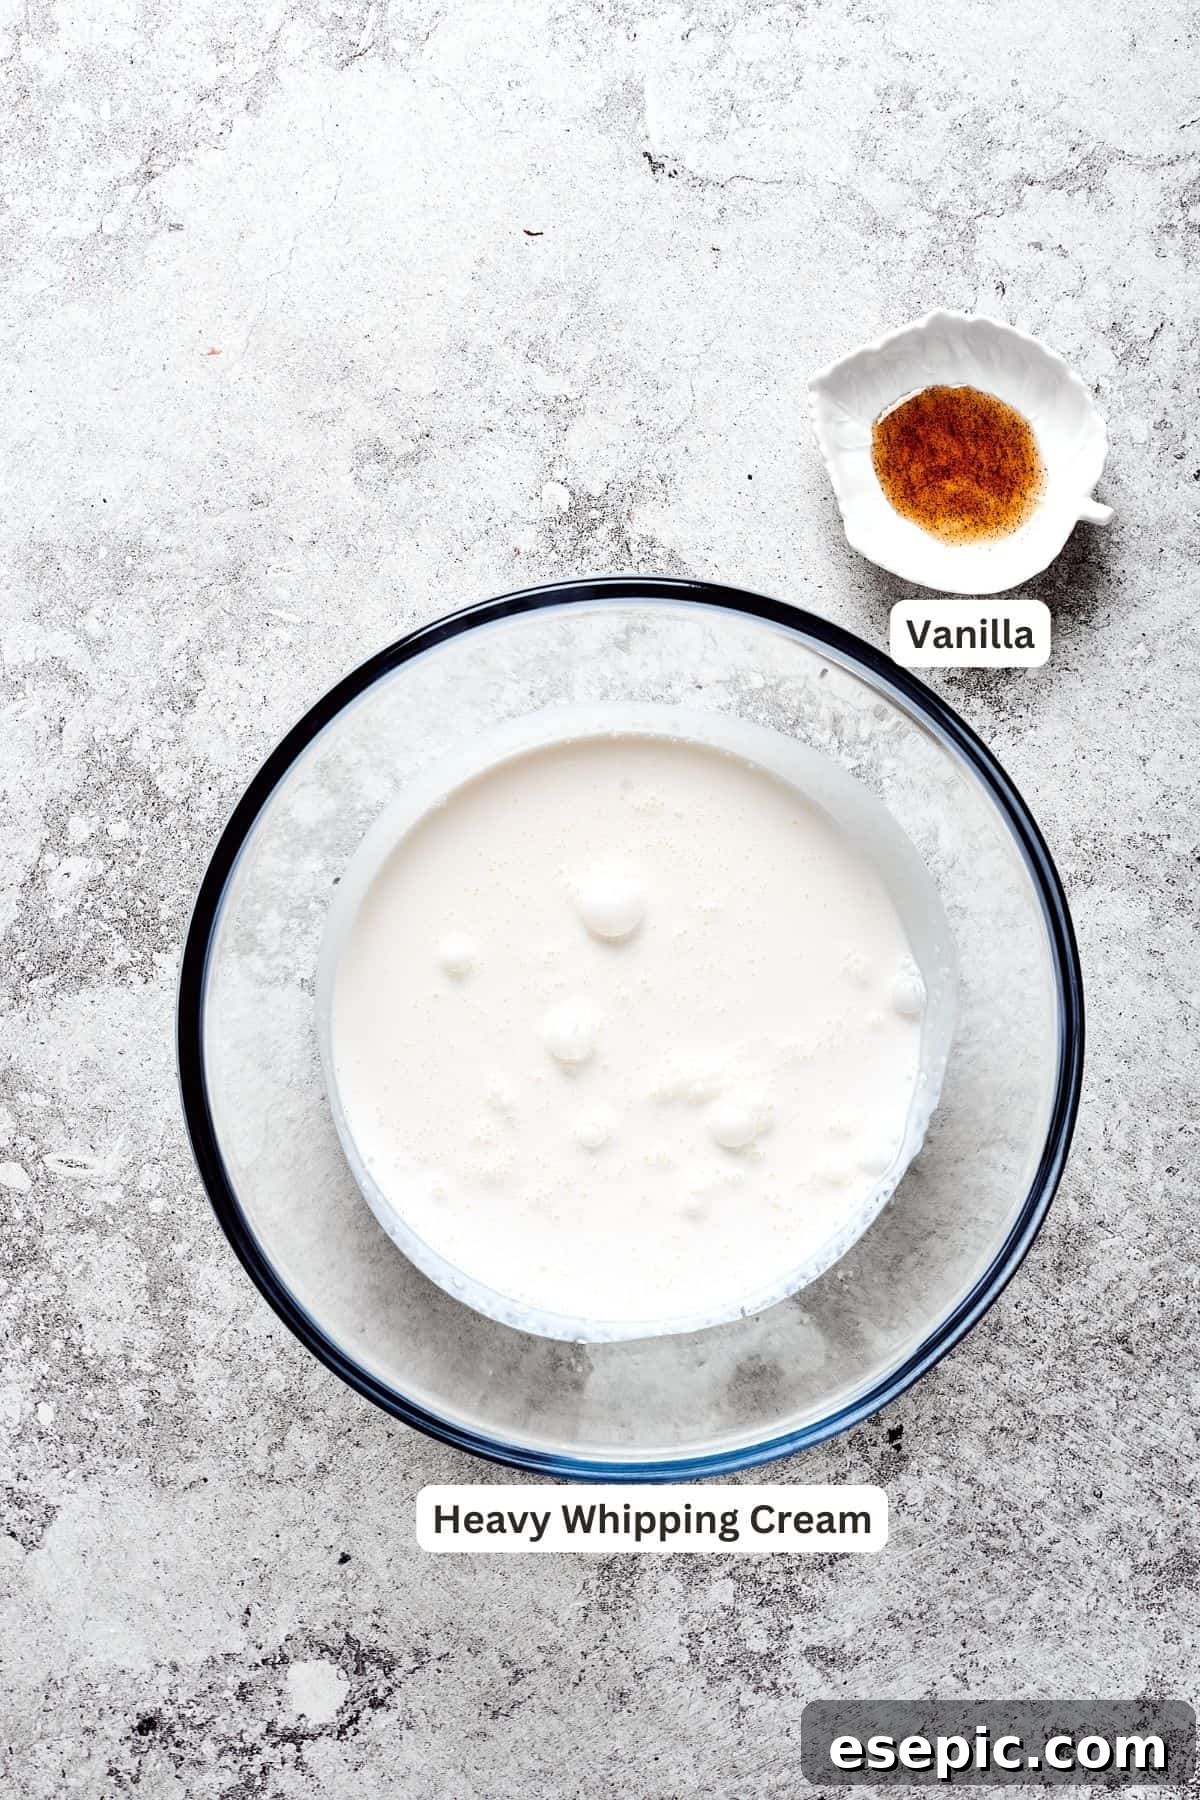
- Heavy Cream: Chilled heavy cream is paramount for achieving perfectly stiff peaks for your homemade whipped cream. For convenience, store-bought whipped cream can be used, but fresh is always best!
- Vanilla Bean Paste or Vanilla Extract: Vanilla bean paste provides beautiful flecks of vanilla and an intense flavor. If you don’t have paste, high-quality vanilla extract works just as well.
- Chocolate: Used as a delightful garnish. Chocolate shavings or curls add an elegant finish and an extra touch of cocoa flavor.
Crafting Your French Silk Pie: A Step-by-Step Guide
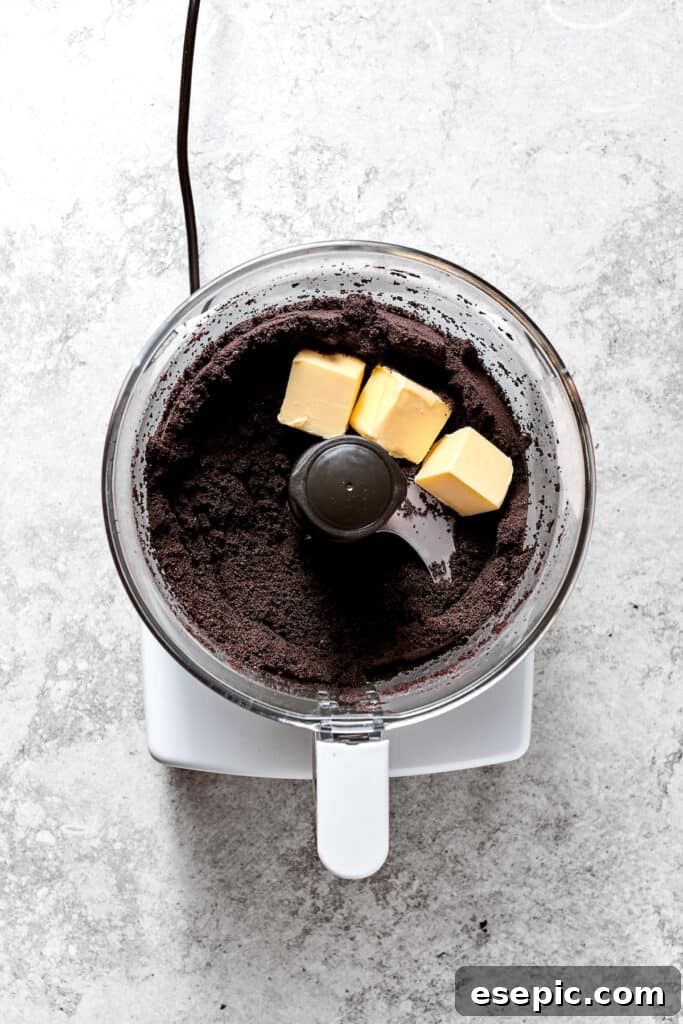
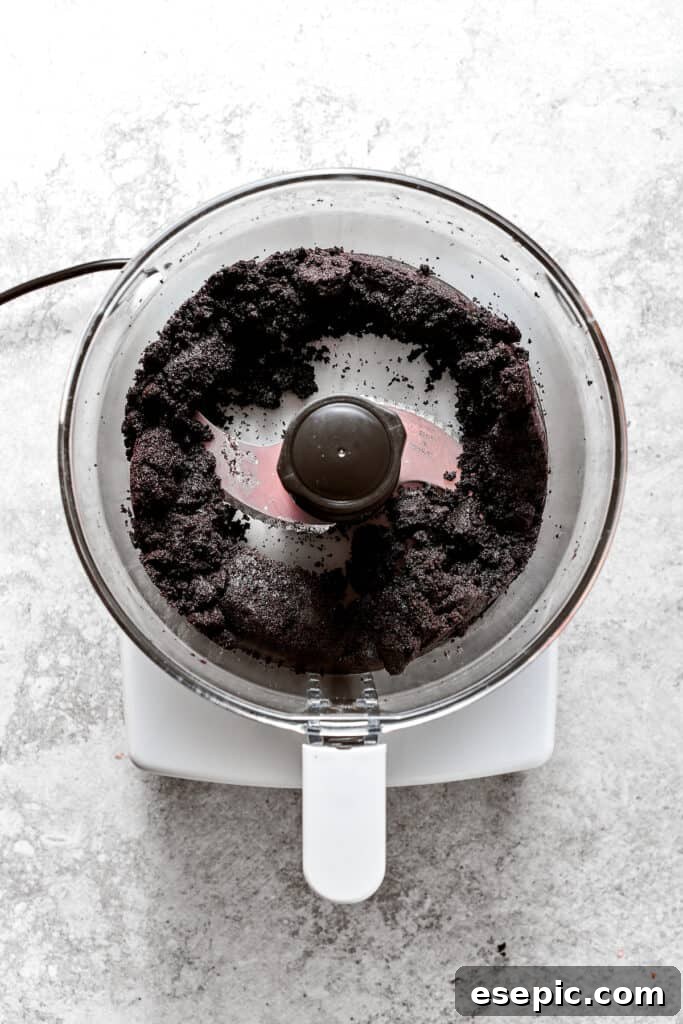
Making this French Silk Pie is a delightful culinary journey. Follow these detailed steps to create each luscious layer. Visual guidance for the process is shown in the photos below, but please refer to the comprehensive instructions in the recipe card for all the finer points.
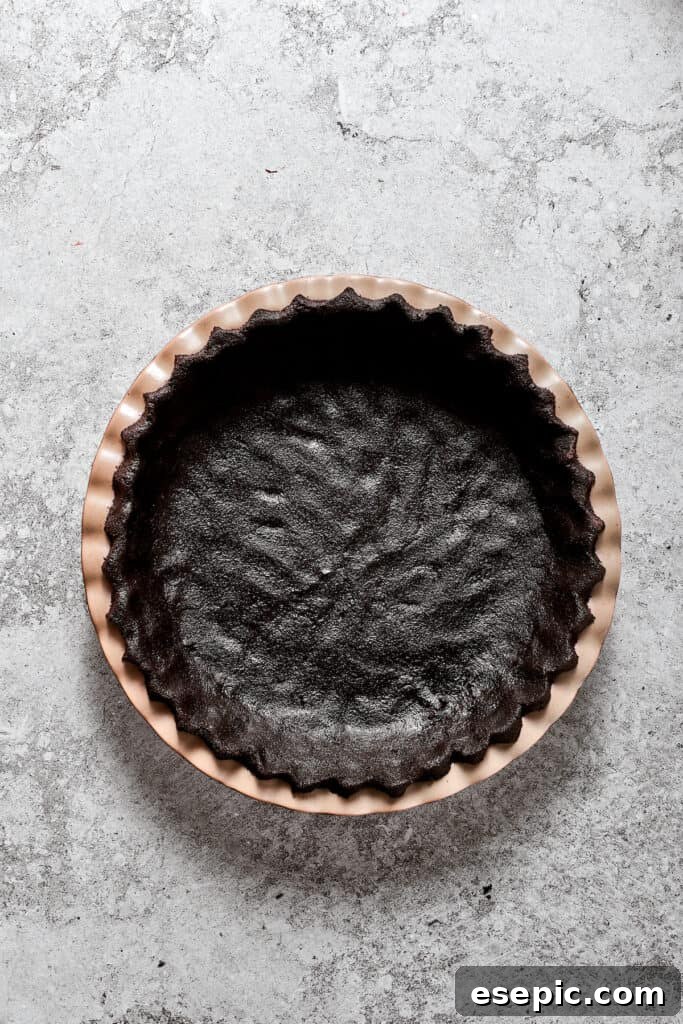
For the Crisp Oreo Crust:
- Prepare the Cookie Crumbs: In the bowl of a food processor, add the whole Oreo cookies (including the cream filling). Process until very fine, even crumbs form. This ensures a uniform and compact crust.
- Incorporate the Butter: Add the softened unsalted butter to the cookie crumbs in the food processor. Pulse a few times until the butter is fully incorporated and the mixture resembles wet sand. The mixture should hold together when squeezed.
- Form and Chill the Crust: Transfer the buttery cookie mixture to a 9-inch pie dish. Using the bottom of a glass or your fingers, firmly press the mixture evenly into the bottom and up the sides of the pie dish. This creates a sturdy and delicious base. Once formed, place the crust in the refrigerator for at least 30 minutes to set while you prepare the filling. This crucial step helps prevent a crumbly crust.
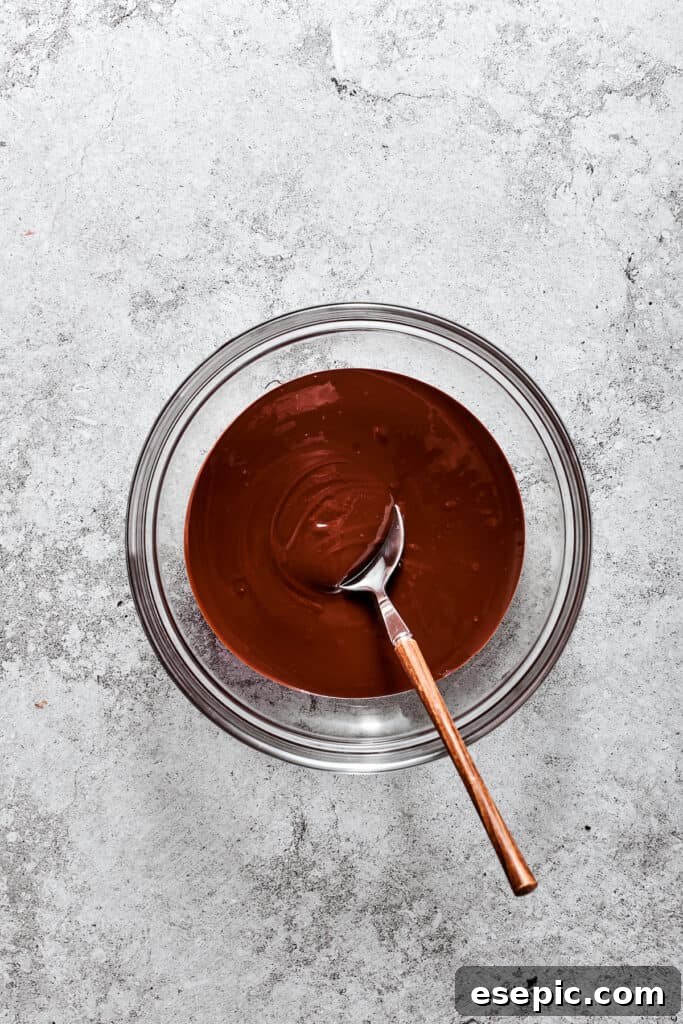
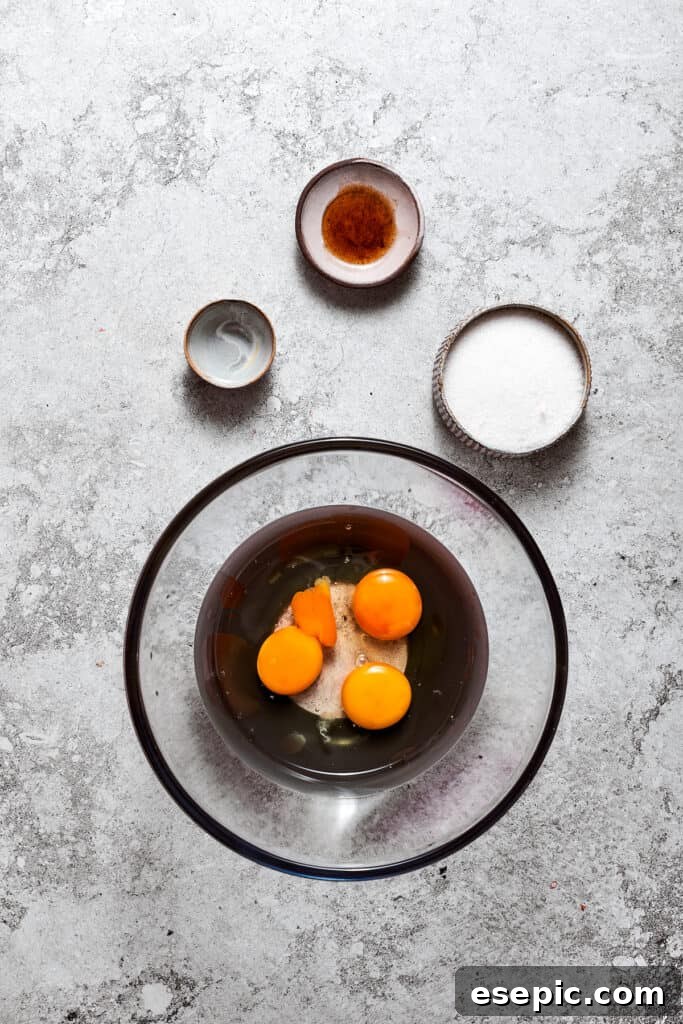
For the Silky Chocolate Filling:
- Melt the Chocolate: In a heatproof bowl set over a pot of simmering water (creating a double boiler), melt the finely chopped bittersweet chocolate. Stir constantly until the chocolate is completely smooth and glossy. Remove from heat and allow it to cool slightly while you prepare the egg mixture.
- Prepare the Egg Base: In a separate large glass bowl, combine the large eggs, granulated sugar, and water. Using an electric mixer, beat these ingredients until they are pale in color and slightly thickened. This ensures the sugar dissolves properly.
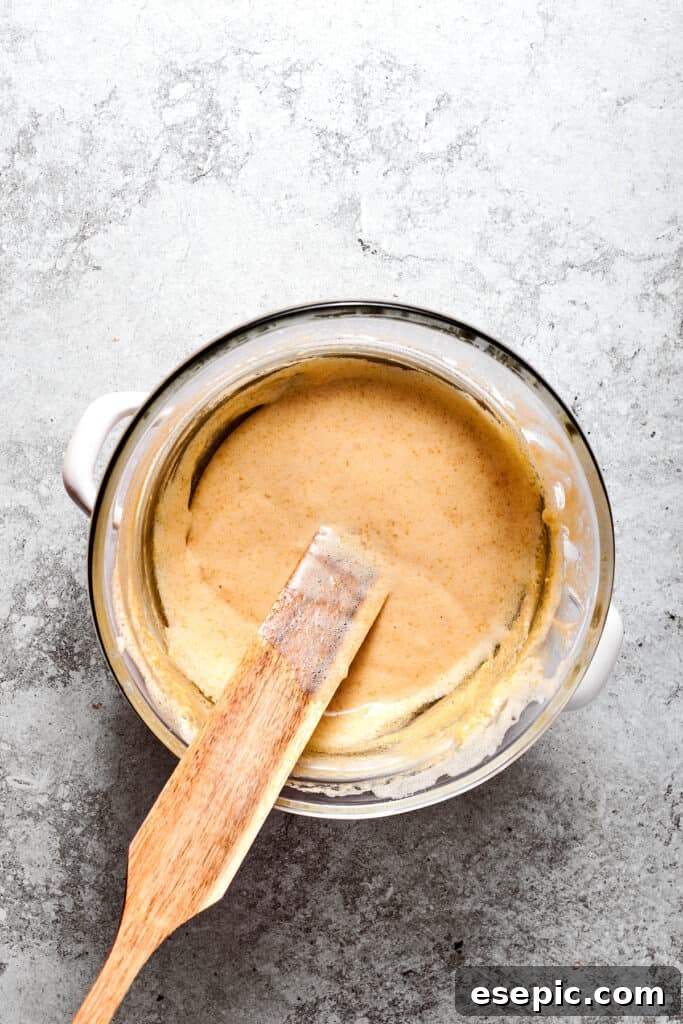
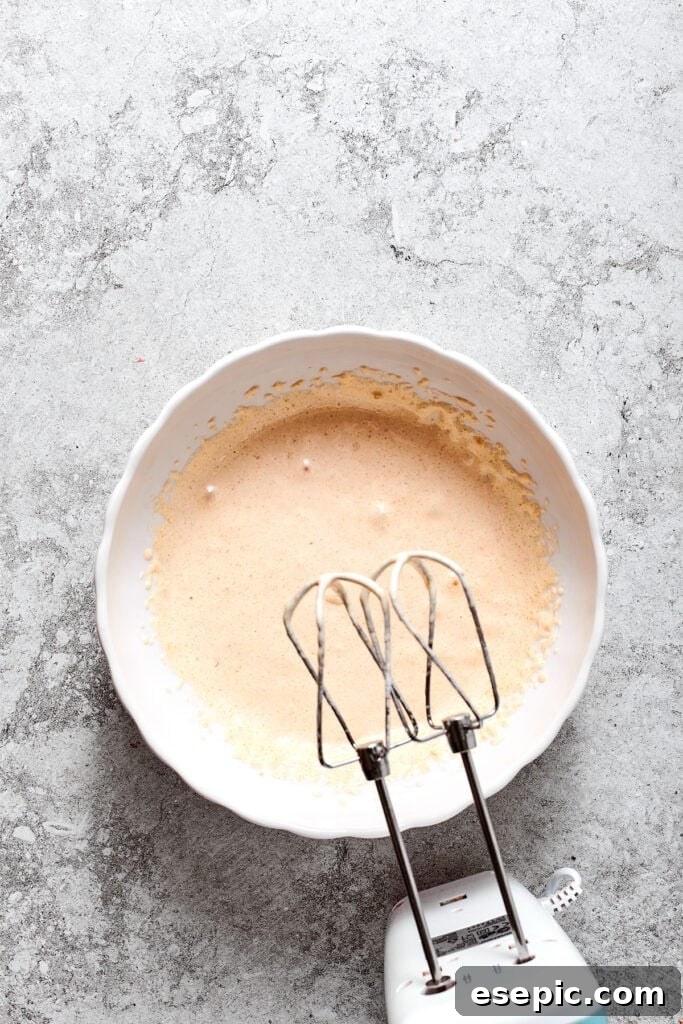
- Gently Cook the Eggs: Place the glass bowl containing the egg mixture over the pot of simmering water, ensuring the bottom of the bowl does not touch the water. Continuously whisk the mixture until it reaches 160°F (71°C) on a candy thermometer. This step is crucial for both thickening the mixture and ensuring food safety.
- Cool and Thicken: Immediately remove the bowl from the heat. Increase the speed of your electric mixer to medium-high and continue to beat the egg mixture until it is thick, light, fluffy, and has cooled completely to room temperature. This process incorporates air and creates a stable, voluminous base for the filling.
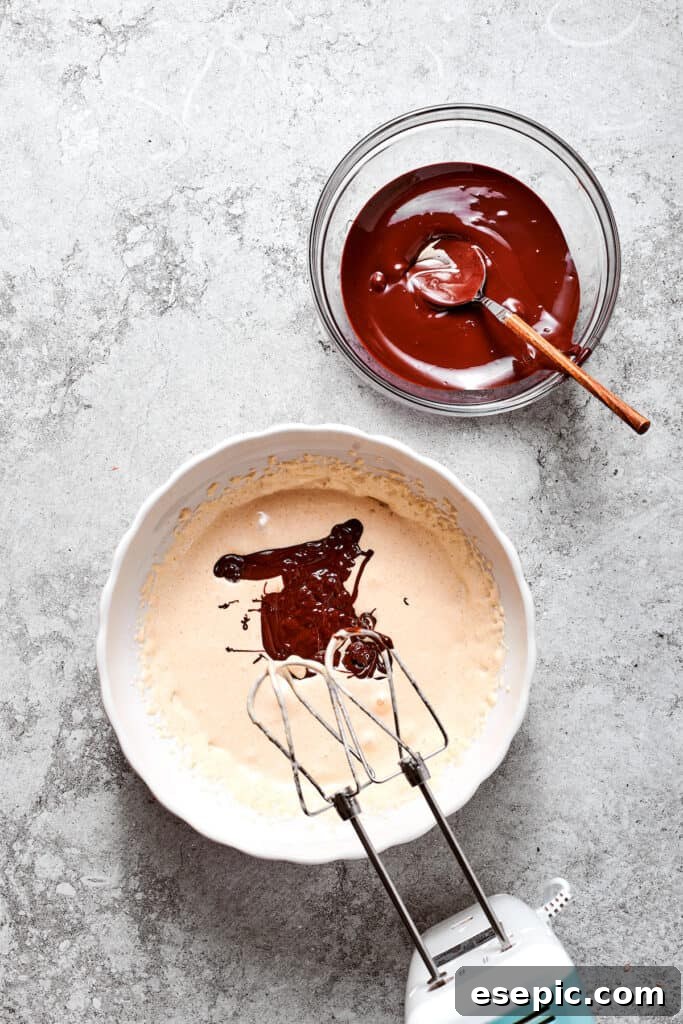
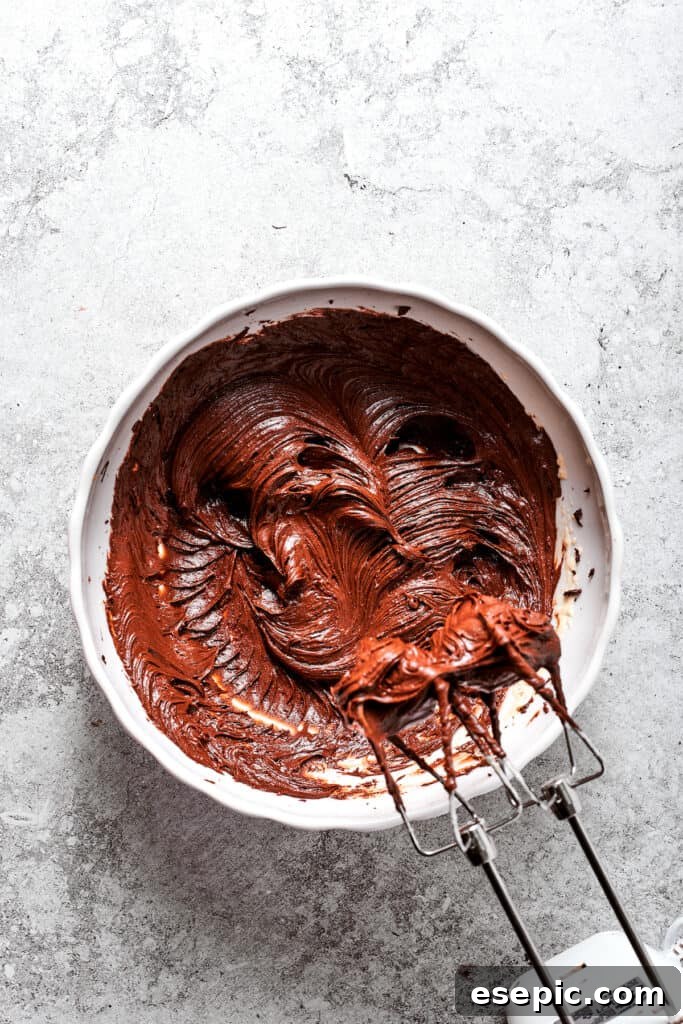
- Combine Chocolate and Eggs: Pour the slightly cooled melted chocolate into the cooled egg mixture. Beat with the electric mixer until the chocolate is thoroughly combined and the mixture is homogenous and glossy.
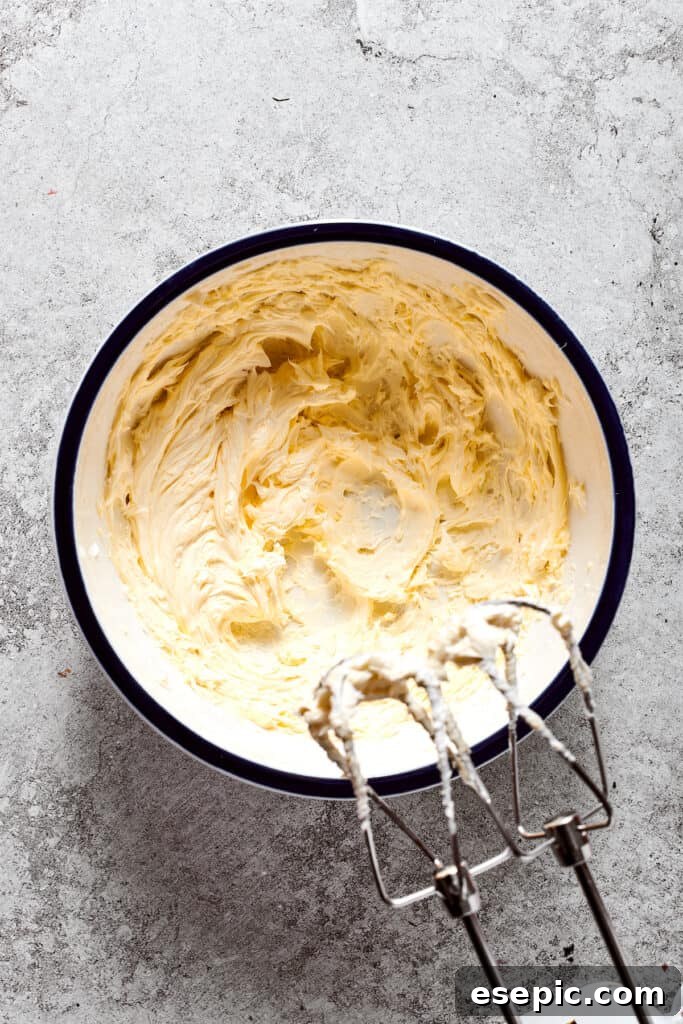
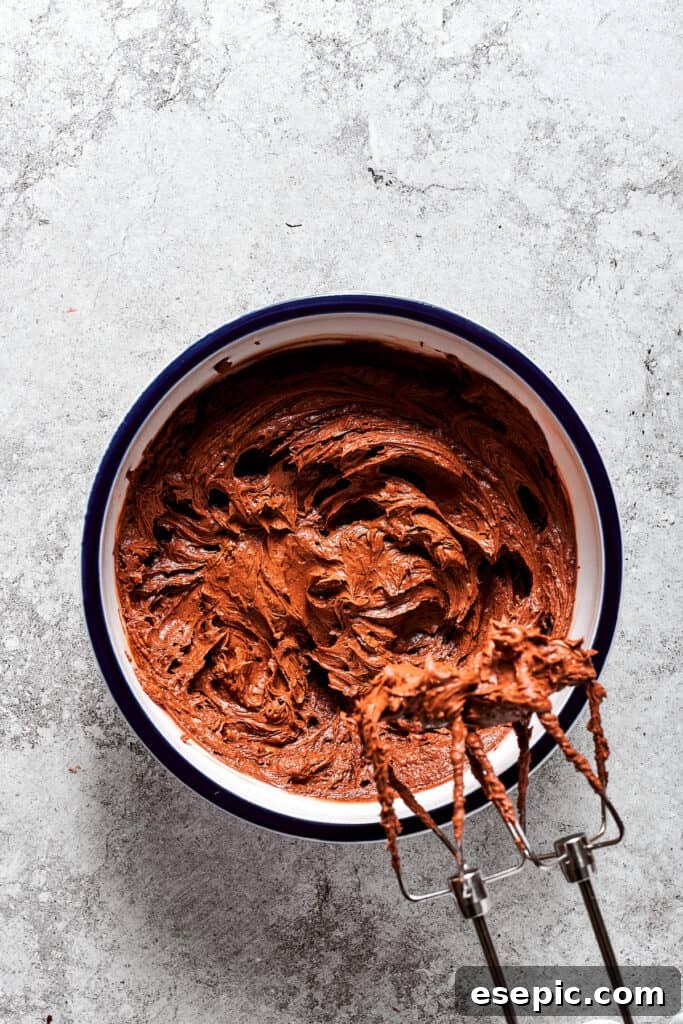
- Cream the Butter: In a separate mixing bowl, beat the softened unsalted butter with an electric mixer on high speed for 4 to 5 minutes, until it has doubled in volume and is incredibly light and fluffy. This step is crucial for the filling’s smooth, airy consistency.
- Incorporate Chocolate into Butter: Gradually add the chocolate-egg mixture to the whipped butter, a small amount at a time. Beat well after each addition until everything is thoroughly combined and you have a creamy, rich chocolate mixture. Take your time with this step to maintain the light texture.
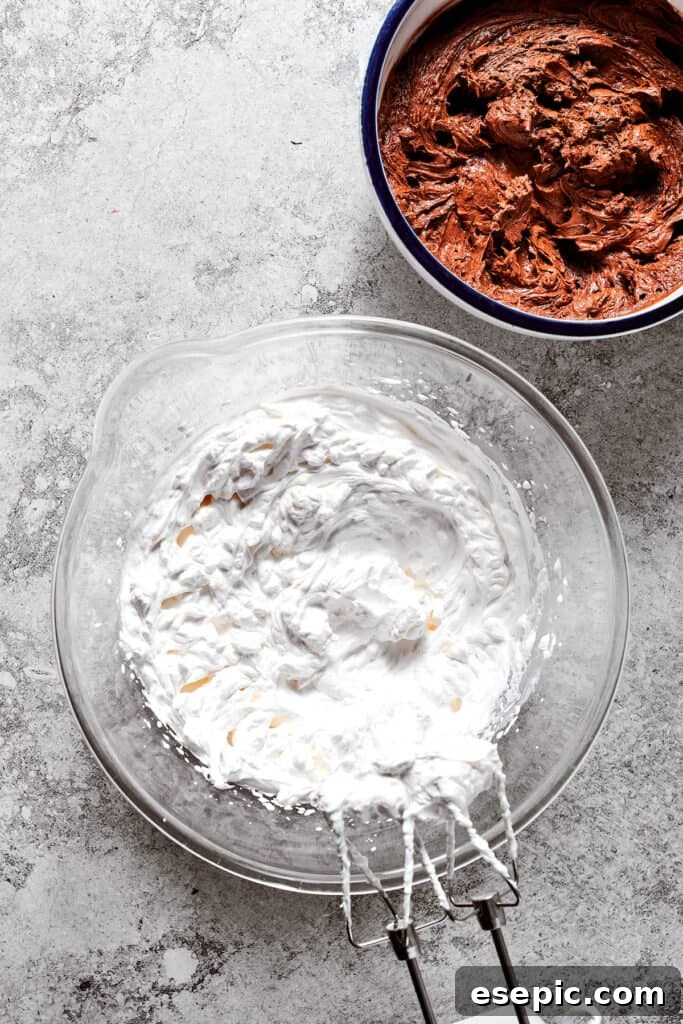
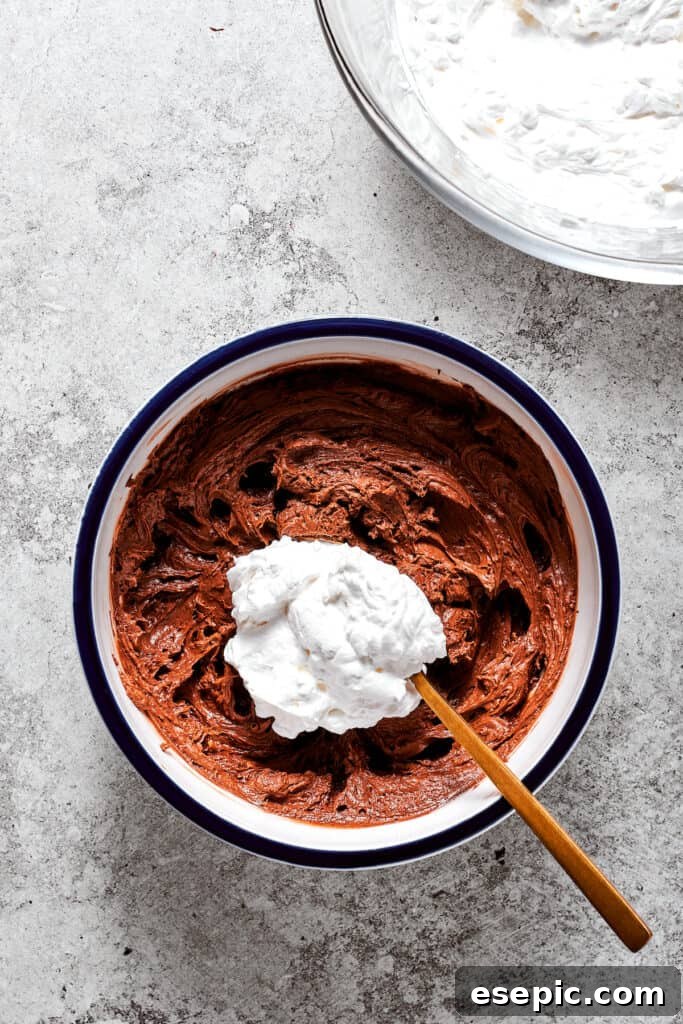
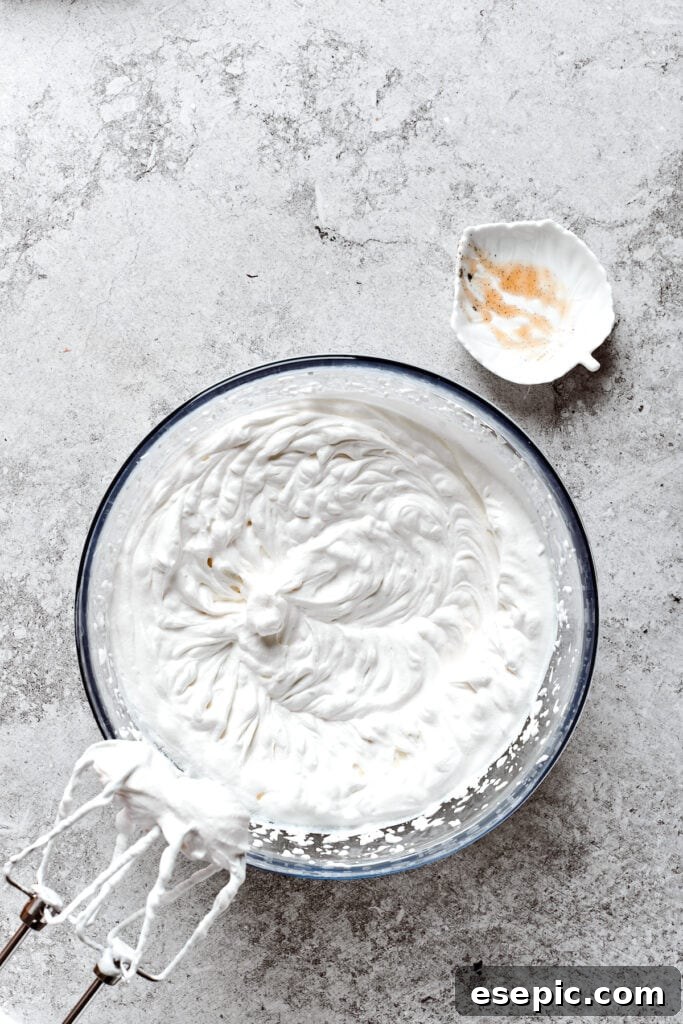
- Whip the Remaining Cream: In a separate, chilled bowl, whip the 1½ cups of heavy cream using an electric mixer until stiff peaks form. Be careful not to overbeat, or it will become grainy.
- Fold in Whipped Cream: Gently fold the freshly whipped cream into the creamy chocolate filling until it’s just combined and homogenous. This technique maintains the airy texture, resulting in that iconic silky consistency.
Assembly and Finishing Touches:
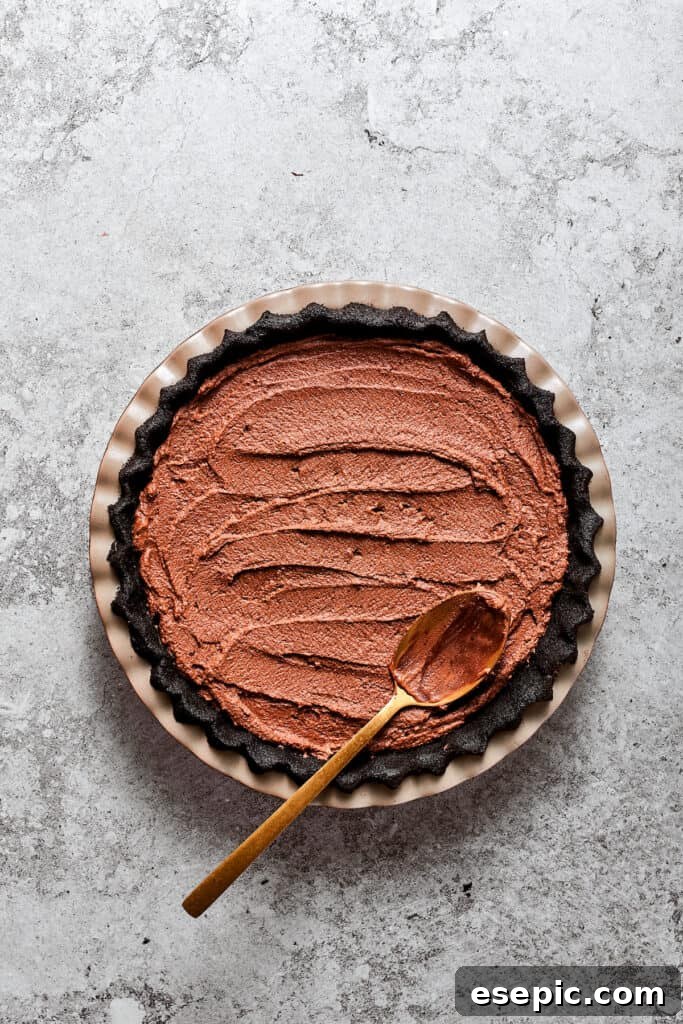
- Assemble the Pie: Pour the completed chocolate filling into the prepared and chilled Oreo cookie crust. Gently spread it evenly using an offset spatula or the back of a spoon.
- Prepare the Whipped Cream Topping: In a separate, thoroughly chilled bowl, whip the 1 cup of cold heavy whipping cream and vanilla bean paste (or extract) with an electric mixer until stiff peaks form.
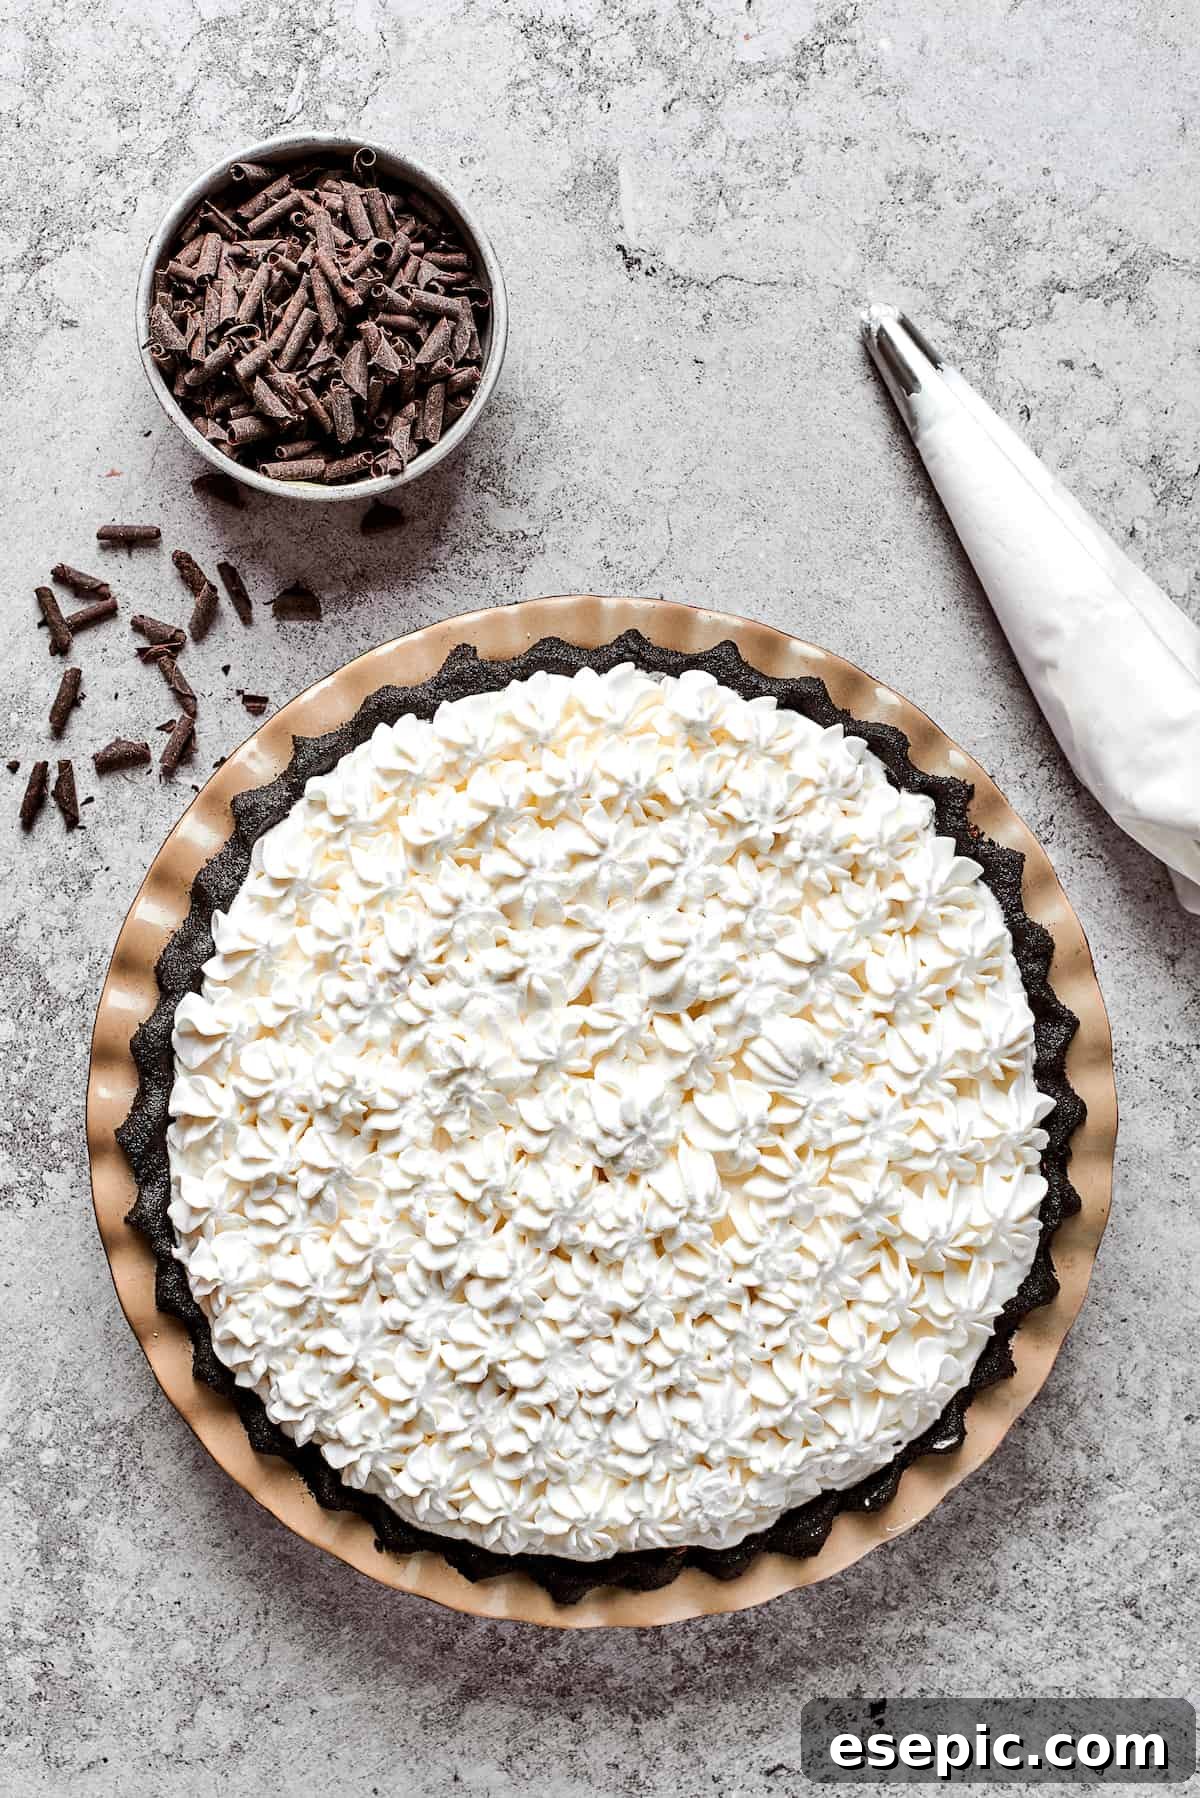
- Top and Garnish: Carefully spread the whipped cream over the chocolate filling. For a more elegant presentation, you can pipe swirls of whipped cream using a pastry bag fitted with your favorite decorative tip. Finish the pie by garnishing with delicate chocolate curls or shavings.
- Chill to Perfection: Refrigerate your magnificent French Silk Pie for at least 4 hours, or preferably overnight, to allow the filling to set completely and the flavors to meld beautifully. This patience is rewarded with an undeniably firm yet creamy slice.
Expert Tips for French Silk Pie Success
Achieving French Silk Pie perfection is easier with a few insider tips. These suggestions will help ensure your pie turns out beautifully every time, from preparation to presentation and beyond.
- Plan Ahead for Best Results: This pie holds up exceptionally well, making it an ideal make-ahead dessert. You can prepare it a day or two before you plan to serve it. If doing so, it’s best to whip the fresh cream topping on the day of serving for optimal freshness and texture. If you must top it ahead of time, insert a few toothpicks into the whipped cream before covering it with plastic wrap. This prevents the plastic from sticking to and deflating the delicate cream. Store it carefully in the fridge.
- Explore Different Crust Variations: While the Oreo crust is a classic choice, don’t hesitate to experiment! For a slightly different flavor profile and texture, consider making a traditional homemade pie crust. A flaky, buttery pastry crust offers a delightful contrast to the rich filling.
- Swap Out the Cookies: If you love a pure chocolate crust but want to try something other than Oreos, a plain chocolate wafer cookie crust is also wonderfully complementary to French Silk Pie. Simply use an equal amount of chocolate wafer cookies (without cream filling) and proceed with the recipe as written for the crust.
- Don’t Skip the Chilling Time: The refrigeration period is absolutely essential. It allows the chocolate filling to fully set, firming up to that desirable sliceable, yet melt-in-your-mouth, consistency. Rushing this step will result in a runny pie.
- Quality Ingredients Matter: Since French Silk Pie features so few ingredients, the quality of each one truly shines through. Opt for good quality bittersweet or semisweet chocolate, pure vanilla extract or paste, and fresh heavy cream for the most superior flavor.
- Embrace Room Temperature: Ensure your butter and eggs are at room temperature as specified. This allows them to incorporate more smoothly and whip up to their fullest volume, which is critical for the filling’s texture.
- Store-Bought Whipped Cream in a Pinch: While homemade whipped cream is undeniably superior for its fresh taste and light texture, we understand that time isn’t always on your side. In a pinch, a good quality store-bought whipped cream can be used as a convenient alternative. However, for the ultimate experience, we highly recommend whipping your own.
- Garnish Creatively: Beyond chocolate curls, consider dusting your pie with a light layer of cocoa powder, adding fresh raspberries for a touch of tartness, or even a drizzle of chocolate ganache for an extra layer of decadence.
Proper Storage for Lasting Freshness
To ensure your French Silk Pie remains as delicious as the day it was made, proper storage is key. Follow these guidelines for refrigerating or freezing your pie:
- In the Refrigerator: French Silk Pie stores wonderfully in the fridge. Loosely cover the pie with plastic wrap or aluminum foil, creating a slight tent over the whipped cream to prevent it from sticking or getting flattened. It will keep beautifully for up to 5 days.
- In the Freezer: For longer storage, French Silk Pie freezes exceptionally well. First, ensure the pie is completely chilled in the refrigerator. Then, wrap it tightly with a layer of plastic wrap, followed by a layer of heavy-duty aluminum foil. This double layer protects against freezer burn. Store the pie in the freezer for up to 3 months. When you’re ready to enjoy it, transfer the frozen pie to the refrigerator and allow it to defrost completely for several hours or overnight before serving.
More Irresistible Pie Recipes to Explore
If you have a passion for pie, we have plenty more delightful recipes for you to try. Expand your baking repertoire with these fantastic options:
- The Best Classic Pecan Pie Recipe
- Traditional Southern Buttermilk Pie
- Vibrant Fresh Strawberry Pie
- Heartwarming Homemade Apple Pie
French Silk Pie
Rating: 5 out of 5 stars (7 votes)
by Katerina | Easy Weeknight Recipes
Indulge in the ultimate dessert with our French Silk Pie, featuring a crisp Oreo pie crust layered with a decadent, velvety chocolate filling, all topped off with smooth, homemade whipped cream.
Prep Time: 1 hour
Cook Time: 10 minutes
Refrigeration Time: 4 hours
Total Time: 5 hours 10 minutes
Servings: 12 servings
Ingredients
For the Crust
- 24 Oreo cookies
- ¼ cup unsalted butter, at room temperature
For the Filling
- 8 ounces bittersweet chocolate, finely chopped
- 3 large eggs, at room temperature
- ⅔ cup granulated sugar
- 1 tablespoon water
- 2 teaspoons pure vanilla extract
- ⅔ cup unsalted butter, softened
- 1½ cups heavy cream
For the Whipped Cream Topping
- 1 cup chilled heavy whipping cream
- 1 teaspoon vanilla bean paste or vanilla extract
- Chocolate curls, for garnish
Instructions
For the Crust
- In a food processor, process the Oreo cookies (including the filling) until fine crumbs form.
- Add in the room-temperature butter and pulse until well combined.
- Press the mixture into the bottom and up the sides of a 9-inch pie dish to form the crust. Then, place the crust in the refrigerator to set while you prepare the filling.
For the Filling
- Melt the bittersweet chocolate in a heatproof bowl set over simmering water, stirring until smooth. Remove from the heat and allow it to cool slightly.
- In a glass bowl beat the eggs, sugar, and water with an electric mixer until pale and slightly thickened.
- Place the glass bowl over a pot of simmering water, making sure the water doesn’t touch the bowl’s bottom. While constantly whisking, heat the mixture until it reaches 160˚F on a candy thermometer.
- Remove the bowl from the heat, increase the electric mixer speed to medium-high, and beat until the mixture is thick and cooled to room temperature.
- Add the melted chocolate to the egg mixture, beating until well combined.
- In a separate mixing bowl, beat the butter with an electric mixer until doubled in volume and fluffy, about 4 to 5 minutes.
- Transfer a small amount of the chocolate egg filling to the fluffy butter and combine well. Then add the next amount of chocolate egg filling and combine; repeat until the entire mixture is used up and you get a creamy chocolate mixture.
- In a separate bowl, with an electric mixer whip the heavy cream until stiff peaks form.
- Gently fold the whipped cream into the creamy chocolate filling until well combined and homogenous.
- Pour the filling into the prepared Oreo crust.
For the Whipped Cream Topping
- In a chilled bowl, whip the cold heavy whipping cream and vanilla bean paste until stiff peaks form.
- Spread the whipped cream over the chocolate filling or pipe swirls of whipped cream on top of the pie.
- Finish with curls of chocolate.
- Refrigerate the French Silk Pie for at least 4 hours or overnight to set.
Equipment
- Stand Mixer
- Glass Mixing Bowls
- Double Boiler
Notes
- Read and reread the recipe before you start it to get an idea of everything you need to do. Then, prep all the ingredients and tools before beginning to work on the pie.
- To melt the chocolate, use a double boiler, if you have one, or fill a saucepan with an inch or two of water. Place a heatproof bowl over the pan – make sure it does not touch the water. You just need it to fit snugly over the rim of the pan. Lower the heat to a gentle simmer, add the chopped chocolate to the bowl, and let it melt for 3 to 4 minutes, stirring frequently. You can use the same method for the eggs and sugar mixture.
- Ensuring your eggs reach 160˚F (71°C) during the heating process is crucial for food safety, as the filling contains eggs that are not baked. Use a reliable candy thermometer to monitor the temperature.
Nutrition
Calories: 574kcal | Carbohydrates: 40g | Protein: 5g | Fat: 45g | Saturated Fat: 26g | Polyunsaturated Fat: 3g | Monounsaturated Fat: 13g | Trans Fat: 1g | Cholesterol: 135mg | Sodium: 206mg | Potassium: 231mg | Fiber: 2g | Sugar: 29g | Vitamin A: 1232IU | Vitamin C: 0.3mg | Calcium: 60mg | Iron: 4mg
Nutritional information is an estimate and provided as courtesy. Values may vary according to the ingredients and tools used. Please use your preferred nutritional calculator for more detailed information.
There you have it – a comprehensive guide to crafting an extraordinary French Silk Pie that promises to be the highlight of any dessert table. With its perfect blend of crunchy crust, unbelievably smooth chocolate filling, and a crowning glory of whipped cream, this pie is truly a labor of love that pays off in every delightful bite. Happy baking!