
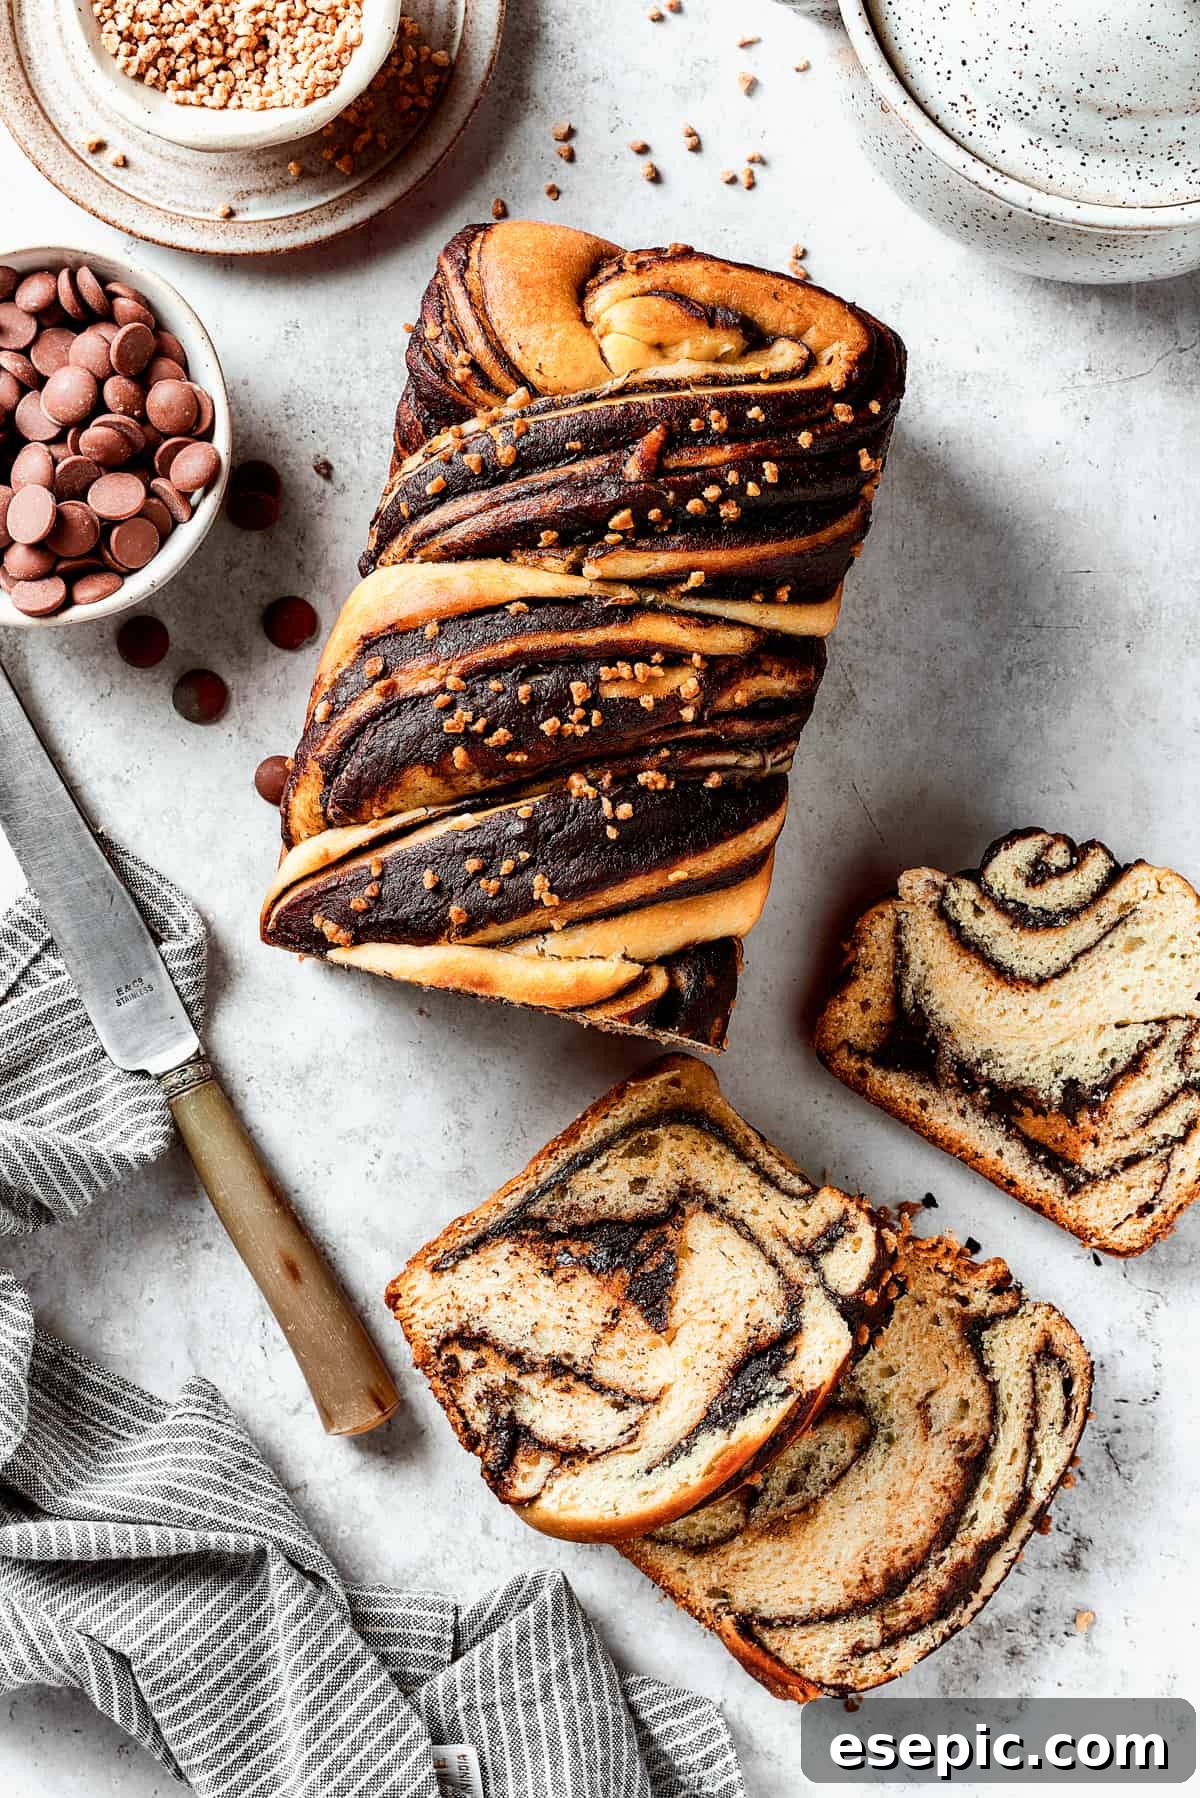
Indulge in the heavenly embrace of **Chocolate Babka**, a beloved, old-fashioned bake that perfectly marries the comforting richness of yeast bread with generous swirls of real chocolate. This tender, subtly sweet loaf is more than just a treat; it’s a culinary experience, ideal for elevating any special breakfast, brunch, or dessert occasion. Prepare to fall in love with its irresistible aroma and exquisite taste.
What Exactly is Chocolate Babka? A Culinary Journey
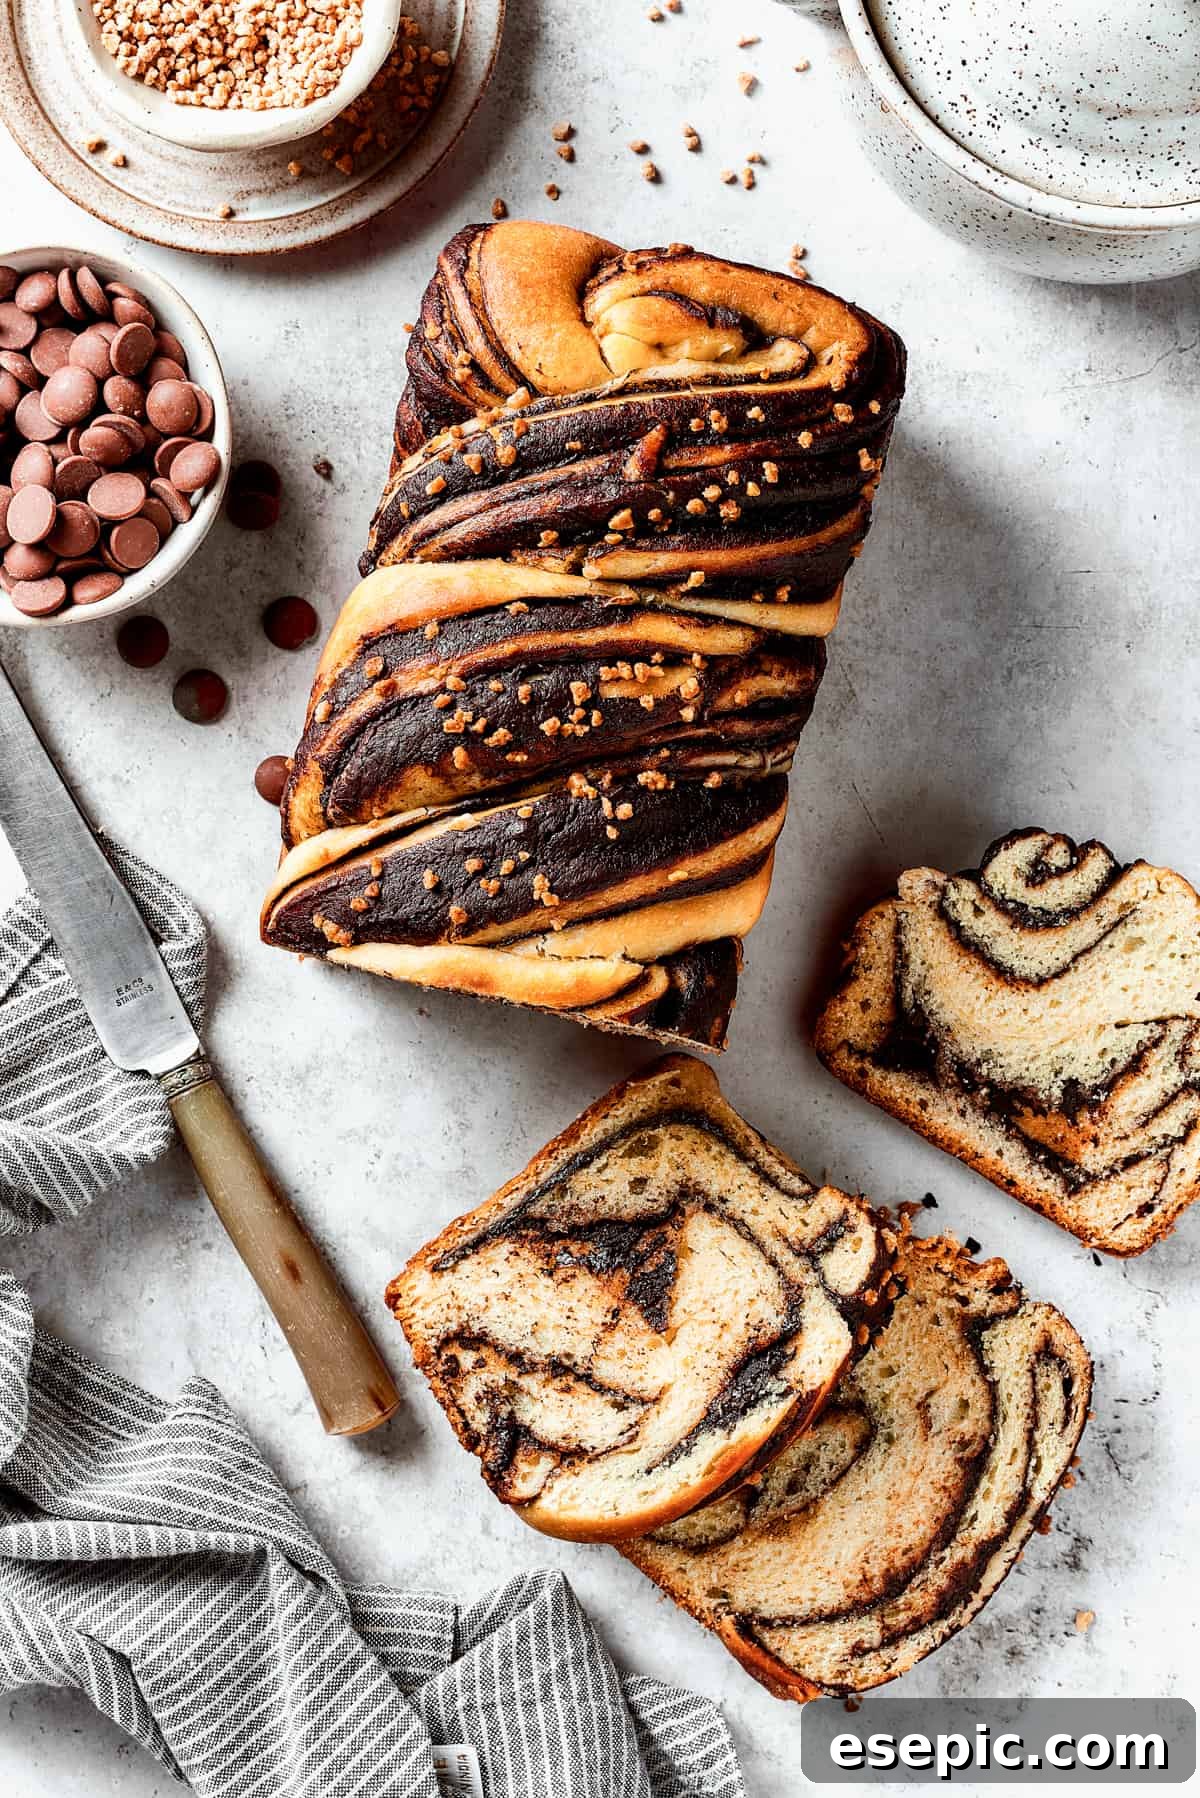
For those unfamiliar with the magic of chocolate babka, prepare for a revelation. This isn’t just another sweet bread; it’s a rich, brioche-like yeast dough, meticulously layered and twisted with a decadent chocolate filling, creating a mesmerizing swirl pattern that’s as appealing to the eye as it is to the palate. Originating from Eastern European Jewish communities, babka has transcended its roots to become a cherished delicacy in bakeries worldwide. Its name, derived from the Polish word for “grandmother” (babcia), hints at its comforting, traditional nature, often passed down through generations.
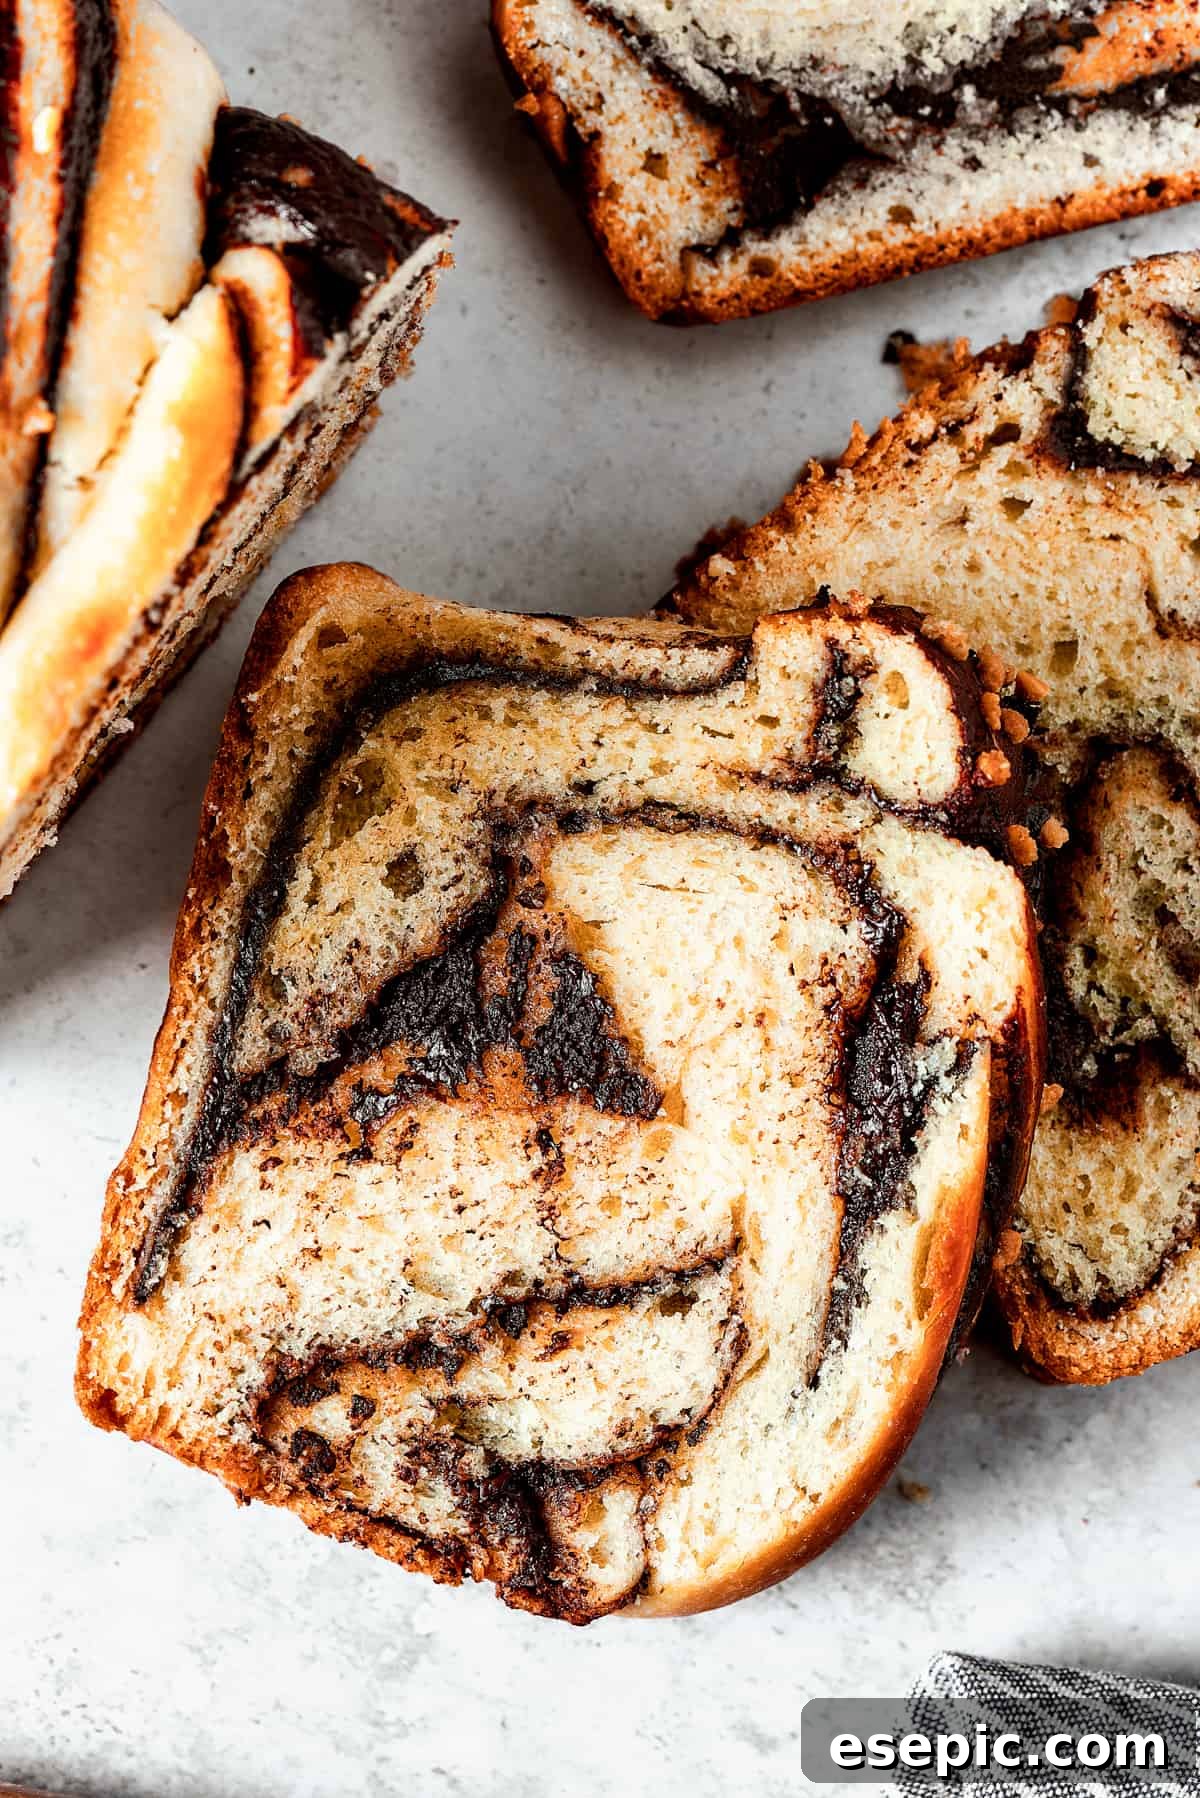
The beauty of babka lies in its exquisite balance: a soft, slightly chewy crumb that gives way to pockets of rich, melted chocolate. Each bite offers a symphony of textures and flavors, from the tender bread to the bittersweet chocolate, often enhanced with subtle hints of citrus. While bakeries globally churn out fresh babka daily, mastering this beloved bake in your own kitchen is a surprisingly accessible and incredibly rewarding endeavor. Imagine the aroma filling your home as this luscious, homemade chocolate swirl bread bakes to golden perfection.
Breakfast, Dessert, or Anytime Treat? Serving Your Babka
One of the most charming aspects of chocolate babka is its remarkable versatility. Is it a breakfast pastry? An elegant dessert? A special afternoon snack? The answer is a resounding: all of the above! This sweet bread transcends traditional meal categories, making it a perfect indulgence for any moment. Serve it as a decadent start to your day alongside a steaming cup of coffee, or present it as the grand finale to a dinner party. It’s also a delightful inclusion in a lunchbox for a midday pick-me-up or a comforting treat on a cozy evening.
When it comes to serving temperature, babka offers flexibility. While it’s utterly delicious at room temperature, warming it gently unlocks an extra layer of gooey chocolate goodness and enhances its moist, tender texture. A quick zap in the microwave or a few minutes in a warm oven will transform it into a truly indulgent experience. Conversely, as it cools, the texture becomes a bit denser, offering a different, yet equally delightful, mouthfeel. There’s truly no wrong way to enjoy this delicious sweet bread, so experiment to find your personal preference.
Essential Ingredients for Your Perfect Chocolate Babka
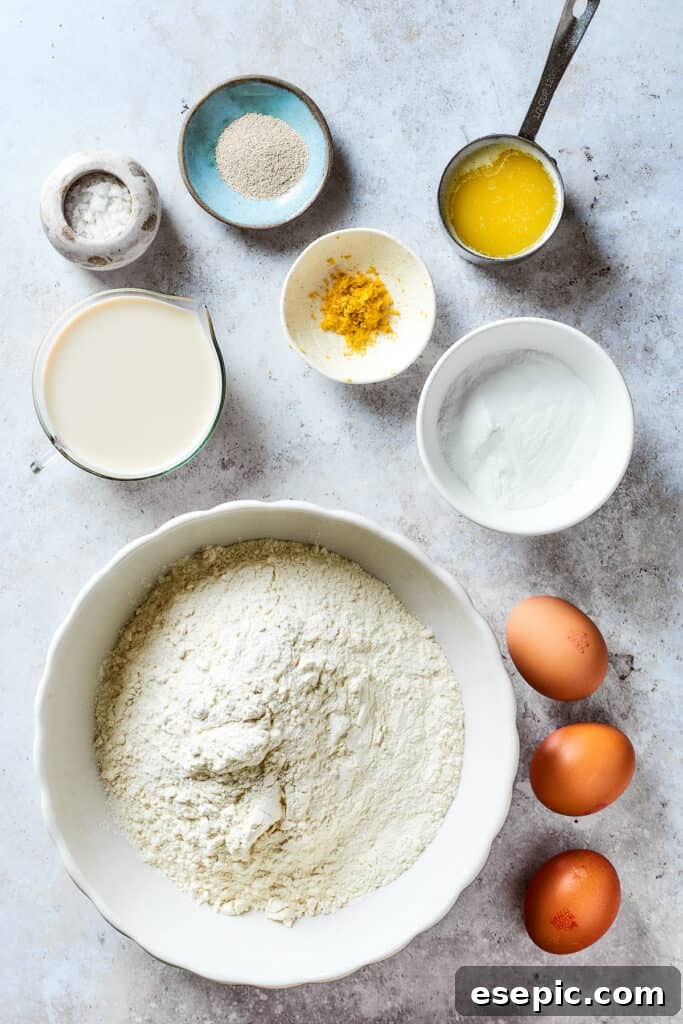
Crafting this delightful chocolate babka requires a collection of simple, readily available ingredients. The magic happens when these humble components come together to form a rich dough and an irresistible filling. Here’s a detailed look at what you’ll need to create this masterpiece:
For the Rich, Enriched Yeast Dough
- All-Purpose Flour: The foundation of our babka, all-purpose flour provides the necessary structure. Proper measurement is crucial for the perfect dough consistency.
- Eggs: Large, whole eggs are key to the babka’s signature richness and tender crumb, contributing to both flavor and structure.
- Milk: Warm milk is essential for activating the yeast and adding moisture to the dough, ensuring a soft and pliable texture. Aim for body temperature or slightly warmer.
- Active Dry Yeast: This is the leavening agent that gives the babka its wonderful rise and airy texture. You’ll find it in the baking aisle.
- Lemon Zest: A secret weapon for flavor! While optional, fresh lemon zest adds a bright, subtle aromatic note that beautifully complements the chocolate without making the bread taste lemony. Highly recommended for an elevated taste.
- Granulated Sugar: Just enough regular granulated sugar to sweeten the dough delicately. You can experiment with brown sugar, raw sugar, or other sweeteners, but be mindful that liquid sweeteners like maple syrup may require a slight adjustment to flour quantity.
- Salt: A pinch of salt balances the sweetness and enhances all the other flavors in the dough.
- Unsalted Butter: Melted unsalted butter enriches the dough, making it incredibly tender and flavorful.
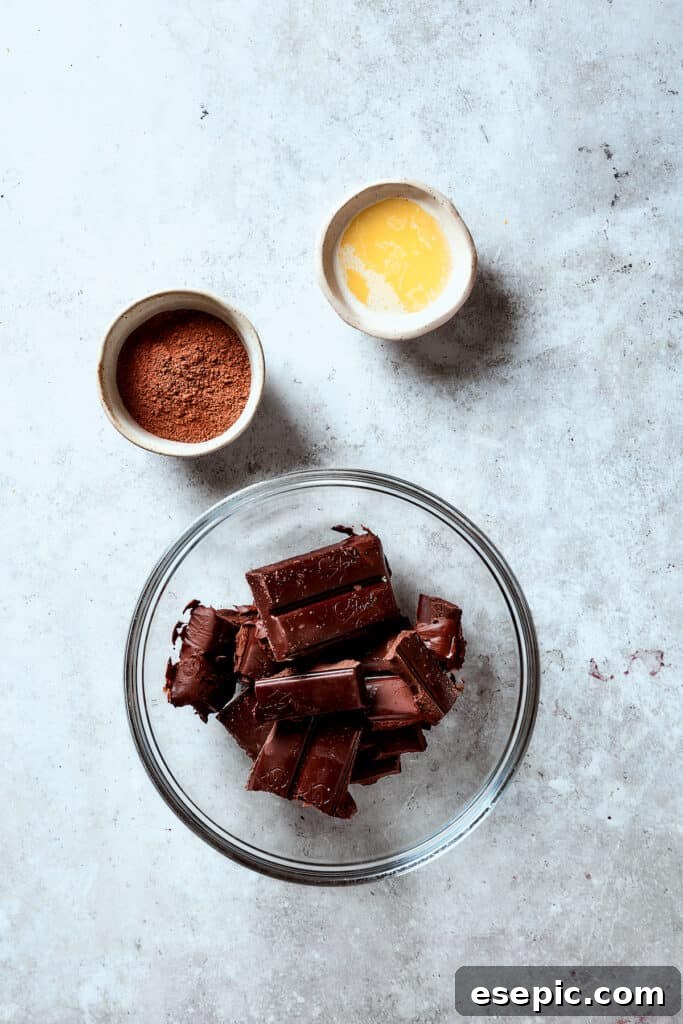
Crafting the Decadent Chocolate Filling
- Semisweet Chocolate Chips: The star of the filling! Semisweet chocolate chips offer the ideal balance of sweetness and rich cocoa flavor, though milk chocolate or darker chips can be used based on your preference.
- Unsalted Butter: A tablespoon of unsalted butter melted with the chocolate chips creates a smooth, spreadable, and intensely flavorful filling.
- Cocoa Powder: Natural or Dutch process cocoa powder is sifted over the chocolate layer, intensifying the chocolate flavor and contributing to the dramatic dark swirls.
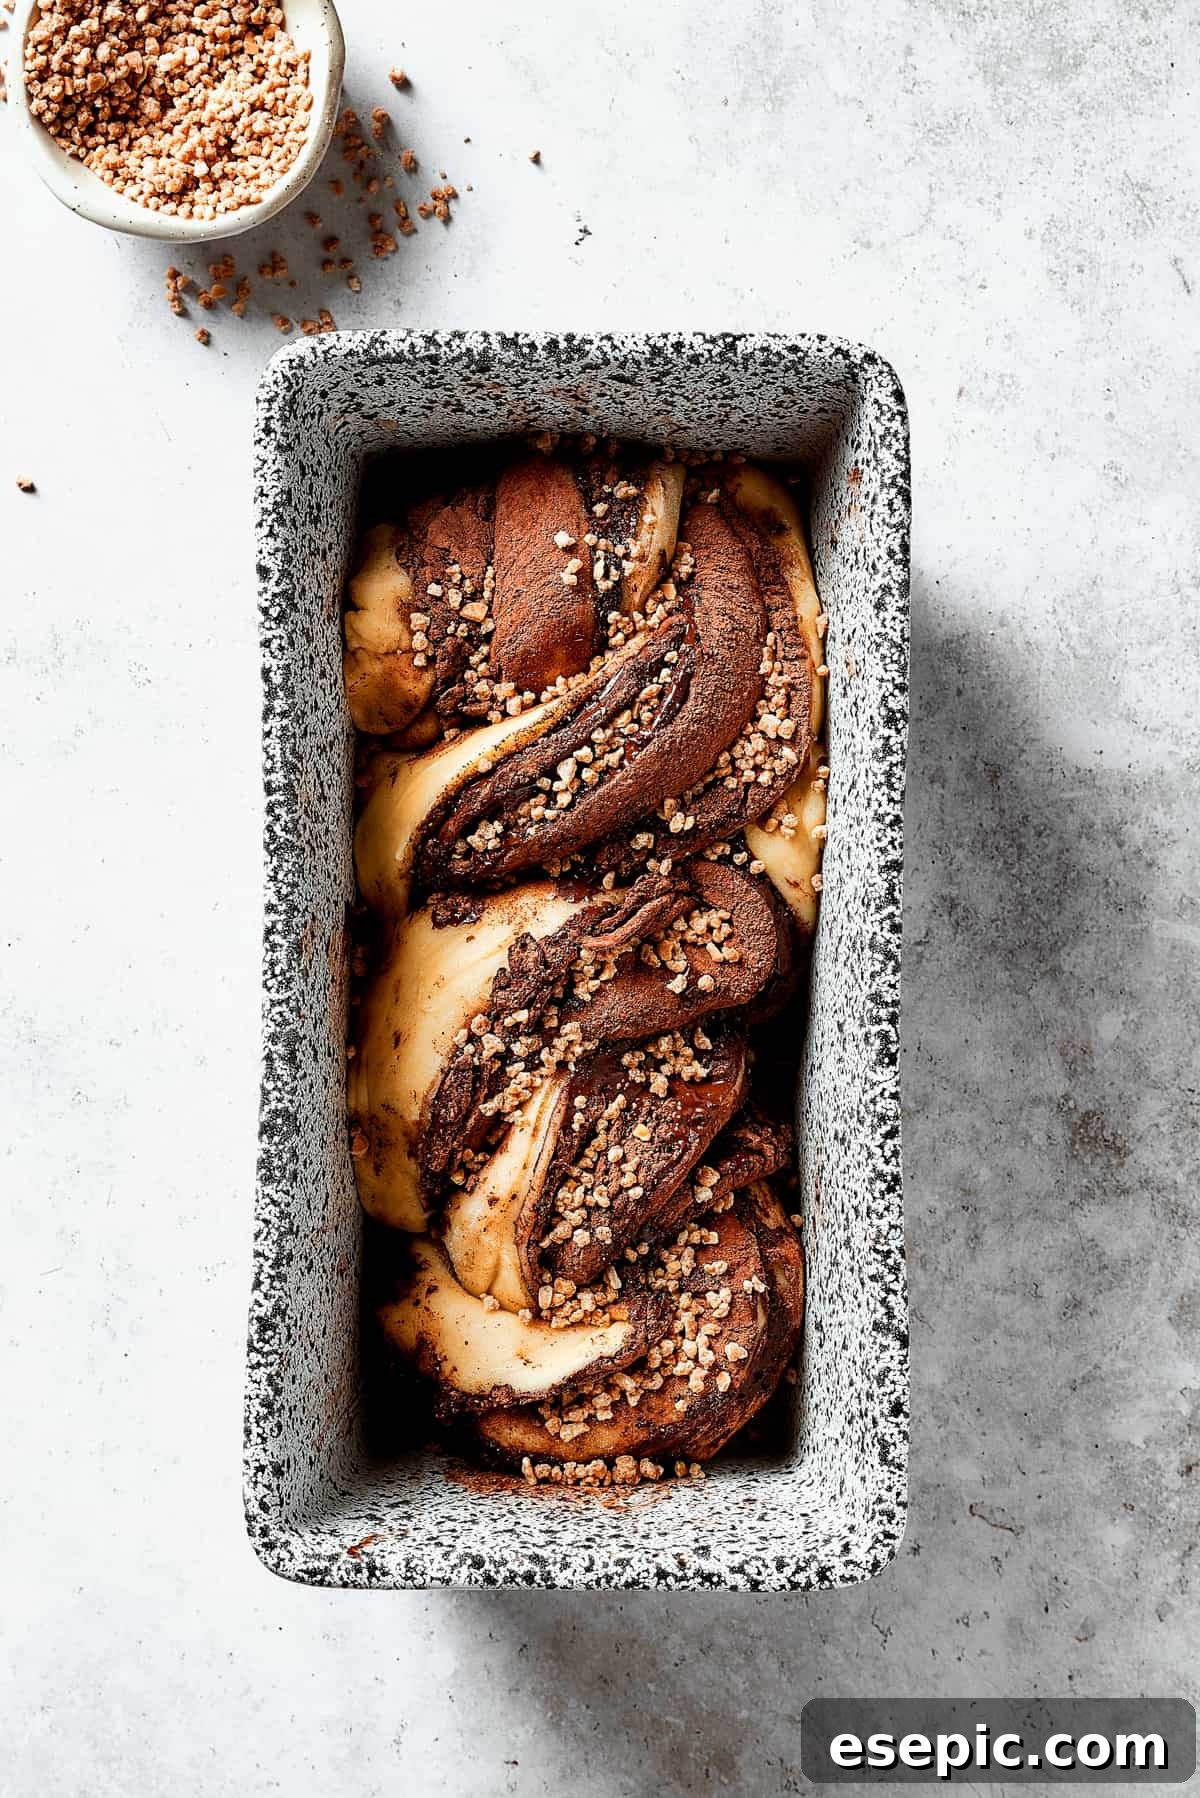
- Roasted, Diced Almonds (Optional): For an added layer of texture and nutty flavor, a sprinkle of roasted, diced almonds on top of the babka before baking provides a lovely crunch.
Step-by-Step Guide: How to Bake Chocolate Babka
Baking chocolate babka is a labor of love that rewards patience and attention to detail. While it requires some time—including about an hour and a half for rising—the process is straightforward and incredibly satisfying. Follow these steps to create your own masterpiece:
Preparing the Dough: Activating Yeast & Kneading
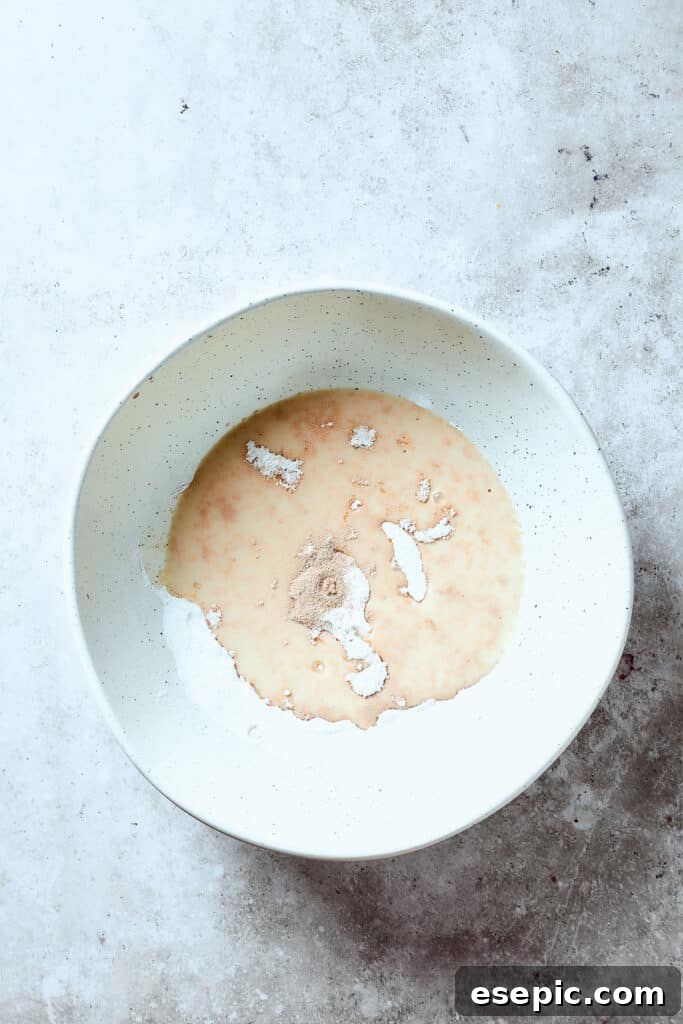
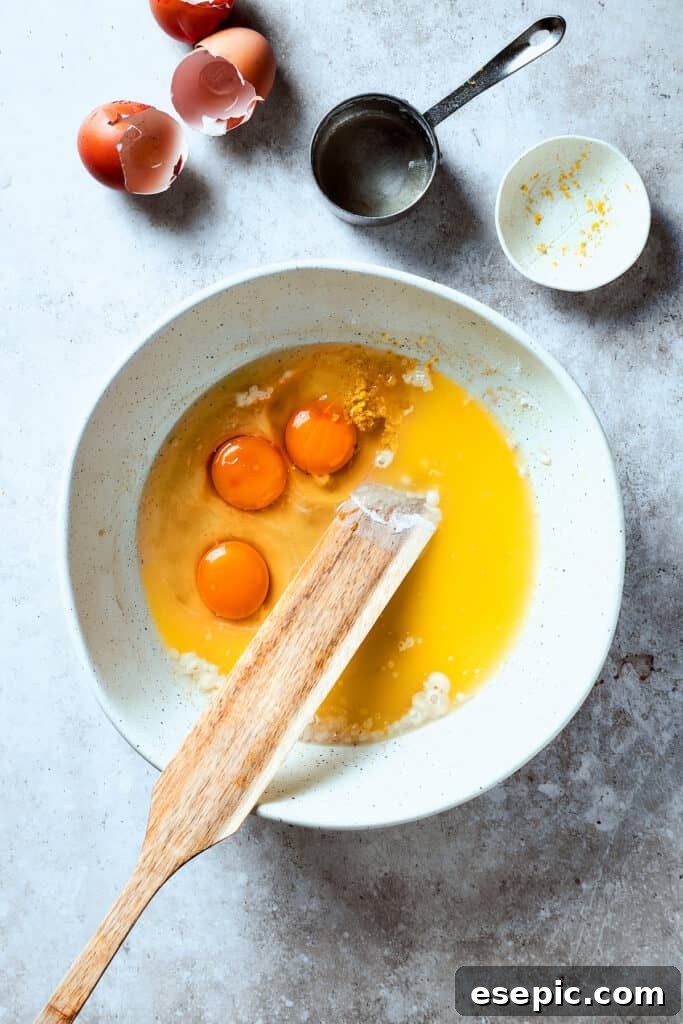
- Activate the Yeast: In a large mixing bowl, combine the warm milk (ensure it’s not too hot or too cold, ideally around 105-115°F / 40-46°C), 3 tablespoons of sugar, one teaspoon of flour, and the active dry yeast. Whisk gently and let it sit for about 5-10 minutes. You should see it become bubbly and foamy, indicating the yeast is active. If it doesn’t foam, your yeast may be old or the liquid temperature was off, and you’ll need to start with fresh ingredients.
- Add Remaining Dough Ingredients: Once the yeast is visibly active, add all the other dough ingredients (eggs, lemon zest, remaining sugar, salt, and melted butter), excluding the flour, to the bowl. Whisk everything together thoroughly until well combined.
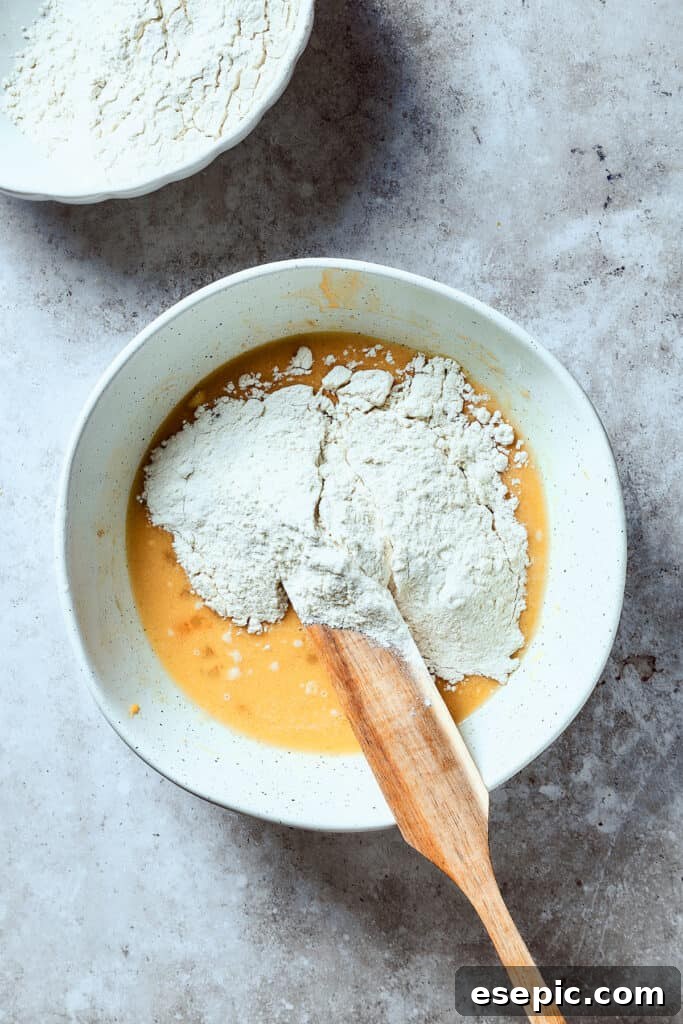
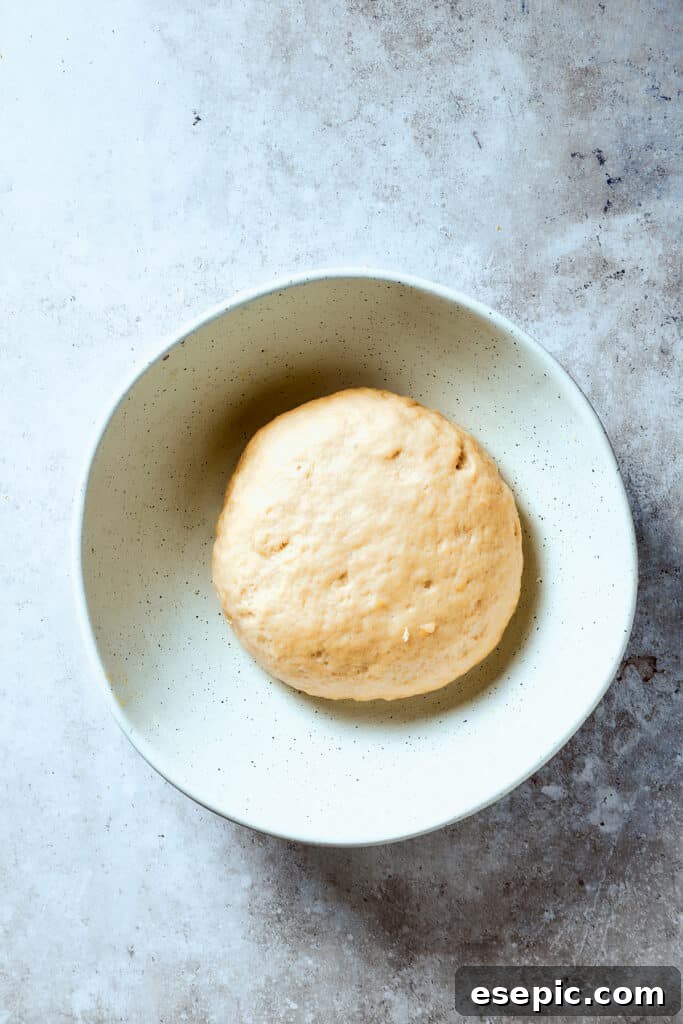
- Knead the Dough: Gradually add the 3½ cups of all-purpose flour, a little at a time, to the wet ingredients. Start by stirring with a wooden spoon until the flour is mostly incorporated. Then, transfer the dough to a lightly floured surface and knead it for about 5-7 minutes until it forms a soft, smooth, and elastic dough. It should be slightly tacky but not sticky.
The First Rise and Filling Preparation
- First Rise: Place the kneaded dough in a lightly oiled bowl, turning it once to coat. Cover the bowl with plastic wrap or a clean kitchen towel and let it rise in a warm, draft-free place for about 1 hour, or until it has doubled in size.
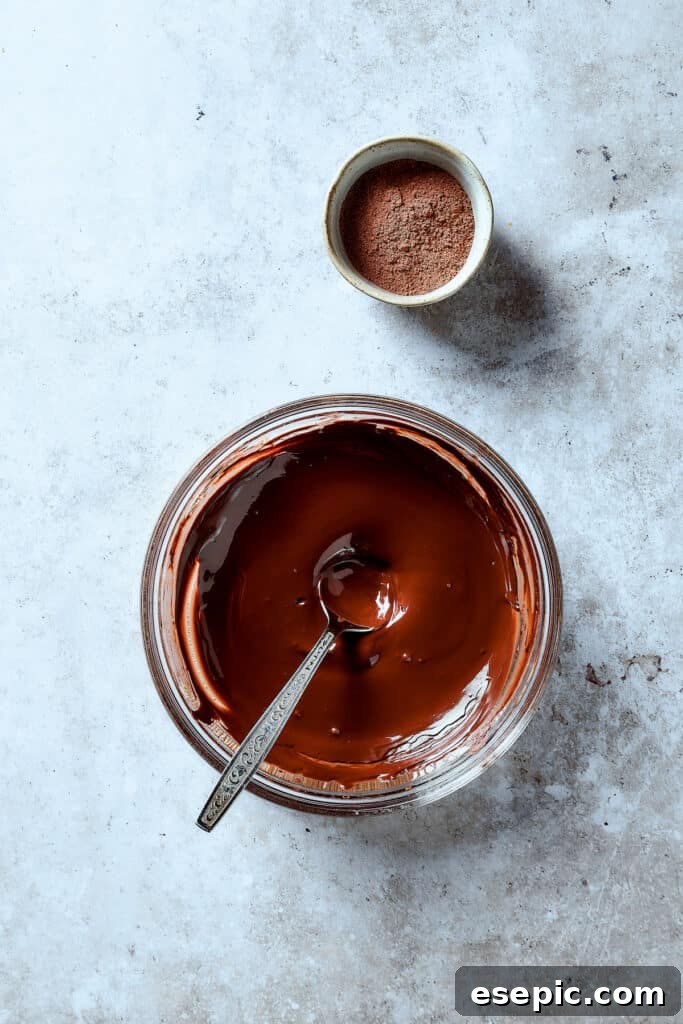
- Make the Chocolate Filling: While the dough is rising, prepare your filling. In a small saucepan over low heat or in a microwave-safe bowl, melt the semisweet chocolate chips and 1 tablespoon of unsalted butter together. Stir continuously until the mixture is smooth and glossy. Set aside to cool slightly.
Shaping the Iconic Swirls
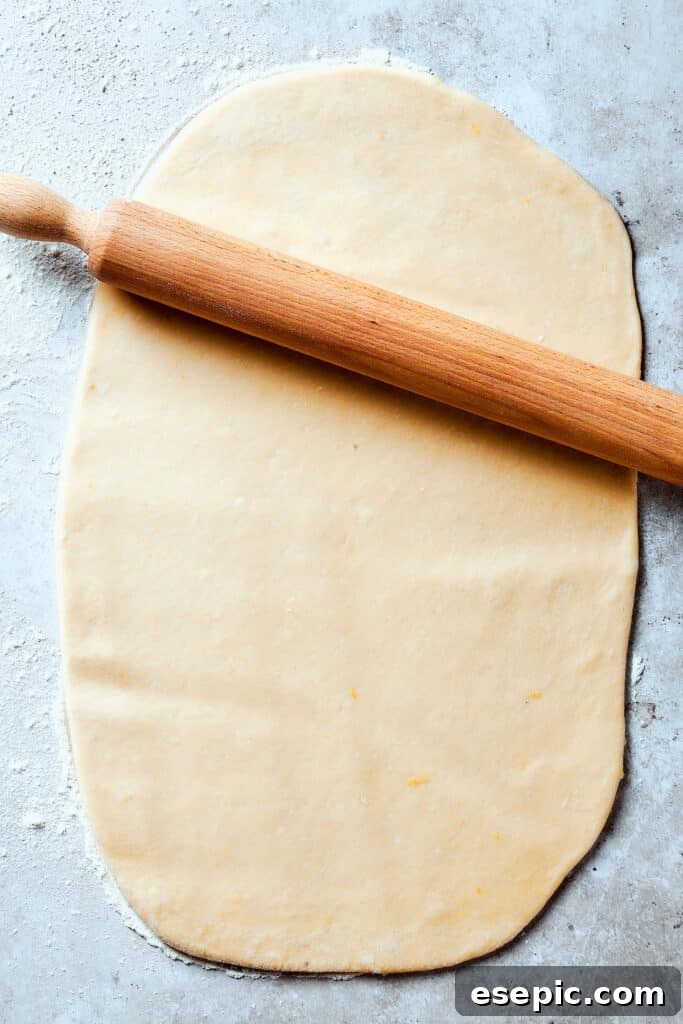
- Roll Out the Dough: Once the dough has risen, punch it down gently to release the air. Transfer it to a lightly floured work surface and roll it out into a large rectangle, approximately 18×12 inches (45×30 cm) and relatively thin, about ¼ inch thick.
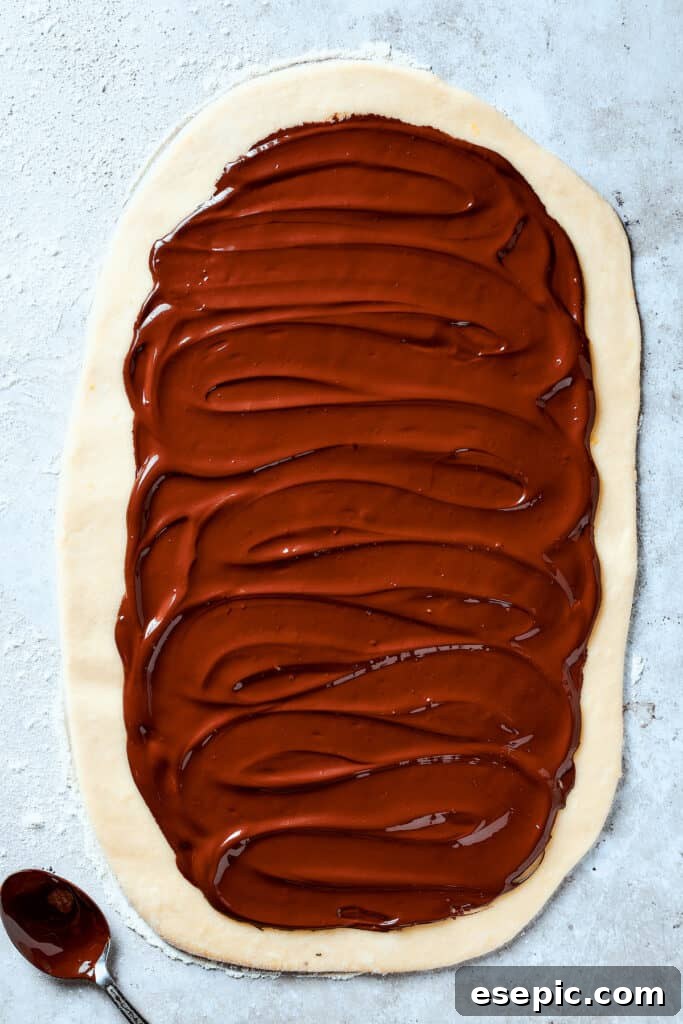
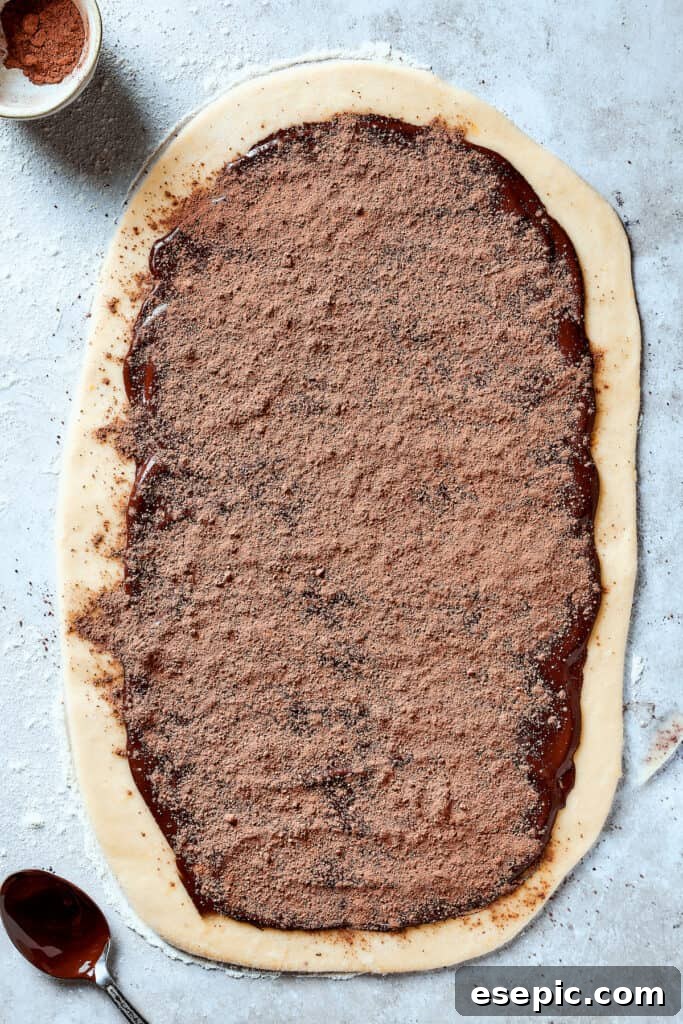
- Spread Filling and Cocoa: Evenly spread the cooled chocolate filling over the entire surface of the rolled-out dough, leaving a small border free along one of the long edges. Then, generously sift 1 tablespoon of cocoa powder over the chocolate layer for an extra deep chocolate flavor and visual effect.
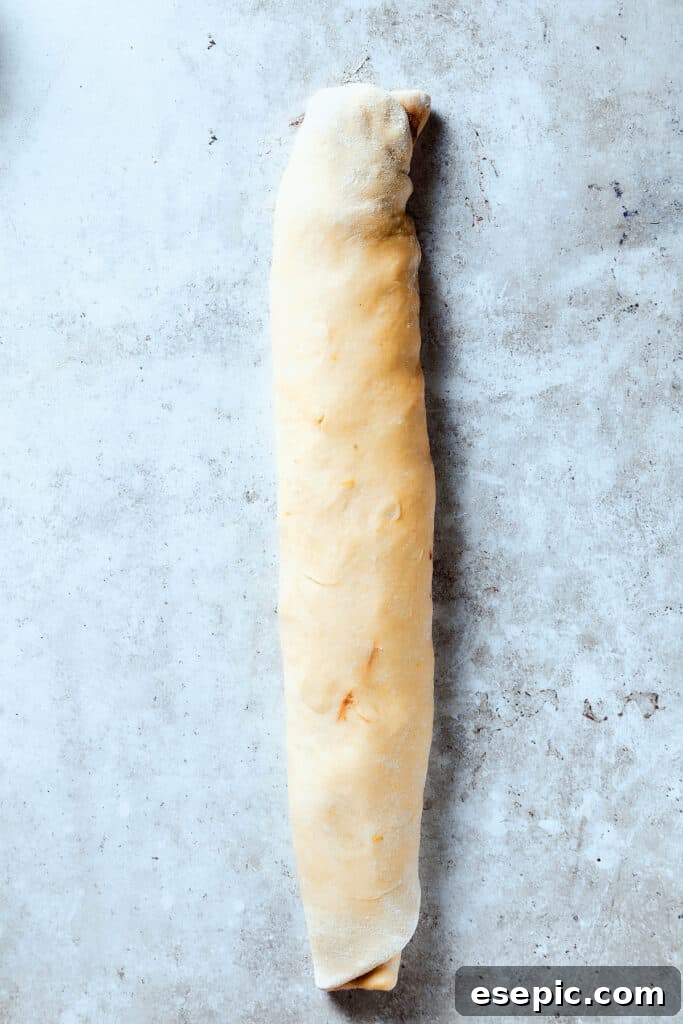
- Roll Up the Dough: Starting from a long edge, tightly roll up the dough into a long cylinder. Pinch the seam firmly to seal.
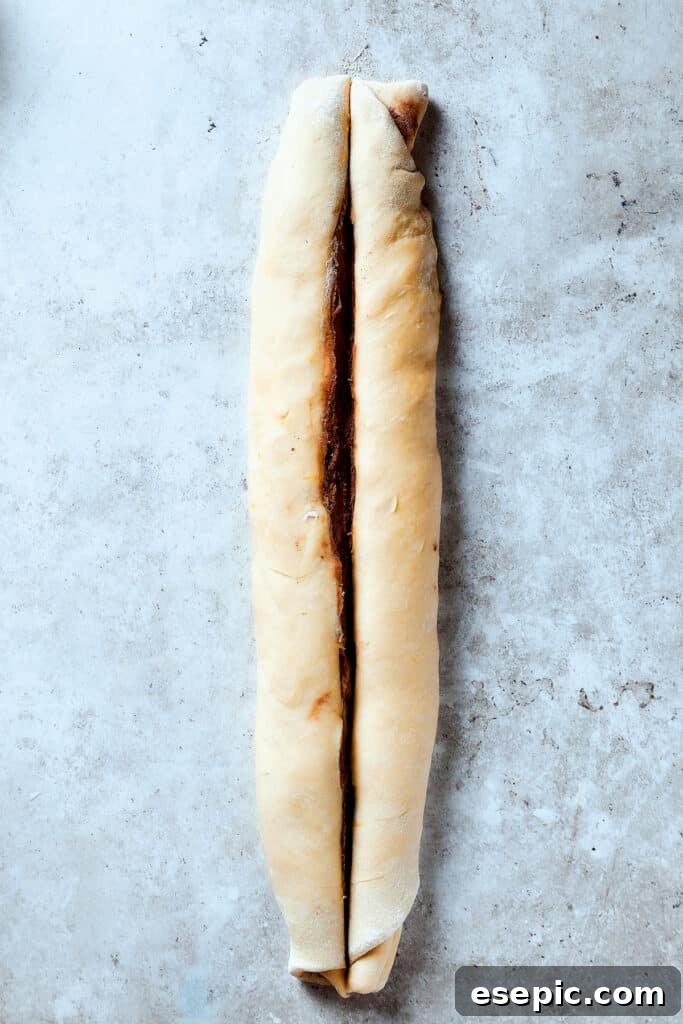
- Slice Lengthwise: Using a sharp knife or bench scraper, cut the cylinder in half lengthwise, exposing the beautiful layers of chocolate and dough.
The Braid, Second Rise, and Baking
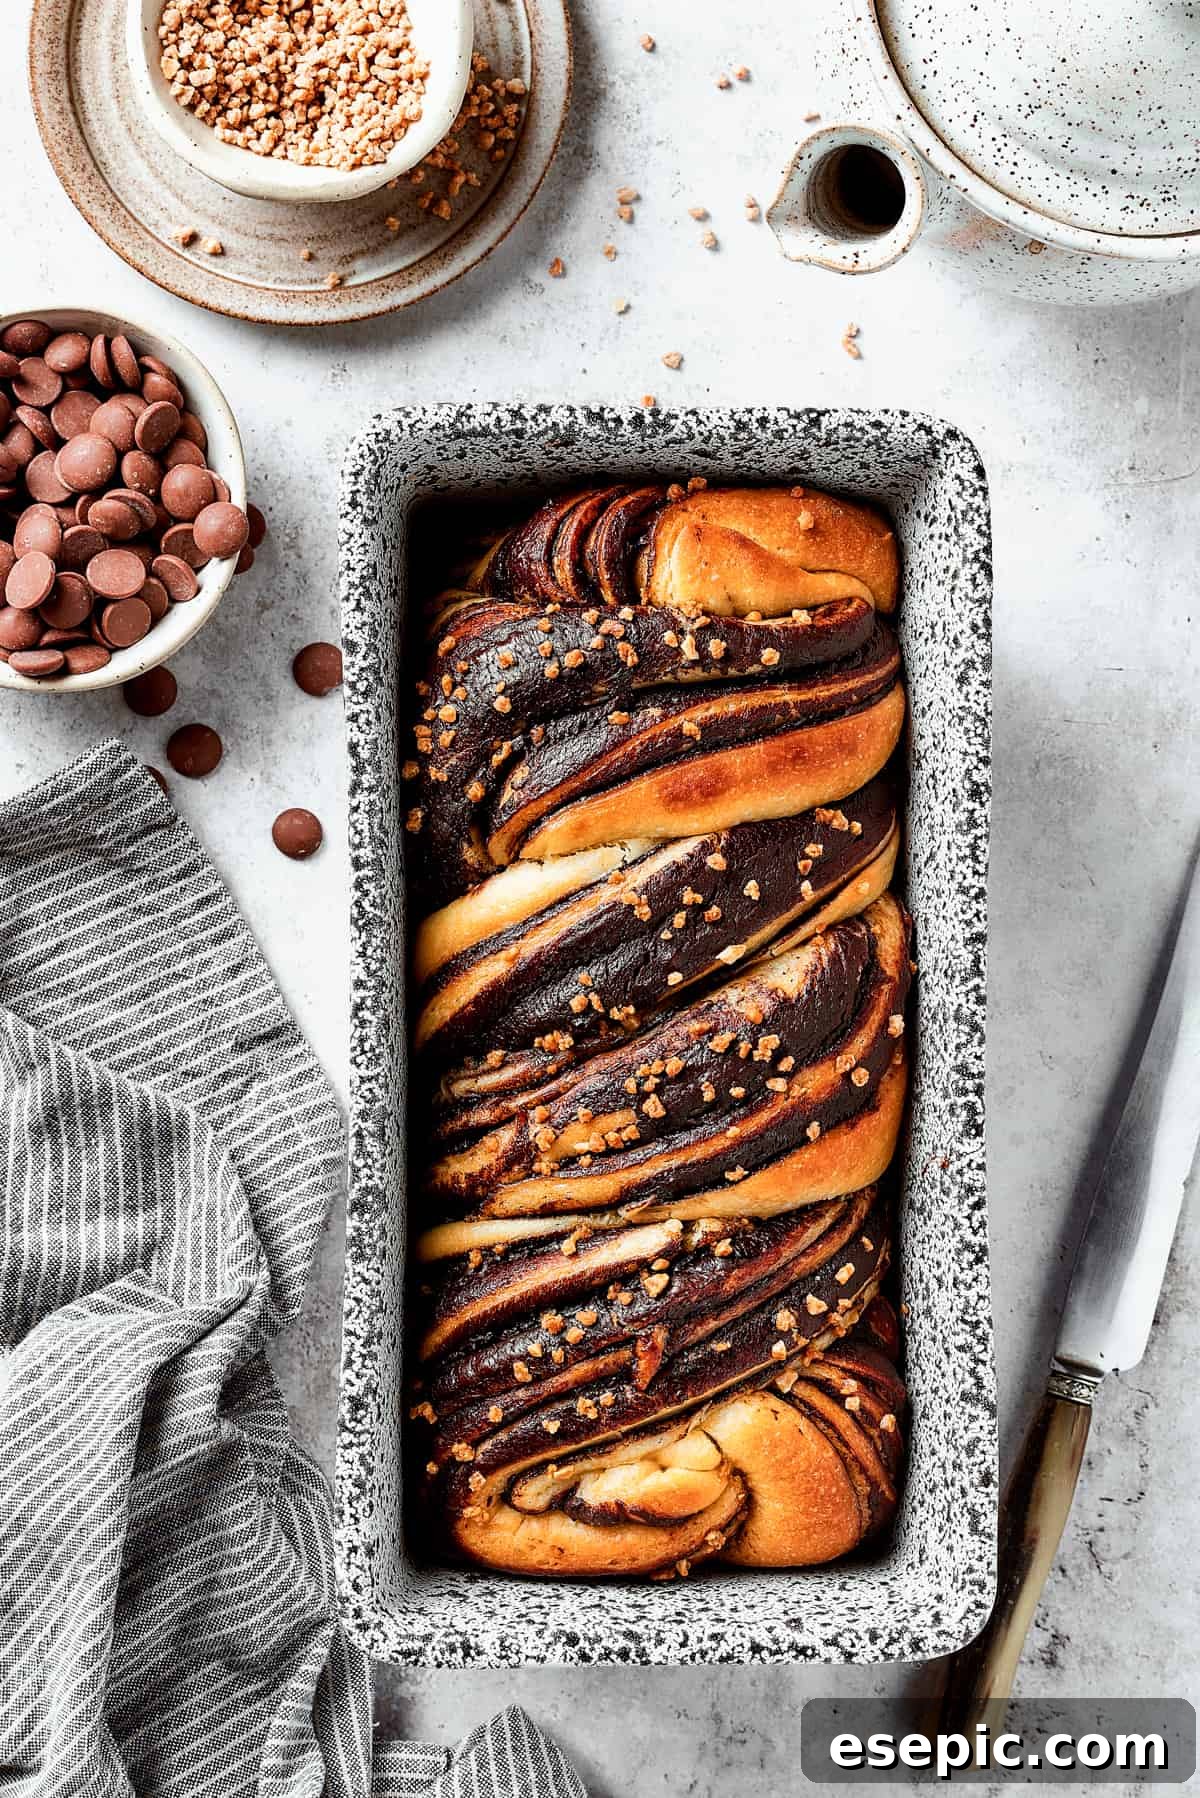
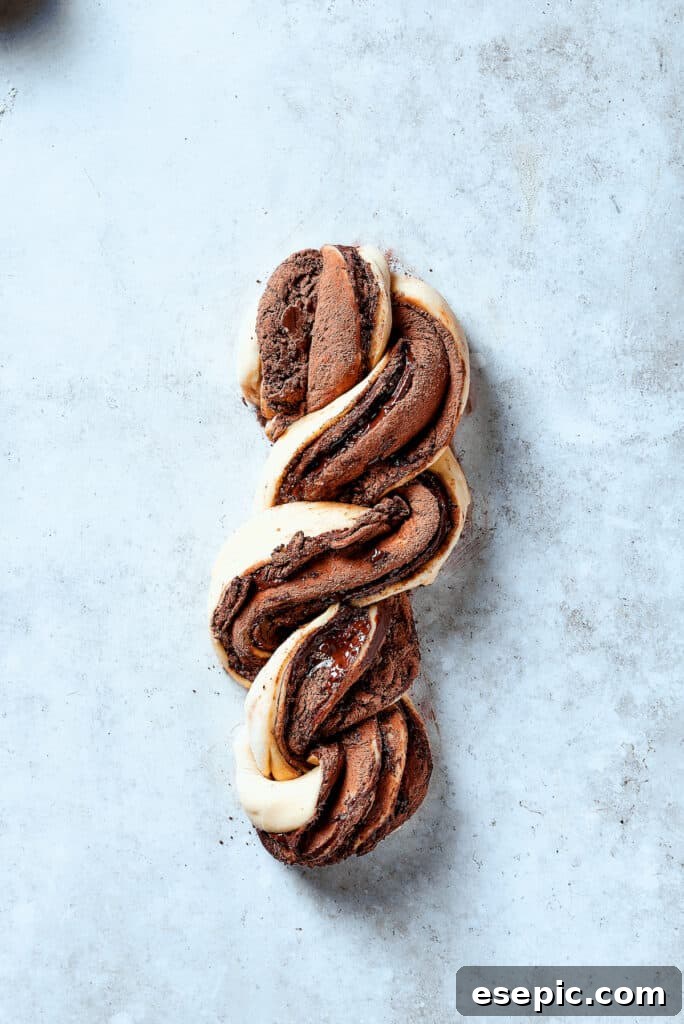
- Twist the Dough to Make a Braid: Turn each half of the sliced dough so the cut, layered side is facing upwards. Pinch the ends of the two pieces together securely. Then, gently twist the pieces around each other, forming a beautiful braid. Ensure the cut layers remain visible on top to showcase the swirls.
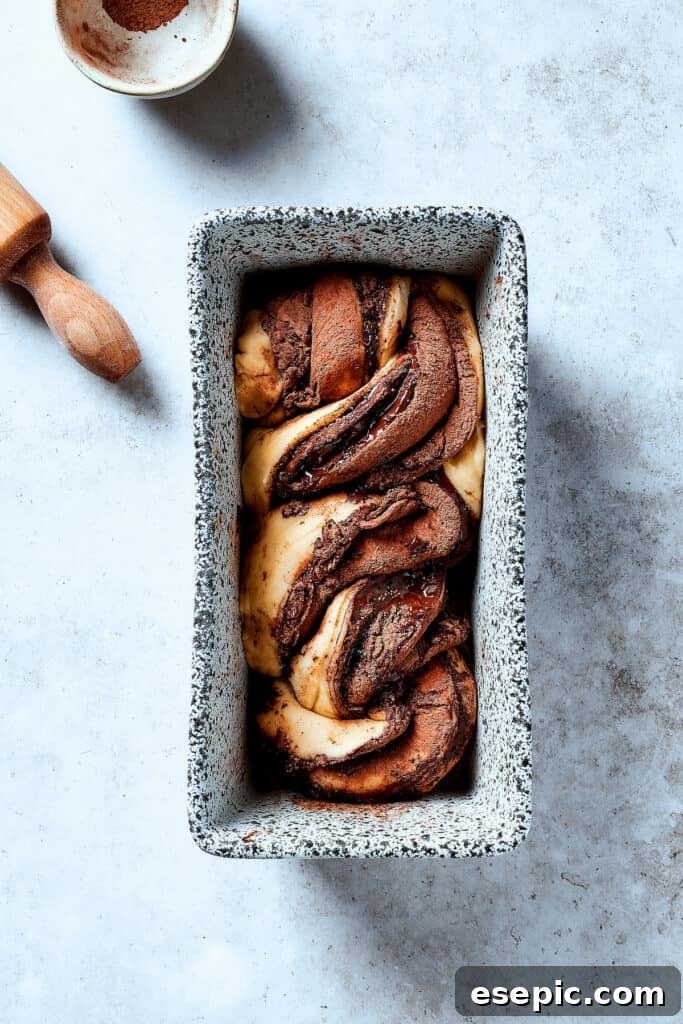
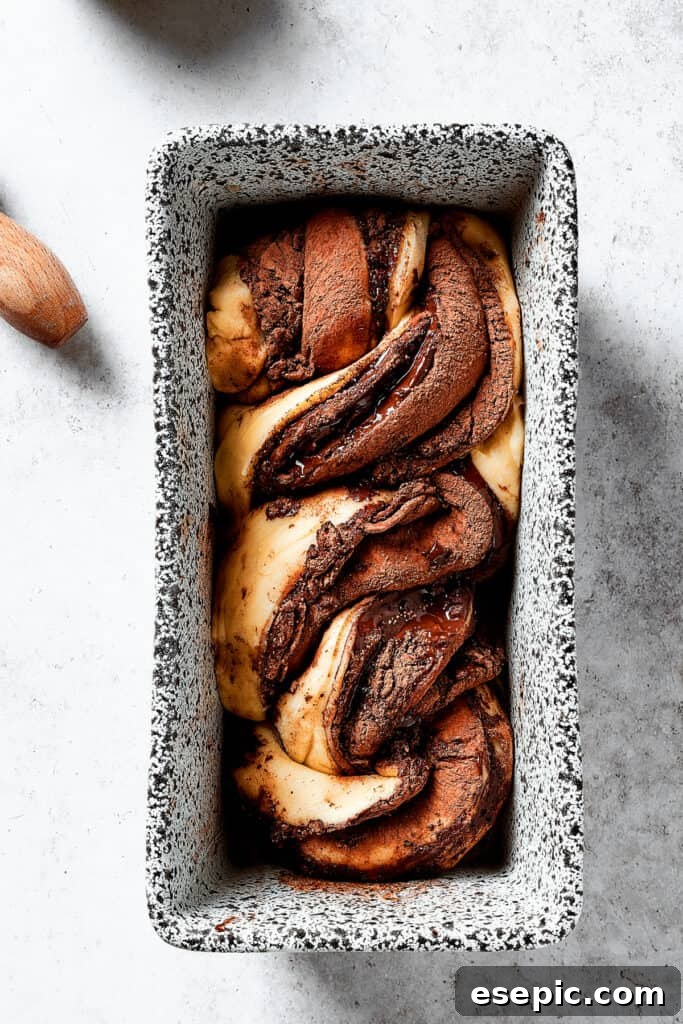
- Second Rise: Carefully transfer the braided dough into a greased 9×5-inch loaf pan. If using, sprinkle with roasted, diced almonds. Cover the pan loosely with plastic wrap or a kitchen towel and let it rest for another 20 minutes in a warm place while you preheat your oven.
- Preheat Oven: Preheat your oven to 350°F (175°C) during the second rise.
- Bake to Golden Perfection: Bake the babka in the preheated oven for approximately 45 to 50 minutes, or until it’s golden brown on top and a skewer inserted into the center comes out mostly clean. To prevent the top from browning too quickly, you can loosely tent the pan with aluminum foil for the first 25 minutes of baking. The internal temperature of a fully baked babka should register around 190°F (88°C) in the center.
Cooling for Optimal Flavor and Texture
- Cool and Enjoy: Once baked, remove the babka from the oven. Let it cool in the loaf pan for about 15 minutes before carefully turning it out onto a wire rack. Allow it to cool completely before slicing and serving. This patience ensures the chocolate filling sets properly and the bread maintains its structure.
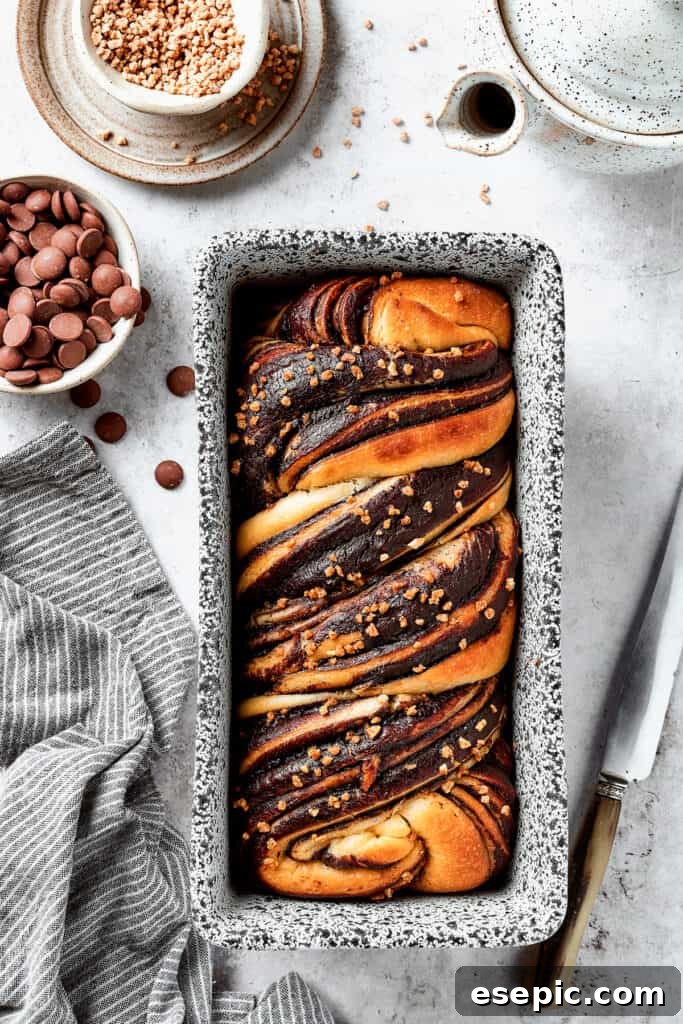
Expert Tips for Babka Baking Success
While baking yeast bread might seem daunting, especially one with a luscious filling like babka, it’s an incredibly rewarding process. These tips will help you navigate the journey smoothly and achieve a show-stopping result:
- Accurate Flour Measurement is Key: The balance of wet and dry ingredients is crucial. To prevent a dry or overly wet dough, measure your flour correctly. The best method is by weight, but if you don’t have a scale, use the spoon-and-level technique: lightly spoon flour into your measuring cup until it overflows, then level it off with the back of a knife. Avoid packing the flour into the cup or scooping directly from the bag, as this compacts it and results in too much flour.
- Mind the Temperature of Ingredients: Yeast is sensitive to temperature. Ensure your milk and other dough ingredients are between room temperature and warm (around 105-115°F or 40-46°C). Cold ingredients will hinder yeast activation, while excessively hot ingredients can kill the yeast, preventing the dough from rising altogether.
- Plan Ahead with Overnight Preparation: For a fresh babka in the morning with less effort, prepare and shape the loaf the night before. After shaping, instead of the second rise, cover it tightly with plastic wrap and refrigerate overnight. In the morning, take it out, let it rise at room temperature for about 60-90 minutes (or until visibly puffy), then bake as usual.
- Don’t Over-Knead the Dough: While kneading develops gluten for a tender crumb, over-kneading can lead to a tough babka. Knead until the dough is smooth, elastic, and just passes the windowpane test (you can stretch a small piece thin enough to see light through it without tearing).
- Achieving Distinct Swirls: When rolling the dough, aim for an even thickness and spread the chocolate filling almost to the edges. Roll the dough tightly into a cylinder. When cutting lengthwise and braiding, ensure the cut layers are always facing upwards. This technique maximizes the visibility of the beautiful chocolate swirls.
- Room Temperature Matters for Dough: Ensure eggs and butter are at room temperature before incorporating them into the dough. This helps them emulsify better with other ingredients, resulting in a smoother, more consistent dough and a finer crumb.
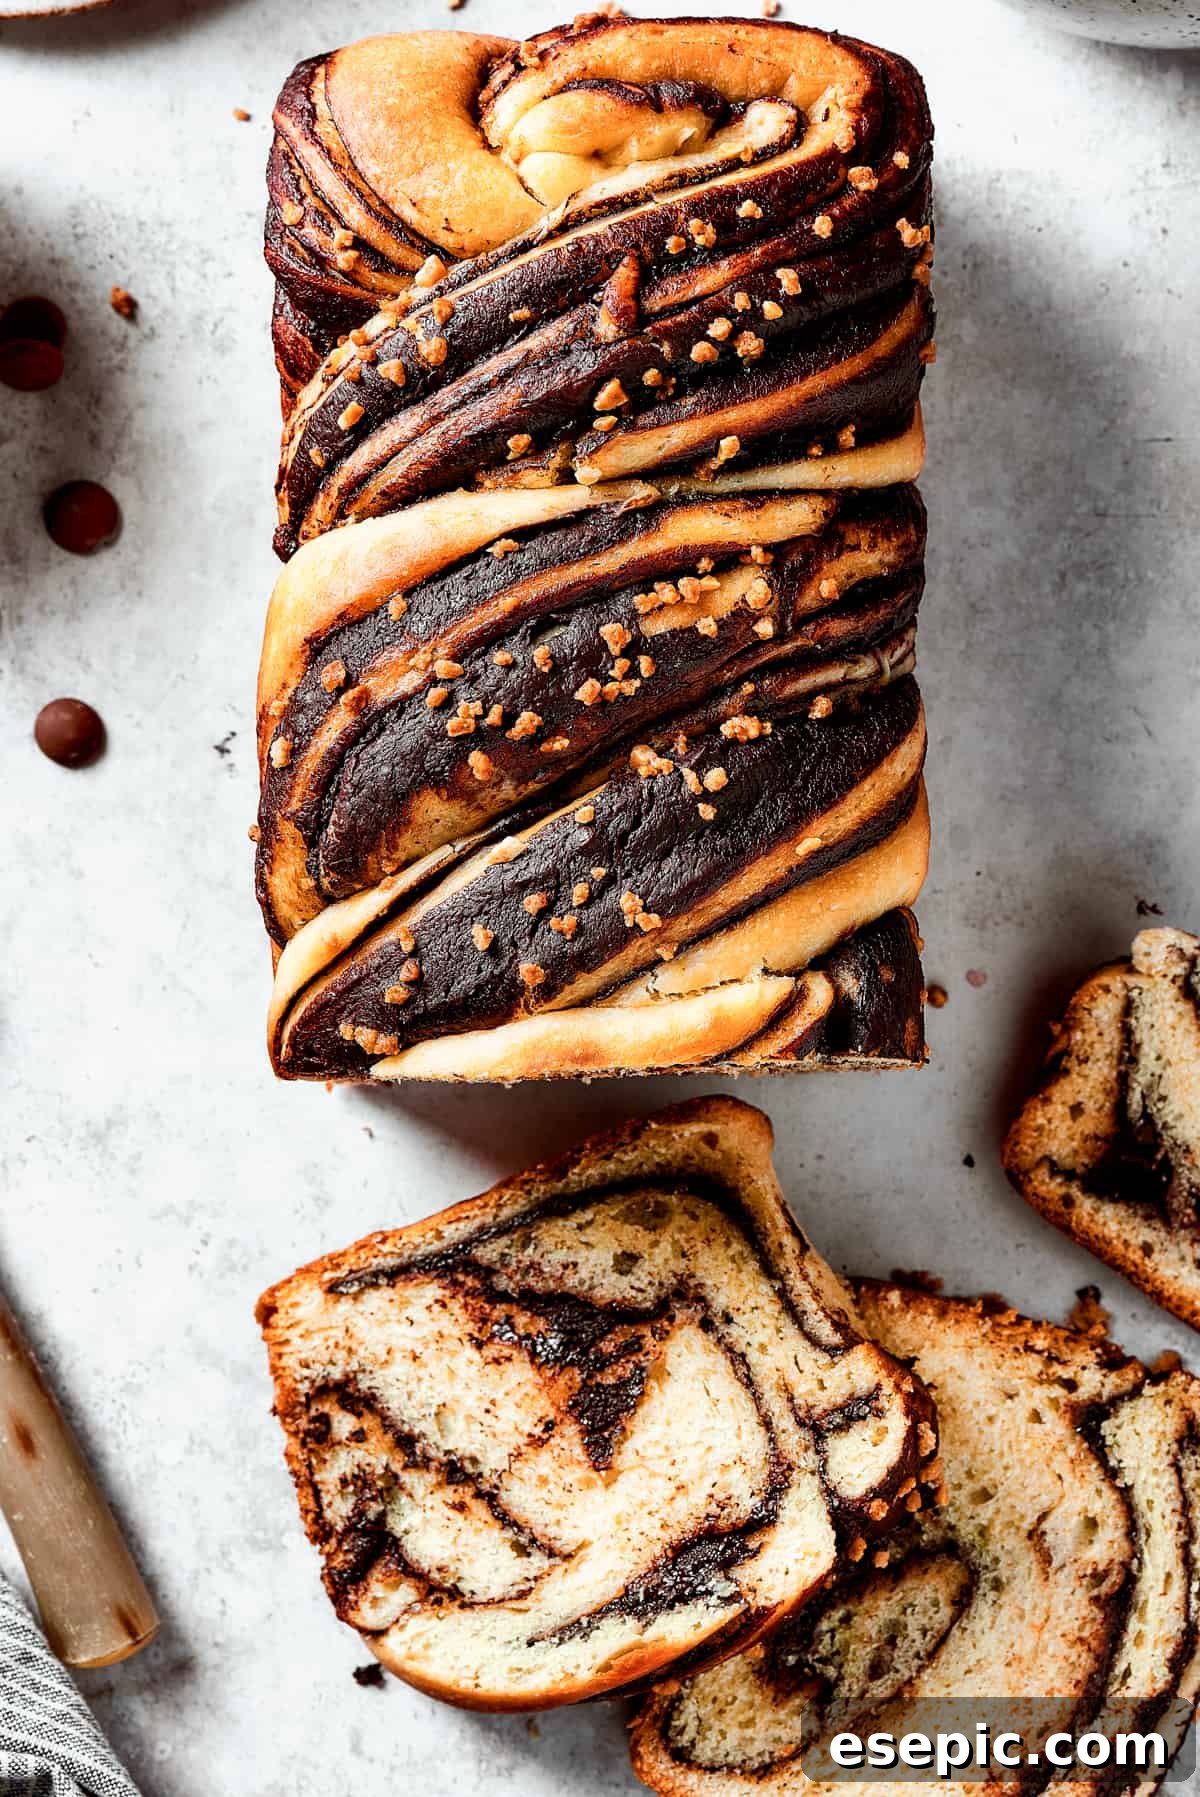
Delightful Serving Suggestions for Your Babka
Whether you’re serving babka for a leisurely breakfast or an elegant dessert, pairing it with the right accompaniment can elevate the experience. A slice of this swirled chocolate bread is undoubtedly fantastic on its own, but here are some ideas to make it even more special:
- The Classic Coffee Pairing: You truly can’t go wrong with a fresh slice of chocolate babka and a good cup of coffee. The robust flavor of coffee complements the rich chocolate and sweet bread beautifully, making it perfect for breakfast, brunch, or an afternoon treat.
- A Luxurious Brunch Spread: Incorporate babka into a larger brunch spread. It pairs wonderfully with savory dishes to create a balanced meal. Consider serving it alongside:
- Eggs Benedict Casserole: Simplify the classic Eggs Benedict with this easy casserole version. Featuring eggs, English muffins, Canadian bacon, and luscious Hollandaise sauce, it’s a hearty and satisfying counterpoint to the sweet babka.
- Egg Salad with Pickles: A different take on breakfast or brunch, this savory egg salad offers a refreshing contrast. Serve it with freshly toasted bagels (perhaps with a toaster on the side for guests to prepare their own!) for an absolutely irresistible main dish that perfectly balances the babka’s sweetness.
- Fresh Fruit Salad: A bowl of vibrant, seasonal fresh fruit provides a light, refreshing contrast to the rich babka. Berries, melon, and citrus segments would be excellent choices.
- Yogurt Parfaits: Layer Greek yogurt with granola and berries for a healthy and creamy accompaniment.
- Iced Coffee Variations: While hot coffee is a classic, a tall glass of Mocha Iced Coffee is a special treat in itself. The mocha notes harmonize perfectly with the chocolate filling in the babka, creating a truly indulgent pairing.
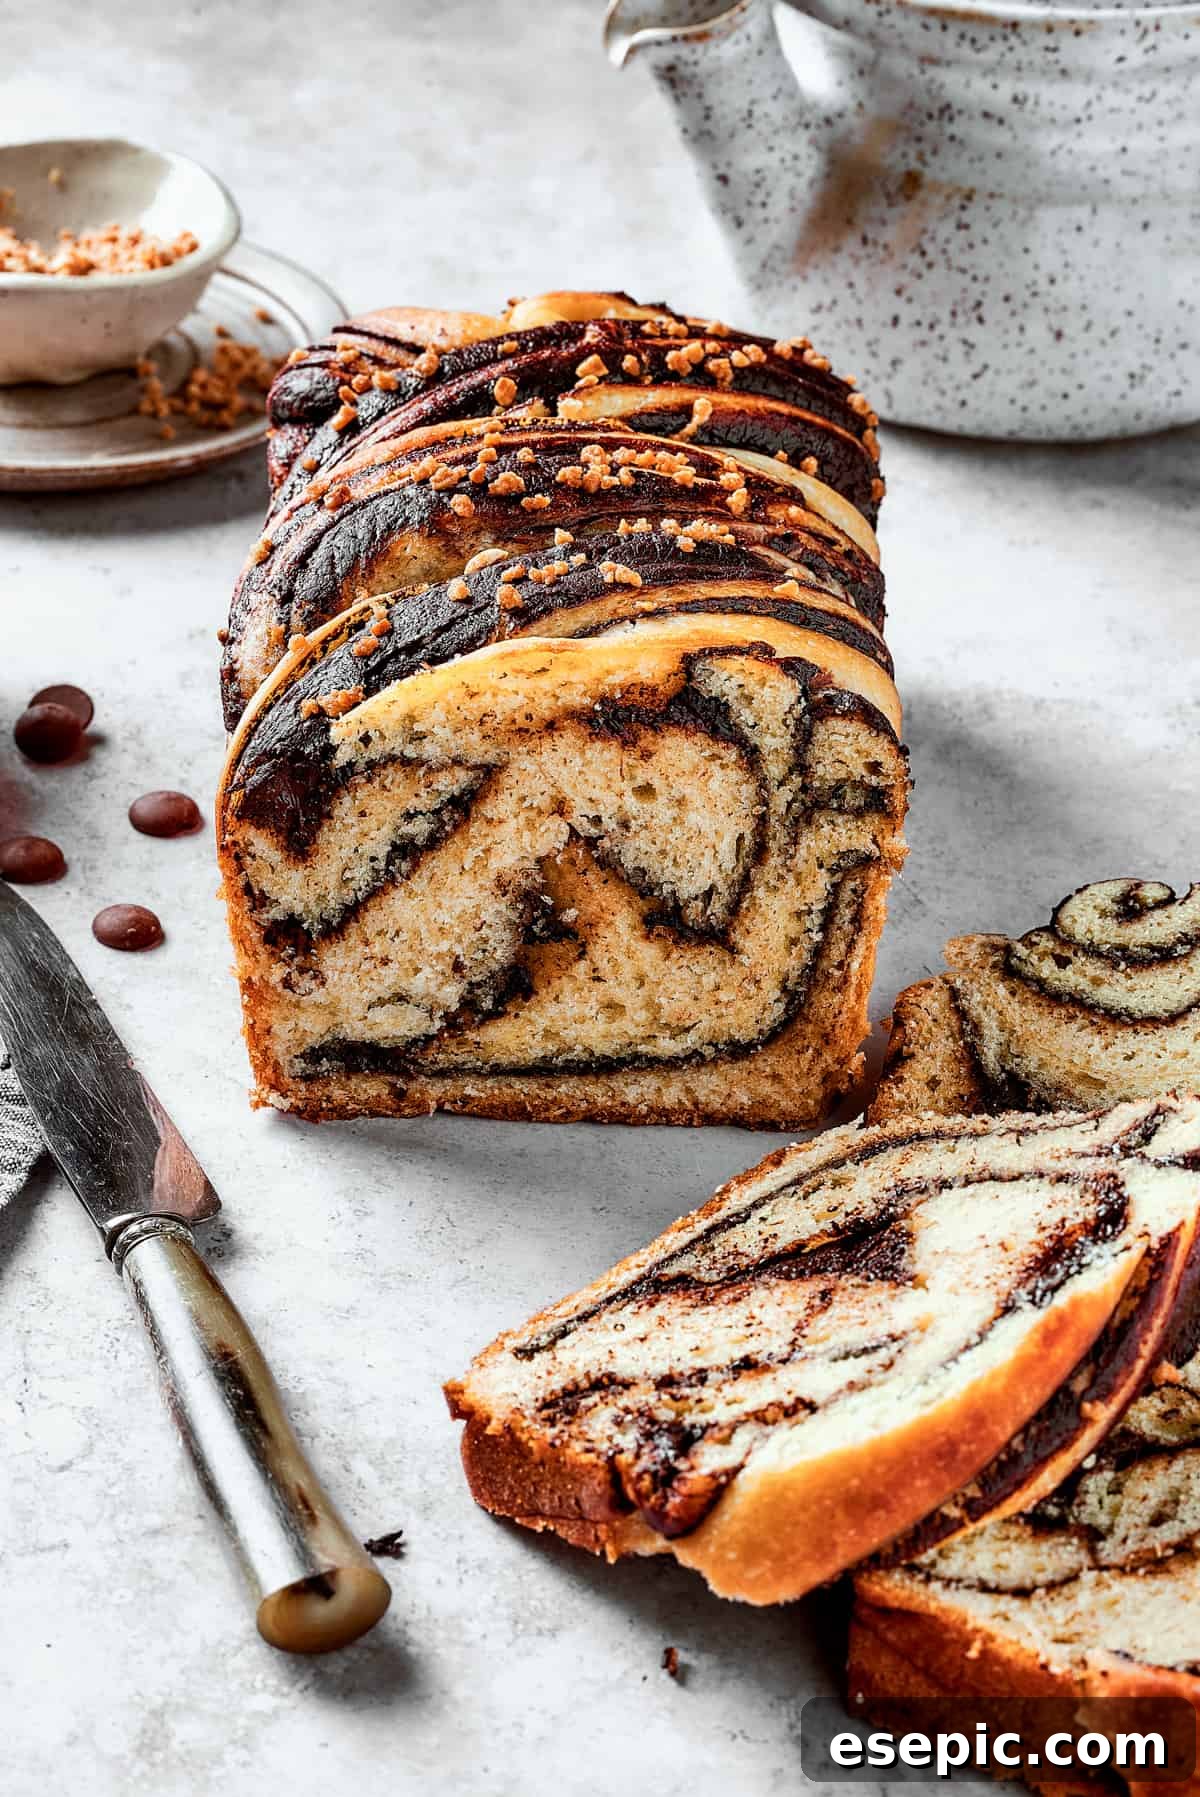
Storing and Reheating Your Homemade Chocolate Babka
If you’re lucky enough to have leftover chocolate babka, you’re in for a treat! Proper storage ensures you can enjoy its deliciousness for days to come. Here’s how to keep it fresh:
- Once the babka has completely cooled to room temperature, store it in an airtight container or wrap it tightly in a layer of plastic wrap. It will remain fresh and moist at room temperature for about three days. Beyond that, the quality may diminish slightly.
- To reheat a slice for that extra-moist and gooey experience, you can warm it briefly in the microwave (10-20 seconds) or in a preheated oven at 300°F (150°C) for about 5-10 minutes until warmed through.
Can You Freeze Chocolate Babka? Yes, Here’s How!
Chocolate babka freezes exceptionally well, making it a fantastic make-ahead option or a way to preserve leftovers. Freezing allows you to enjoy homemade babka whenever a craving strikes!
- To freeze a whole loaf: Ensure the babka is completely cool. Wrap it tightly first in plastic wrap, ensuring no air pockets, and then in a layer of aluminum foil or place it in a freezer-safe bag. Air is the enemy of freshness in the freezer, so a snug wrap is crucial. Properly wrapped, babka can be frozen for 1 to 2 months.
- To freeze individual slices: This is a convenient option for single servings. Wrap each slice individually in plastic wrap, then place them together in a freezer-safe bag or container.
- To thaw and serve: When you’re ready to enjoy, simply remove the babka from the freezer and let it thaw at room temperature for several hours (for slices) or overnight (for a whole loaf). For the best experience, you can gently warm the thawed babka in the oven for a few minutes before serving.
Chocolate Babka
Ingredients
For the Dough
- 1 cup warm milk
- 3 tablespoons granulated sugar
- 3½ cups all-purpose flour,, divided
- 1½ teaspoons active dry yeast
- 3 eggs
- 2 teaspoons lemon zest
- pinch of salt
- ½ cup unsalted butter,, melted
For the Filling
- 1½ cups semi-sweet chocolate chips
- 1 tablespoon unsalted butter
- 1 tablespoon cocoa powder
For Crunch (Optional)
- 2 tablespoons roasted almonds,, finely chopped
Instructions
-
In a large mixing bowl, pour in the warm milk, sugar, a teaspoon of flour, and yeast, then whisk them together. Let the mixture sit for a few minutes for the yeast to activate.
-
When yeast has been activated, add all other ingredients for the dough except for the flour; whisk them well.
-
Gradually add the flour and stir with a wooden spoon until everything is well incorporated, and all the flour is absorbed. The dough should be wet and moderately soft.
-
Cover the dough and let it rest for 1 hour.
-
In the meantime, to prepare the filling, melt the chocolate and butter in a small saucepan or pot. Set aside.
-
Roll out the dough thinly on a floured surface. Spread the prepared chocolate filling evenly over the dough, and then sift cocoa powder over it.
-
Roll up the dough tightly into a long cylinder, and then cut the cylinder in half longwise. Turn each half of the dough so that the layered part is facing upwards.
-
Press the tops of the two dough pieces together tightly, and then start braiding the dough by crossing one end over the other while making sure the layered part is always facing upwards.
-
Place the braided dough in a greased 9×5-inch loaf pan, sprinkle with almonds (if using), and let it rest for 20 minutes.
-
Meanwhile, preheat the oven to 350°F.
-
Bake the babka in the preheated oven for about 45 to 50 minutes or until golden brown. On an instant-read thermometer, the baked babka should register at 190°F in the center of the loaf.
You can cover the pan with foil for the first 25 minutes of baking to prevent the top of the bread from browning too fast.
-
Once it’s done, remove the bread from the oven and let it cool in the pan for 15 minutes, then turn out onto a wire rack and cool it completely before slicing.
Equipment
-
Loaf Pan
-
Stand Mixer
-
Whisks
-
Saucepan
Notes
- Measuring Flour: You don’t want the dough to be too dry or too wet, and so it’s important to measure your flour correctly. The best way to measure is by weight, but a lot of home bakers don’t use a scale, so the next best thing (and the easiest, for a lot of us) is to simply measure into a measuring cup. But there’s a “right” way to do that: spoon the flour into the cup, and level it off with a knife or by shaking the cup gently from side to side. Don’t pack the flour into the cup or dig it out of the bag with the cup.
- Temperature Counts: When you’re working with yeast, make sure to have your milk and other dough ingredients somewhere between room-temperature and warm. Cold ingredients won’t activate the yeast, while hot ingredients can kill the yeast. Both will stop the dough from rising.
- Make It Ahead: This is a little bonus tip – you can make the babka the night before, and bake it in the morning. Just make and shape the loaf, and then store it in your fridge overnight. Take it out and let it rise the next morning, and then bake it up!
Nutrition
Nutritional info is an estimate and provided as courtesy. Values may vary according to the ingredients and tools used. Please use your preferred nutritional calculator for more detailed info.
More Irresistible Chocolate Treats to Try
- Easy Chocolate Cake
- Mint Chocolate Skillet Cookie
- Cream Cheese Brownies