
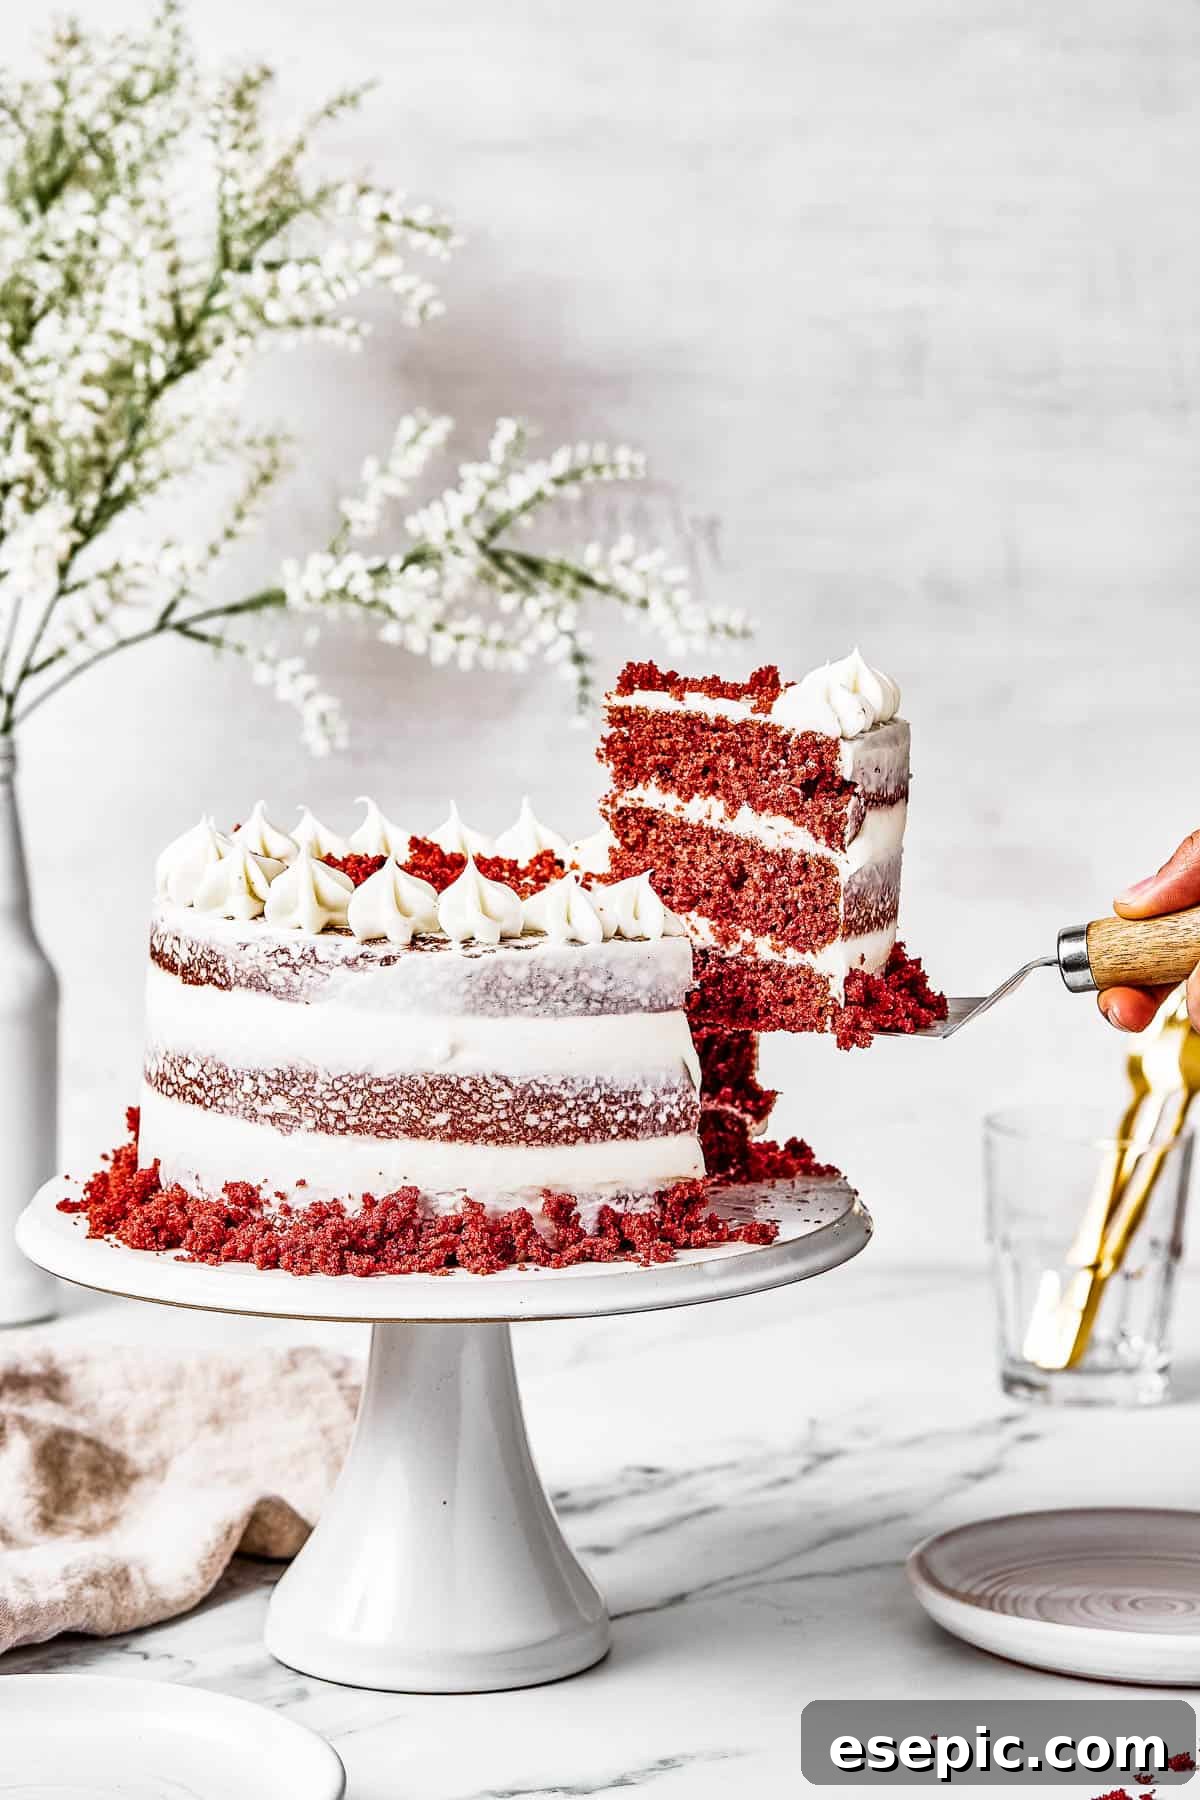
Indulge in the timeless charm of a truly classic Red Velvet Cake. This meticulously crafted recipe guides you through creating three exquisitely light and fluffy layers of rich, crimson cake, subtly infused with a hint of cocoa, all magnificently crowned with generous, velvety swirls of tangy cream cheese frosting. Prepare to captivate senses and create lasting memories with this iconic dessert.
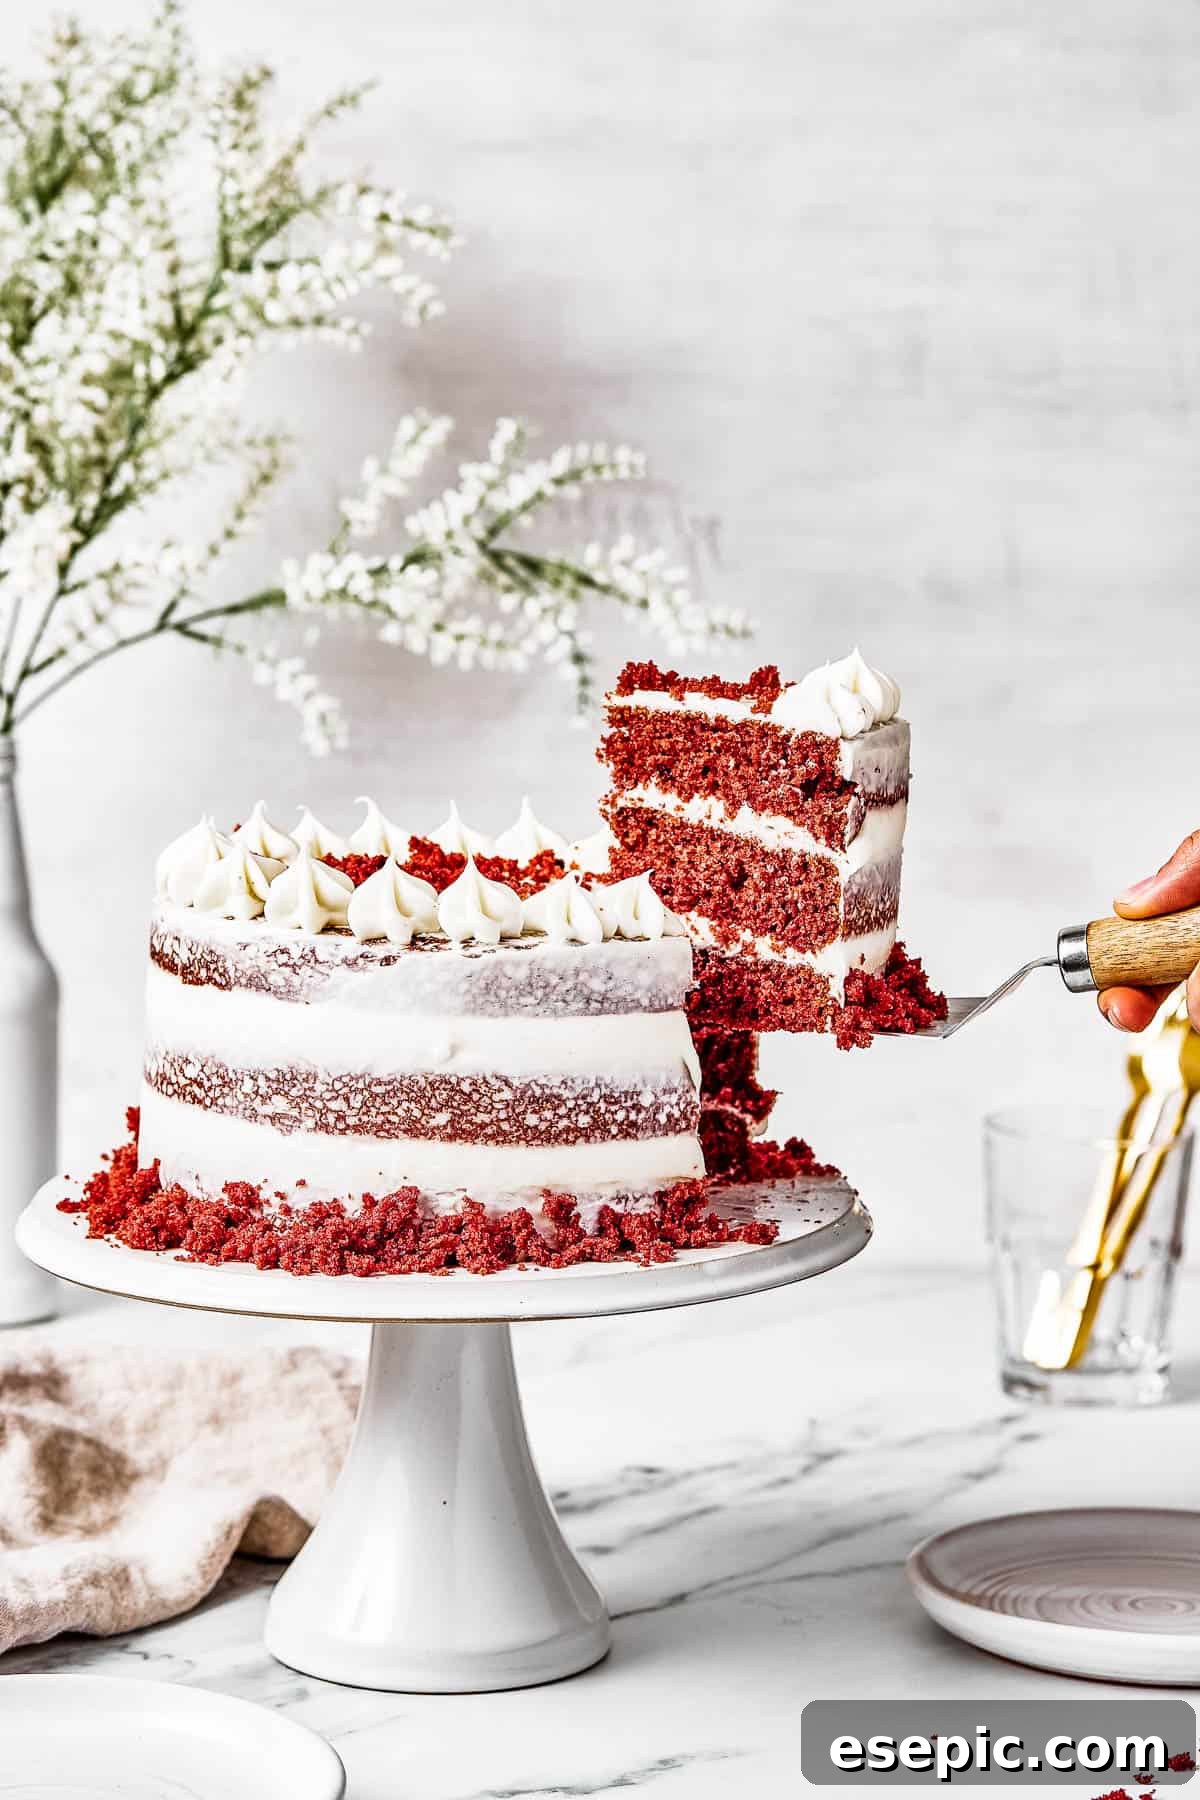
The Ultimate Soft and Moist Red Velvet Cake from Scratch!
Are you a devoted admirer of delectable cakes? I certainly am! For me, cake isn’t just a dessert; it’s a celebration, a comfort, and a true culinary passion. From simple, elegant loaf cakes to breathtaking, elaborate creations for grand occasions, if there’s cake involved, you can count me in. Cake, in its purest form, embodies the joy and sweetness of life itself.
Among the pantheon of classic desserts, Red Velvet Cake holds a particularly cherished place in my heart. With its captivating deep red layers, often hinting at a beautiful mahogany, and the luxurious cascade of ultra-creamy, perfectly tangy frosting, this cake is a feast for both the eyes and the palate. Its stunning appearance makes it an ideal centerpiece for festive holidays like Christmas, romantic celebrations such as Valentine’s Day, or any special birthday deserving of an extra touch of grandeur. This isn’t merely a cake; it’s a heartfelt gesture, designed to make anyone feel utterly special and deeply loved.
Unraveling the Mystery: What Defines a True Red Velvet Cake?
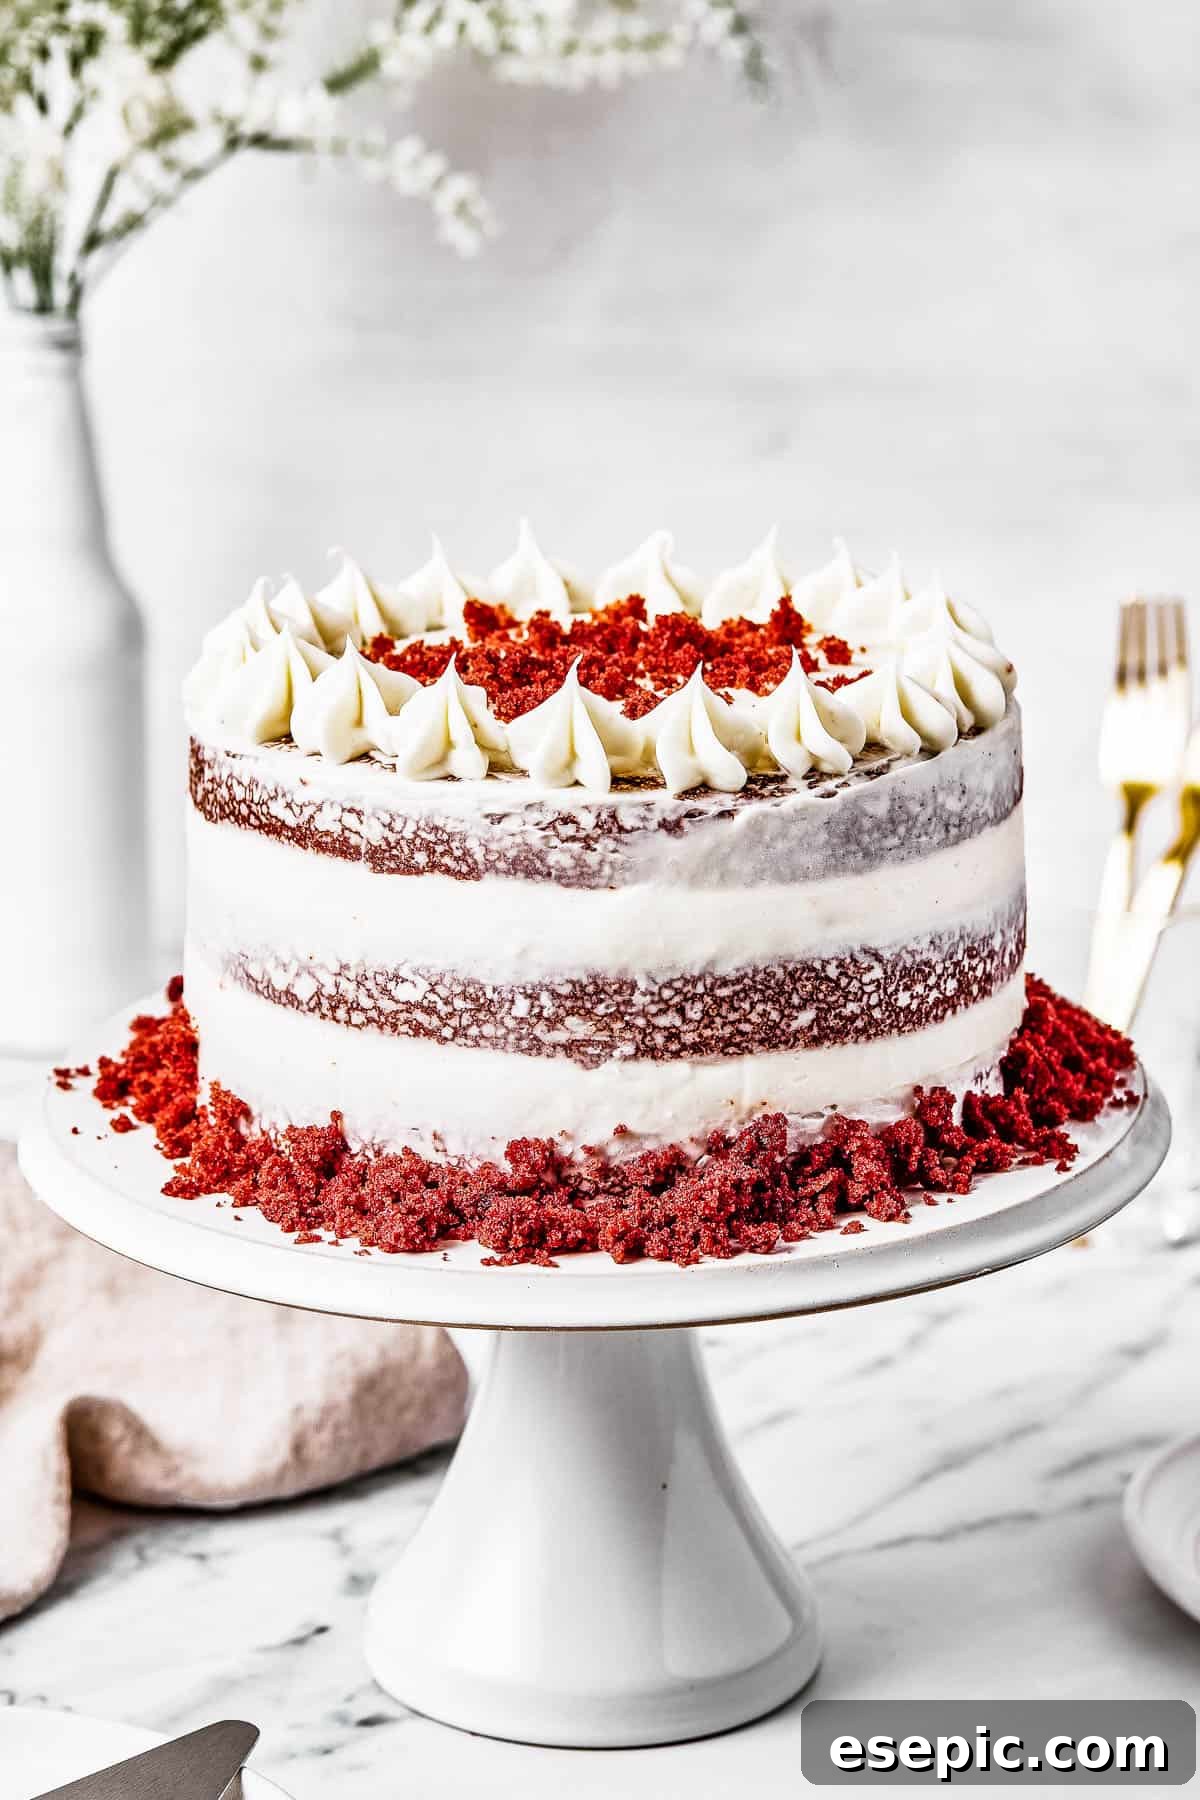
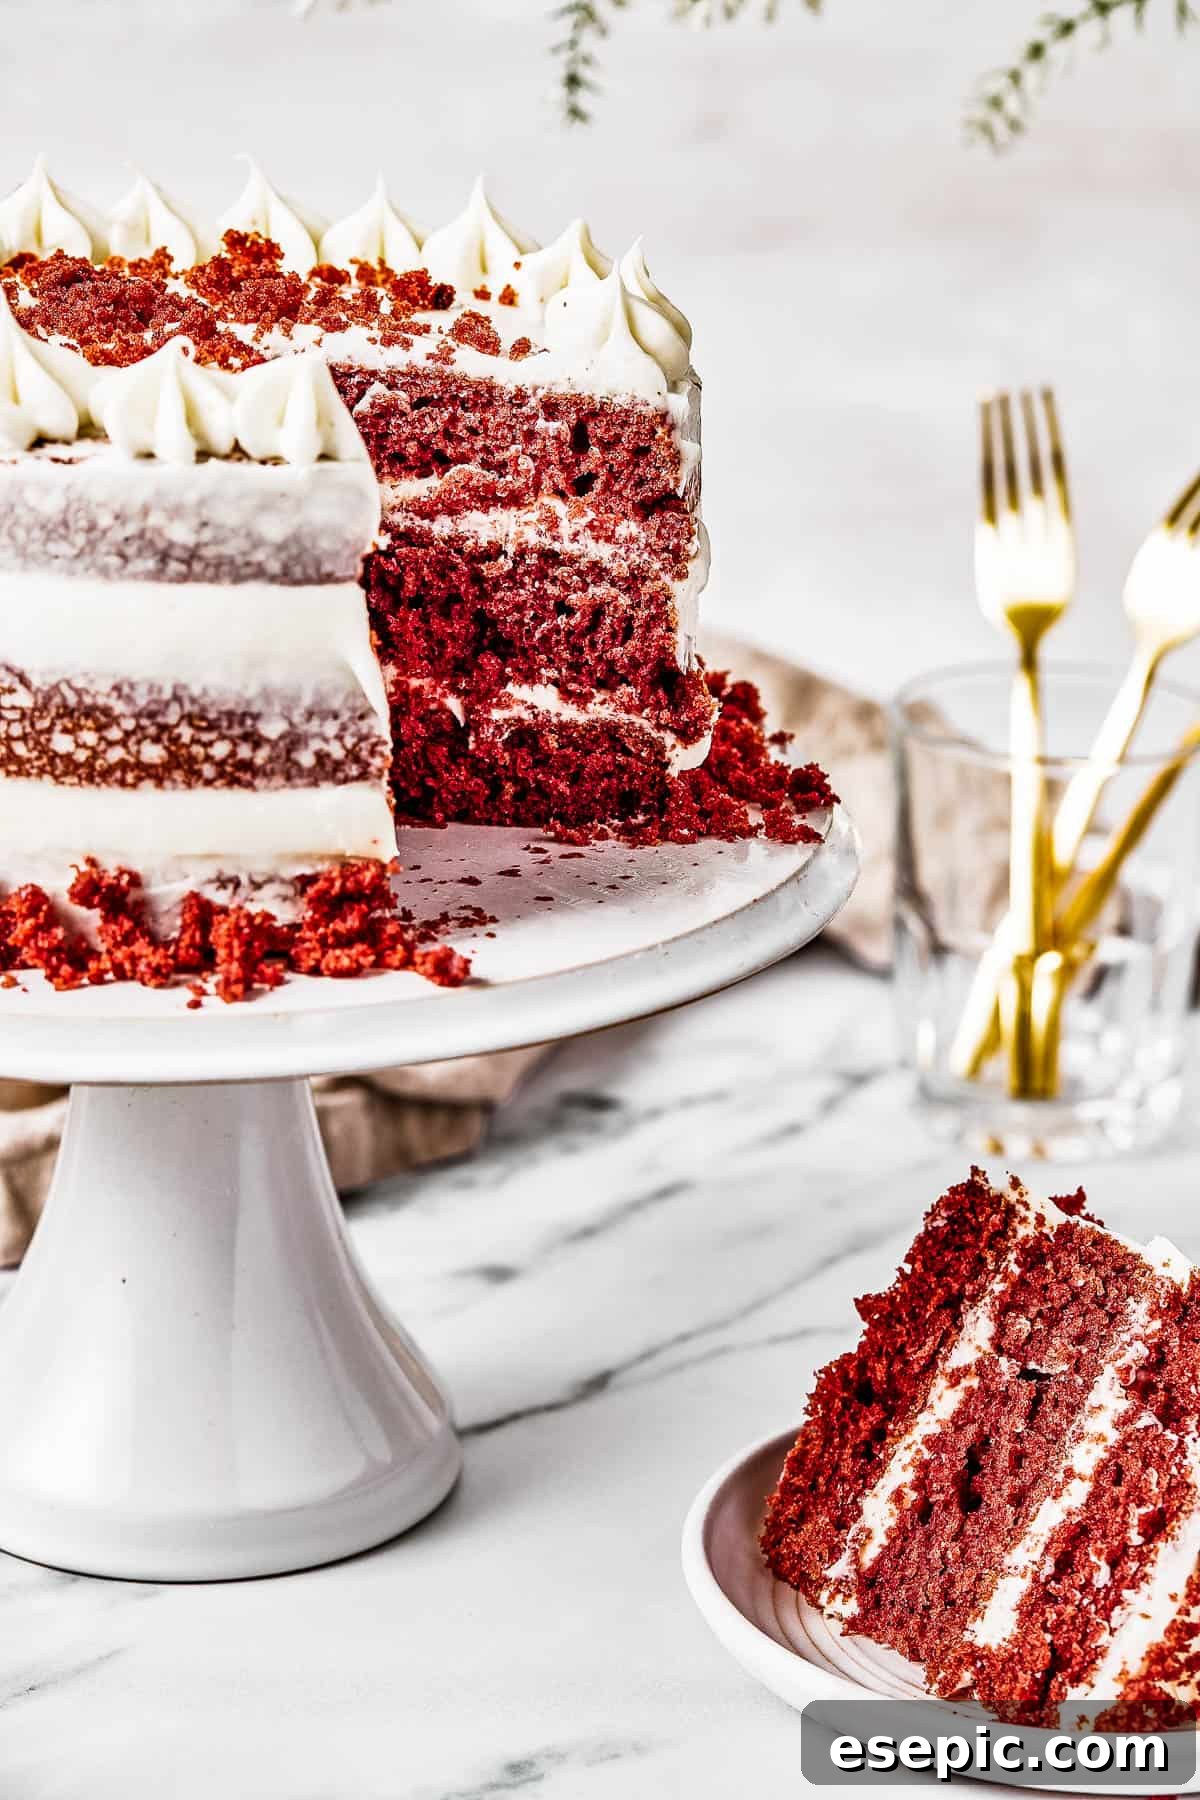
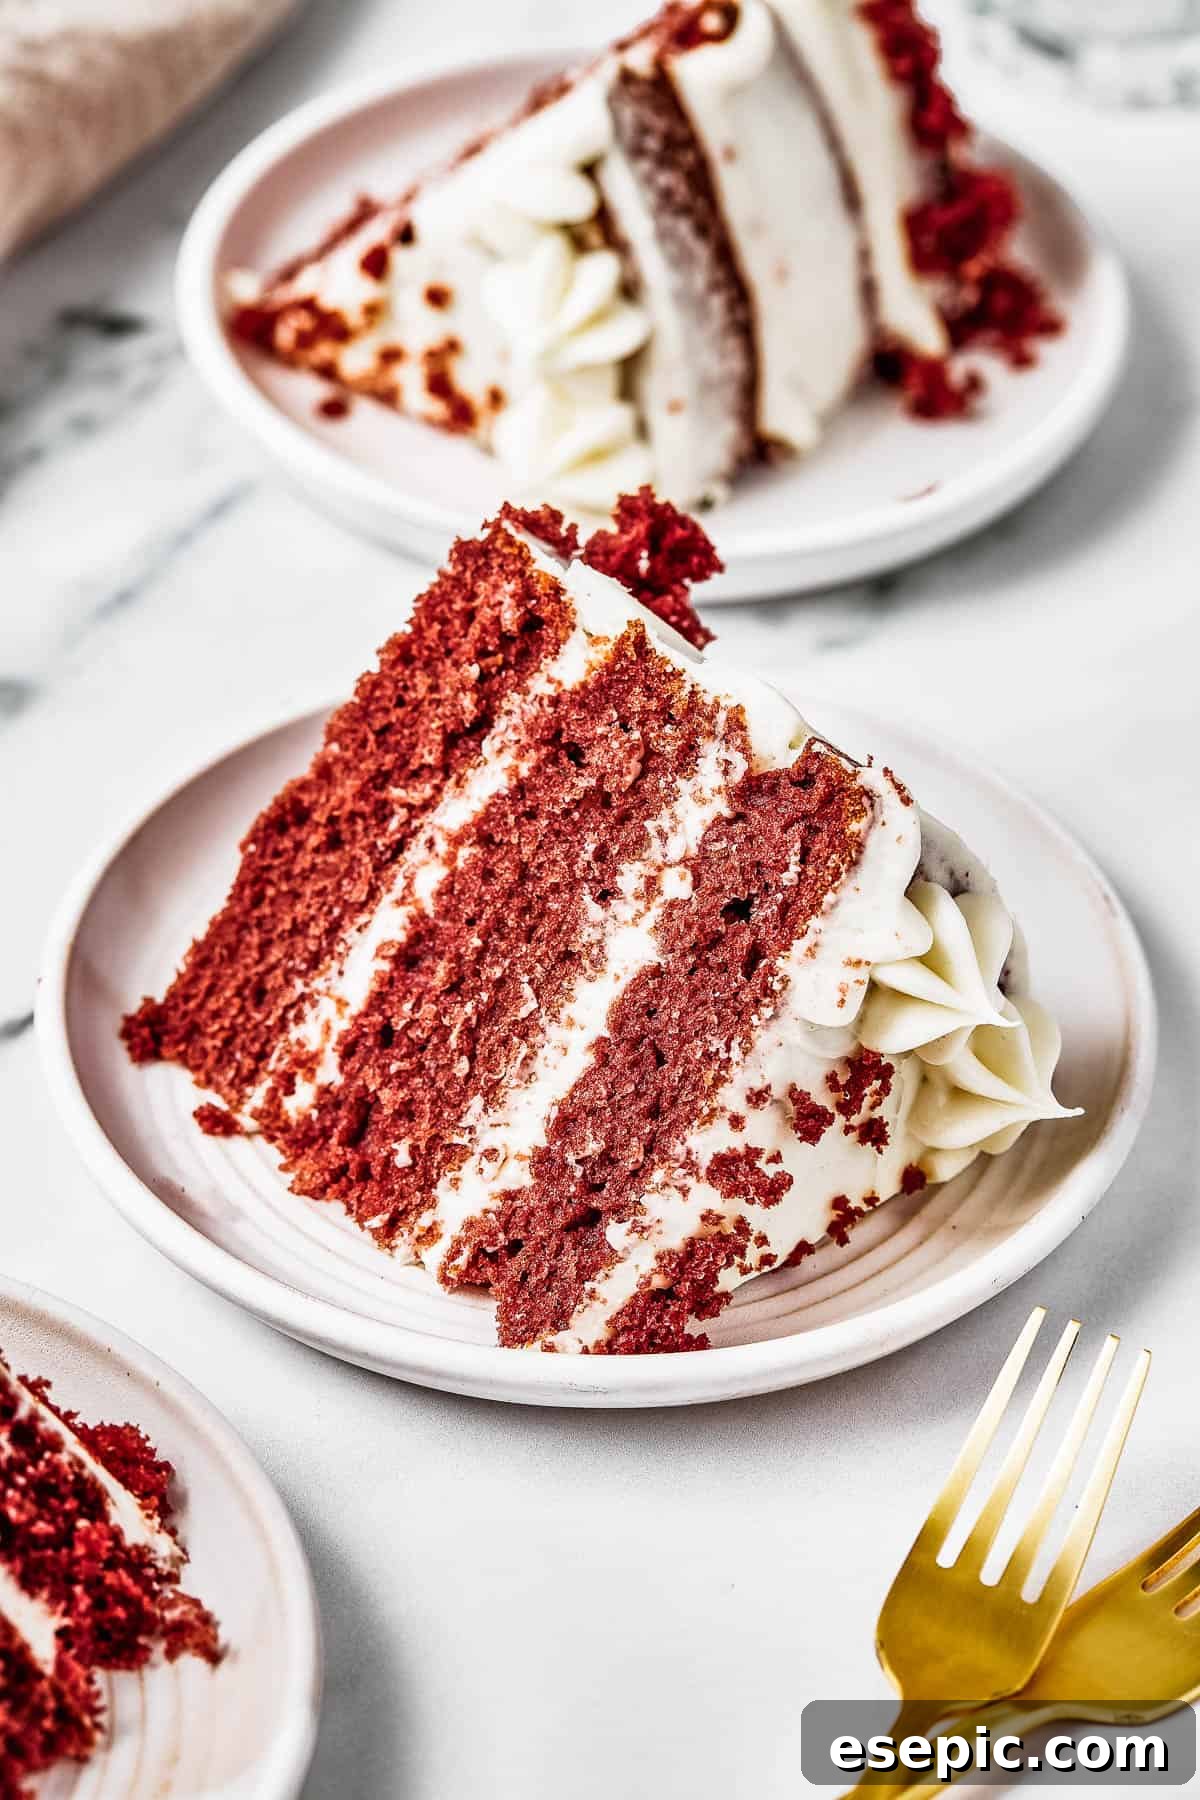
Red Velvet Cake isn’t just any red cake; it’s a culinary icon with a fascinating history, particularly rooted in Southern American dessert traditions. This distinctive treat is characterized by its light, subtly chocolatey crumb, which possesses a unique, almost tangy quality, reminiscent of a delicate cheesecake. Its texture is paramount: a truly authentic Red Velvet Cake should always be tender, exquisitely moist, and wonderfully fluffy, a delightful contrast that pairs impeccably with the rich, decadent cream cheese frosting that liberally envelops each layer.
Beyond its luxurious texture and flavor, one of the most striking and unique attributes of Red Velvet Cake is its iconic color. Historically, this deep reddish hue wasn’t achieved through artificial means. It emerged naturally from a fascinating chemical reaction between the ingredients: the anthocyanin pigments present in old-fashioned cocoa powder reacted with acidic components like vinegar and buttermilk. This natural interplay deepened the cocoa’s reddish undertones, yielding a subtle, rustic red-brown color. In contemporary recipes, however, this inherent red is almost universally enhanced and intensified with red food coloring, transforming it into the vibrant, show-stopping crimson that has become synonymous with the modern Red Velvet Cake, creating a truly unforgettable visual masterpiece.
Gather Your Essentials: The Complete Red Velvet Cake Ingredients List
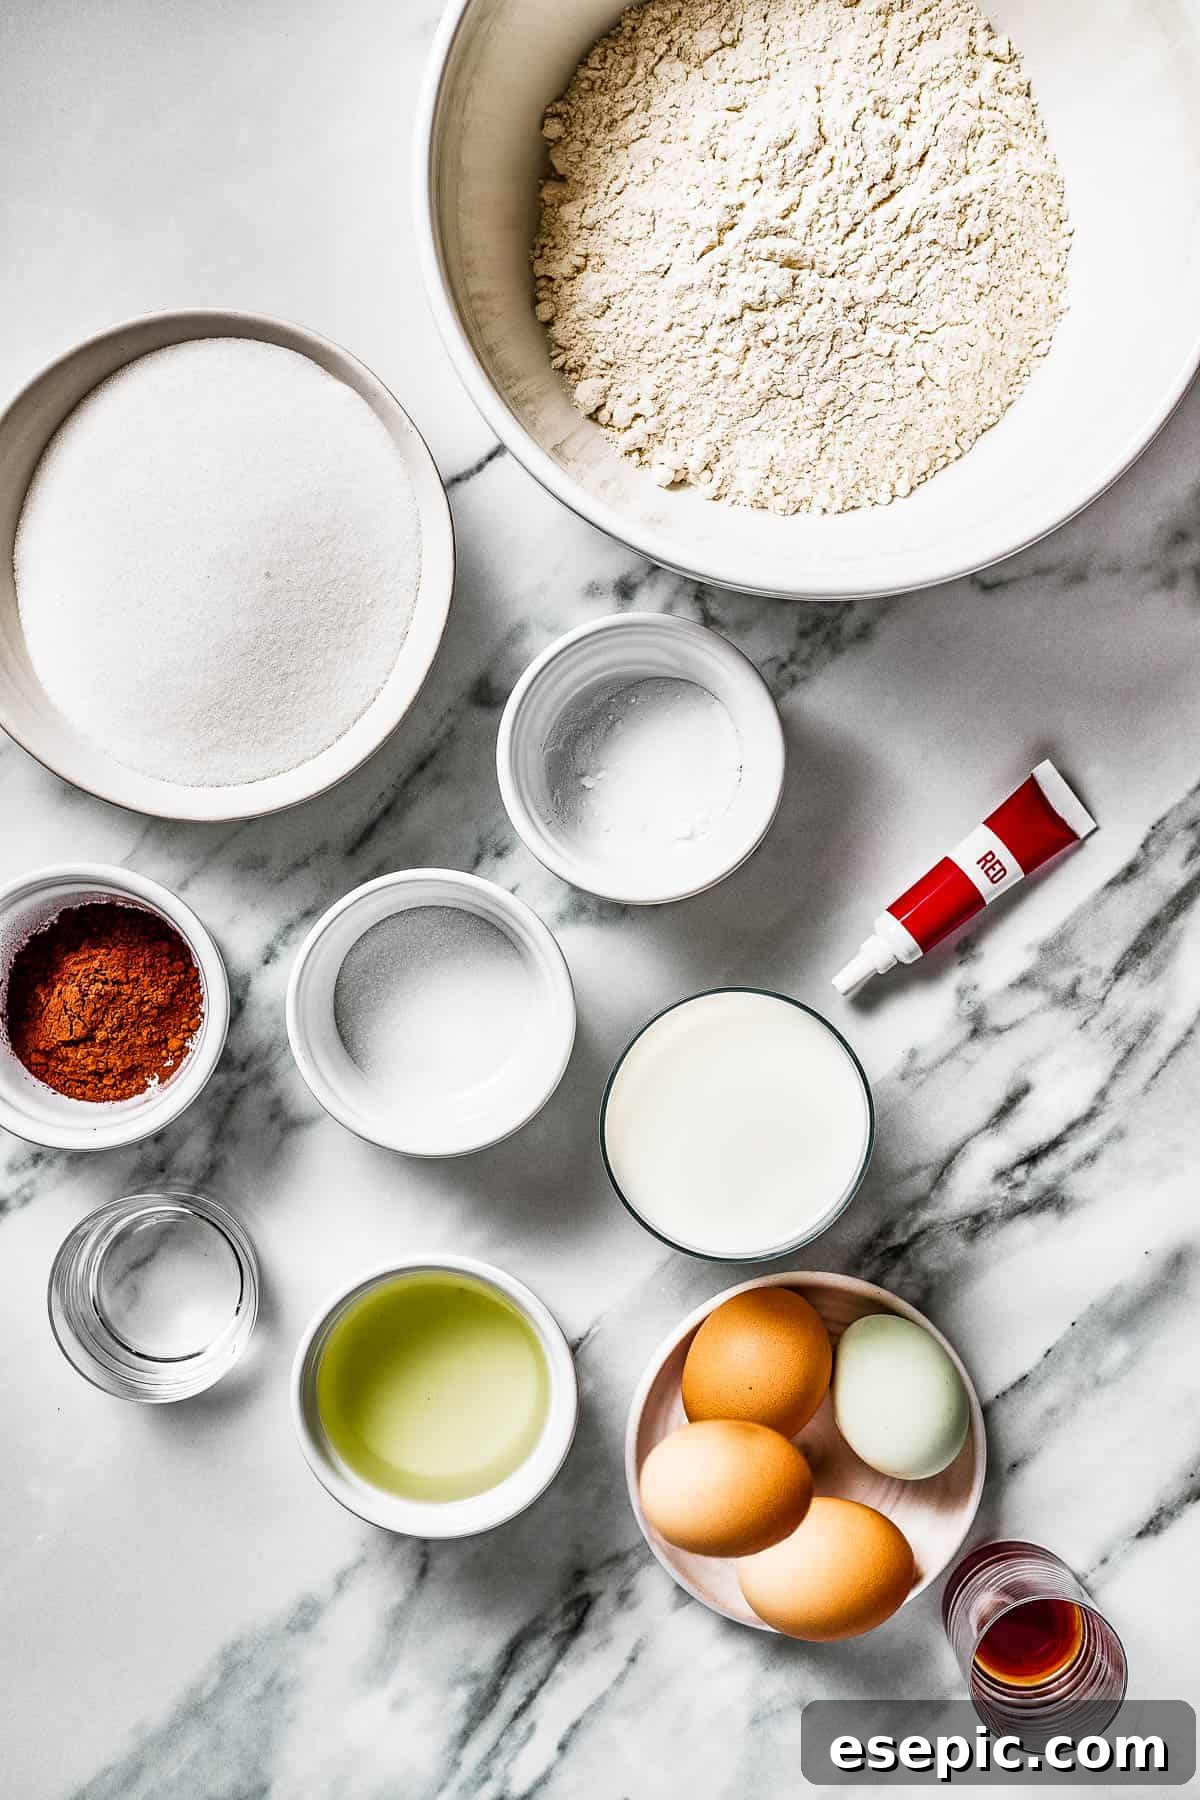
Crafting this exquisite Red Velvet Cake requires a thoughtful selection of pantry staples and fresh ingredients. Each component plays a vital role in achieving the cake’s signature flavor, texture, and magnificent color. Before you begin your baking journey, ensure you have these items readily available. Here’s a detailed breakdown of everything you’ll need for both the cake layers and the irresistible cream cheese frosting:
For the Perfectly Red Cake Layers:
- All-Purpose Flour: The foundation of our cake, providing structure. Opt for standard plain flour; self-rising or whole-wheat flour will alter the desired texture and rise.
- Unsweetened Cocoa Powder: This is what imparts the subtle, light chocolate flavor that is characteristic of red velvet, differentiating it from a rich chocolate cake.
- Salt: A pinch of salt is essential to balance the sweetness and enhance all the other flavors in the cake.
- Baking Soda: Crucial for the cake’s signature lift and light texture. Ensure you use baking soda, not baking powder, as it reacts specifically with the acidic ingredients like vinegar to create the perfect crumb.
- Eggs: For the best results, allow your eggs to come to room temperature for about 15-20 minutes before baking. This helps them incorporate more smoothly into the batter, leading to a lighter, more uniform cake.
- Milk: Contributes significantly to the cake’s tender, moist crumb. Any kind of dairy milk will work well.
- Vegetable Oil: While butter might be your usual go-to, vegetable oil is key in this recipe. It guarantees a supremely light, fluffy, and moist cake that stays fresh longer than butter-based alternatives.
- White Vinegar: An indispensable ingredient in Red Velvet Cake! It’s not just for leavening; it reacts with the baking soda to give the cake its characteristic tangy, buttermilk-like flavor and contributes to its delicate texture.
- Pure Vanilla Extract: Provides a rich, aromatic depth of flavor that complements the subtle chocolate notes beautifully. Always choose pure vanilla for the best taste.
- Granulated Sugar: Our primary sweetener, ensuring the cake is perfectly balanced and delicious.
- Red Food Coloring: For that truly iconic, show-stopping crimson hue. Gel food coloring offers a more intense color with less liquid, but regular liquid food coloring will also yield beautiful results.
For the Decadent Cream Cheese Frosting:
- Cream Cheese: The star of the frosting! For a smooth, lump-free frosting, ensure the cream cheese is fully softened to room temperature.
- Unsalted Butter: Like the cream cheese, the butter should also be softened to room temperature. This is crucial for achieving a light, airy, and well-emulsified frosting.
- Heavy Whipping Cream: Adding heavy whipping cream helps create an incredibly light, airy, and stable cream cheese frosting with a luxurious mouthfeel.
- Pure Vanilla Extract: Enhances the sweet and tangy notes of the frosting, adding a layer of sophisticated flavor.
- Salt: A small amount of salt is vital to cut through the richness and sweetness of the frosting, creating a perfectly balanced flavor profile. If you’re using salted butter, you might want to slightly reduce or omit the added salt.
- Powdered Sugar (Confectioners’ Sugar): This fine sugar is what gives the frosting its smooth, light, and wonderfully sweet consistency.
Let’s Bake a Masterpiece: Step-by-Step Red Velvet Cake Creation!
Creating this stunning Red Velvet Cake is a rewarding process, broken down into three manageable and enjoyable stages: preparing the vibrant cake layers, whipping up the luscious cream cheese frosting, and finally, assembling your magnificent dessert. Follow these detailed steps to achieve baking perfection:
Crafting the Flawless Cake Layers:
- Prepare Your Oven and Cake Pans: Begin by preheating your oven to 350°F (175°C). Next, take three 8-inch cake pans and generously grease them with baking spray, butter, or oil. For effortless removal, line the bottoms of the pans with parchment paper cut to fit.
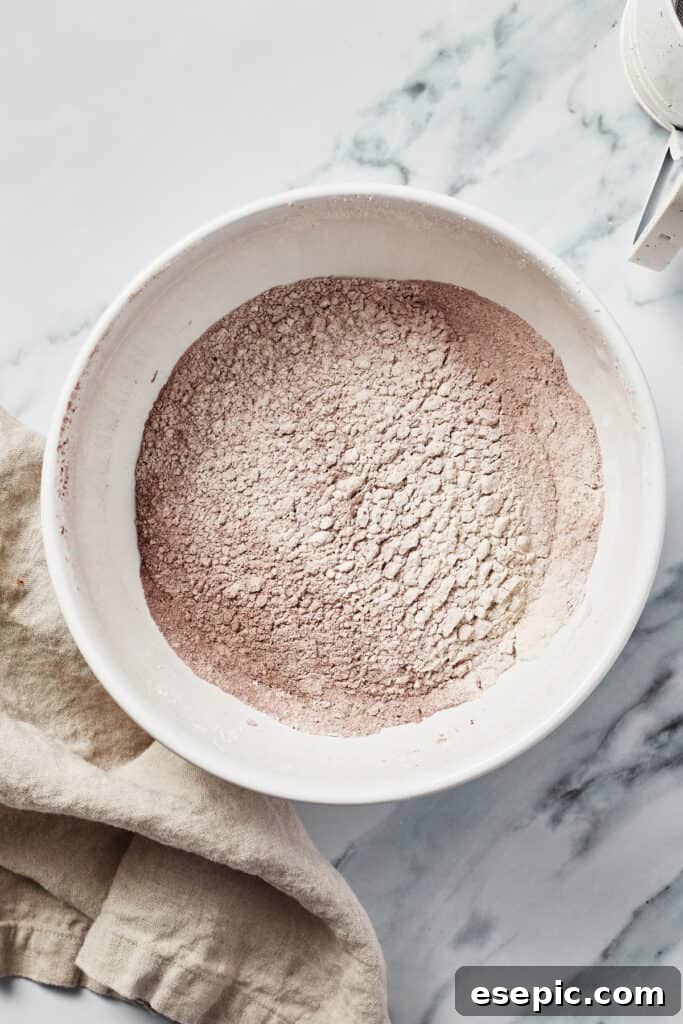
- Combine the Dry Ingredients: In a large mixing bowl, meticulously sift together the all-purpose flour, cocoa powder, salt, and baking soda. Sifting ensures there are no lumps and helps aerate the dry ingredients, contributing to a lighter cake. Set this mixture aside.
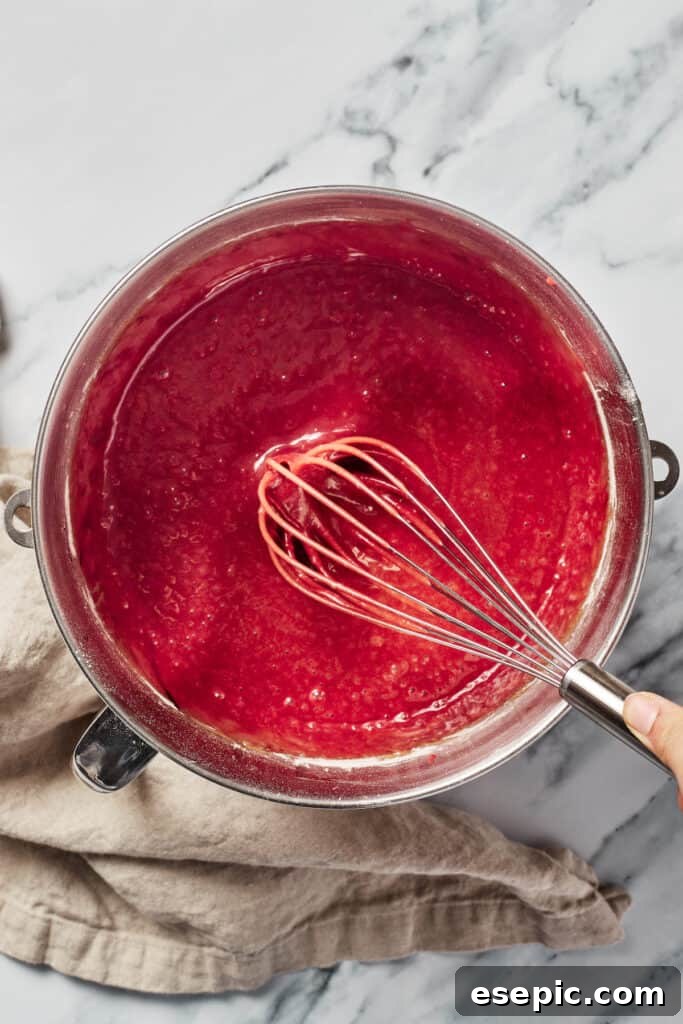
- Combine the Wet Ingredients: In a separate large bowl, combine the room temperature eggs, milk, vegetable oil, white vinegar, and pure vanilla extract. Whisk these ingredients together until they are thoroughly blended and smooth. Then, gradually add the granulated sugar, continuing to whisk until the sugar is completely dissolved into the liquid mixture.
- Marry Wet and Dry Ingredients: Gently pour the sifted dry ingredients into the bowl containing the wet ingredients. With a whisk or a spatula, slowly mix them together until the batter is just combined. The key here is to avoid overmixing, which can develop the gluten too much, resulting in a dense, tough, or gummy cake.
- Infuse the Vibrant Color: Finally, add your chosen red food coloring to the batter. Mix very gently and patiently until the batter achieves an even, rich, and dark red hue.
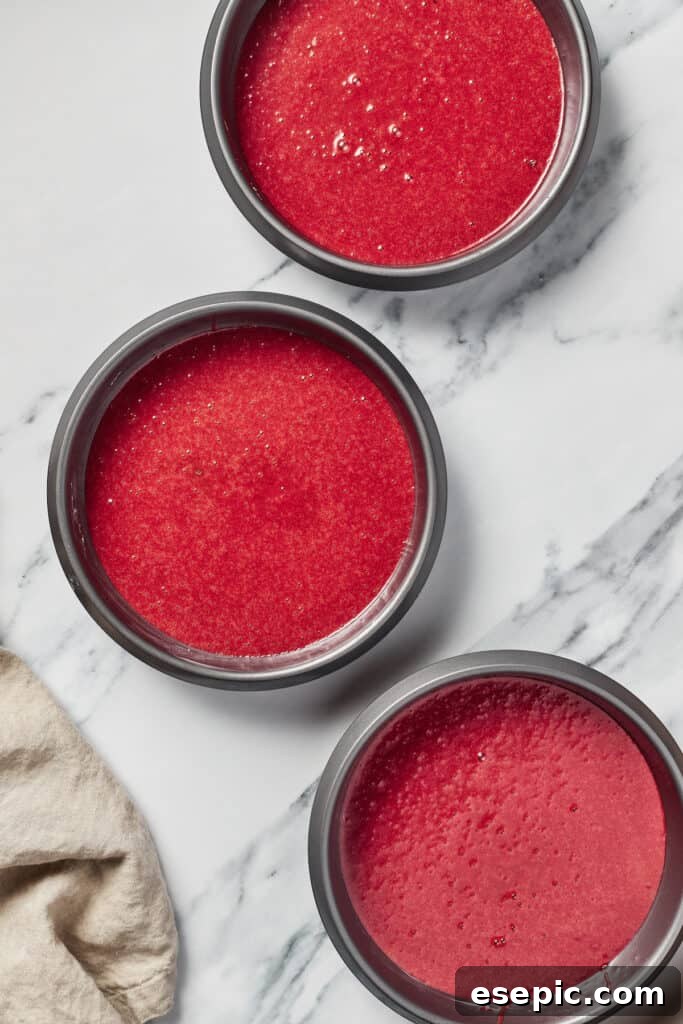
- Bake to Perfection: Divide the beautifully colored batter evenly among the three prepared cake pans. A ladle works well for this, ensuring consistent portions. Bake for approximately 25 to 28 minutes. For even cooking, rotate the pans halfway through the baking time.
- Cool the Layers Gracefully: Once baked, remove the cake layers from the oven and allow them to cool in their pans for about 10 minutes. This crucial resting period helps them firm up slightly. Afterward, carefully invert the cakes onto a wire cooling rack to let them cool completely. They must be entirely cool before frosting to prevent the frosting from melting.
Whipping Up the Velvety Cream Cheese Frosting:
- Cream Together Base Ingredients: In a large mixing bowl or the bowl of a stand mixer fitted with the paddle attachment, beat together the softened cream cheese, softened butter, and heavy whipping cream until the mixture is beautifully smooth and free of any lumps.
- Introduce Flavorings: Next, incorporate the vanilla extract and salt into the creamed mixture. Continue to mix until these flavorings are thoroughly distributed and well-incorporated, enhancing the overall taste of the frosting.
- Gradually Add Powdered Sugar: Begin adding the powdered sugar, one cup at a time. It’s important to start your mixer on a slow speed to prevent a cloud of powdered sugar from escaping the bowl. Once initially combined, you can increase the speed to medium.
- Achieve the Perfect Consistency: Periodically check the frosting’s consistency. If you find it too thick, gradually thin it out by adding one extra tablespoon of heavy cream at a time, mixing well after each addition. Conversely, if the frosting is too thin, beat in two to four tablespoons of additional powdered sugar at a time until you reach your desired piping and spreading consistency. Once perfect, cover the frosting and set it aside until your cake layers are ready for assembly.
Assembling Your Red Velvet Masterpiece:
- Level the Cake Layers: For a professional-looking cake, use a serrated knife or a specialized cake leveling tool to carefully trim off any dome-shaped tops from your cooled cake layers. This creates flat surfaces, ensuring a stable and even stacked cake. If you wish, you can save these cake scraps and crumble them later for a decorative touch around the sides of the finished cake.
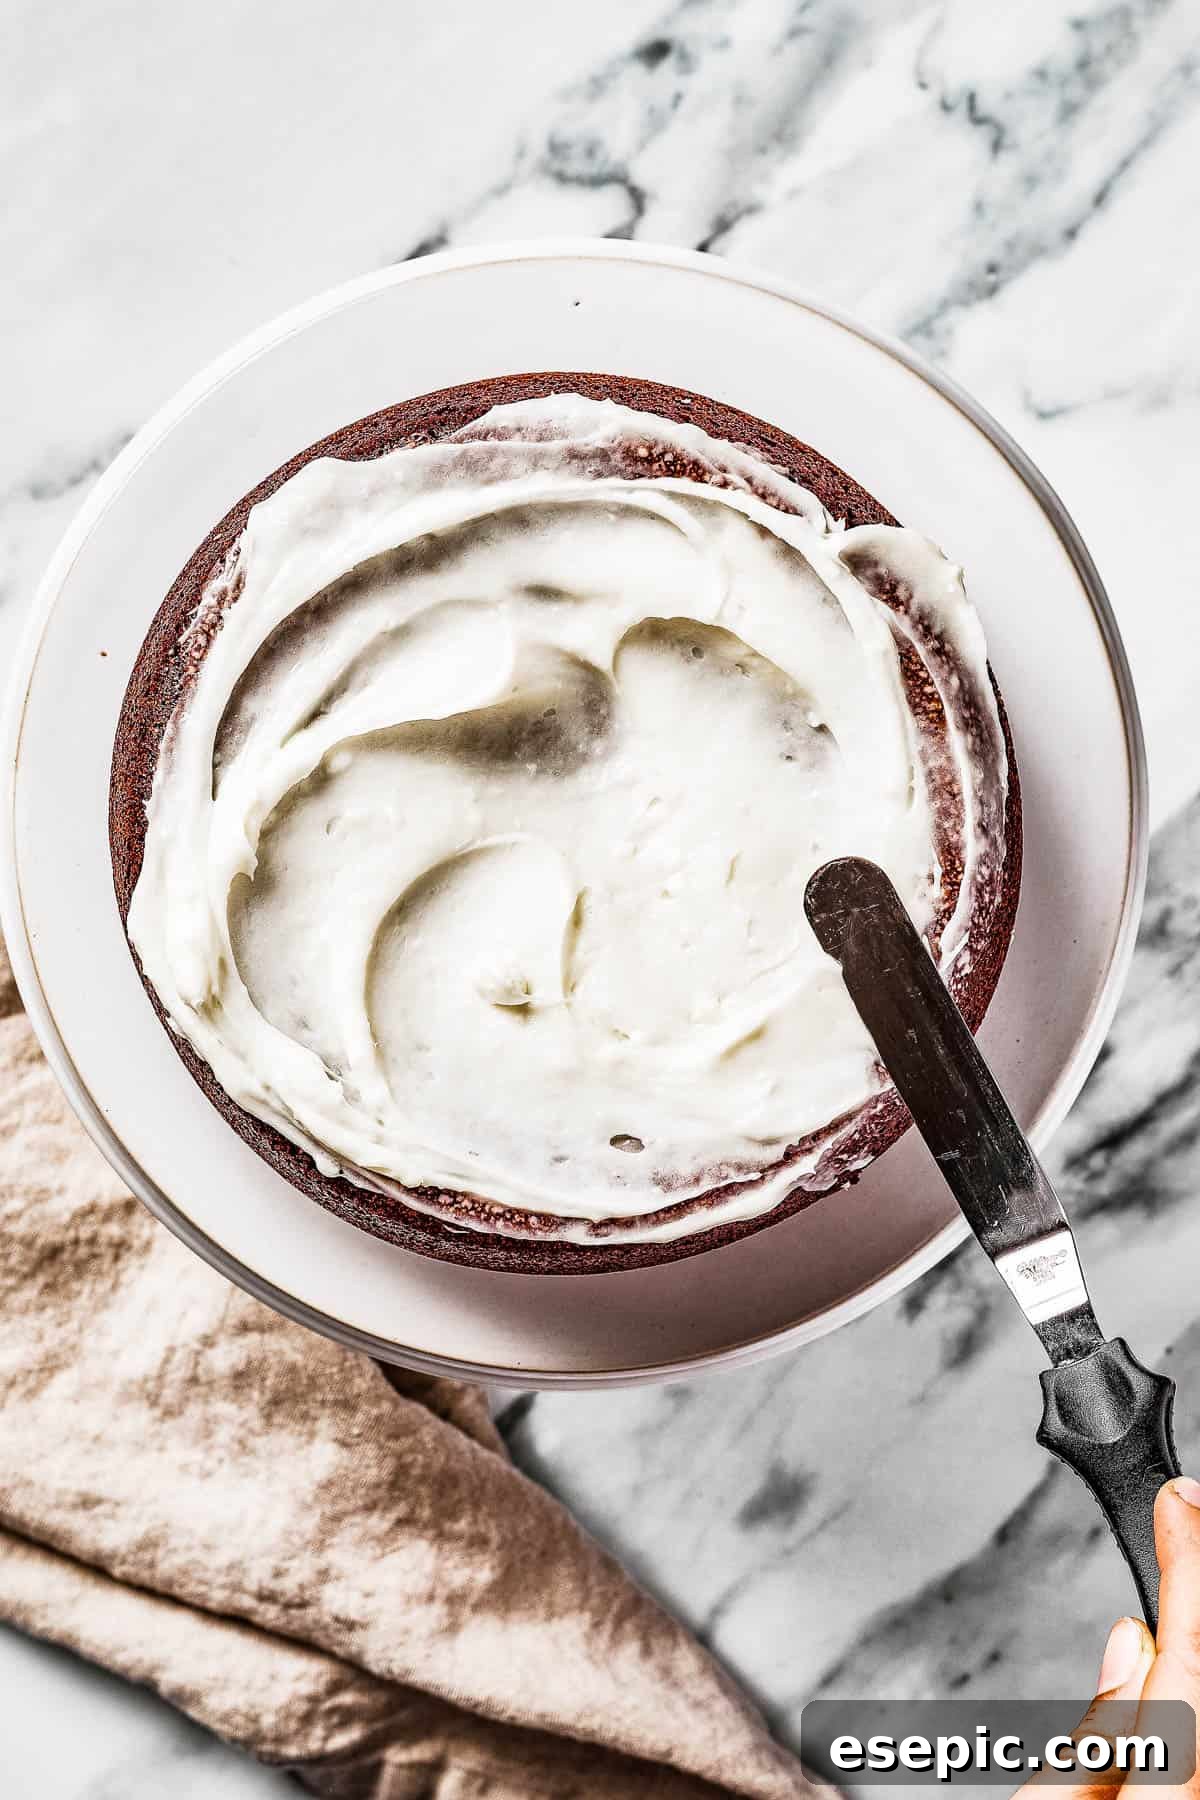
- Anchor and Stack the Layers: To prevent your cake from shifting during frosting, spread a small amount of cream cheese frosting onto the center of your cake stand or serving plate. Carefully place the first cake layer on top, pressing gently to secure it. Then, spread an even, generous layer of your prepared cream cheese frosting over the top of this layer. Repeat this process with the next cake layer and another layer of frosting, finally topping with the last cake layer.
- Crumb Coat and Final Frosting: Apply a thin layer of frosting all around the sides and top of the stacked cake. This initial “crumb coat” traps any loose crumbs, ensuring a clean final finish. Smooth it down using a bench scraper or a long offset spatula. If desired, chill the cake briefly, then apply a second, thicker layer of frosting for a more substantial coating, or leave it with a thinner, rustic scraped finish.
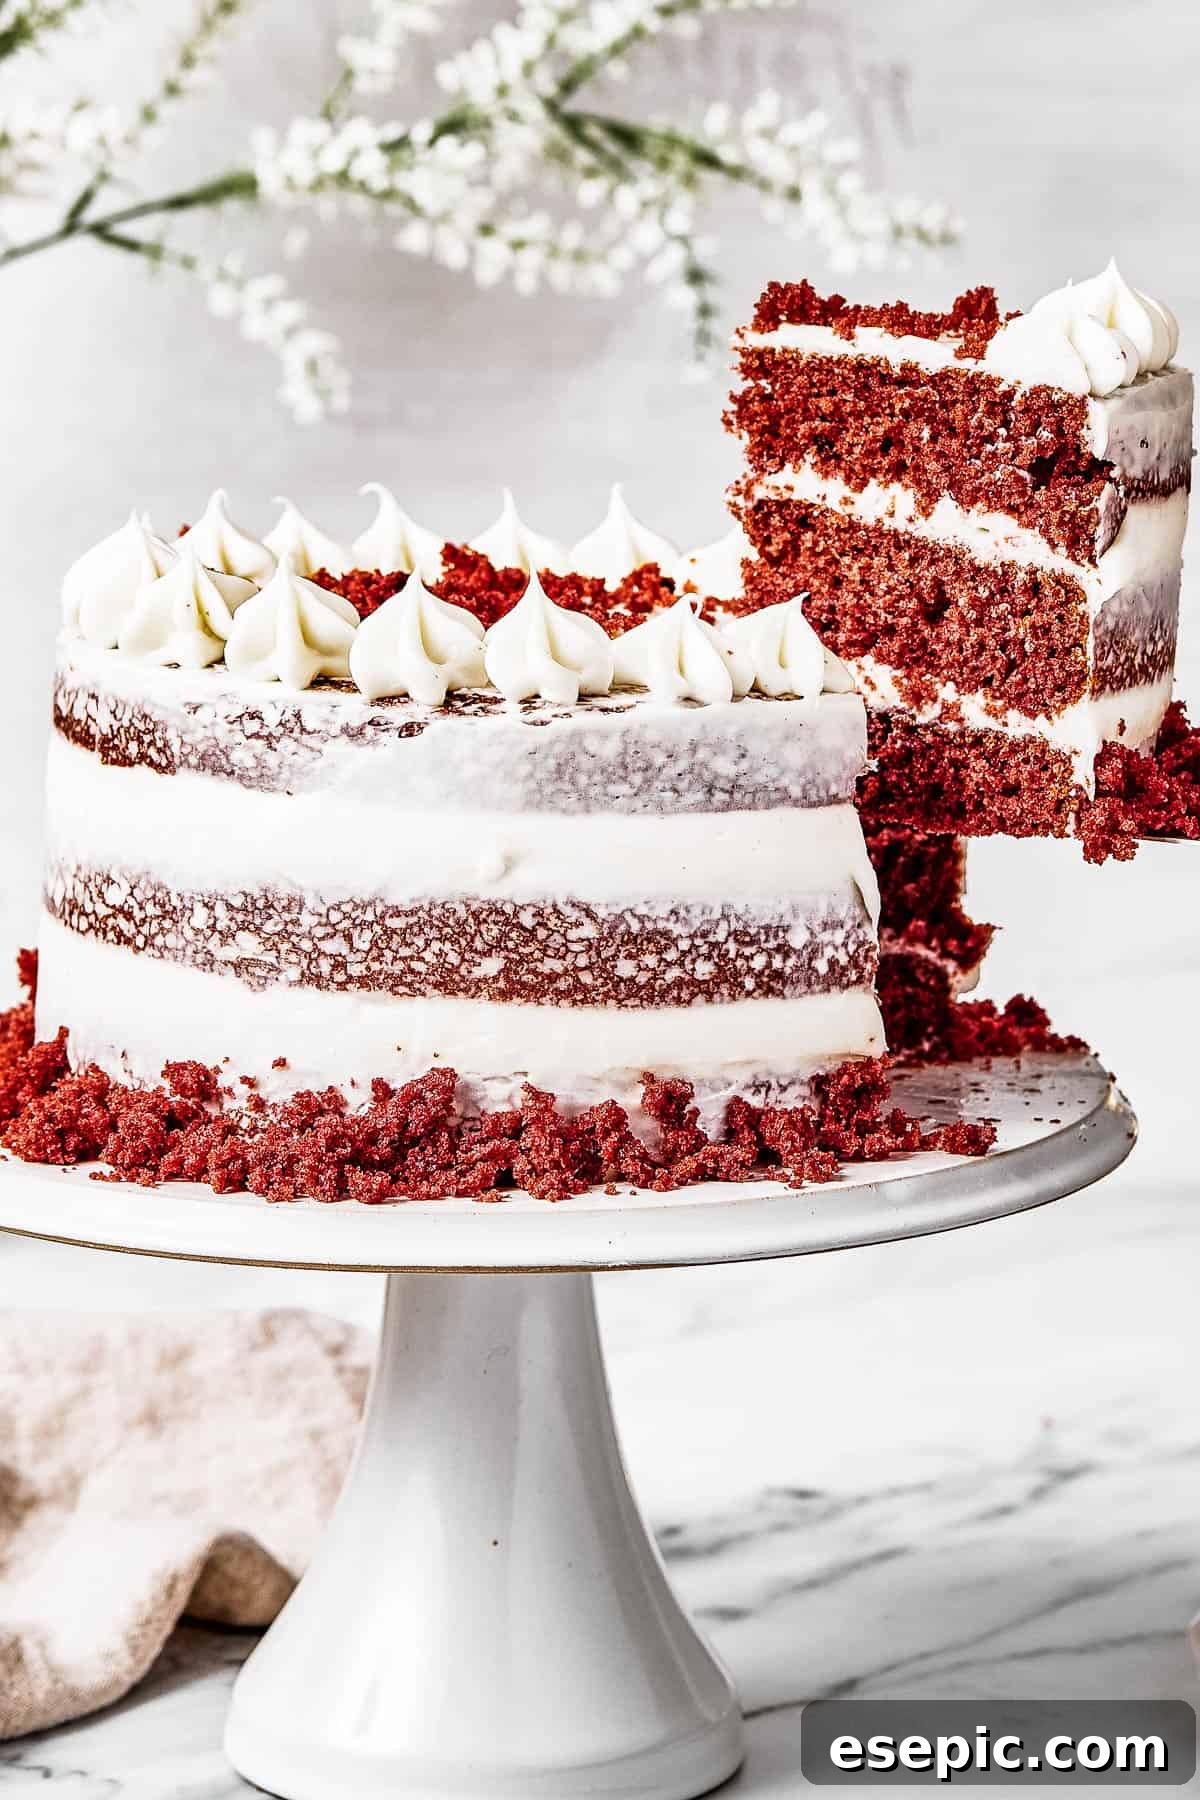
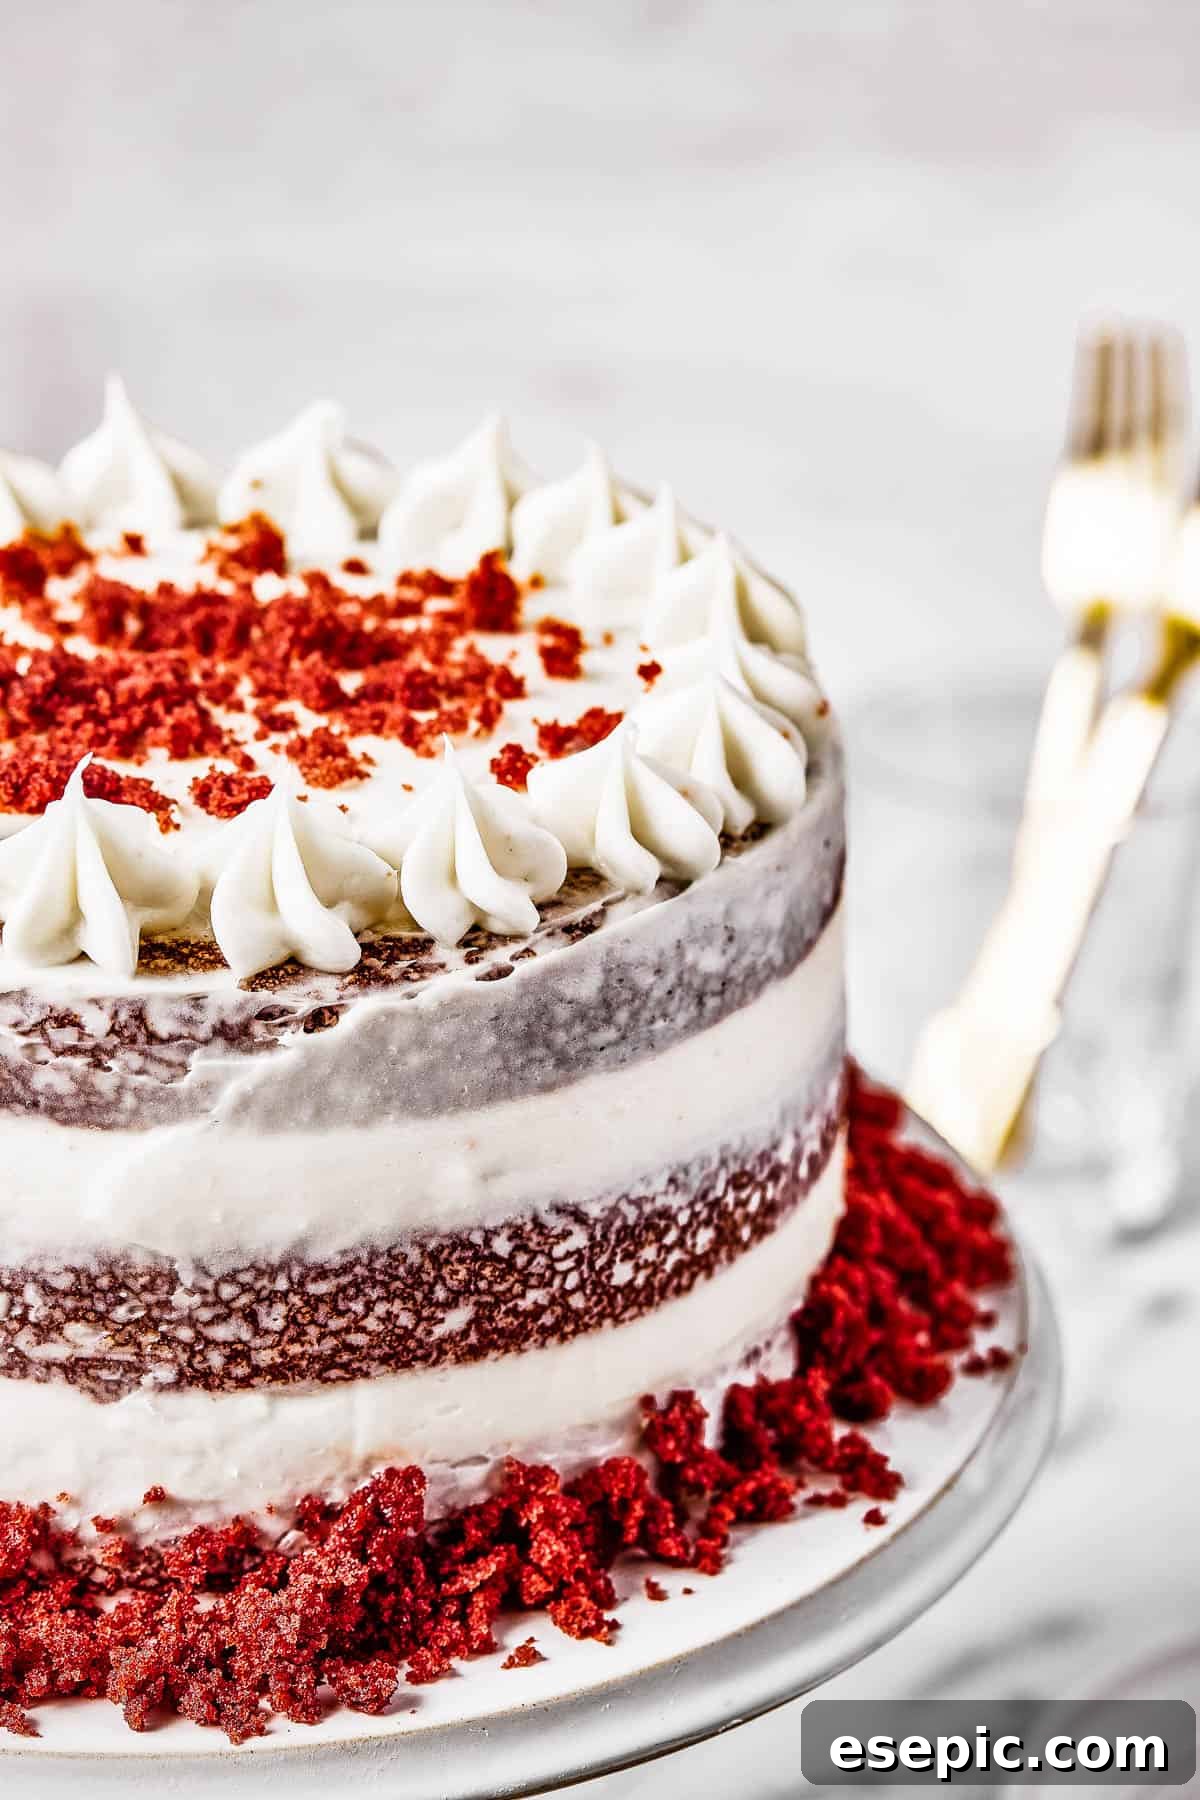
- Decorate with Flair: Unleash your creativity! If you have leftover frosting, you can use a piping bag and tip to pipe an elegant border along the top or bottom edges of the cake. Alternatively, use those reserved cake crumbs or other embellishments to add a final decorative flourish.
- Serve and Enjoy: Once decorated, your magnificent Red Velvet Cake is ready to be sliced and savored!
Expert Tips for Red Velvet Cake Success
Embarking on the journey of baking a classic Red Velvet Cake is an incredibly rewarding experience. To ensure your homemade masterpiece turns out absolutely perfect – light, moist, flavorful, and visually stunning – keep these essential tips in mind. They are designed to elevate your baking skills and guarantee a truly memorable dessert!
- For an Even Lighter Crumb: While all-purpose flour works wonderfully, if you desire an even more delicate and tender cake, consider using cake flour. Its lower protein content results in a softer, more ethereal texture, taking your red velvet to the next level of fluffy perfection.
- Beware the Over-Beat: This is a common pitfall in cake baking. Beating your cake batter for too long can introduce excessive air, which might cause the cake to rise dramatically in the oven only to deflate disappointingly later. More importantly, overmixing develops the gluten in the flour too much, leading to a tough, chewy, and less desirable cake texture. Mix until just combined for optimal tenderness.
- Embrace the Vinegar: It might seem counterintuitive to add vinegar to a cake recipe, but in Red Velvet, it’s a non-negotiable hero! Don’t be tempted to skip or reduce the amount of vinegar. It plays a dual, critical role: reacting with the baking soda to provide essential lift and aeration, and contributing significantly to the cake’s distinctive, slightly tangy, buttermilk-like flavor profile that gives Red Velvet its unique “cheesecake-like” quality.
Creative Red Velvet Cake Variations to Explore
While the classic Red Velvet Cake is magnificent on its own, its versatility allows for exciting variations. Feel free to customize this recipe to suit your preferences or the occasion, making this delightful cake truly your own. Experiment with these ideas and enjoy your personalized Red Velvet creation!
- Alternate Cake Pan Options: This foundational Red Velvet recipe is incredibly adaptable. Instead of three 8-inch layers, you can easily use it to create two larger 9-inch cake layers, which will bake for a similar duration. For a simpler, single-layer option perfect for gatherings, pour the batter into one 13×9-inch sheet cake pan, adjusting baking time as needed (usually a bit longer, around 30-35 minutes). Craving individual portions? This recipe can also yield approximately 24 standard-sized cupcakes, baking for about 18-22 minutes until a toothpick inserted comes out clean.
- Coffee and Cream Flavor Twist: For a delightful depth of flavor and a slightly darker, more complex chocolate note, try a simple substitution in your wet ingredients. Replace half of the milk with strong, cooled brewed coffee and the other half with rich heavy cream. This combination not only enhances the chocolate undertones but also adds an incredibly moist and luxurious quality to the cake.
- Elevate Your Decoration Game: Red Velvet Cake, being inherently showy, offers a fantastic canvas for creative decoration. Beyond classic piping, consider these ideas:
- Cake Crumb Skirt: Take some of the reserved cake scraps, finely crumble them, and gently press them onto the sides of the frosted cake for a charming, rustic “crumb skirt.”
- Chopped Nuts: For a textural contrast and nutty flavor, sprinkle finely chopped pecans or walnuts around the base or top edge of the cake.
- Festive Sprinkles: Add a playful touch with a scattering of your favorite sprinkles, especially for birthdays or themed events.
- Elegant Chocolate Shavings: For a more sophisticated look, garnish with delicate chocolate shavings or elegant chocolate curls on top. You truly can’t go wrong with any of these embellishments!
Optimal Storage for Your Red Velvet Cake
To keep your Red Velvet Cake fresh and delicious for as long as possible, proper storage is key due to its cream cheese frosting.
- For storage, carefully place the entire cake in a domed cake plate or an airtight container. This protects the frosting and prevents the cake from drying out.
- Always store Red Velvet Cake in the refrigerator. It will maintain its exquisite taste and texture for up to 3 days.
Freezing Red Velvet Cake for Future Enjoyment
Yes, Red Velvet Cake freezes beautifully, making it perfect for preparing ahead or saving leftovers. Freezing the cake layers separately is generally recommended for the best results.
- To freeze, allow the baked cake layers to cool completely. Once cool, wrap each unfrosted layer tightly in two layers of plastic wrap, followed by one layer of aluminum foil. This triple wrapping prevents freezer burn.
- Store the individually wrapped layers in the freezer for up to 2 months.
- When you’re ready to enjoy, thaw the frozen cake layers for several hours or overnight at room temperature before unwrapping and frosting as usual.
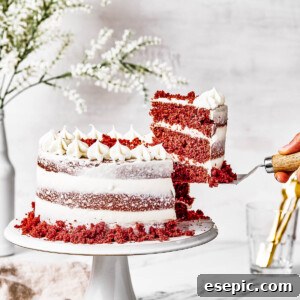
Red Velvet Cake
Katerina | Easy Weeknight Recipes
25
minutes
25
minutes
3
hours
3
hours
50
minutes
18
Ingredients
For the Cake:
-
3
cups
all-purpose flour
-
2
tablespoons
cocoa powder
-
1
teaspoon
salt -
1
teaspoon
baking soda -
4
whole eggs,,
at room temperature -
1 ½
cup
milk -
1
cup
vegetable oil -
2
tablespoons
white vinegar
-
2
teaspoons
vanilla extract
-
1 ¾
cups
granulated sugar -
1
tablespoon
red gel food coloring
For the Frosting:
-
16
ounces
cream cheese,,
at room temperature -
1
cup
unsalted butter,,
at room temperature -
¼
cup
heavy whipping cream -
2
teaspoons
vanilla extract -
½
teaspoon
salt -
4
cups
powdered sugar
Instructions
Prepare the Cake:
-
Preheat the oven to 350°F (175°C).
Grease 3 cake pans (8-inch), line with parchment paper, and set aside. -
Sift together the flour, cocoa powder, salt, and baking soda in a large bowl. Set aside.
-
In another large bowl, whisk the eggs, milk, vegetable oil, white vinegar, and vanilla extract until thoroughly combined.
-
Add sugar to the wet ingredients and whisk until the sugar has dissolved.
-
Add in the sifted dry ingredients. Slowly whisk or fold until the mixture is just combined.
Be careful not to overmix, as this could lead to a dense and gummy cake. -
Add the food coloring and mix until the batter is an even, dark red color.
-
Divide the batter evenly into the three cake pans.
-
Bake for 25 to 28 minutes, rotating the pans halfway through the bake time.
-
Remove the cake from the oven and cool in the pans for 10 minutes.
-
Carefully flip the cakes out of the pans onto a wire cooling rack. Allow to cool completely.
Prepare the frosting:
-
In a bowl or stand mixer, beat the cream cheese, butter, and heavy whipping cream until smooth.
-
Add in the vanilla and salt and mix until incorporated.
-
Mix in the powdered sugar one cup at a time at a slow speed.
-
If the frosting is too thick, add in 1 tablespoon of heavy cream at a time. If it is too thin, add in 2 to 4 tablespoons of powdered sugar at a time.
-
Cover and set aside until ready to use.
Assemble the cake:
-
Using a serrated knife or a cake leveling tool, trim and level the tops of the cakes. You can reserve the scraps of cake to crumble and decorate the cake with after frosting.
-
Add a bit of icing to the cake stand to help the cake stick to the stand and not move.
-
Spread an even layer of cream cheese frosting between each layer of cake.
-
Spread a thin coat of frosting on the sides and top of the cake. Smooth it using a bench scraper. Add another layer of frosting, if desired.
-
Optionally, pipe a frosting border along the edge of the cake.
-
Cut and serve.
Notes
- To store, place the cake in a domed cake plate.
- Keep in the refrigerator for 3 days.
Nutrition
Calories:
473
kcal
|
Carbohydrates:
65
g
|
Protein:
6
g
|
Fat:
22
g
|
Saturated Fat:
13
g
|
Polyunsaturated Fat:
1
g
|
Monounsaturated Fat:
6
g
|
Trans Fat:
1
g
|
Cholesterol:
98
mg
|
Sodium:
362
mg
|
Potassium:
114
mg
|
Fiber:
1
g
|
Sugar:
48
g
|
Vitamin A:
788
IU
|
Vitamin C:
1
mg
|
Calcium:
63
mg
|
Iron:
1
mg
Nutritional info is an estimate and provided as courtesy. Values may vary according to the ingredients and tools used. Please use your preferred nutritional calculator for more detailed info.
Did you make a recipe? Leave a rating
Discover More Classic Dessert Recipes
If you loved creating this spectacular Red Velvet Cake, you’re in for a treat! Explore more timeless desserts that are sure to impress and delight. Expand your baking repertoire with these beloved classics:
- Effortless Elegance: Easy Creme Brûlée Recipe
- Heartwarming Comfort: Homemade Apple Pie from Scratch
- Sweet and Simple: Irresistible Peach Crisp Recipe