
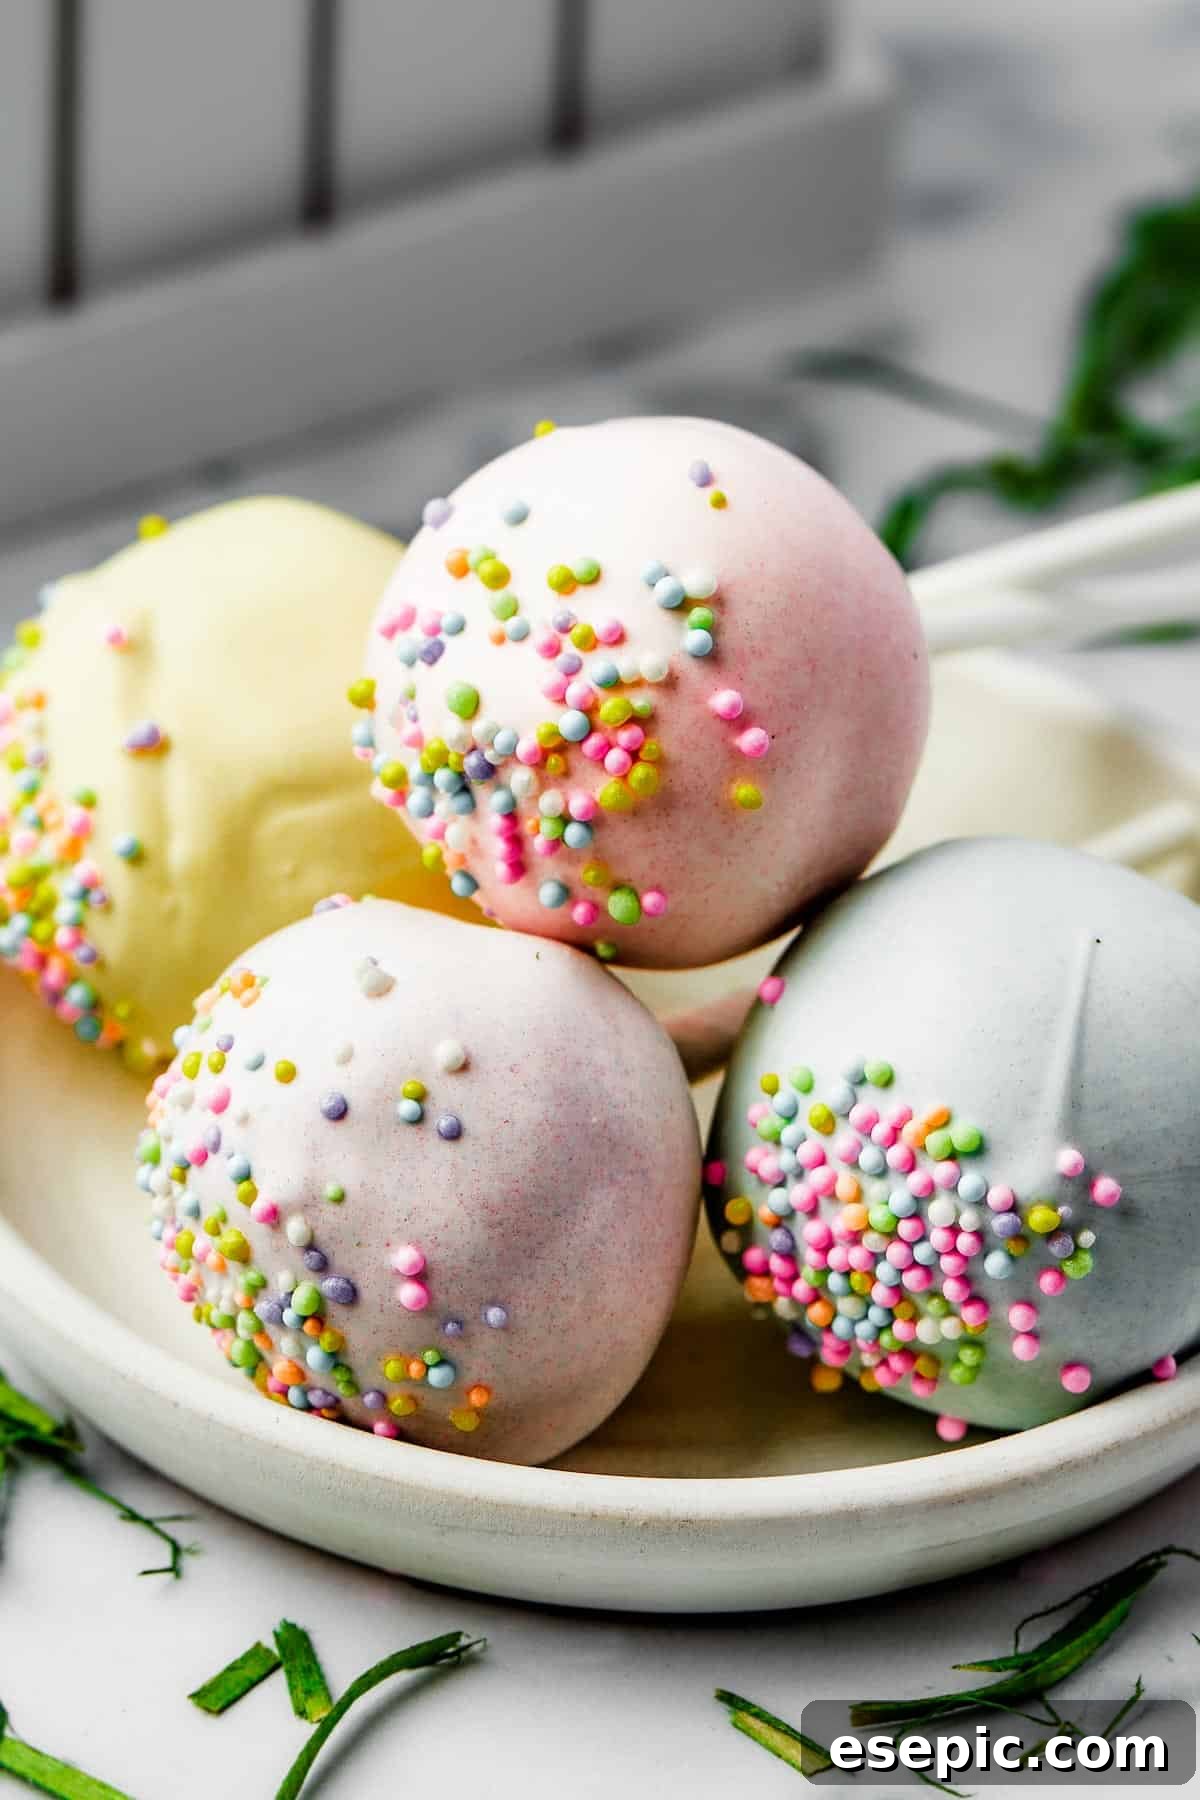
Discover the delightful world of Homemade Cake Pops – a whimsical, bite-sized confection that elegantly transforms traditional cake and frosting into an irresistible lollipop treat. These charming desserts are not only incredibly fun to make but also boast a perfectly moist, tender, and rich texture, making them a sensational sweet for any occasion. Forget complicated baking; with a simple boxed cake mix and vibrant candy melts, you can craft these beautiful spheres of joy that promise to captivate both young and old alike.
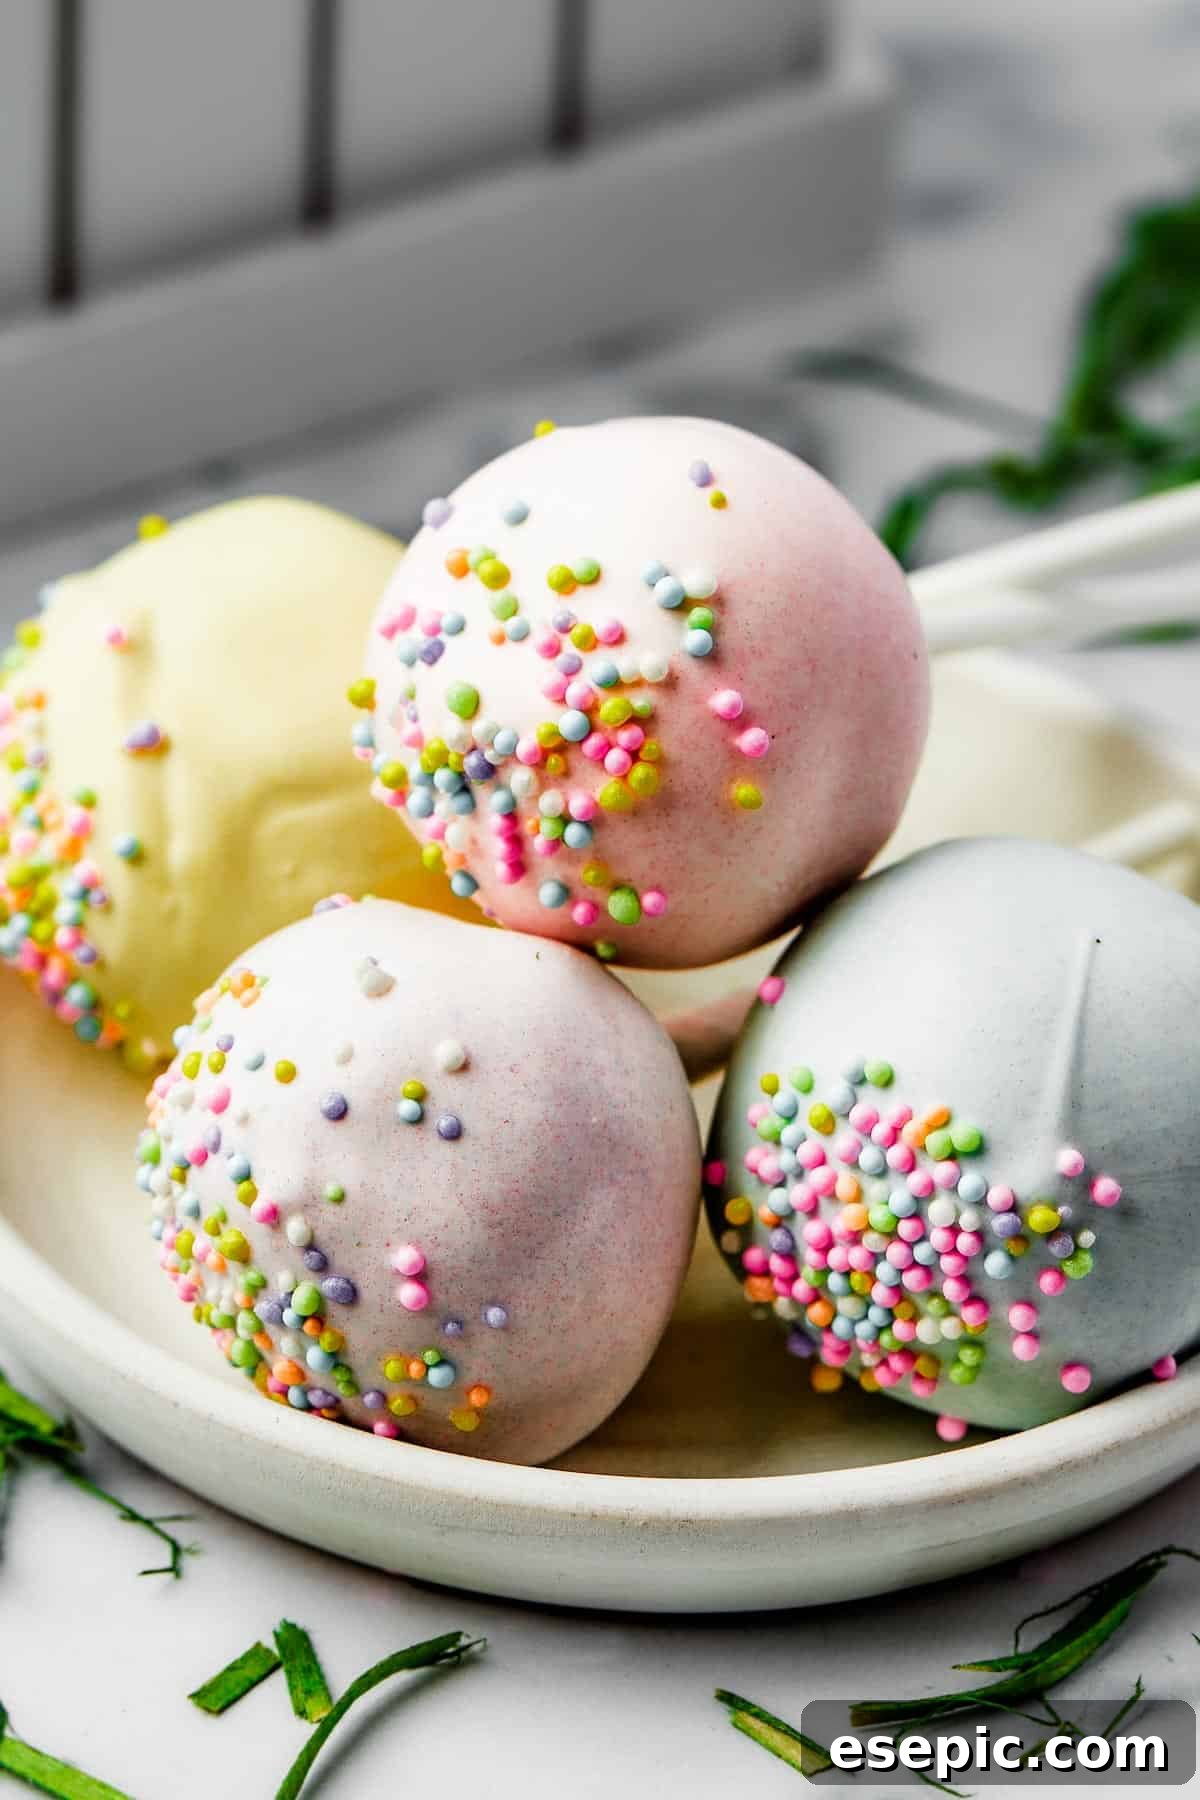
The Irresistible Charm of Homemade Cake Pops
Cake pops have undeniably captured the hearts of dessert lovers worldwide, emerging as a staple at celebrations, parties, and even as an everyday pick-me-up. These miniature marvels, essentially decadent cake mixed with frosting, rolled into balls, and then dipped in a vibrant candy coating, offer a playful twist on conventional cake slices. Their lollipop form makes them uniquely appealing, especially to children, and their endless customization possibilities ensure they always fit the theme of any event.
While often found at upscale bakeries or popular coffee chains at a premium price – a price many of us (and our kids!) are willing to pay for their sheer delight – crafting them at home offers unparalleled advantages. Imagine the joy of creating personalized flavors, experimenting with a rainbow of colors, and adorning them with an array of sprinkles and decorations, all while saving a significant amount. Making your own cake pops allows for complete creative control, ensuring each bite is exactly how you envisioned it: fresh, flavorful, and made with love.
Unlocking the Secret to Extra Moist Cake Pops
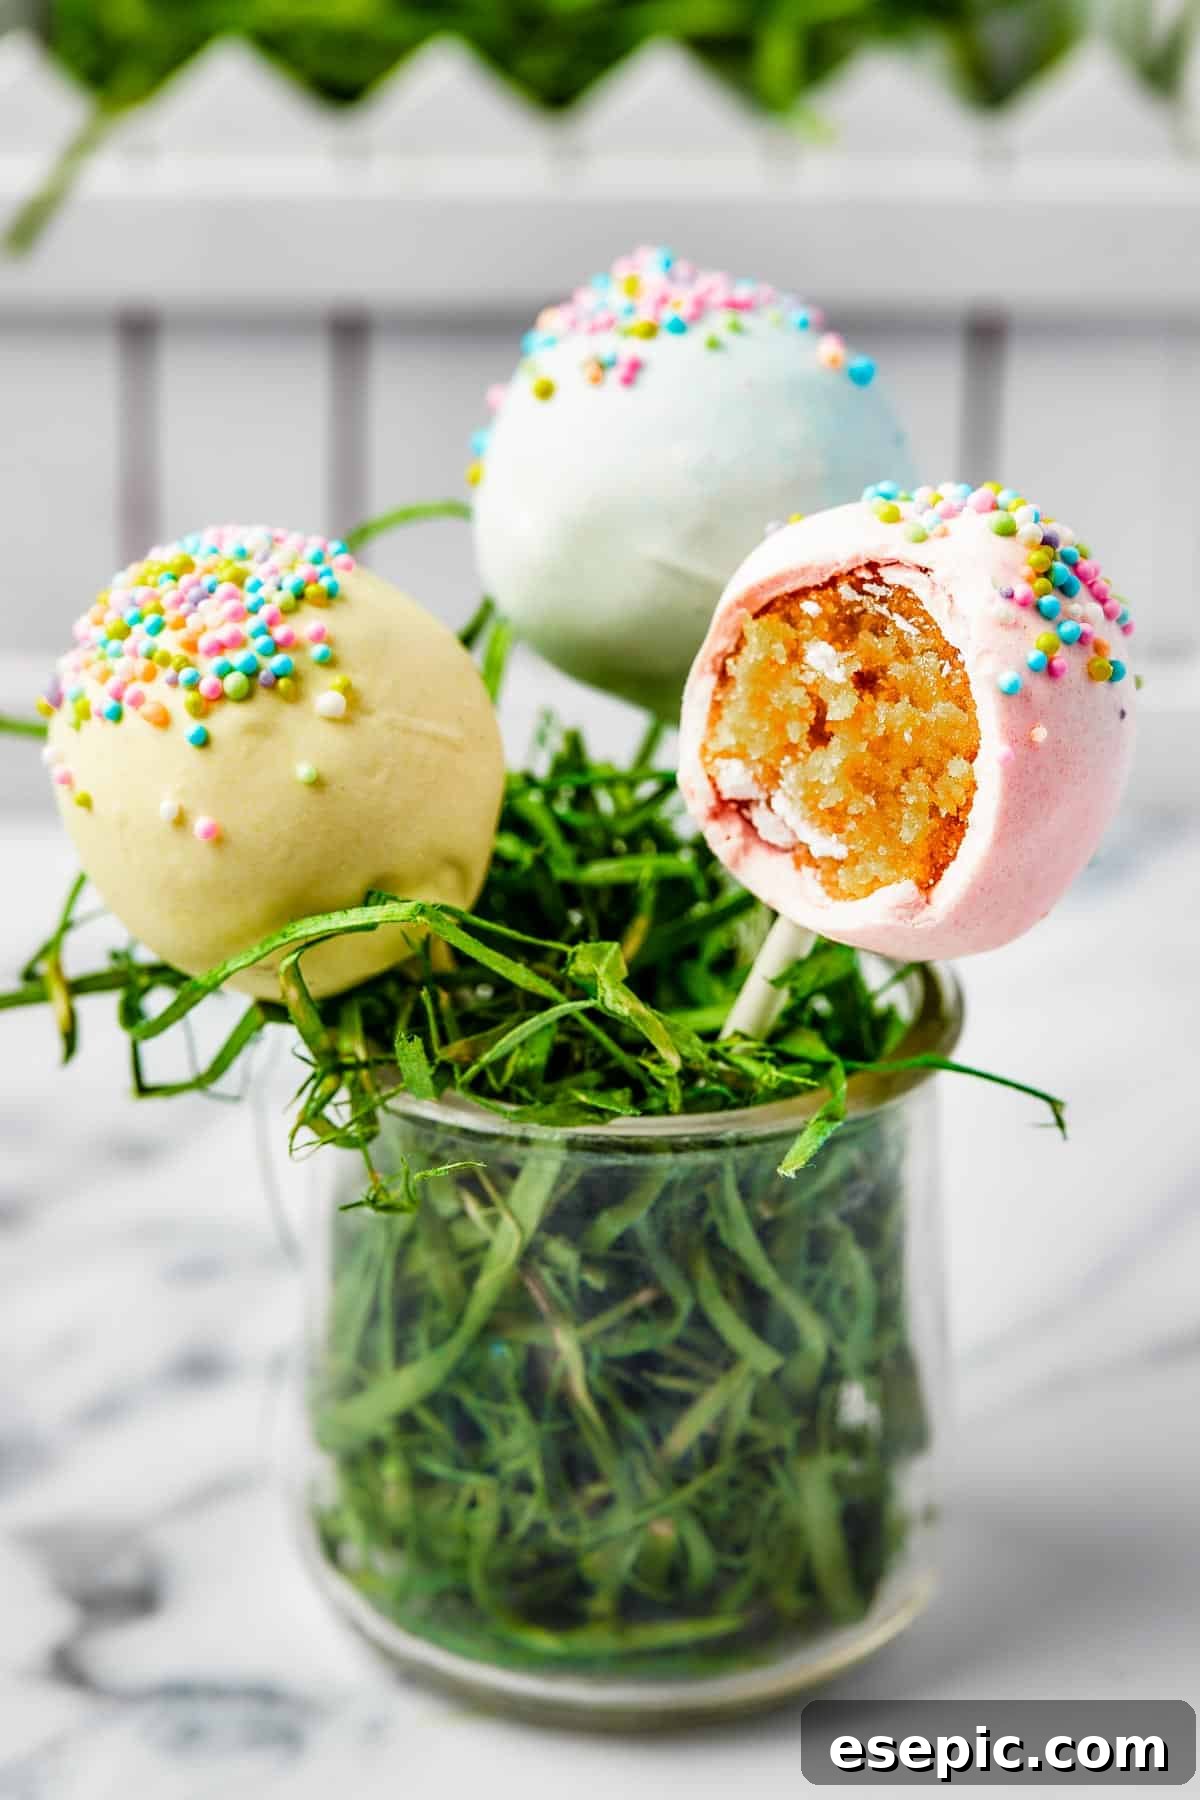
One of the most defining characteristics, and arguably the greatest appeal, of a perfect cake pop is its incredibly moist and tender interior. Unlike a slice of cake, which can sometimes be dry, a cake pop delivers a dense, fudgy, and intensely flavorful experience akin to a rich candy truffle. This delightful texture isn’t achieved by magic but by a clever culinary technique: combining finely crumbled cake with creamy frosting. The frosting acts as a binding agent and a moisture infuser, saturating every crumb of cake to create a smooth, moldable dough that holds its shape beautifully and remains exceptionally moist. This method ensures that even if your original cake was slightly dry, the frosting will rehydrate and transform it into something truly luxurious. The careful balance of cake to frosting is key – enough to bind and moisten without making the mixture too sticky or greasy.
Essential Ingredients for Perfect Cake Pops
While the idea of making cake pops from scratch can be appealing, this recipe embraces the convenience of a boxed cake mix without compromising on flavor or texture. For those who prefer a fully scratch-made base, feel free to substitute with your favorite homemade cake recipe, like a rich chocolate cake, ensuring it’s completely cooled before crumbling.
For the Cake Base
- Yellow Cake Mix: A standard 16-ounce box of yellow cake mix forms the foundation of these pops. Any reputable brand will work perfectly, providing a consistent and delicious base. The classic yellow cake flavor offers a versatile canvas for various coatings and toppings.
- Water: As directed on your cake mix package, water helps to hydrate the dry ingredients, creating a smooth batter. Ensure it’s at room temperature for optimal mixing.
- Vegetable Oil: This ingredient contributes to the cake’s moistness and tender crumb. A mild-flavored oil is recommended to avoid imparting unwanted flavors to your cake. Canola oil or sunflower oil are excellent alternatives if vegetable oil is unavailable.
- Eggs: Large, whole eggs are essential for structure, richness, and moisture. They bind the ingredients together, creating a well-risen and flavorful cake.
For the Velvety Frosting
- Unsalted Butter: Using unsalted butter gives you control over the overall saltiness of the frosting. It should be softened to room temperature, which is crucial for achieving a smooth, fluffy consistency when beaten. If using salted butter, reduce the added salt slightly.
- Powdered Sugar: Also known as confectioners’ sugar, this finely milled sugar dissolves beautifully, ensuring a silky-smooth frosting texture. Granulated sugar will not yield the same result and should not be substituted.
- Heavy Whipping Cream: A small amount of heavy cream enriches the frosting, making it wonderfully creamy and easy to spread, contributing to the cake pop’s moist interior.
- Vanilla Extract: Pure vanilla extract provides a warm, aromatic depth of flavor. For an exquisite touch, a scraped vanilla bean can be used. In a pinch, vanilla flavoring will work, but pure extract offers the best taste.
- Salt: A tiny pinch of salt balances the sweetness of the frosting, enhancing all the other flavors without making it taste salty.
For Assembly and Decoration
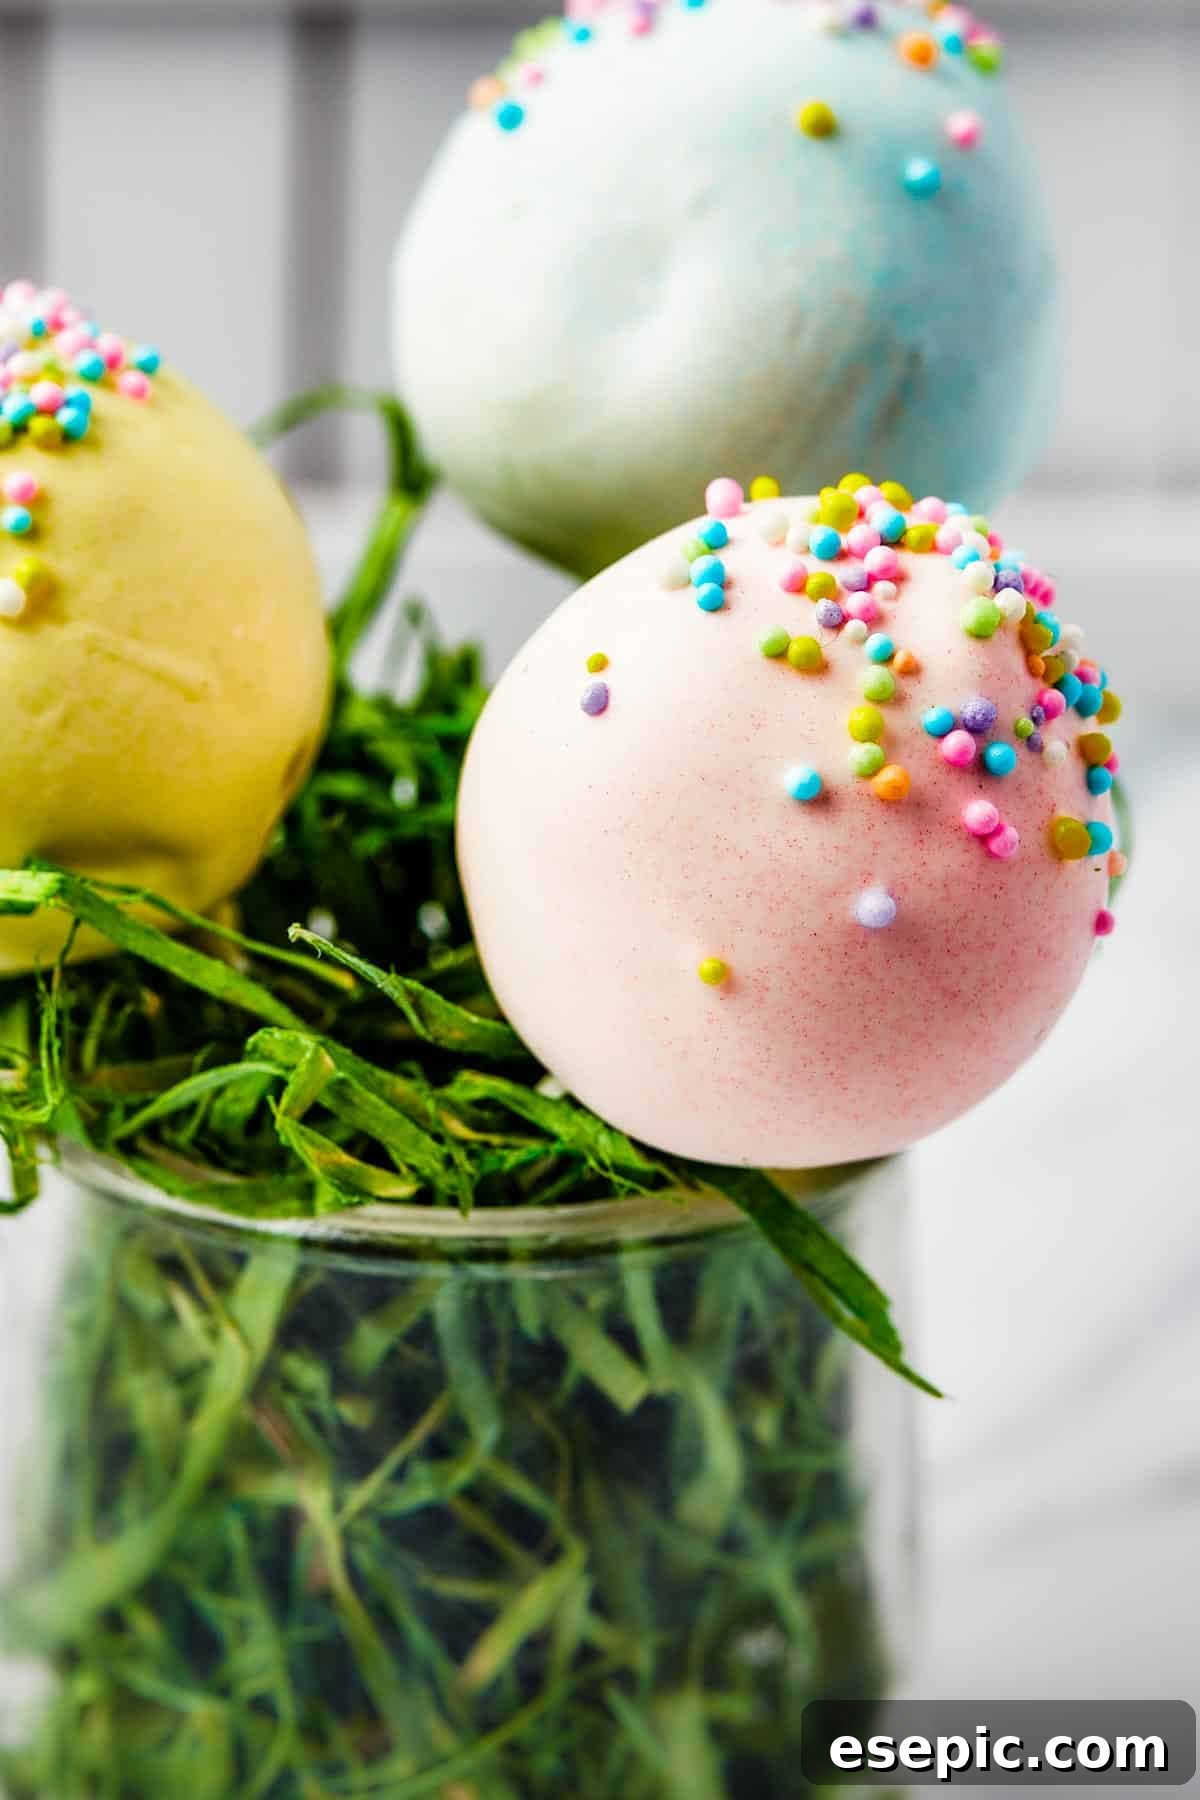
- Candy Melts: White candy melts are versatile for coloring, but feel free to choose any color to match your theme. These melts provide a smooth, hard shell that sets quickly, making them ideal for cake pops. Different colored candy melts eliminate the need for additional food coloring.
- Food Coloring and Sprinkles: These are entirely optional but highly encouraged for adding a festive touch. Gel food colorings are best for candy melts as they don’t add excess liquid. Sprinkles, edible glitter, or even finely crushed nuts can elevate the visual appeal.
- Lollipop Sticks: Found in the baking aisle of most grocery stores or readily available online, these sticks are crucial for the “pop” aspect of the dessert. Ensure they are sturdy enough to hold the cake balls.
- Styrofoam Block: This is a handy tool for holding the cake pops upright while the candy coating sets. It prevents smudging and ensures a perfectly round finish.
Crafting Your Own Delectable Cake Pops: A Step-by-Step Guide
Making cake pops is a rewarding culinary adventure, and while it involves a few distinct stages, each step is straightforward and enjoyable, making it a fantastic project for aspiring bakers of all ages. Get your kitchen ready, and let’s create some magic!
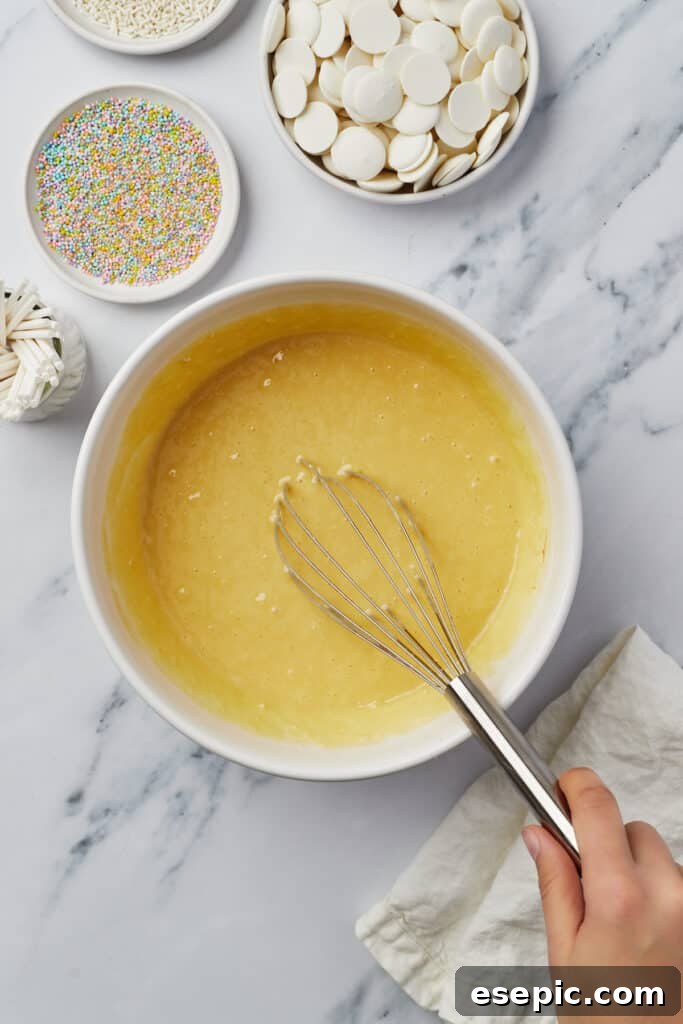
- Bake and Crumble the Cake: Begin by preheating your oven to the temperature specified on your cake mix package, typically 350°F (175°C). In a large mixing bowl, combine the yellow cake mix, water, vegetable oil, and eggs. Mix thoroughly until the batter is smooth and free of lumps. Pour the prepared batter into a greased 13×9 inch cake pan. Bake according to the package directions, or until a toothpick inserted into the center comes out clean. Once baked, it’s crucial to let the cake cool completely on a wire rack. This step is vital for the proper texture of your cake pops. Once cool, use your hands to crumble the entire cake into fine, uniform crumbs in a large bowl. Set the crumbled cake aside while you prepare the frosting.
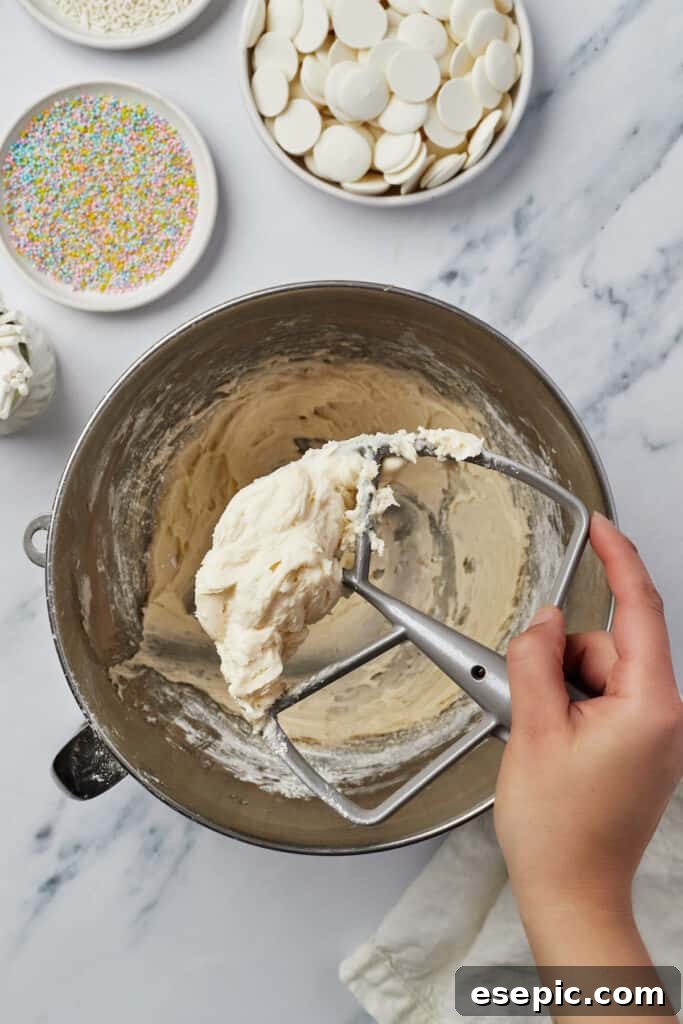
- Prepare the Smooth Frosting: To achieve that signature moist interior, a luscious homemade frosting is key. In the bowl of a stand mixer fitted with a paddle attachment (or using a hand mixer), beat the softened room-temperature unsalted butter on medium speed until it’s light, fluffy, and pale in color, typically for 2-3 minutes. Gradually add the powdered sugar, a cup at a time, mixing on low speed until combined, then increasing to medium. Incorporate the heavy whipping cream, vanilla extract, and salt. Continue beating until the frosting is perfectly smooth, creamy, and holds soft peaks. Scrape down the sides of the bowl as needed to ensure everything is well incorporated.
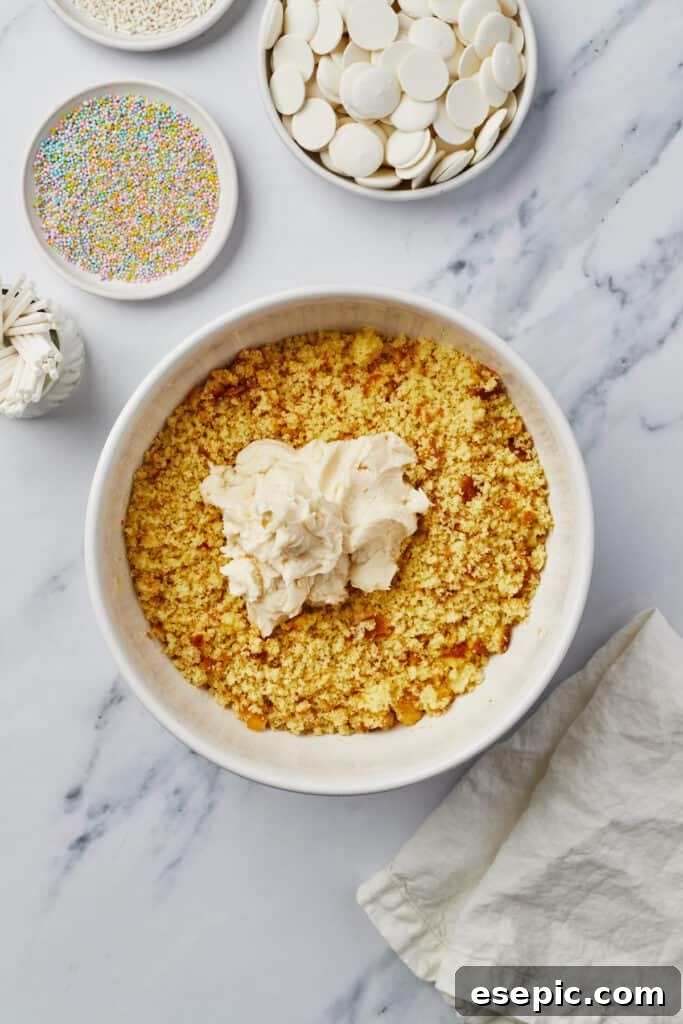
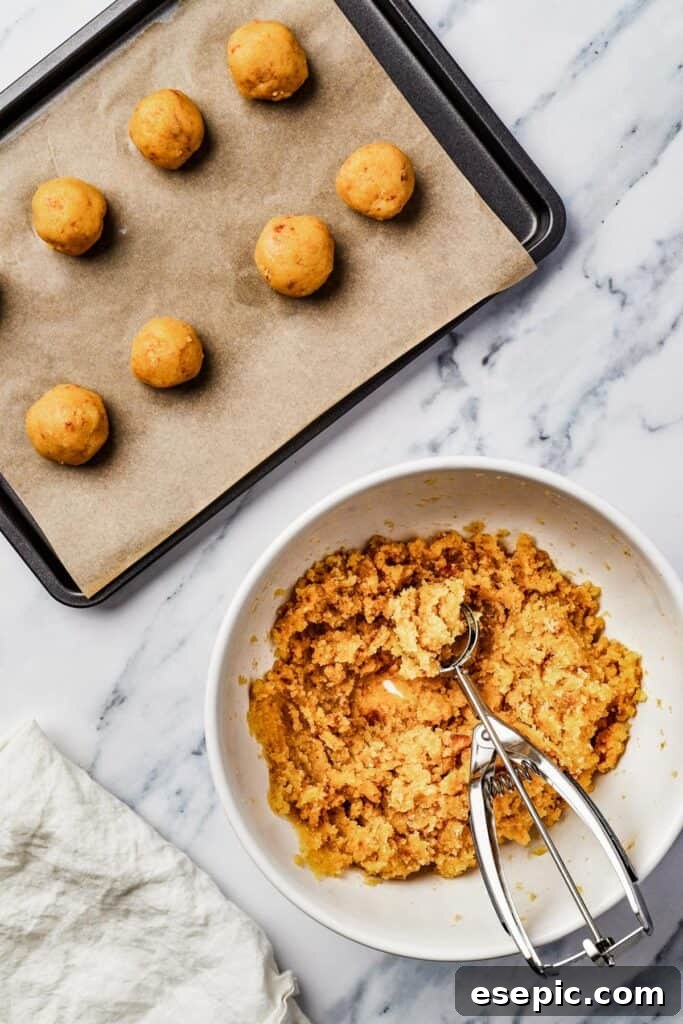
- Form the Cake Pop Balls: Now for the fun part! Add a small amount of the prepared frosting to your bowl of cake crumbs, starting with about half a cup. Using your hands or a sturdy spatula, mix the frosting into the crumbs until it’s evenly distributed. The goal is to create a soft, moldable, dough-like mixture that holds together when squeezed but isn’t overly sticky or greasy. Continue adding frosting, a tablespoon at a time, until you reach the desired consistency. Once the mixture is perfect, scoop approximately two tablespoons of the cake mixture and roll it firmly between your palms to form smooth, uniform balls. Place these cake balls on a parchment-lined baking tray or plate. Repeat until all the mixture is used. To ensure they stay firm during the dipping process, freeze the cake pop balls for at least one hour (or up to overnight). This chilling period is crucial for structural integrity.
- Prepare the Candy Coating: As you near the assembly stage, prepare your candy melts. Melt the candy melts according to the package directions. This can usually be done in the microwave in short bursts, stirring frequently, or over a double boiler. Once melted, pour the smooth candy into a deep, tall container – a jar, a tall glass, or a mug works perfectly for easy dipping. If you desire colored cake pops, stir a few drops of gel food coloring into the melted candy until your desired hue is achieved. Maintain a consistent temperature; if the candy melts start to thicken, gently reheat them.
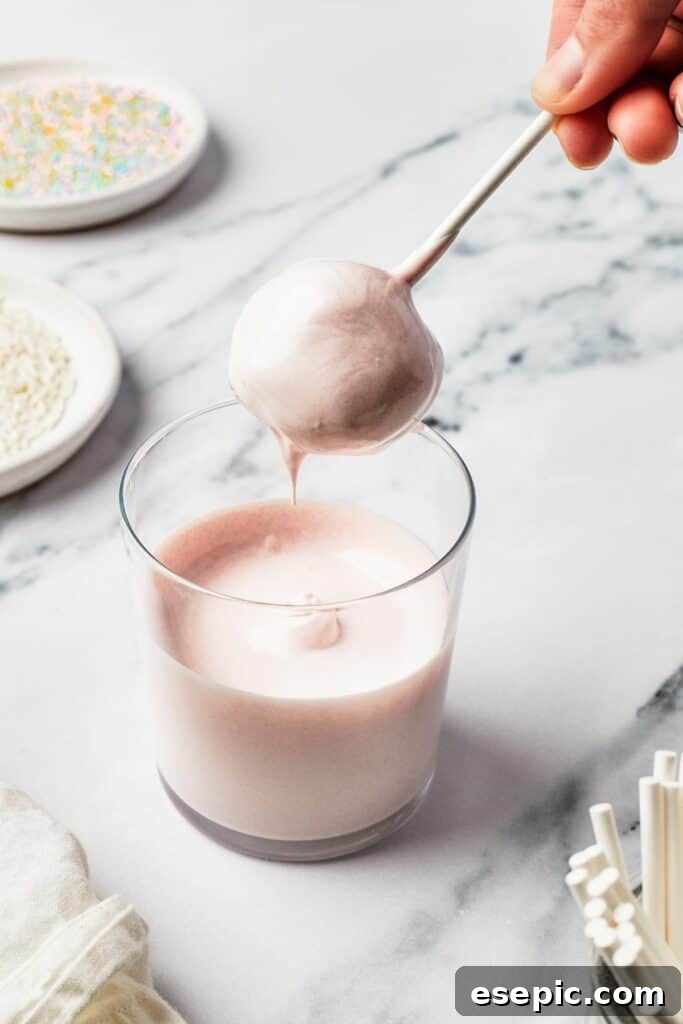
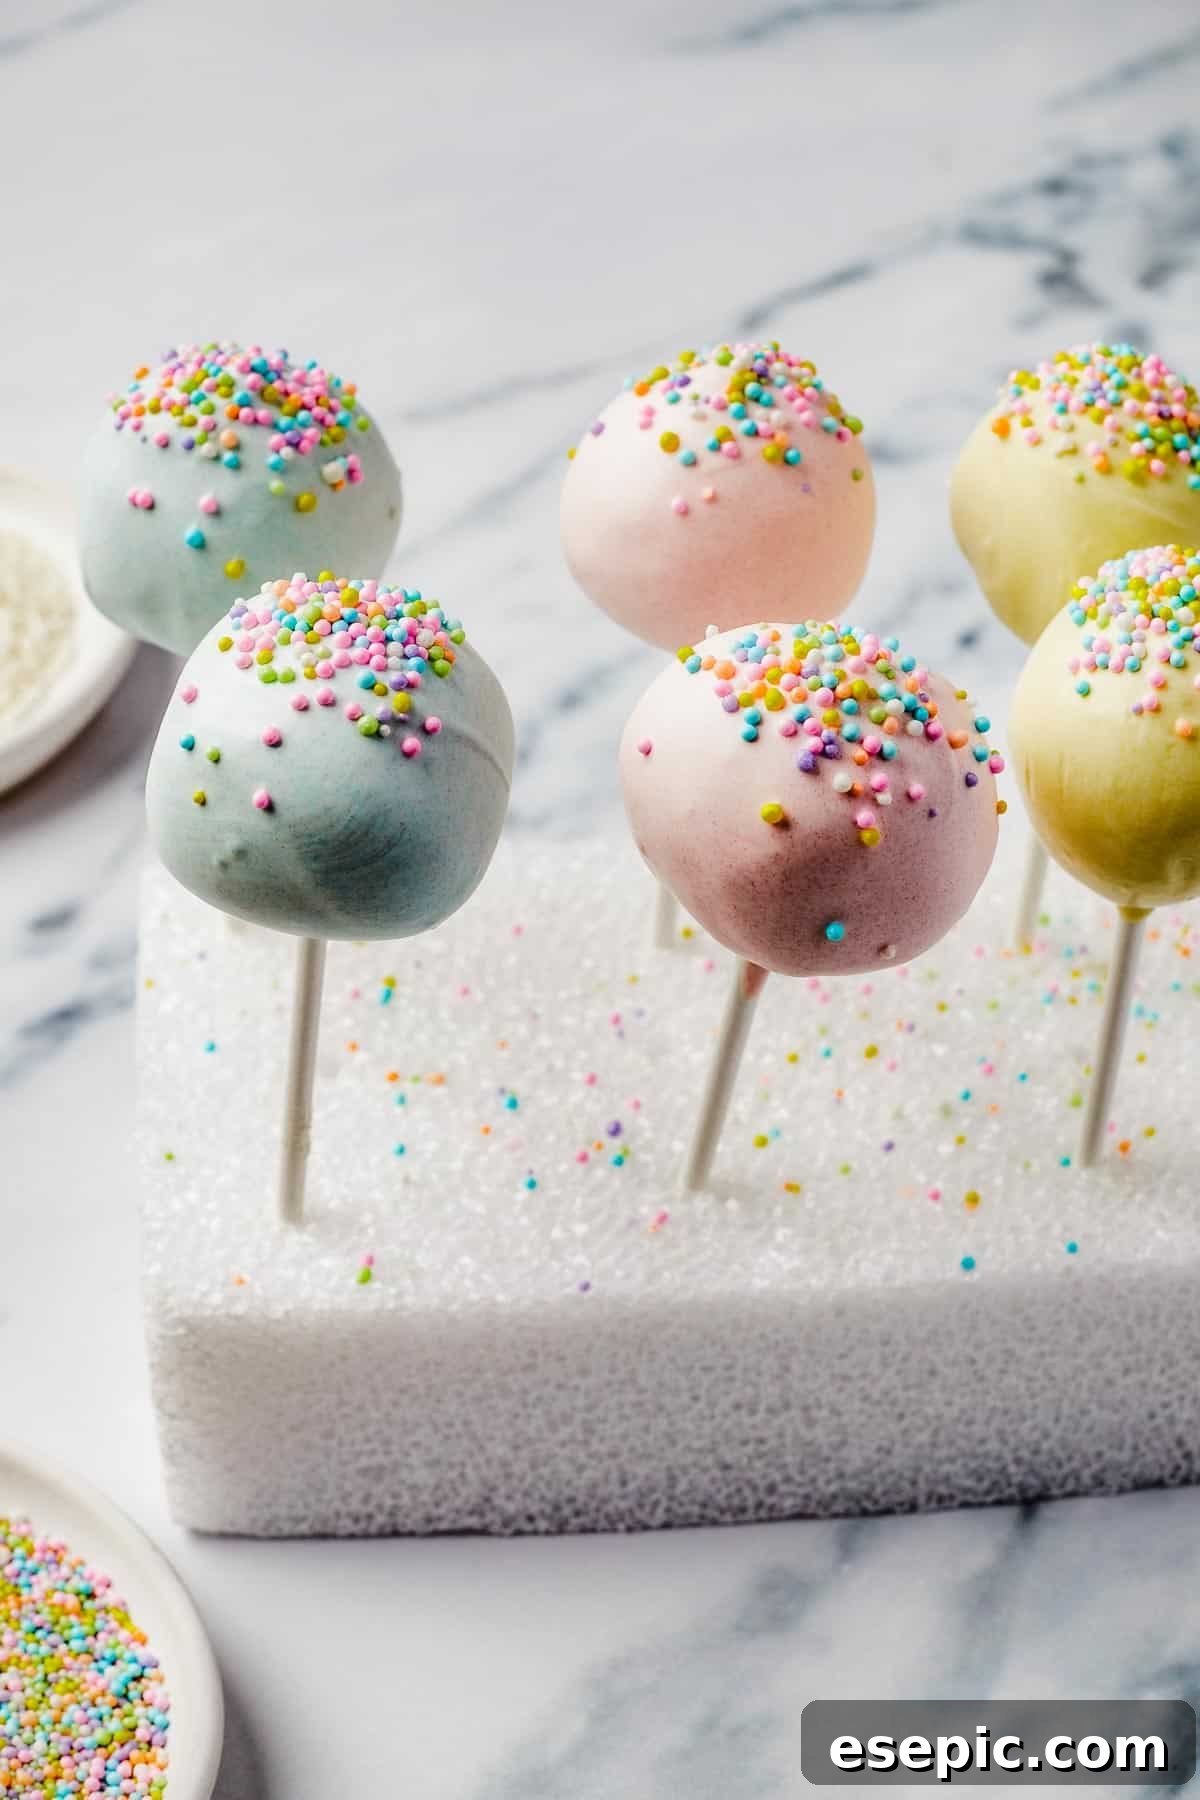
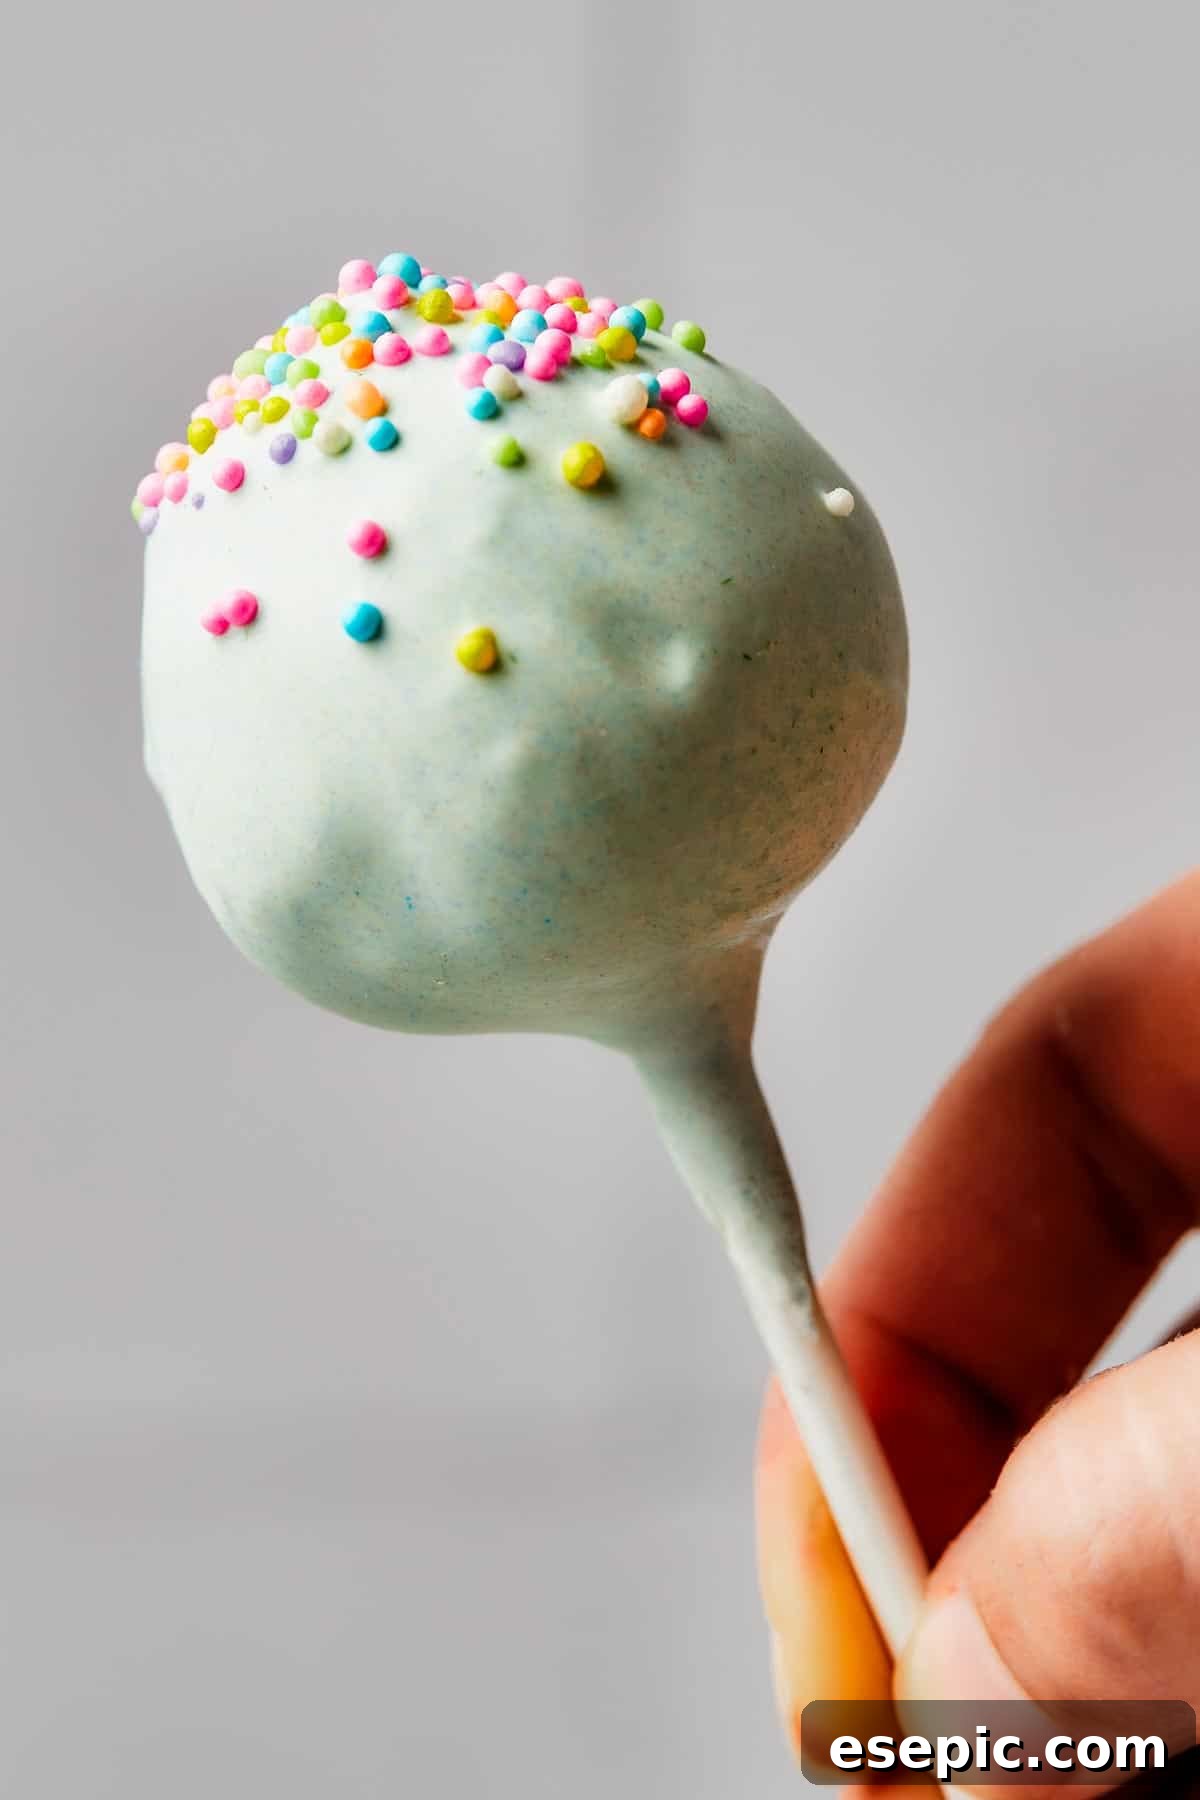
- Assemble and Decorate Your Cake Pops: Retrieve the firm cake pop balls from the freezer. To secure each ball onto its stick, dip the tip of a lollipop stick into the melted candy, then insert it about halfway into a cake ball. This candy acts as “glue.” Allow this “glue” to set for a few seconds. Then, holding the stick, carefully dip the entire cake ball into the melted candy, rotating gently to ensure a complete and even coating. Lift the pop out slowly, tapping the stick gently against the rim of your container to allow any excess candy to drip off. Work quickly but carefully. Before the candy coating sets (which happens rapidly), add your desired sprinkles or decorations. Finally, insert the lollipop stick of each finished cake pop upright into a styrofoam block or a similar holder (like an upside-down colander or egg carton) to allow the coating to fully set. Continue this process until all your cake pops are beautifully assembled and decorated.
Expert Tips and Tricks for Flawless Cake Pops
Making cake pops is a delightful process, and with a few insider tips, you can elevate your creations from good to absolutely spectacular. These pointers will help you navigate common challenges and achieve professional-looking results every time.
- Secure the Lollipop Sticks Properly: The most common issue with cake pops is the ball falling off the stick. To prevent this, dip the tip of each lollipop stick into the melted candy coating before inserting it about halfway into the chilled cake ball. Allow this “candy glue” to set for a minute or two. When you proceed to dip the entire cake pop, ensure the melted coating goes all the way up to where the stick meets the cake ball. This creates a strong, continuous seal, securely attaching the cake to the stick.
- Creative Styrofoam Replacements: Don’t have a styrofoam block? No problem! Many household items can serve as excellent holders for drying cake pops. An upside-down colander with small holes, an empty egg carton (poke holes in the bottom of each cup), a heavy cardboard box with holes poked into it, or even a glass filled with rice or sugar can provide stable support for your drying pops.
- Maintain Optimal Cake Ball Size: Resist the urge to make your cake balls too large. Oversized balls become too heavy for the lollipop sticks, increasing the likelihood of them detaching. Aim for balls approximately 1.5 to 1.75 inches in diameter, or about 2 tablespoons of mixture. This size is ideal for both stability and a perfect bite.
- Control Candy Melt Consistency and Temperature: The key to a smooth, even coating is properly melted candy. If your candy melts are too thick, they won’t coat smoothly; if too thin, they’ll drip excessively. To thin thick melts, add a very small amount of coconut oil or vegetable shortening (½ teaspoon at a time) and stir until the desired consistency is reached. Always melt in short intervals (15-30 seconds) in the microwave, stirring well after each, or use a double boiler to prevent scorching.
- Work with Chilled Cake Balls: Freezing the cake balls for at least an hour before dipping is critical. This firming process helps them maintain their shape and prevents them from crumbling or softening too quickly when they hit the warm candy coating.
- Tap, Don’t Shake: After dipping, gently tap the stick against the edge of your container to remove excess candy coating. Avoid vigorous shaking, which can cause the cake ball to slip or create air bubbles. A gentle tap and rotation ensure a smooth, uniform finish.
- Batch Work for Best Results: If you’re making a large batch, remove only a few cake balls from the freezer at a time. This keeps the remaining balls perfectly chilled, ensuring optimal dipping conditions and preventing them from becoming too soft.
Endless Possibilities: Easy Cake Pop Variations
One of the most exciting aspects of cake pops is their incredible versatility. Once you’ve mastered the basic technique, the possibilities for customization are truly limitless. Unleash your creativity with these inspiring variations:
- Experiment with Cake Flavors: While yellow cake offers a delightful classic taste, don’t limit yourself! Explore other boxed cake mixes or your favorite homemade recipes. Chocolate cake creates a rich, fudgy pop, while red velvet offers a striking color and unique flavor profile. Lemon cake provides a zesty, refreshing twist, and spice cake is perfect for autumnal themes. Consider pairing cake flavors with complementary coatings, like chocolate cake with white candy melts or a coconut cake with dark chocolate.
- Dazzling Topping Ideas: Sprinkles are a classic for a reason, but venture beyond! Crushed peppermint candies add a festive crunch for holidays, while finely crushed pretzels or potato chips offer an unexpected sweet-and-salty combination. Drizzle contrasting melted chocolate or caramel over the set candy coating for an elegant touch. Toasted coconut flakes, mini chocolate chips, edible glitter, finely chopped nuts (like pistachios or pecans), or even crushed sandwich cookies can transform the look and texture of your cake pops.
- Smart Frosting Shortcuts: For an even quicker preparation, pre-made frosting in a can is a convenient shortcut. While homemade frosting offers superior richness and flavor, canned frosting works perfectly well and saves time, especially when baking for a crowd. Just remember to add it gradually to the cake crumbs until the desired moldable consistency is achieved.
- Beyond the Ball: Creative Shapes: While spheres are traditional, consider using small cookie cutters to create themed cake pops. Hearts for Valentine’s Day, stars for patriotic events, or even small animal shapes can add a special touch. Just ensure your shapes are compact and sturdy enough to stay on the stick.
- Flavorful Candy Coatings: Expand your candy melt palette! Beyond basic white, there’s a vast array of colored and flavored candy melts available, from vibrant blues and pinks to chocolate, strawberry, and even mint. These can significantly impact the overall flavor profile of your cake pop.
- Holiday and Seasonal Themes: Cake pops are perfect for seasonal decorating. Use orange and black candy melts for Halloween, red and green for Christmas, or pastels for Easter. Shape them into pumpkins, snowmen, or bunnies for an extra festive flair.
Smart Storage and Freezing for Your Cake Pops
Proper storage ensures your delightful cake pops remain fresh, moist, and delicious for as long as possible, allowing you to enjoy them over several days or even prepare them well in advance for special events.
- Refrigeration for Freshness: To keep your cake pops at their best, arrange them in an airtight container. If stacking layers, place a sheet of parchment paper or wax paper between each layer to prevent sticking and preserve their pristine decoration. Stored in the refrigerator, these cake pops will remain wonderfully fresh and moist for up to 5-7 days. Allow them to come to room temperature for about 15-20 minutes before serving for the best flavor and texture.
- Freezing for Long-Term Enjoyment: Cake pops are excellent candidates for freezing, making them a fantastic make-ahead dessert. To freeze, first wrap each individual cake pop securely in plastic wrap. This prevents freezer burn and protects the delicate candy coating. Once wrapped, place the individually protected cake pops into a freezer-safe plastic bag or an airtight container. They will maintain their quality in the freezer for up to 6 months. When you’re ready to enjoy them, simply transfer them to the refrigerator overnight to thaw, or let them sit at room temperature for a couple of hours.
Easy Cake Pops
by Katerina | Easy Weeknight Recipes
These delectable Cake Pops are a fun and pretty twist on ordinary cake and frosting. Made easily with yellow cake mix and candy melts, they’re moist, light, and flavorful!
Prep Time: 30 minutes
Cook Time: 35 minutes
Total Time: 1 hour 15 minutes
Servings: 24
Ingredients
For the Cake
- 1 box (16 ounces) yellow cake mix
- 1 cup water
- ½ cup vegetable oil
- 3 eggs
For the Frosting
- 1 stick (8 tablespoons) unsalted butter, softened to room temperature
- 2 cups powdered sugar
- 2 tablespoons heavy whipping cream
- 1 teaspoon vanilla extract
- ⅛ teaspoon salt
For Assembly
- 24 ounces white candy melts
- Food coloring, optional
- Sprinkles, optional
- Lollipop sticks
- Styrofoam block, for holding the cake pops while decorating
Instructions
Make the Cake
- Preheat your oven to 350˚F (175˚C).
- In a large bowl, combine the cake mix, water, oil, and eggs. Mix until smooth.
- Pour the batter into a greased 13×9 inch cake pan and bake according to package directions.
- Allow the cake to cool completely on a wire rack. Then, crumble the cake into a large bowl using your hands and set aside.
Make the Frosting
- In a stand mixer fitted with a paddle attachment (or using a hand mixer), beat the softened butter on medium speed until it becomes light and fluffy (2-3 minutes).
- Gradually add the powdered sugar, heavy whipping cream, vanilla, and salt. Beat on medium speed until the frosting is smooth and creamy.
- Add the prepared frosting to the crumbled cake, starting with about ½ cup. Mix until evenly incorporated into a soft, moldable dough. Add more frosting, a tablespoon at a time, if needed.
Assemble the Cake Pops
- Scoop 2 tablespoons of the cake mixture and roll into firm, uniform balls. Place them on a parchment-lined baking tray or plate. Continue until all dough is used. Place the cake balls in the freezer for at least one hour to firm up.
- Right before removing the cake balls from the freezer, melt the candy melts according to package directions (microwave in short bursts or use a double boiler) and pour them into a deep, tall container (a tall glass or jar works well).
- Optionally, stir gel food coloring into the candy melt to achieve your desired color.
- Remove cake balls from the freezer. To assemble, dip the tip of a lollipop stick into the melted candy and insert it halfway into a cake ball. This helps secure the ball. Dip the cake ball into the candy melt, ensuring the part where the stick is inserted into the cake ball is completely covered. Gently rotate the cake ball and tap the stick against the cup’s rim to allow any excess candy melt to drip back into the cup.
- Optionally, add sprinkles or other decorations immediately, before the candy melt coating sets (it sets quickly).
- Place the stick upright into a styrofoam block or alternative holder.
- Continue until all cake balls are coated and decorated. Allow them to set completely before serving or storing.
Nutrition Information (Estimated)
- Calories: 217kcal
- Carbohydrates: 33g
- Protein: 1g
- Fat: 9g
- Saturated Fat: 6g
- Polyunsaturated Fat: 1g
- Monounsaturated Fat: 1g
- Trans Fat: 1g
- Cholesterol: 32mg
- Sodium: 172mg
- Potassium: 19mg
- Fiber: 1g
- Sugar: 26g
- Vitamin A: 165IU
- Vitamin C: 1mg
- Calcium: 45mg
- Iron: 1mg
Nutritional info is an estimate and provided as a courtesy. Values may vary according to the specific ingredients and tools used. Please use your preferred nutritional calculator for more detailed info.
More Tasty Desserts to Explore!
- Churros with Chocolate Dipping Sauce
- Hot Chocolate Sugar Cookies
- Chocolate Mug Cake