
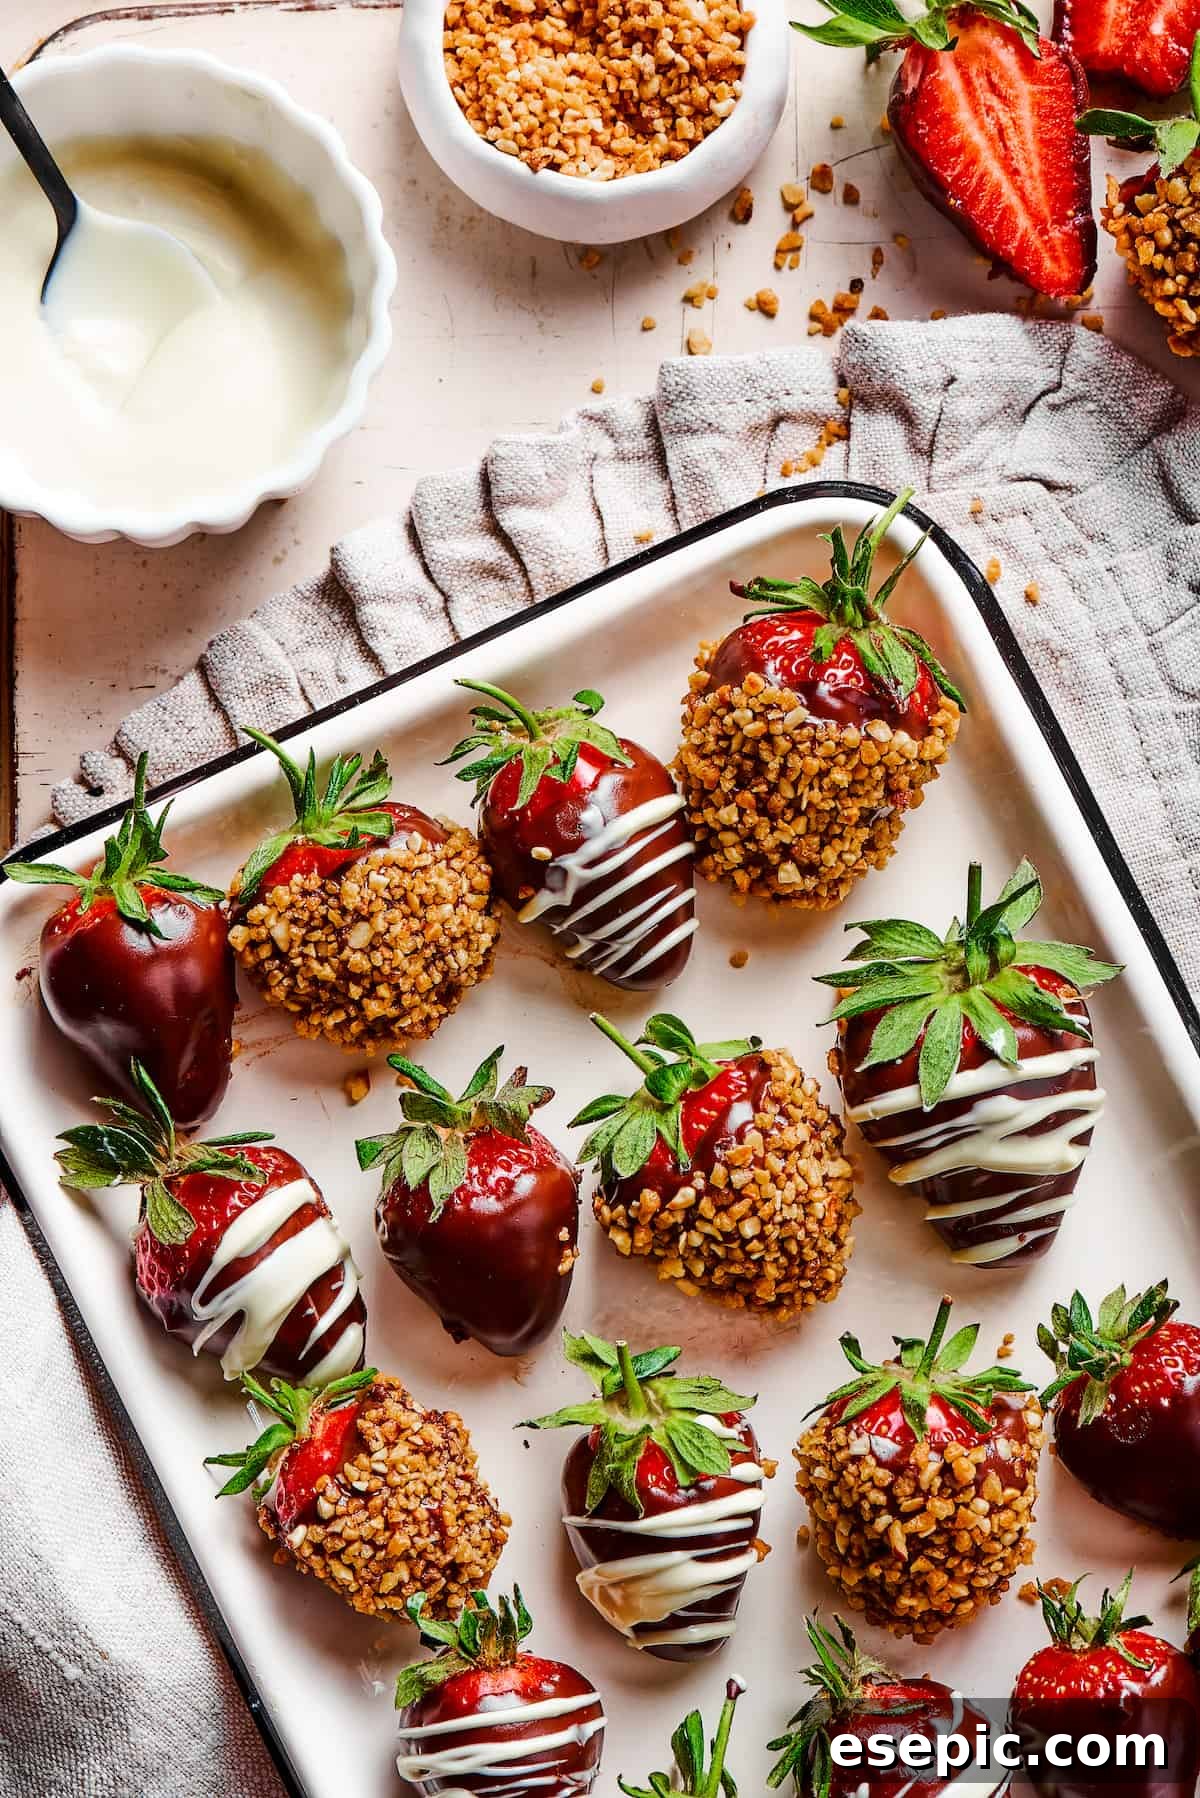
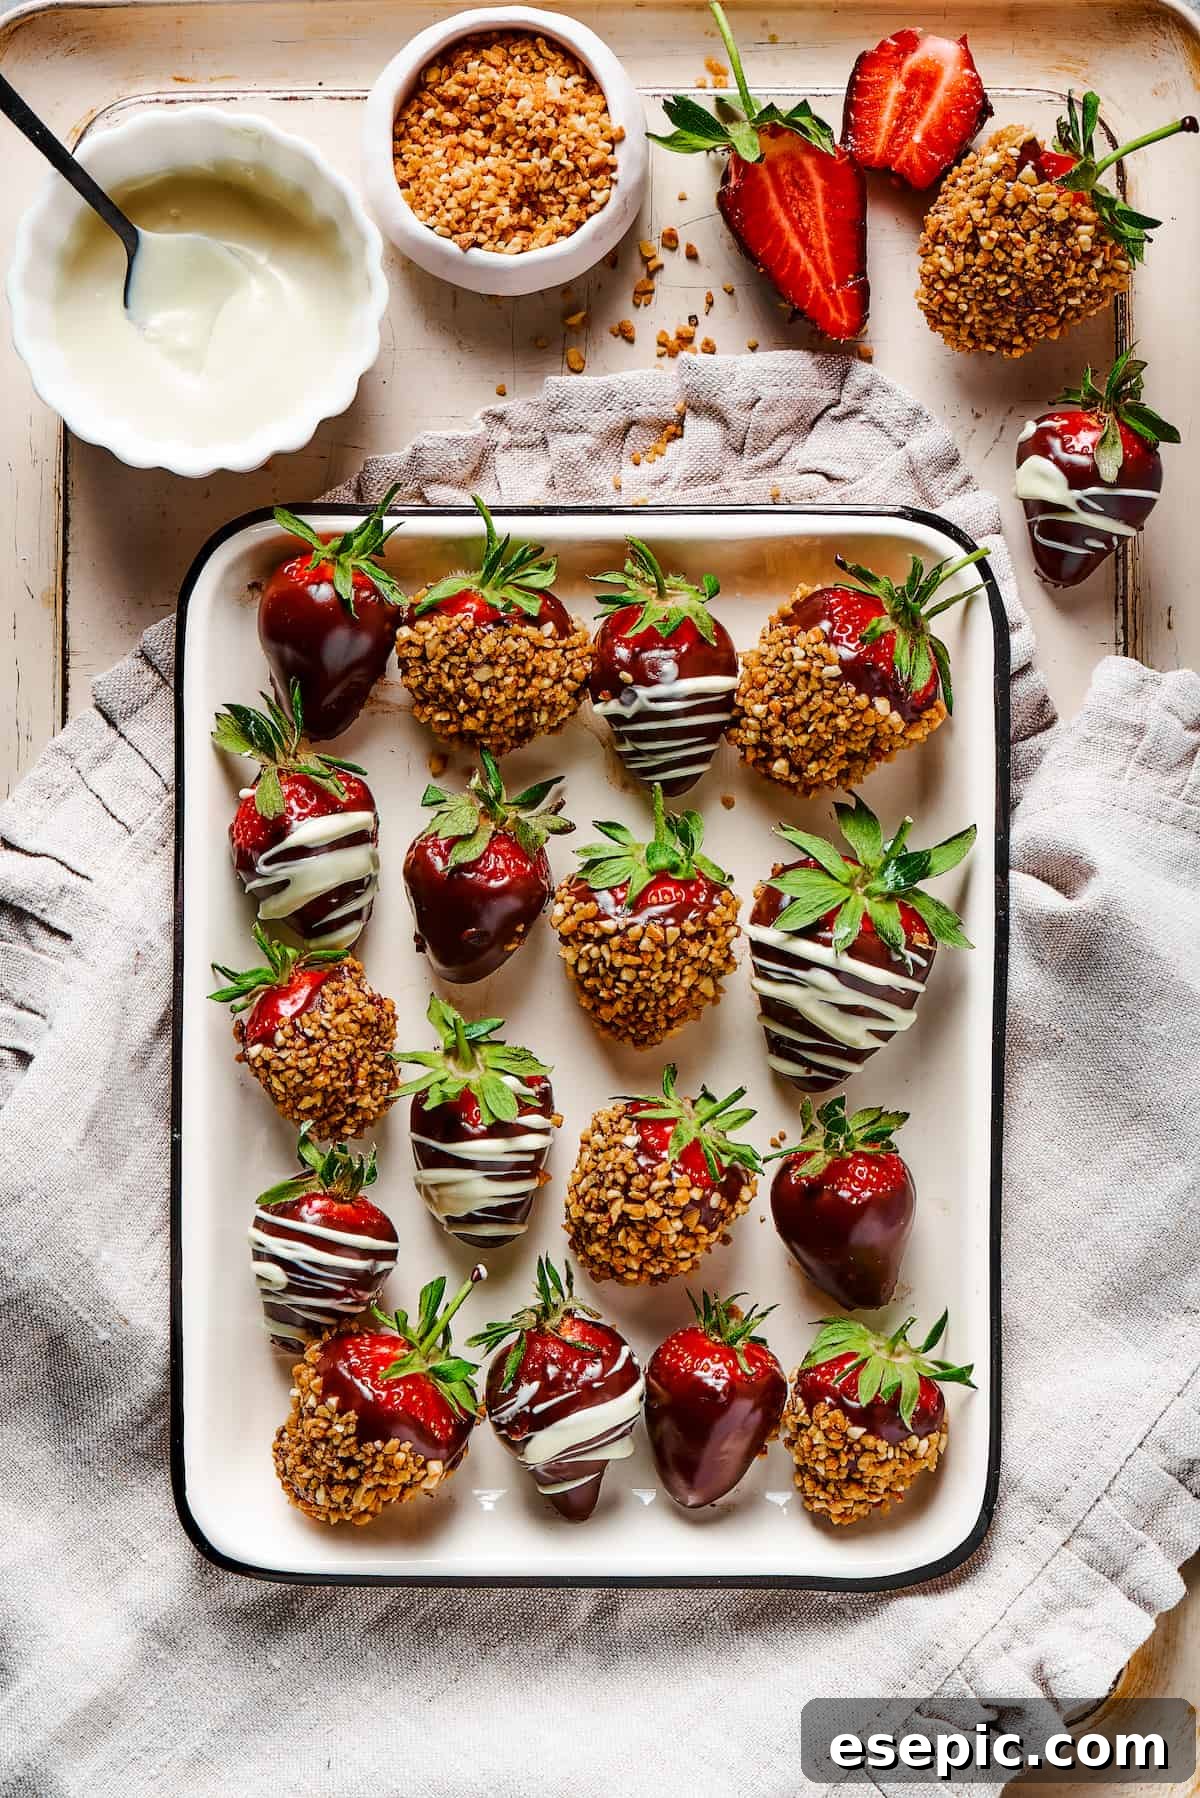
Chocolate Covered Strawberries are an undeniable classic, a timeless symbol of romance, elegance, and pure indulgence. Imagine plump, ruby-red strawberries, perfectly ripe and juicy, generously coated in a decadent layer of rich, melted chocolate. Each one is then artfully adorned with a delicate white chocolate drizzle or a sprinkle of finely chopped, toasted hazelnuts, creating a visual and textural masterpiece that’s as delightful to behold as it is to taste.
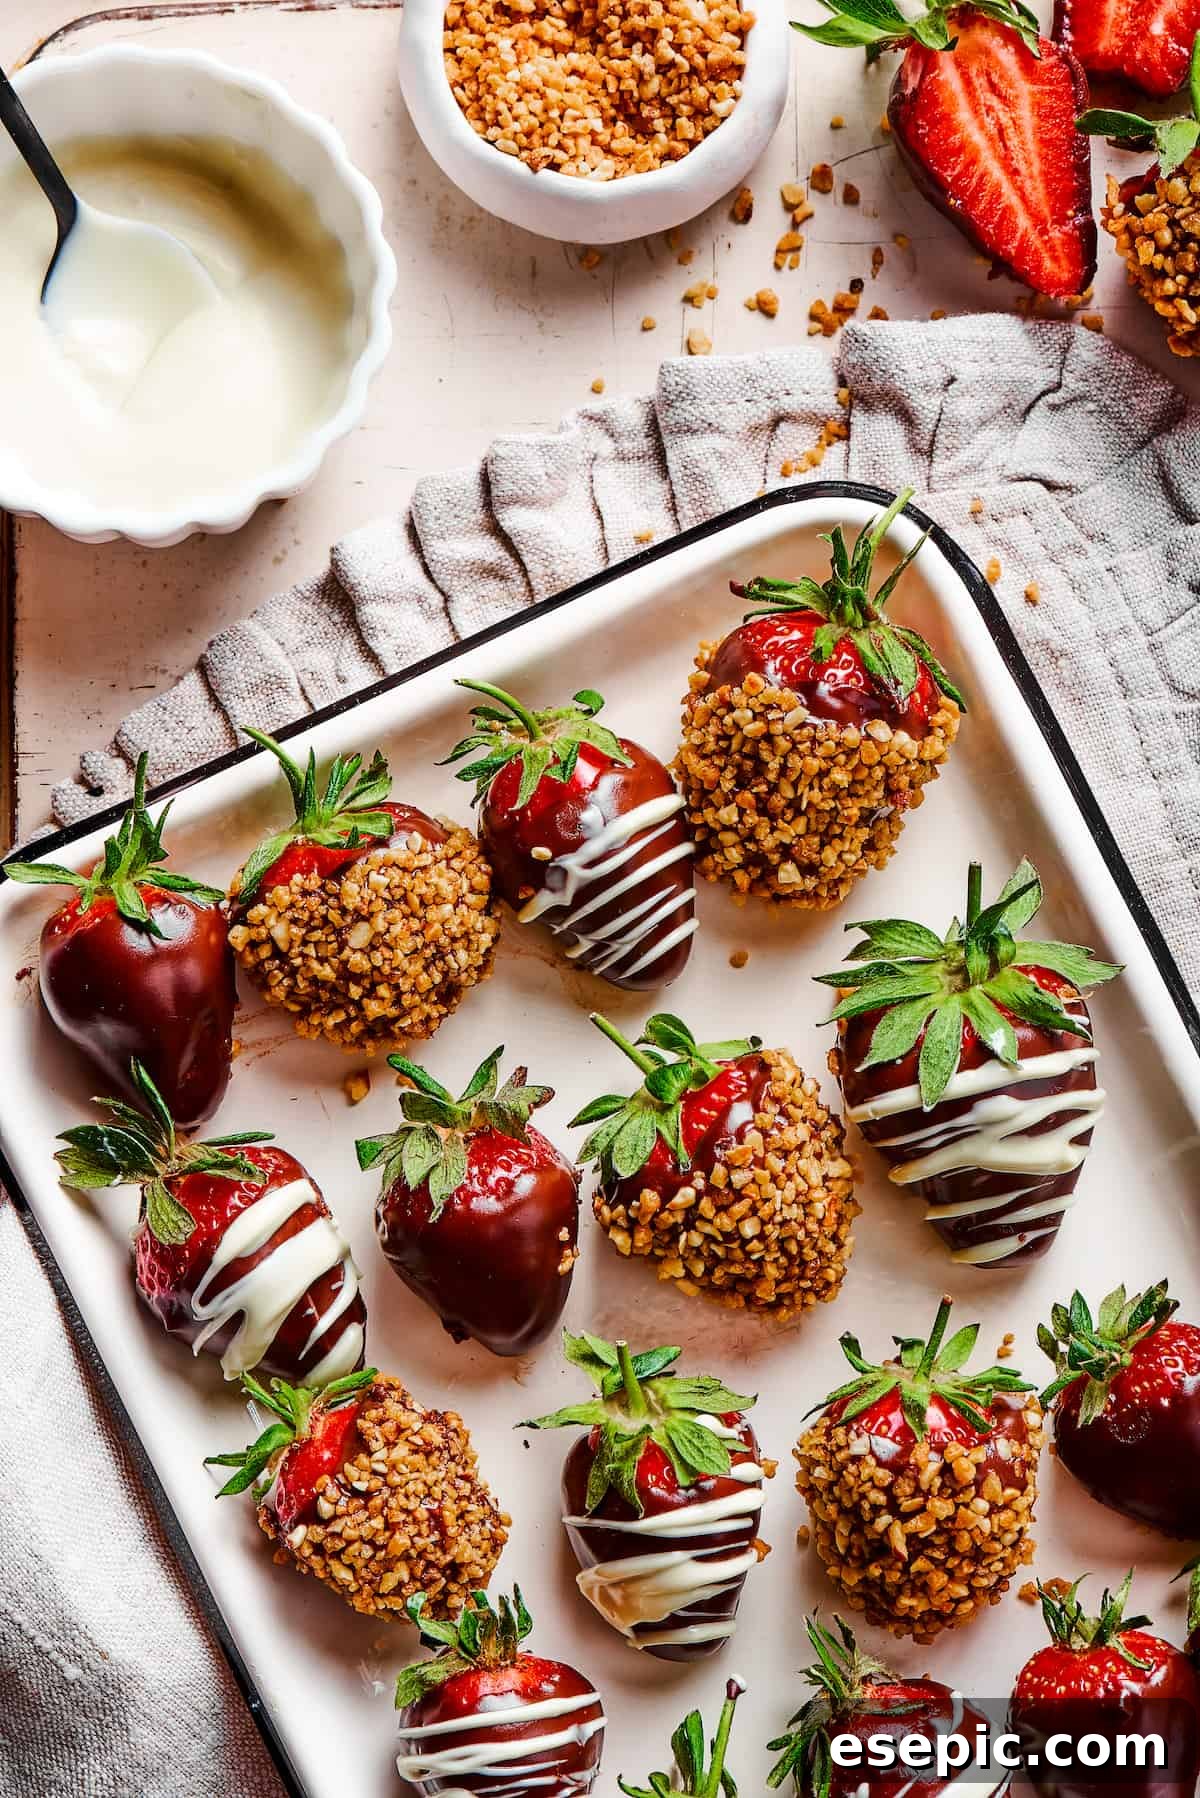
If you’ve been searching for a sophisticated treat that genuinely takes minimal effort to prepare, then this easy chocolate-covered strawberries recipe is your ultimate answer. There’s truly nothing quite like the experience of biting into a fresh, succulent strawberry, its natural sweetness perfectly complemented by the luxurious embrace of real, melted chocolate. These exquisite confections are not just desserts; they are edible declarations of affection, making them absolutely ideal for romantic celebrations such as Valentine’s Day, anniversaries, or even as a dazzling finale to a birthday dinner. Beyond their romantic allure, their universal appeal makes them a fantastic option for a chic afternoon snack, a charming addition to a garden tea party, or even a delightful surprise for kids who appreciate a touch of gourmet.
Why Homemade Chocolate Covered Strawberries are the Best
While store-bought chocolate-covered strawberries offer convenience, crafting them at home elevates the experience significantly. Making them yourself provides unparalleled freshness, ensuring each strawberry is at its peak ripeness and juiciness. You also gain complete control over the quality of your ingredients, allowing you to select premium chocolates and the freshest organic strawberries available. This level of customization extends to your choice of chocolate — from intensely dark to creamy milk or vibrant ruby chocolate — and an endless array of toppings. Beyond the superior taste, the process itself is a fun, engaging activity, perfect for sharing with a loved one or enjoying as a relaxing solo culinary project. Plus, it’s often far more cost-effective to prepare a large batch at home than to purchase them from a gourmet shop, especially when you desire a generous quantity for an event.
Ingredients You’ll Need for Perfection
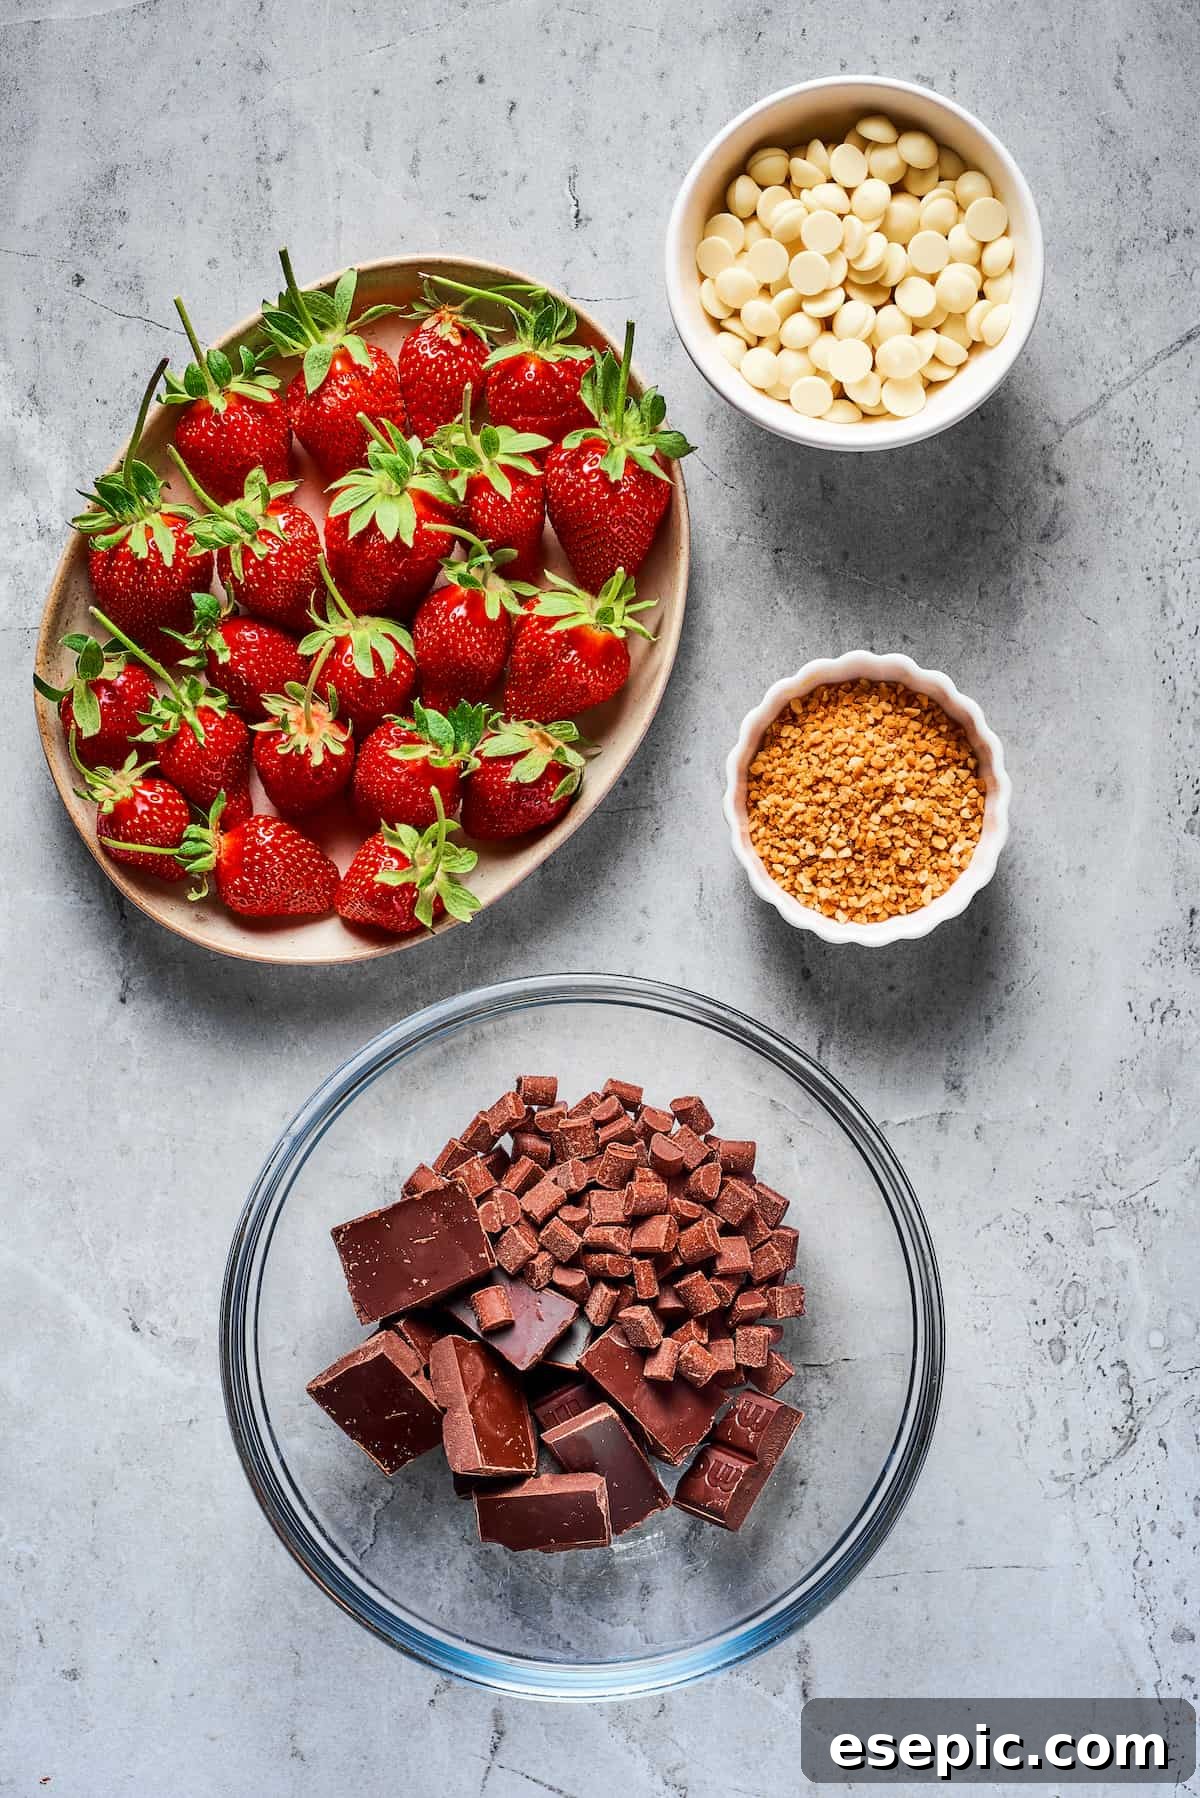
Creating these delightful treats requires just a few simple, high-quality ingredients. The key is to select the best you can find, as each component truly shines.
- Fresh Strawberries: Choose ripe, firm strawberries with vibrant red color and intact green stems and leaves. Leaving the stems on is crucial, as they provide a natural handle for easy dipping and a beautiful aesthetic finish. Ensure they are free from blemishes or soft spots for the best results.
- Quality Chocolate: The type of chocolate you choose significantly impacts the flavor. A blend of semisweet chocolate and milk chocolate offers a balanced sweetness and depth, appealing to most palates. For a richer flavor, opt for dark chocolate with a higher cocoa percentage. White chocolate is also essential for decorative drizzles. Look for couverture chocolate or good quality baking bars/chips for superior melting and setting.
- A Pinch of Salt: Just a tiny amount of fine sea salt added to your melted chocolate can miraculously enhance its flavor, balancing the sweetness and deepening the cocoa notes. It’s a subtle touch that makes a big difference.
- Optional Toppings: This is where you can unleash your creativity!
- White Chocolate: Primarily for elegant drizzles, it provides a beautiful contrast in both color and taste.
- Roasted Hazelnuts: Finely chopped and toasted, they add a delightful crunch and nutty flavor. Almonds, pistachios, or pecans can also be used.
- Other Creative Toppings: Consider sprinkles, shredded coconut, crushed cookies (like Oreos or Graham crackers), mini chocolate chips, edible glitter, or even a dash of chili powder for an adventurous twist.
Step-by-Step Guide: Crafting Your Own Chocolate Covered Strawberries
The secret to perfect chocolate-covered strawberries lies in meticulous preparation and proper chocolate handling. Follow these steps for consistently gorgeous and delicious results.
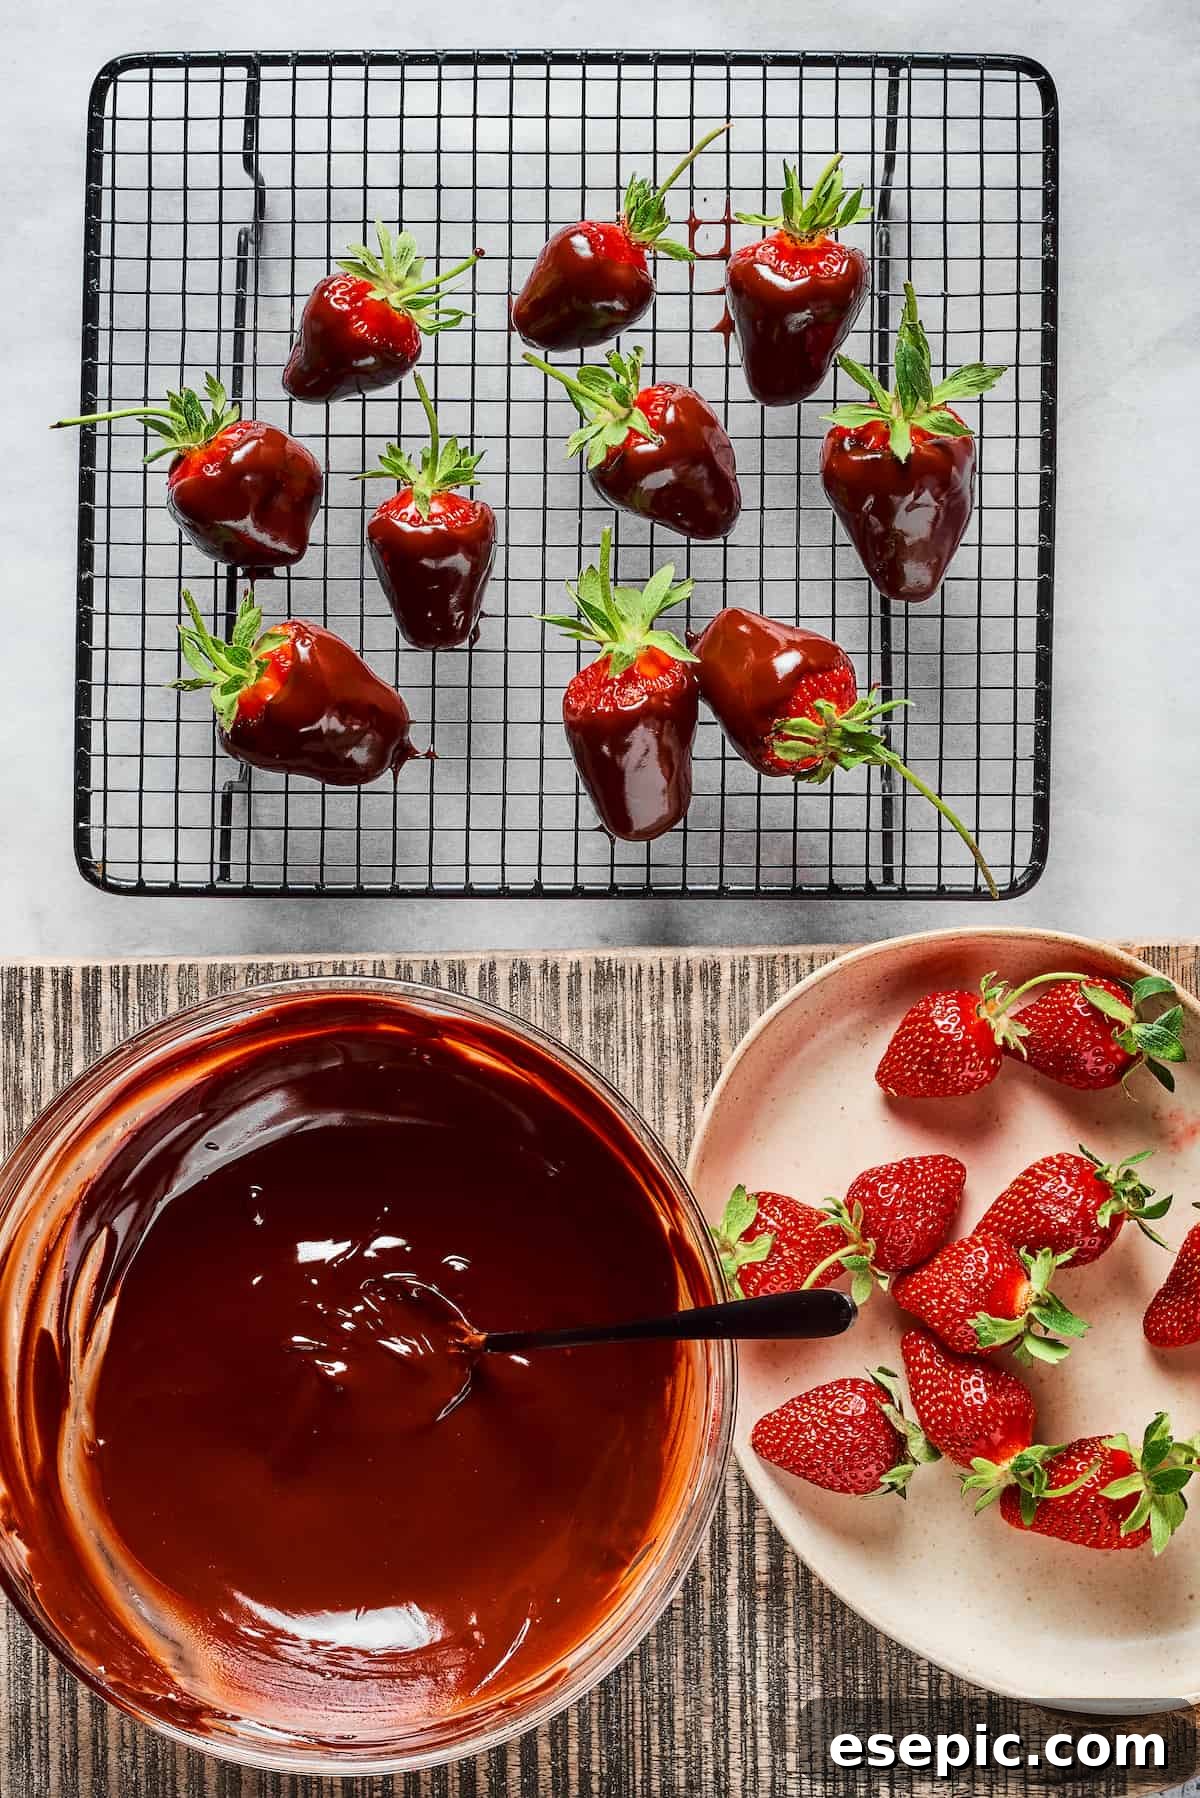
- Prepare the Strawberries: Gently wash your fresh strawberries under cool, running water. It’s crucial to handle them delicately to prevent bruising. After washing, and this is perhaps the most critical step, thoroughly dry each individual strawberry with a paper towel. Any lingering moisture will cause the chocolate to seize or not adhere properly, leading to a lumpy, unattractive coating. Ensure they are completely dry before proceeding.
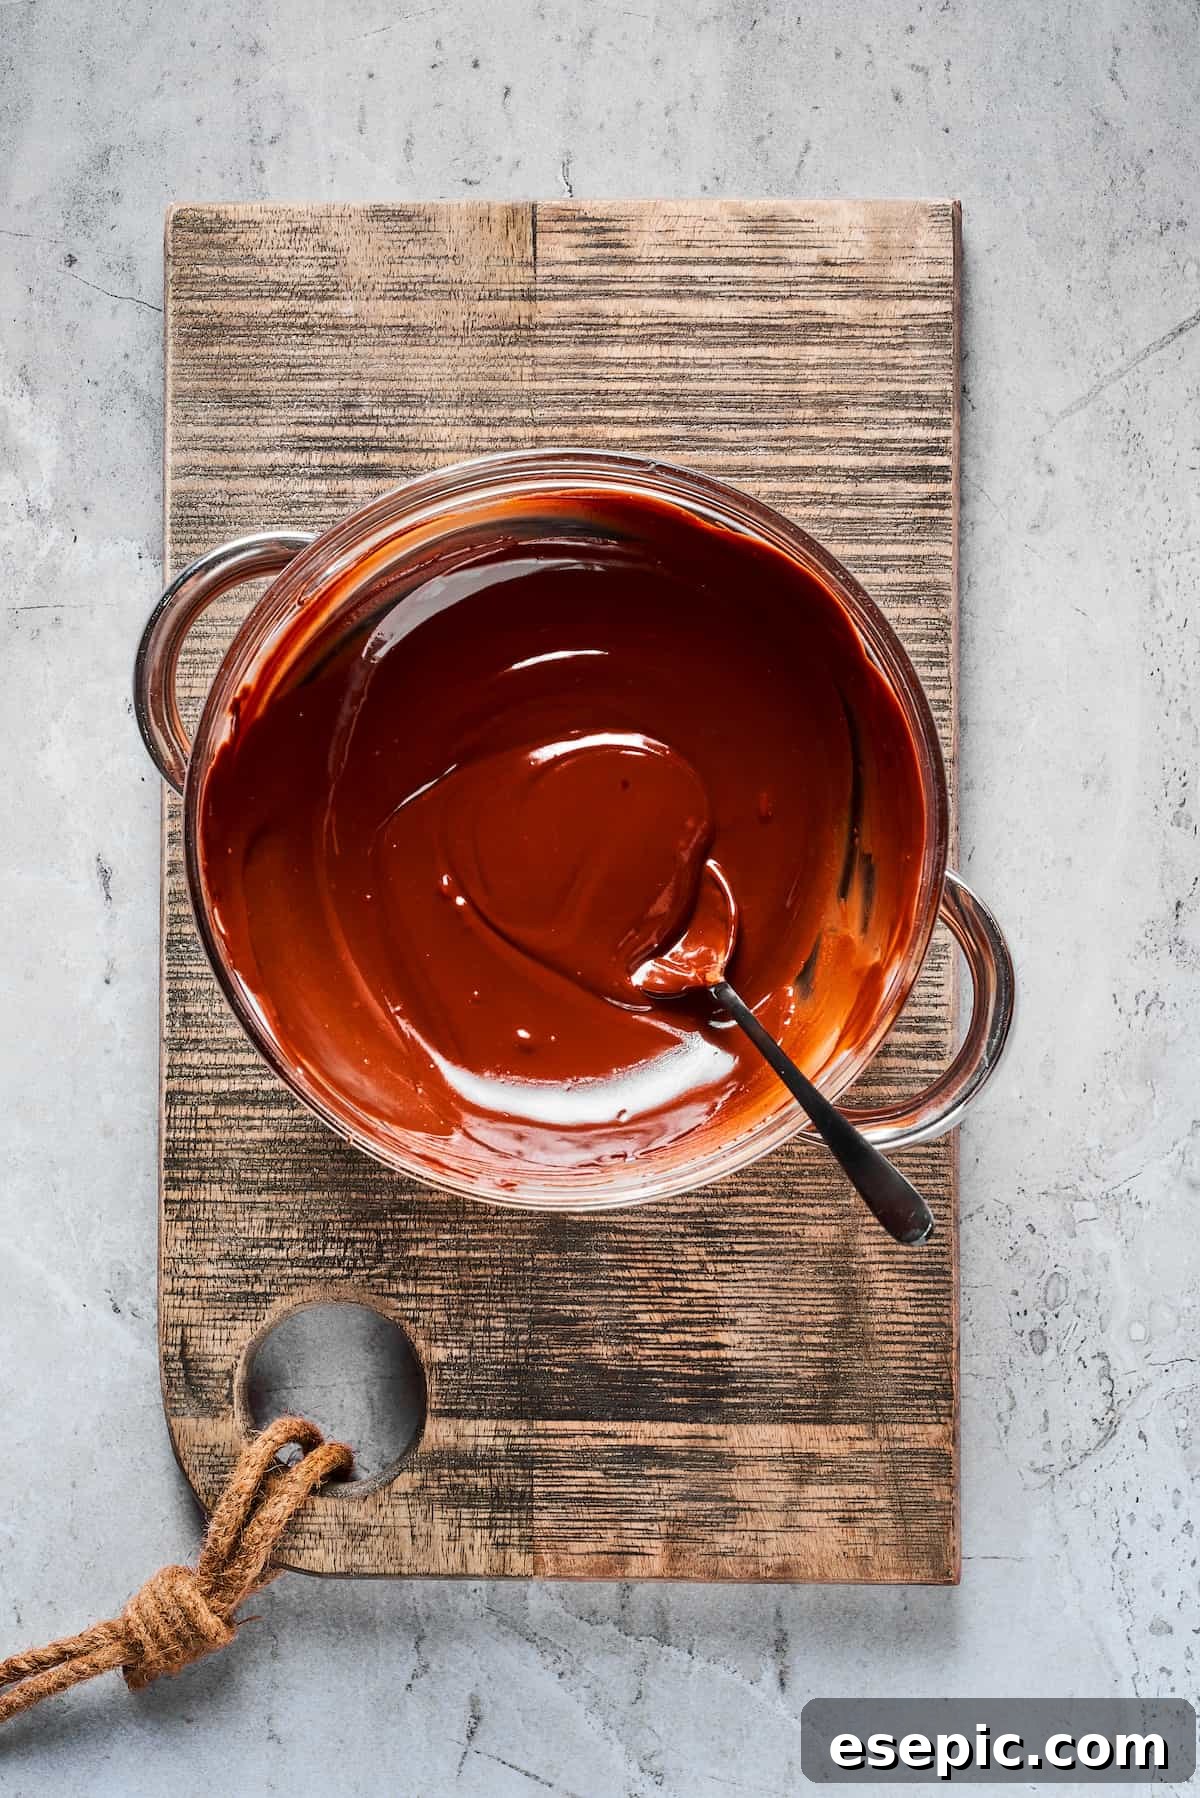
- Melt the Chocolate: Combine your chosen blend of milk chocolate and semisweet chocolate chips, along with a tiny pinch of salt, in a heat-resistant bowl. You have two primary methods for melting:
- Double Boiler Method: Place the bowl over a saucepan containing about an inch or two of simmering water (ensure the bottom of the bowl does not touch the water). Stir continuously until the chocolate is smooth, glossy, and completely melted. This gentle heat method helps prevent scorching.
- Microwave Method: Heat the chocolate in 15-20 second bursts, stirring thoroughly after each interval. Chocolate retains its shape even when melted internally, so consistent stirring is key to achieving a smooth consistency without overheating. Stop heating just as a few small lumps remain, and continue stirring; the residual heat will melt them.
In a separate, smaller dish, melt your white chocolate using the same preferred method. This prevents cross-contamination of colors and flavors.
- Dip the Strawberries: Hold one strawberry at a time by its green leaves or stem. If the stem is too short or fragile, you can carefully insert a toothpick into the stem end to create a handle. Dip the strawberry into the bowl of melted dark or milk chocolate, rotating it gently to ensure an even, generous coating on all sides. Avoid dipping past the green leaves if possible for a cleaner look.
- Allow Excess Chocolate to Drip: Lift the coated strawberry out of the chocolate and hold it over the bowl for a few seconds, allowing any excess chocolate to drip back down. You can gently shake or tap the wrist holding the strawberry to encourage dripping and achieve a smoother, thinner coating.
- Set the First Layer: Carefully place each dipped strawberry onto a wire rack set over a sheet of parchment paper or wax paper. This allows air to circulate, helping the chocolate set evenly without sticking. Repeat this process with all remaining strawberries. Allow them to set for about 10-15 minutes at room temperature before adding toppings.
- Add Toppings (as Desired): Once the primary chocolate layer has begun to set (it shouldn’t be sticky to the touch), it’s time for decoration.
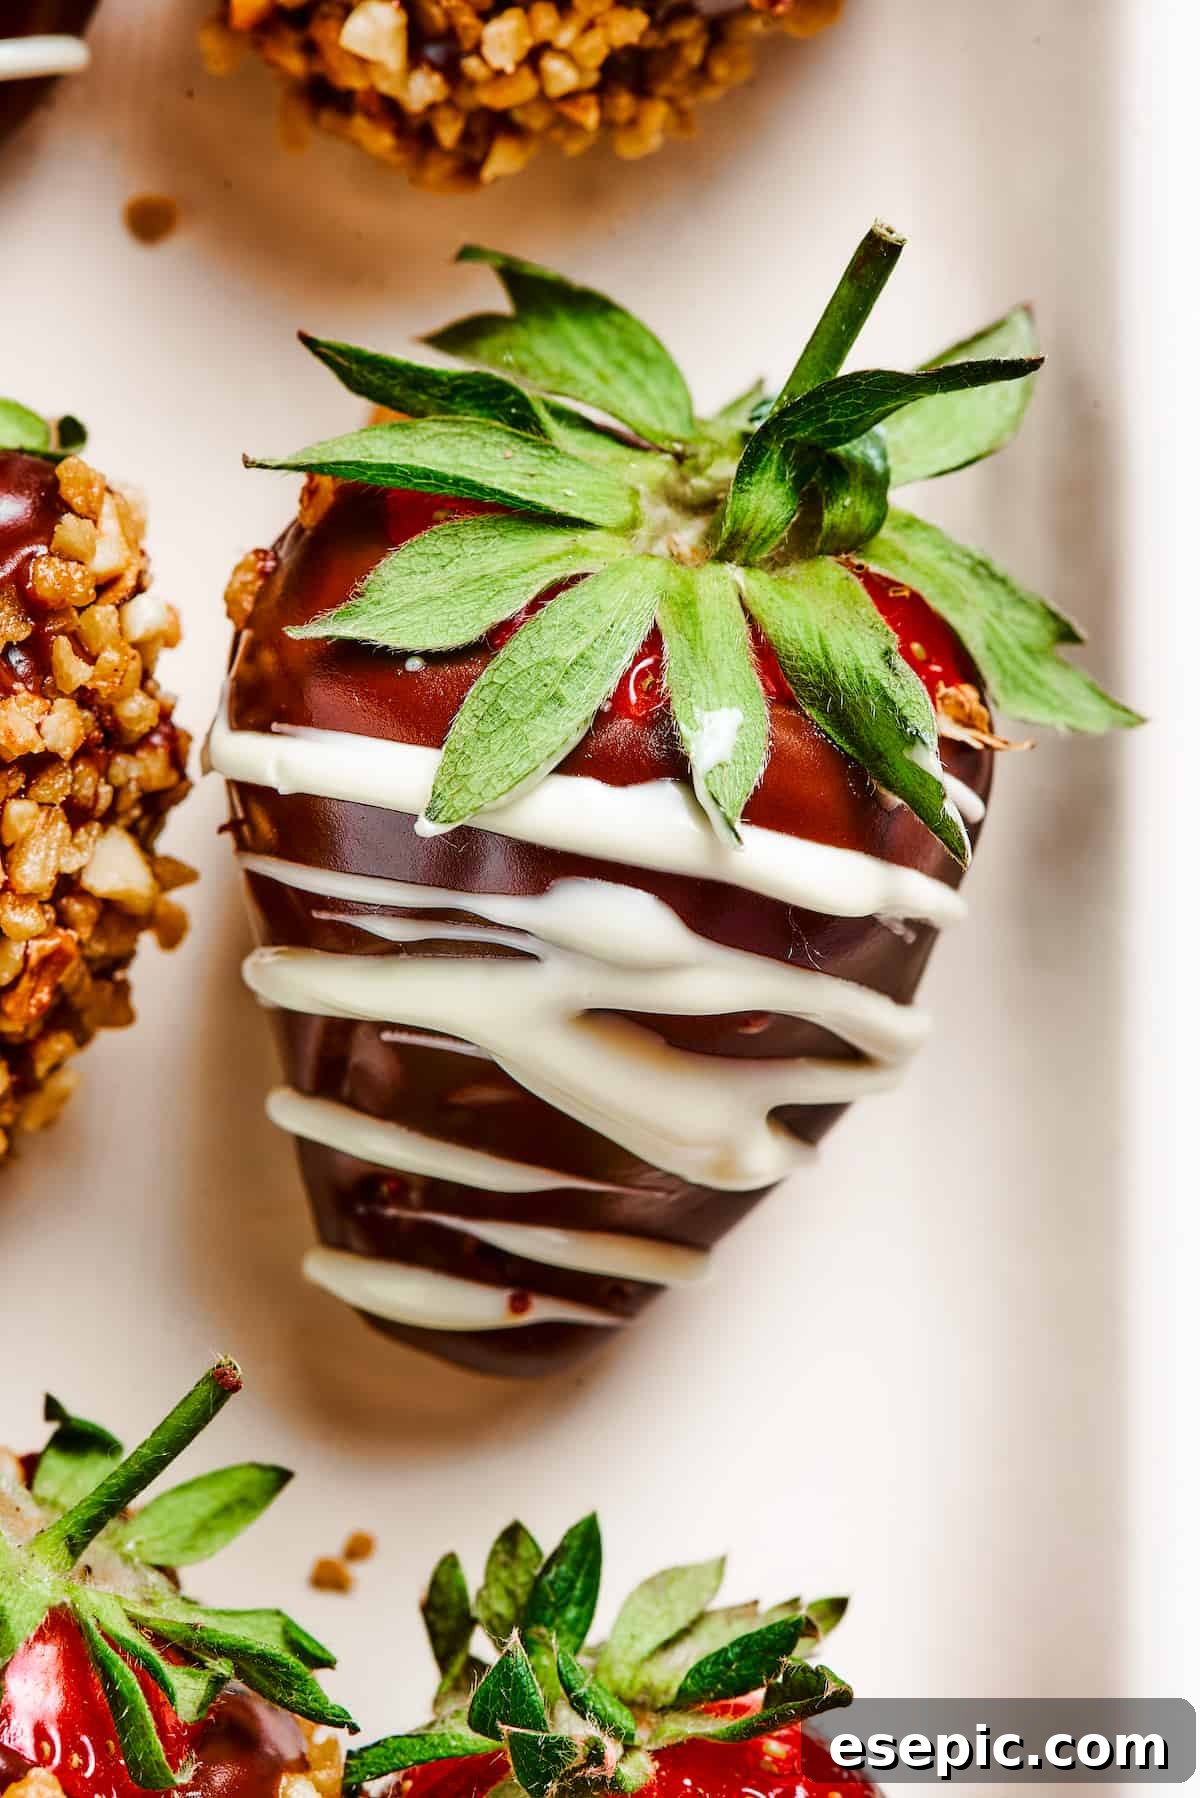
- White Chocolate Drizzle: Dip a fork into the melted white chocolate and move it back and forth over the strawberries, creating elegant zig-zag patterns. For more intricate designs, spoon the melted white chocolate into a small plastic baggie, snip off a tiny corner, and pipe designs.
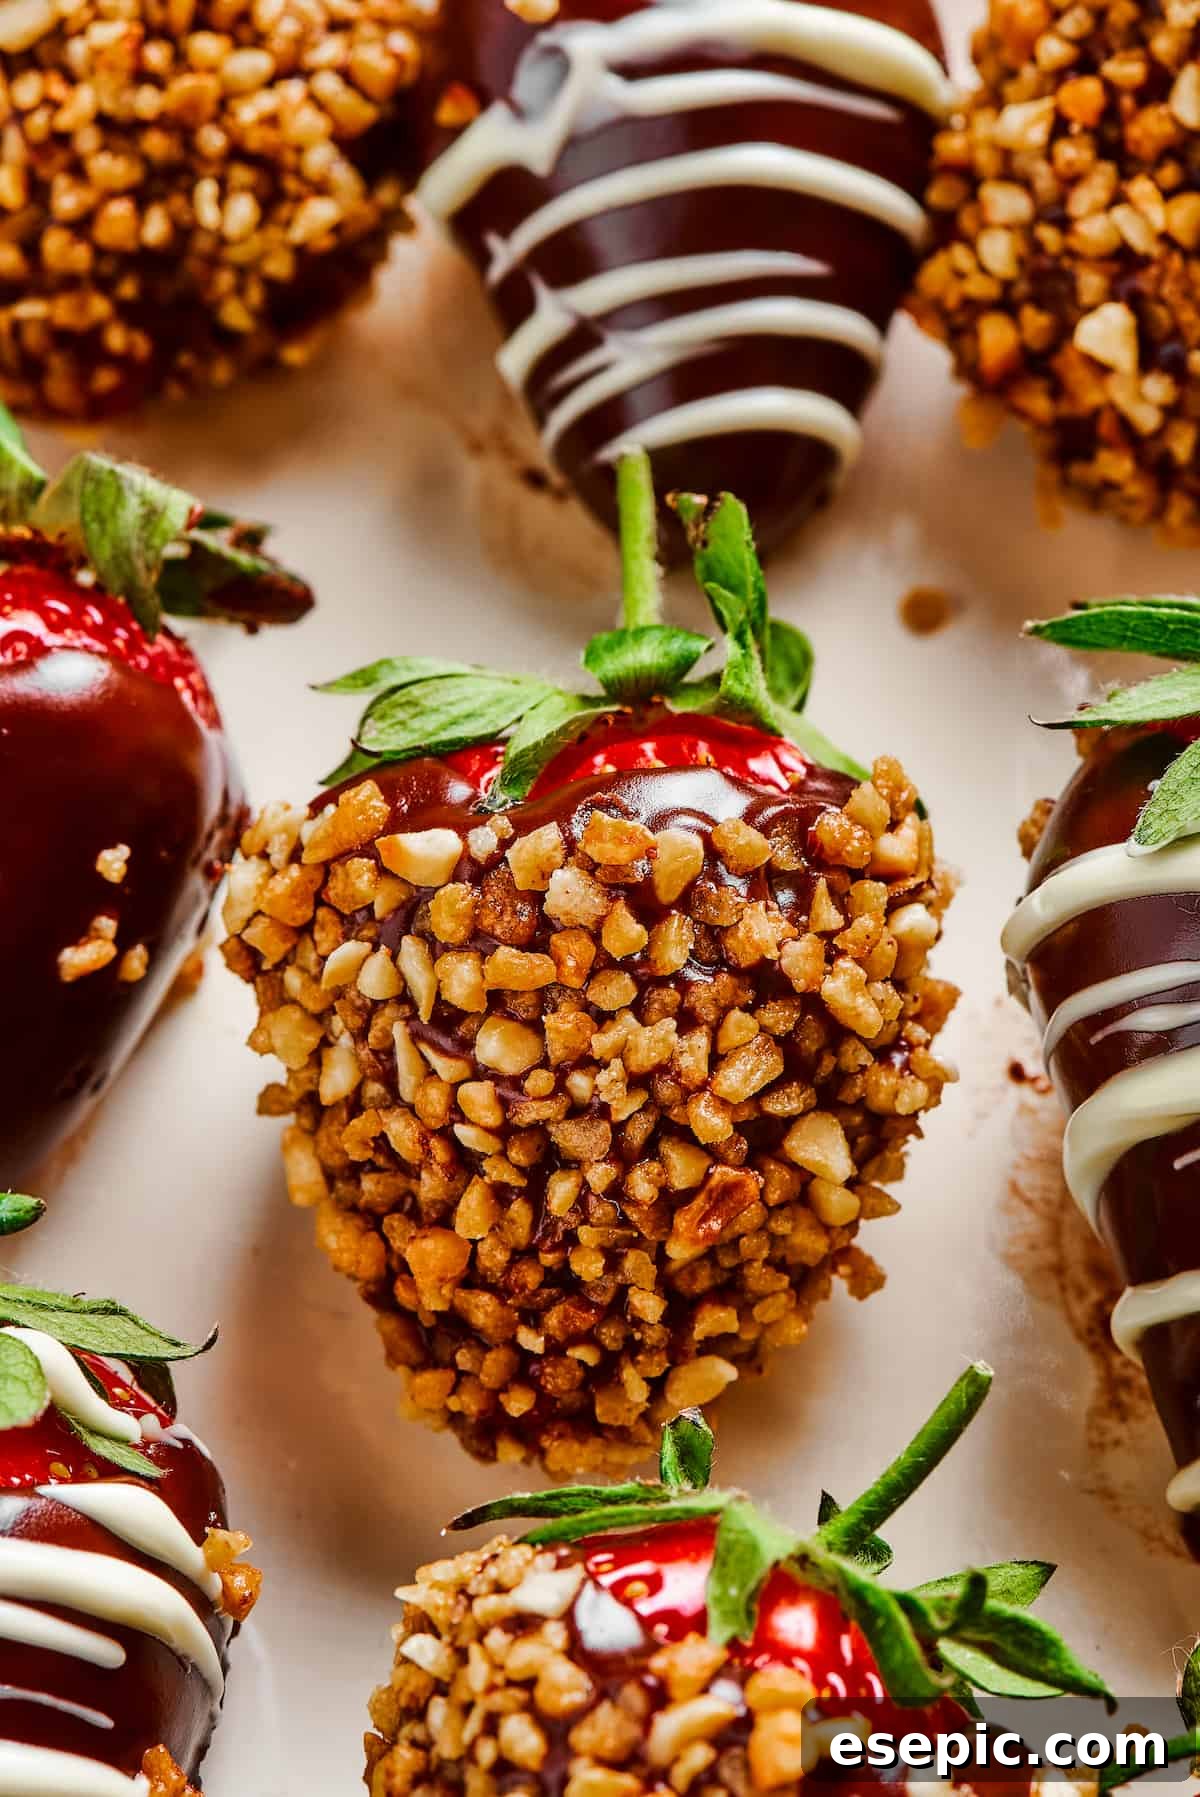
- Nut Coating: For strawberries coated in nuts, gently roll the still-slightly-tacky chocolate-covered strawberry in a bowl of finely chopped, toasted hazelnuts (or your chosen nuts). Ensure an even coating.
- Final Rest: After all toppings are applied, let the strawberries rest on the wire rack at room temperature for at least 1-2 hours to allow the chocolate to firm up completely. For faster setting, you may briefly place them in the refrigerator, but bring them back to room temperature before serving for the best flavor and texture.
Expert Tips and Creative Variations
Elevate your chocolate-covered strawberries with these clever tips and imaginative variations:
- The Art of the Drizzle and Beyond: Don’t limit yourself to simple fork drizzles. For more precise or elaborate designs, transfer your melted white (or contrasting colored) chocolate into a small plastic baggie. Snip off a tiny corner, no larger than a sesame seed, to create a fine piping tool. This allows you to “pipe” intricate patterns, write initials, draw hearts, or create delicate spiderweb designs for an extra touch of sophistication. Ensure the chocolate isn’t too hot to handle safely.
- Double the Indulgence with a Double Dip: If you’re a true chocolate lover, a single layer might not be enough! Allow the first layer of chocolate to set completely on the strawberries before dipping them a second time. This creates a thicker, more satisfying chocolate shell and adds an extra layer of decadence. You might need a bit more chocolate than the recipe suggests if you opt for this luxurious technique.
- Unleash Your Topping Creativity: The possibilities for toppings are virtually endless!
- Nuts: Beyond hazelnuts, consider finely chopped pistachios, pecans, walnuts, or even macadamia nuts for different flavor profiles. Lightly toast them beforehand to enhance their aroma and crunch.
- Sweet Sprinkles: From classic rainbow sprinkles to elegant gold or silver edible glitter, these are perfect for celebrations and themed parties.
- Coconut: Toasted or plain shredded coconut adds a tropical twist and appealing texture.
- Crushed Treats: Transform your favorite cookies or candy bars into toppings. Crushed Oreos, Graham crackers, Heath bars, or Twix pieces add a unique crunch and flavor. For candy bars, freeze them briefly before chopping for easier, cleaner cuts.
- Sea Salt: A sprinkle of flaky sea salt can beautifully enhance the chocolate’s depth and create a sophisticated sweet-and-salty contrast.
- Spices: A hint of cinnamon, nutmeg, or even a tiny dash of cayenne pepper (for a “spicy chocolate” kick) can add an unexpected layer of flavor.
- Embrace Different Chocolate Types: Experiment with ruby chocolate for a natural pink hue, or opt for a mix of dark and milk chocolate for varied intensities. High-quality chocolate chips, baking bars, or couverture chocolate will yield the best melting consistency and sheen.
- Ensure Proper Chocolate Consistency: If your chocolate is too thick, add a tiny bit of neutral oil (like coconut oil or vegetable oil, about ½ teaspoon per cup of chocolate) to thin it out slightly. If it’s too thin, it might be overheated or mixed with water; unfortunately, this can be hard to fix.
- Tempering (for the Ambitious): For a truly professional finish – a shiny, snappy chocolate coating that resists melting at room temperature – consider tempering your chocolate. This involves carefully heating and cooling the chocolate to specific temperatures, aligning its cocoa butter crystals. While not strictly necessary for delicious results, it’s a technique worth exploring for advanced home bakers.
Storage and Serving Instructions
Chocolate-covered strawberries are undoubtedly best enjoyed fresh, ideally on the same day they are prepared, as their flavor and texture are at their peak.
- To Store: If you must store them, arrange the chocolate-covered strawberries in a single layer within an airtight container. Line the bottom of the container with paper towels; these will absorb any excess moisture and help prevent condensation from forming on the chocolate. Store the container in the refrigerator for 1 to 2 days. It is crucial to avoid stacking the strawberries directly on top of each other, as this can cause the chocolate coating to crack or stick together, ruining their pristine appearance.
- Serving Tip: For the best taste and optimal texture, allow the refrigerated strawberries to return to room temperature for about 15-30 minutes before serving. This softens the chocolate slightly, making it more pleasurable to eat, and allows the full flavor of both the chocolate and the strawberries to shine through.
Frequently Asked Questions About Chocolate Covered Strawberries
- How long do chocolate-covered strawberries last? They are best consumed within 24-48 hours when stored properly in the refrigerator. After this, the strawberries may start to weep, causing the chocolate to become sticky or break down.
- Can I use frozen strawberries? No, it is highly recommended to use fresh strawberries. Frozen strawberries release too much water as they thaw, which will cause the chocolate to seize and prevent it from adhering properly.
- Why did my chocolate seize? Chocolate seizing (becoming thick, grainy, and unworkable) is typically caused by even a tiny drop of water or steam coming into contact with the melting chocolate. Ensure all your equipment is completely dry and be careful when using a double boiler method not to let steam get into the bowl. Overheating can also cause it to seize.
- How can I make my chocolate shiny? For a truly glossy finish, use high-quality chocolate (couverture chocolate is excellent) and consider tempering it. Otherwise, ensuring your chocolate isn’t overheated and letting it set slowly at room temperature can help.
- What’s the best way to clean strawberries? Gently wash them under cool water, being careful not to remove the stems. Pat each one absolutely dry with paper towels; this is the most critical step for success.
More Decadent Dessert Recipes You’ll Love
If you enjoyed making these elegant chocolate-covered strawberries, you might also love these other romantic and indulgent dessert ideas:
- Easy Creme Brulee: A classic French dessert with a rich custard base and a crisp caramelized sugar topping.
- Red Velvet Cheesecake with Oreo Crust: A show-stopping dessert that combines the best of red velvet cake and creamy cheesecake.
- Easy Chocolate Cake: A moist, rich chocolate cake that’s surprisingly simple to make, perfect for any occasion.
- Strawberry Cupcakes: Light, fluffy cupcakes infused with fresh strawberry flavor, topped with a delightful frosting.
- Red Velvet Crinkle Cookies: Chewy, festive cookies with a beautiful cracked sugary crust, offering a taste of red velvet in every bite.
Easy Chocolate Covered Strawberries
Ruby red strawberries dipped in melted chocolate, then garnished with a white chocolate drizzle and chopped hazelnuts – a simple yet elegant treat.
Author: Katerina | Easy Weeknight Recipes
Prep Time: 5 minutes
Cook Time: 10 minutes
Setting Time: 2 hours 30 minutes
Total Time: 2 hours 45 minutes
Servings: 4
Ingredients
- 1 pound fresh strawberries, stems on (for easier handling and dipping)
- 4 ounces dark semisweet chocolate chips
- 4 ounces milk chocolate chips
- Pinch of salt
For Topping:
- White chocolate chips (for drizzling)
- Roasted hazelnuts, finely chopped
Instructions
- Wash the strawberries gently in room-temperature water, then thoroughly dry each one individually with a paper towel. This step is critical to ensure the chocolate adheres properly. Set aside.
- Chop the dark chocolate and milk chocolate into small, uniform pieces. Combine them with a pinch of salt in a heat-resistant bowl.
- Melt the chocolate using one of two methods:
- Double Boiler: Place the bowl over a saucepan of simmering water (ensuring the bowl does not touch the water). Stir continuously until the chocolate is smooth and fully melted.
- Microwave: Heat in 15-20 second bursts, stirring vigorously after each interval, until smooth. Be careful not to overheat.
- In a separate small dish, melt the white chocolate using the same method as above.
- Hold one strawberry at a time by its leaves or stem (if the stem is too short, you can gently insert a toothpick for a handle). Dip the strawberry into the melted dark/milk chocolate, rotating to ensure it’s evenly coated.
- Hold the dipped strawberry over the bowl for a moment, allowing any excess chocolate to drip off. Gently shake if needed to achieve a smooth, thin coating.
- Place the dipped strawberries on a wire rack lined with parchment paper, allowing the chocolate to begin setting before applying any toppings.
- Once the main chocolate layer has slightly firmed up but is still tacky (about 10-15 minutes), drizzle white chocolate over the strawberries with a fork, or pipe designs using a small baggie. If using hazelnuts, gently roll the strawberry in a bowl of the chopped nuts to coat.
- Allow the strawberries to set completely for approximately 2 hours at room temperature before serving. For quicker setting, refrigerate briefly, but bring to room temperature before enjoying.
Nutrition Information (Estimate)
Values are estimates and may vary based on ingredients and preparation methods. Please use your preferred nutritional calculator for more precise details.
- Calories: 271 kcal
- Carbohydrates: 33g
- Protein: 2g
- Fat: 15g
- Saturated Fat: 9g
- Polyunsaturated Fat: 1g
- Monounsaturated Fat: 3g
- Trans Fat: 0.02g
- Cholesterol: 6mg
- Sodium: 9mg
- Potassium: 334mg
- Fiber: 5g
- Sugar: 24g
- Vitamin A: 28 IU
- Vitamin C: 67mg
- Calcium: 36mg
- Iron: 2mg