
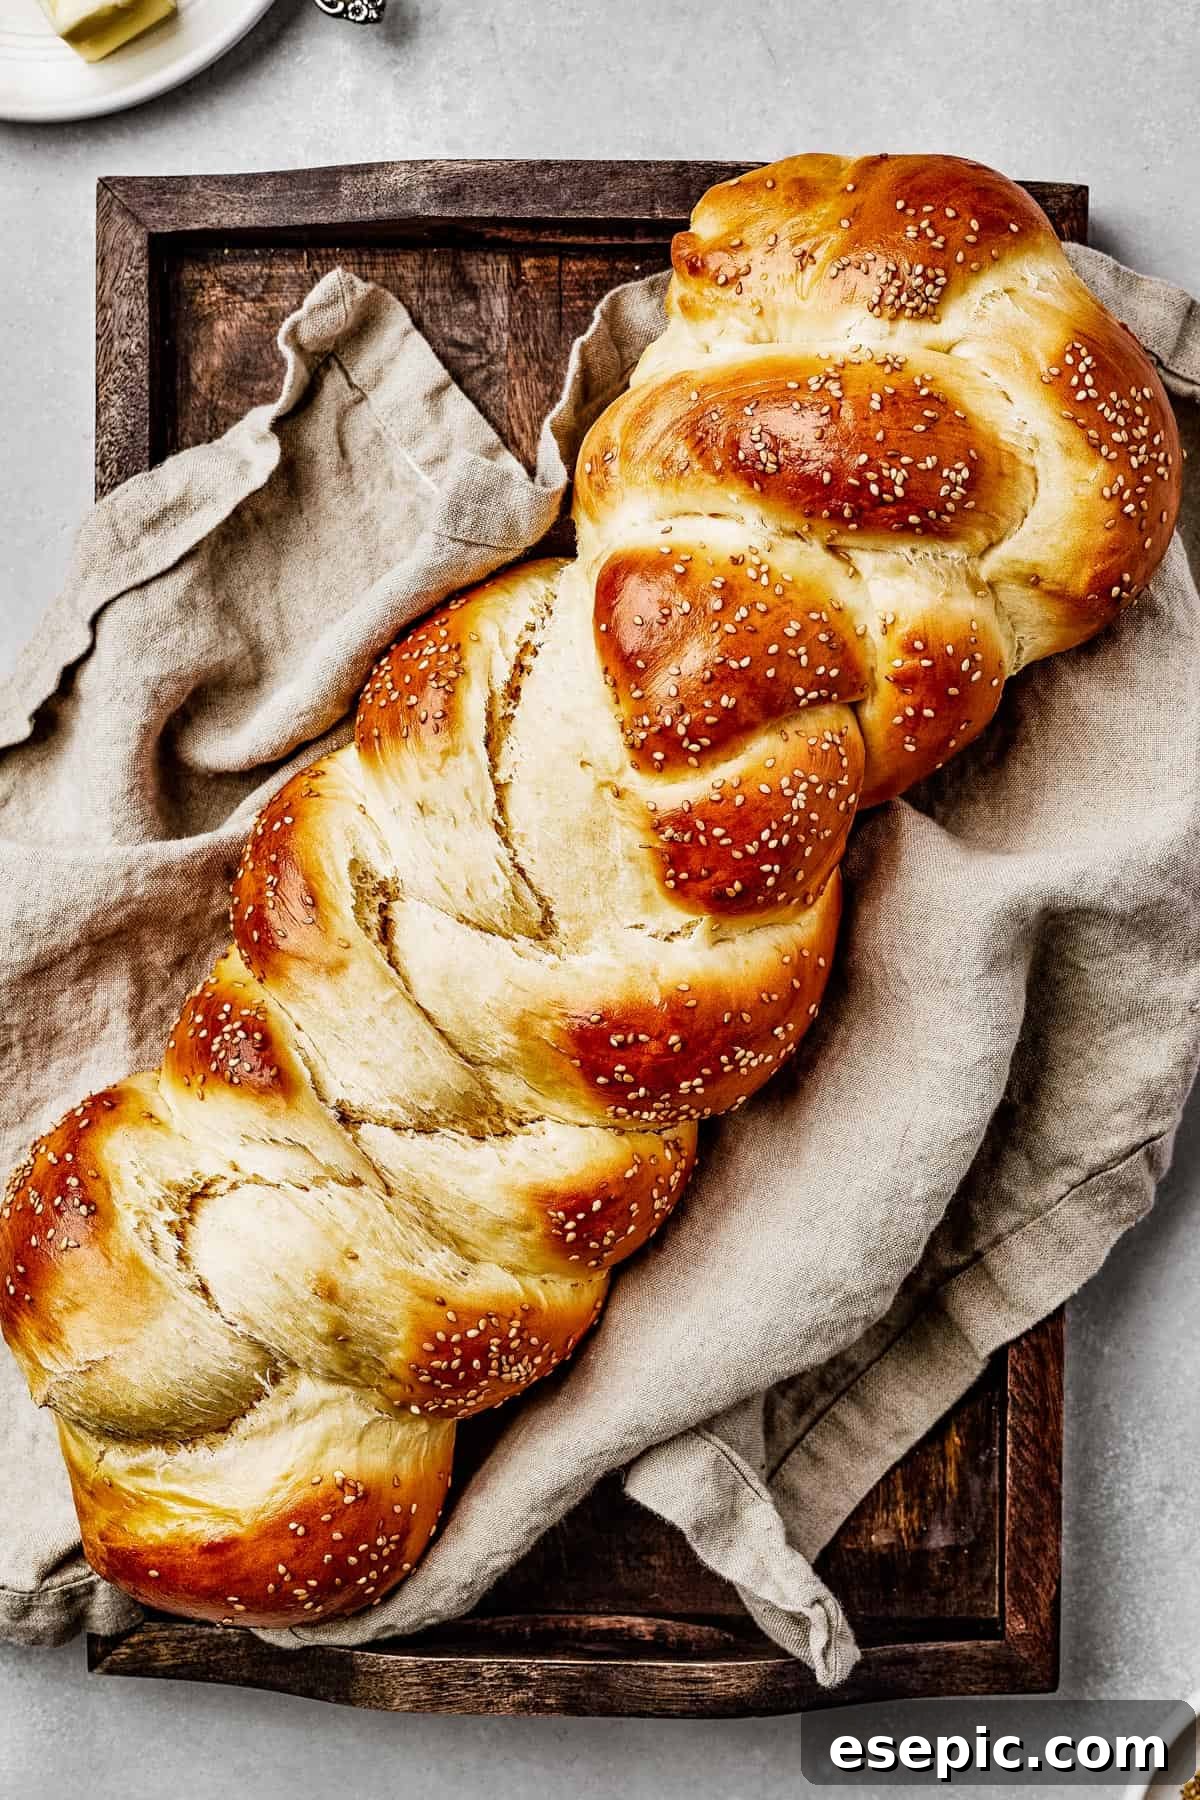
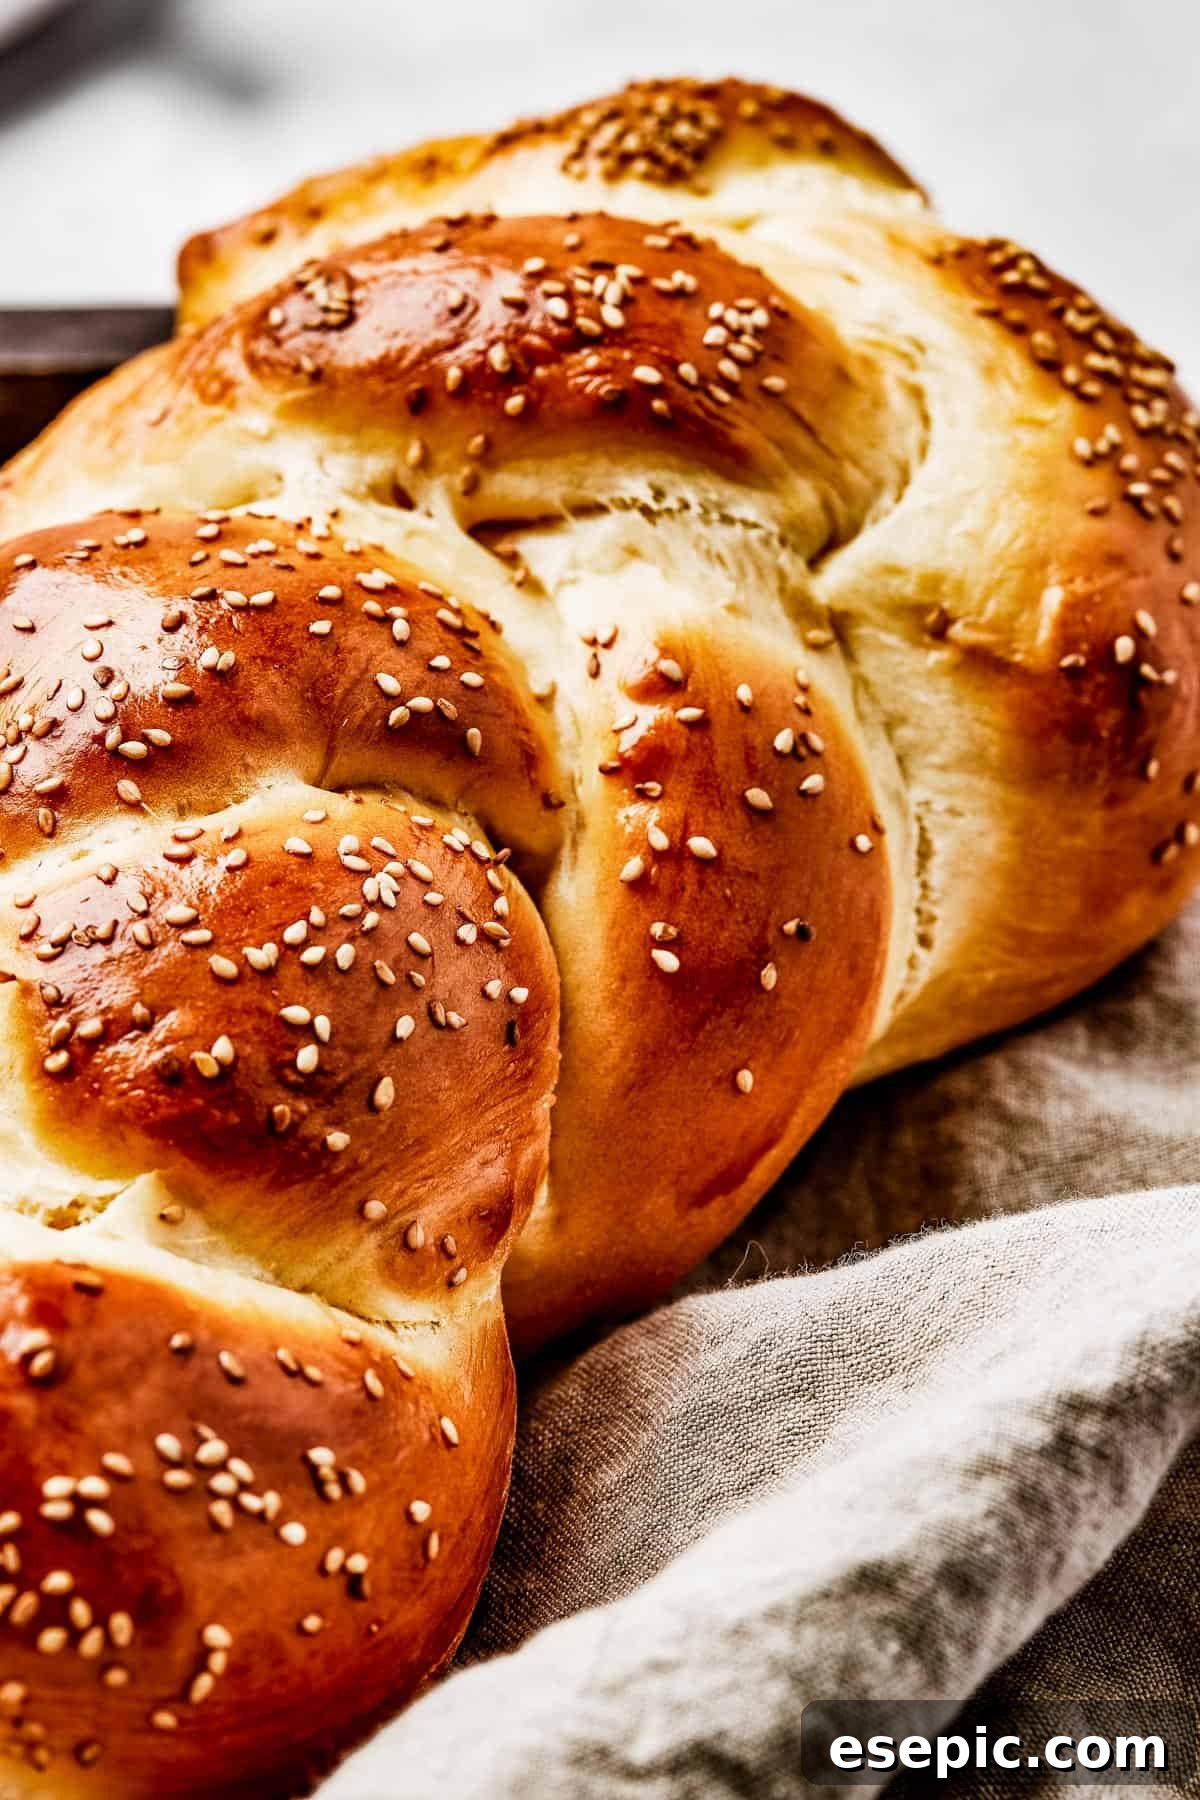
Welcome to the enchanting world of homemade Challah bread, where tradition meets irresistible flavor! Prepare to embark on a culinary journey that promises a soft, rich, and delicately sweet braided loaf, boasting a magnificent golden-brown crust and a texture so light it practically melts in your mouth. This isn’t just another bread recipe; it’s an experience, a delightful challenge that yields a truly special treat perfect for any occasion.
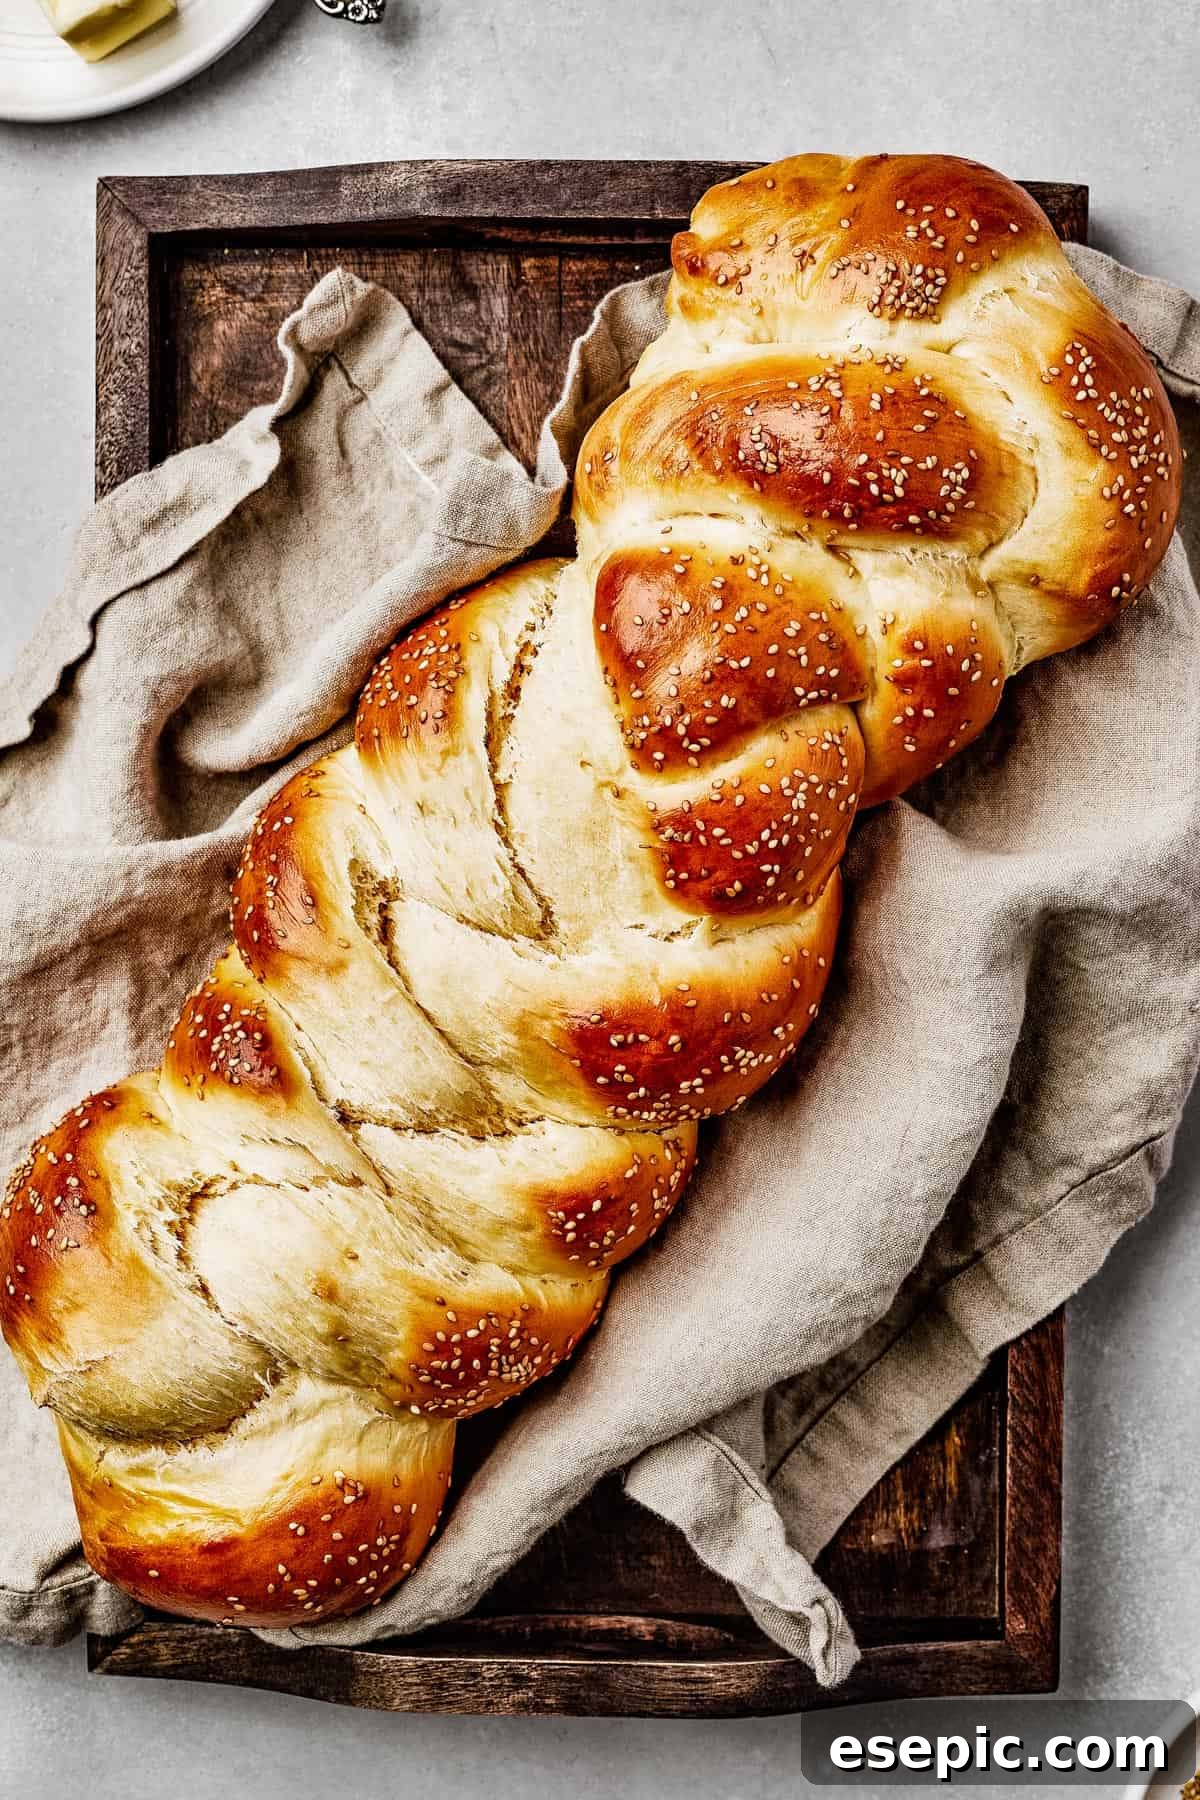
Mastering Easy Homemade Challah Bread
Challah bread, a staple in many cultures and kitchens, is celebrated for its incredibly fluffy, cloud-like texture and its subtly sweet flavor. If you’ve ever dreamt of baking your own artisan-quality bread, this easy homemade Challah recipe is your perfect starting point. It’s a rewarding baking project that many find surprisingly simple to master, even for novice bread makers. The process, while requiring a bit of patience for the dough to rise, is largely hands-off, culminating in a stunning loaf of golden, springy bread that fills your home with an aroma of pure comfort.
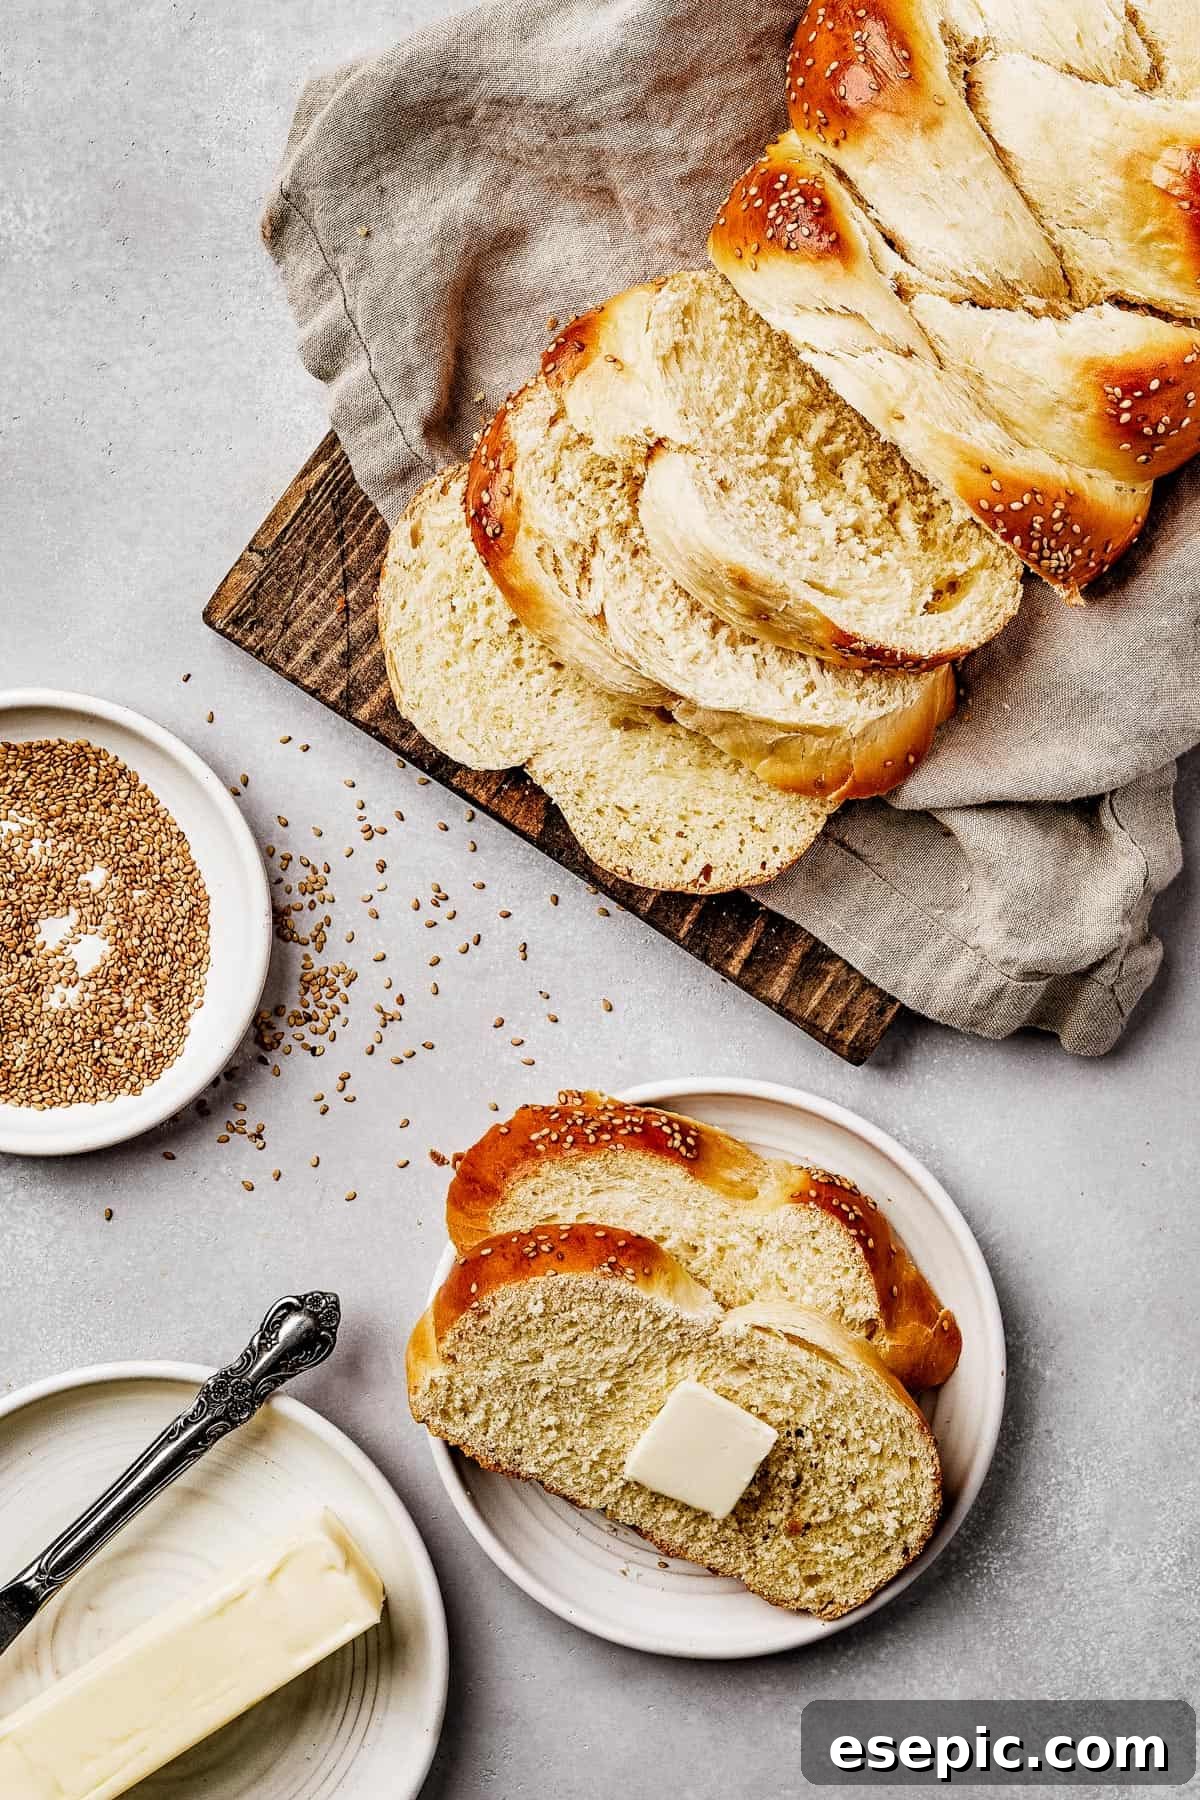
Once you taste the fresh, warm strands of homemade challah, you’ll understand why it’s so beloved. Whether you’re slicing it thick for delectable sandwiches, transforming it into the most luxurious French toast you’ve ever tasted, or simply tearing off fluffy pieces to enjoy as a snack, Challah bread elevates every meal. Its delicate sweetness even makes it suitable as a light dessert, perhaps drizzled with honey, spread with Nutella, or accompanied by your favorite fruit jam. Preparing this beautiful braided bread from scratch is not only satisfying but also adds a touch of specialness to your weekly menu or holiday celebrations.

The Distinctive Qualities of Challah Bread
What sets Challah apart from many other traditional white breads, such as a rustic baguette or a simple sandwich loaf? The secret lies in its unique “enriched dough.” Unlike lean doughs that primarily use flour, water, yeast, and salt, Challah incorporates both eggs and an additional fat (typically oil) into its mixture. This enrichment dramatically enhances the bread’s flavor profile, making it richer, and contributes to its characteristic smooth, luscious, and incredibly tender texture.
This places Challah in a similar culinary category to brioche, another celebrated enriched bread. However, while brioche is renowned for its generous butter content, Challah traditionally uses oil. This key distinction allows Challah to achieve a comparable richness and light, fluffy texture, making it uniquely delicious. The oil also makes Challah bread pareve, meaning it contains no dairy, which is significant in Jewish dietary laws. Beyond its ingredients, Challah is traditionally recognized by its beautiful braided shape, a visual testament to the care and artistry involved in its preparation. While the classic three-strand braid is popular, this versatile dough can be shaped in many ways. It carries a subtle sweetness, which can be adjusted to your preference, though it’s worth noting that sugar also plays a vital role in activating the yeast and ensuring a good rise.
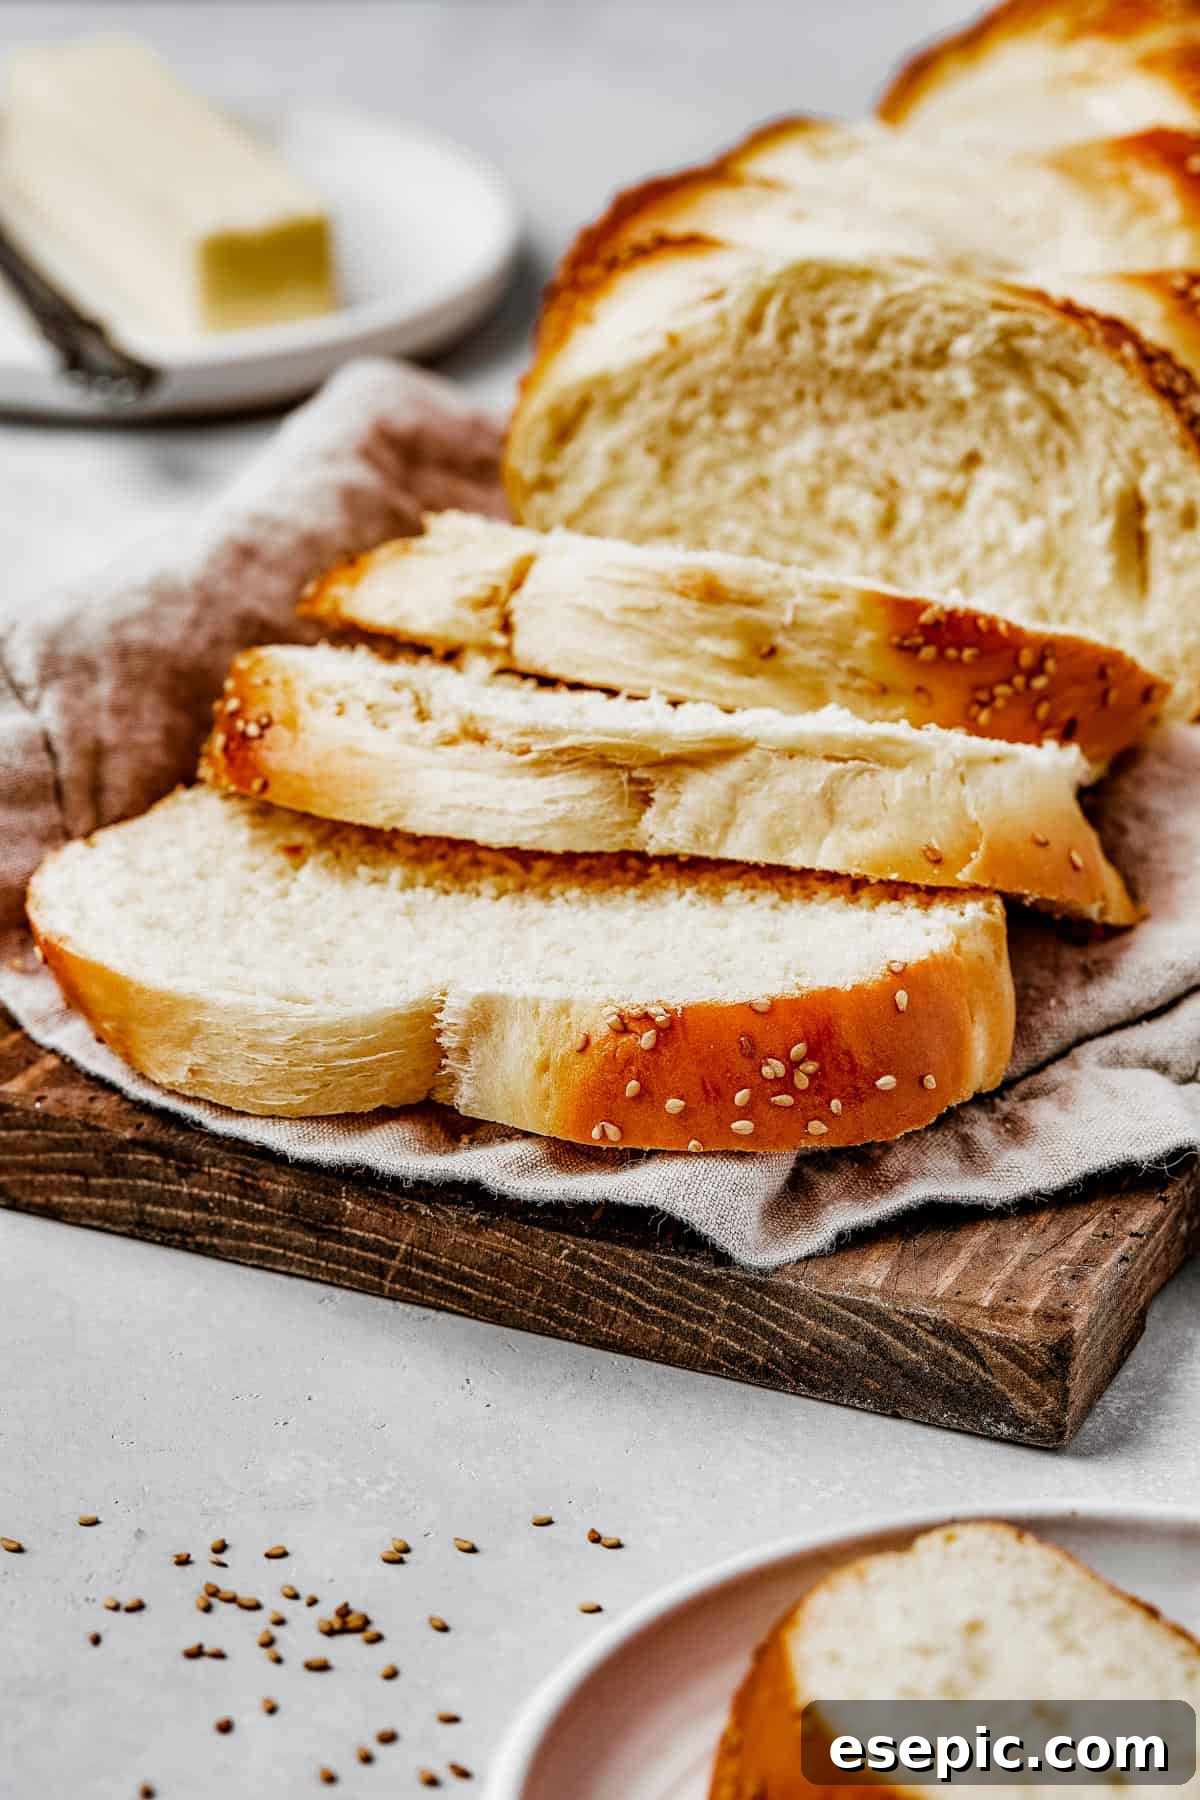
Whether you’re celebrating a special occasion or simply craving a truly exceptional homemade bread, our easy Challah bread recipe delivers. It’s a wonderful way to connect with baking traditions and enjoy a loaf that is as beautiful to look at as it is delicious to eat.
Essential Ingredients for Your Challah Loaf
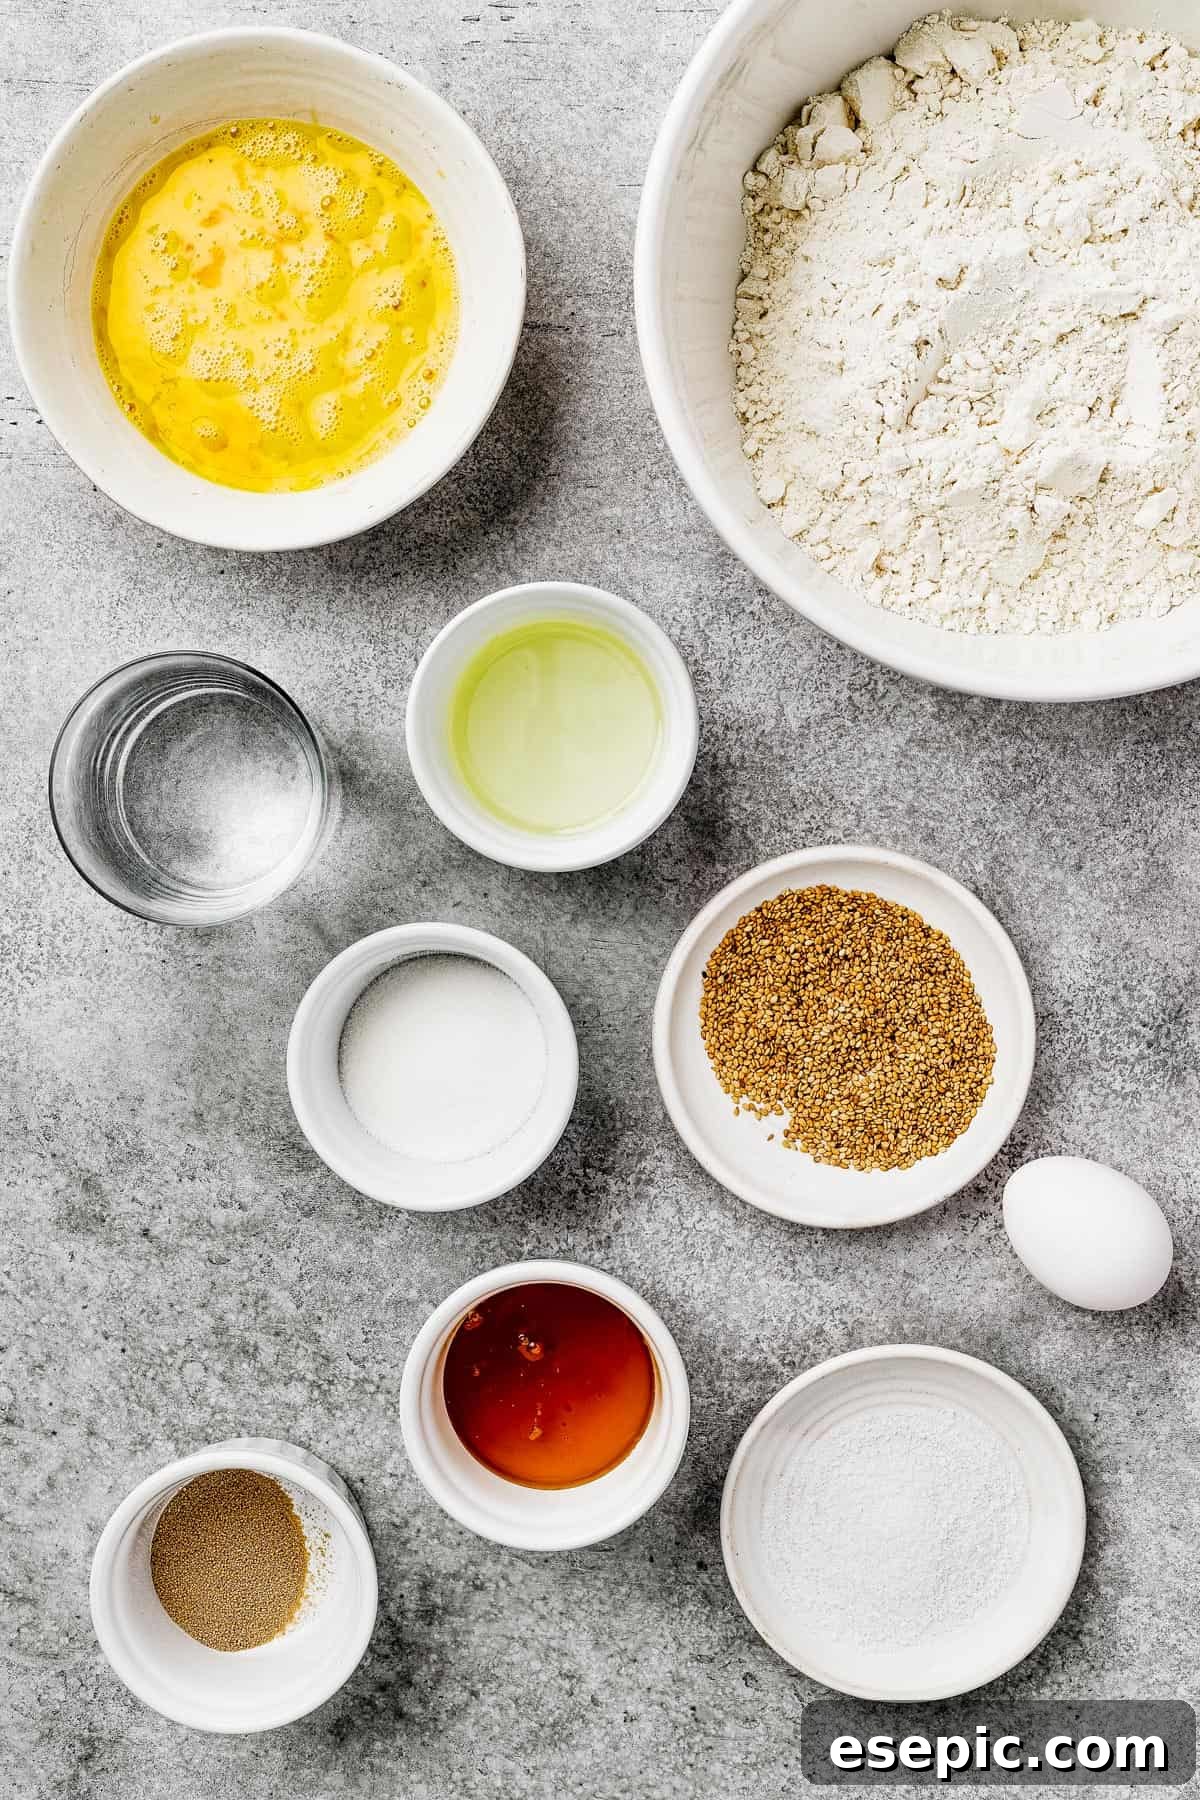
Crafting this scrumptious Challah bread recipe is straightforward, requiring only a handful of common pantry staples. The quality of your ingredients, however, can make a significant difference in the final product. Here’s a detailed look at what you’ll need to create your perfect braided loaf:
For the Bread Dough
- Active Dry Yeast: One packet (about 2 ¼ teaspoons) of active dry yeast is ideal for this recipe. Ensure your yeast is fresh and active, as this is crucial for the bread to rise properly. You can test its viability by mixing it with warm water and a pinch of sugar; if it froths within 5-10 minutes, it’s good to go!
- Warm Water: The water temperature is key! It should be comfortably warm, around 105-115°F (40-46°C), akin to body temperature. Water that is too hot will kill the yeast, preventing the bread from rising. Conversely, cold water won’t activate the yeast, leading to a sluggish or non-existent rise.
- Granulated Sugar: Sugar serves a dual purpose in Challah. It contributes to the bread’s signature delicate sweetness and, most importantly, acts as food for the yeast, fueling its activity and ensuring a beautiful, airy rise.
- Honey: Adding honey alongside sugar provides an extra layer of subtle sweetness and a wonderfully sunny, rich depth of flavor that complements the eggs and oil beautifully.
- Large Eggs: This is where the “enriched” aspect truly shines. Eggs contribute to Challah’s tender crumb, golden color, and rich flavor. Using room temperature eggs is highly recommended, as they incorporate more easily into the dough and don’t cool down the mixture, which could slow down yeast activity and impede the rise.
- Vegetable Oil: In contrast to many enriched breads that rely on butter, traditional Challah uses oil, making it pareve (dairy-free) and suitable for those observing kosher dietary laws. I prefer the neutral flavor of vegetable oil, but a light olive oil can also be used for a slightly different note. Melted butter is an option if pareve is not a concern, but remember it will change the bread’s classification.
- All-Purpose Flour or Bread Flour: Both all-purpose and bread flour work wonderfully for Challah. All-purpose flour yields a softer, more tender crumb. Bread flour, with its higher protein content, will create a chewier loaf and may require a slight increase in liquid during kneading to achieve a smooth, elastic dough.
- Salt: Essential for balancing the flavors and enhancing the overall taste of the bread. Salt also plays a critical role in strengthening the gluten structure, which contributes to the dough’s elasticity and ability to hold its shape.
For the Golden Topping
- Whole Egg for Egg Wash: A single egg, whisked until smooth, is brushed over the top of the challah before baking. This egg wash is responsible for that iconic, glossy, deep golden-brown crust and helps the seeds adhere.
- Sesame Seeds: A generous sprinkling of sesame seeds is a classic and visually appealing topping that adds a delightful nutty flavor and a satisfying textural contrast. Poppy seeds or everything bagel seasoning are also fantastic optional alternatives.
Let’s Bake the Perfect Challah Bread!
Get ready to create a masterpiece! While the thought of baking bread from scratch might seem daunting, this Challah bread recipe is surprisingly forgiving and straightforward. If you’re familiar with yeast doughs, you’ll find this process quite intuitive. If you’re a beginner, don’t fret – just take your time, read through these steps a couple of times to familiarize yourself, and enjoy the journey of bringing this beautiful bread to life.
- Activate the Yeast & Mix the Dough. Begin by combining the warm water, sugar, honey, and active dry yeast in a small bowl. Stir gently and let this mixture sit for 5 to 10 minutes. You’ll know the yeast is active and healthy when a frothy, foamy layer forms on the surface. While the yeast is activating, in a stand mixer fitted with a whisk attachment, lightly beat the room temperature eggs and vegetable oil on low speed until they are just combined. Remove the whisk attachment and attach the dough hook. Pour the activated yeast mixture into the mixer bowl, followed by the flour and salt. Mix everything together on medium speed for about 5 to 7 minutes. Continue mixing until the dough comes together, becoming smooth, elastic, and no longer sticky to the touch. If the dough seems too wet, add a tablespoon of flour at a time until the desired consistency is reached. (Alternatively, you can mix the dough in a large bowl with a spoon and then knead it by hand on a lightly floured surface for 10-15 minutes until it’s smooth and elastic.)
- First Rise: Developing Flavor and Texture. Once your dough is perfectly kneaded, lightly grease a large bowl with a small amount of oil. Form the dough into a smooth ball and place it into the greased bowl, turning it over a couple of times to ensure it’s coated in a thin layer of oil. This prevents it from drying out during the rise. Cover the bowl snugly with a damp kitchen towel or plastic wrap. Allow the dough to rise in a warm, draft-free place for 1 to 2 hours, or until it has visibly doubled in size. A good way to test if it’s ready is the “poke test” – gently poke the dough with a floured finger; if the indentation remains, it’s done.
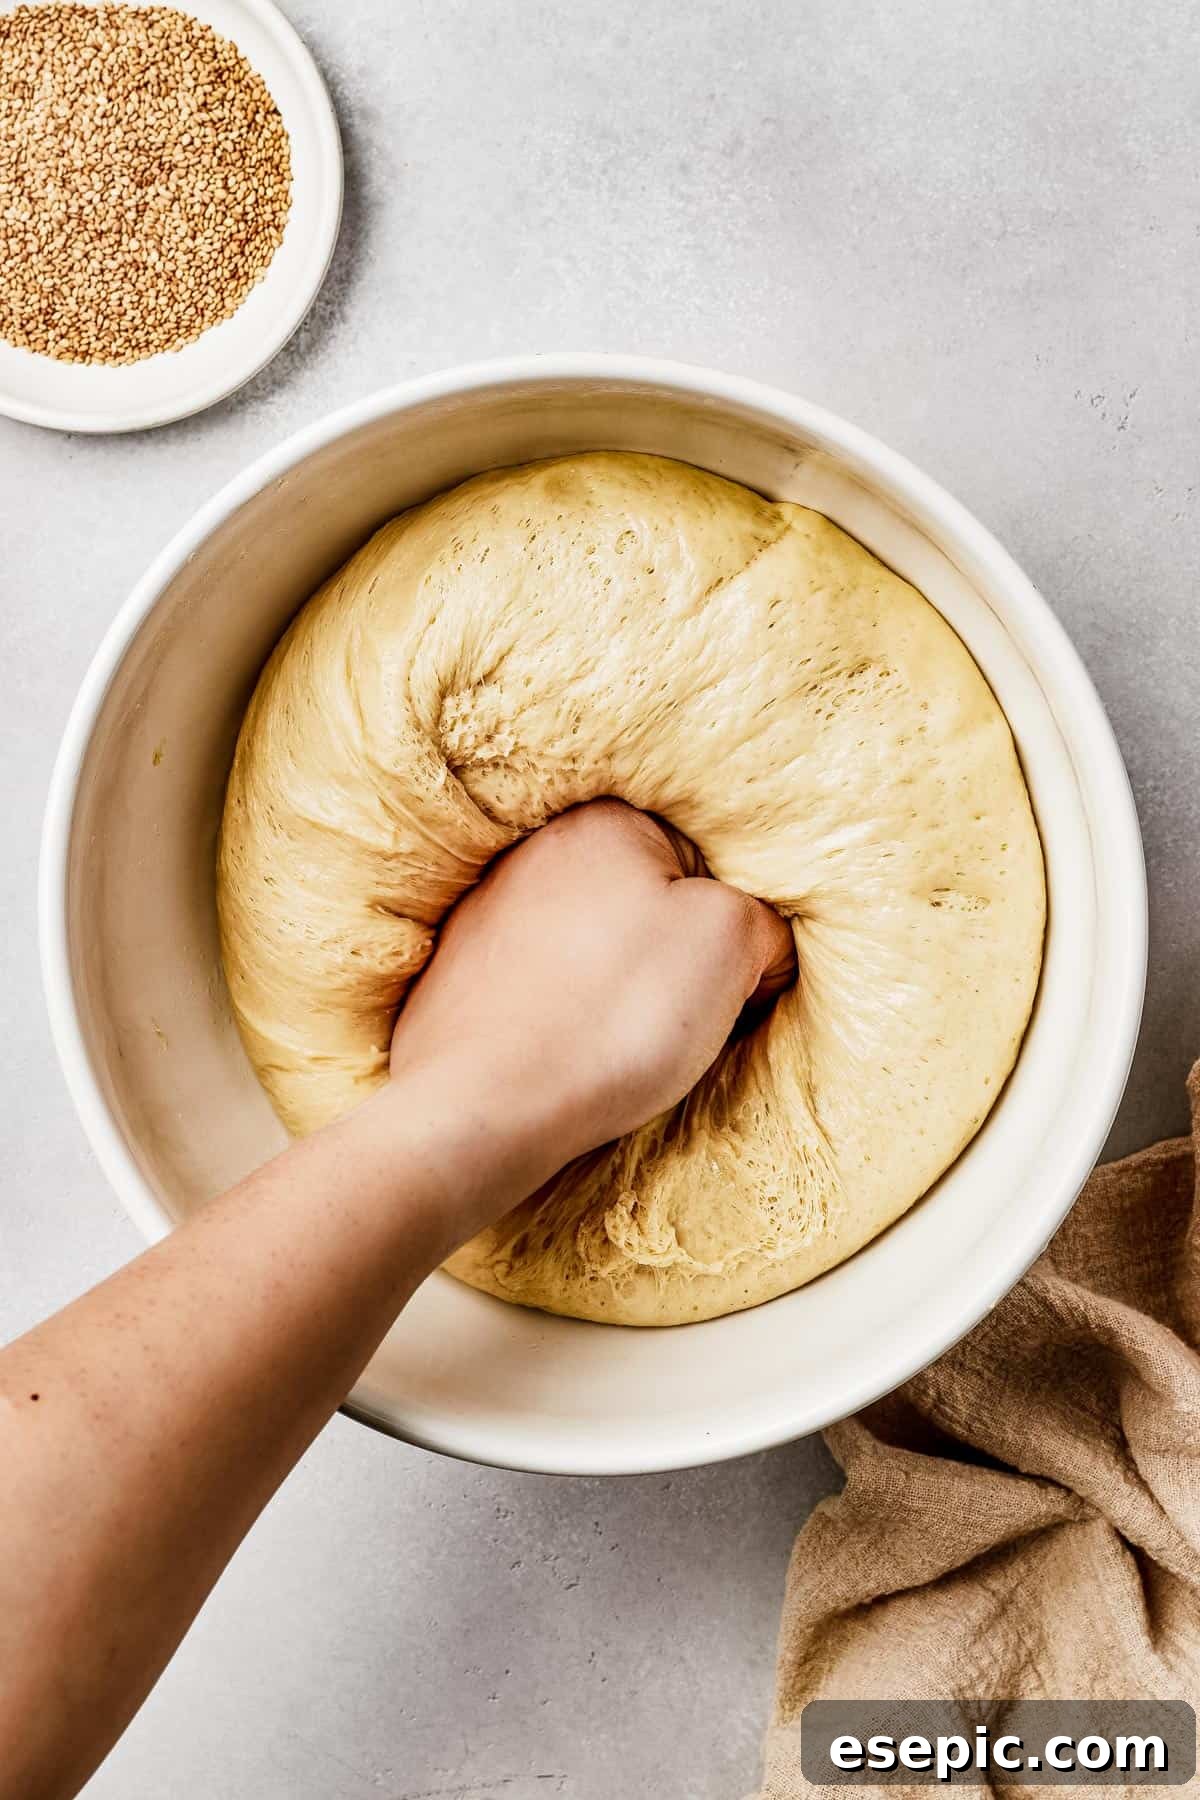
- Deflate and Re-Knead. When the dough has successfully completed its first rise, gently punch it down in the center to release the accumulated gases. This crucial step helps redistribute the yeast, ensuring an even texture, and strengthens the gluten. Turn the dough out onto a lightly floured surface and knead it gently again for about 3 to 5 minutes. Add a minimal amount of flour only if necessary to prevent sticking, as adding too much can result in a dry loaf.
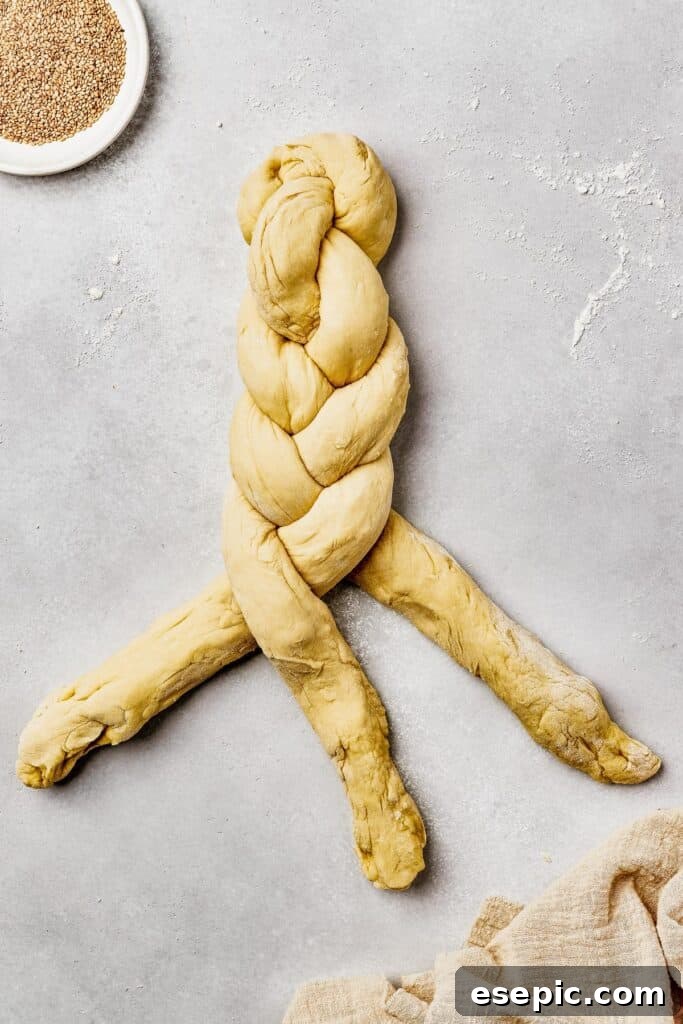
- Shape Your Braided Challah Loaf. Divide the kneaded dough into three equal portions. Roll each portion into a long, uniform “snake” shape, approximately 1 to 2 inches in diameter and about 16-18 inches long. Lay the three long strands parallel to each other on your work surface. Pinch the top ends firmly together to join them securely. Now, begin to braid the pieces, alternating strands just as you would braid hair. Continue braiding all the way down to the bottom, then pinch the three bottom ends together to create a cohesive, beautiful loaf. For a professional look, gently tuck the pinched ends underneath the loaf.
- Second Rise: The Final Proof. Lightly grease a baking sheet with a touch more oil or line it with parchment paper. Carefully transfer your braided Challah loaf onto the prepared baking sheet. Cover the loaf loosely with a damp tea towel or kitchen towel. Allow it to rise again in a warm place for another 30 minutes to 1 hour, or until it looks visibly puffy and almost doubled in size once more. This second rise, known as proofing, is essential for a light, airy crumb.
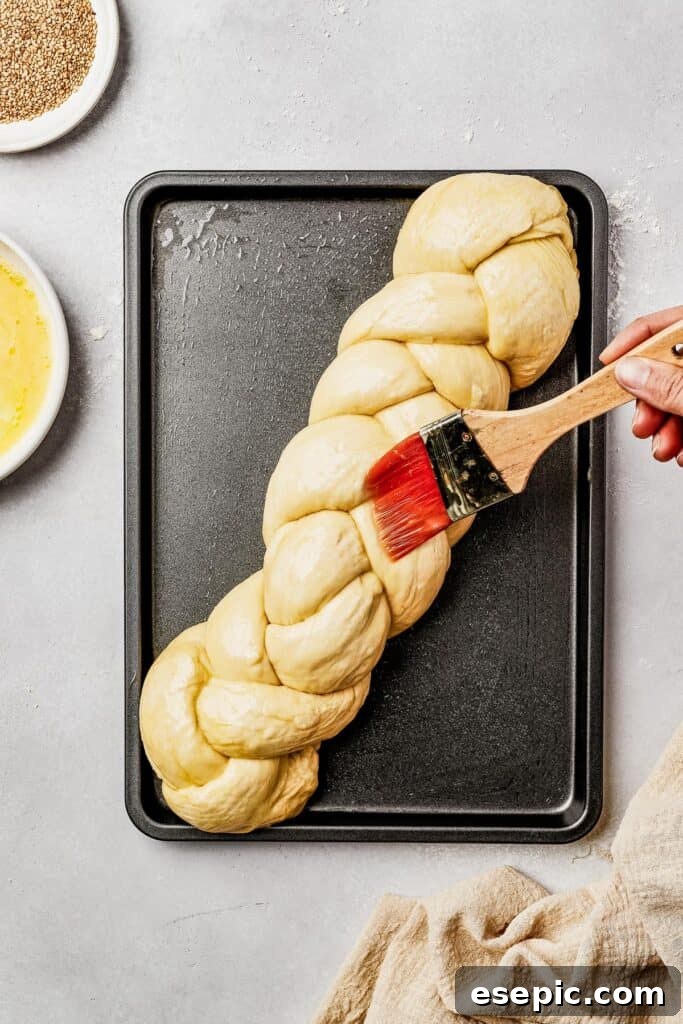
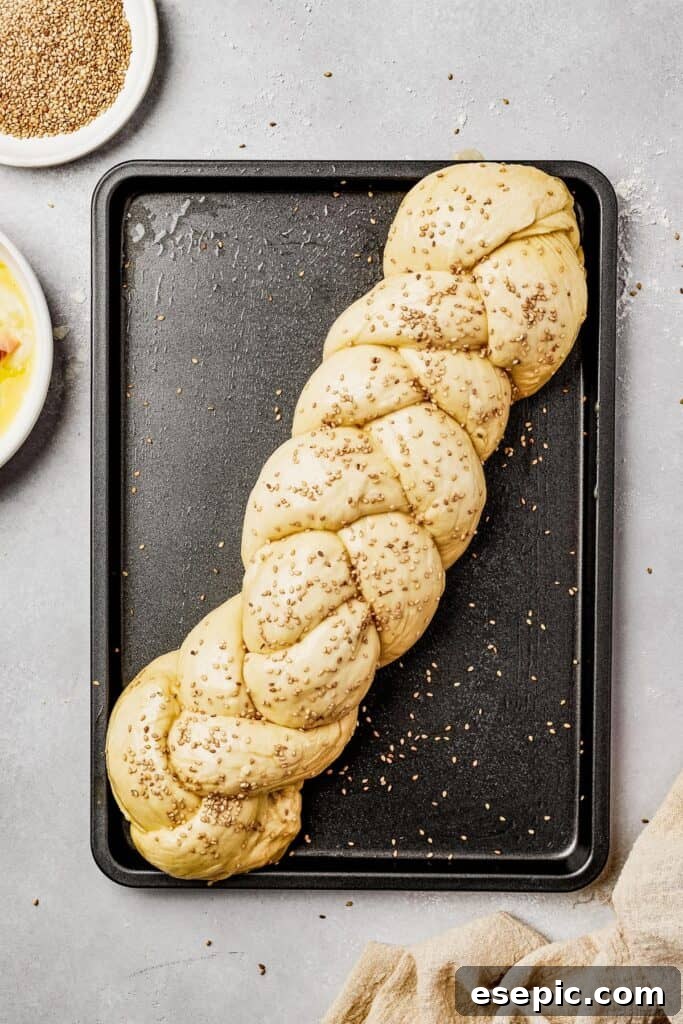
- Bake to Golden Perfection. About 15 minutes before the second rise is complete, preheat your oven to 350°F (175°C). In a small bowl, whisk the remaining whole egg until smooth to create your egg wash. Gently brush the entire surface of the risen loaf with the egg wash, ensuring an even, shimmering coat. If using, generously sprinkle the loaf with sesame seeds (or poppy seeds/other toppings). Carefully place the baking sheet into the preheated oven and bake for 35 to 40 minutes. The Challah is done when it’s gloriously golden-brown all over and sounds hollow when you gently tap its bottom. If it doesn’t sound hollow, continue baking in 2 to 4-minute increments. Once baked, transfer the Challah to a wire rack and let it cool completely before slicing and serving. Cooling allows the internal structure to set and prevents a gummy texture.
Pro Tips for Baking Perfect Challah
Baking is often described as a science, and understanding a few key principles can elevate your results from good to absolutely amazing. Here are some helpful tips and tricks I’ve gathered over years of bread baking, specifically tailored for mastering your homemade Challah bread:
- Verify Your Yeast: Yeast is the lifeblood of your bread. If, after mixing the yeast, warm water, and sugar, you don’t see a frothy layer forming within 5 to 10 minutes, your yeast may be expired or inactive. It’s best to discard it and start with a fresh packet to ensure a successful rise. Fresh yeast is key to fluffy challah!
- The Windowpane Test for Kneading: Beyond just feeling “smooth and elastic,” a great way to check if your dough is sufficiently kneaded is the “windowpane test.” Pinch off a small piece of dough and gently stretch it between your fingers. If you can stretch it thin enough to see light through it without it tearing, then your gluten is well-developed, and the dough is ready for its first rise. If it tears easily, continue kneading for a few more minutes.
- Create an Ideal Warm Rising Environment: A consistently warm, draft-free environment is paramount for optimal dough rising. If your kitchen is cool, you can create a makeshift proofing box. One common method is to place the covered dough bowl in a cold oven (DO NOT turn the oven on!), alongside a bowl or pan of boiling water. The residual heat and steam from the water will create a perfect warm, humid environment for your dough to happily rise.
- The Gentle Poke Test for Rising: To confirm if your dough has risen enough (both for the first and second rise), gently press two fingers lightly into the dough. If the indentation slowly springs back halfway, your dough is perfectly proofed. If it springs back completely, it needs more time. If it collapses or doesn’t spring back at all, it might be over-proofed, but don’t worry, it’ll still bake into a delicious loaf!
- Test for Doneness (The Hollow Sound): While the golden-brown color is a good indicator, the most reliable way to tell if your Challah loaf is fully baked is by tapping the bottom of the loaf. If it sounds hollow, it means the moisture has largely evaporated, and the interior is fully cooked and airy. If it sounds dense or thud-like, there’s still too much moisture inside, and it needs a few more minutes in the oven. Continue baking in 2 to 4-minute increments until you achieve that satisfying hollow sound.
- Cooling is Crucial: While it’s tempting to dive into a warm loaf, letting your Challah cool completely on a wire rack is essential. This allows the internal structure of the bread to set properly, preventing a gummy texture and ensuring it slices beautifully.
Exciting Challah Bread Variations
While the classic fluffy challah with sesame seeds is undeniably delicious, this versatile dough provides an excellent canvas for creative culinary experimentation! Don’t be afraid to customize your homemade Challah bread to suit your preferences or occasion. Here are some easy and scrumptious variations to inspire you:
- Delightful Mix-Ins: For a sweet and textural twist, consider folding in your favorite additions after the first rise, as you shape the dough. Popular choices include plump raisins, dried cranberries, or rich chocolate chunks (milk, dark, or even white chocolate!). For an autumn-inspired loaf, try dried apples and a dash of cinnamon. You can also add chopped nuts like walnuts or pecans for extra crunch.
- Creative Shaping Techniques: The beauty of Challah lies not only in its taste but also in its appearance. Beyond the traditional 3-strand braid, explore other shaping methods. Try a more intricate 4-strand or 5-strand braid for a show-stopping presentation. For smaller, individual portions perfect for brunch, shape the dough into charming small rolls (note: these will bake much faster, so adjust baking time accordingly). A round braided loaf is particularly popular for holidays like Rosh Hashanah, symbolizing continuity. You can even simply bake it as a plain sandwich loaf in a loaf pan for everyday convenience.
- Flavor Enhancements: Infuse your Challah with a variety of exciting flavors! For a sweeter profile, try adding orange or lemon zest to the dough, or a sprinkle of cinnamon sugar before the second rise. For a savory delight, incorporate garlic powder and fresh chives, dried rosemary with cracked black pepper, or even a blend of Italian herbs. Imagine a roasted garlic and herb Challah served with a savory meal – truly divine! A hint of vanilla extract can also deepen the sweet notes of the bread.
Storing and Reviving Your Challah Leftovers
Fresh Challah is truly a delight, but its wonderful texture and flavor can be enjoyed for days with proper storage. Here’s how to keep your loaf at its best and even bring it back to life:
- For optimal freshness, store your cooled Challah loaf at room temperature in an airtight container or a large, sealable plastic bag. This will prevent it from drying out. While it can last for up to a week, it’s generally best enjoyed within 3-4 days for peak freshness and softness.
- To revive day-old Challah, you can lightly mist it with water and warm it in a preheated oven at 300°F (150°C) for 5-10 minutes. This will bring back some of its wonderful softness and warmth.
Can I Freeze Challah Bread? Absolutely!
Challah freezes exceptionally well, making it a fantastic candidate for baking ahead or ensuring you always have a delicious loaf on hand. Here’s how to freeze and thaw your homemade Challah:
- Freezing a Baked Loaf: Once your Challah has completely cooled to room temperature, wrap it tightly in plastic wrap, ensuring no air pockets. Then, place the wrapped loaf into a large freezer-safe bag or wrap it again in aluminum foil, pressing out as much air as possible before sealing. Properly stored, frozen Challah will maintain its quality for up to three months.
- Thawing Frozen Challah: When you’re ready to enjoy your frozen Challah, simply transfer it from the freezer to your countertop and let it thaw at room temperature for several hours or overnight. For a warm, “freshly baked” experience, you can then warm the thawed loaf in a preheated oven at 300°F (150°C) for 10-15 minutes, or until warmed through.
- Freezing Unbaked Dough (Optional): If you prefer to prepare the dough in advance, you can freeze the shaped, unbaked loaf after its first rise. Wrap it very well as described above and freeze. When ready to bake, transfer the frozen dough to the refrigerator overnight to thaw slowly, then proceed with the second rise and baking as usual. This method can be a bit trickier but is convenient for advanced meal prep.
The Best Challah Bread
Ingredients
- 2 ¼ teaspoons active dry yeast,, (one packet)
- 1 cup warm water
- ¼ cup sugar
- 3 tablespoons honey
- 3 whole eggs,, room temperature
- ¼ cup vegetable oil
- 5 cups flour
- 1 teaspoon salt
For Topping
- 1 whole egg,, room temperature
- 1-2 tablespoons sesame seeds,, optional
Instructions
-
In a small bowl, mix yeast, water, sugar, and honey together and let sit until a frothy layer begins to form.
-
In a stand mixer fitted with a whisk attachment, mix together three eggs and oil on low speed until combined.
-
Switch to a bread hook attachment and pour in the yeast mixture, flour, and salt.
Mix on medium speed until the dough is smooth, elastic, and not sticky. Sprinkle in more flour, one tablespoon at a time, as needed.
-
Grease a large mixing bowl with oil. Form the dough into a ball and place it into the greased bowl, rolling it around to cover it in a layer of oil.
Cover with a damp cloth and let rise in a warm environment for 1 to 2 hours, or until doubled.
-
Gently punch the risen dough to deflate and move to a floured surface.
Knead the dough for about 3 to 5 minutes, adding more flour as needed to prevent sticking.
-
Divide the dough into three equal pieces.
Roll each piece into a long “snake” shape, about 1 to 2 inches in diameter.
-
Lay the three long pieces of dough parallel to each other. Pinch the ends on one side together and begin to braid the pieces. Continue braiding until you can pinch the three ends together again, forming a single loaf.
-
Grease a baking sheet with oil and place the loaf on top. Cover with a damp towel and let rise in a warm environment for 30 minutes to 1 hour.
-
Preheat the oven to 350 degrees Fahrenheit. Whisk the remaining egg and brush over the top of the loaf. Optionally, sprinkle the loaf with sesame seeds.
-
Bake for 35 to 40 minutes, or until golden brown. The loaf should sound hollow when you tap the bottom. If it doesn’t sound hollow yet, continue baking in 2 to 4 minute increments.
-
Let challah cool on a wire rack before slicing and serving.
Nutrition
Nutritional info is an estimate and provided as courtesy. Values may vary according to the ingredients and tools used. Please use your preferred nutritional calculator for more detailed info.
Did you make a recipe? Leave a rating
More Scrumptious Bread Recipes to Explore
If you loved baking this easy Challah bread and are eager to expand your bread-making repertoire, we have a collection of other irresistible recipes that are sure to delight your taste buds and impress your guests. From savory to sweet, these breads are perfect for various occasions:
- Cheesy Garlic Pull-Apart Bread: An incredibly addictive and savory bread, perfect for sharing or as a side with Italian dishes. It’s loaded with gooey cheese and aromatic garlic.
- Sweet Monkey Bread: A fun and delicious treat, this pull-apart bread is coated in cinnamon sugar and drenched in a buttery caramel sauce. Great for breakfast or dessert!
- Easy Homemade Flatbread Recipe: Simple, versatile, and quick to make, this flatbread is perfect for dipping, making wraps, or serving alongside your favorite curries and stews.
Happy baking, and enjoy the wonderful aromas and flavors of your homemade bread!