

The Ultimate Cozy Chicken Pot Pie Casserole with Flaky Biscuits
There’s nothing quite like the comforting embrace of a warm, homemade casserole. And when it comes to classic American comfort food, few dishes rival the beloved chicken pot pie. But what if you could capture all that rich, creamy flavor and tender chicken and vegetables without the fuss of a traditional pie crust? Enter this incredible chicken pot pie casserole – a delightful twist that pairs a luscious, savory filling with perfectly golden, buttery, flaky biscuits baked right on top. It’s a hearty, satisfying meal that brings joy to any dinner table, perfect for a cozy night in or a gathering with loved ones.
If you’re a fan of these easy, weeknight-friendly classics, be sure to explore more of our comforting recipes. You might love our tuna noodle casserole for another family favorite, or our savory chicken stuffing casserole for a meal that feels like a holiday feast any day of the week. Each offers a unique blend of flavors and simplicity, ensuring your culinary adventures are both delicious and stress-free.

Are you ready to transform your dinner routine with a dish that promises pure comfort and minimal fuss? This chicken pot pie casserole delivers all the nostalgic flavors of the classic, but in a much simpler, more approachable format. Instead of meticulously crafting a pie crust, we’ll layer a robust, creamy chicken and vegetable filling beneath a blanket of irresistible homemade biscuits. The result is a golden-baked masterpiece that’s guaranteed to become a new family favorite, offering warmth and satisfaction with every bite.
Why You’ll Fall in Love with This Chicken Pot Pie Casserole
This casserole isn’t just a meal; it’s an experience. Here’s why it stands out:
- Effortless Elegance: This recipe captures the essence of classic chicken pot pie in an easier-to-assemble casserole. You get all the rich, savory flavors without the intricate steps of preparing a traditional pie. It’s perfect for busy weeknights when you crave something truly special but don’t have endless time.
- Homemade Goodness, Simplified: The star of this casserole is the fluffy, tender homemade biscuit topping, which replaces a conventional pie crust. The biscuit dough recipe is straightforward and doesn’t require any chilling, making it quick to prepare. For those extra-busy days, you can even opt for high-quality store-bought biscuit dough without compromising too much on flavor.
- Luxuriously Creamy Filling: The heart of any great pot pie is its filling, and this one does not disappoint. It’s incredibly rich, silky, and brimming with succulent shredded chicken and a colorful medley of tender-crisp vegetables. Every ingredient simmers together to create a deeply flavorful sauce that’s then baked until gloriously hot and bubbly, ensuring a perfectly comforting consistency.
- Unanimously Family-Friendly: Casseroles are the ultimate crowd-pleasers, and this chicken pot pie version is no exception. Its comforting nature and familiar flavors make it a hit with both children and adults. Expect requests for second helpings and beaming smiles all around the table!
- Versatile & Adaptable: While the recipe provides a fantastic base, it’s incredibly forgiving and easy to adapt. You can swap out vegetables based on what you have on hand or what’s in season, experiment with different herbs, or even use leftover cooked chicken or turkey. This adaptability makes it a truly practical and customizable meal.
Essential Ingredients You’ll Need
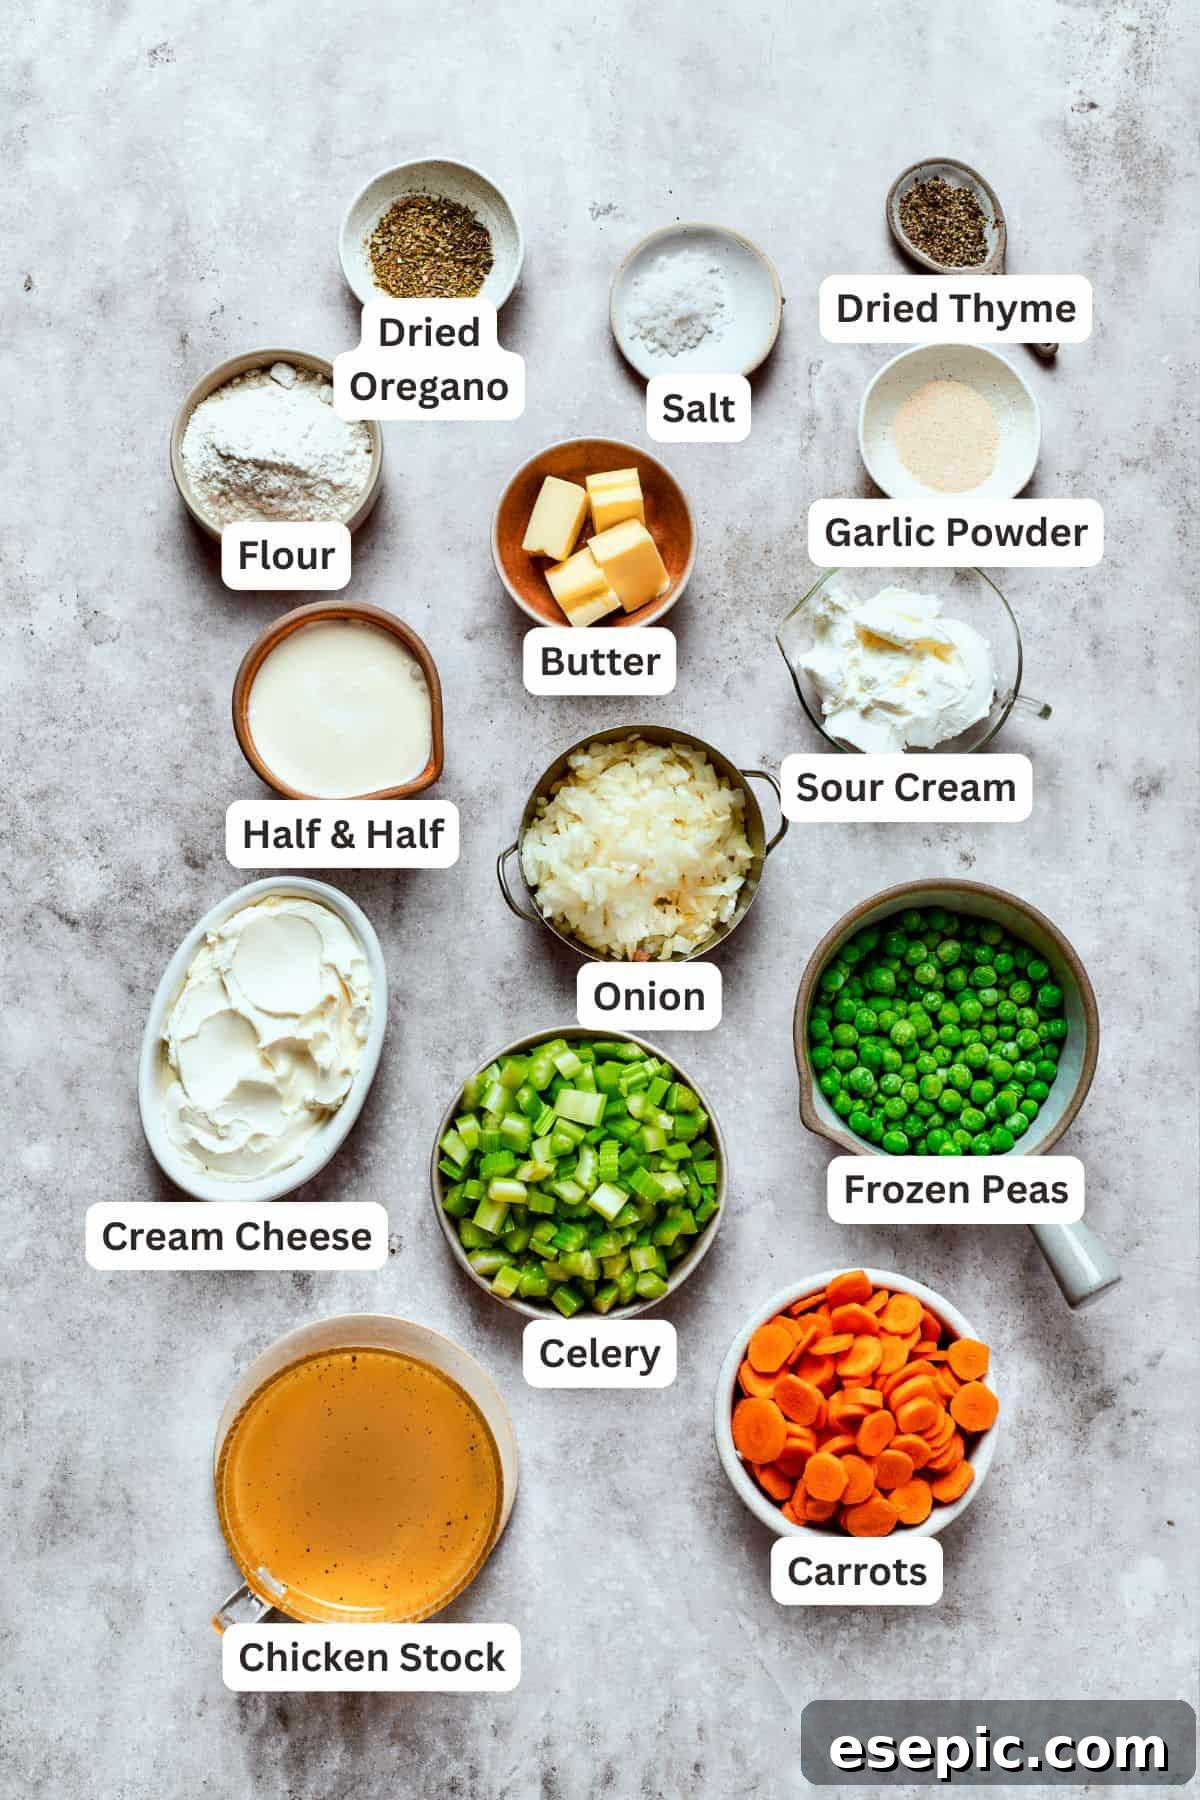
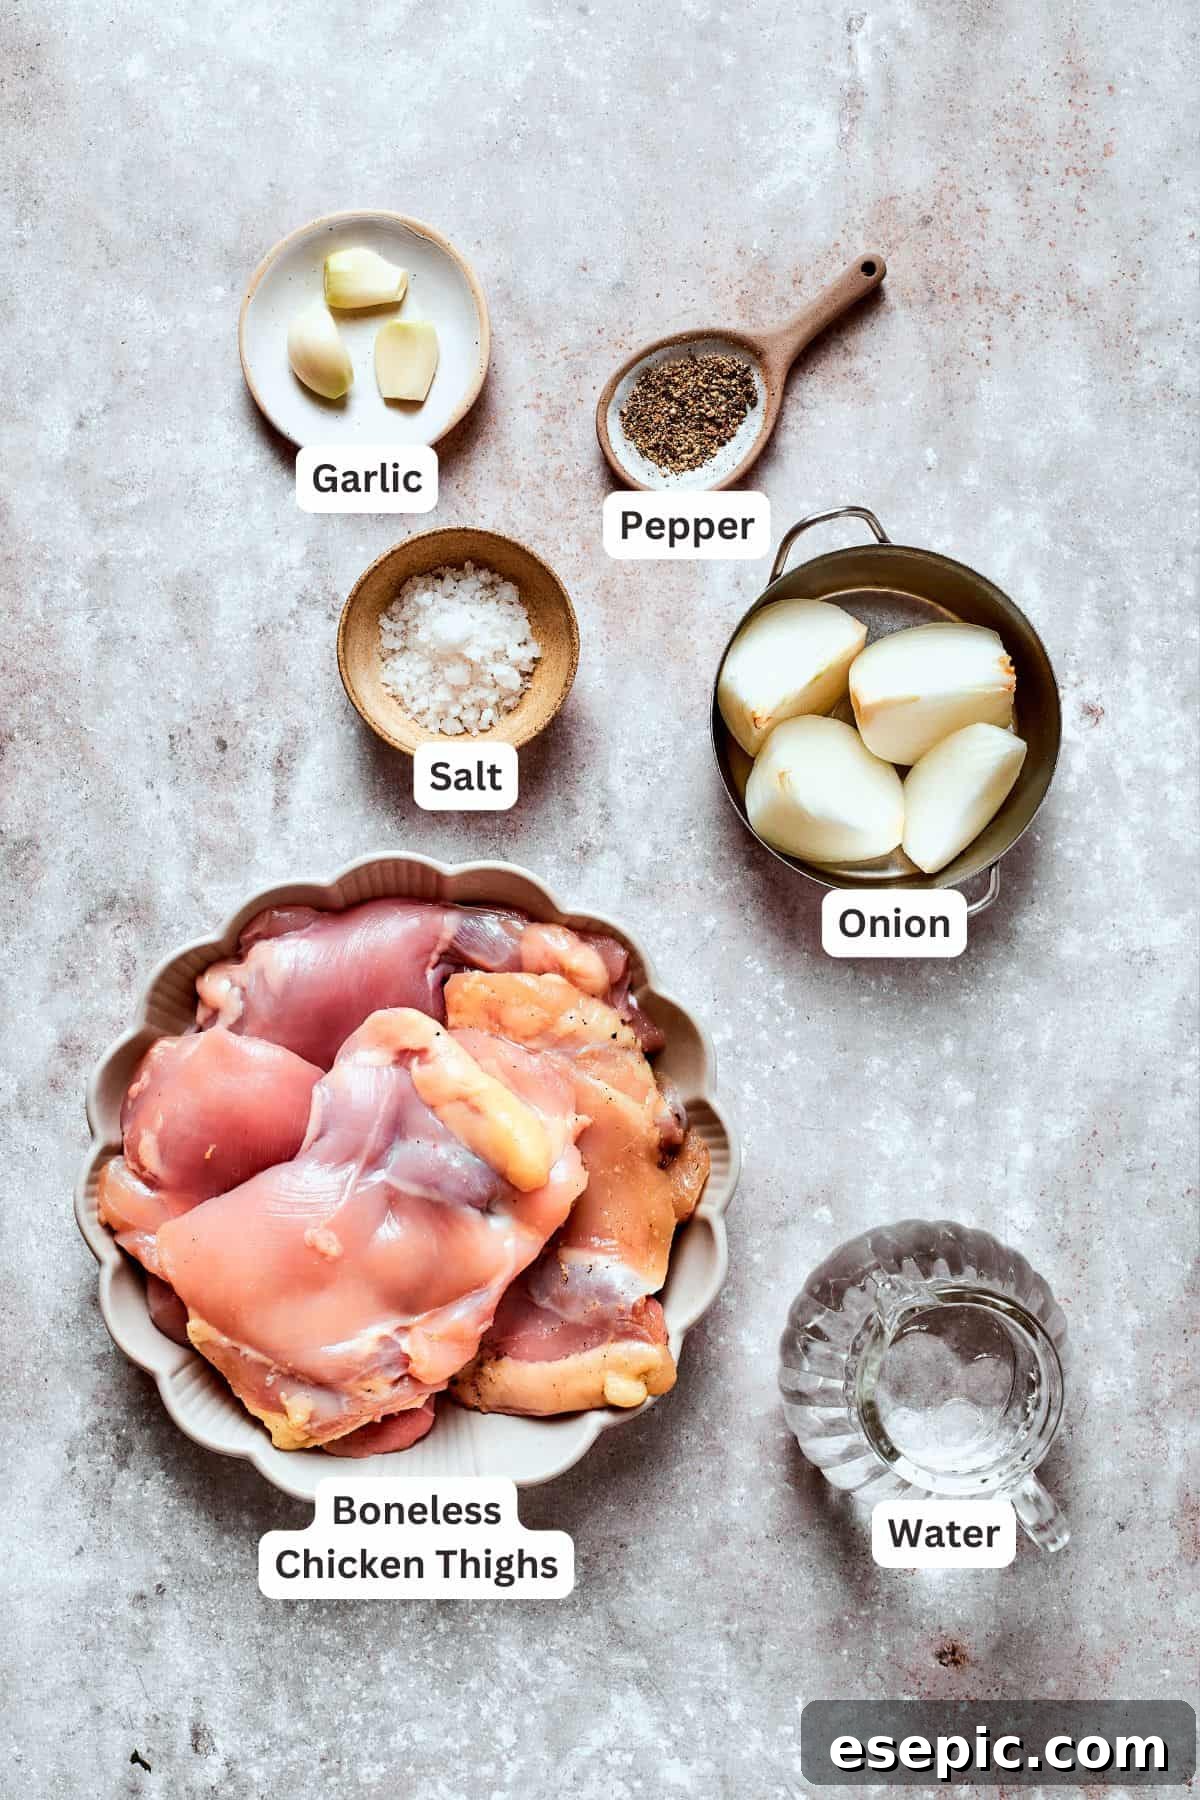
Gathering your ingredients is the first step to creating this mouthwatering casserole. Below are notes on the key components. For a complete printable list, please refer to the recipe card at the end of this article.
For the Savory Pot Pie Filling
- Chicken Thighs: We prefer boneless, skinless chicken thighs for their rich flavor and tender texture that stands up well to simmering. However, an equal amount of skinless, boneless chicken breasts can be used if you prefer a leaner option.
- Fresh Vegetables: A classic mirepoix of carrots, yellow onion, and celery forms the aromatic base, sautéed in butter to unlock their sweet, earthy flavors. Fresh garlic adds a pungent depth.
- Aromatic Seasonings: Simple yet effective – kosher salt, freshly ground black pepper, garlic powder, dried thyme, and dried oregano create the signature savory profile of pot pie.
- All-Purpose Flour: This acts as a crucial thickening agent, creating a smooth, velvety roux that forms the foundation of our creamy gravy.
- Chicken Stock: The liquid base for the sauce. Feel free to use vegetable stock as an alternative if that’s what you have on hand.
- Half-and-Half: This gives the filling its luxurious creaminess. For an even richer experience, substitute with heavy cream. If you prefer a slightly lighter sauce without sacrificing flavor, whole milk works well too.
- Cream Cheese: Softened to room temperature, cream cheese melts seamlessly into the sauce, adding a subtle tang and an extra layer of velvety richness.
- Sour Cream: Contributes a delightful tang and helps balance the richness of the other dairy components. Full-fat Greek yogurt or plain yogurt can be used as a suitable substitute.
- Green Peas: Whether fresh or frozen, peas add a pop of color and sweetness. If peas aren’t your favorite, you can easily omit them or replace them with another quick-cooking vegetable like chopped mushrooms or corn kernels.
- Fresh Parsley: A final flourish of fresh chopped parsley brightens the dish with its herbaceous notes. Fresh thyme is also a wonderful addition if you have it. Avoid using dried parsley here, as its flavor isn’t as vibrant.
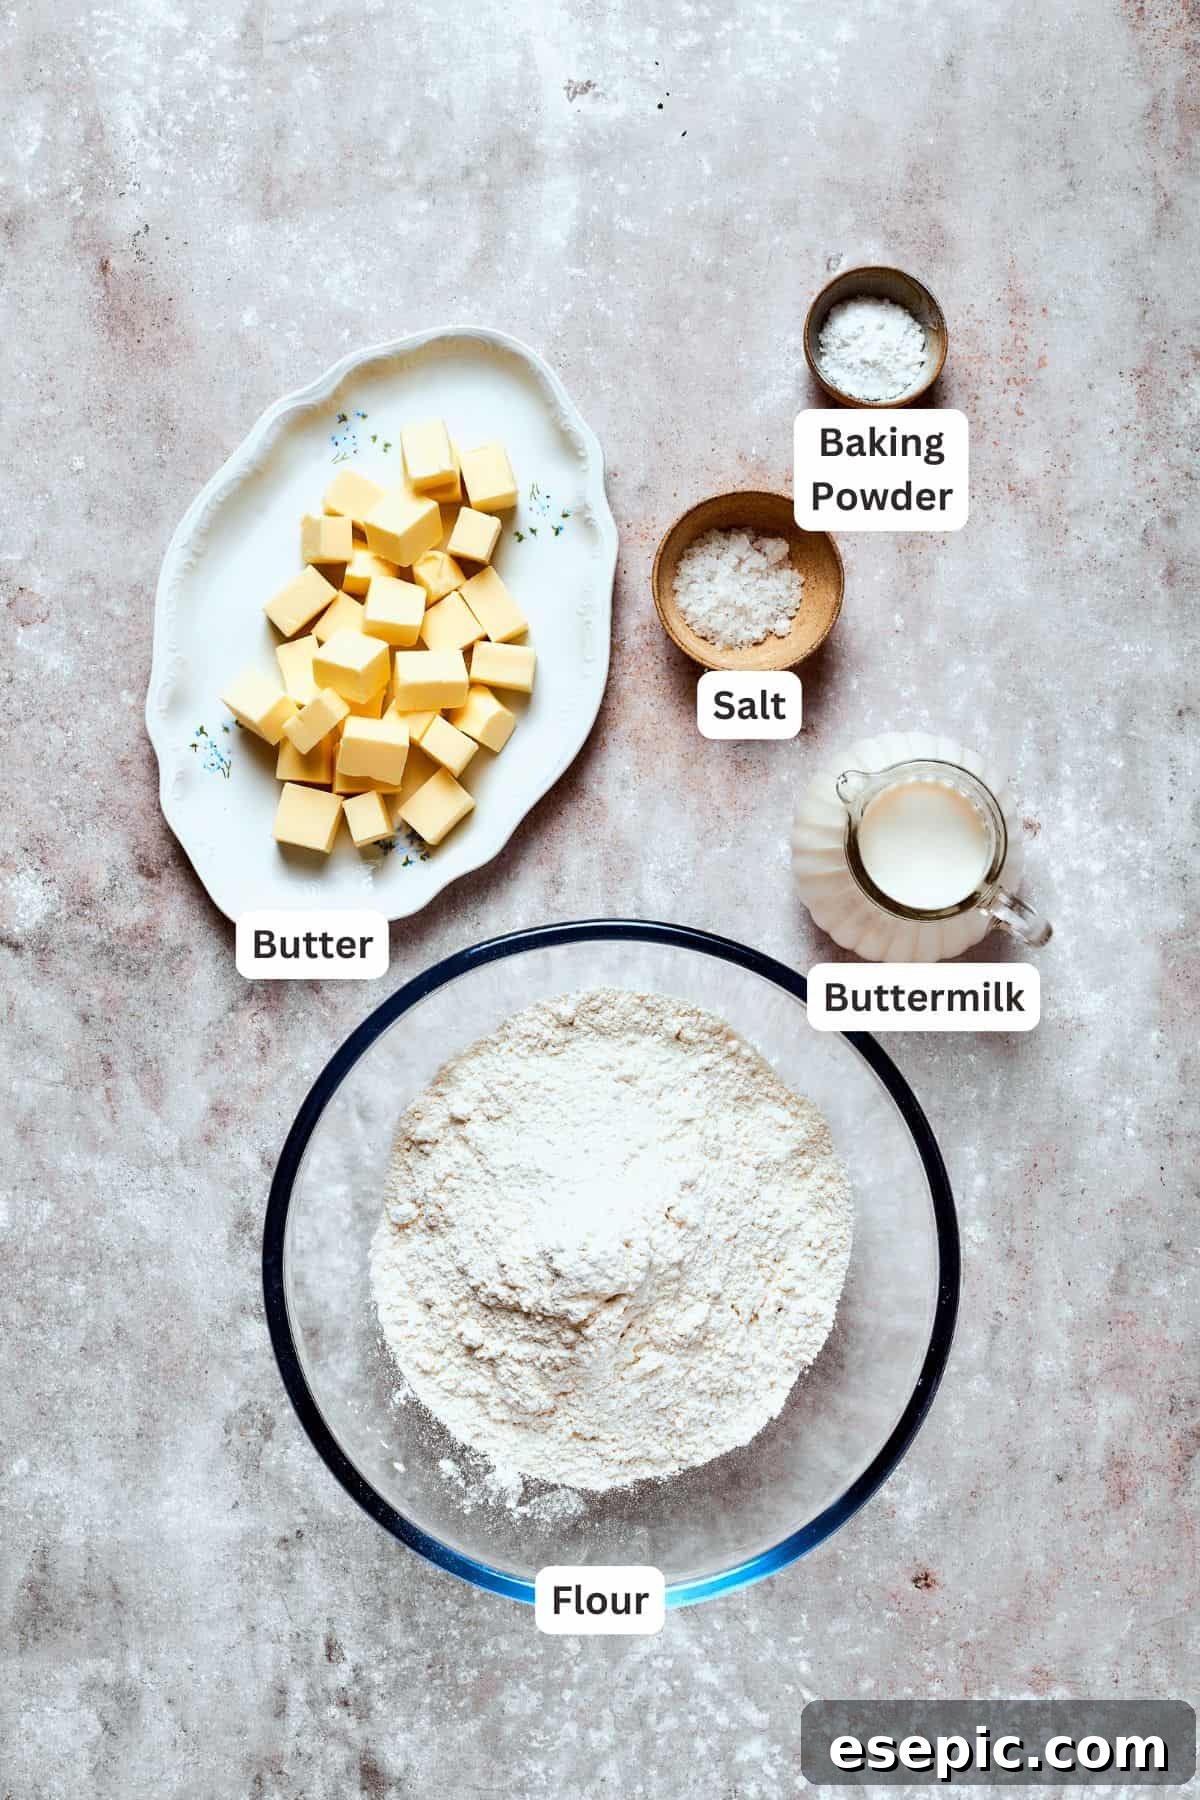
For the Fluffy Buttermilk Biscuits
- Cold Unsalted Butter: Key to flaky biscuits! Using cold, unsalted butter allows you to control the overall saltiness of the dish while ensuring tender, airy layers in your biscuits.
- Dry Ingredients: A precise blend of all-purpose flour, baking powder, and salt ensures your biscuits rise beautifully and have a balanced flavor.
- Buttermilk: The secret to truly tender and tangy biscuits. If you don’t have buttermilk readily available, you can easily make a homemade substitute: combine 1 tablespoon of lemon juice or white vinegar with 1-1/4 cups of regular milk. Let the mixture sit for about 5 minutes until it curdles slightly, then stir and use it as directed.
How to Craft Your Perfect Chicken Pot Pie Casserole
Ready to bring this comforting masterpiece to life? Let’s walk through the steps to create a show-stopping chicken pot pie casserole. This guide offers a clear, step-by-step approach. Remember to refer to the full recipe card below for precise measurements and detailed instructions.
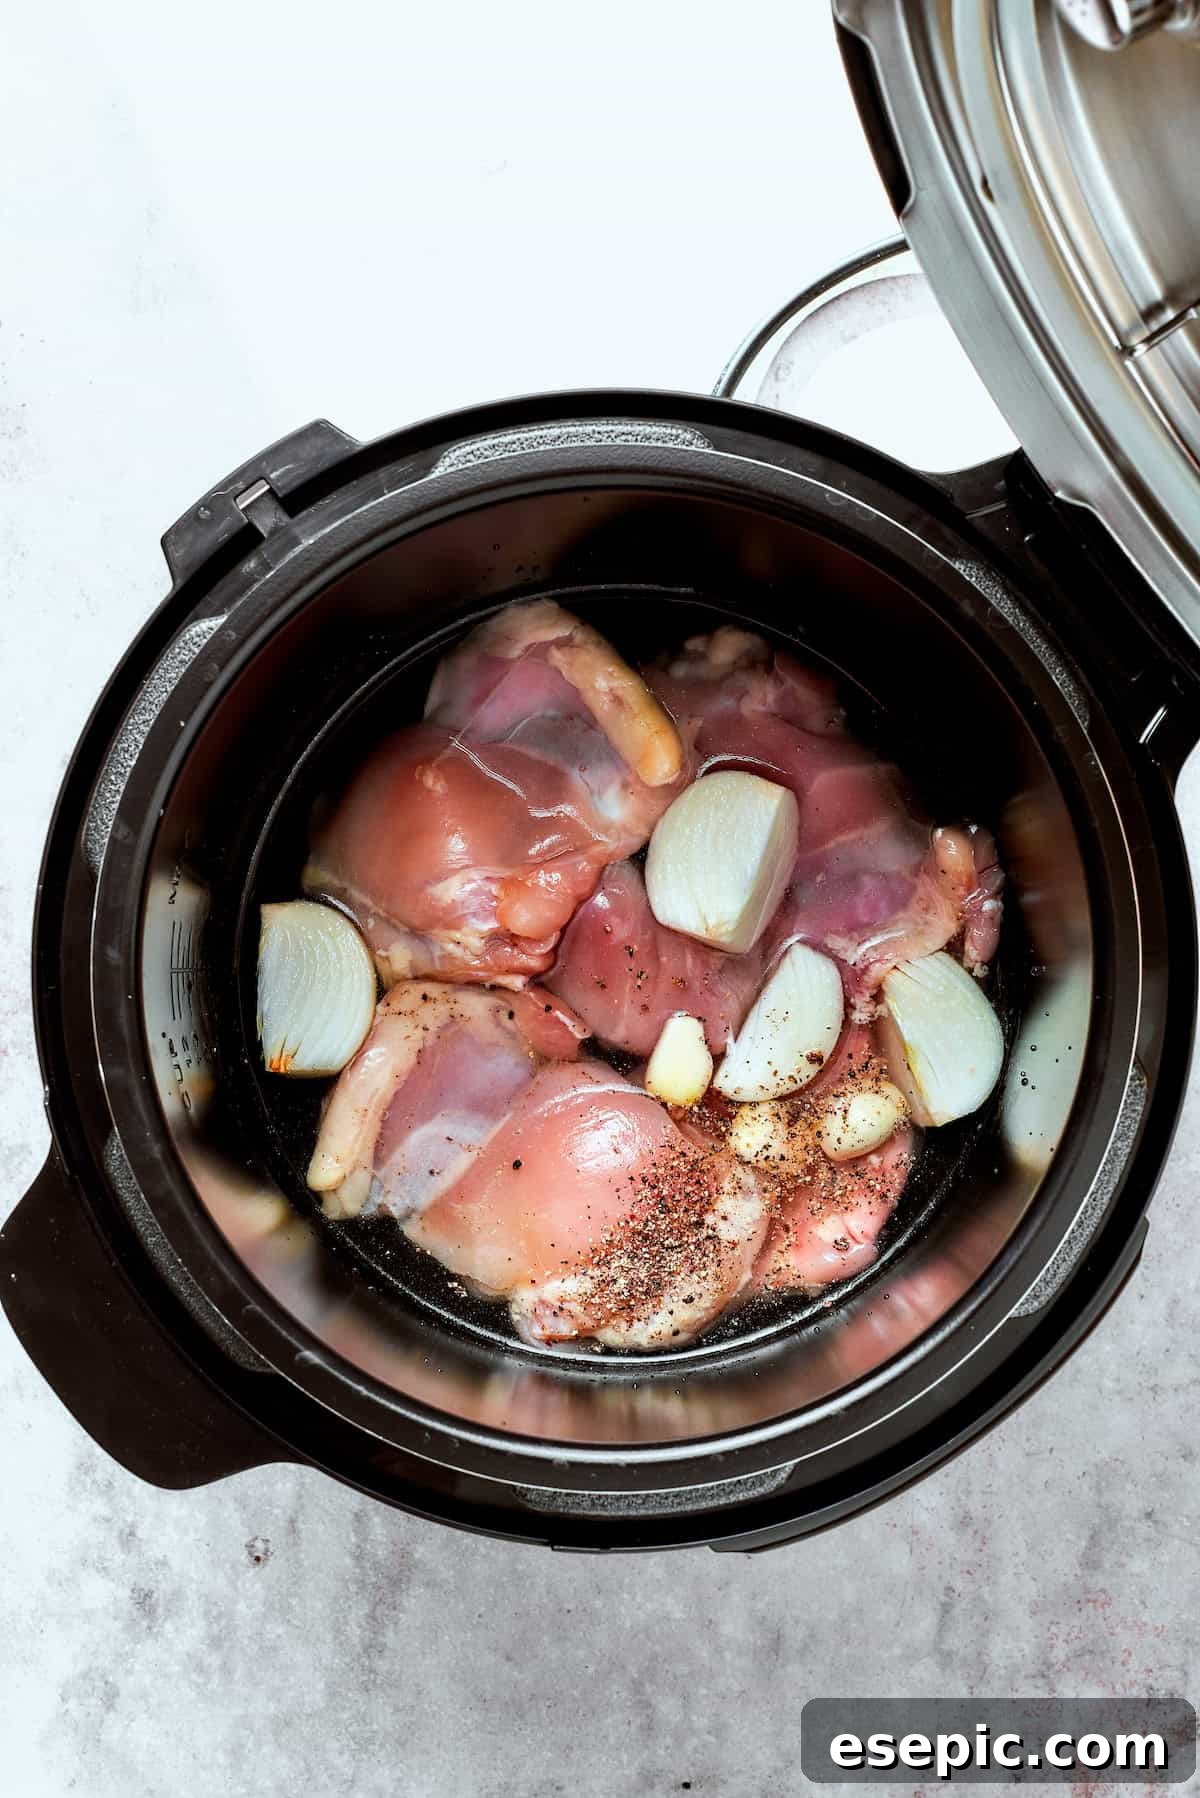
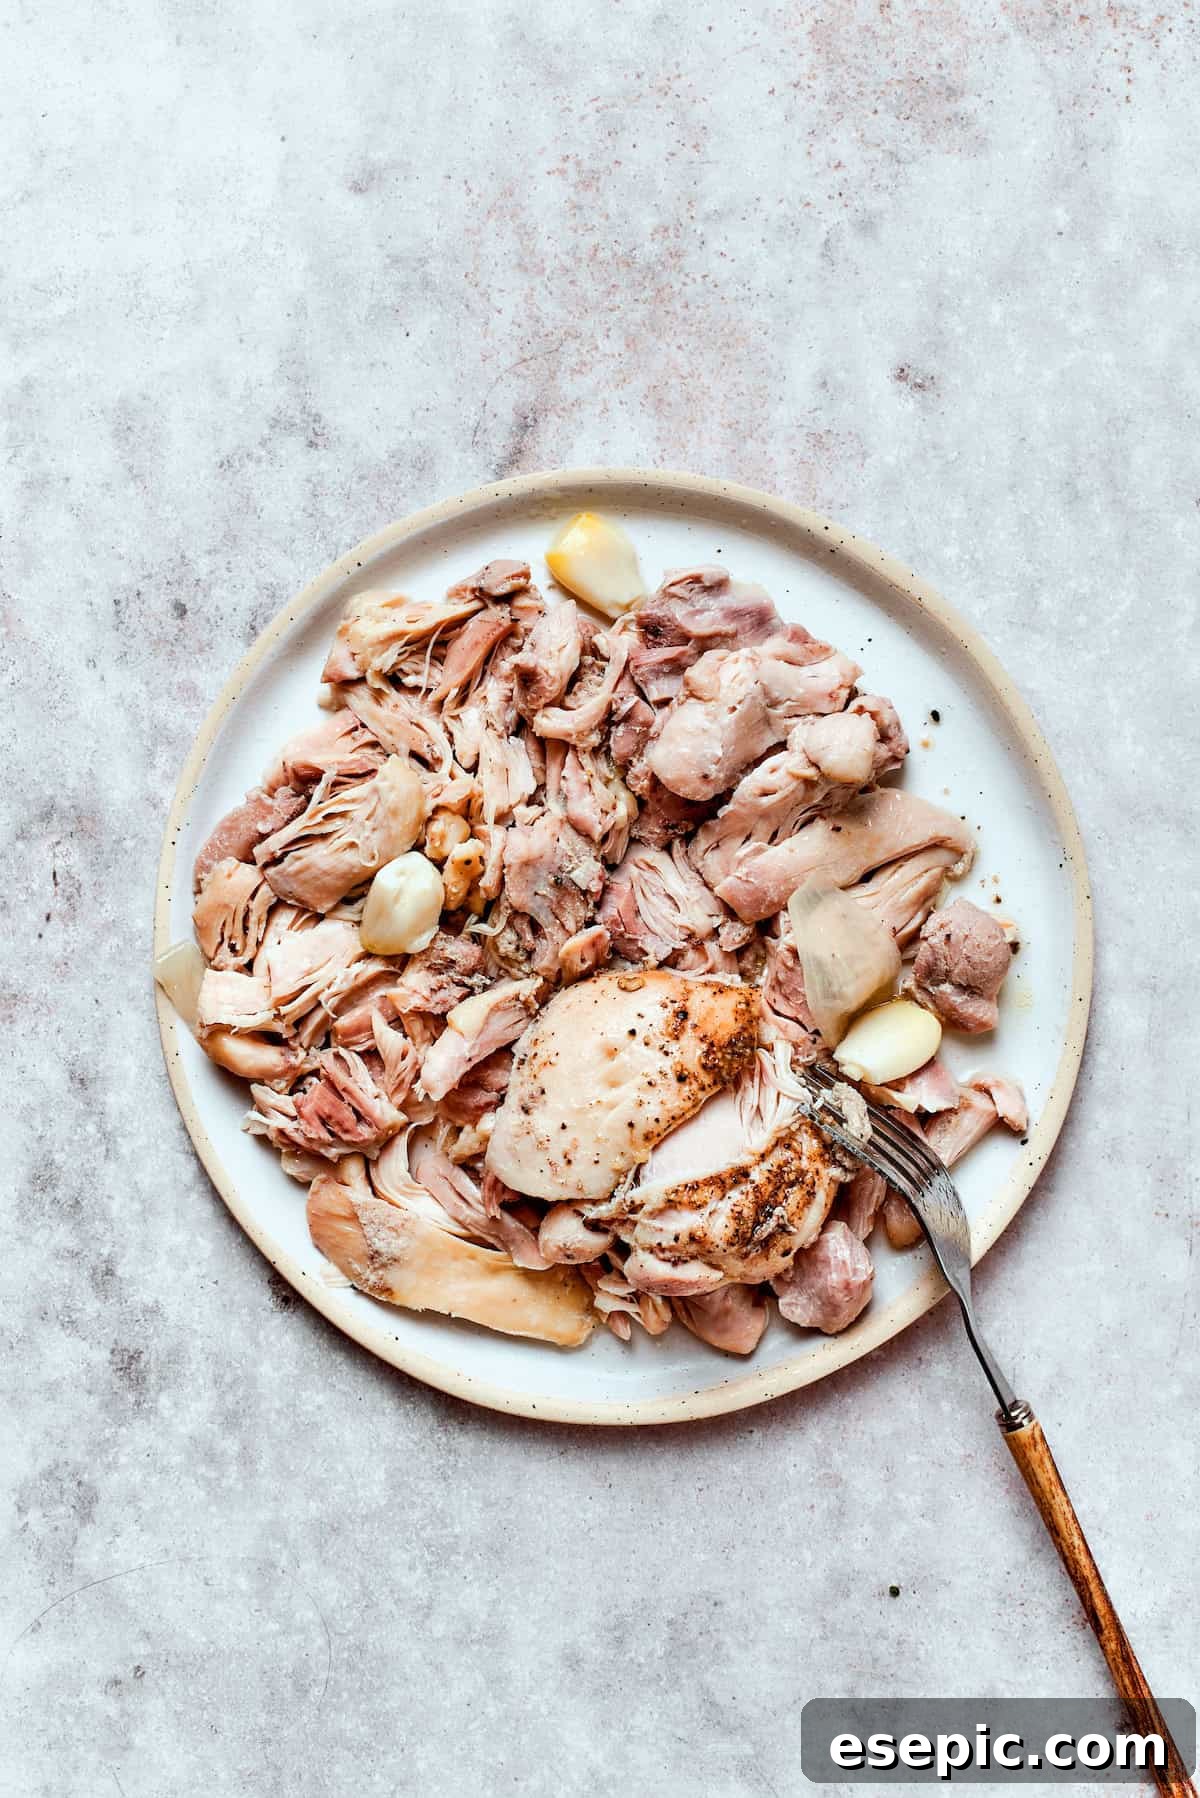
First, Cook the Chicken to Perfection
- Prepare the Instant Pot: Place the chicken thighs, a quartered onion, garlic cloves, salt, pepper, and water into your Instant Pot. Stir gently to combine all the ingredients.
- Pressure Cook: Secure the lid on the Instant Pot and set it to high pressure for 15 minutes. Once the cooking time is complete, carefully perform a manual pressure release. Discard the onion and garlic (their flavors have infused the broth), retaining only the tender chicken.
- Shred the Chicken: Transfer the cooked chicken to a clean cutting board. Using two forks, easily shred the chicken into bite-sized pieces. Set it aside while you prepare the creamy filling.
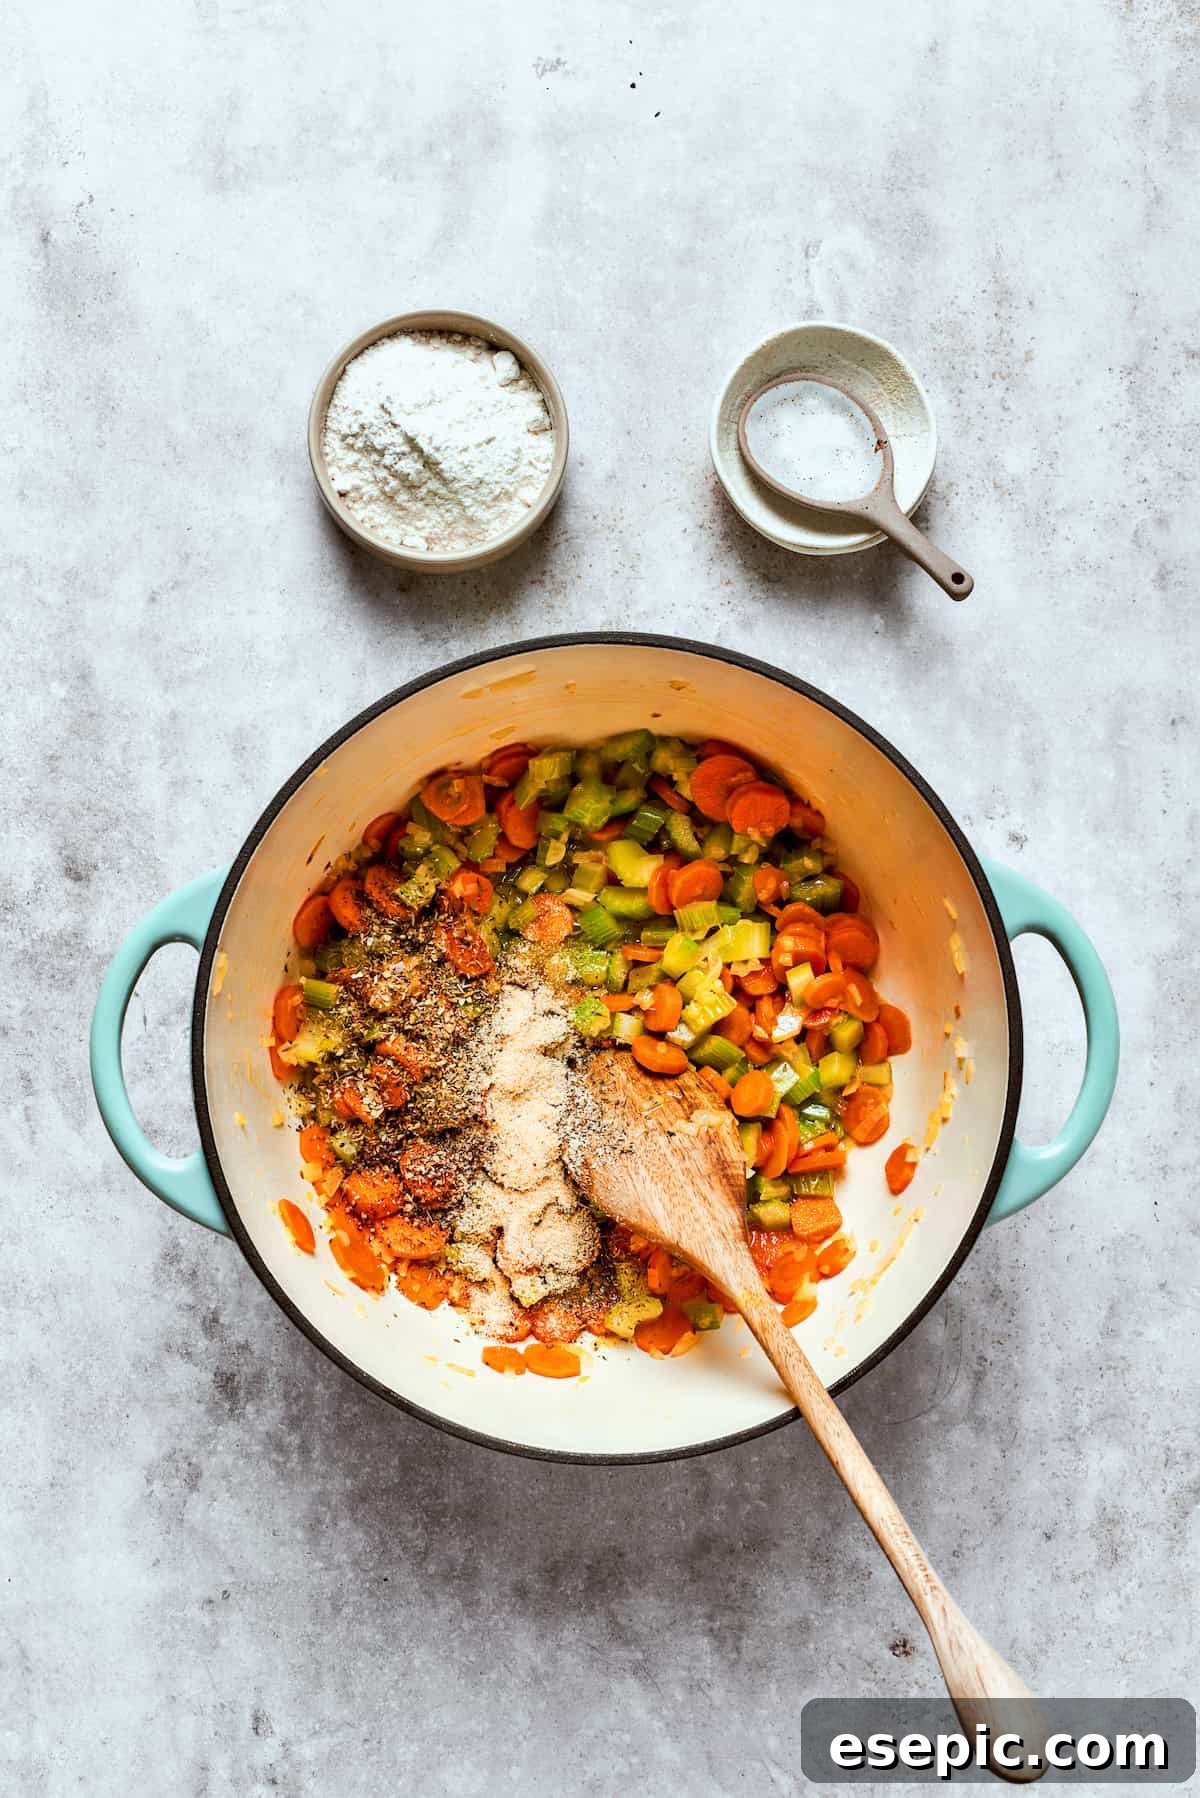



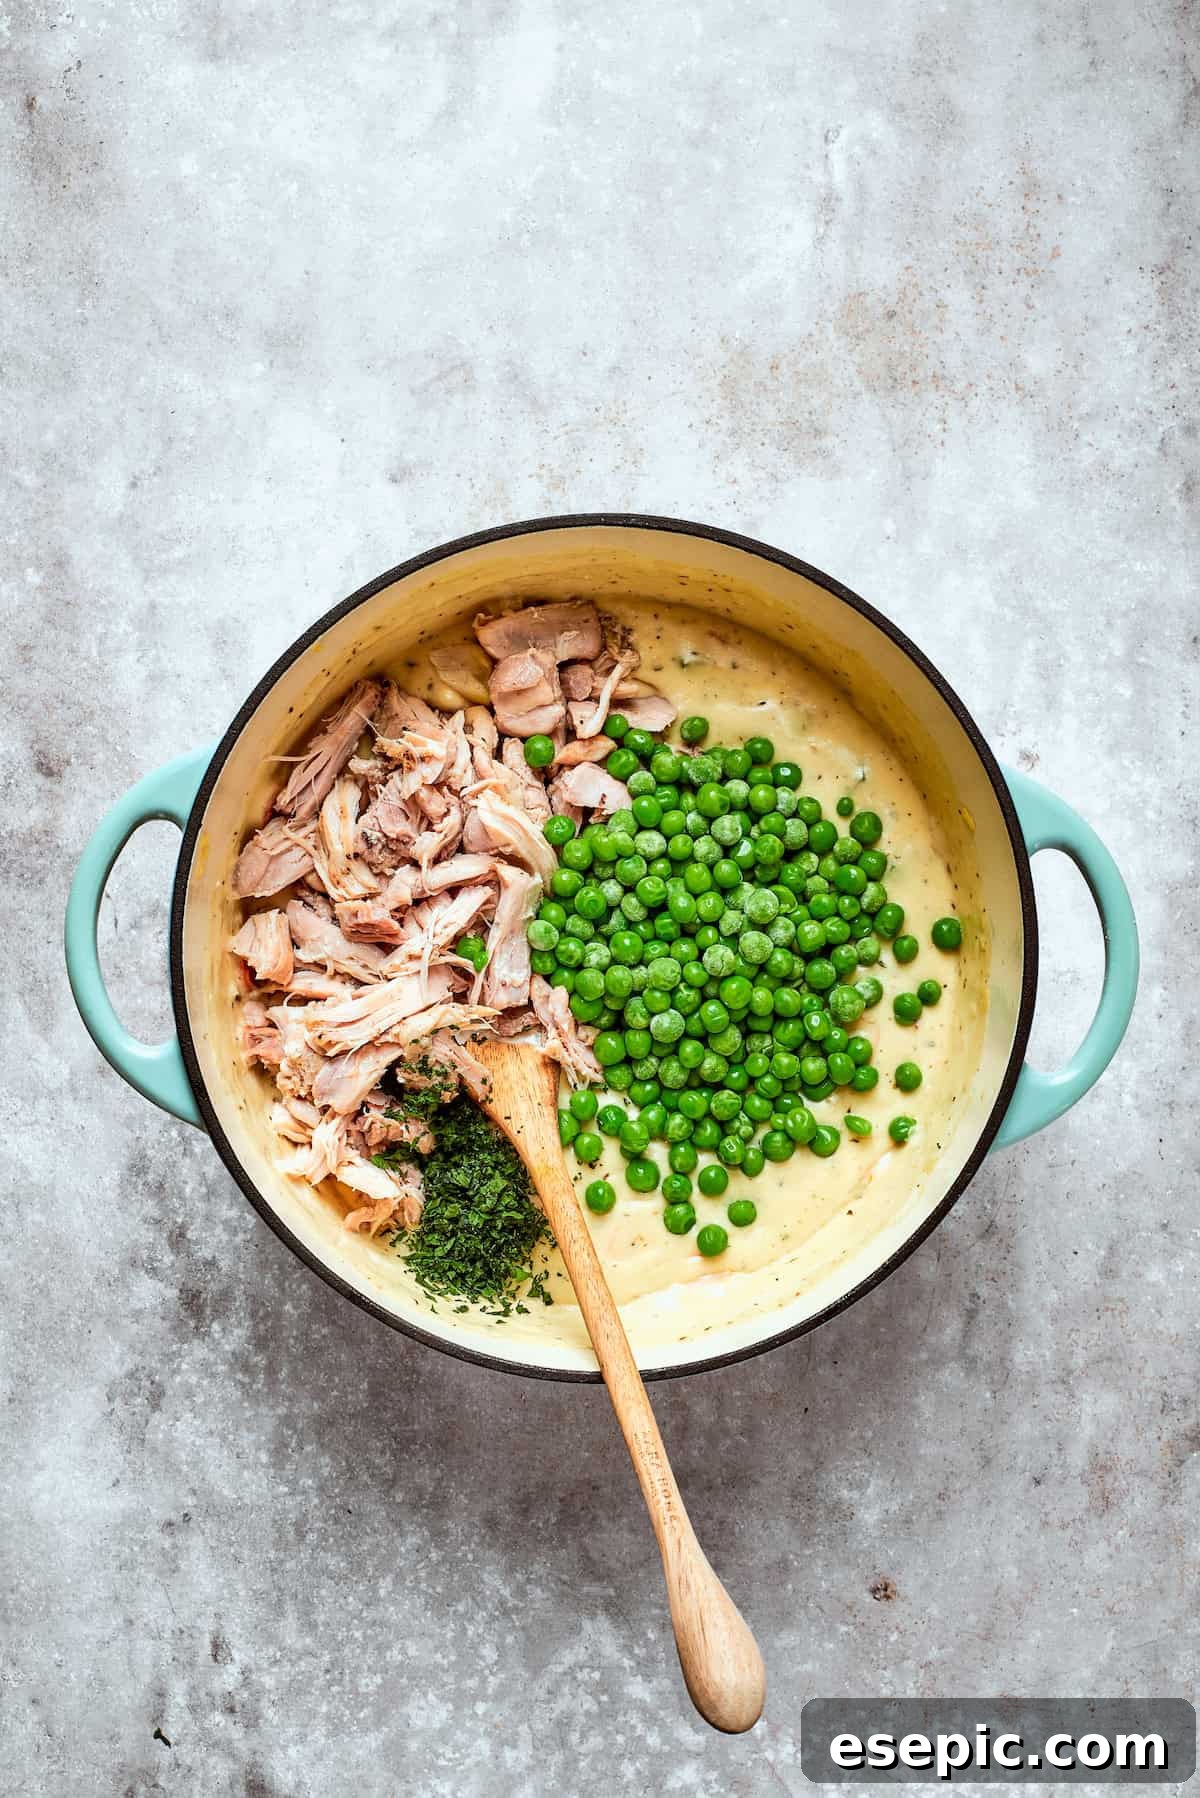
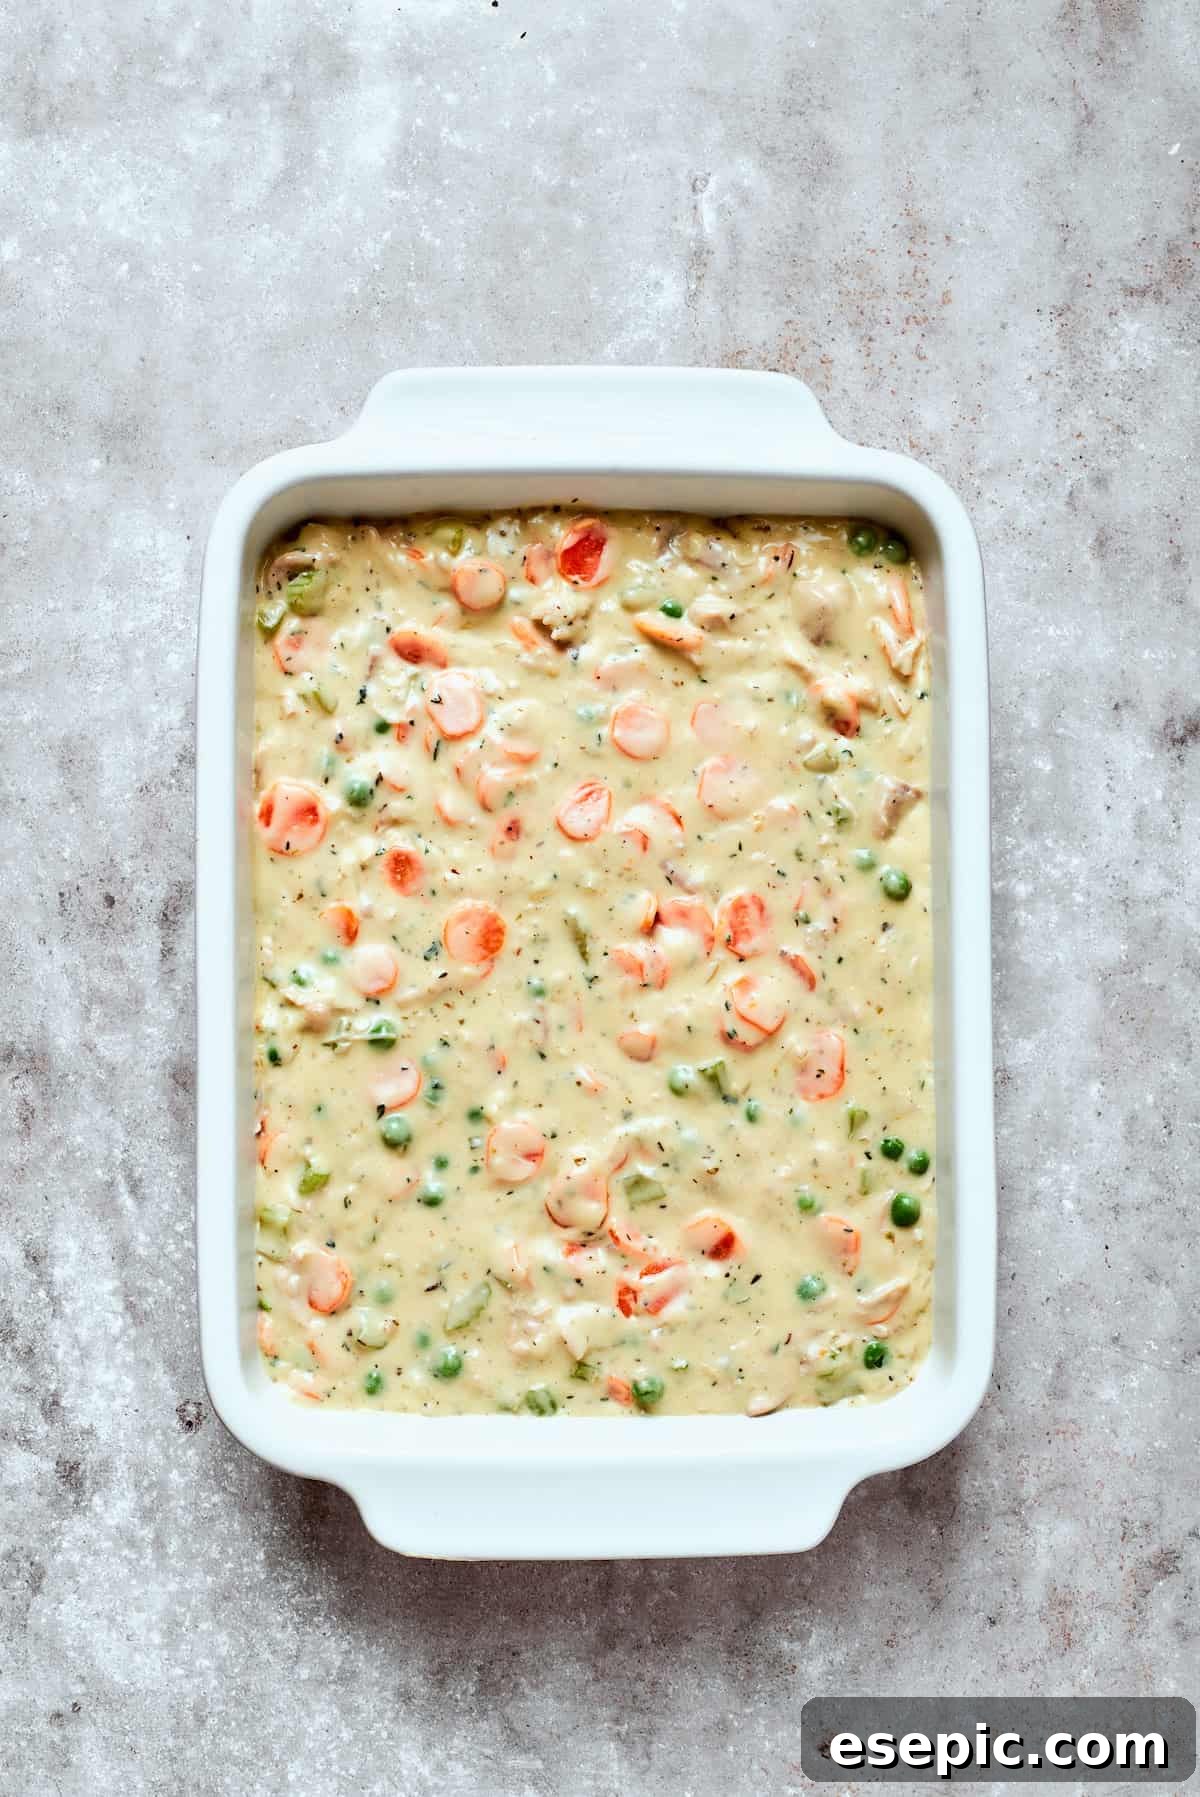
Next, Create the Rich and Creamy Filling
- Sauté the Vegetables: In a large, heavy-bottomed saucepan, melt the butter over medium heat. Add the sliced carrots, chopped onion, and celery. Season with a pinch of salt and sauté until the vegetables have softened, about 5-7 minutes.
- Build the Sauce: Stir in the black pepper, garlic powder, dried thyme, and dried oregano. Cook for another 30 seconds, allowing the spices to become fragrant. Sprinkle in the all-purpose flour and cook for 1 minute, stirring constantly, to create a roux. Gradually whisk in the chicken stock, followed by the half-and-half. Bring the mixture to a gentle boil, then reduce the heat to low and simmer, stirring occasionally, until the filling has thickened to a luscious consistency.
- Achieve Ultimate Creaminess: Remove the saucepan from the heat. Stir in the softened cream cheese until it has completely melted and incorporated into the sauce, making it incredibly smooth. Then, fold in the sour cream for an added layer of tang and richness.
- Combine & Finish: Finally, stir in the frozen peas, fresh chopped parsley, and your shredded cooked chicken. Mix everything thoroughly to ensure all ingredients are evenly distributed within the creamy filling.
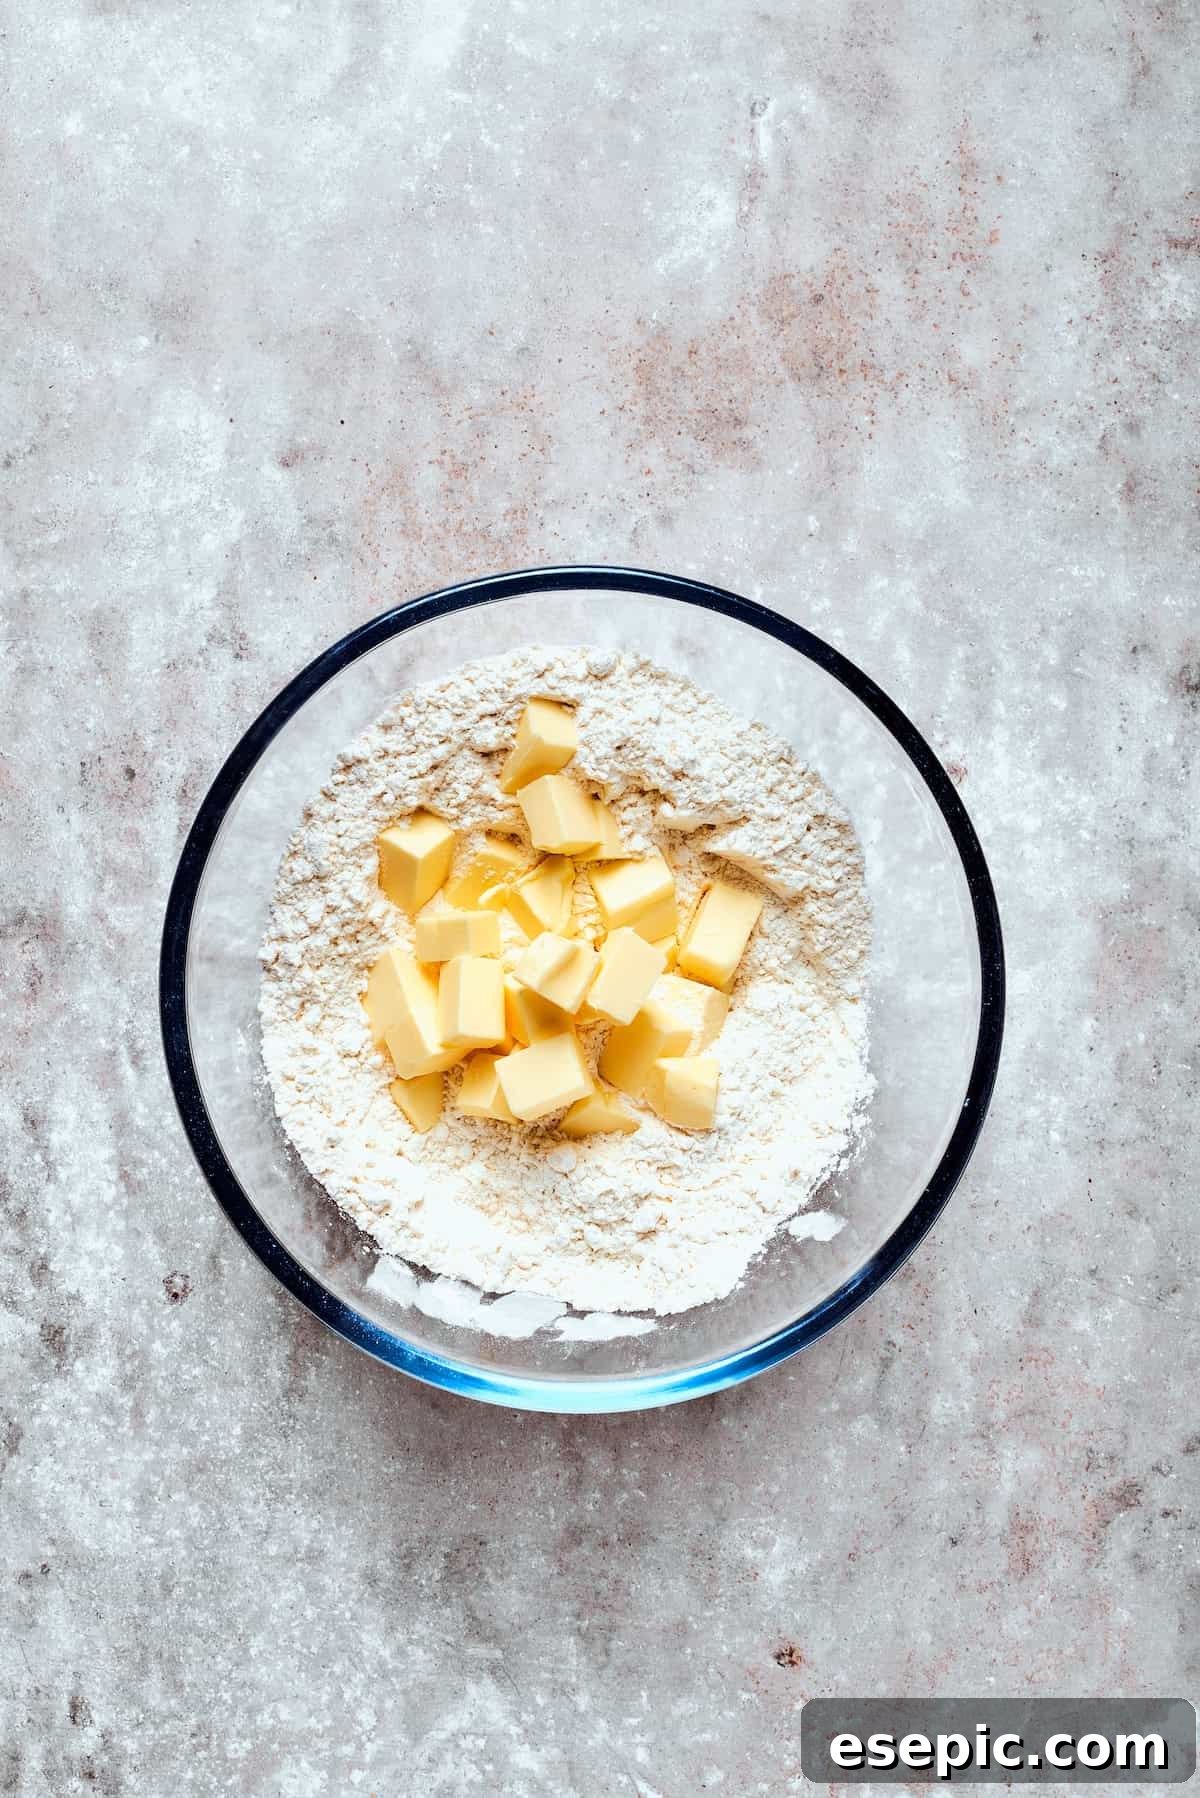
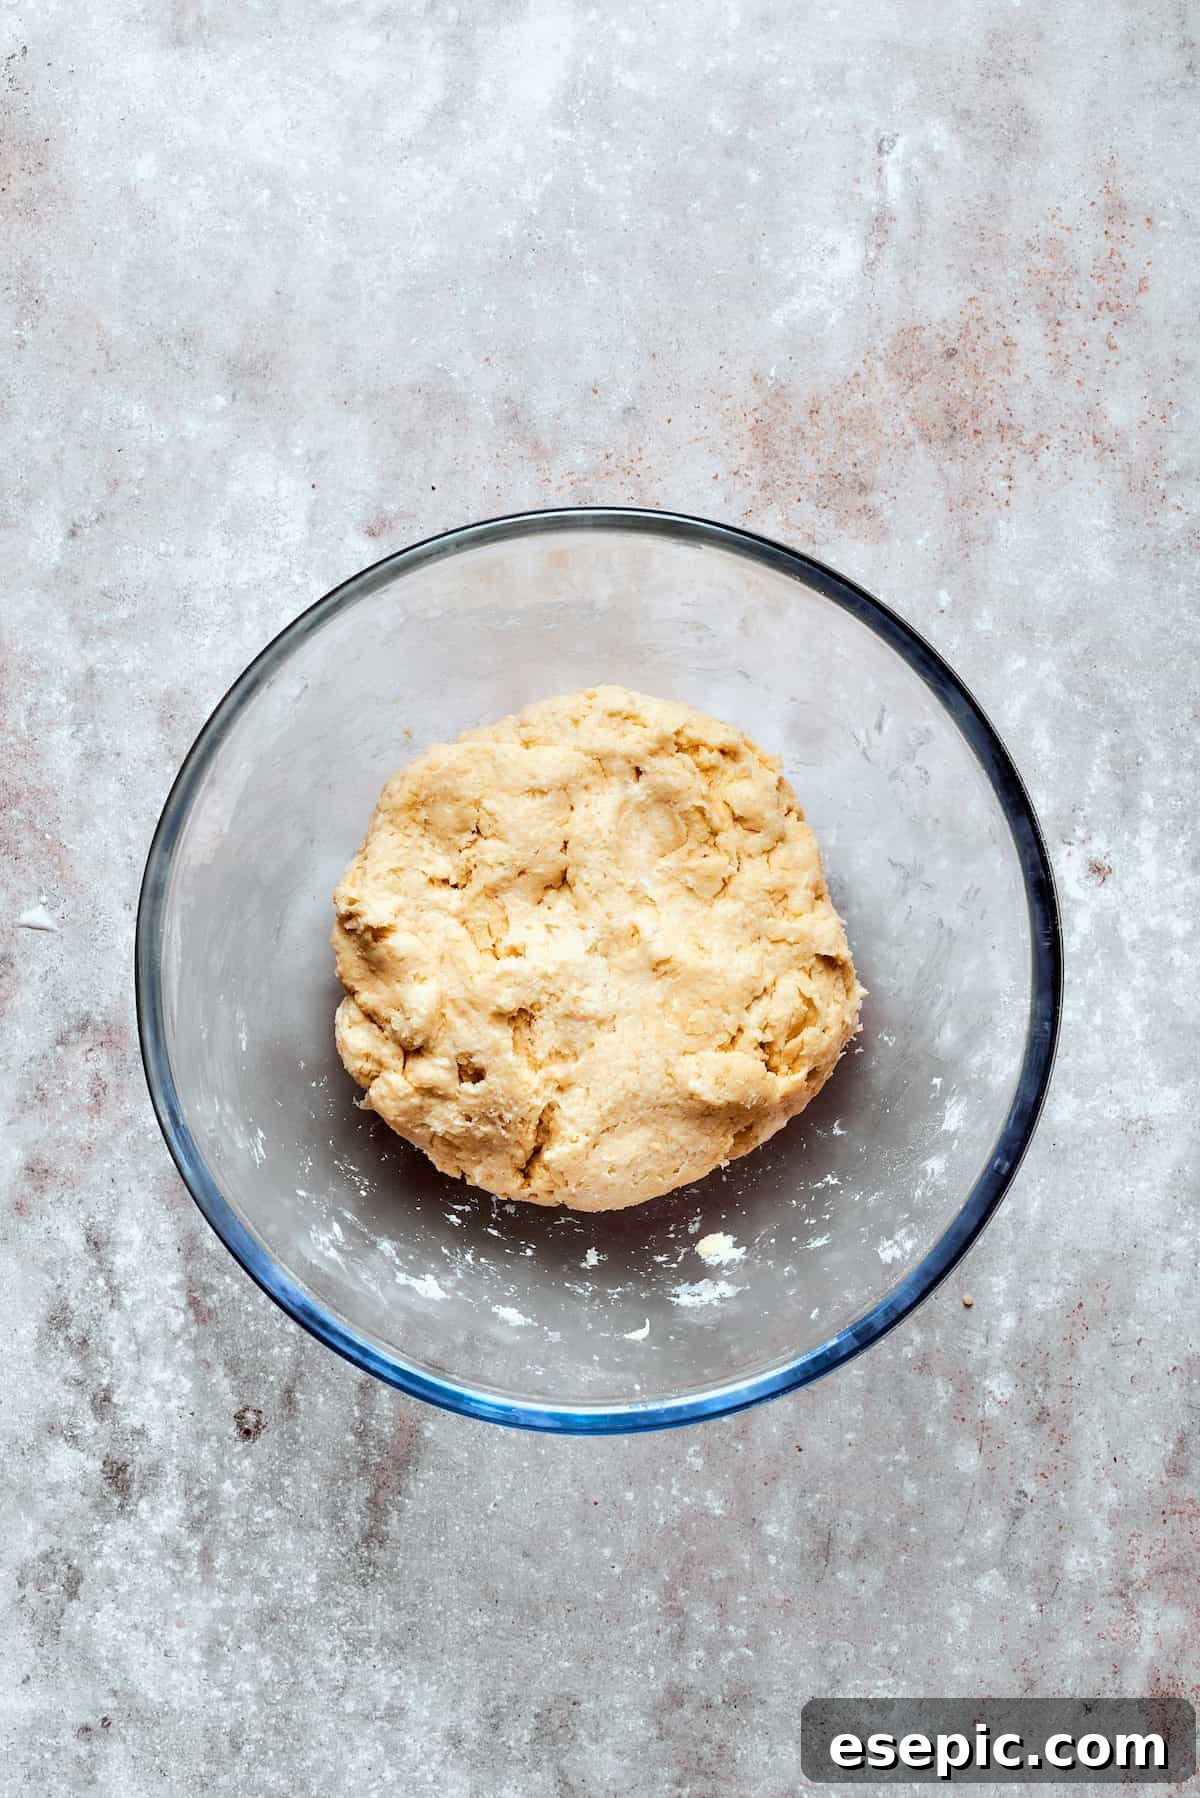


Finally, Prepare the Biscuits and Assemble the Casserole
- Preheat & Prepare: Preheat your oven to 400°F (200°C). Lightly grease a large casserole dish with butter to prevent sticking.
- Combine Dry Ingredients: In a spacious mixing bowl (or the bowl of a stand mixer), whisk together the all-purpose flour, baking powder, and salt until well combined.
- Incorporate the Butter: Add the cold, cubed butter to the dry ingredients. Using your fingertips, a pastry blender, or the low speed of a stand mixer, work the butter into the flour mixture until it resembles coarse breadcrumbs, with some pea-sized butter pieces still visible. This is crucial for flaky biscuits.
- Add Buttermilk: Pour in 1 cup of the buttermilk. Mix just until the dough comes together; be careful not to overmix, as this can lead to tough biscuits.
- Shape the Biscuits: Turn the dough out onto a lightly floured work surface. Gently pat or roll the dough flat to about ½-inch thickness. Fold the dough over itself into thirds (like a letter) and roll flat again. Repeat this folding and rolling process once more to create layers. Using a round biscuit cutter, cut out 14 circles.
- Assemble the Casserole: Pour the creamy chicken filling into the prepared casserole dish, spreading it evenly. Arrange 12 of the biscuit circles on top of the filling in three rows of four. You’ll have 2 biscuits leftover – you can bake these separately alongside the casserole or on a small baking sheet at 400°F (200°C) for about 20 minutes, until golden and fluffy, for a little chef’s treat!
- Bake to Golden Perfection: Brush the tops of the biscuits with the remaining ¼ cup of buttermilk. Transfer the casserole to the preheated oven and bake for 25-30 minutes, or until the biscuits are golden brown and puffed, and the filling is bubbling invitingly around the edges.
- Rest and Serve: Once baked, remove the casserole from the oven and let it rest for 5 to 10 minutes before serving. This allows the filling to set slightly, making it easier to serve and preventing it from being too runny.

Expert Tips & Creative Variations for Your Casserole
Elevate your chicken pot pie casserole with these helpful tips and imaginative variations:
- The Biscuit Cutter Twist: For perfectly formed, high-rising biscuits, press your biscuit cutter straight down into the dough without twisting. Twisting can seal the edges of the dough, preventing it from rising to its full potential.
- Preventing Over-Browning: If you notice the biscuit tops are browning too quickly before the casserole is fully heated through, lightly tent the casserole dish with aluminum foil. This protects the biscuits while allowing the filling to continue cooking evenly.
- Speedy Chicken Prep: Short on time? Opt for a pre-cooked rotisserie chicken from your local grocery store. Simply shred the meat and incorporate it into the filling, skipping the Instant Pot step. You can also use leftover baked chicken thighs or any cooked chicken you have on hand.
- Alternative Proteins: This casserole is incredibly versatile. Instead of chicken, consider using leftover roasted turkey, diced cooked ham, or even browned ground pork or beef for a different flavor profile.
- Boost Your Veggies: Customize your casserole with additional vegetables. Great options include diced zucchini, chopped sautéed mushrooms, sweet corn kernels, fresh baby spinach (stirred in at the very end), or finely chopped kale. Experiment to find your favorite combinations!
- Spice It Up: For a touch of heat, add a pinch of red pepper flakes to the filling alongside your other seasonings.
- Herbaceous Twist: Beyond parsley and thyme, consider other fresh herbs like dill or rosemary for a nuanced flavor.
- Make Ahead Option: Prepare the filling completely and store it in an airtight container in the refrigerator for up to 2 days. When ready to bake, transfer to a casserole dish, prepare the fresh biscuit dough, and bake as directed. You might need to add an extra 5-10 minutes to the baking time if the filling is cold.

Perfect Serving Suggestions
This hearty chicken pot pie casserole is a meal in itself, but a few complementary sides can truly enhance the dining experience. To balance the richness, serve your casserole alongside a crisp green salad tossed with a light vinaigrette. Alternatively, fresh, vibrant vegetables like perfectly sautéed green beans, tender roasted asparagus, or light and crispy zucchini chips offer a wonderful contrast in flavor and texture.
Storing and Reheating Leftovers
While this casserole is at its absolute best fresh out of the oven, with biscuits at their crispiest, leftovers are still incredibly delicious and comforting.
- Refrigeration: Any leftover chicken pot pie casserole should be stored in an airtight container in the refrigerator for up to 3 days.
- Reheating for Best Results: For the best texture, especially for the biscuits, reheat individual portions or the entire casserole in the oven at 300°F (150°C) until warmed through, about 15-20 minutes for individual servings or 25-30 minutes for a larger portion. This method helps to re-crisp the biscuit topping. In a pinch, you can also reheat portions in the microwave, though the biscuits may soften.
- Freezing: You can freeze the baked casserole for up to 2-3 months. Allow it to cool completely, then wrap it tightly in plastic wrap and then foil. Thaw overnight in the refrigerator before reheating in the oven.
Frequently Asked Questions
Can I use pre-cooked chicken?
Absolutely! Using pre-cooked chicken, such as rotisserie chicken or leftover baked chicken, is a fantastic time-saver. Simply shred or dice about 3-4 cups of cooked chicken and stir it into the filling as directed.
Can I make this casserole gluten-free?
Yes, with a few substitutions. Use a gluten-free all-purpose flour blend for both the filling’s roux and the biscuits. Ensure your chicken stock is also gluten-free. The texture of the biscuits might vary slightly but will still be delicious.
What if I don’t have an Instant Pot for the chicken?
No problem! You can boil or bake the chicken thighs until cooked through (internal temperature of 165°F/74°C). For boiling, place chicken in a pot with water, onion, garlic, salt, and pepper, simmer until cooked, then shred. For baking, season and bake at 400°F (200°C) for 25-30 minutes.
Can I add different vegetables to the filling?
Definitely! This recipe is very adaptable. Feel free to incorporate other vegetables like corn, green beans, diced potatoes (par-boiled first), bell peppers, or spinach. Just ensure they are chopped to a similar size for even cooking.
Why are my biscuits not rising?
Several factors can affect biscuit rise. Ensure your baking powder is fresh and active. Your butter should be very cold, and avoid overworking the dough, which can develop the gluten too much and result in tough, flat biscuits. Also, make sure your oven is adequately preheated.
More Easy Casserole Recipes to Explore
If you’ve enjoyed the simplicity and deliciousness of this chicken pot pie casserole, you’re in for a treat with these other easy casserole recipes:
- Easy Cheeseburger Casserole: A hearty and savory dish that brings all the classic burger flavors to your dinner table.
- Hashbrown Casserole: A cheesy, comforting side or main dish perfect for breakfast, brunch, or dinner.
- Eggs Benedict Casserole: A fantastic make-ahead brunch option that simplifies the elegant classic.
- John Wayne Casserole: A robust, flavorful beef and vegetable casserole inspired by the Duke himself.

Chicken Pot Pie Casserole
This easy chicken pot pie casserole is everything you love about the classic comfort food, baked with fluffy biscuits in a casserole dish instead of pie crust!
Ingredients
For the chicken
- 2 pounds boneless skinless chicken thighs
- 1 yellow onion, quartered
- 3 garlic cloves
- 2 teaspoons kosher salt
- 1 teaspoon ground black pepper
- 1 cup water
For the filling
- 3 tablespoons butter
- 7 carrots, sliced into rounds
- 1 large onion, chopped
- 5 celery ribs, sliced
- 1 teaspoon salt
- ½ teaspoon black pepper
- 2 teaspoons garlic powder
- 1 teaspoon dried thyme
- 2 teaspoons dried oregano
- ½ cup all purpose flour
- 2 cups chicken stock
- 2 cups half and half
- 6 ounces cream cheese, softened at room temperature
- ½ cup sour cream
- 1 cup frozen peas
- ¼ cup chopped fresh parsley
For the biscuits
- 1 cup unsalted butter, cold and cubed
- 3 cups all-purpose flour
- 3 tablespoons baking powder
- 1¼ teaspoon salt
- 1¼ cups buttermilk, divided
Instructions
For the chicken
- Load the Instant Pot: Add the chicken, onion, garlic, salt, pepper, and water to the Instant Pot and stir to combine.
- Cook: Seal the Instant Pot and cook on high pressure for 15 minutes. Manually release the pressure when the time is up and discard everything but the chicken.
- Shred: Transfer the chicken to a cutting board and shred it with 2 forks. Set aside.
For the filling
- Saute the veggies: Melt the butter in a large, heavy bottomed saucepan over medium heat. Add the carrots, onion, and celery and season with salt. Saute until softened.
- Make it saucy: Season the veggies with pepper, garlic powder, thyme, and oregano, and stir in the flour. Cook for 30 seconds. Stir in the chicken stock, followed by the half and half. Bring the mixture to a light boil, reduce the heat to low, and simmer until the filling has thickened.
- Make it creamy: Turn the heat off and stir in the cream cheese. Keep stirring until it has fully melted into the sauce. Stir in the sour cream.
- Put it all together: Stir in the frozen peas, parsley, and shredded chicken.
To make the biscuits and finish the casserole
- Prep: Preheat the oven to 400°F and grease a casserole dish with butter.
- Cube the butter: Cube the butter and store it in the fridge while you prep the dry ingredients.
- Combine the dry ingredients: In a large bowl or the bowl of a standup mixer, combine the flour, baking powder, and salt and mix together on low speed.
- Add the butter: Add the chilled butter. Work it into the dry ingredients with your fingers or on low speed until the cubes of butter are spread evenly throughout the flour mixture and resemble coarse breadcrumbs.
- Add the buttermilk: Mix 1 cup buttermilk into the dough until just incorporated.
- Roll out the dough: Turn the dough out onto a well floured work surface and roll it flat with a rolling pin. Fold the dough over itself into thirds and roll flat again. Repeat.
- Cut the dough into biscuits: Cut the dough into 14 circles and set aside.
- Assemble the casserole: Pour the filling into the casserole dish and top with 12 biscuits (you’ll have 3 rows of 4). You will have 2 biscuits leftover. Feel free to bake them separately at 400°F for 20 minutes or until golden brown and fluffy.
- Bake: Brush the biscuits with the remaining ¼ cup buttermilk and bake for 25 minutes or until golden brown.
- Serve: Pull it out of the oven and let it rest for 5 to 10 minutes before servings.
Nutrition Information (Estimated Per Serving)
- Calories: 965 kcal
- Carbohydrates: 63g
- Protein: 33g
- Fat: 66g
- Saturated Fat: 33g
- Polyunsaturated Fat: 6g
- Monounsaturated Fat: 20g
- Trans Fat: 1g
- Cholesterol: 238mg
- Sodium: 2246mg
- Potassium: 894mg
- Fiber: 6g
- Sugar: 11g
- Vitamin A: 10776 IU
- Vitamin C: 15mg
- Calcium: 499mg
- Iron: 5mg
Nutritional info is an estimate and provided as courtesy. Values may vary according to the ingredients and tools used. Please use your preferred nutritional calculator for more detailed info.