
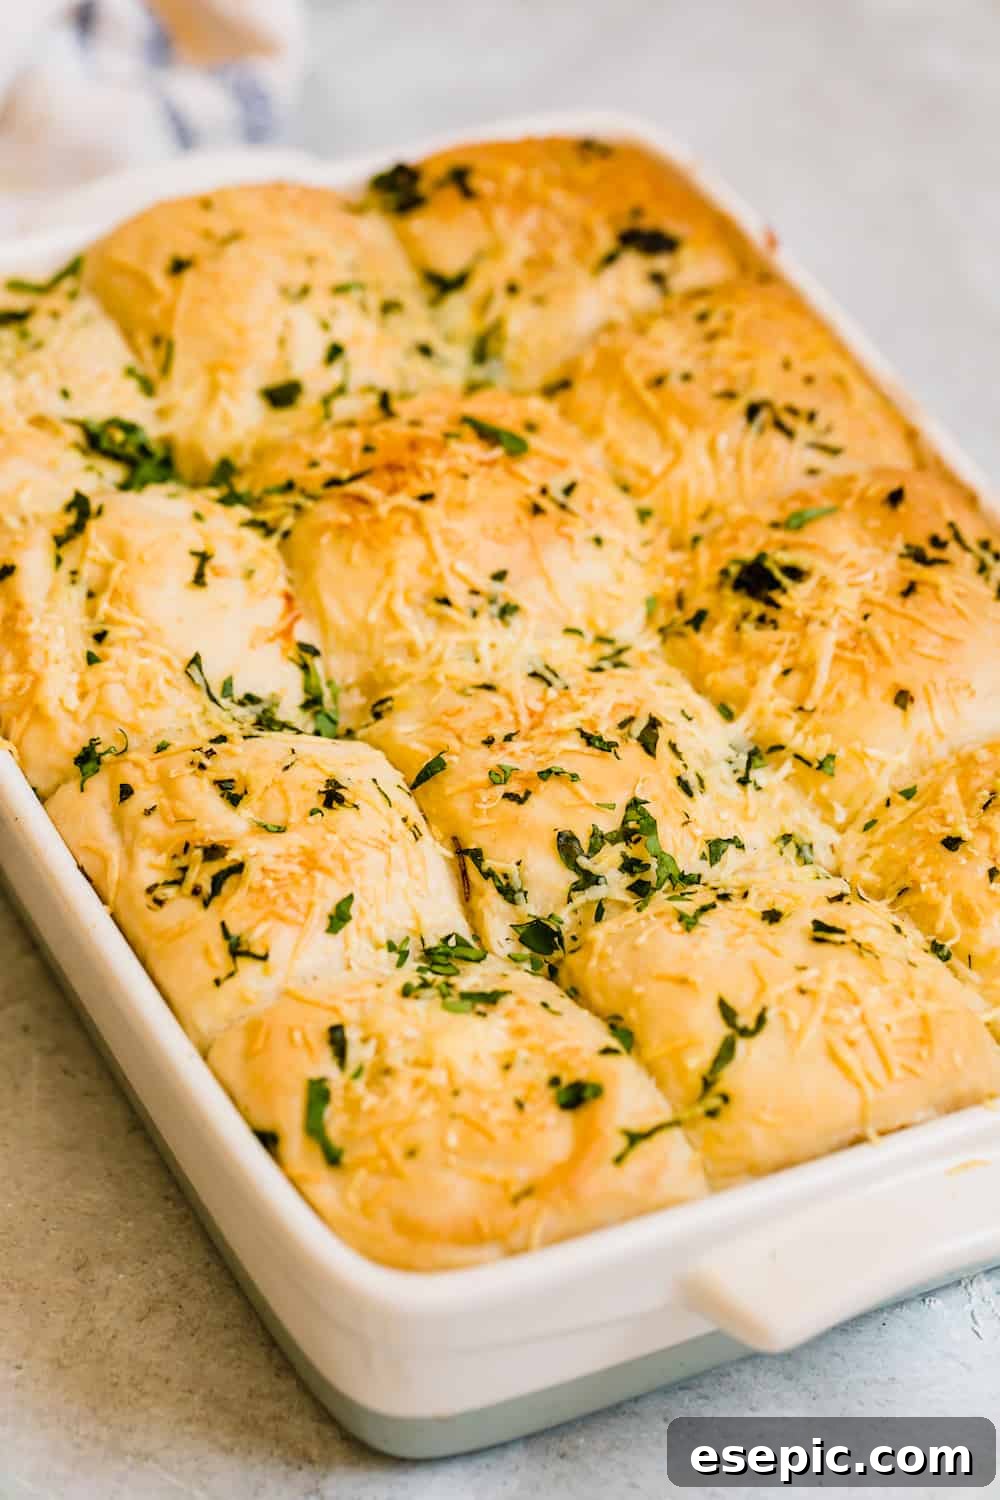
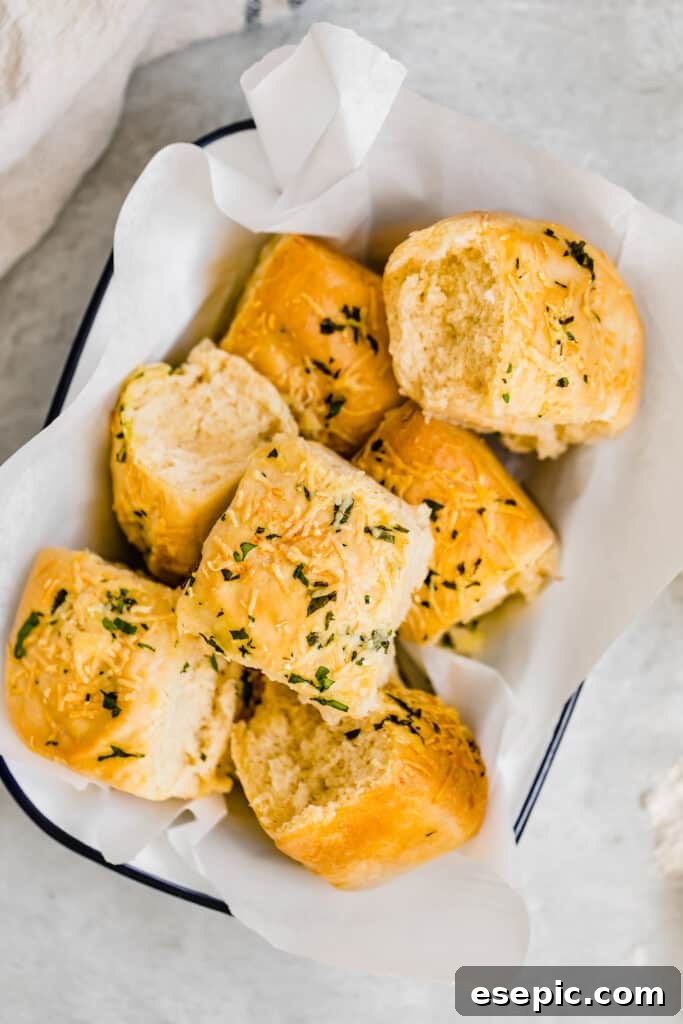
Indulge in the comforting embrace of homemade bread with these exquisite Soft Parmesan Dinner Rolls. Perfectly golden-brown, boasting an irresistibly tender crumb, and delicately infused with the savory notes of Parmesan cheese and fresh parsley, these rolls are more than just a side dish—they’re an experience. Each bite delivers a buttery richness that complements any meal, transforming an ordinary dinner into a special occasion. Whether served alongside a festive holiday feast or as an elegant addition to a weeknight meal, these rolls are guaranteed to become a cherished recipe in your culinary repertoire.
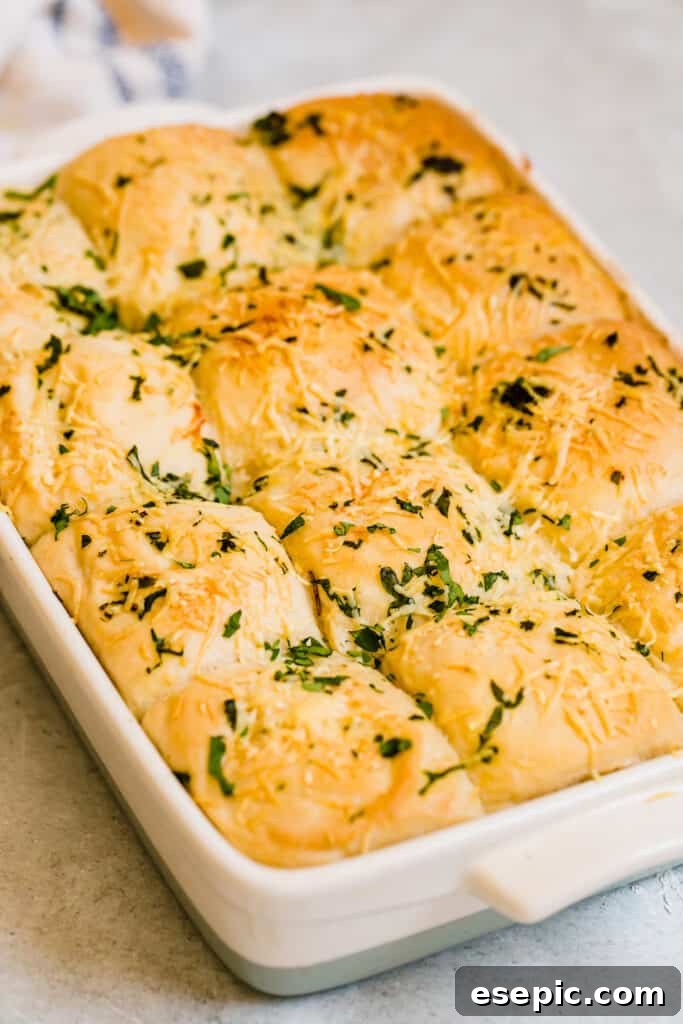
The Allure of Soft & Fluffy Homemade Dinner Rolls
There’s an undeniable magic that comes with baking homemade yeast rolls. It’s not just about the incredible taste and texture; it’s about the entire sensory journey. The gentle warmth as you knead the dough, the intoxicating aroma that gradually fills your kitchen, and the sheer satisfaction of presenting a basket of beautifully risen, golden-brown rolls to your family and friends. While I may reserve the full homemade bread experience for special gatherings and holiday meal planning, the joy it brings is unparalleled. These Soft Parmesan Dinner Rolls elevate that experience even further.
Beyond the simple pleasure of a basic fluffy roll, this recipe introduces a subtle yet impactful twist: the inclusion of finely shredded Parmesan cheese and fresh, vibrant parsley. These two ingredients transform a classic into something truly extraordinary. The Parmesan adds a delicate umami depth and a hint of nutty saltiness, while the parsley introduces a fresh, herbaceous note that brightens the overall flavor profile. Together, they create a harmonious blend that makes these rolls utterly addictive and perfectly suited for a variety of savory dishes.
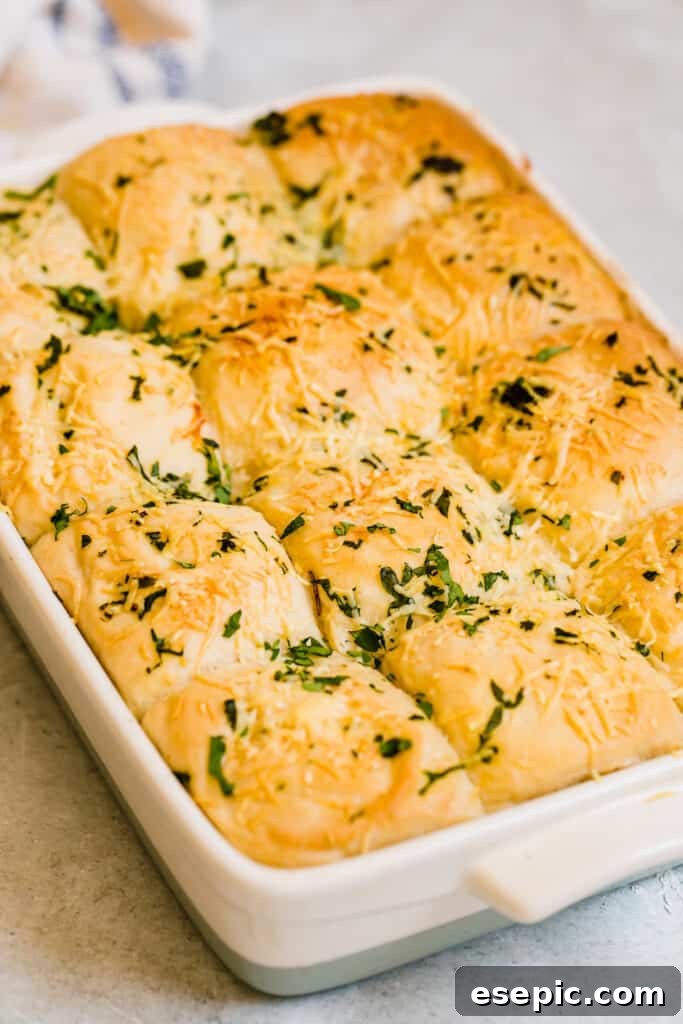
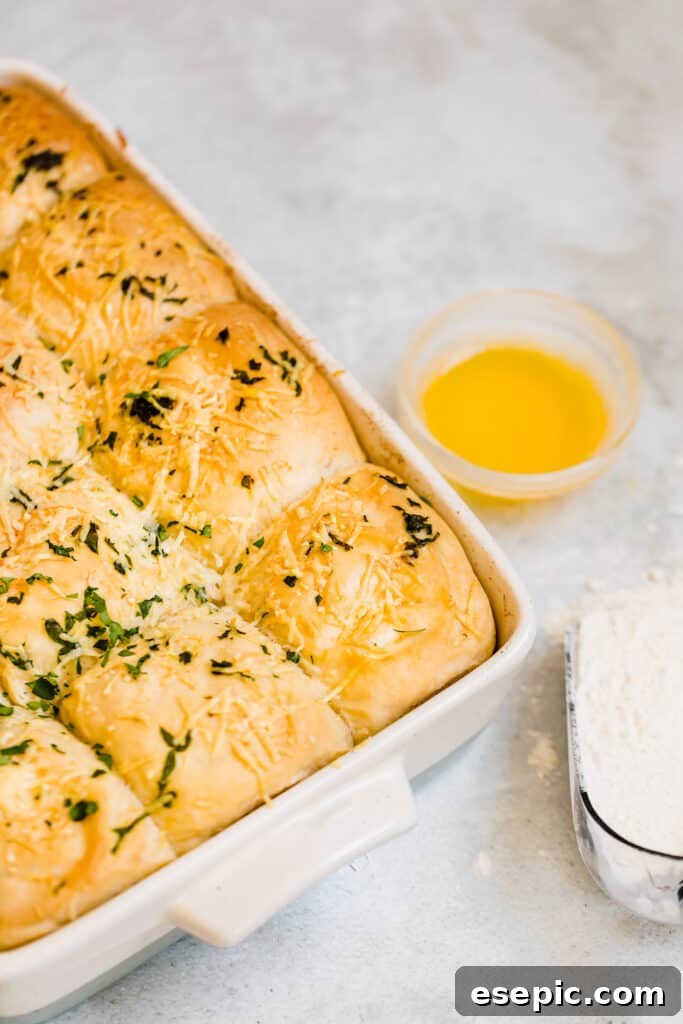
Essential Ingredients for Your Parmesan Rolls
Crafting these delectable dinner rolls requires a selection of common pantry staples, each playing a crucial role in achieving the perfect texture and flavor. Here’s a closer look at what you’ll need and why:
- Water & Milk: A combination of 1 cup of warm water and 1/2 cup of warm milk forms the liquid base. The warmth is vital for activating the yeast, but ensure it’s not hot, which could kill the yeast. Milk adds richness and helps create a softer crumb, contributing to that desirable fluffy texture.
- Butter: Two tablespoons of melted butter lend incredible tenderness, moisture, and a luxurious flavor to the rolls. It’s a key ingredient for achieving that melt-in-your-mouth quality.
- Sugar: Just 1 tablespoon of granulated sugar serves as food for the yeast, helping it to activate and grow, which leads to a good rise. It also contributes to the golden-brown crust and subtly balances the savory flavors. You can substitute with raw sugar, a touch of honey, or maple syrup for a slightly different sweetness.
- Yeast: 1 tablespoon of active dry yeast is the leavening agent responsible for the rolls’ airy and fluffy texture. Always ensure your yeast is fresh and active for the best results.
- Flour: You’ll need approximately 3 1/2 cups of all-purpose flour. This provides the structure for the dough. If you’re looking for a gluten-free option, a good quality gluten-free all-purpose flour blend can be substituted, though results may vary slightly in texture.
- Salt: Essential for enhancing all the other flavors, 2 teaspoons of salt also helps to control the yeast’s activity and strengthens the dough’s gluten structure.
- Parmesan Cheese: About 1/4 cup of finely shredded or grated Parmesan cheese is folded into the dough and sprinkled on top before baking. Its savory, nutty, and slightly sharp flavor is what truly defines these rolls. Always opt for fresh Parmesan if possible, as it melts beautifully and offers superior taste.
- Fresh Parsley: Finely chopped fresh parsley, approximately 1/4 cup, adds a burst of vibrant green color and a clean, herbaceous freshness that perfectly complements the rich Parmesan. Avoid dried parsley here, as fresh is key for flavor and aroma.
Crafting Your Perfect Dinner Rolls: A Step-by-Step Guide
Making homemade dinner rolls is a rewarding process, and with these detailed steps, you’ll achieve perfection every time.
- Activate the Yeast: In a spacious mixing bowl, combine your warm water, warm milk, melted butter, and sugar. Sprinkle the active dry yeast evenly over the surface of this liquid mixture. Give it a gentle whisk to ensure all the yeast comes into contact with the warm liquid. Now, allow this mixture to rest undisturbed for about 5 minutes. During this time, the yeast will “proof” – you should see a foamy layer develop on top, indicating that your yeast is active and ready to work its magic. If no foam appears, your yeast might be old or the liquid wasn’t the right temperature, and you’ll need to start again with fresh yeast.
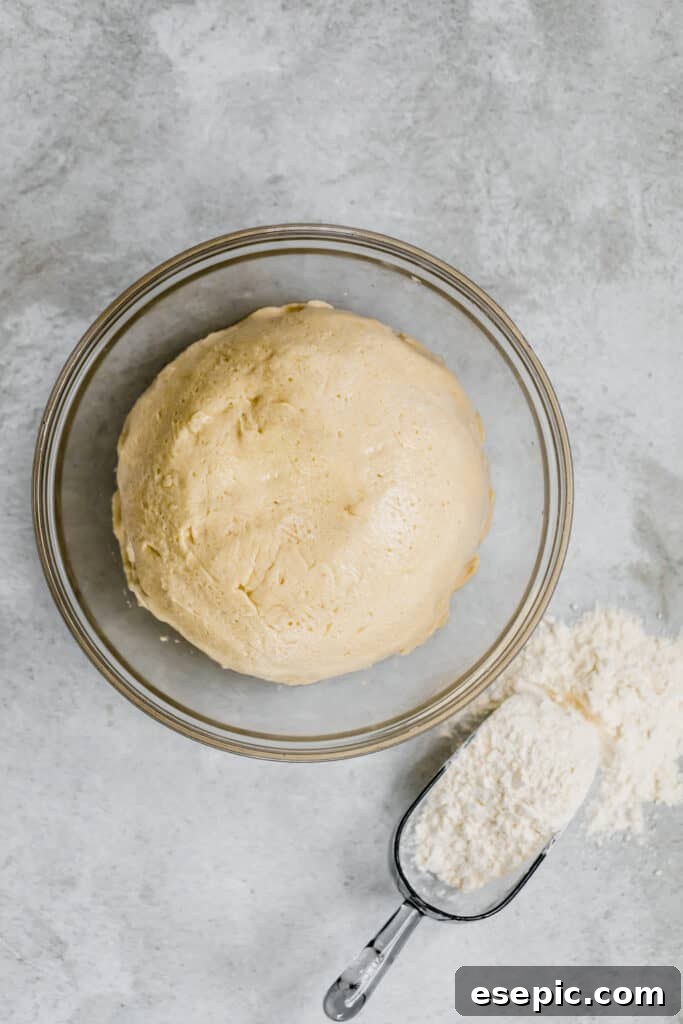
- Form and Knead the Dough: To the activated yeast mixture, add the all-purpose flour and salt. If you have an electric stand mixer with a dough hook attachment, this is the easiest way to knead. Mix on a medium-low setting for approximately 4 to 5 minutes. The dough will start shaggy and then come together, eventually becoming smooth, elastic, and pulling away cleanly from the sides of the bowl. If kneading by hand, turn the dough out onto a lightly floured surface. Knead vigorously for 8-10 minutes, pushing the dough away with the heels of your hands, folding it over, and repeating. The dough is ready when it feels very smooth, soft, and stretchy, and springs back slowly when lightly poked.
- First Rise: Once your dough has reached the desired smooth and elastic consistency, lightly grease a clean bowl with a little oil or cooking spray. Place the dough ball into the greased bowl, turning it once to coat all sides. This prevents the dough from drying out. Cover the bowl snugly with a damp kitchen towel or lightly greased plastic wrap. Allow the dough to rise in a warm, draft-free spot for 15 minutes. This initial short rise allows the gluten to relax, making the dough easier to handle and shape.
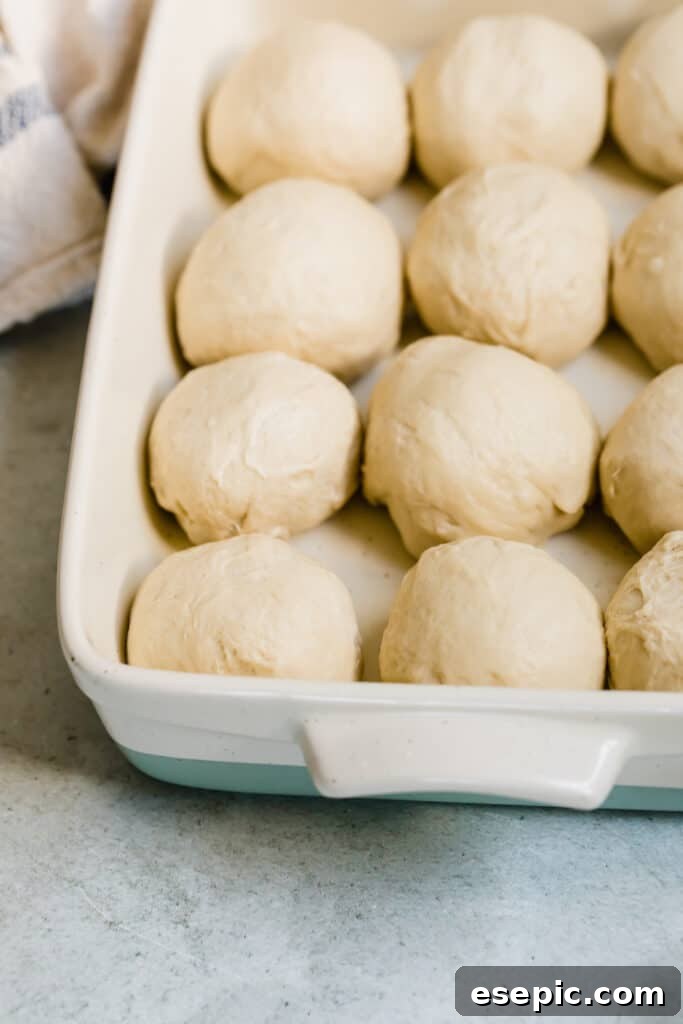
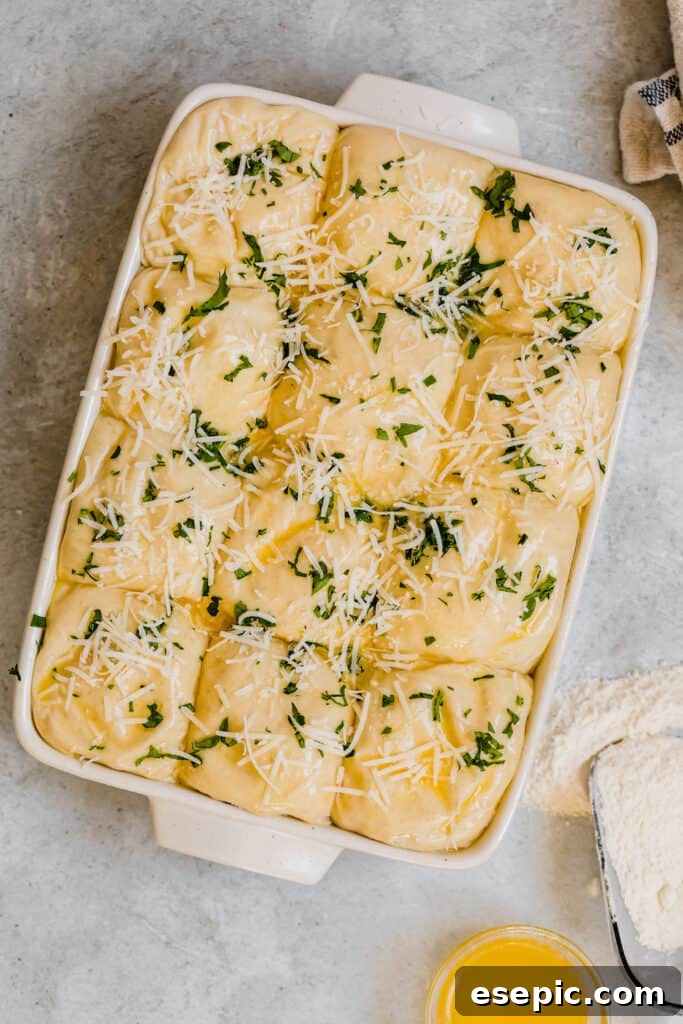
- Punch Down, Shape, and Second Rise: After the initial 15-minute rise, gently punch down the dough to release the accumulated gases. This helps create a finer crumb texture in the final rolls. Transfer the dough to a lightly floured surface and divide it into 12 equal pieces. For consistent results, you can use a kitchen scale to ensure each piece is roughly the same weight. Take each piece and roll it into a smooth, tight ball. Arrange these dough balls in a greased 9×13-inch baking dish, leaving a small space between each roll for them to expand. Cover the dish again with a damp towel or greased plastic wrap, and let them rise for a second time, this time for 20 minutes. During this period, the rolls will significantly increase in size. While they are undergoing their second rise, preheat your oven to 400°F (200°C) to ensure it’s at the correct temperature when the rolls are ready.
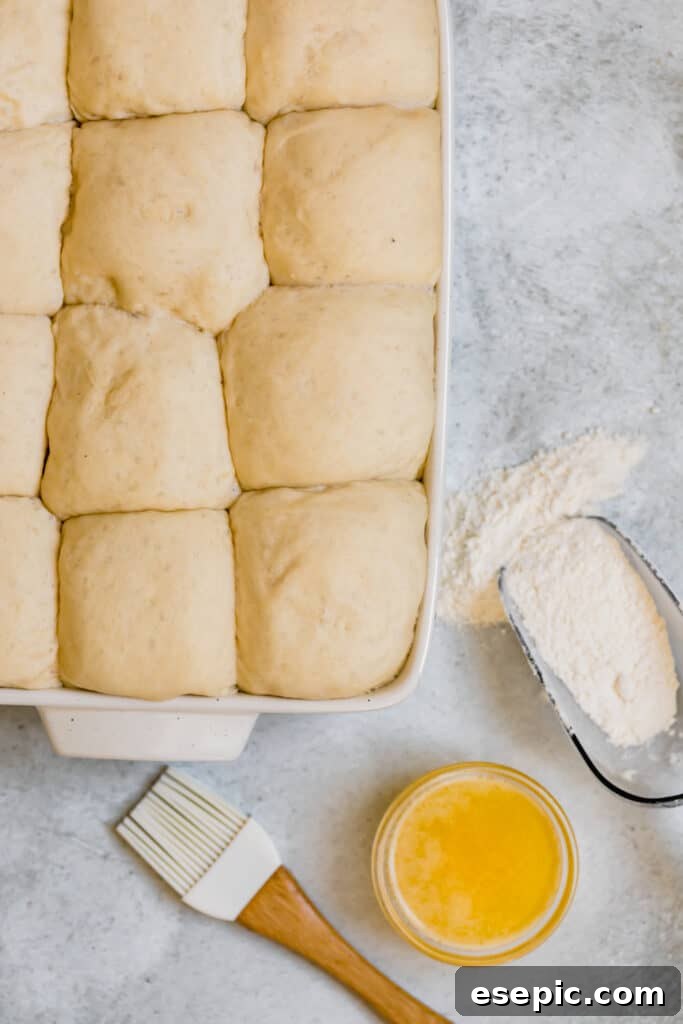
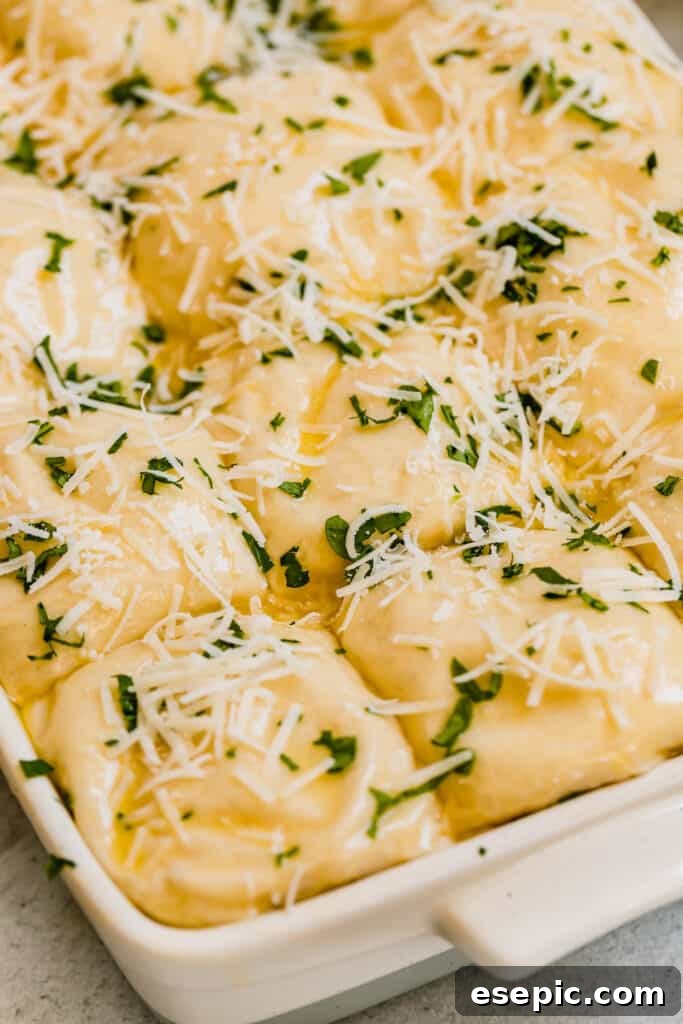
- Bake to Perfection: Once the rolls have completed their second rise and the oven is preheated, generously sprinkle the remaining Parmesan cheese and chopped fresh parsley over the tops of the risen dough balls. Place the baking dish into the preheated oven and bake for approximately 20 minutes, or until the rolls achieve a beautiful golden-brown color and are cooked through. The exact baking time may vary slightly depending on your oven, so keep an eye on them towards the end. A good indicator of doneness is a light tap on the top – they should sound hollow.
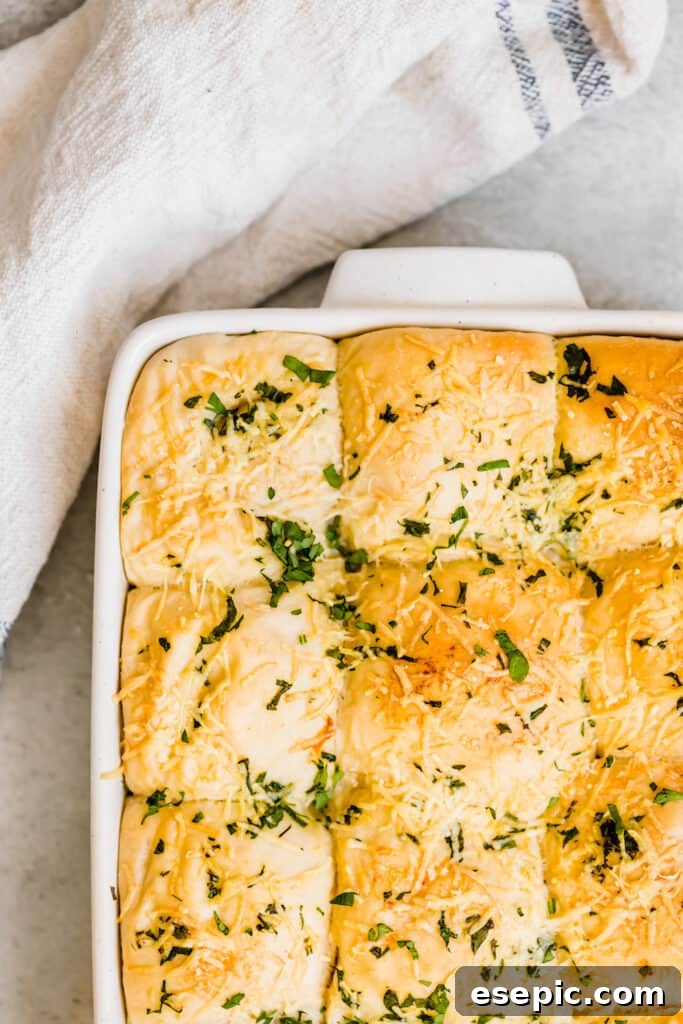
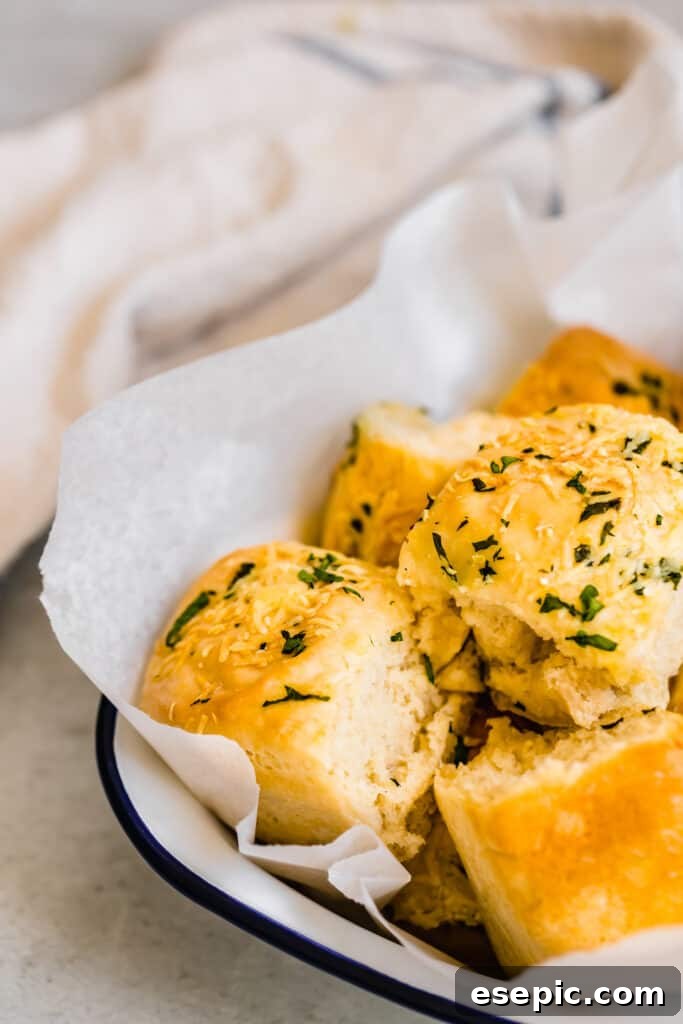
Once baked, remove from the oven and allow them to stand in the pan for a few minutes before serving. This allows them to cool slightly and firm up. Serve them warm, perhaps with a little extra butter, and prepare for rave reviews!
Mastering the Rise: How Long Should the Dough Rise?
The rising time of yeast dough is a critical factor in achieving light and airy rolls. However, it’s less about strict timings and more about understanding the environmental conditions. The primary factor influencing how long your dough takes to rise is the ambient temperature of your kitchen. A cooler kitchen will slow down the yeast activity, meaning a longer rise time, while a warmer environment will accelerate it.
For those with drafty or cool kitchens, creating a warm microclimate for your dough can be incredibly helpful. Common strategies include placing the covered dough bowl near a warm, but not hot, oven, on top of a warm (but off) stove burner, or even near a slow cooker or toaster oven that has been briefly turned on low to generate some warmth. Be careful not to expose the dough to direct, intense heat, as this can kill the yeast or cause the dough to rise too quickly and then collapse.
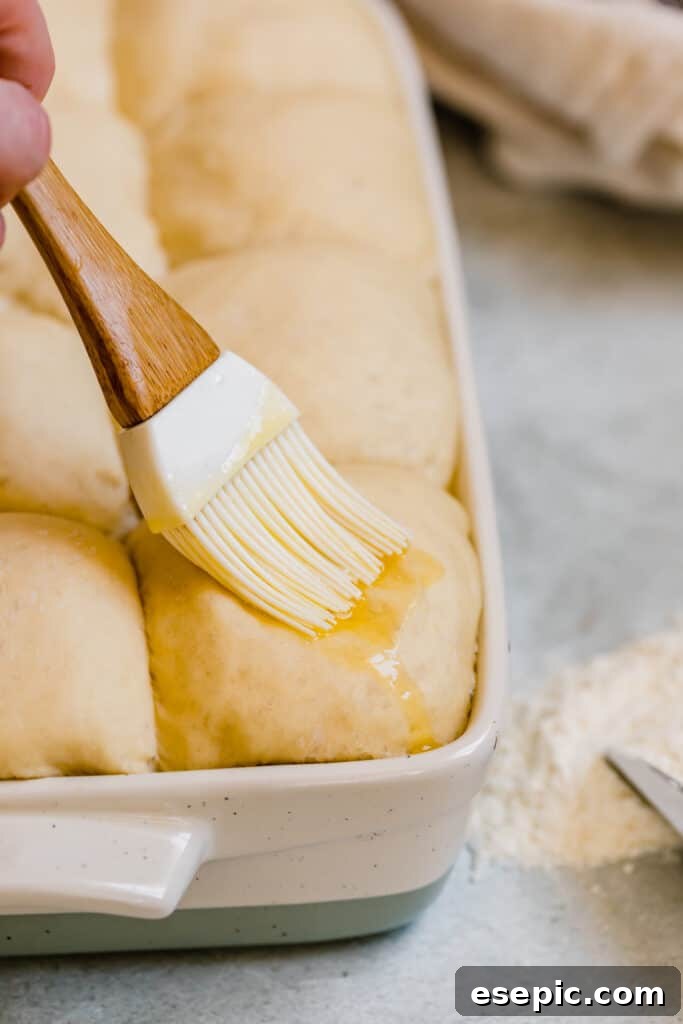
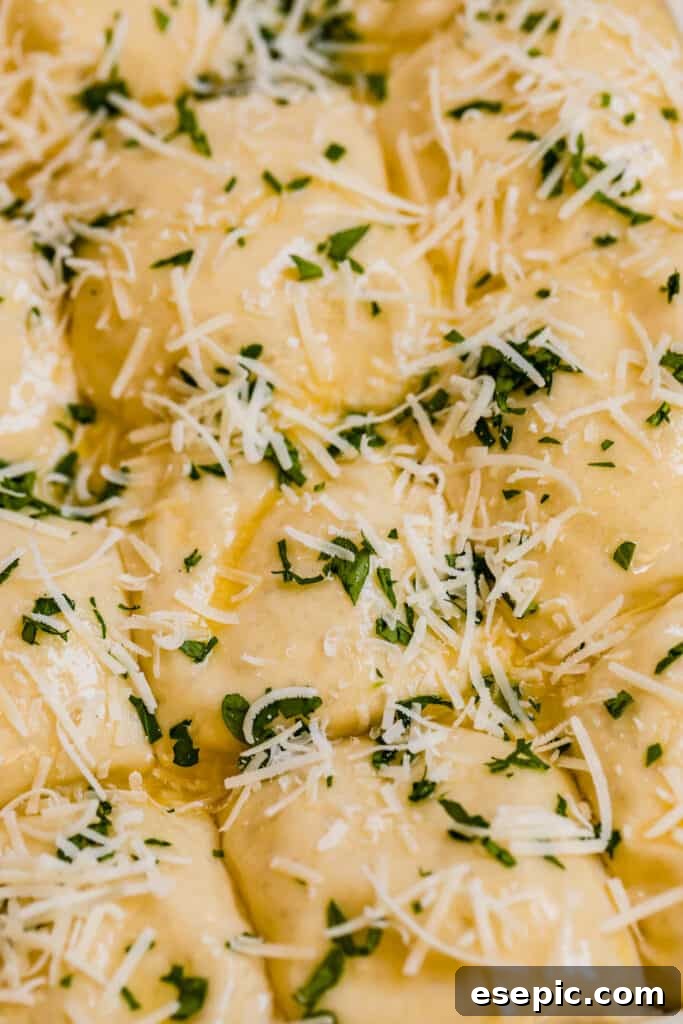
A crucial tip is to avoid over-rising your dough. While an under-risen dough will result in dense rolls, an over-risen dough can lead to a “tired,” deflated appearance and a strong, sometimes unpleasant, yeasty flavor. You’ll know your rolls have risen perfectly when they have approximately doubled in size, still maintain a rounded and smooth surface, and feel light and airy. A simple test: gently press one of the rolls with a finger. If the indentation remains and doesn’t spring back immediately, they are ready to bake. If it springs back too quickly, they might need a few more minutes. If it collapses, they are likely over-risen.
Expert Tips for the Best Dinner Rolls
To ensure your Soft Parmesan Dinner Rolls turn out perfectly every time, keep these valuable tips in mind:
- Strategic Time Management: Homemade yeast rolls, while not inherently difficult, do require a commitment of time due to the multiple rising stages. Factor in the time needed for warming ingredients, proofing yeast, kneading, shaping, and two distinct rises, plus baking. For example, if you aim to have fresh rolls ready for a 6 PM dinner, you might need to start the process around 3-3:30 PM. Planning ahead ensures a relaxed baking experience and perfectly timed hot rolls.
- The Art of Greasing: Dough can be notoriously sticky, especially in a warm kitchen or on a humid day. Don’t shy away from liberally greasing not only your mixing bowl but also your hands and your working surface before handling the dough. This prevents frustration and keeps the process smooth. As an alternative to a damp towel, a piece of plastic wrap lightly greased on the side touching the dough can also be used to cover the dough during its rises, preventing it from drying out.
- Unleash Your Flavor Creativity: The base dough recipe is remarkably versatile, offering a canvas for countless flavor variations. Instead of Parmesan and parsley, consider a Mediterranean twist with crumbled feta and spinach, or an Italian herb blend with sun-dried tomatoes and provolone. Other delicious additions could include finely chopped rosemary and asiago cheese, roasted garlic and fresh thyme, or even a sweet and savory option with maple and bacon bits. Feel free to knead in small pieces of complementary ingredients like chopped olives, crispy bacon, or different shredded cheeses to customize your rolls.
- Achieve Consistent Rolls: For a professional look and even baking, aim for uniform roll sizes. After the first rise, use a kitchen scale to divide the dough into 12 equal portions by weight. This ensures each roll bakes at the same rate and presents beautifully.
- Room Temperature Ingredients: While specific ingredients like water and milk need to be warmed, ensure other ingredients like butter (if not melted) are at room temperature. This helps them incorporate smoothly into the dough, leading to a more consistent texture.
- Don’t Overflour: While a lightly floured surface is good for kneading, adding too much flour can make the rolls dense and dry. Aim for a dough that is slightly tacky but manageable.
- Brushing for Shine: For an extra golden crust, you can brush the rolls with an egg wash (one egg beaten with a tablespoon of water) before sprinkling with Parmesan and parsley. This also helps the toppings adhere better.
Make-Ahead Strategies for Effortless Baking
These Parmesan dinner rolls are perfect for planning ahead, allowing you to enjoy fresh-baked goodness without the last-minute rush.
- If you prefer to prepare these rolls in advance, you can complete all steps up to and including the kneading process.
- Instead of letting the dough undergo its first rise at room temperature, transfer the greased dough ball to a greased bowl, cover it tightly with plastic wrap, and place it in the refrigerator. The cold temperature will significantly slow down the yeast activity, allowing the dough to rise slowly over a period of up to 8 hours, or even overnight, depending on the temperature of your fridge. This is known as a “cold rise” or “cold proofing.”
- When you’re ready to bake, remove the dough from the refrigerator about 1-2 hours before you plan to bake. Allow it to come closer to room temperature, then punch it down, divide it into 12 equal pieces, shape them into balls, and proceed with the second rise and baking instructions as usual. This method is fantastic for holiday meals or busy weeknights, as it breaks up the baking process.
Storing and Enjoying Leftover Rolls
While fresh-baked is always best, these rolls can be stored and enjoyed later:
- Room Temperature Storage: Any leftover yeast rolls can be kept in a sealed, airtight food storage bag or container at room temperature for up to two days. Avoid storing them in the refrigerator, as the cold air tends to dry out bread and make it stale faster.
- Freezing for Longer Freshness: For longer storage, these rolls freeze beautifully. Once completely cooled, wrap individual rolls or the entire batch securely in plastic wrap, ensuring no air exposure. Then, place the wrapped rolls into freezer-safe bags. Press out as much air as possible before sealing to prevent freezer burn. They will maintain their best quality for up to 4 months in the freezer.
- Thawing and Reheating: To enjoy frozen rolls, simply transfer them from the freezer to the countertop and let them thaw at room temperature. For warm, soft rolls, you can reheat them in a preheated oven at 350°F (175°C) for 5-10 minutes, or until warmed through. You can also lightly brush them with butter before reheating for extra richness. Avoid microwaving for reheating, as it can make them chewy.
Soft Parmesan Dinner Rolls
by Katerina | Easy Weeknight Recipes
Warm, golden-brown and subtly flavored with Parmesan cheese and fresh parsley, these Soft Parmesan Dinner Rolls are a classic and comforting side dish.
Prep Time: 45 minutes | Cook Time: 20 minutes | Total Time: 1 hour 15 minutes | Servings: 12 rolls
Ingredients
- 1 cup warm water
- 1/2 cup milk, warmed
- 2 tablespoons butter, melted
- 1 tablespoon sugar
- 1 tablespoon active dry yeast
- 3 1/2 cups all-purpose flour
- 2 teaspoons salt
- 1/4 cup finely shredded Parmesan cheese
- 1/4 cup finely chopped fresh parsley
Instructions
- In a mixing bowl, combine water, milk, butter, and sugar. Sprinkle yeast on top and whisk lightly then allow to sit for 5 minutes or until foamy.
- Add the flour and salt; using an electric mixer, mix for 4 to 5 minutes using a dough hook on medium-low setting. (You can also knead by hand; this will take longer to knead, but the dough is ready when it is very smooth, with a stretchy, even texture.)
- Once the dough is smooth, transfer to a greased bowl.
- Cover the bowl with a damp towel and let it rise for 15 minutes.
- Once risen, punch down the dough and divide into 12 equal pieces.
- Roll each piece of dough into a ball and place on a greased 9×13 baking dish.
- Cover the dish with a damp towel and let the dough balls rise for 20 minutes.
- Preheat oven to 400˚F (200°C).
- Once the rolls have risen, sprinkle each roll with Parmesan cheese and parsley.
- Bake for 20 minutes, or until rolls are golden brown and cooked through.
- Remove from oven and let stand for a few minutes.
- Serve warm and enjoy!
Equipment
- Oven
- Mixing Bowl
- Electric Mixer (optional, for kneading)
- 9×13 inch Baking Dish
Nutrition (Estimated per roll)
Calories: 170kcal | Carbohydrates: 30g | Protein: 5g | Fat: 3g | Saturated Fat: 2g | Cholesterol: 8mg | Sodium: 442mg | Potassium: 56mg | Fiber: 1g | Sugar: 2g | Vitamin A: 93IU | Calcium: 40mg | Iron: 2mg
Nutritional information is an estimate and provided as a courtesy. Values may vary according to the ingredients and tools used. Please use your preferred nutritional calculator for more detailed information.
More Baking Recipes to Explore
If you’ve enjoyed making these delightful Parmesan rolls, you might want to broaden your baking horizons with these other fantastic recipes:
- Spinach and Feta No-Yeast Bread: A quick and flavorful bread option that doesn’t require yeast or extensive rising times.
- Easy Homemade Flatbread: Versatile and perfect for dipping, wraps, or as a base for pizzas.
- No-Knead Skillet Cheese Bread: A simple yet impressive cheesy bread that comes together with minimal effort.