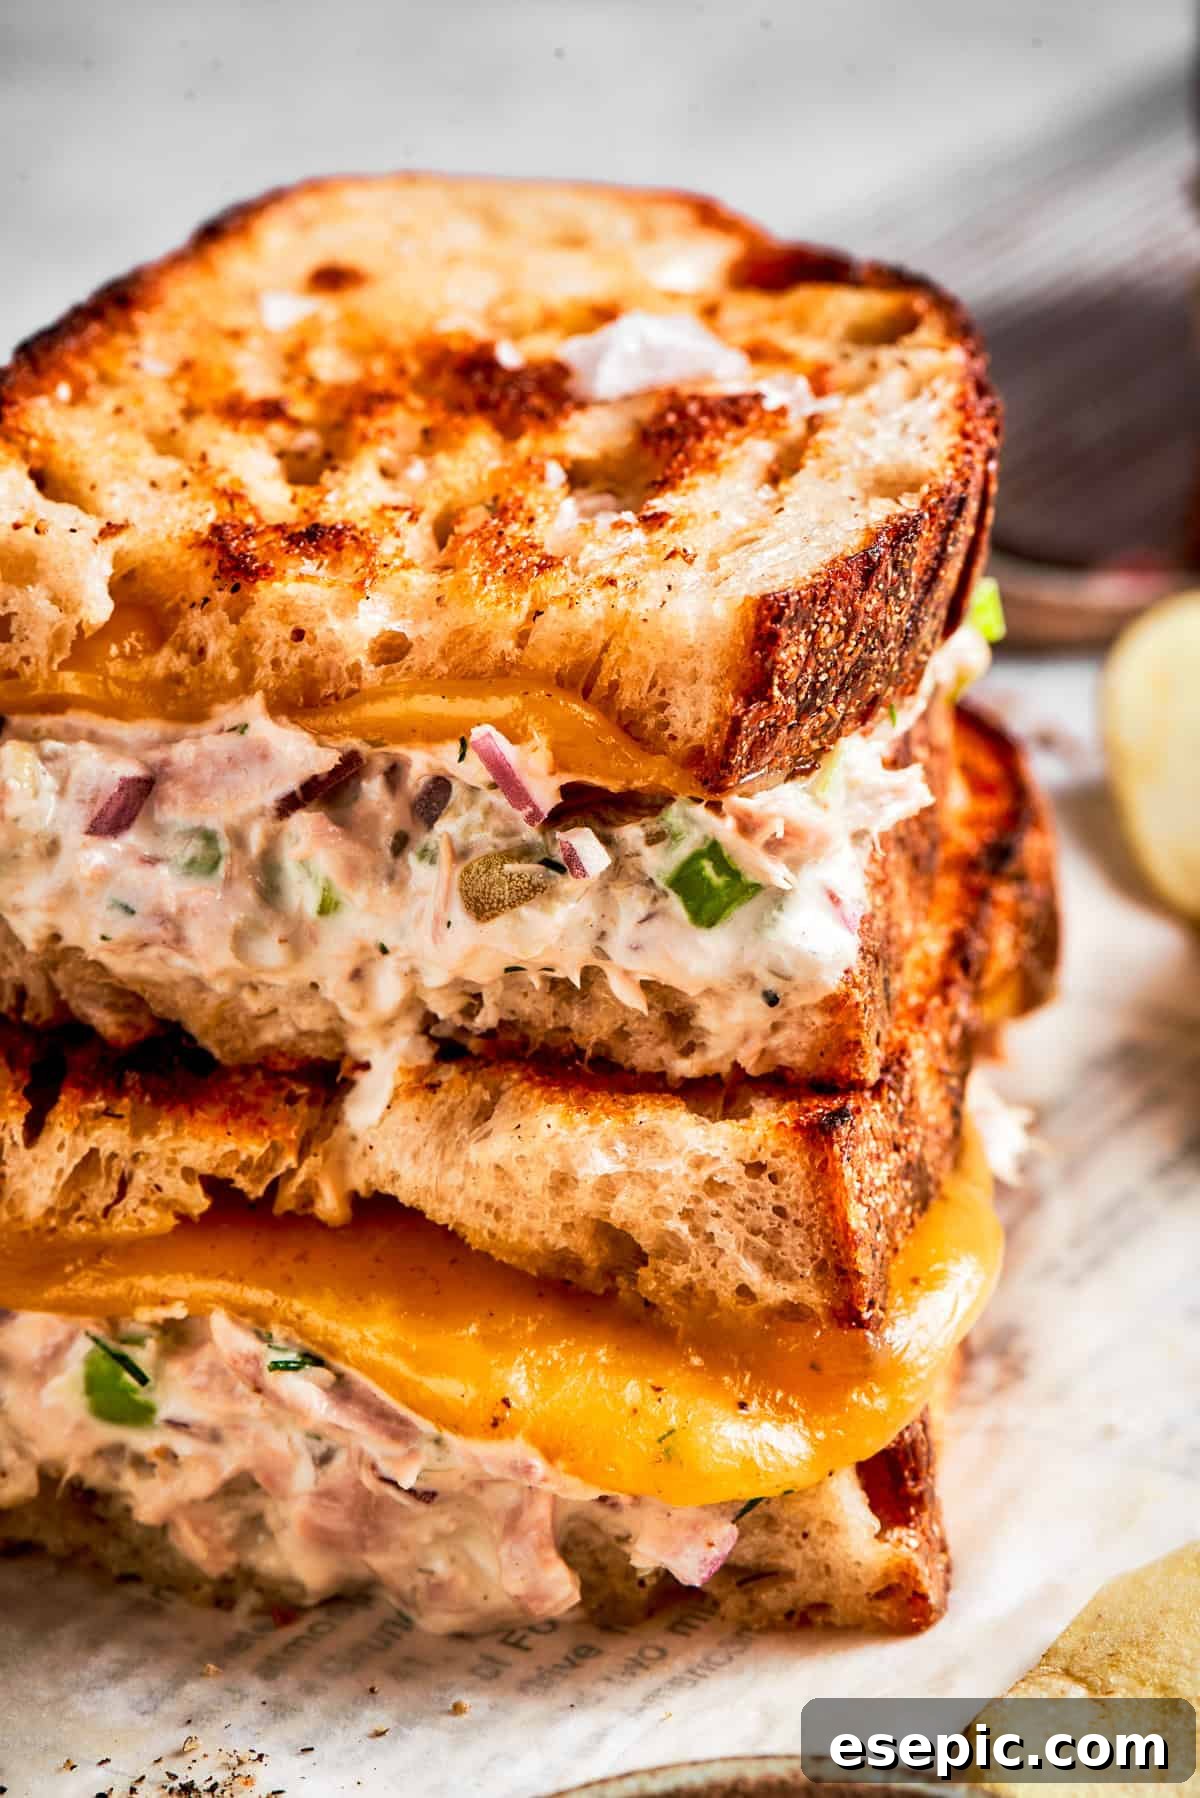
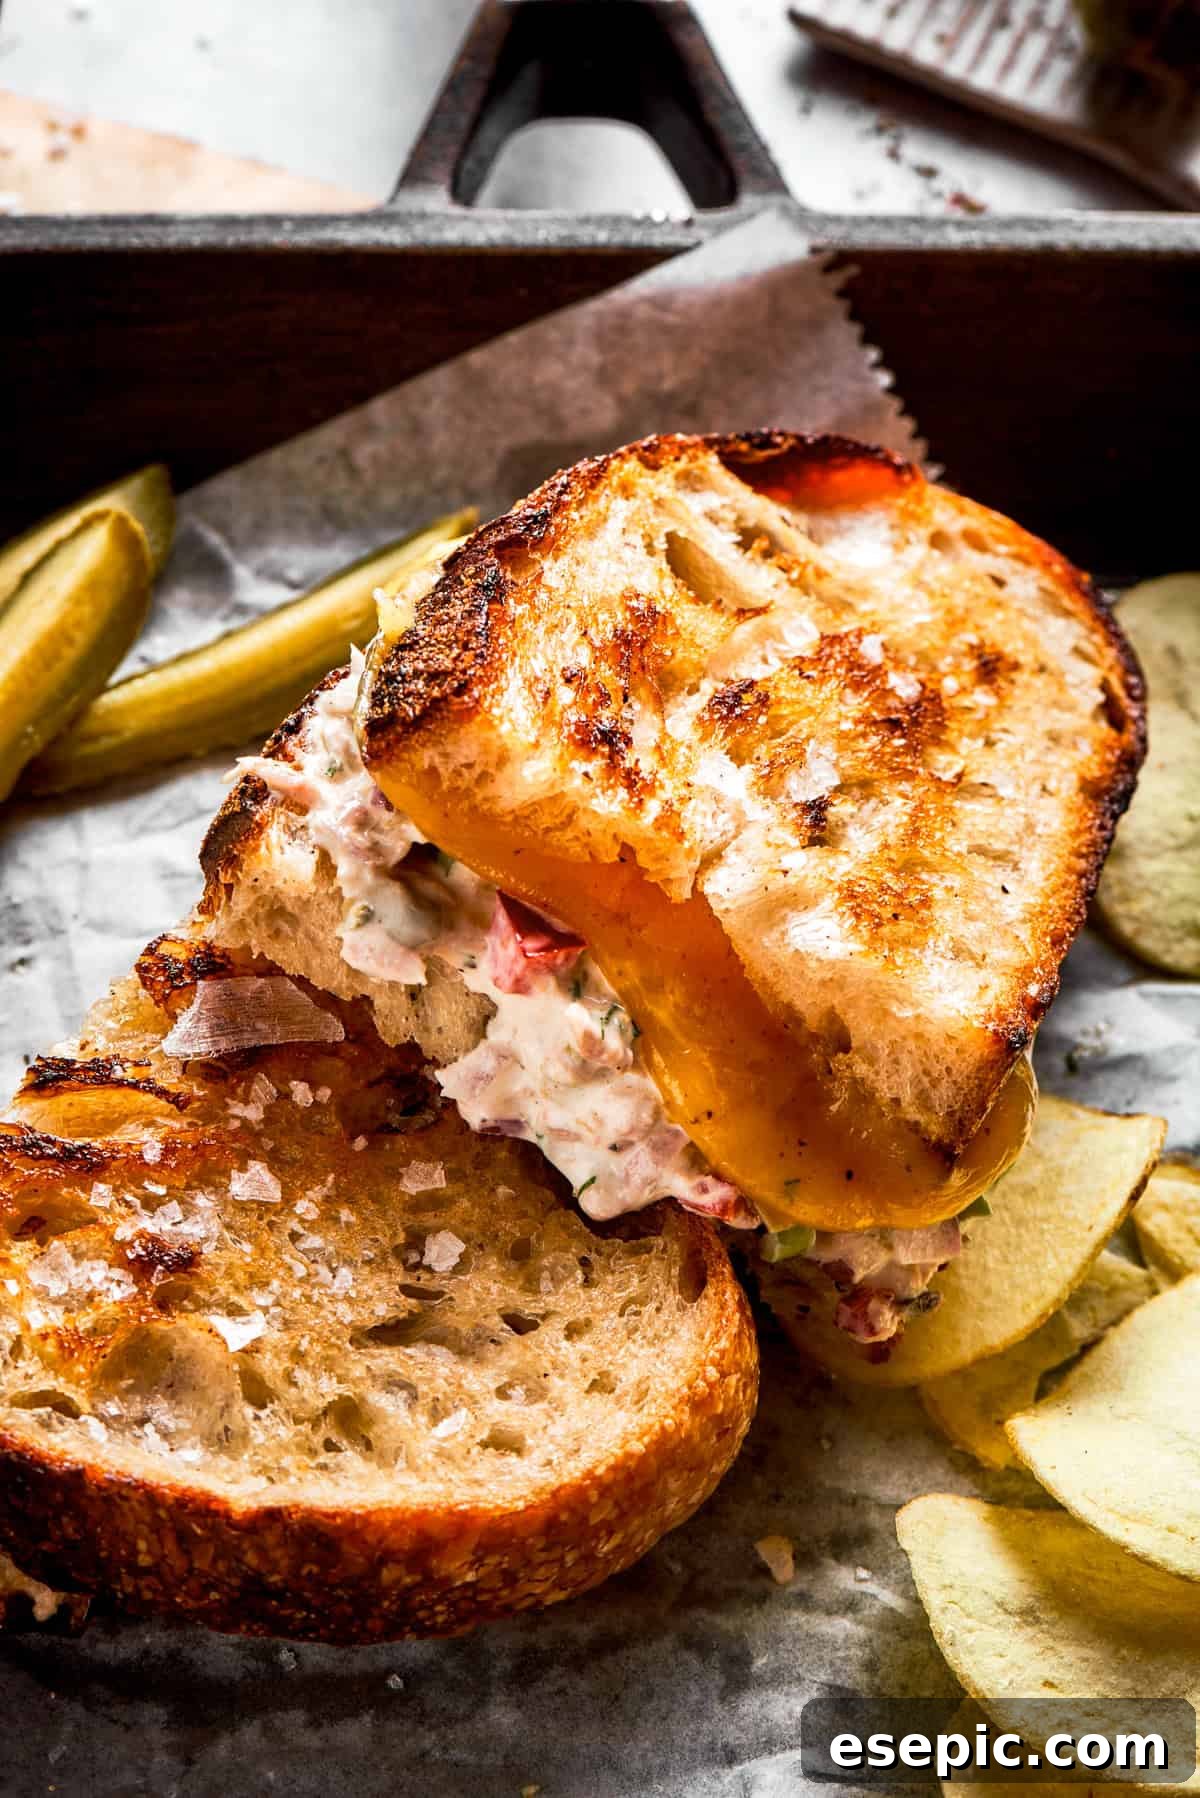
Indulge in the ultimate comfort food classic with this irresistible Tuna Melt recipe. Forget those greasy diner versions – this homemade delight brings together a luscious, creamy tuna salad with generous layers of gooey, melted cheese, all perfectly pan-fried between thick slices of golden-brown sourdough bread. It’s more than just a sandwich; it’s a warm, toasted hug that promises to satisfy your cravings for a quick, hearty, and unbelievably delicious meal, anytime.
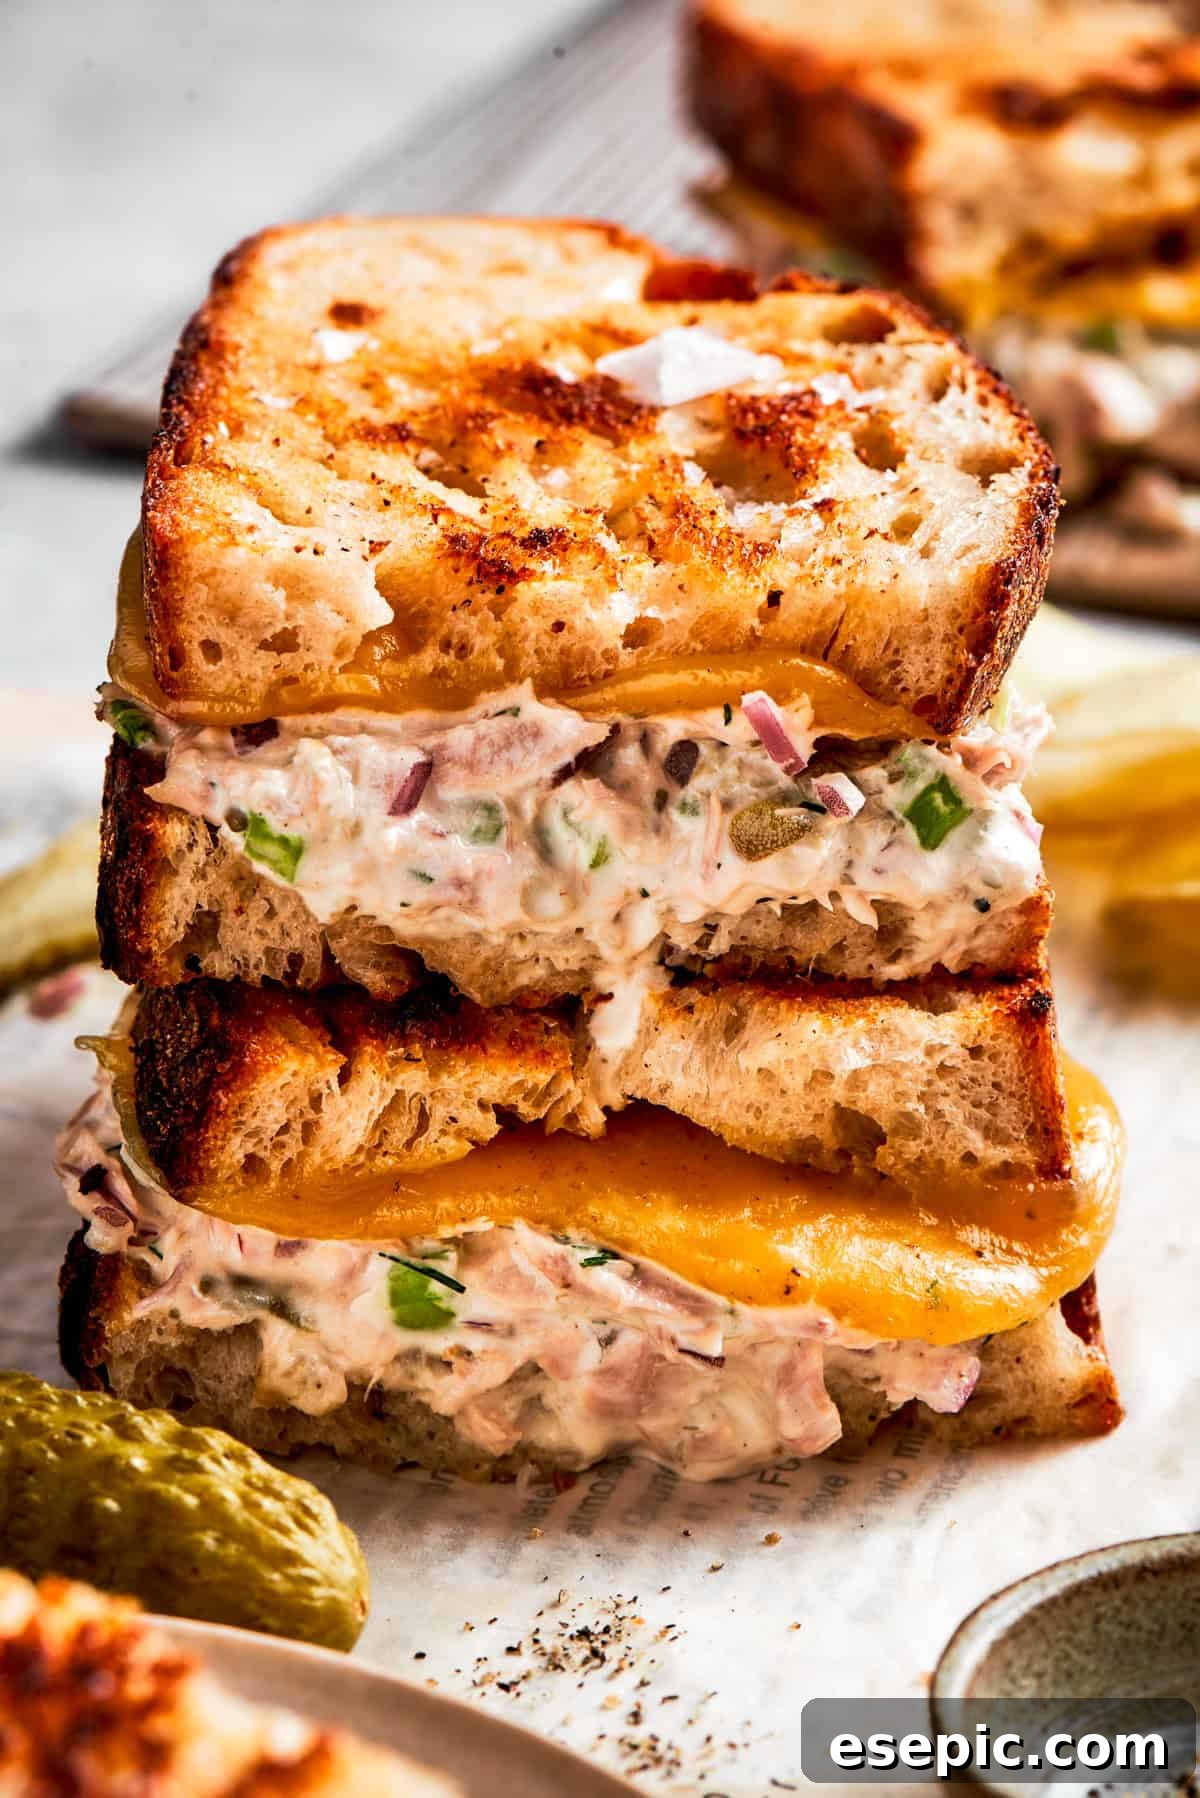
Here at Easy Weeknight Recipes, tuna is a beloved staple. From our hearty tuna noodle casserole to the simple yet satisfying tuna grilled cheese, these versatile pantry ingredients always deliver. This classic tuna melt recipe elevates the humble tuna sandwich to an art form, making it an ideal choice for a speedy lunch or a comforting weeknight dinner. Our unique spin features a deliciously creamy tuna salad, enriched with both mayonnaise and cream cheese to balance the savory notes of the tuna, and generously layered with sharp cheddar cheese. All this goodness is served on fresh, tangy sourdough bread, adding an extra dimension of flavor and a delightful crunch.
Why This Homemade Tuna Melt Recipe is the Best
There are many reasons why this easy tuna melt will quickly become a favorite in your kitchen:
- Unrivaled Comfort Food: There’s something inherently soul-soothing about warm, gooey melted cheese, and this sandwich delivers that comforting sensation in spades. The combination of rich tuna salad, sharp cheddar, and crispy toasted bread makes for an incredibly satisfying meal that can turn any ordinary day into something special. It’s truly the ultimate comfort food experience.
- Incredibly Quick & Easy: Life gets busy, and sometimes you need a meal that’s both delicious and fast. This classic tuna melt comes together in a flash, requiring only about 5 minutes of actual cooking time in a single skillet. It’s a perfect solution for those hectic weeknights or when you need a quick, satisfying lunch without much fuss.
- Better Than Diner Quality: While diner tuna melts are a nostalgic treat, making your own at home allows for unparalleled customization and freshness. You control the quality of every ingredient, from the type of tuna to the amount of cheese. This homemade version often surpasses what you can order out, offering a superior flavor and texture that caters perfectly to your preferences – more cheese, anyone?
- Budget-Friendly: Tuna melts are a fantastic way to create a hearty meal using pantry staples. Canned tuna is an affordable protein source, and combined with common ingredients like bread, mayonnaise, and cheese, it makes for an economical dish that doesn’t compromise on flavor or satisfaction.
- Customizable to Your Taste: Whether you prefer a milder cheese, different vegetables, or a touch of spice, this recipe is incredibly adaptable. It serves as a perfect foundation for you to experiment and make it your own, ensuring every bite is exactly what you crave.
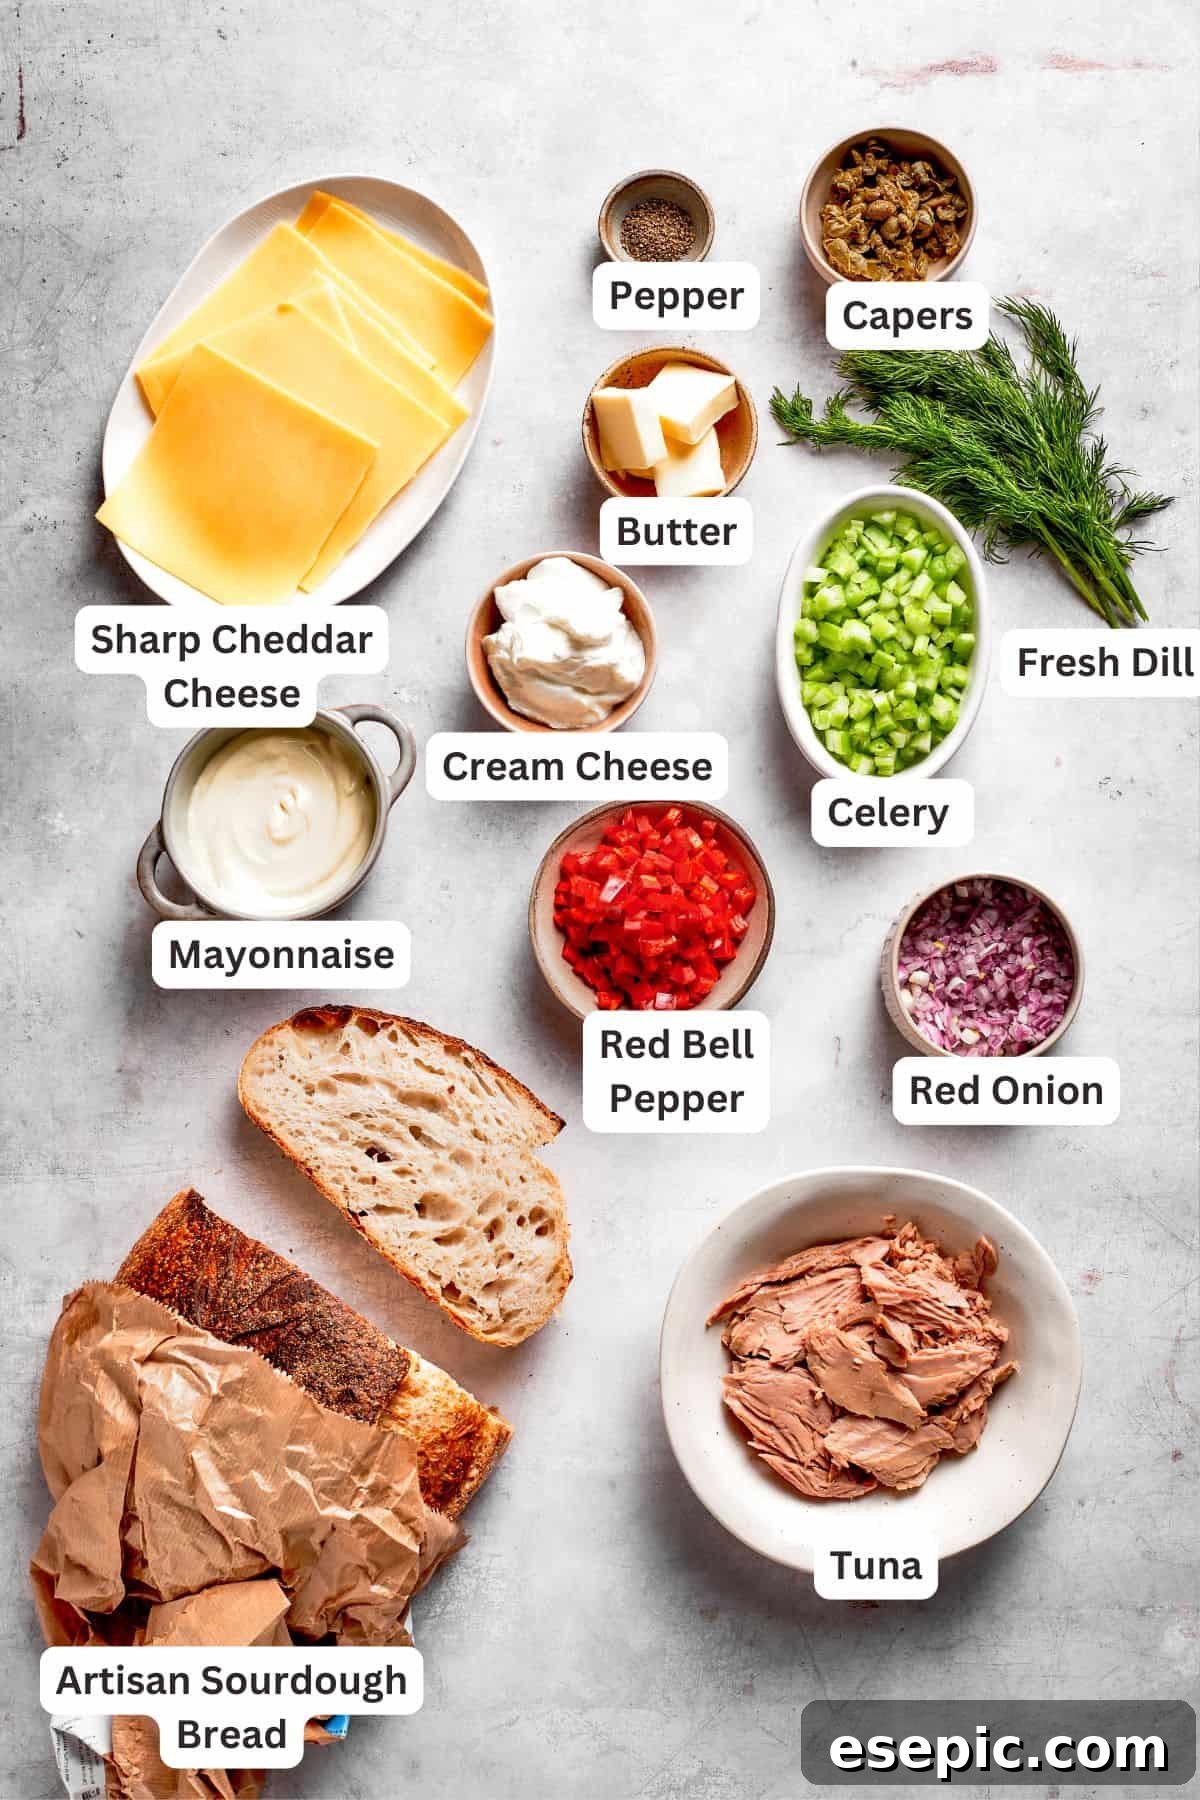
Essential Ingredients for the Perfect Tuna Melt
Crafting the best tuna melt begins with choosing the right ingredients. For optimal results, we recommend using “solid” tuna chunks, as they maintain their integrity better than “chunk light” varieties, providing a more satisfying texture. Tuna packed in olive oil is our preference for a deeper, richer flavor, but tuna packed in water is also a perfectly acceptable alternative if you’re looking to reduce fat content. Below is a detailed look at the components that make this sandwich truly special, with precise measurements available in the complete recipe card.
- Tuna: Opt for high-quality tuna. While canned tuna works well, tuna packed in olive oil, often found in jars, offers a superior flavor and texture that truly elevates the sandwich. Ensure it’s thoroughly drained.
- Vegetables: A finely chopped mix of red onion provides a sharp, pungent bite; celery adds essential crunch; and red bell pepper introduces a touch of sweetness and vibrant color. These finely diced vegetables ensure an even distribution of flavor and texture in every bite.
- Mayonnaise: The backbone of any great tuna salad. Use a good-quality, full-fat mayonnaise, such as Hellmann’s or your preferred brand, for the creamiest and most flavorful base.
- Cream Cheese: This is our secret ingredient! Softened cream cheese adds an incredible richness and an extra layer of creaminess to the tuna mixture, distinguishing this melt from ordinary recipes. Make sure it’s at room temperature for easy blending.
- Fresh Dill: The bright, herbaceous notes of fresh dill complement tuna beautifully, adding a burst of fresh flavor. While fresh is always best, a smaller amount of dried dill can be used in a pinch.
- Capers: These tiny, briny flower buds introduce a wonderful salty and tangy kick, enhancing the overall flavor profile of the tuna salad. If you don’t have them or aren’t a fan, they can be omitted.
- Freshly Ground Black Pepper: A simple seasoning that adds depth and a mild spiciness to finish the tuna filling. Adjust to your preference.
- Butter: Softened salted or unsalted butter is crucial for achieving that perfectly golden, crispy exterior on your bread. Room temperature butter spreads easily and helps the bread toast evenly.
- Bread: Sourdough is the star here! Its robust structure and tangy flavor stand up beautifully to grilling and complement the rich filling. We’ll discuss bread selection more in the tips section below.
- Cheese: Sharp cheddar cheese is our top recommendation for its bold flavor and excellent melting qualities. However, don’t hesitate to experiment with your favorite melting cheese.
Expert Tips and Delicious Variation Ideas
Elevate your tuna melt game with these tried-and-true tips and creative variations:
- Achieving the Ultimate Gooey Cheese Melt: The hallmark of a perfect tuna melt is gloriously melted cheese. To ensure your cheese is completely melted and beautifully gooey, here’s a trick: after placing the sandwich in the skillet, cover the pan with a lid (or an additional pan if your skillet doesn’t have one). This traps the heat, creating a steamy environment that melts the cheese perfectly without burning the bread. Cook over medium-low heat to allow sufficient time for melting.
- Bread Selection Matters: The right bread is crucial for a tuna melt that holds up and delivers on crunch. Hearty, sturdy breads like artisan sourdough, a rustic country loaf, or a thick-cut whole wheat bread are ideal. Their robust texture prevents sogginess and creates a satisfying crisp crust when grilled. Save softer bread types, like regular sandwich bread or burger buns, for other dishes like a fish sandwich. For sourdough, look for loaves with a good crumb structure and a distinct tangy flavor.
- Experiment with Cheese Varieties: While sharp cheddar is a classic for a reason, feel free to get adventurous with your cheese choice!
- Swiss: Offers a nutty, slightly sweet flavor.
- Gruyère: Known for its rich, complex, and savory notes, melting beautifully.
- Provolone: A mild, semi-hard Italian cheese that melts smoothly.
- Monterey Jack: Very mild and melts incredibly well, great for a subtle flavor.
- Pepper Jack: For those who love a little heat, it’s Monterey Jack with chilies.
- Smoked Gouda: Adds a delightful smoky depth.
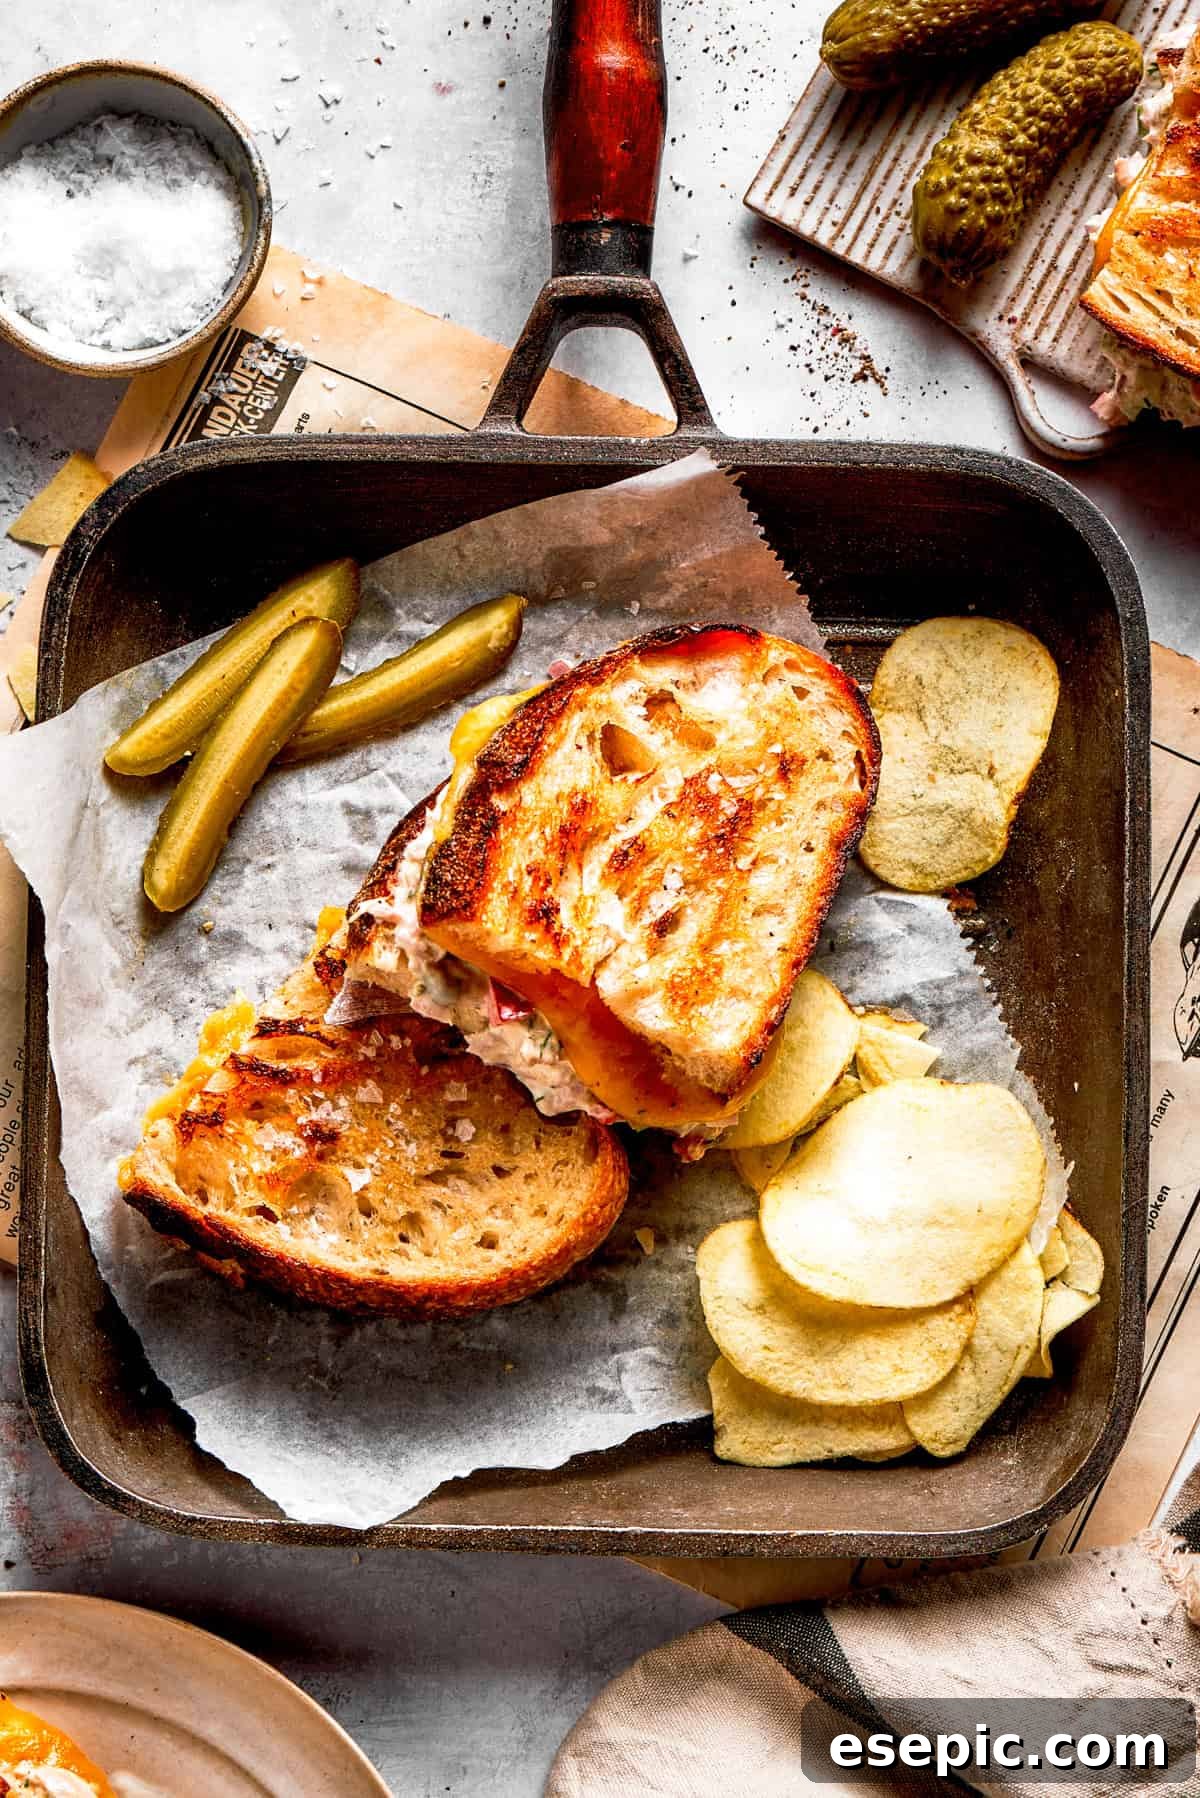
- Beyond Basic Toppings & Sides: A tuna melt is fantastic on its own, but it truly shines when paired with complementary sides and optional toppings.
- Classic Companions: A side of crispy potato chips and tangy dill pickles are traditional and perfect for balancing the richness.
- Freshness Factor: A simple green salad or a fresh tomato slice inside the sandwich adds brightness and cuts through the richness.
- Heat & Spice: A drizzle of your favorite hot sauce or a pinch of red pepper flakes in the tuna salad can add a wonderful kick.
- Avocado: Sliced avocado or a dollop of guacamole offers a creamy texture and healthy fats.
- Onion Rings or French Fries: For a true diner experience, pair it with homemade garlic fries or onion rings.
- Preventing Soggy Bread: To ensure your tuna melt stays perfectly crisp, don’t overload the sandwich with too much tuna salad. A good balance of filling to bread ratio is key. Also, make sure your tuna is very well drained to avoid excess moisture.
- Even Buttering: Spread softened butter evenly to the edges of the bread for a consistent golden-brown crust. You can even use a thin layer of mayonnaise on the outside of the bread instead of butter for an extra crispy, golden-brown finish!
What to Serve On the Side with Your Tuna Melt
A delicious tuna melt deserves equally delicious companions. Here are some fantastic side dishes to complete your meal:
- For a burst of freshness, whip up a quick and vibrant Mexican Street Corn Salad or a light and juicy Avocado Tomato Salad.
- If you’re craving something crispy, a big plate of Crispy Garlic Fries is always a hit.
- Looking for a healthier fried option? Try our Air Fryer Zucchini Fries or a batch of super crispy Zucchini Chips to go alongside this cheesy sandwich.
- Classic potato chips and crunchy dill pickles are always a no-brainer for a true diner experience.
How to Store and Reheat Leftover Tuna Melts
While tuna melts are best enjoyed fresh off the skillet, you can certainly save any leftovers for later:
- Fridge Storage: Allow any leftover tuna melts to cool completely. Then, wrap them tightly in aluminum foil or place them in an airtight container. Store in the refrigerator for up to 3 days. Note that the bread might lose some of its crispness during storage.
- Reheating for Best Results: To bring your tuna melt back to life and restore its crispy exterior and gooey interior, avoid the microwave.
- Oven Method: Preheat your oven to 325˚F (160˚C). Place the leftover sandwiches on a baking sheet and reheat for 10-15 minutes, or until the cheese is melted again and the bread has crisped up.
- Toaster Oven Method: A toaster oven works wonderfully for individual sandwiches. Place the tuna melt directly on the rack and toast for a few minutes until heated through and crisp.
- Skillet Method: For maximum crispness, you can also reheat them in a dry skillet over medium-low heat for a few minutes per side, gently pressing down. This is the best way to mimic the fresh taste.
More Easy Sandwich Recipes to Satisfy Your Cravings
If you love the convenience and deliciousness of a good sandwich, be sure to explore these other fantastic recipes:
- Reuben Sandwich Recipe: A classic deli favorite with corned beef, Swiss, sauerkraut, and Russian dressing.
- Baked Grilled Cheese Sandwiches: The easiest way to make grilled cheese for a crowd!
- Copycat KFC Chicken Sandwich: Recreate this popular fast-food sensation at home.
- Muffaletta Recipe: A New Orleans classic packed with meats, cheeses, and olive salad.
Print Recipe
Classic Diner-Style Tuna Melt Recipe
Katerina | Easy Weeknight Recipes
15 minutes
5 minutes
20 minutes
4 servings
Ingredients
-
1 small red onion, finely chopped -
1 celery stalk, finely chopped -
1 red bell pepper, finely chopped -
⅔ cup mayonnaise -
¼ cup cream cheese, softened -
⅓ cup finely chopped fresh dill -
1 tablespoon drained capers, chopped -
2 (7-ounce) jars of oil-packed tuna, drained (canned tuna is also okay to use) -
½ teaspoon freshly ground black pepper -
4 tablespoons unsalted butter, softened at room temperature -
4 slices artisan sourdough bread -
4 slices sharp cheddar cheese
Instructions
-
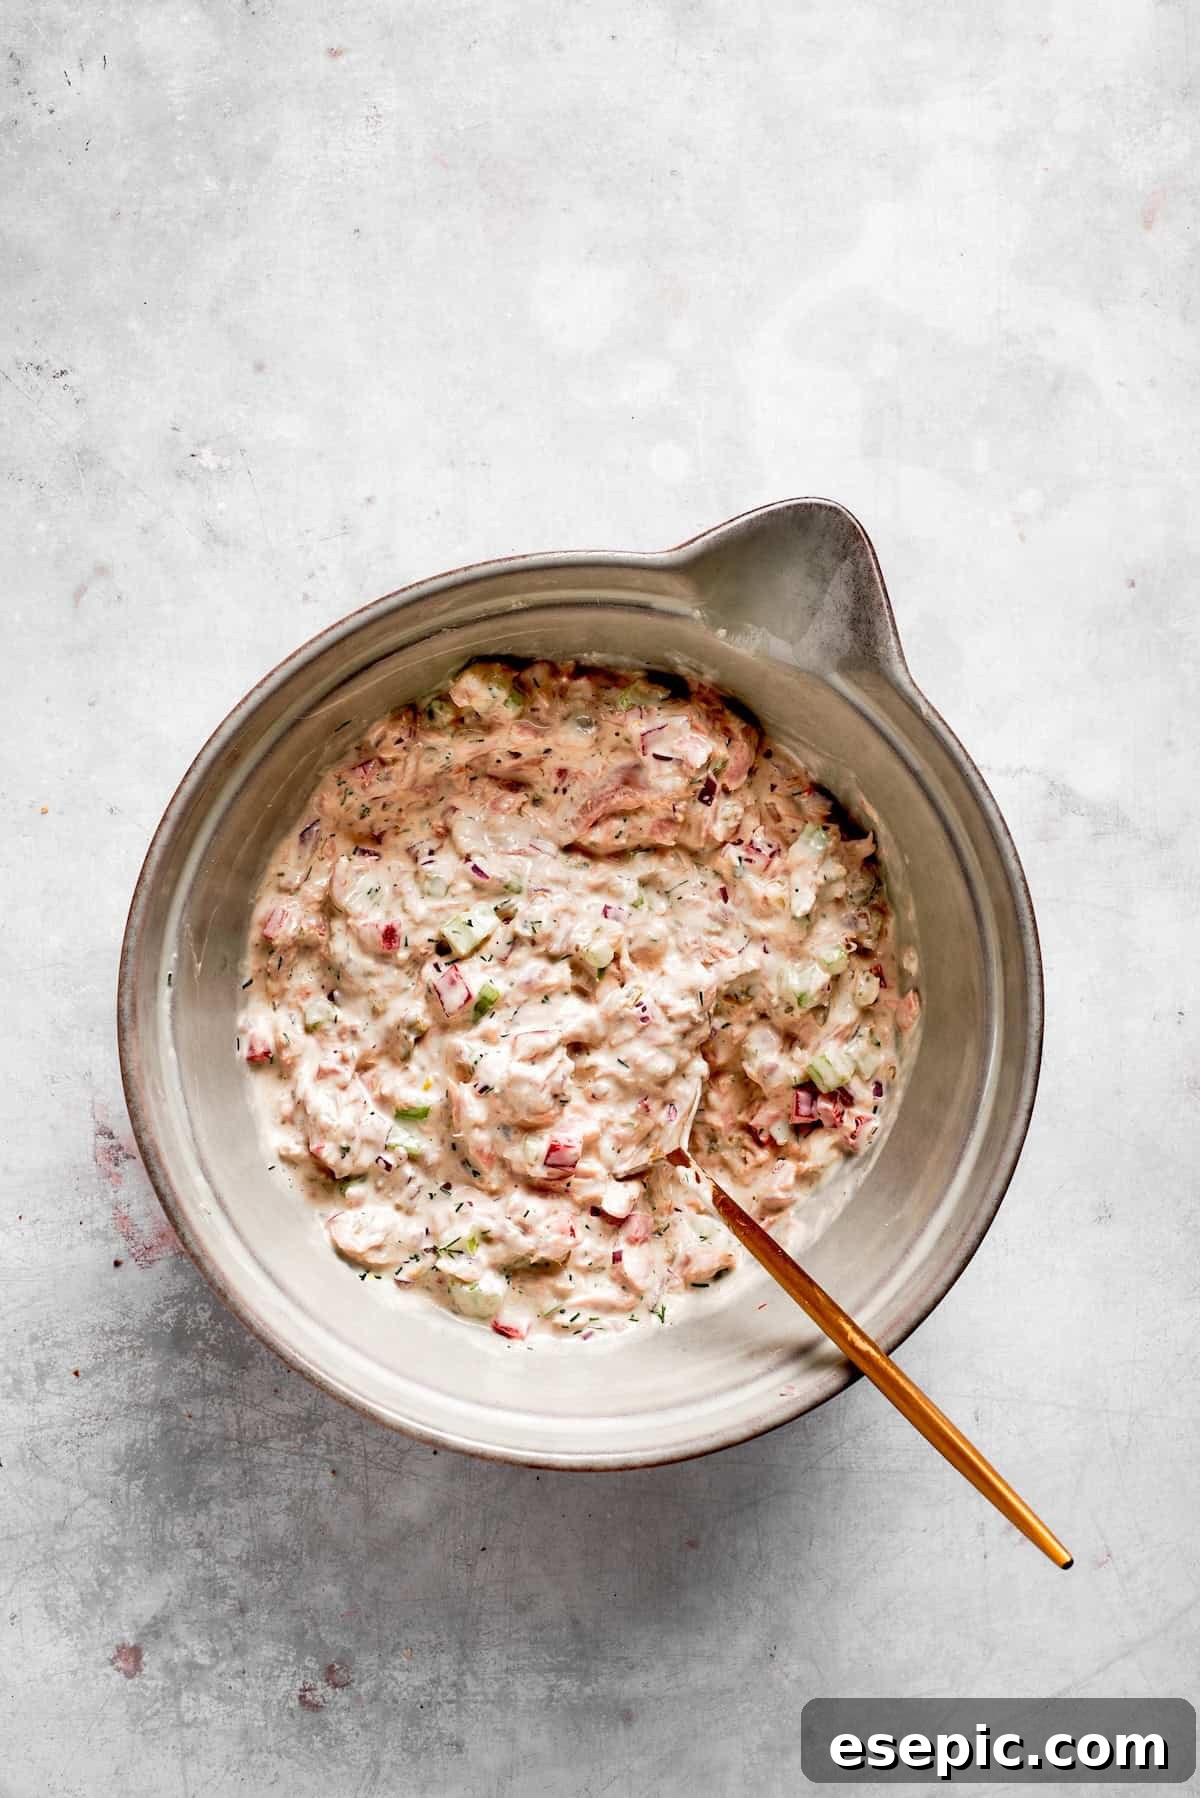
Prepare the Creamy Tuna Mixture. In a spacious mixing bowl, combine the finely chopped red onion, crisp celery, vibrant red bell pepper, creamy mayonnaise, softened cream cheese, fresh dill, and briny capers. Stir these ingredients thoroughly until they are well integrated. Next, add the well-drained tuna. Use a fork to gently flake and break apart the tuna as you mix everything together, ensuring all components are evenly distributed. Finish by seasoning with freshly ground black pepper to taste, adjusting for your preferred level of spice.
-
Assemble the Delicious Sandwiches. Take each slice of bread and generously butter one side – this will be the exterior of your sandwich that gets toasted to a golden crisp. Flip the slices over so the unbuttered side faces up. On one slice, lay out the sharp cheddar cheese. On the other slice, spread an even layer of your prepared creamy tuna mixture. Carefully bring the two slices together, forming a sandwich, making sure the buttered sides are facing outwards.
-
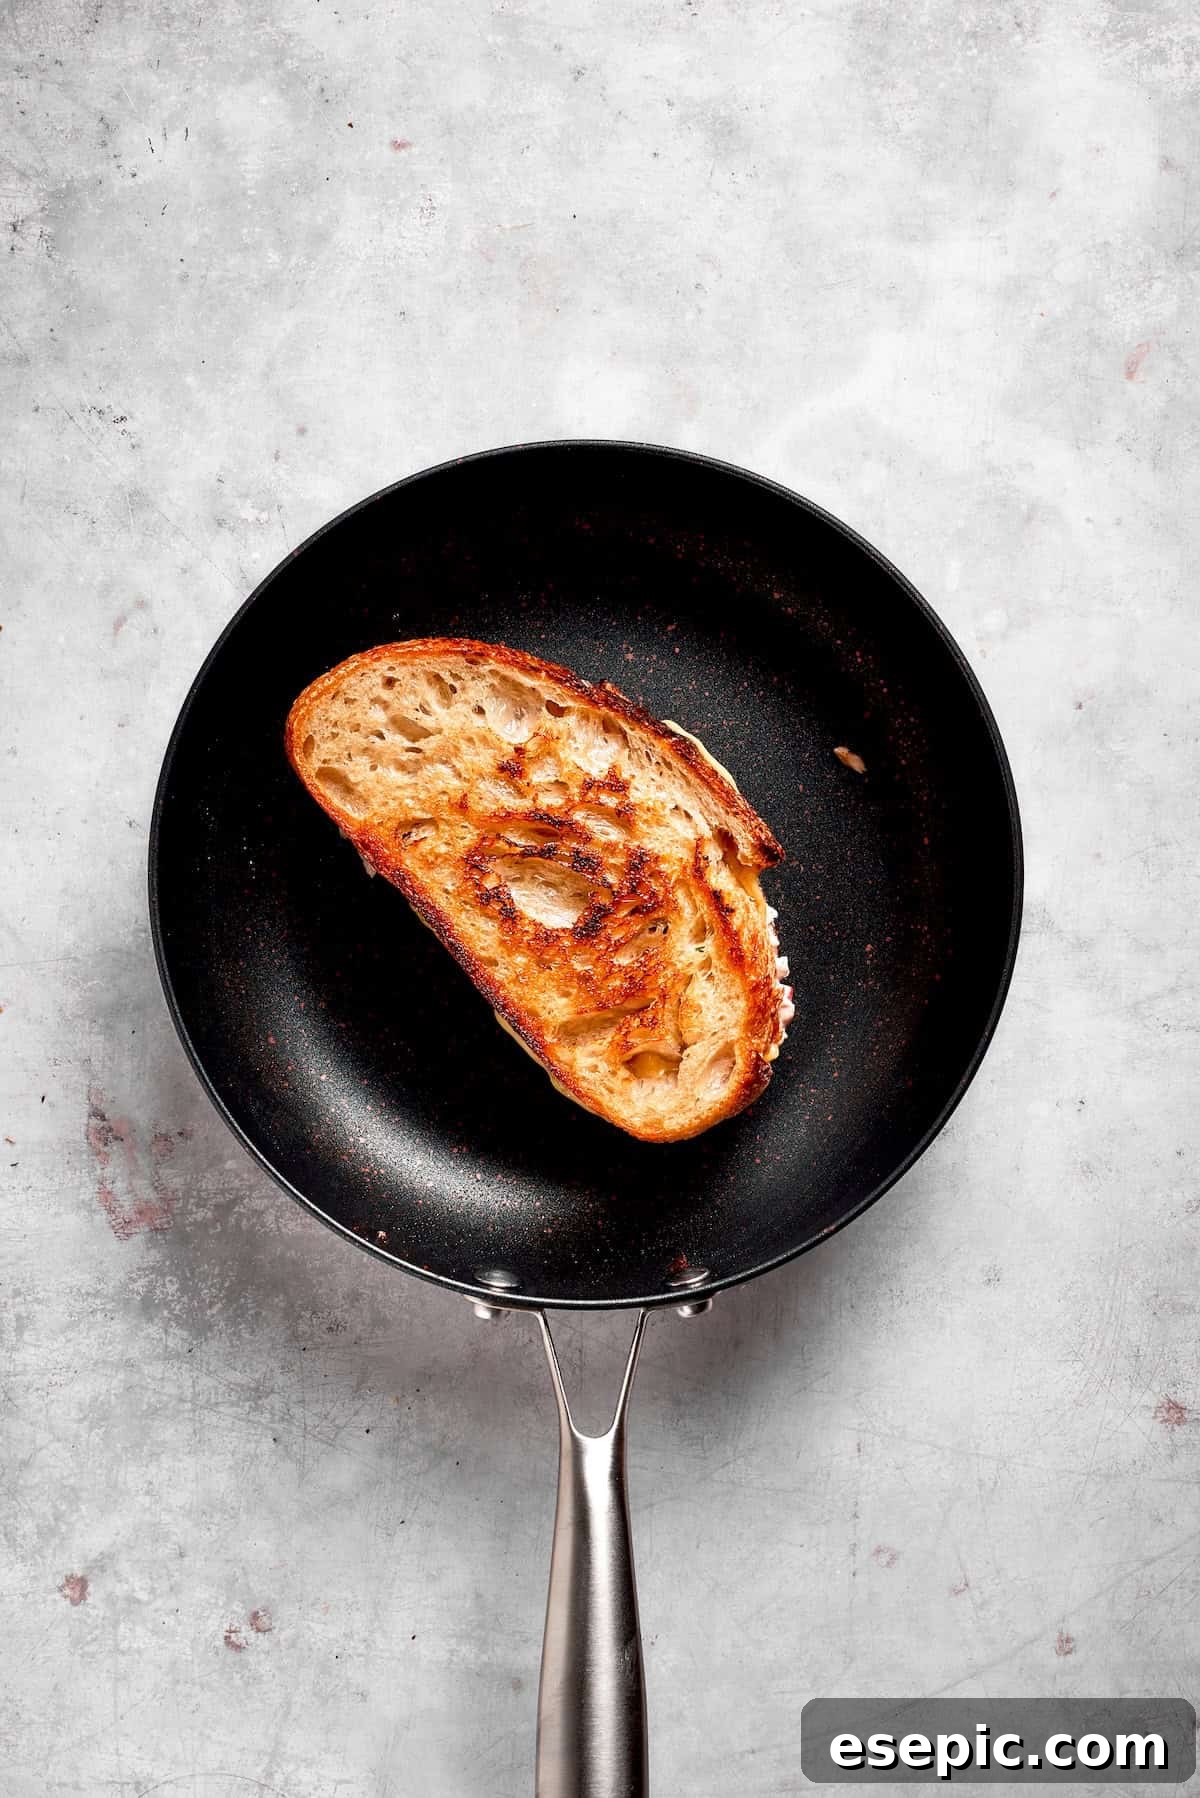
Grill to Golden Perfection. Place a large skillet or griddle over medium-low heat and allow it to preheat. Once warm, carefully place your assembled sandwiches into the skillet. Cook for approximately 2–3 minutes per side. As the sandwiches cook, gently press down on them with a spatula to ensure even contact with the pan and a consistent golden-brown crust. To guarantee the cheese melts fully and evenly, you can cover the pan with a lid for a minute or two during cooking. The bread should be beautifully golden, and the cheese should be wonderfully gooey.
-
Slice and Serve Warm. Once your sandwiches have achieved that perfect golden crispness, remove them from the pan. Allow them to rest for just a minute or two – this helps the cheese settle slightly and makes slicing easier. Using a sharp knife, carefully cut each sandwich in half, creating four perfect tuna melt halves. Serve them immediately while still warm, ideally alongside classic accompaniments like crunchy pickles, your favorite potato chips, or a fresh green salad for a balanced meal. Enjoy every comforting bite!
Equipment
-
Large Skillet: A non-stick or cast iron skillet works best for achieving that perfect golden crust.
-
Mixing Bowl
-
Spatula
-
Sharp Knife
Nutrition Information (per serving, estimated)
- Calories: 743 kcal
- Carbohydrates: 20 g
- Protein: 30 g
- Fat: 60 g
- Saturated Fat: 21 g
- Polyunsaturated Fat: 20 g
- Monounsaturated Fat: 15 g
- Trans Fat: 1 g
- Cholesterol: 100 mg
- Sodium: 925 mg
- Potassium: 361 mg
- Fiber: 2 g
- Sugar: 5 g
- Vitamin A: 2138 IU
- Vitamin C: 44 mg
- Calcium: 280 mg
- Iron: 3 mg
Nutritional information is an estimate and provided as a courtesy. Values may vary according to the ingredients and tools used. Please use your preferred nutritional calculator for more detailed info.
Did you make this recipe? Leave a rating and tell us what you thought!
How to Make the Ultimate Tuna Melt: Step-by-Step Guide
Creating this classic tuna melt is a straightforward process, ensuring a satisfying result every time. Follow these simple steps for a perfect, golden-brown sandwich with a creamy, flavorful filling.
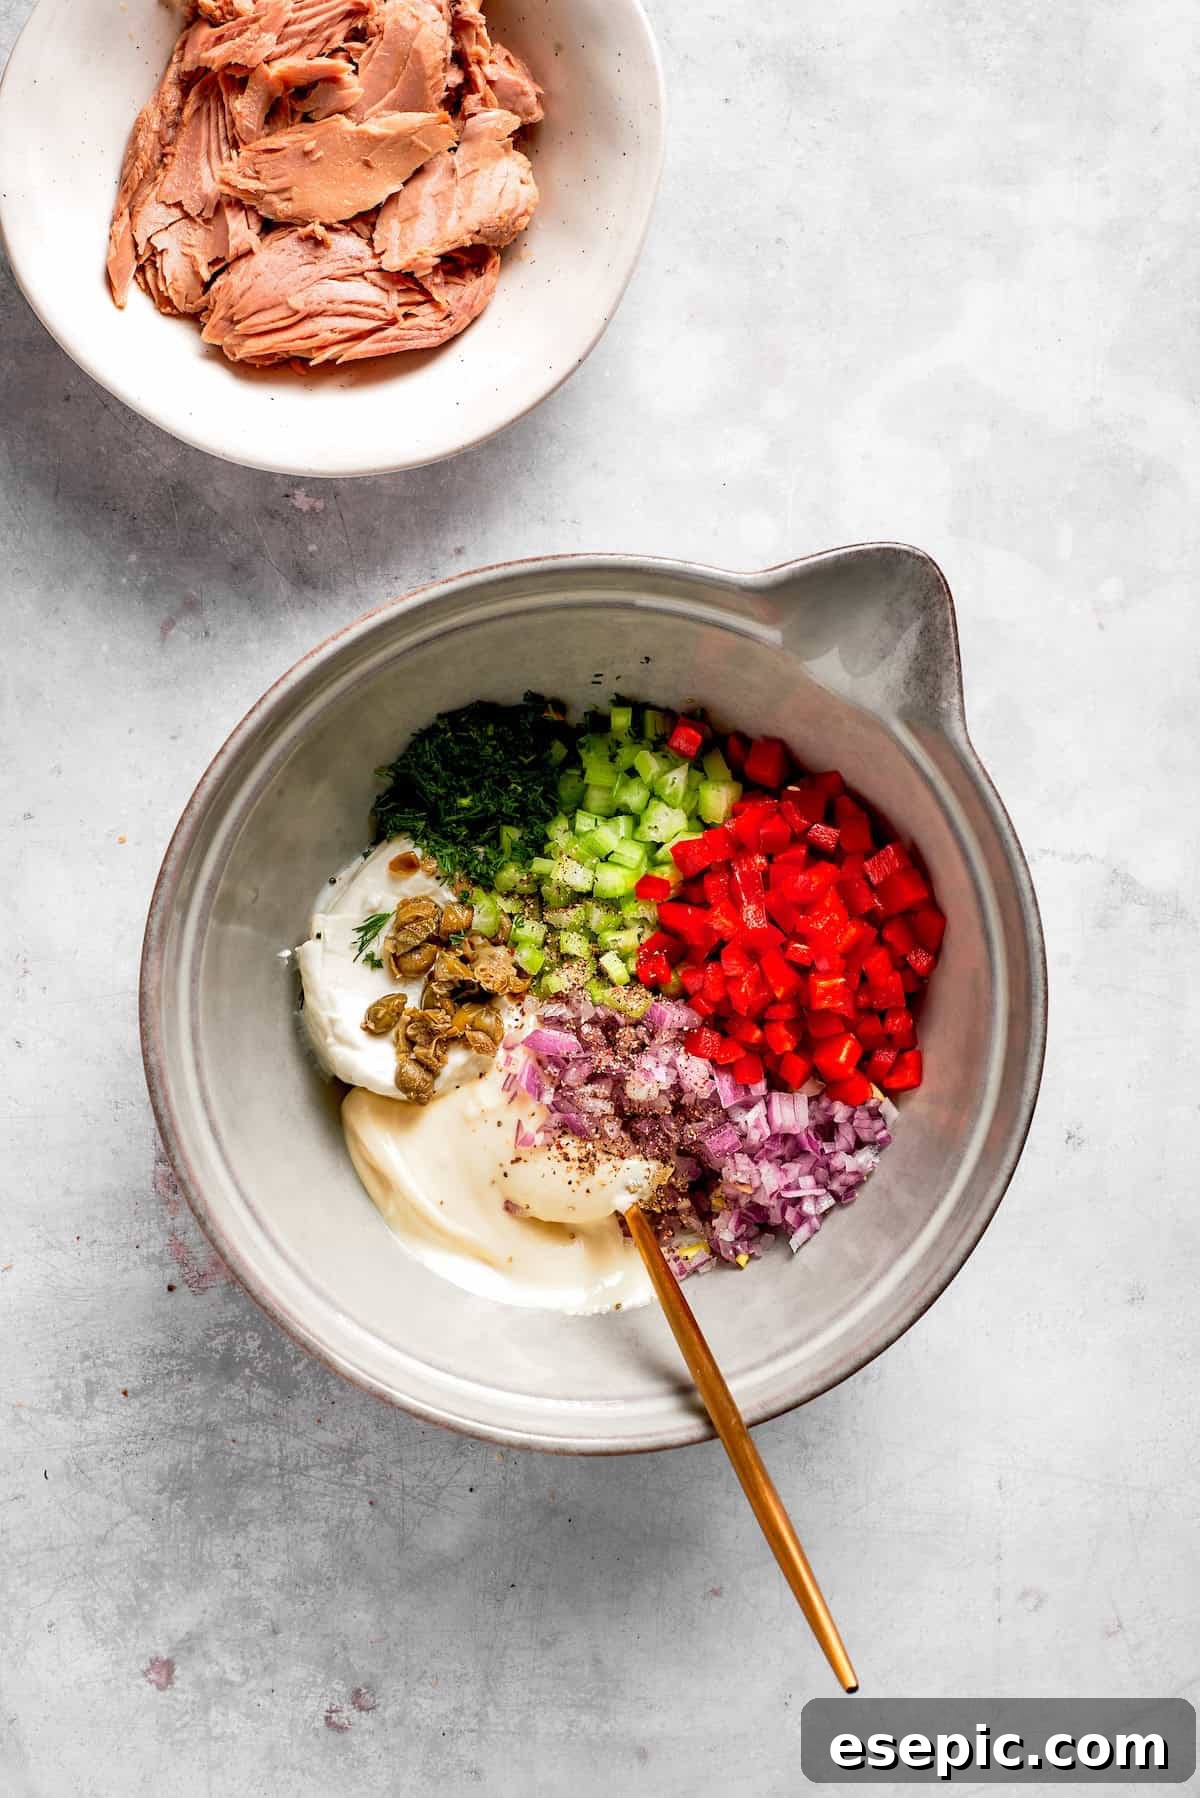
- Prepare the Tuna Mixture. In a spacious mixing bowl, combine your finely chopped red onion, celery, and red bell pepper. Add the mayonnaise, softened cream cheese, fresh dill, and capers. Stir these ingredients thoroughly until they are well integrated and create a creamy base.
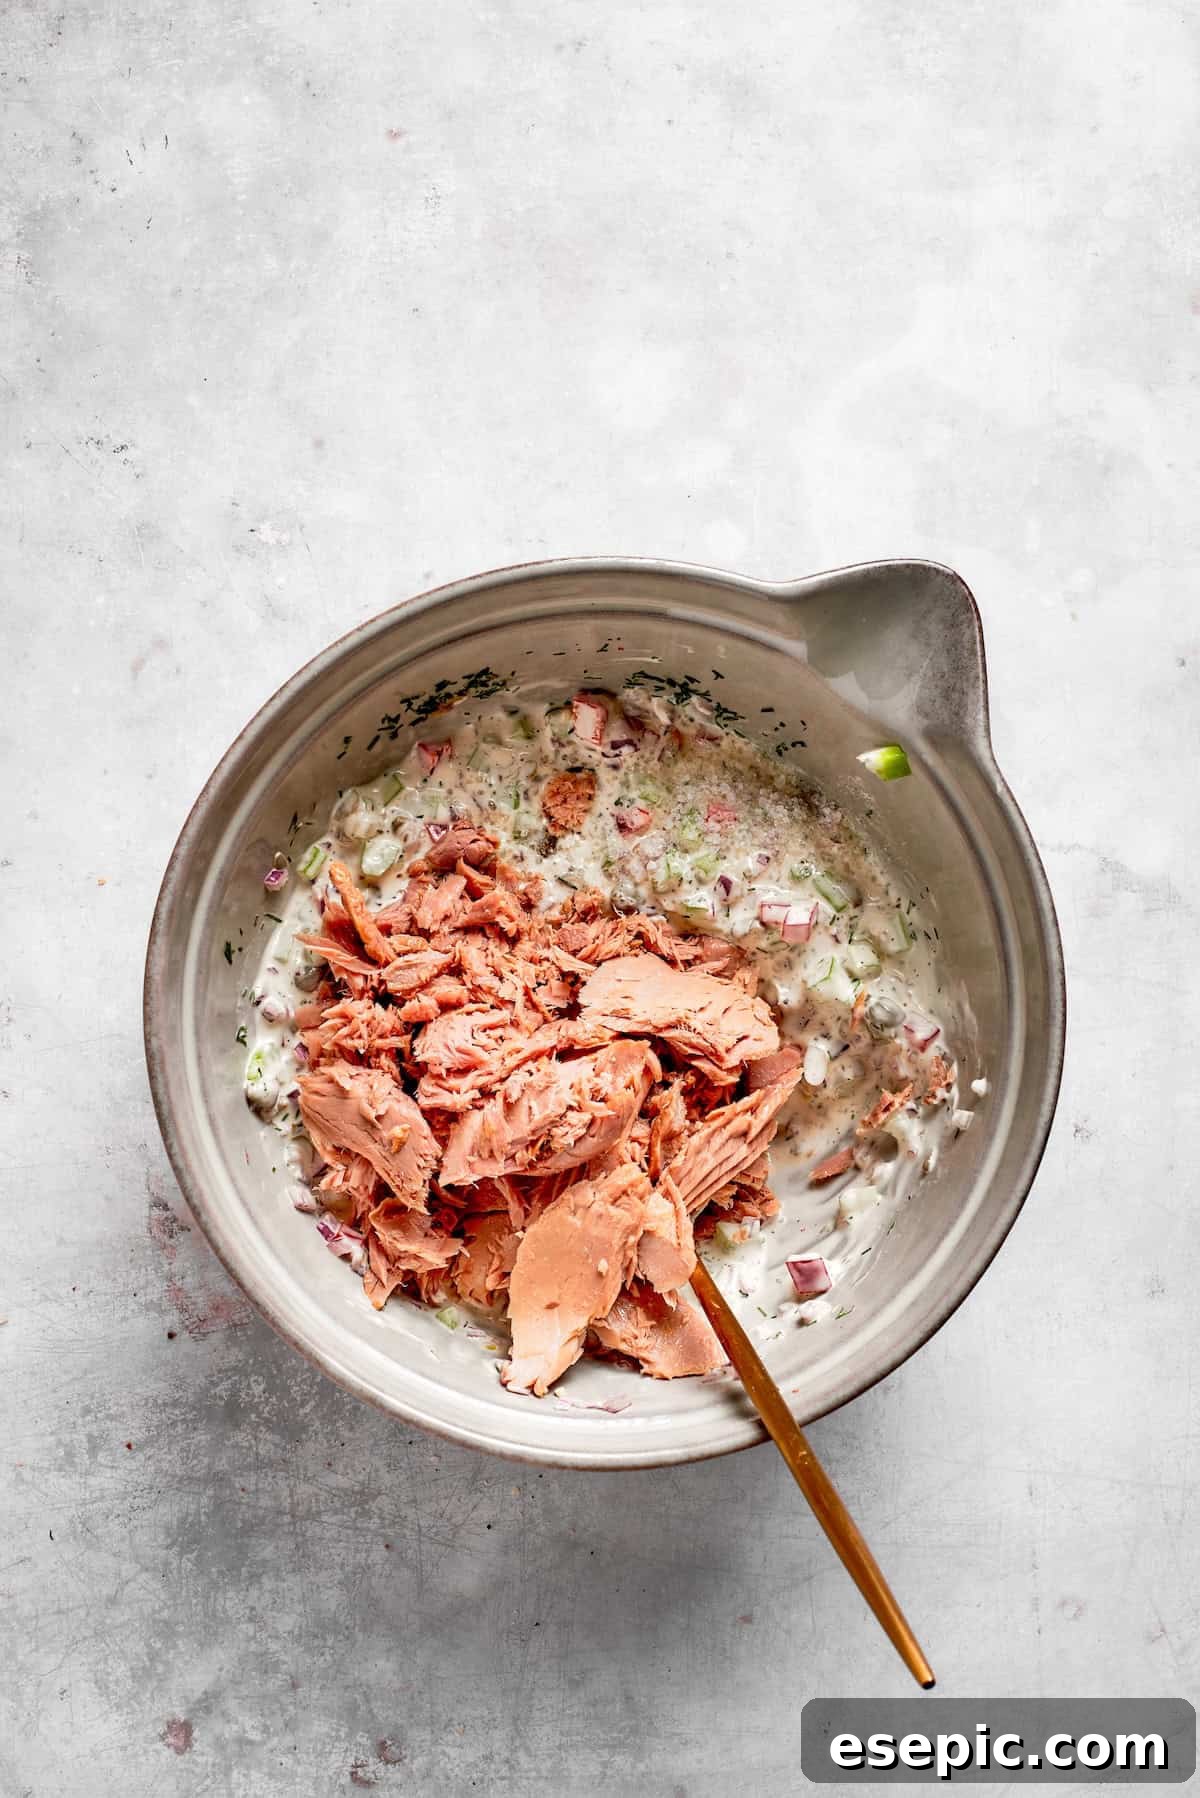
- Add Tuna. Introduce the well-drained tuna to the bowl. Use a fork to gently flake and break apart the tuna as you mix everything together, ensuring all components are evenly distributed and coated in the creamy dressing. Season with freshly ground black pepper to your liking.
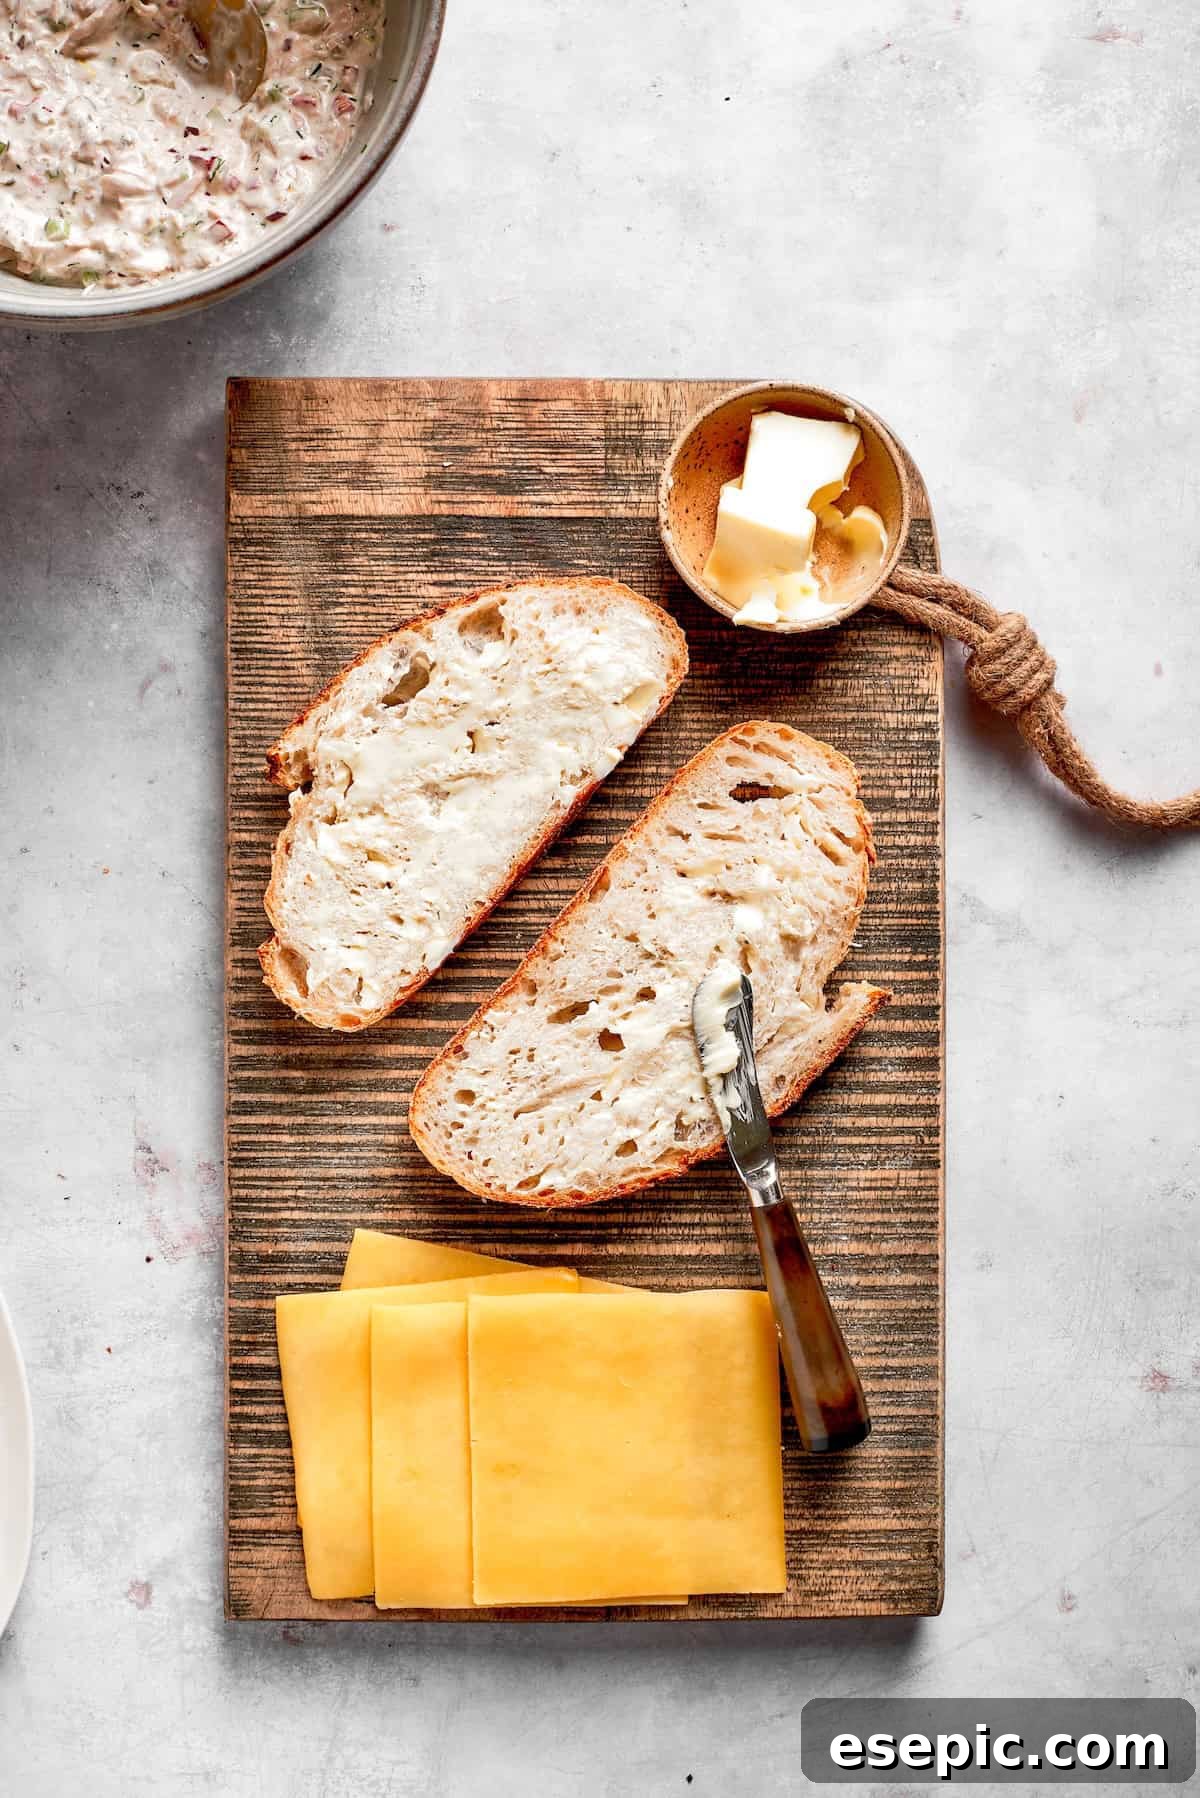
- Assemble the Sandwiches. Begin by generously buttering one side of each slice of bread. This buttered side will be the exterior that toasts beautifully in the skillet.
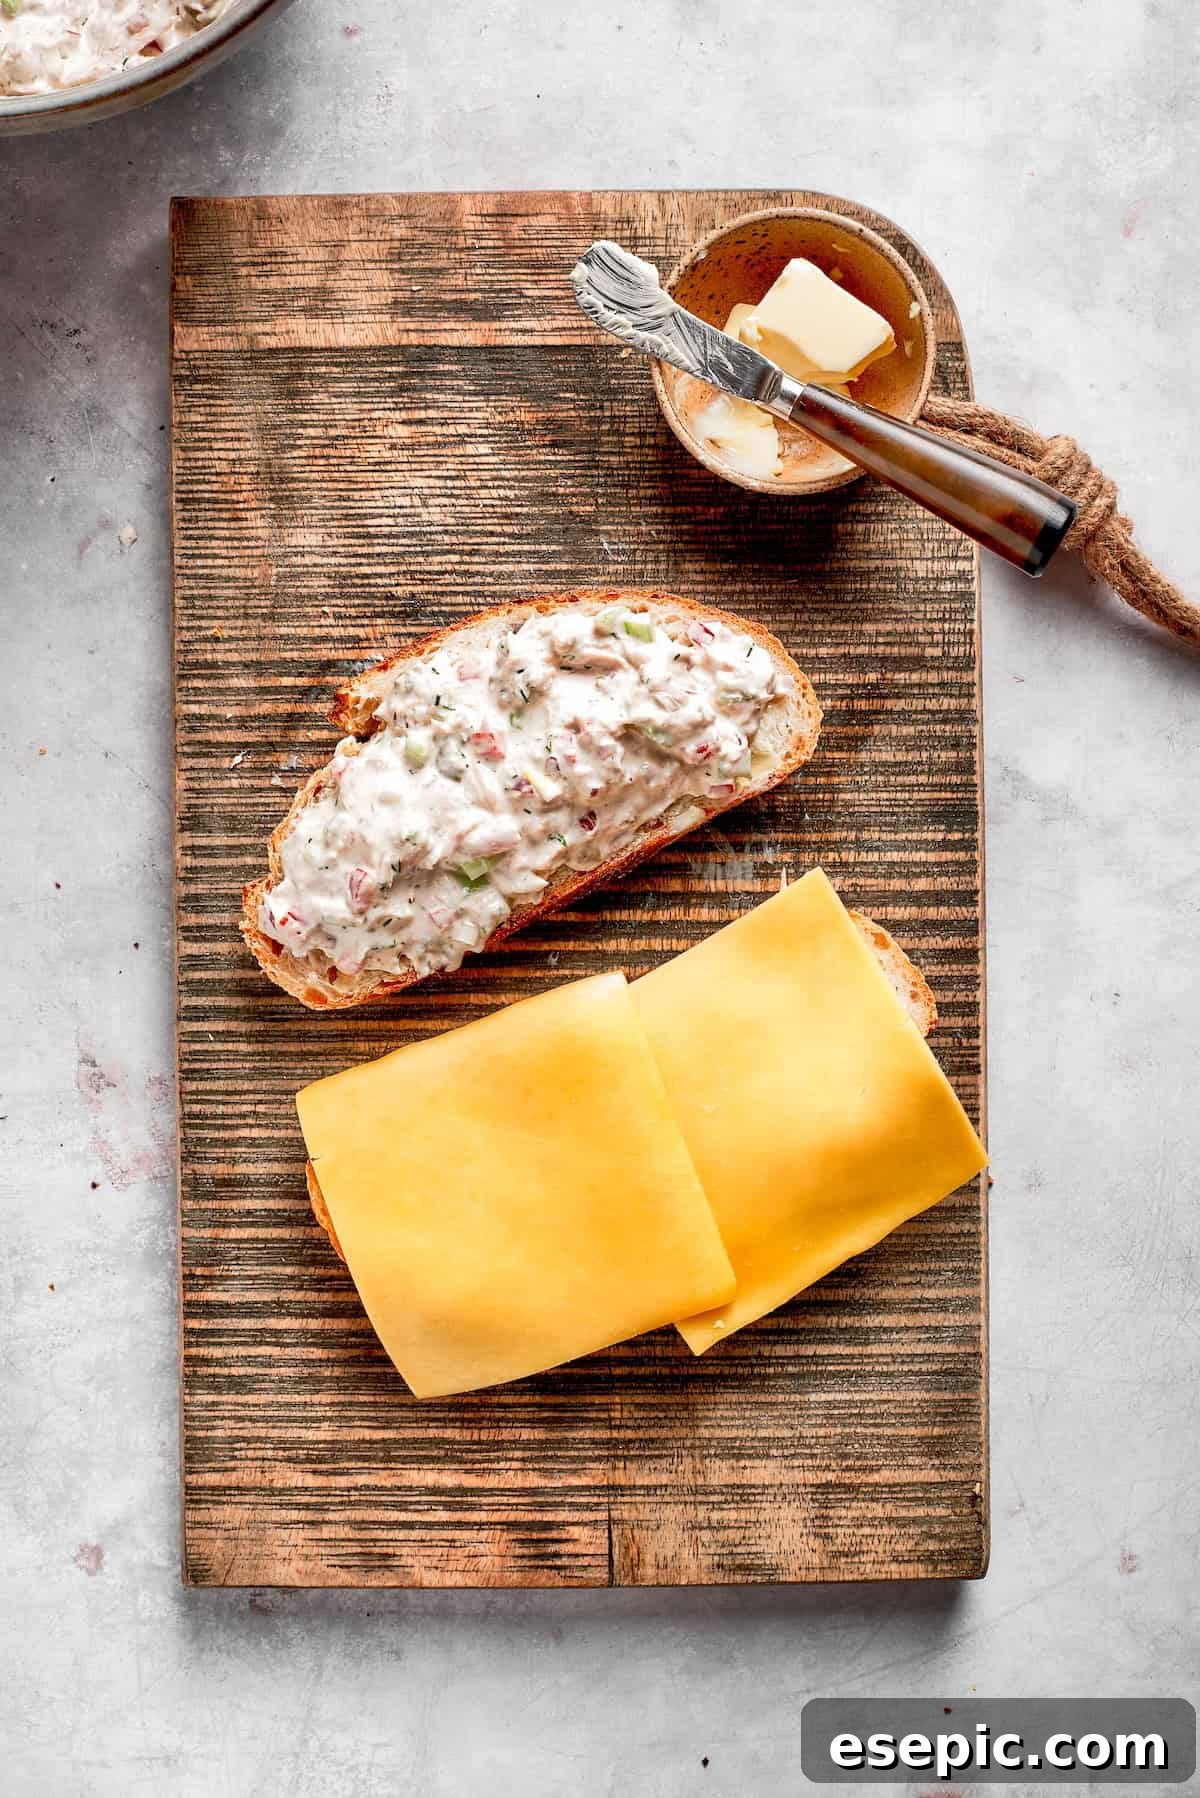
- Build the Sandwiches. Flip the buttered slices over. On the unbuttered side of one slice, place the sharp cheddar cheese. On the unbuttered side of the other slice, generously spread the prepared tuna mixture. Carefully bring the two slices together, forming your sandwich, ensuring the buttered sides are on the outside.
- Grill the Sandwiches. Preheat a large skillet or griddle over medium-low heat. Place the assembled sandwiches in the skillet and cook for 2–3 minutes per side. Gently press down on the sandwiches with a spatula during cooking to ensure even browning and to help the cheese melt. If needed, cover the pan briefly to create a steamy environment that will fully melt the cheese and make it wonderfully gooey. Continue cooking until the bread is golden brown and perfectly crisp.
- Slice and Serve. Once your tuna melts are grilled to perfection with a golden crisp exterior, remove them from the pan. Allow them to rest for just a minute or two – this helps the cheese settle and makes for cleaner slices. Using a sharp knife, carefully cut each sandwich in half. Serve immediately while warm, alongside your favorite pickles, potato chips, or a fresh side salad for a complete and utterly satisfying meal.