

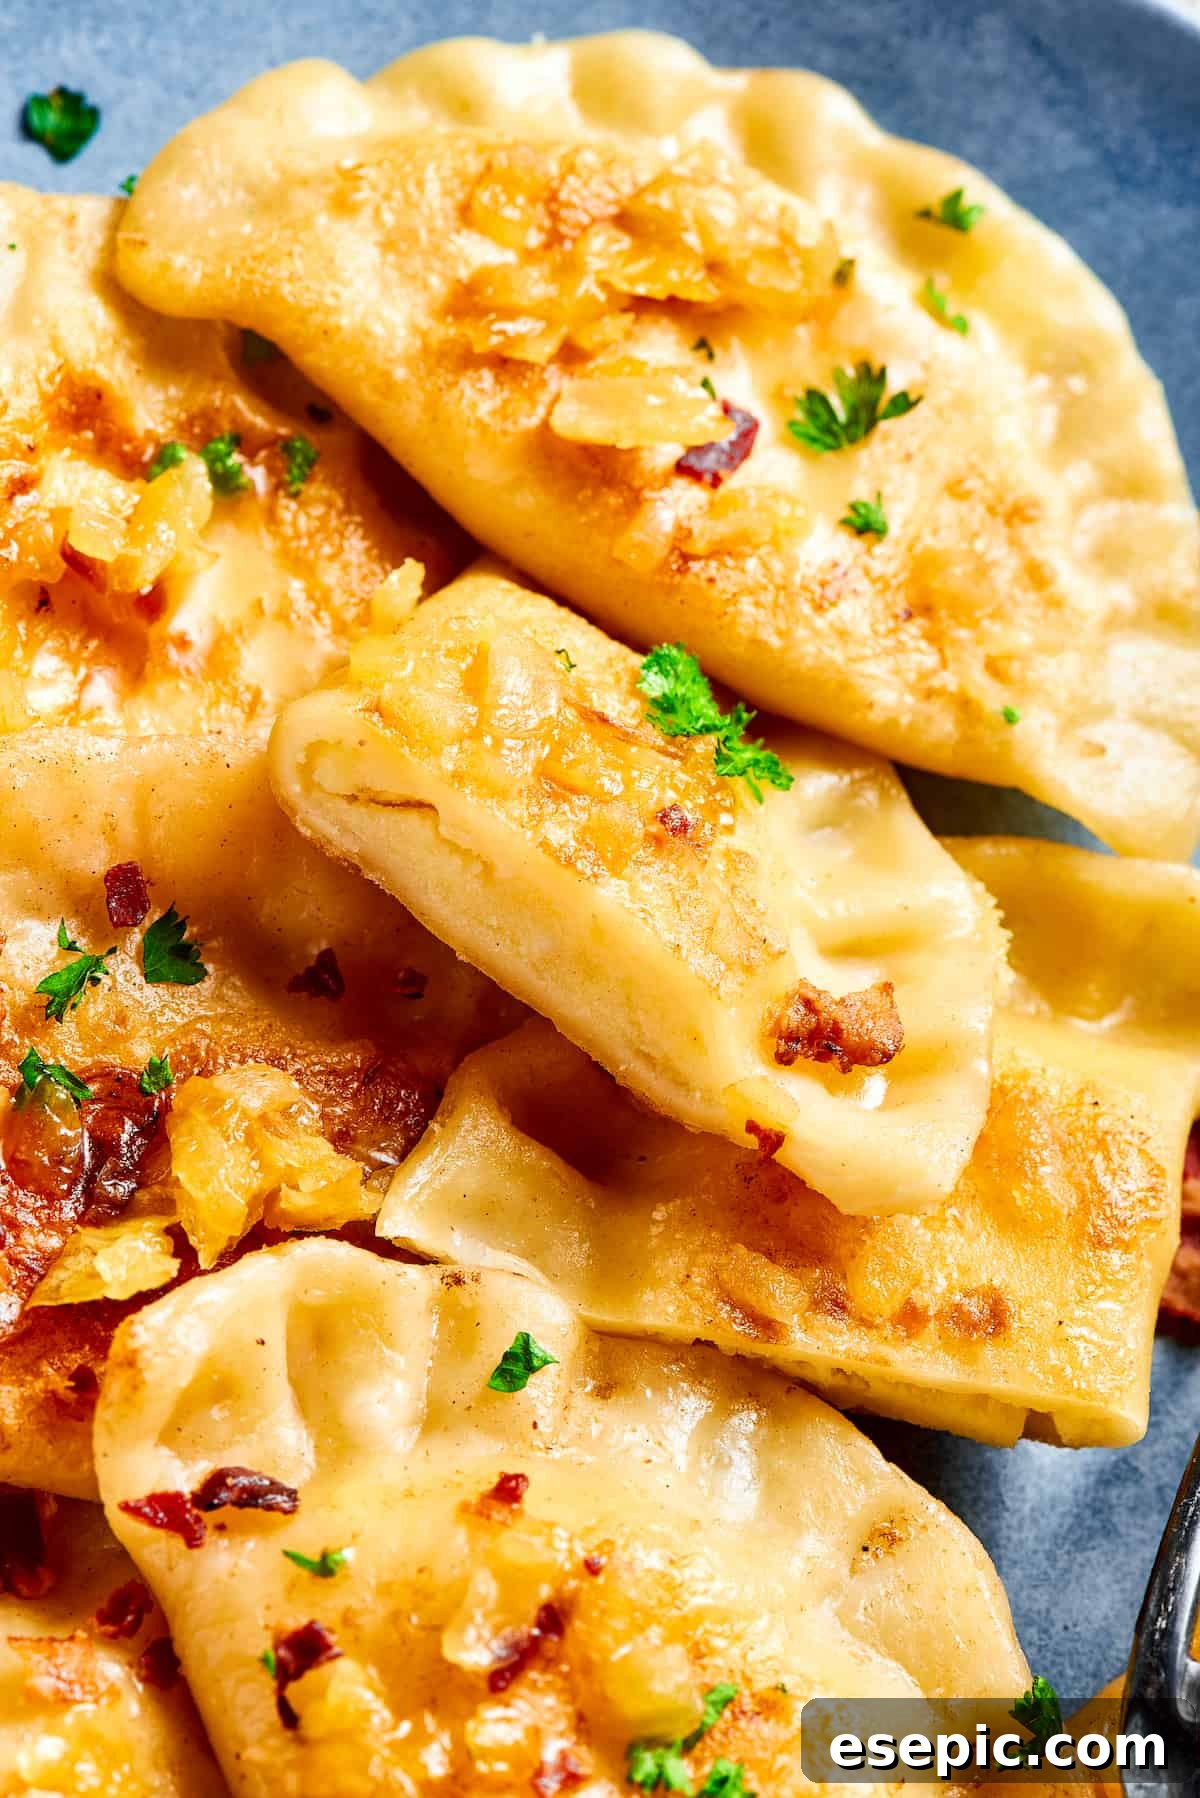
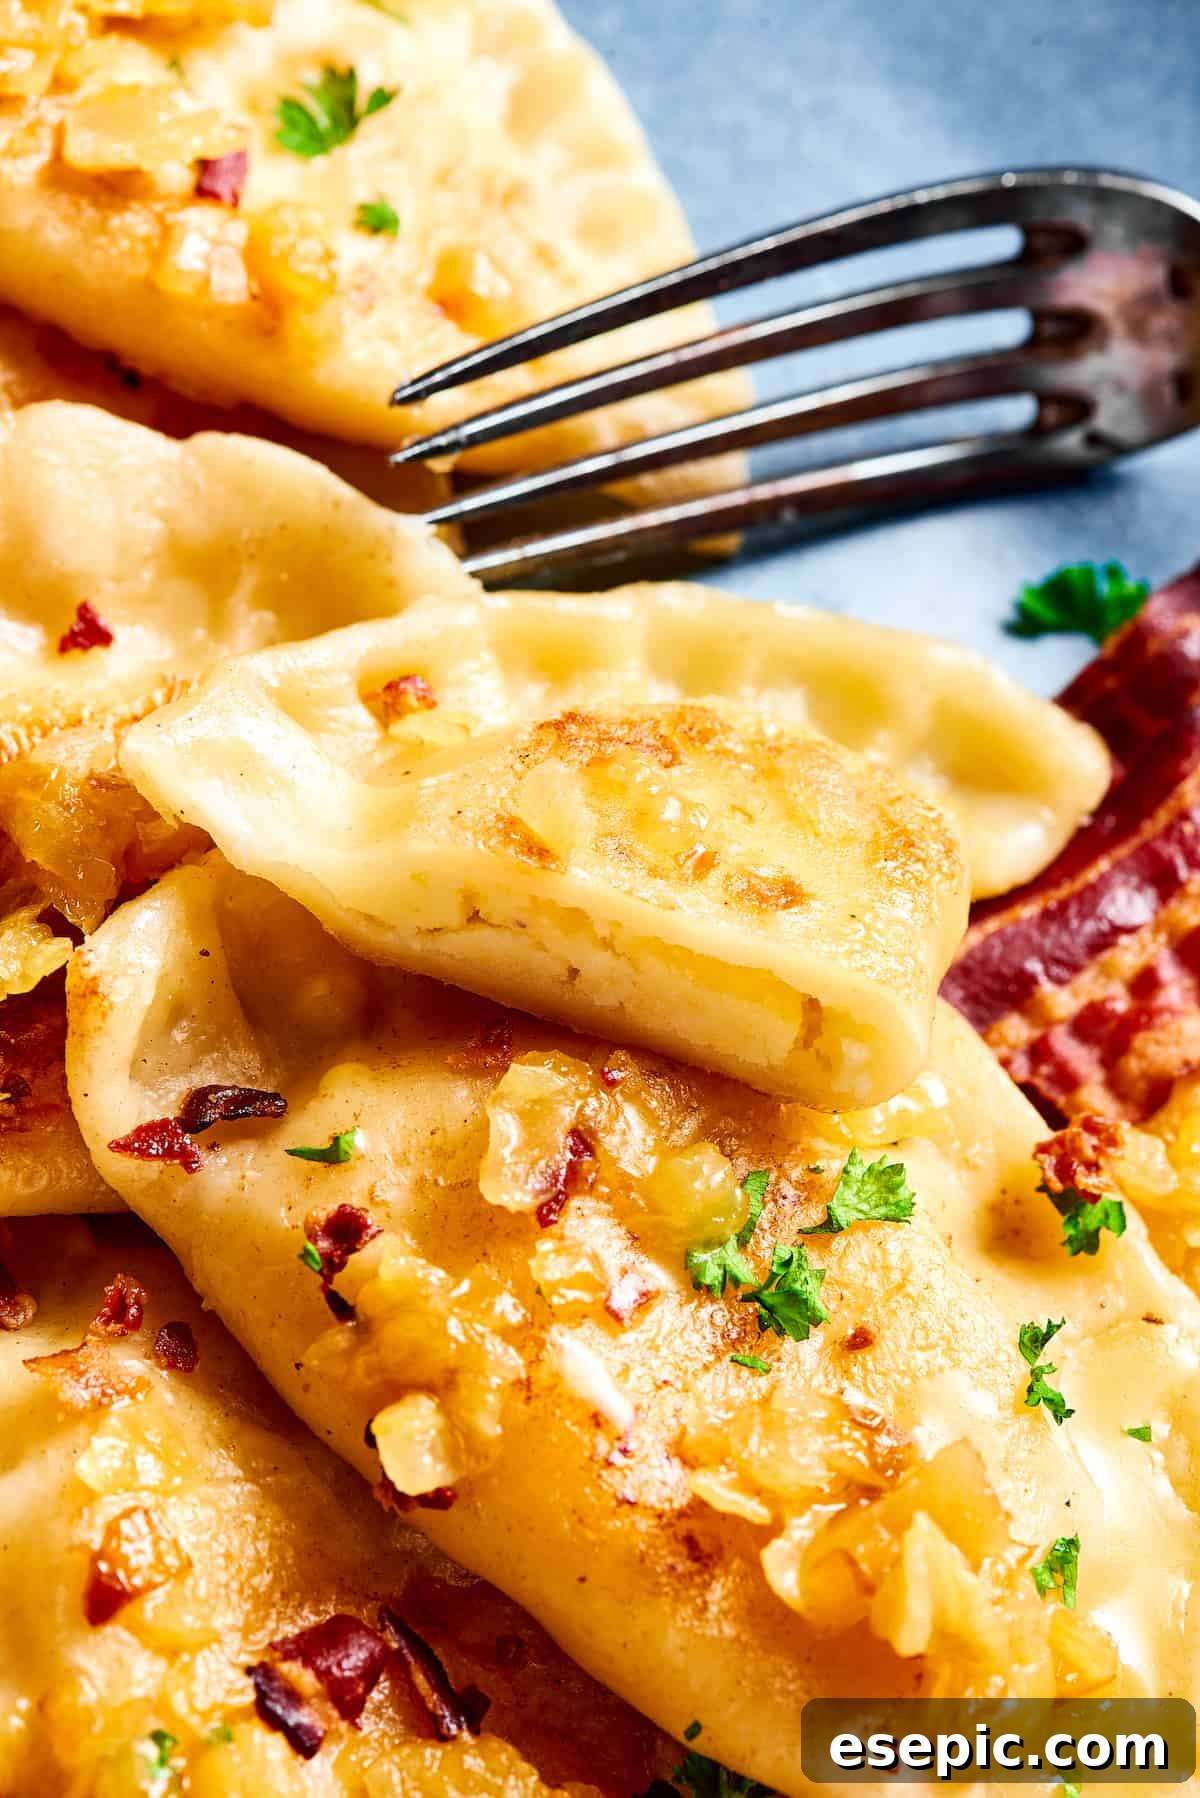
Indulge in the comforting embrace of tradition with this exquisite Homemade Pierogi Recipe. These beloved Eastern European dumplings, filled with a rich, creamy potato and cheese mixture and crowned with golden caramelized onions and crisp, savory bacon, offer a culinary journey that’s both authentic and incredibly satisfying. Whether you’re seeking a delightful appetizer, a hearty side dish, or a fulfilling light dinner, these classic pierogi are guaranteed to impress and become a treasured addition to your recipe collection.

The Ultimate Homemade Pierogi Recipe: Authentic Cheesy Potato Dumplings
Pierogi, a staple in many Eastern and Central European households, are far more than just dumplings; they are a symbol of comfort, celebration, and culinary heritage. From festive holiday tables, especially during Christmas and Easter, to everyday family meals, these versatile pockets of deliciousness come in an array of fillings, from sweet fruit varieties to savory meat and vegetable combinations. This particular guide will walk you through crafting the revered pierogi ruskie, a traditional Polish favorite featuring a sumptuously smooth mashed potato and cheese filling.
While the process of making pierogi from scratch can be a labor of love, it’s an incredibly rewarding experience that yields unparalleled flavor and texture. Think of it as a delightful cooking project, perfect for a cozy afternoon. The good news is that pierogi freeze exceptionally well, making it a fantastic opportunity to prepare a larger batch and stock your freezer for future quick and delicious meals. Gather your ingredients, perhaps enlist a helper or two, and let’s embark on this delightful journey to create truly authentic homemade pierogi!
Why Make Pierogi From Scratch? A Taste of Tradition
There’s an undeniable magic in homemade food, and pierogi are no exception. While store-bought options offer convenience, nothing compares to the fresh, tender bite of a freshly made pierogi. Making them at home allows you to control the quality of ingredients, customize the filling to your exact preference, and experience the simple joy of creating something truly special from scratch. It’s a culinary art form that connects you to generations of home cooks, delivering a taste of tradition that resonates deeply with every bite.
Essential Ingredients for Perfect Homemade Pierogi
Crafting the perfect pierogi begins with selecting the right ingredients. Here’s a detailed look at what you’ll need for the dough, the potato-cheese filling, and that irresistible topping. For precise measurements and nutritional information, refer to the full recipe card below.
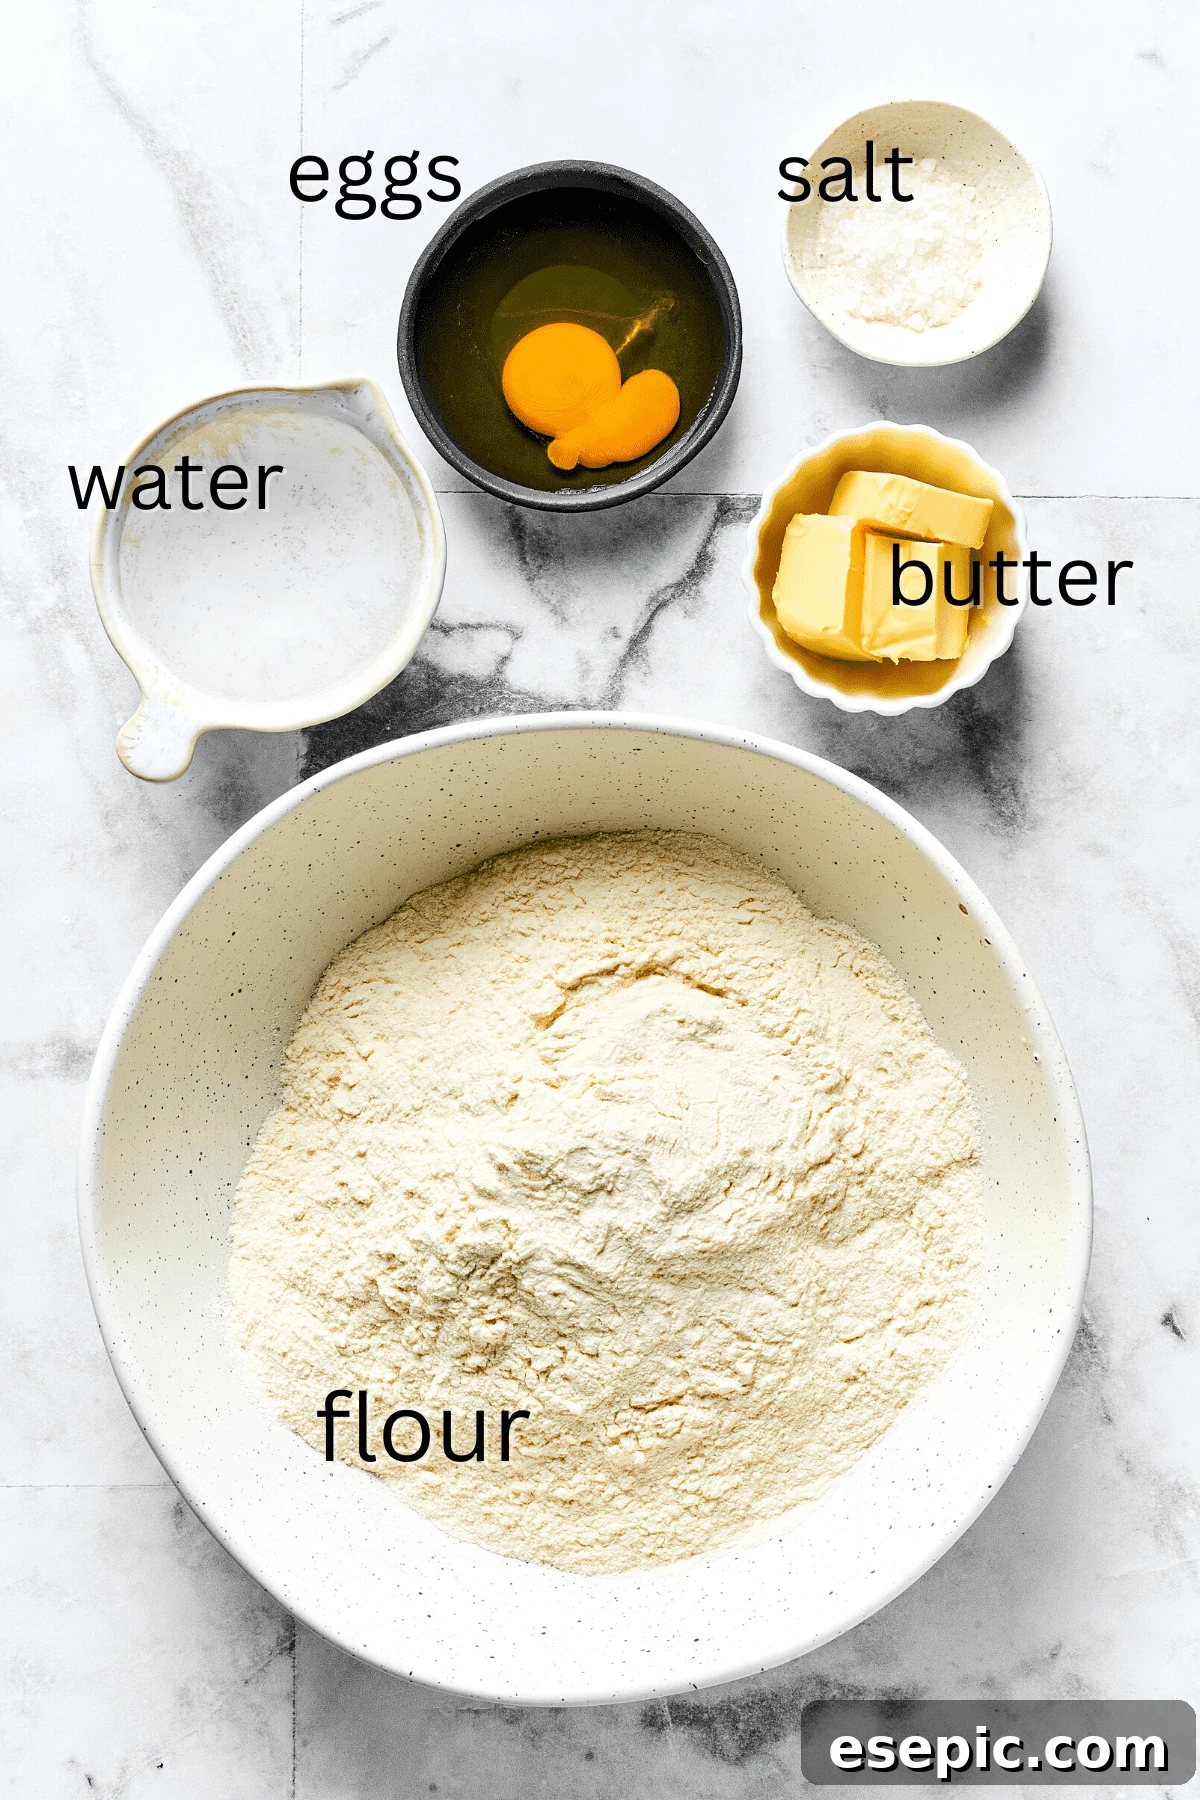
For the Tender Pierogi Dough
- All-Purpose Flour: The foundation of our dough, providing structure and chewiness. Ensure it’s fresh for best results.
- Salt: Enhances the flavor of the dough, making it more balanced.
- Unsalted Butter: Adds richness and helps create a tender, pliable dough. Using unsalted butter allows you to control the overall saltiness of the recipe.
- Warm Water: Crucial for activating the gluten in the flour without cooking the egg. It should be warm to the touch, not hot.
- Large Egg: Acts as a binding agent, contributing to the dough’s elasticity and helping it hold its shape during cooking.
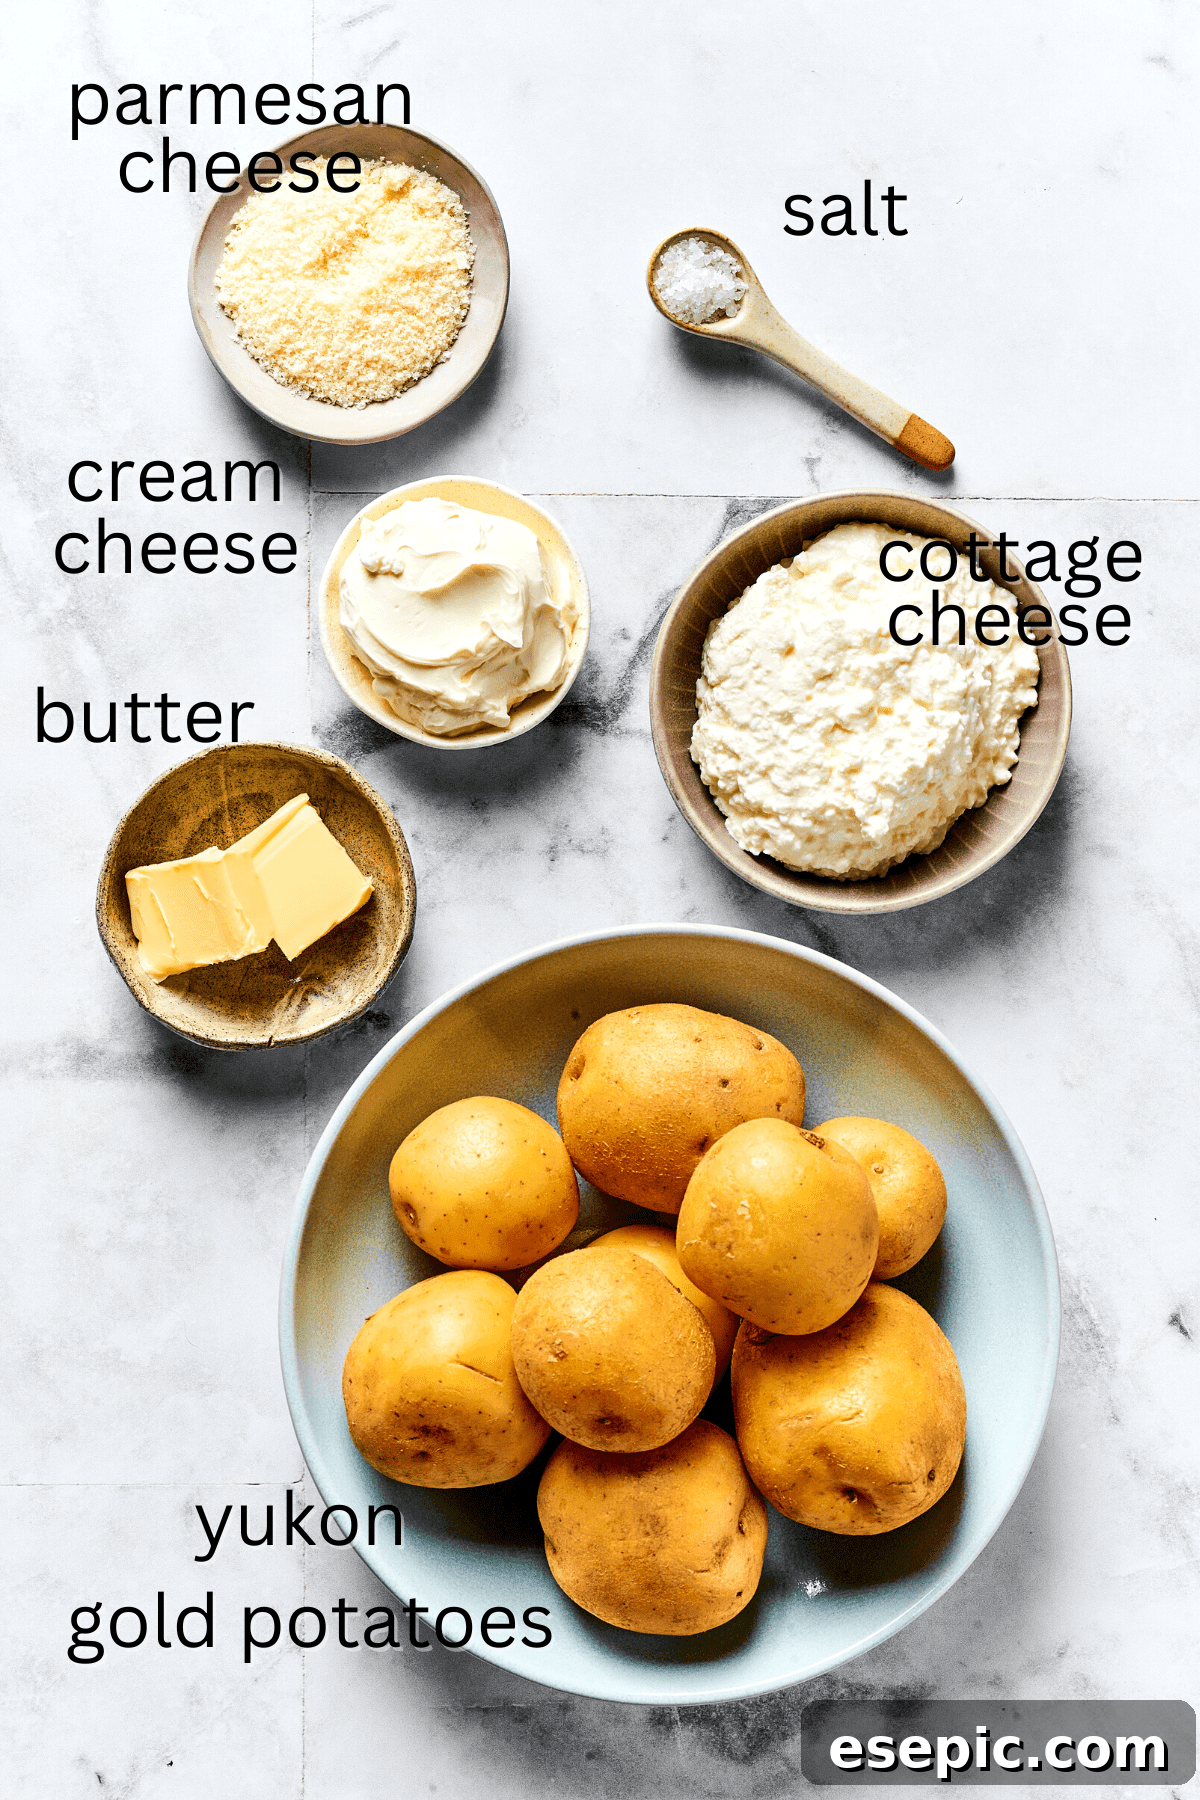
For the Irresistible Potato-Cheese Filling (Pierogi Ruskie)
- Potatoes: Yukon Gold potatoes are highly recommended for their creamy texture and buttery flavor, making them ideal for mashing. Russet potatoes are another excellent choice, as they become wonderfully fluffy when cooked.
- Sea Salt: Or your preferred fine salt, to season the filling perfectly. Adjust to taste.
- Unsalted Butter: Adds moisture and a rich, decadent flavor to the mashed potatoes. If using salted butter, reduce the added sea salt accordingly.
- A Trio of Cheeses:
- Cottage Cheese: Provides a subtle tang and delightful creaminess, characteristic of authentic pierogi ruskie.
- Cream Cheese: Contributes to an incredibly smooth, rich, and velvety filling.
- Parmesan Cheese: Infuses the filling with a savory, umami depth that complements the potatoes beautifully.
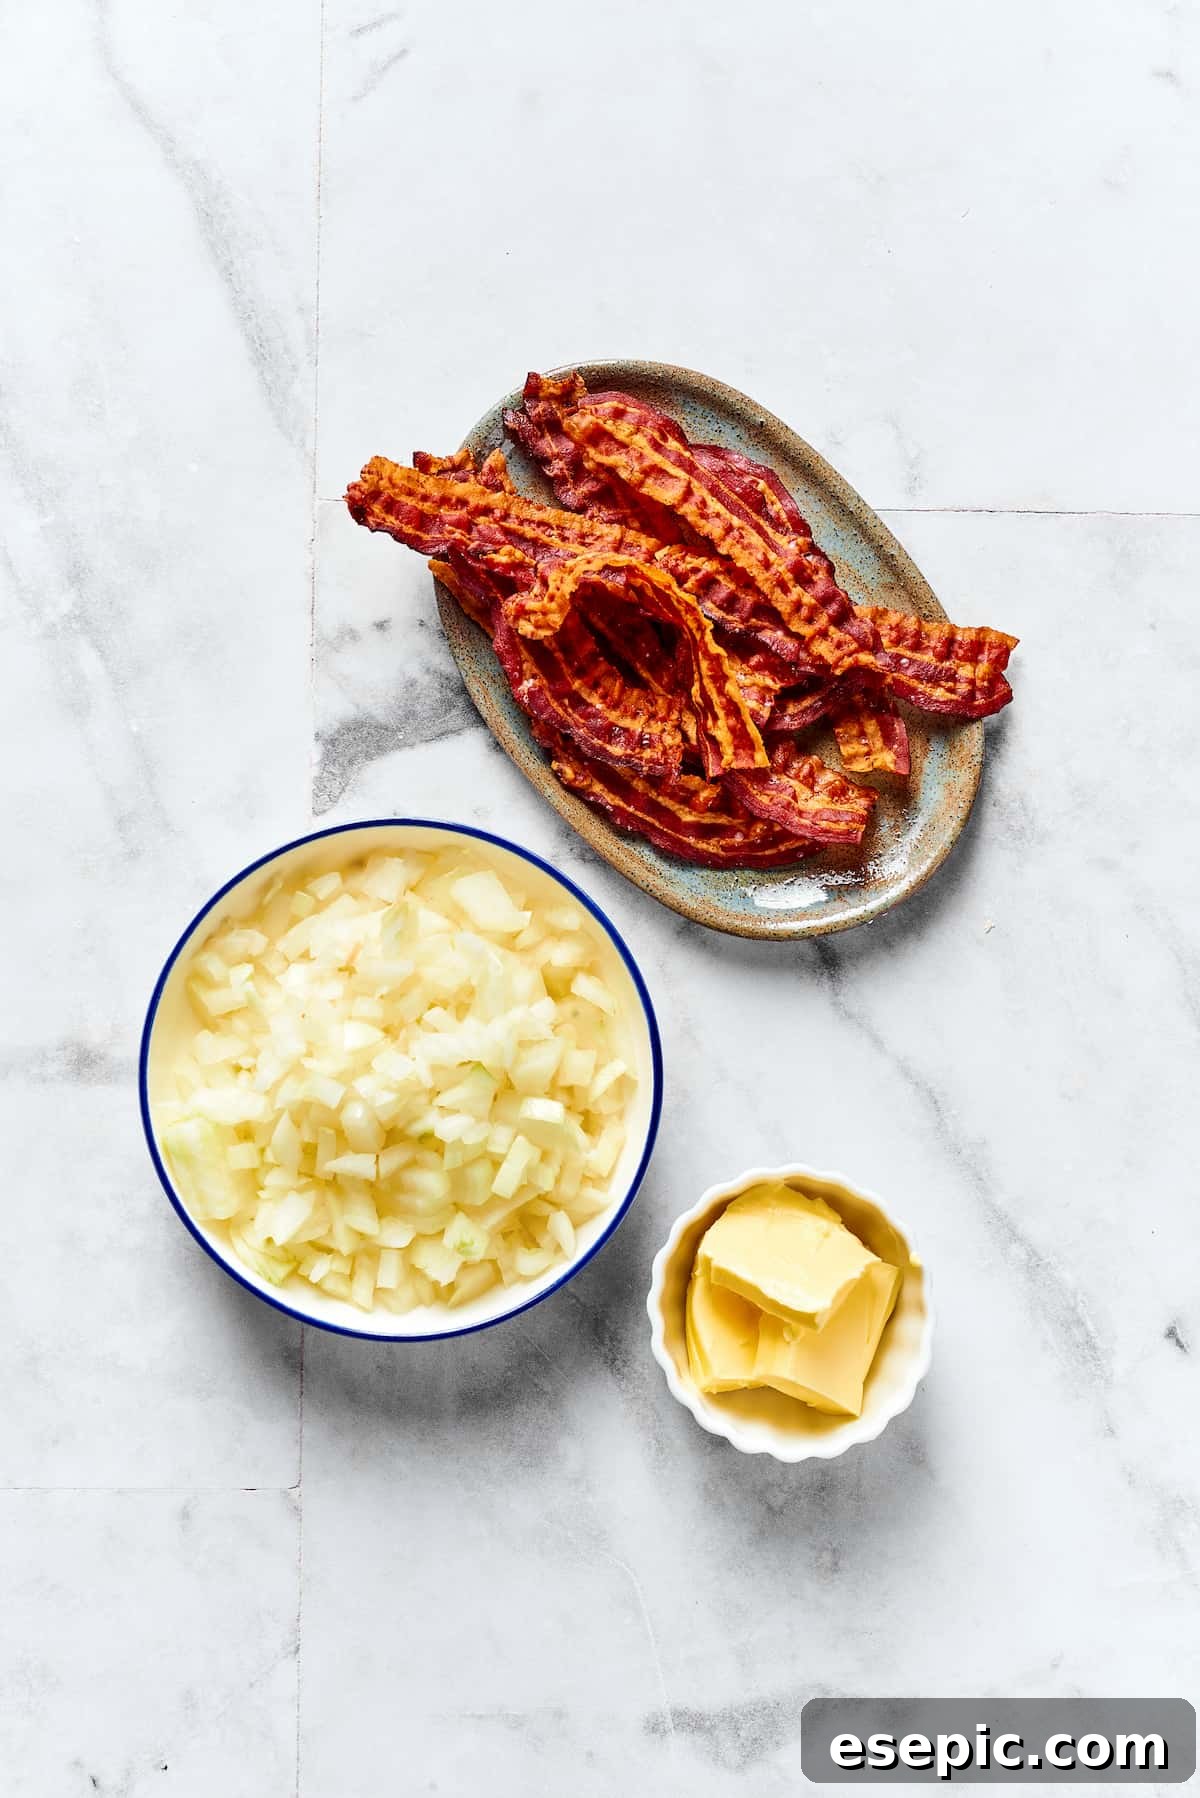
For the Golden Topping
- Bacon: Cooked until perfectly crispy and then crumbled into small, bite-sized pieces. The salty crunch adds a wonderful textural contrast.
- Unsalted Butter: Essential for sautéing the onions to a beautiful golden caramelization.
- Onions: Yellow or white onions, finely chopped, will transform into sweet, savory caramelized bits that are the hallmark of classic pierogi toppings.
- Fresh Parsley: Chopped, for a burst of freshness and a vibrant garnish.
Crafting Your Homemade Pierogi: A Step-by-Step Guide
Now that we have all our ingredients ready, let’s dive into the exciting part: bringing these delicious pierogi to life! Follow these detailed steps for a successful and satisfying cooking experience.
Step 1: Make the Creamy Potato-Cheese Filling
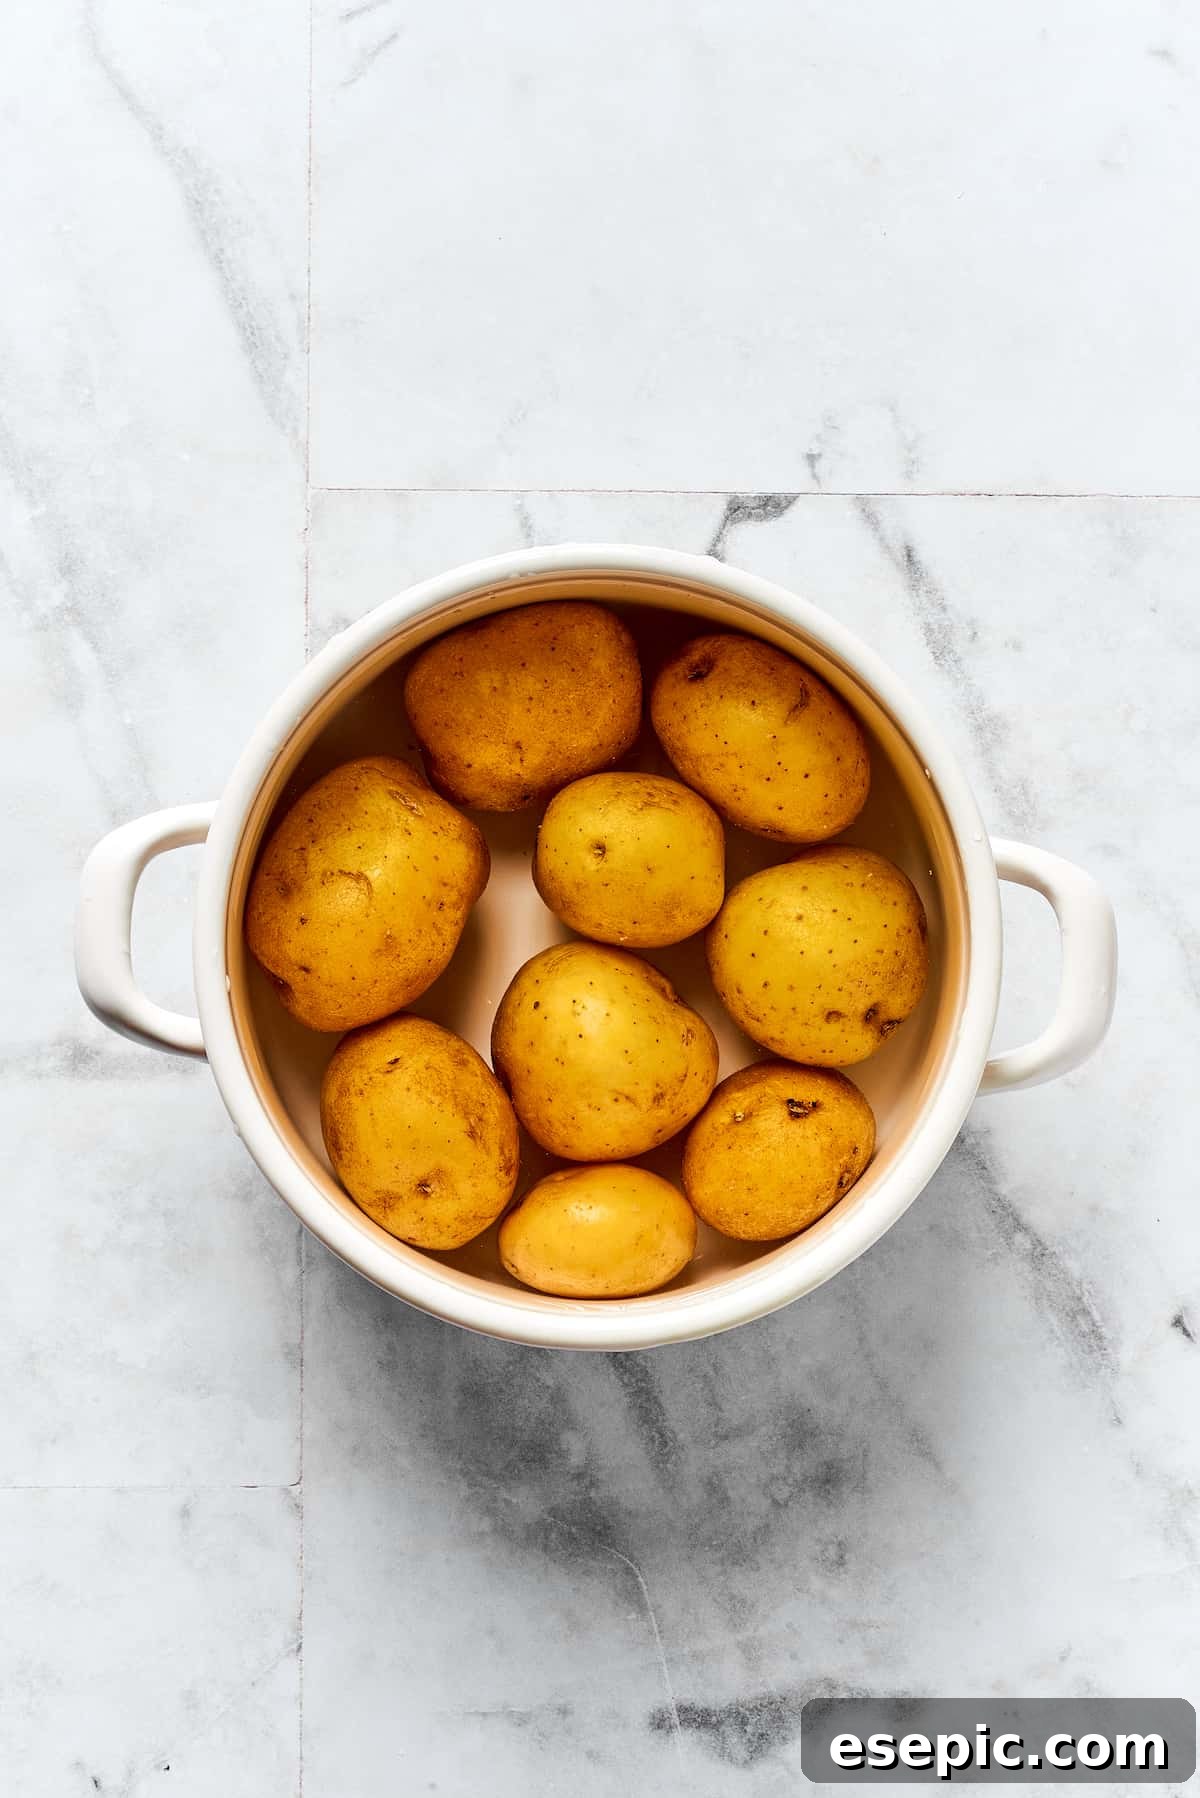
- Cook the Potatoes: Begin by placing your chosen potatoes in a large pot. Cover them generously with cold water and add a pinch of salt to the water for flavor. Bring the water to a rolling boil over medium heat. Once boiling, reduce the heat slightly, cover the pot with a lid, leaving it slightly ajar to allow steam to escape. Cook for approximately 25 minutes, or until the potatoes are fork-tender.
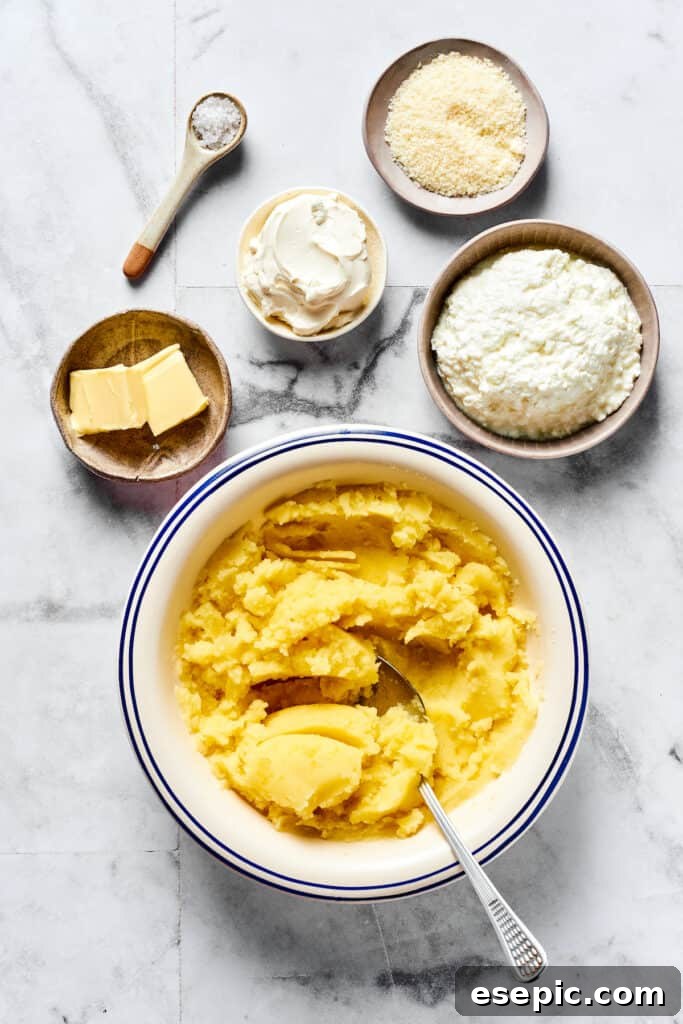
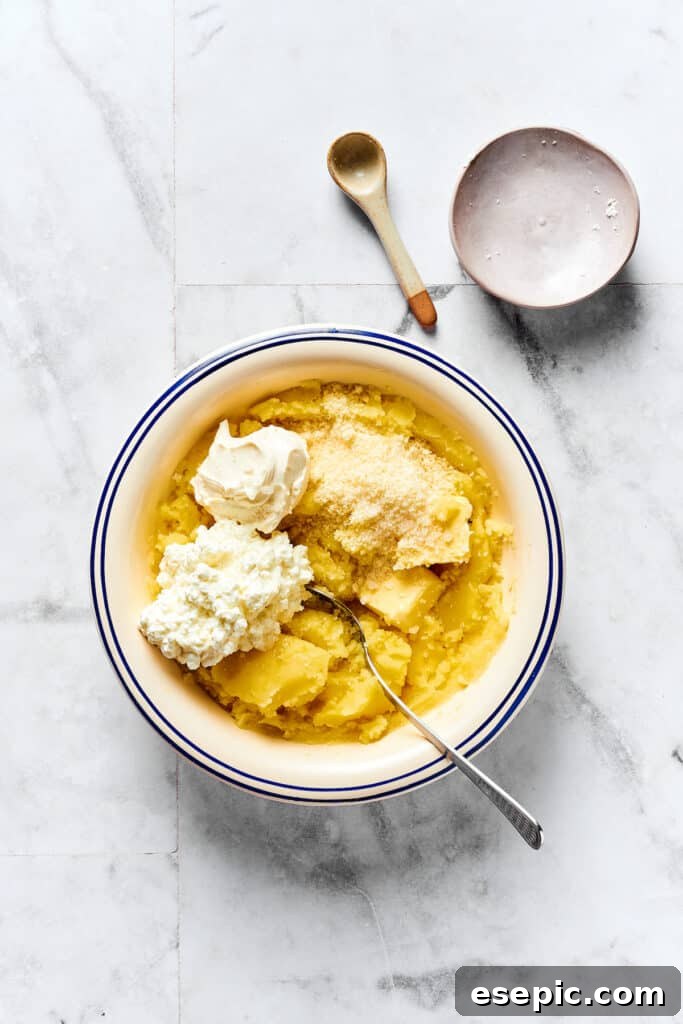
- Prepare the Filling: Drain the cooked potatoes thoroughly. Using a potato masher or a ricer, mash the potatoes until they are completely smooth and free of any lumps. While the potatoes are still warm, incorporate the cottage cheese, cream cheese, Parmesan cheese, unsalted butter, and sea salt. Mix everything together until well combined and creamy. Taste and adjust seasoning as needed. Set this flavorful filling aside to cool slightly while you prepare the dough.
Step 2: Master the Pierogi Dough
- Mix the Dry Ingredients: In a medium-sized mixing bowl, whisk together the all-purpose flour and salt until thoroughly combined.
- Prepare Wet Ingredients: In a small saucepan or microwave-safe bowl, gently warm the water and unsalted butter until the butter is completely melted. Be careful not to let the mixture get too hot; it should be warm, not simmering.
- Combine and Knead: Pour the warm butter mixture into the flour mixture. Stir with a spoon until a shaggy dough begins to form. Then, add the lightly beaten egg. Continue to knead the dough by hand on a lightly floured surface for about 5 minutes, or use a stand mixer with a dough hook for the same duration, until the dough is smooth, elastic, and no longer sticky.
- Rest the Dough: Form the kneaded dough into a ball. Cover it with a clean kitchen towel or plastic wrap and let it rest at room temperature for at least 40 minutes. This resting period is crucial as it allows the gluten to relax, making the dough much easier to roll out thinly without resistance.
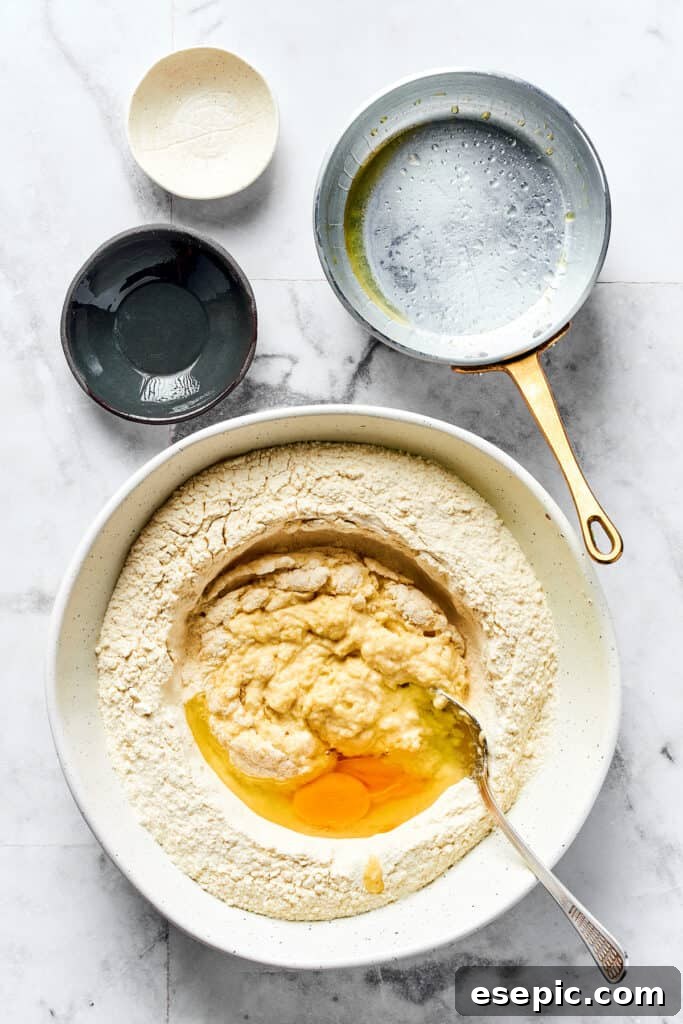
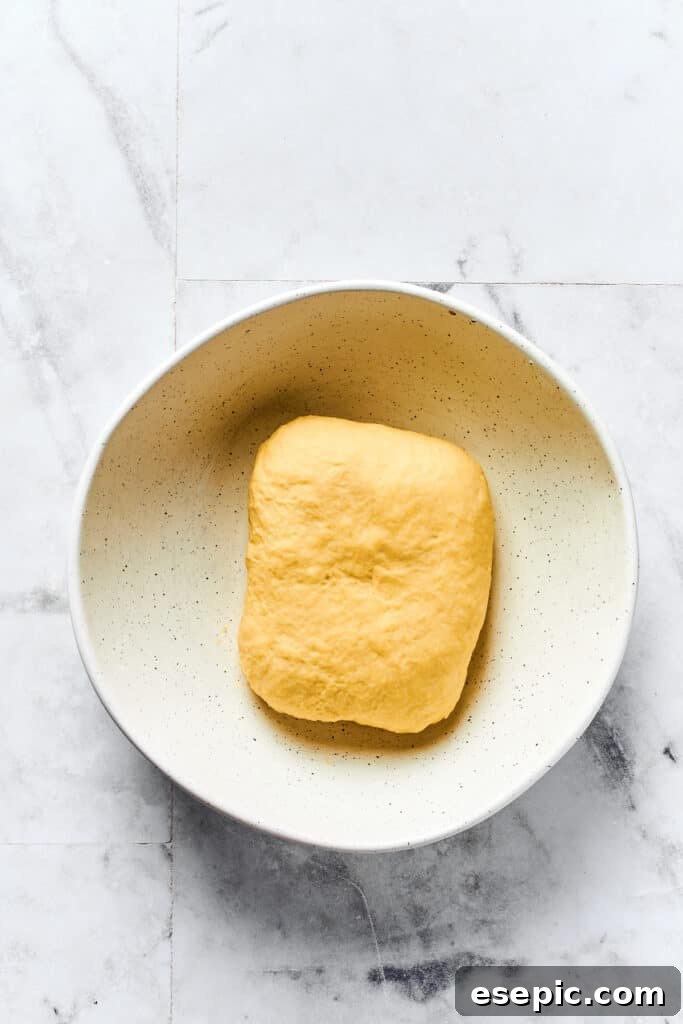
Step 3: Shape the Perfect Pierogi
- Roll the Dough: Divide the rested dough in half. Keep one half covered with plastic wrap to prevent it from drying out. On a lightly floured surface, roll out the other half of the dough very thinly – aiming for about ⅛-inch thickness. A pasta machine can also be used for perfectly even sheets.
- Cut and Fill: Use a pierogi cutter, a round cookie cutter, or even the rim of a drinking glass (approximately 2.5-3 inches in diameter) to cut out circles from the rolled dough. Spoon about 1 tablespoon of the potato-cheese filling onto the center of each dough round.
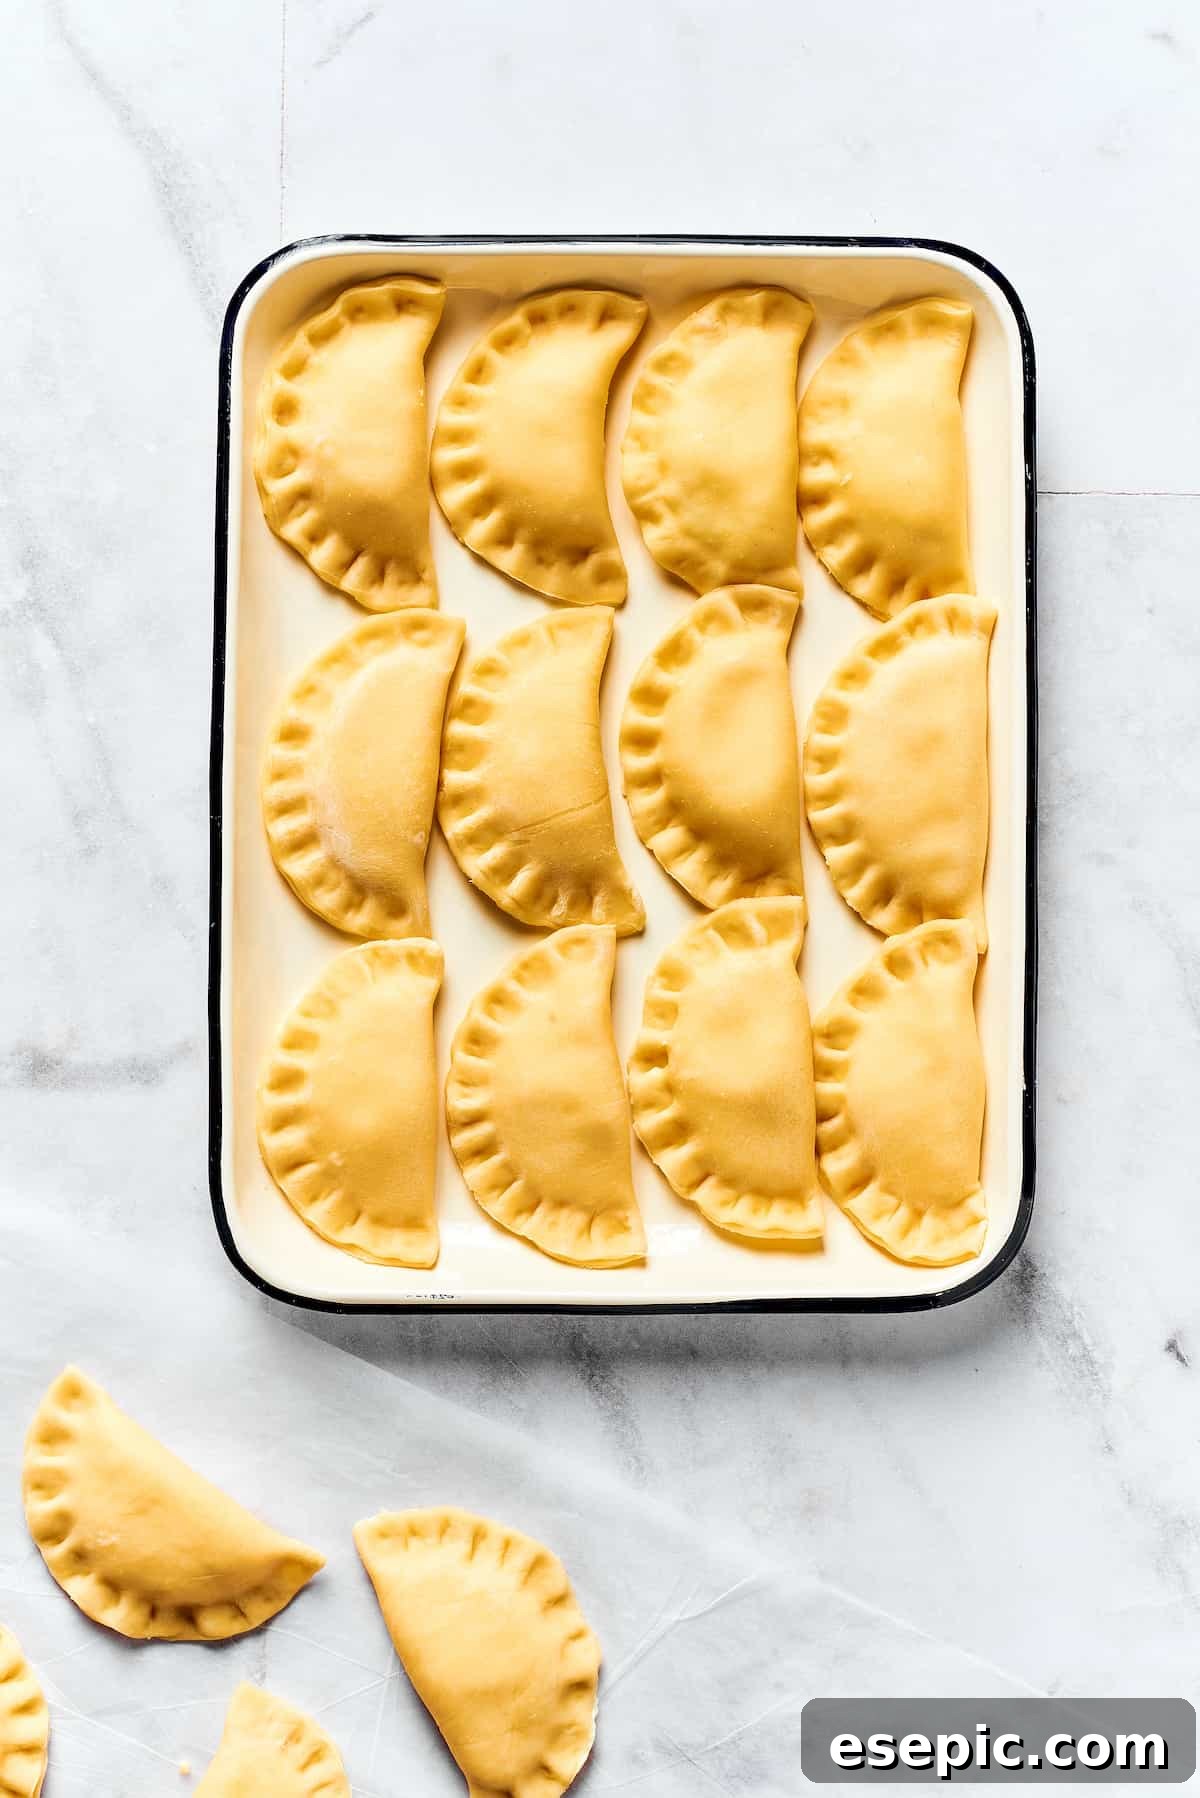
- Seal the Pierogi: Lightly moisten the edges of each dough circle with water using your fingertip. Carefully fold the dough in half over the filling, creating a crescent shape. Press the edges firmly together to seal, ensuring no filling escapes during cooking. For a decorative touch, you can crimp the edges with a fork, but simply pressing them firmly is sufficient.
- Repeat: Place the sealed pierogi on a baking sheet lined with parchment paper and lightly dusted with flour to prevent sticking. Cover them lightly with a clean kitchen towel to prevent drying. Continue the rolling, cutting, filling, and sealing process with the remaining dough and filling until all are used.
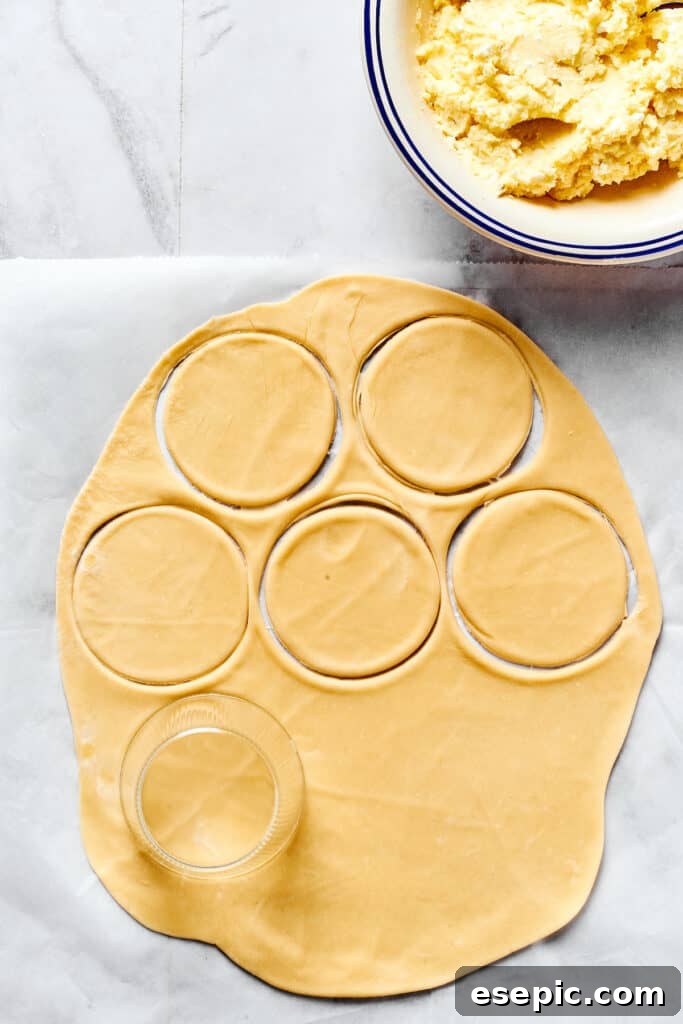
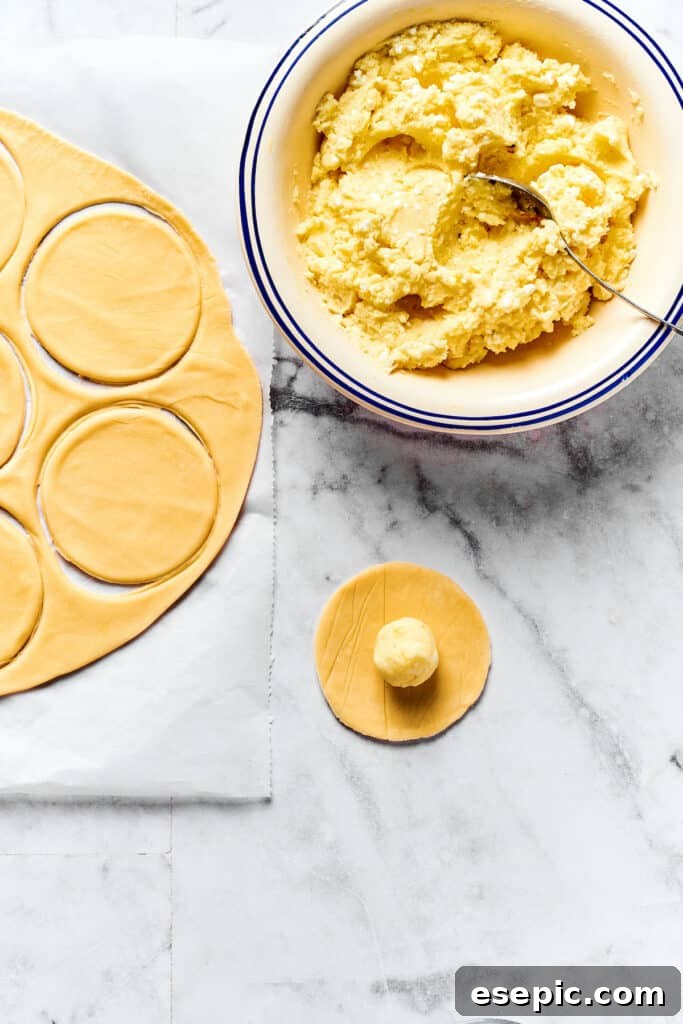
Step 4: Cook Your Pierogi to Perfection
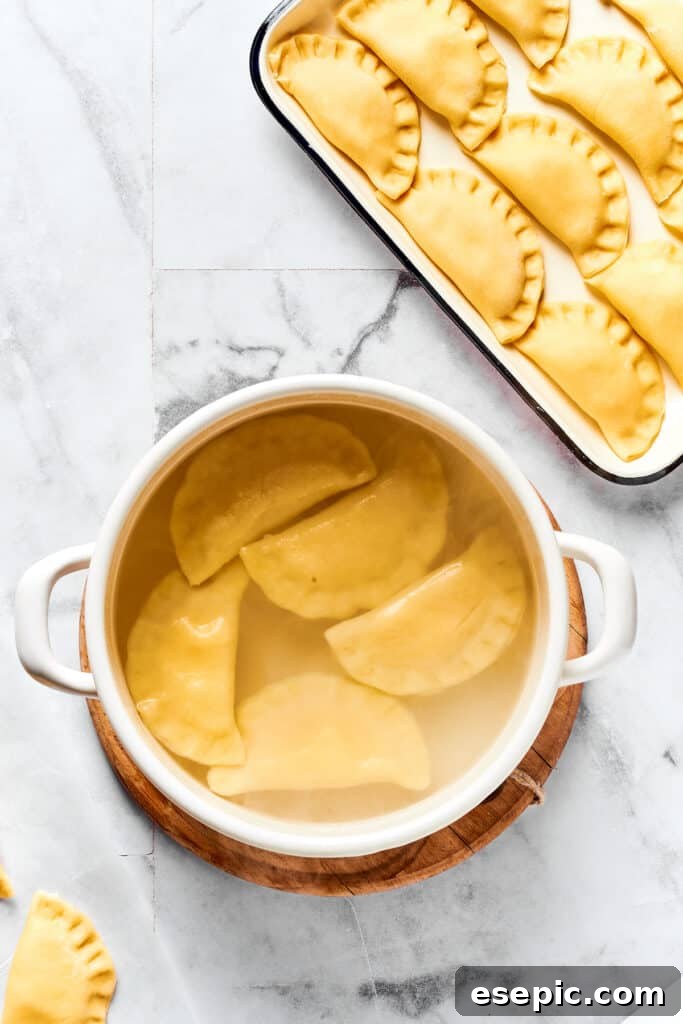
- Boil the Pierogi: Bring a large pot of generously salted water to a boil. Carefully add the pierogi to the boiling water in a single, even layer, making sure not to overcrowd the pot. Cook for about 2 minutes, or until they gracefully float to the surface. Once floating, continue to cook for an additional 1-2 minutes to ensure the dough is fully cooked and tender.
- Drain and Set Aside: Using a slotted spoon, carefully remove the cooked pierogi from the water and transfer them to a plate or baking sheet. Continue cooking the remaining pierogi in batches, allowing them to drain slightly before proceeding.
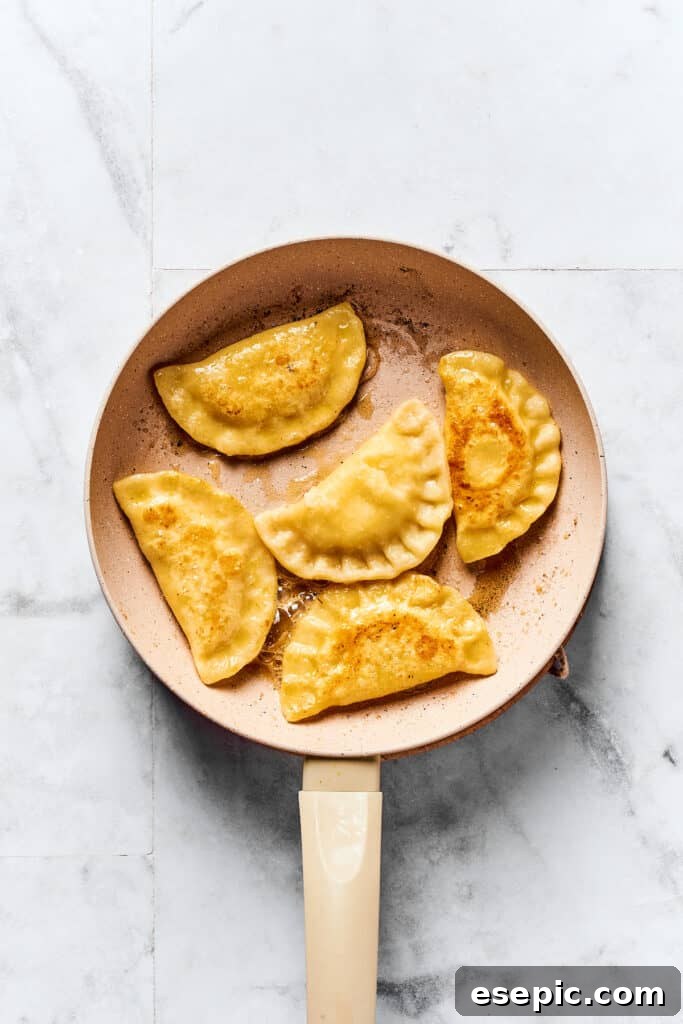
- Fry for Golden Perfection: In a large skillet, melt a generous amount of unsalted butter over medium heat. Once the butter is shimmering, add the boiled and drained pierogi to the skillet in a single layer. Fry for approximately 1-2 minutes per side, or until they achieve a beautiful golden-brown color and a slightly crispy exterior. This step adds incredible flavor and texture. Set the fried pierogi aside while you prepare the topping.
Step 5: Prepare the Irresistible Topping
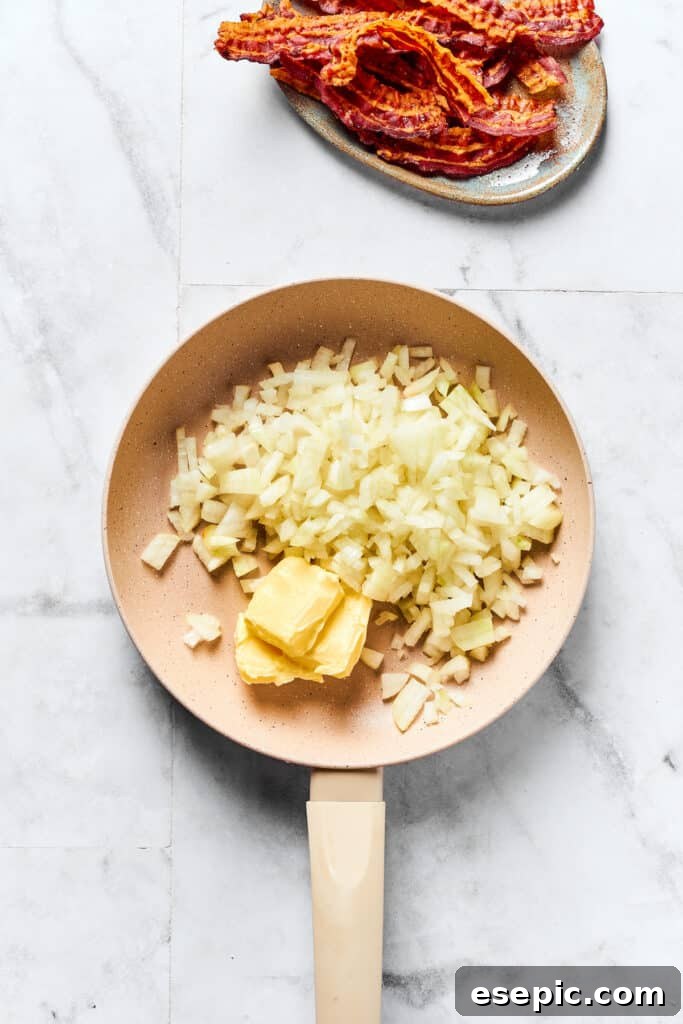
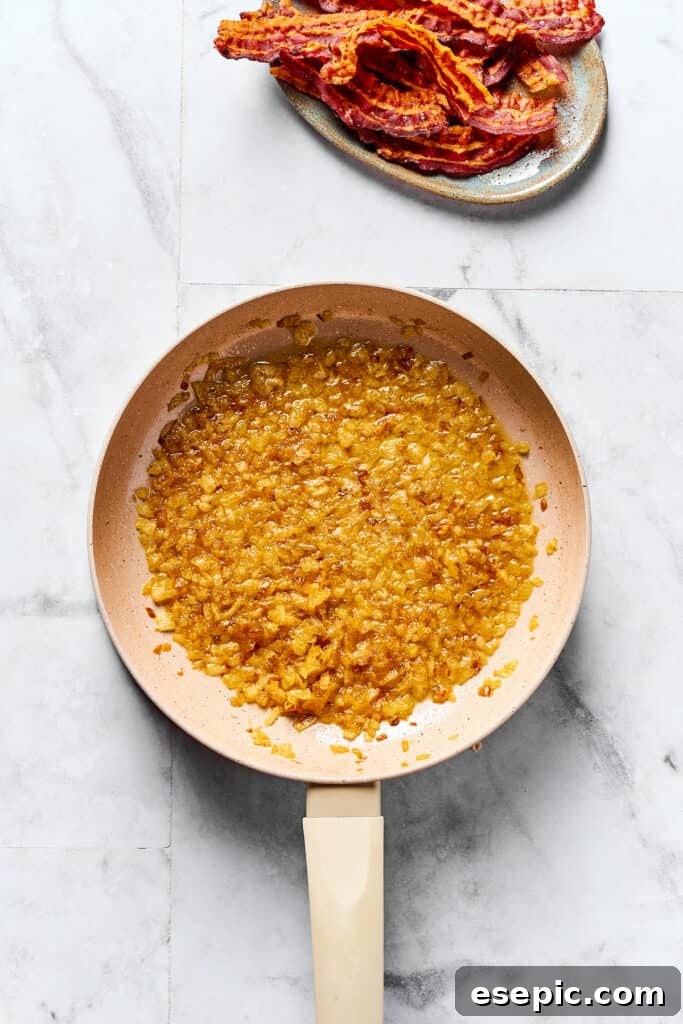
- Crispy Bacon Crumbles: In a large skillet, cook the sliced bacon over medium heat until it’s wonderfully crispy. Remove the bacon, drain it well on paper towels, and then crush it into small, savory bits.
- Caramelized Onions: Carefully wipe out the skillet to remove excess bacon grease. Return the skillet to the heat and add the unsalted butter and chopped yellow onions. Sprinkle with a pinch of salt and pepper. Cook the onions over medium-low heat for 10-12 minutes, stirring occasionally, until they become beautifully softened, translucent, and lightly golden-brown. This slow cooking process brings out their natural sweetness.
Step 6: Serve and Enjoy Your Homemade Pierogi
- Arrange the warm, golden-fried pierogi on a serving platter. Generously top them with the sweet caramelized onions and the crispy bacon crumbles. For an extra touch of color and freshness, garnish with a sprinkle of freshly chopped parsley, if desired. Serve immediately and savor every bite of these authentic homemade delights!

FAQ: Do You Have to Boil Pierogies Before Frying?
This is a common question, and the answer largely depends on whether you’re working with homemade or store-bought pierogi. Many commercial pierogi are sold pre-cooked or partially cooked, which is why some recipes skip the boiling step and go straight to frying or baking. These pre-made varieties are designed for convenience, allowing you to achieve a palatable result without the initial boil.
However, for authentic, made-from-scratch pierogi like these, the boiling step is absolutely essential. Boiling the pierogi first ensures that the raw dough fully cooks through, becomes tender, and develops that characteristic dumpling texture. It allows the dough to absorb just enough water to become delightfully soft and pliable. Skipping this step with raw dough would result in a tough, unappetizing pierogi with an undercooked interior. After boiling, a quick pan-fry gives them that beautiful golden crust and extra layer of flavor that makes homemade pierogi truly irresistible. So, for the best texture and taste, always boil your homemade pierogi first!

Expert Tips for Homemade Pierogi Success
Making pierogi from scratch is a labor of love, but these helpful tips will ensure your culinary efforts are rewarded with perfectly delicious results every time. Happy cooking!
- Chill the Filling for Easier Handling: If time allows, prepare your potato-cheese filling a day in advance and chill it overnight in an airtight container. A cold filling is firmer and much easier to scoop and shape onto the dough rounds, streamlining the assembly process.
- Keep the Dough Moist: Pierogi dough can dry out quickly, becoming brittle and prone to cracking. Always keep any portion of the dough you’re not actively working with covered tightly with plastic wrap or a damp kitchen towel. This preserves its elasticity and makes it much easier to roll and seal.
- Achieve Even Dough Thickness with a Pasta Machine: While rolling dough by hand is perfectly fine, a pasta maker can be a game-changer. It allows you to roll out thin, uniform sheets of dough with minimal effort, ensuring consistent texture and cooking time for all your pierogi.
- Don’t Overfill: Resist the temptation to stuff too much filling into each pierogi. Overfilling can make sealing difficult and increases the risk of the pierogi bursting open during boiling.
- Practice Sealing: Achieving a good seal is key to preventing the filling from escaping. Press firmly along the edges. If desired, you can use a fork to create a decorative crimped edge and an extra layer of security.

What to Serve with Pierogies: Elevate Your Meal
These savory potato and cheese pierogi, with their rich butter, caramelized onion, and crispy bacon topping, are satisfying enough on their own. However, if you’re planning a more elaborate meal, here are some fantastic serving suggestions to perfectly complement your homemade dumplings and create a truly memorable dining experience:
- Light and Fresh Salads: Cut through the richness of the pierogi with a crisp, refreshing salad. A simple Cucumber Salad with Sour Cream Dressing offers a delightful contrast in flavors and textures, with its cool tanginess playing beautifully against the warm, buttery dumplings. A fresh green salad with a vinaigrette dressing would also be a wonderful choice.
- Savory Fish Dishes: Pierogi make an excellent mild and comforting side for various fish preparations. Consider pairing them with pan-seared white fish, such as cod or halibut, or try these flavorful Maple Mustard Salmon Fillets for a sweet and savory balance that the whole family will adore.
- Hearty Pork Accompaniments: For a truly robust and cozy meal, pierogi are a classic match for pork dishes. Imagine spooning the rich mushroom gravy from delicious Instant Pot Pork Chops generously over your warm pierogi. The combination is incredibly comforting, making it an ideal dinner for chilly evenings.
- Sour Cream or Greek Yogurt: A dollop of cool, tangy sour cream or plain Greek yogurt is a traditional and highly recommended accompaniment, adding a refreshing counterpoint to the savory filling and toppings.
- Dill Sauce: A simple fresh dill sauce, made with sour cream, fresh dill, lemon juice, and a touch of garlic, offers a bright and herbaceous flavor that pairs wonderfully with pierogi.

Storage and Reheating Tips for Leftover Pierogies
While freshly made pierogi are undoubtedly the best, these dumplings are also fantastic as leftovers, making them perfect for meal prepping. Here’s how to store and reheat them to maintain their deliciousness:
- Refrigeration: Cooked pierogi (boiled and fried) can be stored in an airtight container in the refrigerator for up to 3-4 days. For best results, place parchment paper between layers to prevent sticking.
- Reheating:
- Skillet: The best way to reheat pierogi is in a lightly oiled or buttered skillet over medium heat. Fry them for a few minutes per side until heated through and crispy. This method helps restore their golden exterior.
- Oven/Air Fryer: For a crispier finish, you can reheat pierogi in an oven preheated to 350°F (175°C) for 10-15 minutes, or in an air fryer at 325°F (160°C) for 5-8 minutes, flipping halfway.
- Microwave: While convenient, microwaving pierogi can make them soft and slightly chewy. If using a microwave, heat in short bursts and consider a quick pan-fry afterward for texture.
Can I Freeze These Homemade Pierogies?
Absolutely! Pierogi are incredibly freezer-friendly, which is one of their many advantages, especially when you’re making a big batch. Freezing them properly ensures you have a quick, homemade meal ready whenever a craving strikes. Here are two methods for freezing:
- Freezing After Boiling (Recommended for Later Frying): If you plan to boil and then fry them later, simply boil the pierogi according to the recipe instructions. Once cooked and drained, spread them out in a single layer on an oiled baking sheet (to prevent sticking) and place them in the freezer until they are completely frozen solid. This “flash freezing” prevents them from sticking together. Once frozen, transfer the pierogi to freezer-safe bags or airtight containers, label with the date, and store for up to 3 months. When ready to eat, you can boil them briefly (they might sink and then float again) or thaw them and pan-fry until golden.
- Freezing Raw Pierogi (Best for Fresh-Cooked Texture): For the closest taste to freshly made, you can freeze pierogi before boiling. After shaping and sealing the pierogi, arrange them in a single layer on a lightly floured, parchment-lined baking sheet. Freeze until solid (flash freezing). Once frozen, transfer to freezer bags or airtight containers, ensuring to remove as much air as possible. They can be stored for up to 2-3 months. When cooking, simply drop the frozen pierogi directly into boiling salted water. They will take a few minutes longer to cook than fresh pierogi (typically 5-7 minutes after they float). You can then pan-fry them as usual.
- Freezing Boiled and Fried Pierogi: If you’ve already cooked and fried your pierogi, you can also freeze them. Arrange them in a single layer on a baking sheet and freeze until solid. Then transfer to freezer bags. Reheat directly from frozen in a skillet or oven until warmed through and re-crisped.
Homemade Pierogi Recipe
Topped with caramelized onion and crispy bacon, this easy Homemade Pierogi Recipe features a traditional cheese and potato filling, perfect as an appetizer, side dish, or a light and savory dinner.
Prep Time: 30 minutes
Cook Time: 45 minutes
Resting Time: 40 minutes
Total Time: 1 hour 55 minutes
Servings: 12 pierogi
Ingredients
For the Potato Filling:
- 1 ½ pounds Yukon Gold potatoes
- ½ cup cottage cheese
- 3 tablespoons Parmesan cheese
- 2 tablespoons cream cheese
- 2 tablespoons unsalted butter
- 1 teaspoon sea salt
For the Pierogi Dough:
- 4 cups all-purpose flour
- 1 ½ teaspoons salt
- ⅔ cup warm water
- 3 tablespoons unsalted butter, plus more for frying
- 1 large egg, lightly beaten
For the Topping:
- 4 ounces bacon slices, cooked and crumbled
- 4 tablespoons unsalted butter
- 2 yellow onions, chopped
- Fresh parsley, chopped (for garnish, optional)
Instructions
Make the Potato Filling
- Place the potatoes in a medium pot and cover with water. Bring to a boil over medium heat. Cover, leaving the lid slightly ajar, and cook until the potatoes are tender, about 25 minutes.
- Once the potatoes are cooked, use a potato masher to mash them until smooth and free from lumps.
- To the mashed potatoes, add the cottage cheese, Parmesan cheese, cream cheese, butter, and salt. Mix thoroughly and set aside.
Make the Pierogi Dough & Shape
- Meanwhile, line a large baking sheet with parchment paper and set aside.
- In a medium bowl, stir together the flour and salt.
- Warm the water and butter in a small pot until the butter is melted, about 4 minutes.
- Add the butter mixture to the flour mixture. Stir with a spoon until roughly combined. Add the egg and knead by hand, or with a stand mixer for 5 minutes, until smooth and elastic.
- Cover the dough and let it rest for 40 minutes at room temperature.
- Divide the dough in half. On a lightly-floured surface, roll out one half of the dough thinly (approx. ⅛ inch). Cut out rounds with a pierogi cutter or a drinking glass (about 2.5-3 inches).
- Place about 1 tablespoon of the potato filling on the center of each round. Brush the edges with water, and fold in half to enclose the filling. Seal the edges by pressing down firmly with your finger or crimping with a fork.
- Place the sealed pierogi on the prepared baking sheet, and cover lightly with a clean kitchen towel to prevent drying.
- Repeat the rolling, cutting, filling, and sealing steps with the remaining dough and filling.
Cook the Pierogi
- Bring a large pot of salted water to a boil. Add the pierogi to the pot in an even layer, making sure not to overcrowd. Let them cook for about 2 minutes, or until they start to float.
- Once the pierogi start to float, cook them for another 1 to 2 minutes to ensure the dough is fully cooked. Then, use a slotted spoon to remove them to a plate. Continue cooking the pierogi in batches and setting them aside.
- When all the pierogi are boiled, heat some butter in a large skillet over medium heat. Fry the cooked, drained pierogi in the butter for a minute or so on each side, until golden brown and slightly crispy. Then set them aside.
Make the Topping
- To make the topping, cook the sliced bacon in a large skillet over medium heat until crisp. Drain well, and then crush into small pieces.
- Carefully wipe the skillet clean. Return it to the heat and add the butter and chopped onion. Sprinkle with salt and pepper, and cook for 10 to 12 minutes, stirring occasionally, until lightly golden and caramelized.
Serve the Pierogi
- Serve the pierogi hot, on a serving platter, topped generously with the caramelized onions and crispy bacon. Garnish with chopped parsley if desired, and enjoy your delicious homemade pierogi!
Nutrition Estimates
Serving: 4 pierogies | Calories: 345kcal | Carbohydrates: 44g | Protein: 9g | Fat: 15g | Saturated Fat: 8g | Polyunsaturated Fat: 1g | Monounsaturated Fat: 4g | Trans Fat: 0.4g | Cholesterol: 47mg | Sodium: 614mg | Potassium: 350mg | Fiber: 3g | Sugar: 2g | Vitamin A: 342IU | Vitamin C: 13mg | Calcium: 47mg | Iron: 3mg
Nutritional information is an estimate and provided as a courtesy. Values may vary according to the ingredients and tools used. Please use your preferred nutritional calculator for more detailed information.
Explore More Festive Dinner and Comfort Food Ideas
If you loved creating and savoring these homemade pierogi, you’re sure to enjoy these other delightful recipes perfect for cozy evenings and special occasions. Expand your culinary repertoire with these comforting and flavorful dishes:
- The Best Cheese Manicotti: A classic Italian-American dish featuring tender pasta shells filled with a rich, cheesy blend and baked in a savory tomato sauce. Pure comfort food!
- Air Fryer Chicken Tempura Recipe: For a lighter, crispy alternative, try this Japanese-inspired chicken tempura made easily in an air fryer, perfect as an appetizer or a main.
- Instant Pot Chicken Burritos: A convenient and flavorful meal solution, these burritos are packed with tender chicken, beans, and rice, all made quickly in your Instant Pot.