

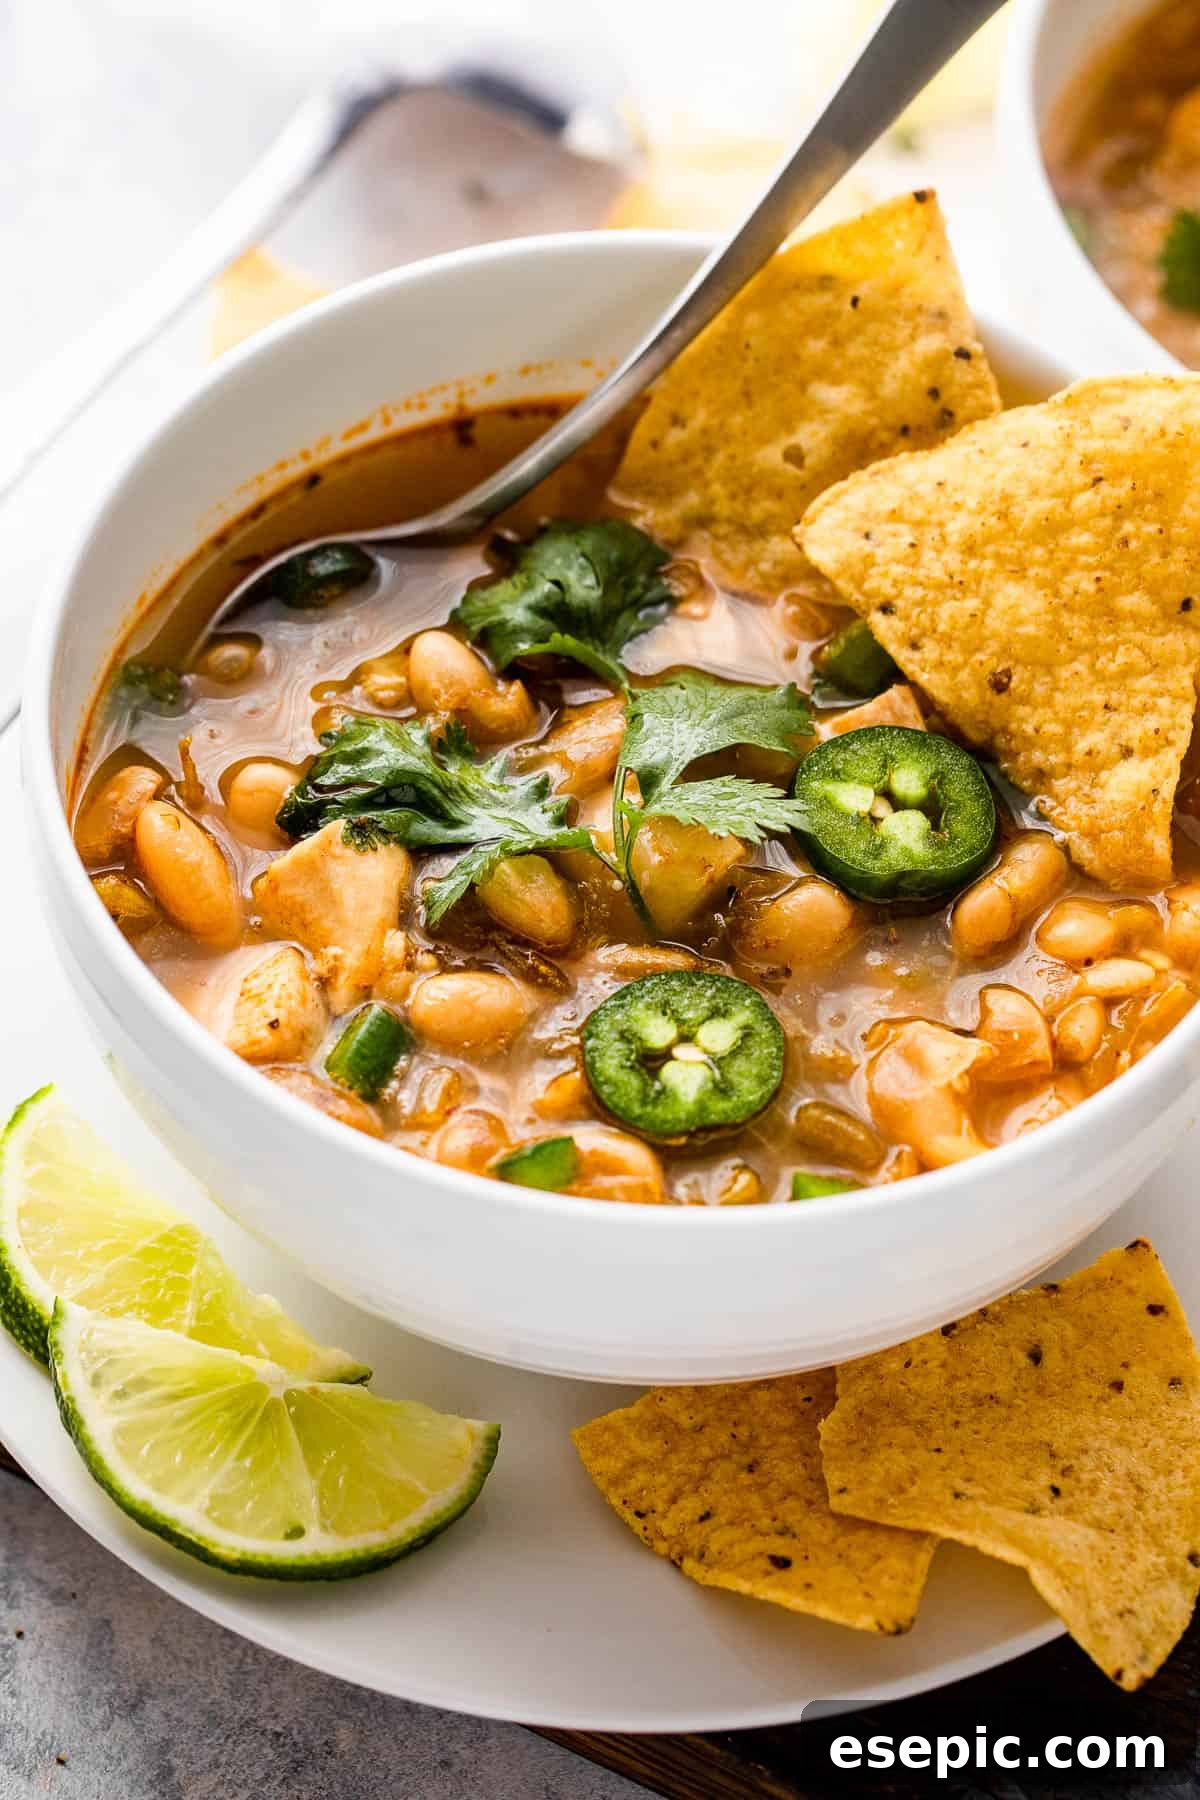
Delight in a bowl of pure comfort with this incredibly quick and easy recipe for Chicken Chili. Featuring succulent white-meat chicken, hearty cannellini beans, vibrant green chilies, and a touch of rich sour cream, this dish is designed to bring warmth and happiness to your dinner table. It’s a versatile, flavorful meal perfect for any night of the week, promising a cozy culinary experience that satisfies both the palate and the soul.

Embrace the Warmth: Cozy Homemade Chicken Chili
There’s something uniquely comforting about a steaming bowl of chili, isn’t there? It strikes the perfect balance between the soothing warmth of a hearty soup and the exciting, spicy kick of your favorite tacos. What makes chili truly special is its incredible customizability. From creamy avocados and sharp cheddar cheese to fiery jalapeños and crunchy tortilla chips, chili practically begs to be adorned with your favorite toppings, allowing everyone to create their ideal bowl.
For those moments when life feels a little chaotic and you need a calming, yet satisfying meal, this chicken chili recipe is an absolute lifesaver. It transforms dinner into an enjoyable, stress-free occasion. The tender pieces of chicken and protein-rich cannellini beans offer a substantial and filling base, while a thoughtfully curated blend of Southwest spices – including chili powder, cumin, paprika, and oregano – infuses every spoonful with deep, aromatic flavor. It’s a simple combination that delivers profound taste.
Next time you’re searching for a last-minute dinner solution that’s both exciting and easy to prepare, look no further than this delightful chicken chili. It’s not just a meal; it’s an experience that guarantees smiles and full bellies all around. Perfect for busy weeknights or a relaxed weekend gathering, this recipe will quickly become a cherished family favorite, bringing joy and deliciousness to your home.
Essential Ingredients for Your Perfect Chicken Chili
One of the many advantages of this quick chicken chili recipe is that you likely already have most of these ingredients stashed in your pantry. This makes it an ideal candidate for your regular meal rotation. In fact, once you experience the deliciousness of this chili, you might find yourself intentionally stocking up on these staples just to ensure you can whip it up whenever the craving strikes! Here’s what you’ll need to create this comforting masterpiece:
- Cooking Oil: Essential for sautéing our chicken and aromatics. While the original recipe suggests vegetable oil, don’t hesitate to experiment with avocado oil for a neutral flavor or even coconut oil for a subtle, unique twist. Just be mindful that unrefined coconut oil can impart a distinct coconut flavor, which might not be what you’re aiming for in your chili.
- Chicken: For this recipe, we’re using one pound of boneless, skinless chicken breasts. Cut them into approximately 1 to 1 ½ inch pieces to ensure they cook evenly and integrate beautifully into the chili. This cut ensures tender, bite-sized chicken in every spoonful.
- Salt & Pepper: The fundamental seasonings that enhance all the other flavors. We’ll use them to season the chicken before cooking and adjust to taste at the end.
- Onion: One small yellow onion, finely diced, forms the aromatic base of our chili. If yellow onions aren’t available, white, sweet, or even red onions can be excellent substitutes, each offering a slightly different nuance to the overall flavor profile.
- Garlic: Three cloves of fresh garlic, finely minced or pressed, are crucial for adding a pungent, savory depth that is characteristic of good chili. Fresh garlic makes a noticeable difference.
- Southwest Spice Blend: This is where the magic happens!
- Cumin: Two teaspoons of ground cumin provide earthy, warm notes.
- Chili Powder: One teaspoon of chili powder brings a balanced, mild chili flavor.
- Paprika: Half a teaspoon of smoked paprika adds a beautiful color and a smoky depth that is irresistible. If you prefer a spicier chili, you can reduce the paprika and introduce a pinch or two of cayenne pepper for heat.
- Oregano: Half a teaspoon of dried oregano contributes an aromatic, slightly pungent herbaceous quality, rounding out the spice blend.
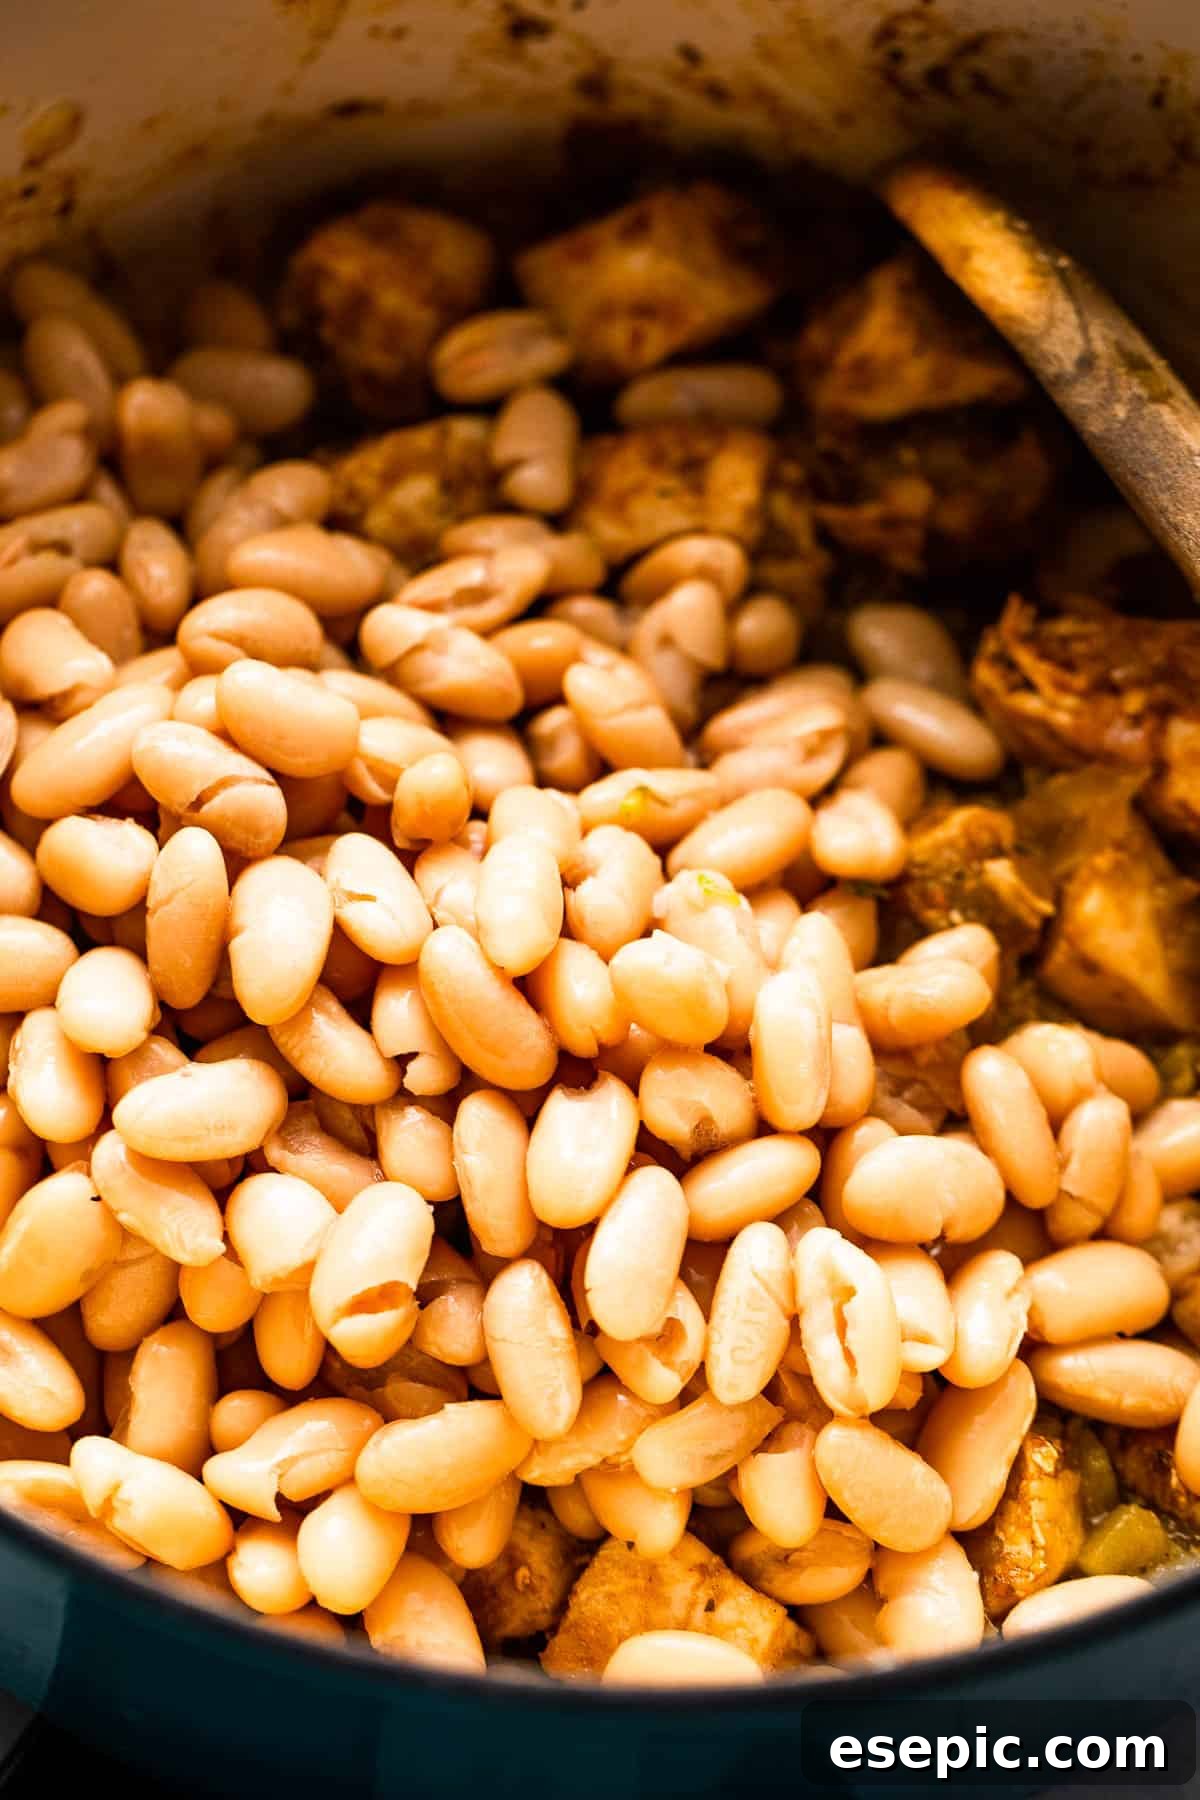
- Cannellini Beans: Two 15-ounce cans, thoroughly rinsed and drained, provide a creamy texture and satisfying heartiness. These white beans are perfect for absorbing the chili’s rich flavors. This recipe is also fantastic for using up any leftover cooked beans you might have; pinto beans, navy beans, or red beans would all be delicious alternatives.
- Canned Green Chilies: Two small, 4-ounce cans of chopped green chilies, undrained, are essential. They impart a mild, tangy heat and a distinct Southwest flavor without overpowering the dish. Their presence is key to the chili’s authentic taste.
- Chicken Broth: You’ll need about 5-6 cups of chicken broth. Low-sodium chicken broth is often preferred to control the overall saltiness, but any kind you have on hand will work. For a vegetarian option or a different flavor, vegetable broth can be used interchangeably.
- Fresh Cilantro: A generous handful of chopped fresh cilantro serves as a bright, herbaceous garnish, adding a refreshing contrast to the chili’s richness. Don’t skip this for an authentic finish!
- Lime Wedges & Juice: Fresh lime wedges for serving, and a squeeze of lime juice at the end of cooking, brighten the flavors and add a zesty finish that truly elevates the chili.
Whip Up Your Quick & Easy Chicken Chili: Step-by-Step Guide
Many traditional chili recipes can be an all-day affair, simmering for hours to develop complex flavors. However, this quick chicken chili breaks that mold, proving that you can achieve incredible depth and deliciousness in a fraction of the time. This recipe comes together with remarkable ease, ensuring that comforting, homemade goodness can be on your table, fast! What could possibly be better than a satisfying meal prepared with minimal fuss?
- Prepare and Cook the Chicken: Begin by heating your preferred cooking oil in a sturdy Dutch oven or a large soup pot over medium-high heat. A stockpot or any large saucepan with a lid will also work perfectly. While the oil heats, season your chicken pieces with ½ teaspoon of salt and ¼ teaspoon of freshly ground black pepper. Add the seasoned chicken to the hot oil and cook for about 4 minutes, stirring occasionally, until it’s lightly browned on all sides. The chicken doesn’t need to be fully cooked through at this stage.
- Sauté Onions & Infuse Spices: Reduce the heat slightly if needed, then add the finely diced onions to the pot with the chicken. Cook for just 1 minute until they begin to soften. Next, stir in the minced garlic along with the aromatic spices: cumin, chili powder, paprika, and oregano. Sauté this mixture for another 3 minutes, stirring constantly. This step is crucial for blooming the spices, releasing their full fragrance and flavor into the oil.
- Combine Beans, Chilies & Broth: Now, add the rinsed and drained cannellini beans to the Dutch oven. Follow with the two cans of undrained chopped green chilies, allowing their mild heat and tangy notes to meld into the dish. Finally, pour in all of the chicken broth. Use a wooden spoon or another sturdy utensil to carefully scrape up any browned bits that may have adhered to the bottom of the pot. These “fond” bits are packed with flavor and will enrich the chili significantly. Bring the chili to a steady simmer, then reduce the heat to maintain a gentle simmer and let it cook for 10 minutes, allowing the flavors to meld beautifully.
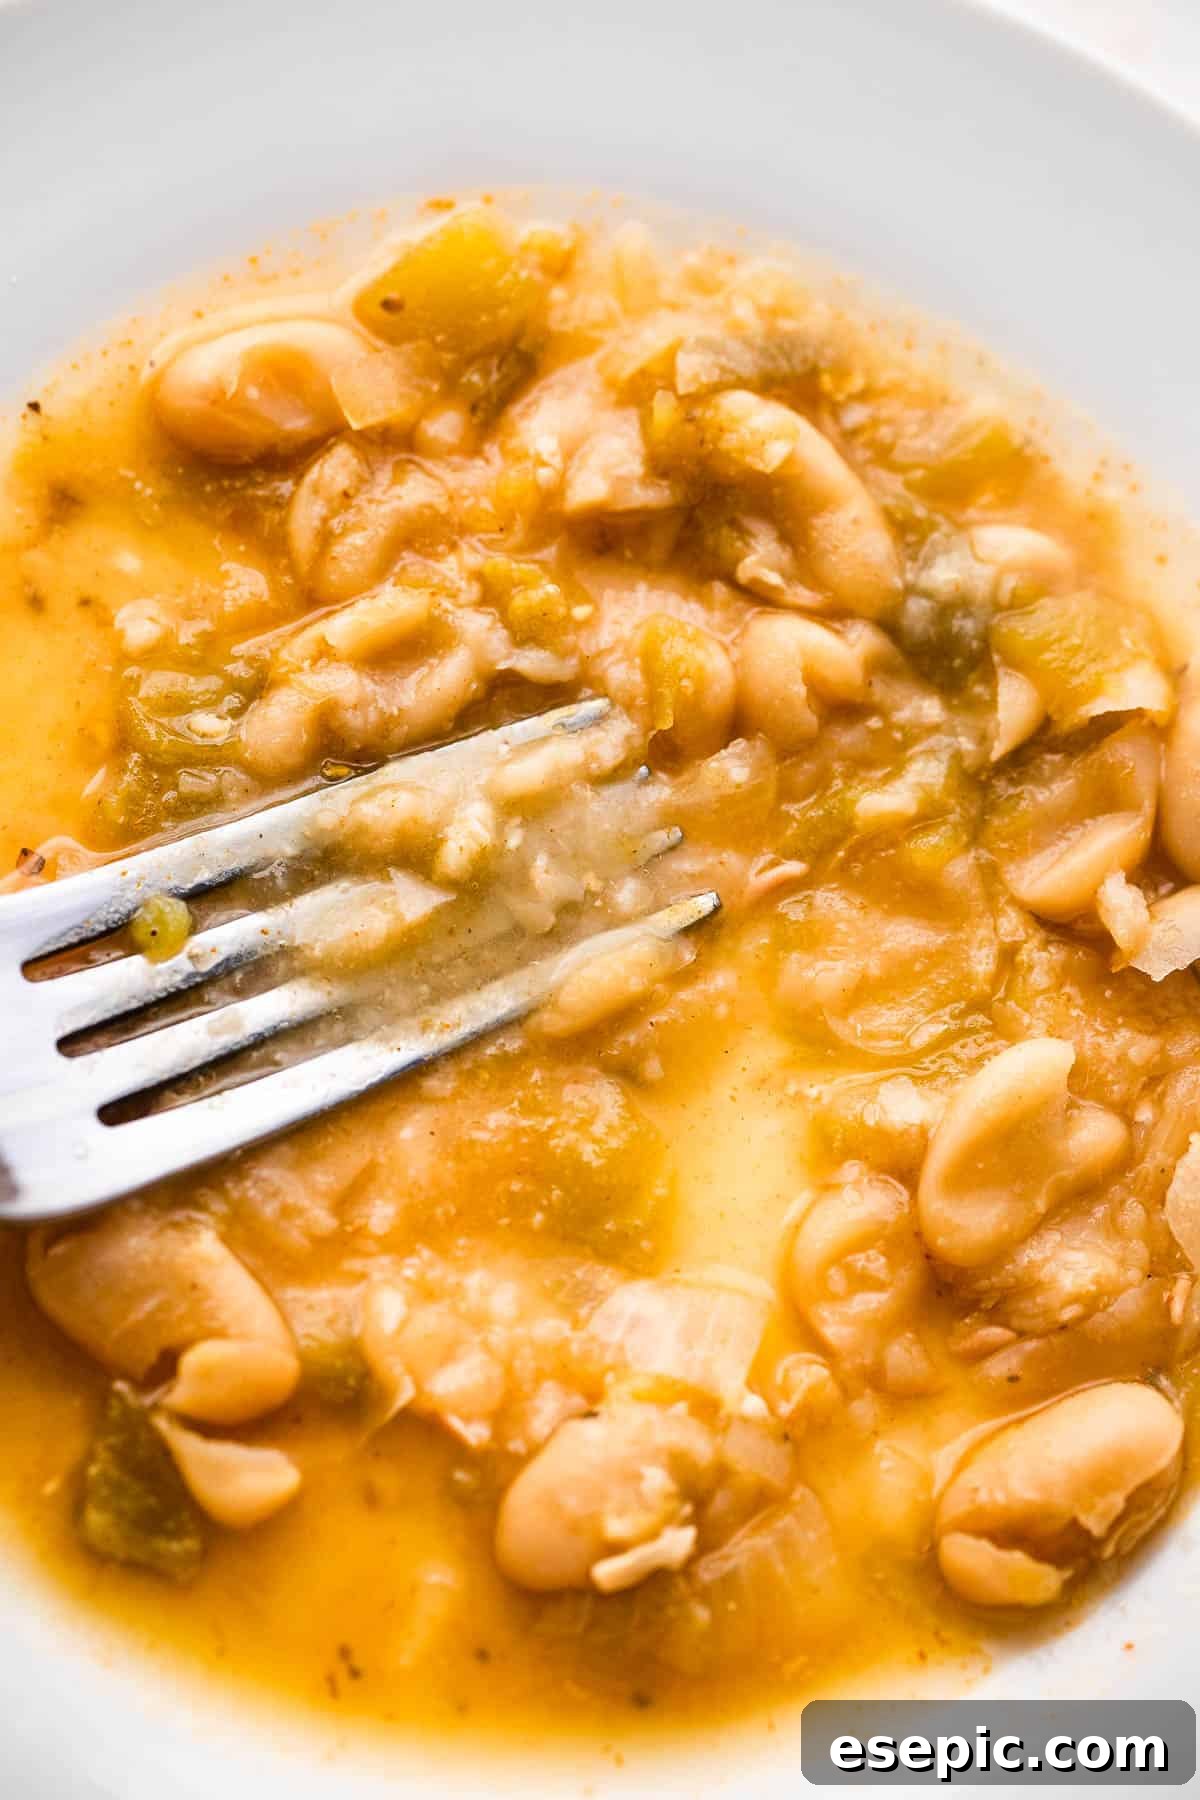
- Thicken Naturally by Mashing Beans: For a wonderfully thick and hearty chili without resorting to flour or cornstarch, try this simple trick: carefully transfer about ¼ cup of the cooked beans from the pot to a small plate. Using the back of a fork, mash these beans until they form a coarse paste. Return the mashed beans to the pot, stirring well to fully incorporate them into the chili. Continue to simmer for 1 more minute, and you’ll notice the chili’s texture becoming richer and thicker.
- Final Touches and Serving: Remove the pot from the heat. If you enjoy a bright, zesty finish, stir in a squeeze of fresh lime juice. Taste the chili for salt and pepper and adjust the seasonings as needed. Allow the chili to cool slightly before serving – this helps the flavors deepen even further. Ladle the warm, comforting chili into individual bowls and prepare for a truly satisfying meal!
Expert Tips for Crafting Your Best Chicken Chili
This chicken chili recipe is wonderfully forgiving and adaptable, offering countless opportunities to personalize it and make it uniquely yours. Like most chili recipes, its flexibility allows for creative twists and adjustments to suit your taste preferences. Here are some of my favorite tips and tricks to help you get the most out of this flavorful and satisfying dish, ensuring every batch is a resounding success:
- Achieve Your Desired Thickness: The recipe’s method of mashing a portion of the cannellini beans is a fantastic way to naturally thicken the chili, giving it a rich, substantial texture. However, if you prefer an even thicker consistency or want to explore another option, you can easily create a cornstarch slurry. Simply whisk together one tablespoon of cornstarch with one tablespoon of cold milk (or water) until smooth. Gradually whisk this slurry into your simmering chili and continue to cook for a minute or two until it thickens. For an extra-thick chili, just repeat the process with another small batch of slurry!
- Elevate with Bacon: Seriously, when is bacon not a good idea? Crispy bacon bits add an incredible layer of smoky, savory flavor and a delightful textural contrast to almost any dish, and chicken chili is no exception. Before you begin cooking your chicken, crisp up some bacon in the Dutch oven, remove it, then use a bit of the rendered bacon fat to cook your chicken and onions. Crumble the cooked bacon over your chili just before serving for an irresistible touch.
- Transform with Leftover Turkey: This recipe is a brilliant way to repurpose leftover cooked turkey, especially after holidays! Instead of sautéing raw chicken pieces, simply add your thawed (if frozen) cooked turkey along with the beans and green chilies. Since the turkey is already cooked, it just needs to warm through and absorb the chili’s wonderful flavors. It’s a delicious and efficient way to enjoy your leftovers in a whole new light.
- Add a Touch of Creaminess: While the recipe includes a hint of sour cream in the initial description, don’t forget it as an optional mix-in for a richer, creamier chili. Stirring in a tablespoon or two of sour cream or Greek yogurt just before serving can add a luxurious texture and mellow out the spices slightly.
- Spice it Up (or Down!): Customize the heat level to your liking! For more fire, add a pinch of cayenne pepper with the other spices, or incorporate a finely diced jalapeño or serrano pepper when sautéing the onions. If you prefer a milder chili, you can reduce the amount of chili powder or opt for a mild green chili variety.

Perfect Pairings: What to Serve with Your Chicken Chili
A comforting bowl of chicken chili is a meal in itself, but pairing it with the right sides can elevate the entire dining experience. Here are some fantastic serving suggestions that complement the rich, savory flavors of your chili:
- Classic Cornbread: The iconic duo! Who can resist the delightful combination of warm, tender chili and a slice of perfectly baked cornbread? Its slightly sweet, crumbly texture is ideal for soaking up every last drop of the savory chili. My go-to is this Light Skillet Cornbread, known for its deliciously comforting texture and traditional taste. It’s truly a match made in culinary heaven!
- Crispy Potato Wedges: For a hearty and satisfying side, these Crispy Garlic Parmesan Baked Potato Wedges are an excellent choice. They are super quick and simple to prepare, offering a delicious crispy exterior and a soft, fluffy interior. Their savory, garlicky flavor pairs wonderfully with the robust spices of the chili, adding another layer of texture and satisfaction to your meal.
- Zesty Jalapeño Poppers: If you’re looking to add a little extra kick and a whole lot of flavor, cheesy, spicy, bacon-wrapped jalapeño poppers are always a welcome addition to the menu! These little beauties are irresistible. I often make Bacon Wrapped Jalapeño Poppers for special gatherings or simply to bring a bright smile to my family’s faces. They offer a fantastic blend of heat, creaminess, and smoky bacon goodness.
- Fresh Green Salad: To lighten the meal and add a refreshing contrast, a simple side salad with a light vinaigrette is a perfect choice. The crisp greens and tangy dressing can cut through the richness of the chili, providing balance.
- Rice or Quinoa: For an even more substantial meal, serve your chicken chili over a bed of fluffy white rice, brown rice, or quinoa. This helps absorb the delicious broth and adds an extra layer of texture and satiety.
Storing & Reheating Your Chicken Chili Leftovers
One of the best things about making a big batch of chili is enjoying the delicious leftovers! Proper storage ensures your chili remains fresh and flavorful for future meals. Here’s how to store and reheat your chicken chili:
- Refrigeration: Allow your chili to cool completely before transferring it to an airtight container. Once cooled, store it in the refrigerator for up to 4 days. This makes it perfect for meal prepping and enjoying quick lunches or dinners throughout the week.
- Convenient Reheating: I often store my leftovers in one large airtight container, making it simple to reheat the entire batch for a second family dinner or as part of a leftover night. To reheat, simply place the chili in a covered saucepan over low heat on the stovetop. Stir it occasionally to ensure even heating and prevent sticking. If the chili appears too thick after refrigeration, feel free to add a splash or two of water or chicken broth to achieve your desired consistency. Heat until it’s piping hot throughout.

Can I Freeze Leftover Chicken Chili?
Absolutely! Chicken chili is an excellent candidate for freezing, making it ideal for meal prepping or simply having a delicious, homemade meal ready for those busy days. Freezing allows you to extend the shelf life of your chili significantly, ensuring you always have a comforting option on hand.
- Freezing Instructions: While you can freeze the entire batch at once, I highly recommend portioning your chili out into smaller freezer-safe bags or individual airtight containers. This method offers incredible convenience, as you can simply thaw and heat up just the amount you need, avoiding waste and ensuring a fresh-tasting meal every time. Be sure to leave a little headspace in containers or bags for expansion during freezing.
- Freezer Shelf Life: Properly stored, chicken chili will maintain its quality in the freezer for up to 3 months. When you’re ready to enjoy it, simply transfer the frozen chili to the refrigerator overnight to thaw, then reheat using the stovetop method mentioned above, adding a splash of liquid if necessary.

Chicken Chili Recipe
Katerina | Easy Weeknight Recipes
10 minutes
35 minutes
45 minutes
6
Ingredients
- 2 tablespoons vegetable oil
- 1 pound boneless skinless chicken breasts,, cut into 1-inch cubes
- 1 teaspoon salt,, divided
- ¼ teaspoon freshly ground black pepper
- 1 small yellow onion,, finely diced
- 3 cloves garlic,, finely minced or pressed
- 2 teaspoons ground cumin
- 1 teaspoon chili powder
- ½ teaspoon smoked paprika,, you can also use ground cayenne pepper
- ½ teaspoon dried oregano
- 2 15-ounce cans cannellini beans,, rinsed and well drained
- 2 4-ounces cans chopped green chiles,, undrained
- 6 cups low sodium chicken broth
- tortilla chips,, for serving
- Cilantro,, chopped, for garnish
- Lime wedges and lime juice,, for serving
Instructions
-
Heat oil in a Dutch oven set over medium-high heat.
-
Season chicken with ½ teaspoon salt and ¼ teaspoon black pepper.
-
Add chicken pieces to the hot oil and cook for 4 minutes.
-
Add onions and cook for 1 minute.
-
Stir in garlic, cumin, chili powder, paprika, and oregano; sauté for 3 more minutes.
-
Add the beans to the Dutch oven; stir in green chiles.
-
Pour in the chicken broth, scraping up all the browned bits from the bottom of the pot with a wooden spoon.
-
Bring to a steady simmer; continue to cook for 10 more minutes.
-
Remove ¼ cup of the beans and transfer to a plate; mash the beans with the back of a fork and then return to the pot. Stir well and cook for 1 more minute.
-
Stir in a squeeze of lime juice. Remove pot from heat.
-
Taste chili for salt and pepper; adjust accordingly.
-
Ladle chili into bowls and top with few tortilla chips.
-
Garnish with cilantro and serve with lime wedges.
Equipment
-
Stove
Nutrition
Carbohydrates: 29g |
Protein: 29g |
Fat: 8g |
Saturated Fat: 5g |
Trans Fat: 1g |
Cholesterol: 48mg |
Sodium: 1009mg |
Potassium: 584mg |
Fiber: 8g |
Sugar: 1g |
Vitamin A: 263IU |
Vitamin C: 16mg |
Calcium: 130mg |
Iron: 5mg
Nutritional info is an estimate and provided as courtesy. Values may vary according to the ingredients and tools used. Please use your preferred nutritional calculator for more detailed info.
Discover More Comfort Food Recipes
If you’ve enjoyed the comforting flavors of this Chicken Chili, you’ll be delighted by these other cozy meal ideas perfect for sharing with your family. Each recipe is designed to bring warmth, satisfaction, and deliciousness to your table:
- Hearty Guinness Beef Stew: A rich, robust stew slow-cooked with tender beef, root vegetables, and the deep, malty notes of Guinness. It’s a truly satisfying dish that’s perfect for chilly evenings.
- Tuscan Baked Rigatoni: Indulge in a delightful pasta bake featuring rigatoni tossed in a savory Tuscan-inspired sauce, baked to cheesy perfection. It’s a hearty and flavorful dish that’s sure to be a crowd-pleaser.
- Creamy Chicken Gnocchi Soup: Experience pure comfort in a bowl with this rich and creamy soup, packed with tender chicken, soft potato gnocchi, and fresh vegetables. It’s a warming and incredibly flavorful option for any day.