

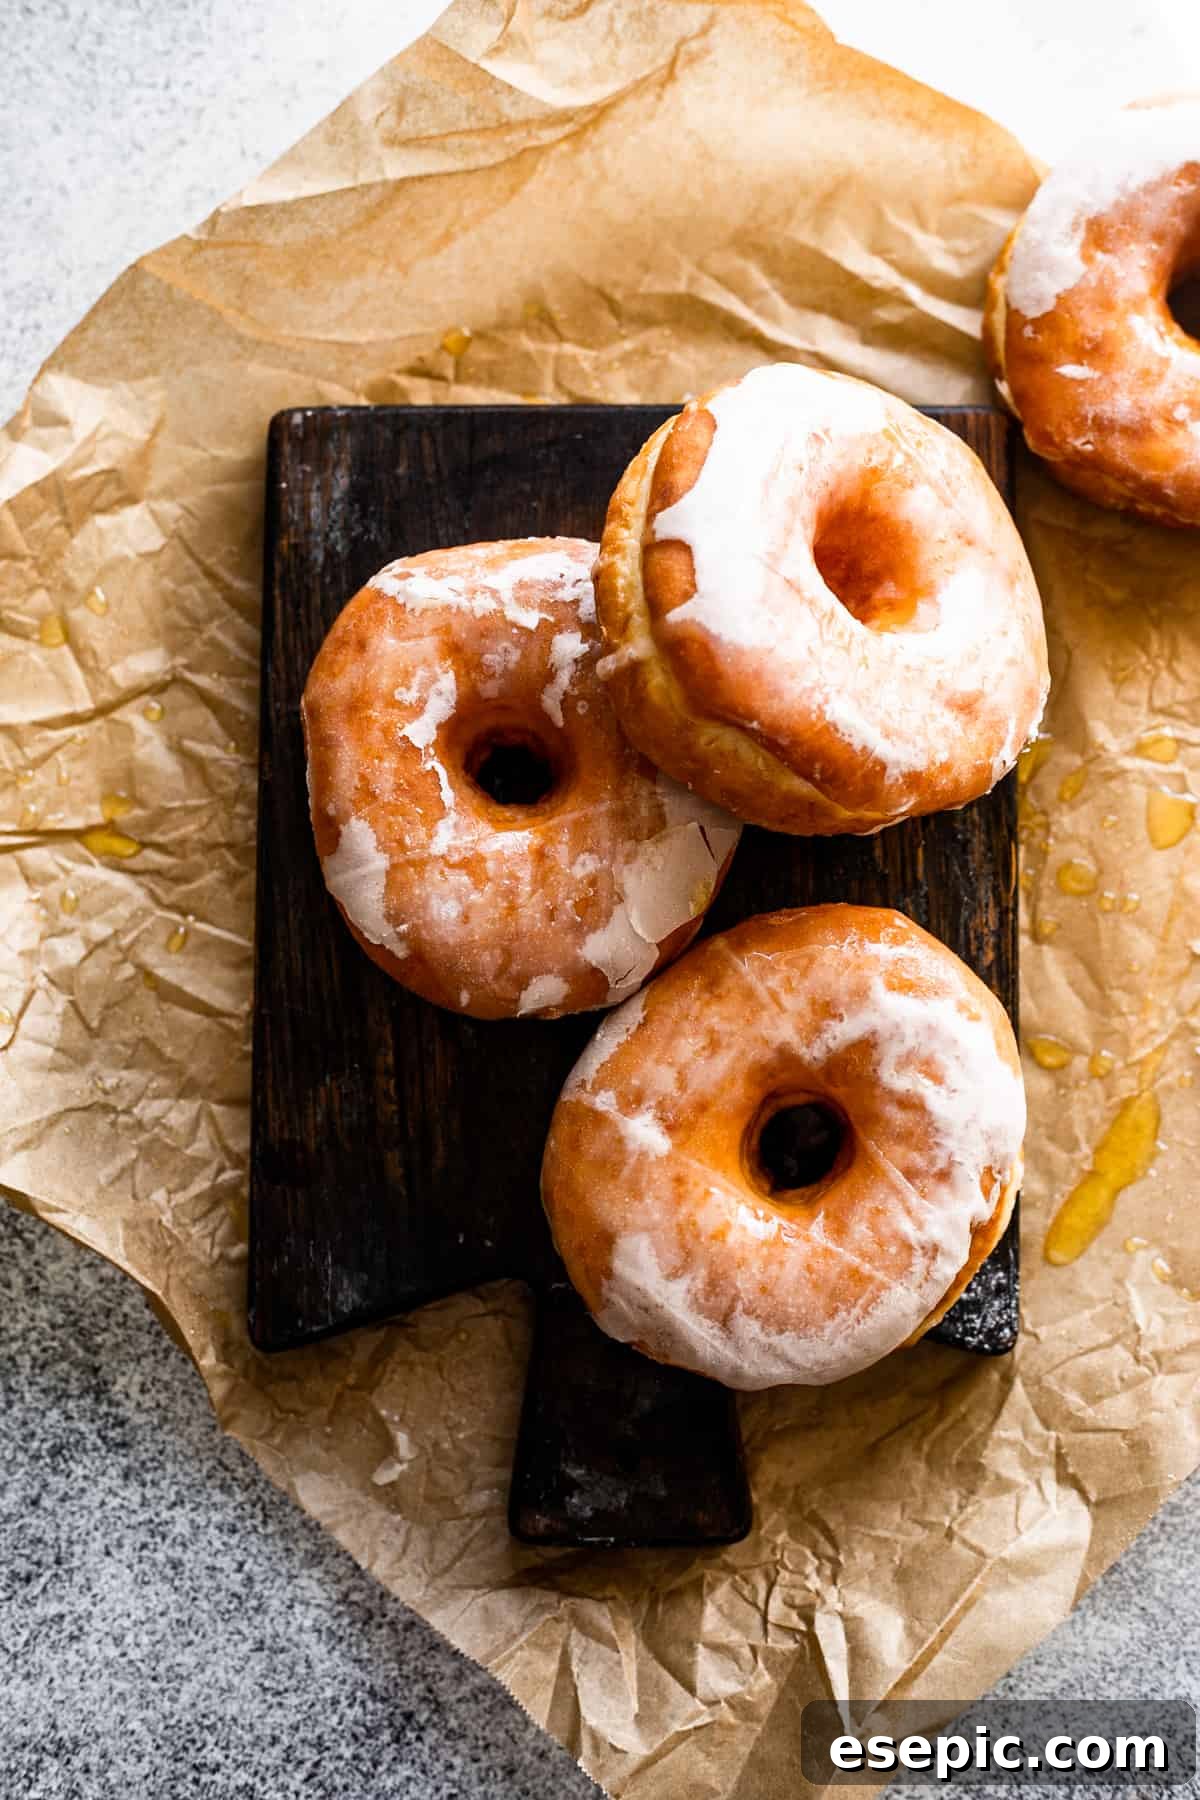
As the leaves begin to turn golden and a crisp coolness fills the air, there’s nothing quite like the comforting aroma of freshly baked goods wafting from the kitchen. Our Baked Apple Cider Doughnuts with Maple Glaze perfectly capture the essence of autumn. These plump, soft, and golden doughnuts are infused with the delightful flavor of apple cider, then generously topped with a sweet, luscious maple glaze. They are truly an irresistible treat that embodies the warmth and coziness of the Fall season.
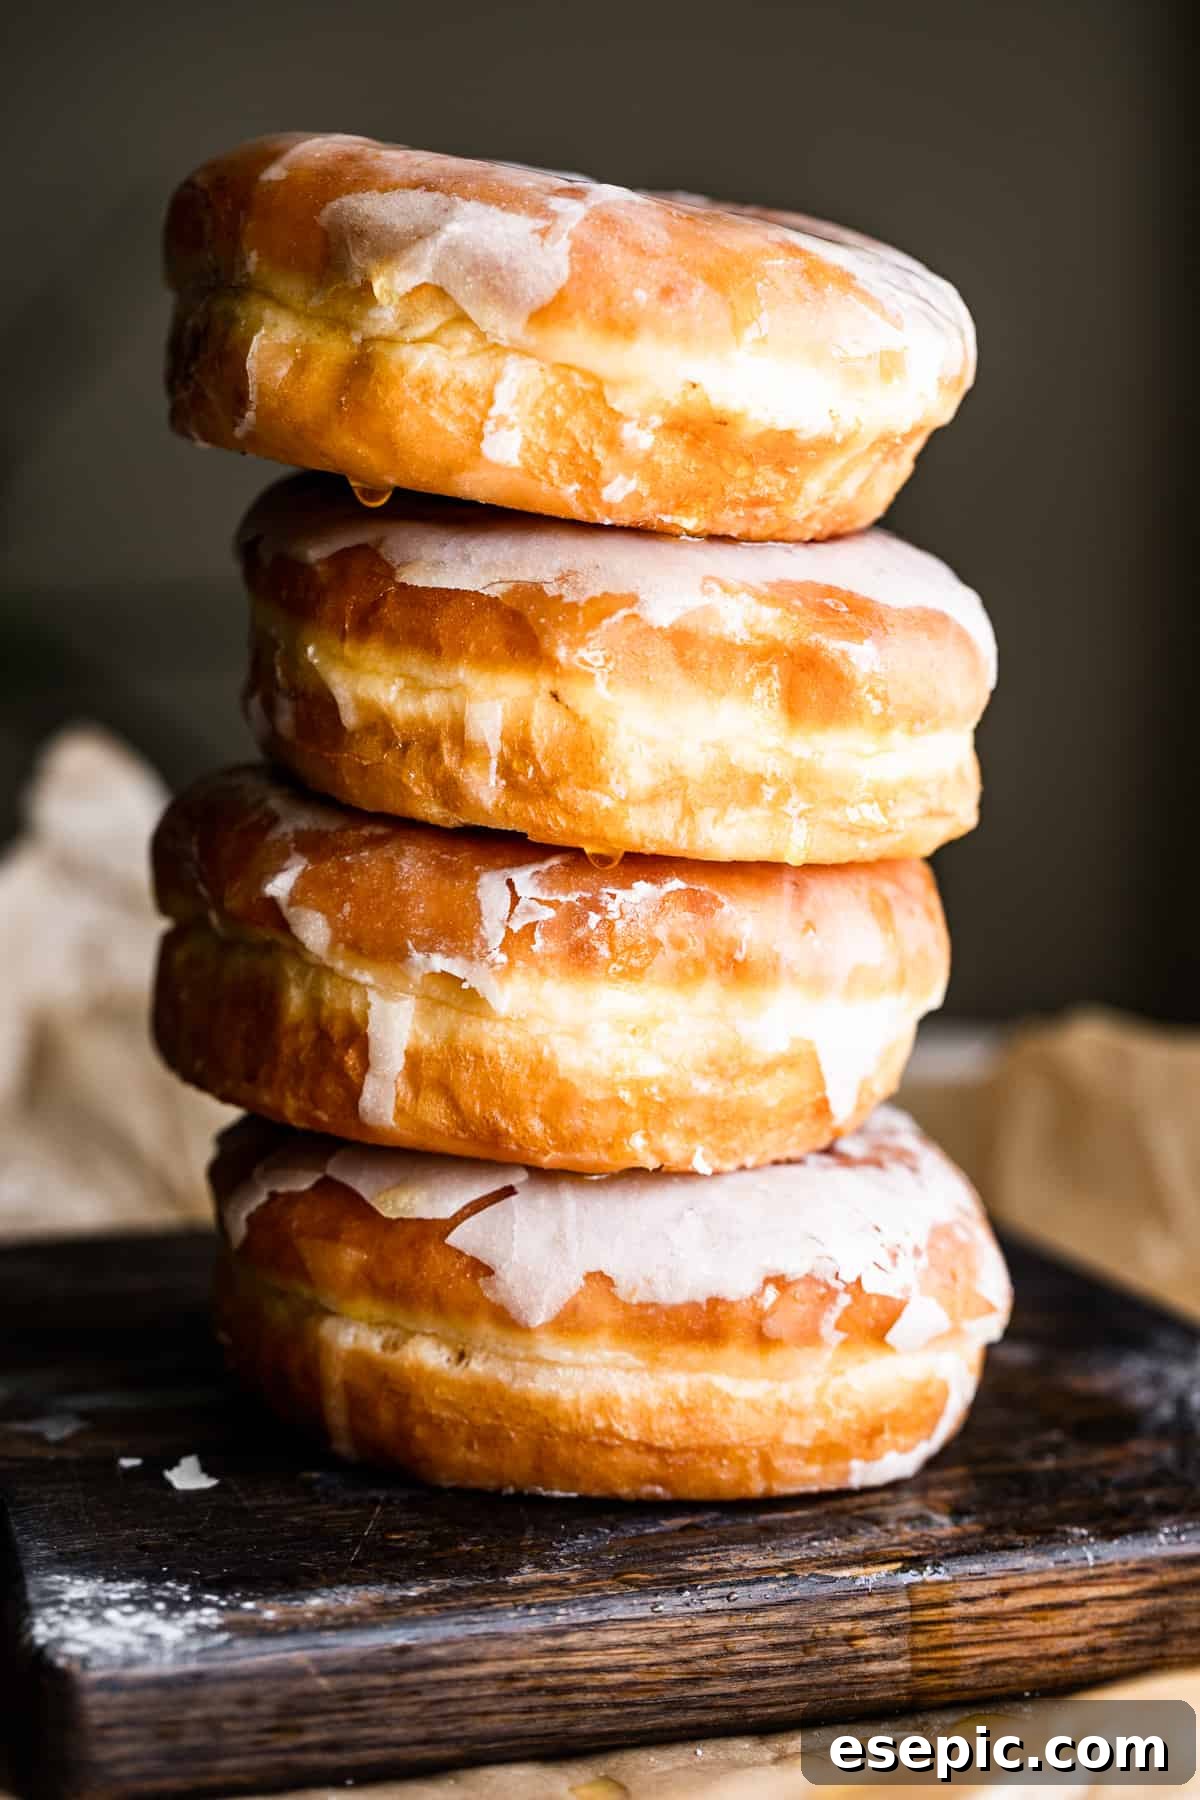
Indulge in a Fall Favorite: Baked Apple Cider Doughnuts
These sweet doughnuts are undoubtedly this season’s ultimate must-have. Imagine that perfect blend of spiced and fruity apple cider baked into a fluffy, tender doughnut – it’s a flavor combination that simply screams autumn! While many associate apple cider doughnuts with roadside stands and apple orchards, there’s a unique satisfaction in creating these seasonal delights right in your own kitchen. The process fills your home with an intoxicating aroma, making the anticipation of that first bite even sweeter.
Freshly baked apple cider doughnuts offer a comforting embrace for your sweet tooth. The moment they emerge from the oven, their warm, inviting scent will captivate everyone in your household. They are perfect for a leisurely breakfast, a cozy brunch, or even as a delightful dessert after a fall dinner. Pair them with a hot cup of coffee, a steaming mug of tea, or even more warm apple cider for the ultimate autumnal experience. These aren’t just pastries; they’re a celebration of fall, a simple pleasure that brings joy to any moment.
Beyond its distinctive flavor, apple cider plays a crucial role in the texture and overall balance of these doughnuts. The natural acidity in apple cider helps to tenderize the dough, resulting in an incredibly soft and moist crumb. It also subtly enhances the flavors of other ingredients, particularly the warming spices, while perfectly balancing the doughnut’s inherent sweetness with a pleasant tangy note. This thoughtful inclusion of cider elevates the doughnut from a simple sweet treat to a complex symphony of fall flavors.
To further amplify the seasonal appeal, we incorporate a touch of ground cinnamon and nutmeg into our batter. These classic fall spices beautifully complement the sweetness and apple essence, creating a truly harmonious flavor profile. After baking to golden perfection, each doughnut receives a quick, indulgent dip in a rich, smooth maple glaze. This final layer not only adds another dimension of sweet, earthy flavor but also contributes a lovely sheen and a delicate outer texture that contrasts beautifully with the soft interior. It’s a simple step that makes all the difference, transforming a great doughnut into an absolutely extraordinary one.
The best part? You can now easily recreate these incredible doughnuts at home! And by baking them instead of frying, you get to enjoy all the wonderful flavors with a slightly lighter, less greasy profile. This makes them a fantastic, healthier alternative without sacrificing any of the deliciousness you crave during fall. Get ready to impress your family and friends with these homemade baked apple cider doughnuts – they’re sure to become a new autumn tradition!
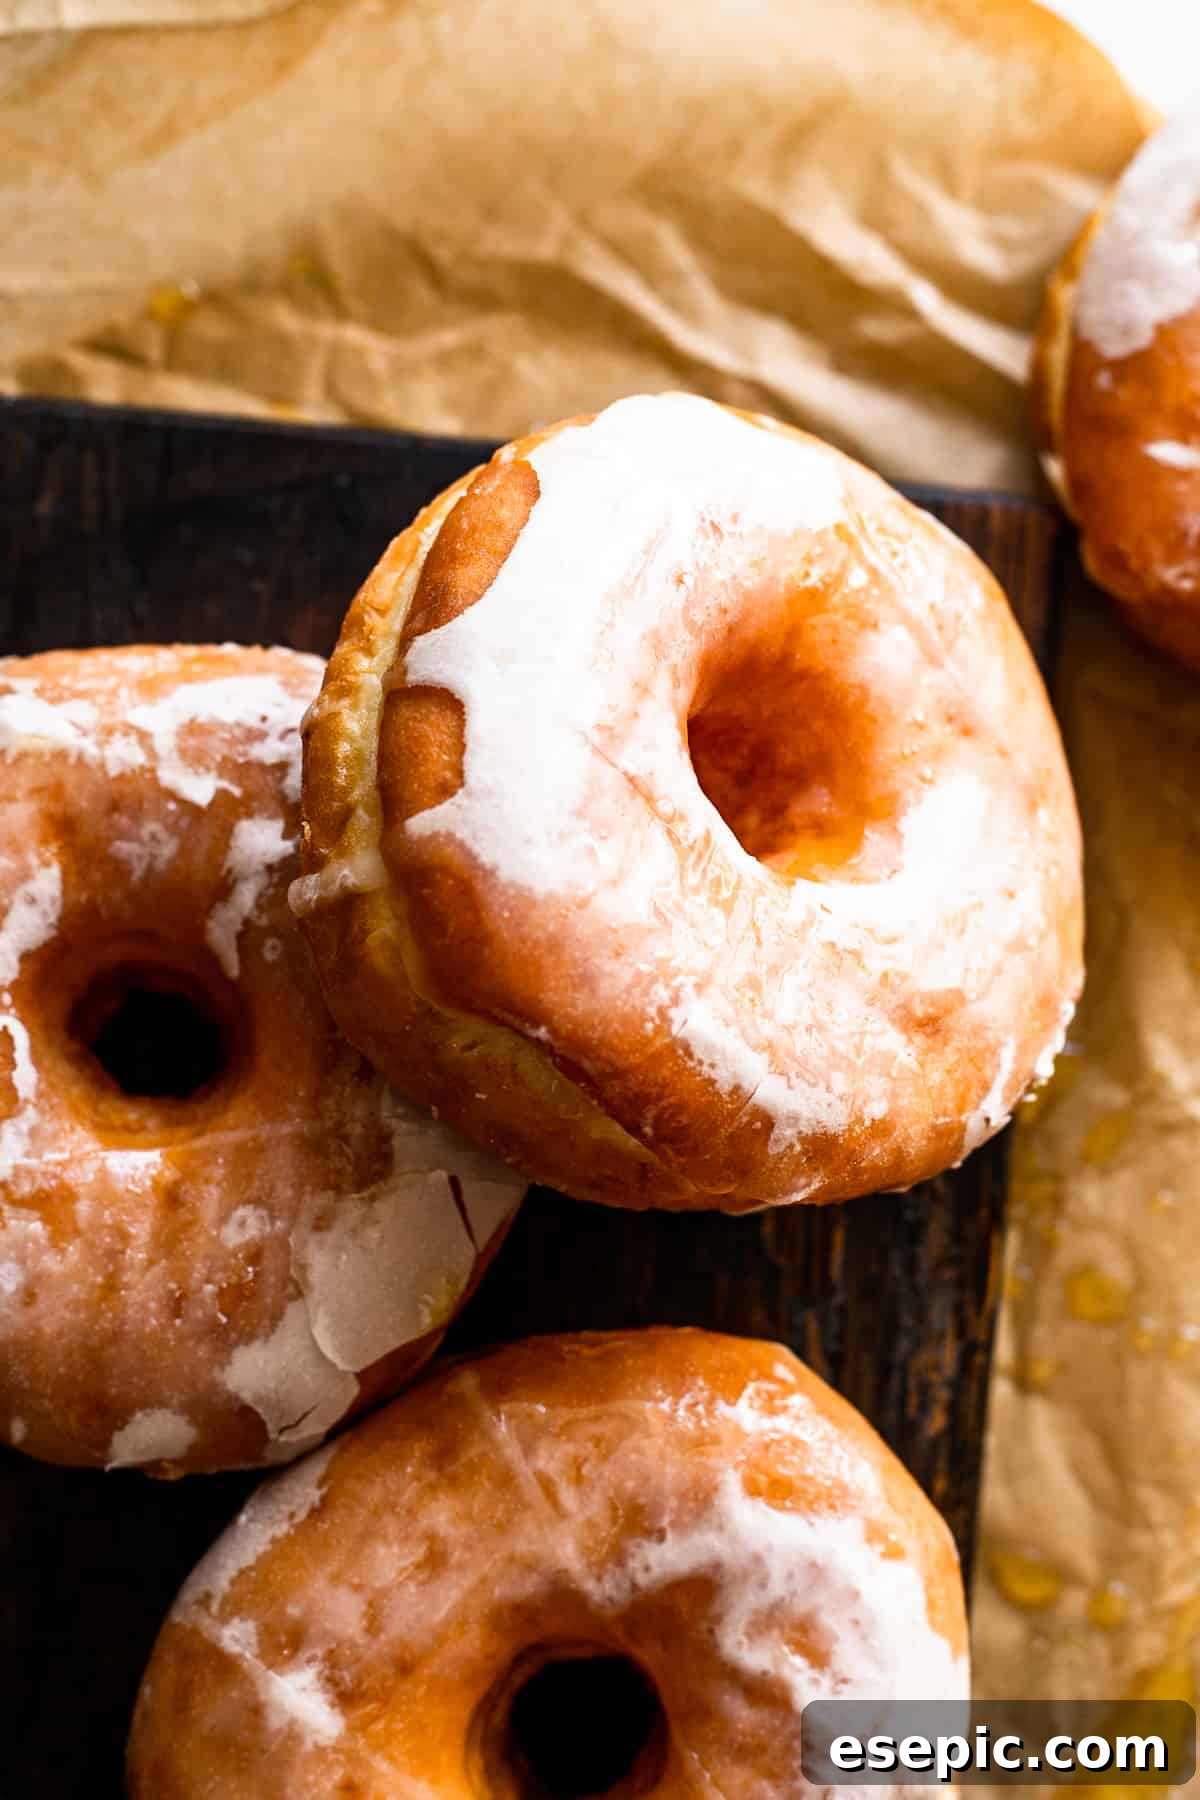
Essential Ingredients for Your Apple Cider Doughnuts
Crafting these delectable baked apple cider doughnuts requires a handful of common baking ingredients, most of which you likely already have in your pantry. Using quality ingredients will ensure the best flavor and texture for your homemade treats. Here’s what you’ll need to gather:
- All-Purpose Flour: Provides the fundamental structure for our doughnuts.
- Baking Powder & Salt: Baking powder acts as a leavening agent, giving the doughnuts their fluffy rise, while salt balances the sweetness and enhances all the other flavors.
- Ground Cinnamon & Ground Nutmeg: These are the quintessential fall spices that infuse the doughnuts with their characteristic warm and inviting aroma.
- Unsalted Butter: Adds richness and tenderness to the dough. Using unsalted butter allows you to control the total salt content in the recipe.
- Light Brown Sugar & Granulated Sugar: A combination of sugars creates a more complex sweetness and contributes to the moist texture of the doughnuts. Brown sugar adds a deeper, molasses note.
- Eggs: Bind the ingredients together, add moisture, and contribute to the rich flavor and structure.
- Vanilla Extract: A crucial flavor enhancer that complements the apple and spice notes.
- Apple Cider: This is the star ingredient! It provides the distinctive apple flavor and helps tenderize the dough due to its acidity. (IMPORTANT: NOT Apple Cider Vinegar! Ensure you use drinking apple cider, which is unfiltered apple juice.)
For the Irresistible Maple Glaze:
- Maple Syrup: The foundation of our sweet glaze, offering a distinct, earthy maple flavor. Use pure maple syrup for the best results.
- Milk: Used to thin the glaze to the perfect dipping consistency. Any type of milk (dairy or non-dairy) will work.
- Vanilla Extract or Maple Extract: Further enhances the glaze’s flavor. A touch of vanilla adds warmth, while maple extract intensifies the maple taste.
- Powdered Sugar: The base for the glaze, providing sweetness and body. Sifted powdered sugar will ensure a smooth, lump-free glaze.
What Can I Use in Place of Apple Cider?
If fresh apple cider isn’t readily available in your area, don’t fret! You can absolutely still make these delicious doughnuts. The best substitute for apple cider is regular apple juice. Apple cider is essentially a less filtered, often unpasteurized version of apple juice, giving it a slightly cloudier appearance and a more robust, tart flavor. While apple juice might result in a slightly sweeter, less tangy doughnut, it will still provide that essential apple essence. If using apple juice, consider adding an extra pinch of cinnamon or a tiny dash of lemon juice to enhance the “zing” factor. Reduce the liquid slightly if your apple juice is very thin.
I Don’t Have a Donut Pan, Can I Use a Muffin Tin?
Absolutely, yes! A specialized doughnut pan is certainly convenient for achieving the classic doughnut shape, but it’s not strictly necessary. You can easily adapt this recipe to bake these treats in a standard muffin tin. Prepare the batter exactly as directed in the recipe. Instead of spooning it into doughnut cavities, simply spoon the batter into lined muffin cups, filling each about two-thirds full. The baking time will be slightly longer for muffins; typically, they will need 15 to 20 minutes at 350˚F (175˚C), or until a toothpick inserted into the center of a muffin comes out clean or with just a few moist crumbs. The shape will be different, but the incredible fall flavors will remain just as delicious!
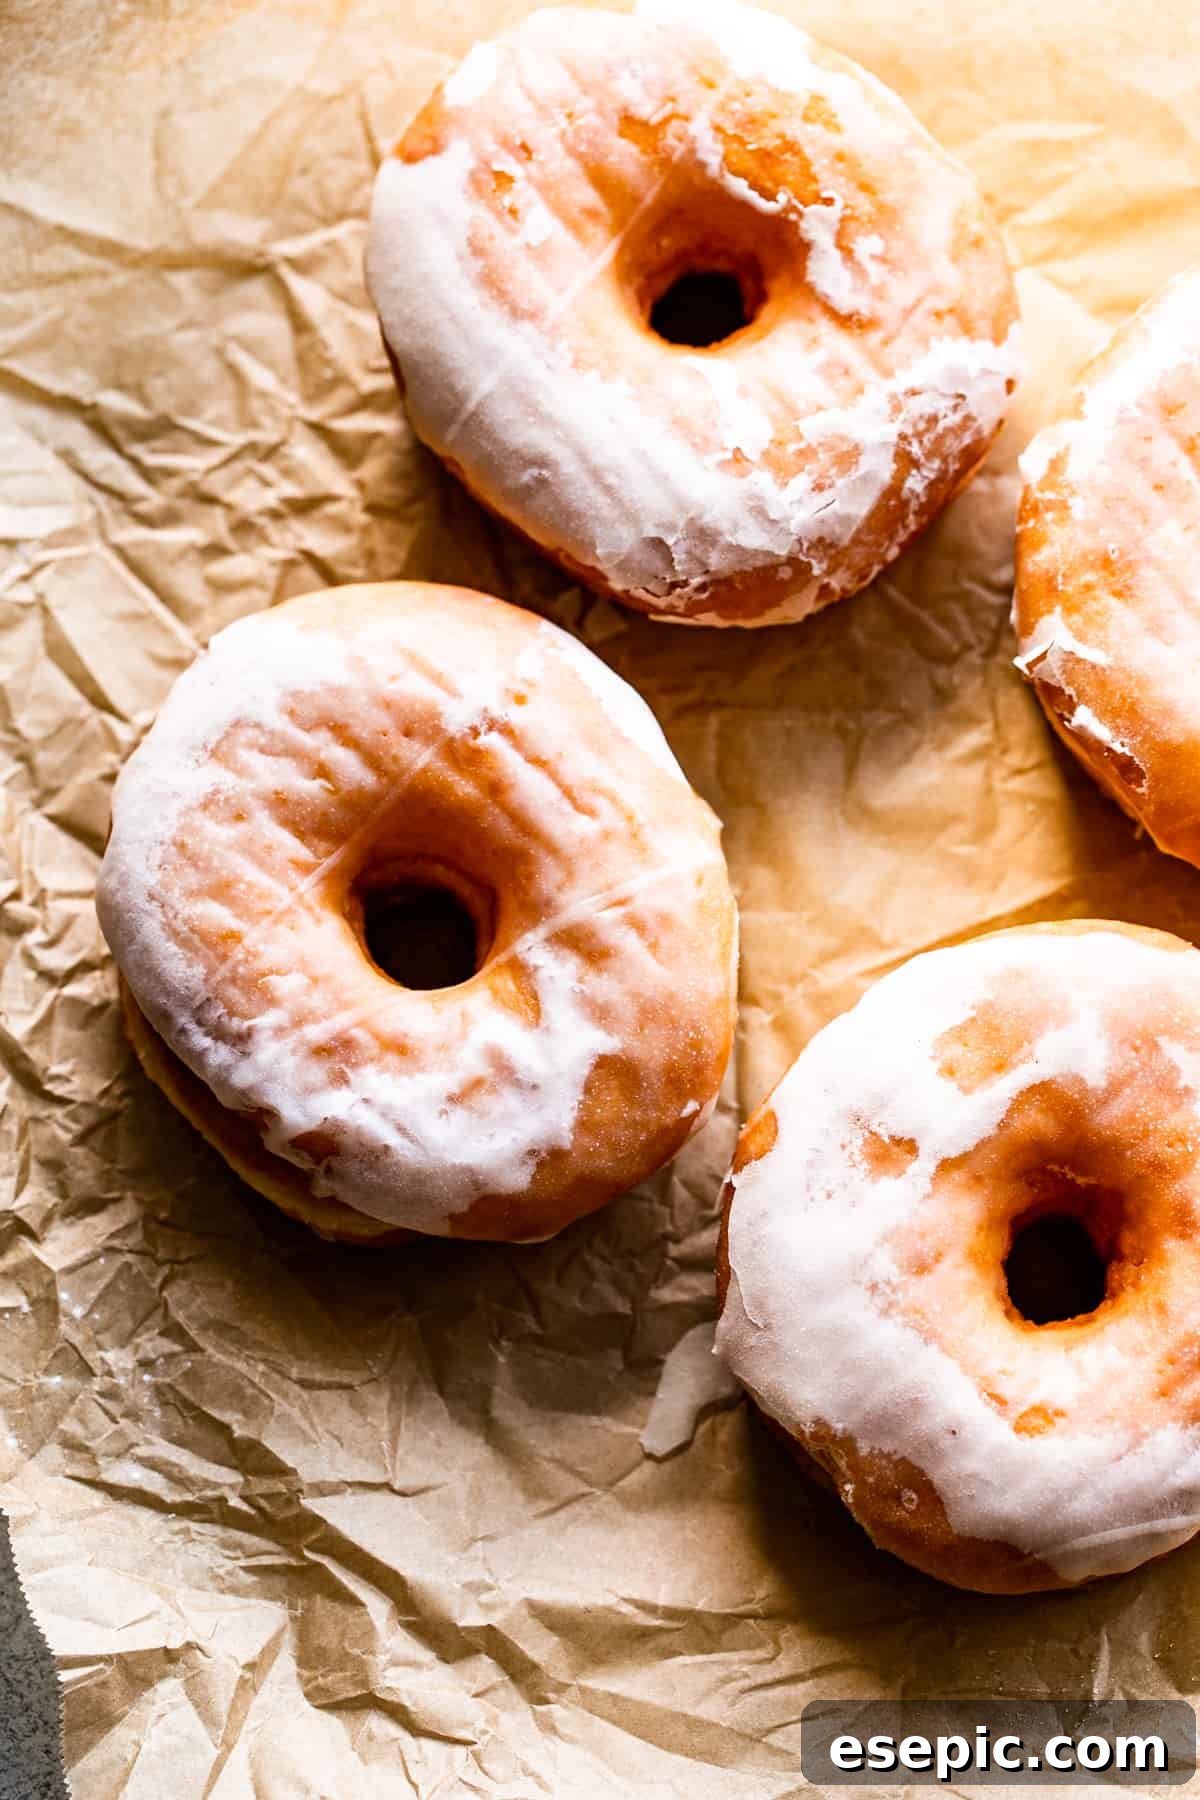
Crafting Your Own: How To Make Baked Apple Cider Doughnuts with Maple Glaze
Making these baked apple cider doughnuts is a wonderfully straightforward process, quite different from the traditional fried variety. Since this recipe doesn’t involve yeast, there’s no waiting for dough to rise, making it a quicker and easier project. These delightful fall goodies come together with minimal fuss, allowing you to enjoy fresh, homemade doughnuts in no time.
Here’s a detailed breakdown of each step to guide you through the process:
- Preparation: Begin by preheating your oven to 350˚F (175˚C). This ensures the oven is at the correct temperature when your batter is ready. Lightly grease two standard (6-cavity) doughnut pans with cooking spray. Thoroughly coat each cavity to prevent sticking, which is crucial for easy removal of your finished doughnuts. Set the prepared pans aside. If you’re using muffin tins, line them with paper liners or grease them well.
- Combine Dry Ingredients: In a medium mixing bowl, whisk together the all-purpose flour, baking powder, salt, ground cinnamon, and ground nutmeg. Whisking ensures these ingredients are evenly distributed, leading to a consistent flavor and texture throughout your doughnuts. Set this dry mixture aside.
- Cream Butter and Sugars: In the bowl of a stand mixer fitted with the paddle attachment (or using a hand mixer), cream together the softened unsalted butter, light brown sugar, and granulated sugar. Beat on medium speed for about 3 to 4 minutes, or until the mixture becomes light, fluffy, and noticeably pale. This step incorporates air into the butter, contributing to the doughnuts’ tender texture.
- Add Eggs and Vanilla: Add the large eggs to the creamed mixture, one at a time. Mix well after each addition, scraping down the sides of the bowl with a spatula to ensure everything is thoroughly combined. Once the eggs are incorporated, stir in the pure vanilla extract.
- Alternate Wet and Dry Ingredients: Reduce the mixer speed to low. Gradually add the reserved flour mixture to the wet ingredients, mixing only until just incorporated. Be careful not to overmix, as this can lead to tough doughnuts. The batter might still look a little crumbly at this stage.
- Incorporate Apple Cider: With the mixer still running on low speed, slowly and steadily pour in the apple cider. Continue to mix until the batter is just combined and smooth, again being careful not to overmix. Scrape down the bowl as needed to ensure all ingredients are fully integrated. The batter will be thick but pourable.
- Fill Doughnut Pans: Spoon the batter into your previously prepared doughnut pans, filling each cavity about two-thirds of the way full. For a cleaner and easier process, you can transfer the batter into a piping bag (or a large plastic ziploc bag with a corner snipped off) and pipe the batter into the molds. This method helps create perfectly shaped doughnuts without mess.
- Bake to Perfection: Place the doughnut pans in the preheated oven. Bake for approximately 12 to 15 minutes, or until the doughnuts are golden brown and spring back lightly when touched. To check for doneness, insert a toothpick into the center of the thickest portion of a doughnut – it should come out with just a few moist crumbs attached. Rotate the pans halfway through baking to ensure even browning. If you are making muffins, bake them for 15 to 20 minutes, rotating halfway through.
- Cooling the Doughnuts: Once baked, remove the pans from the oven. Let the doughnuts cool in their pans for about 4 to 5 minutes. This allows them to firm up slightly before you handle them. After this initial cooling, carefully remove the doughnuts from the pans and transfer them to a wire rack to cool completely. They must be completely cool before glazing, otherwise the glaze will melt and run off.
- Prepare the Maple Glaze: While the doughnuts are cooling, prepare your maple glaze. In a medium bowl, whisk together 2 tablespoons of milk, maple syrup, vanilla extract (or maple extract), and powdered sugar. Continue whisking until the glaze is completely smooth and free of lumps. The consistency should be pourable but thick enough to coat a spoon. If the glaze is too thick, add a little more milk, a teaspoon at a time, until the desired consistency is reached. If it’s too thin, whisk in a bit more powdered sugar.
- Set Up for Glazing: Place a wire cooling rack over a baking sheet lined with parchment paper. This setup will catch any excess glaze as you dip the doughnuts, making cleanup a breeze.
- Glaze the Doughnuts: Once the doughnuts are fully cooled, dip the top surface of each doughnut into the prepared maple glaze. Gently turn and swirl the doughnut to ensure it’s well coated.
- Allow Glaze to Set: Place the glazed doughnuts back on the wire rack set over the parchment paper. Allow the doughnuts to rest for about 15-20 minutes, or until the glaze has fully set and hardened slightly.
- Serve and Enjoy: Once the glaze is set, your beautiful and delicious baked apple cider doughnuts are ready to be served!
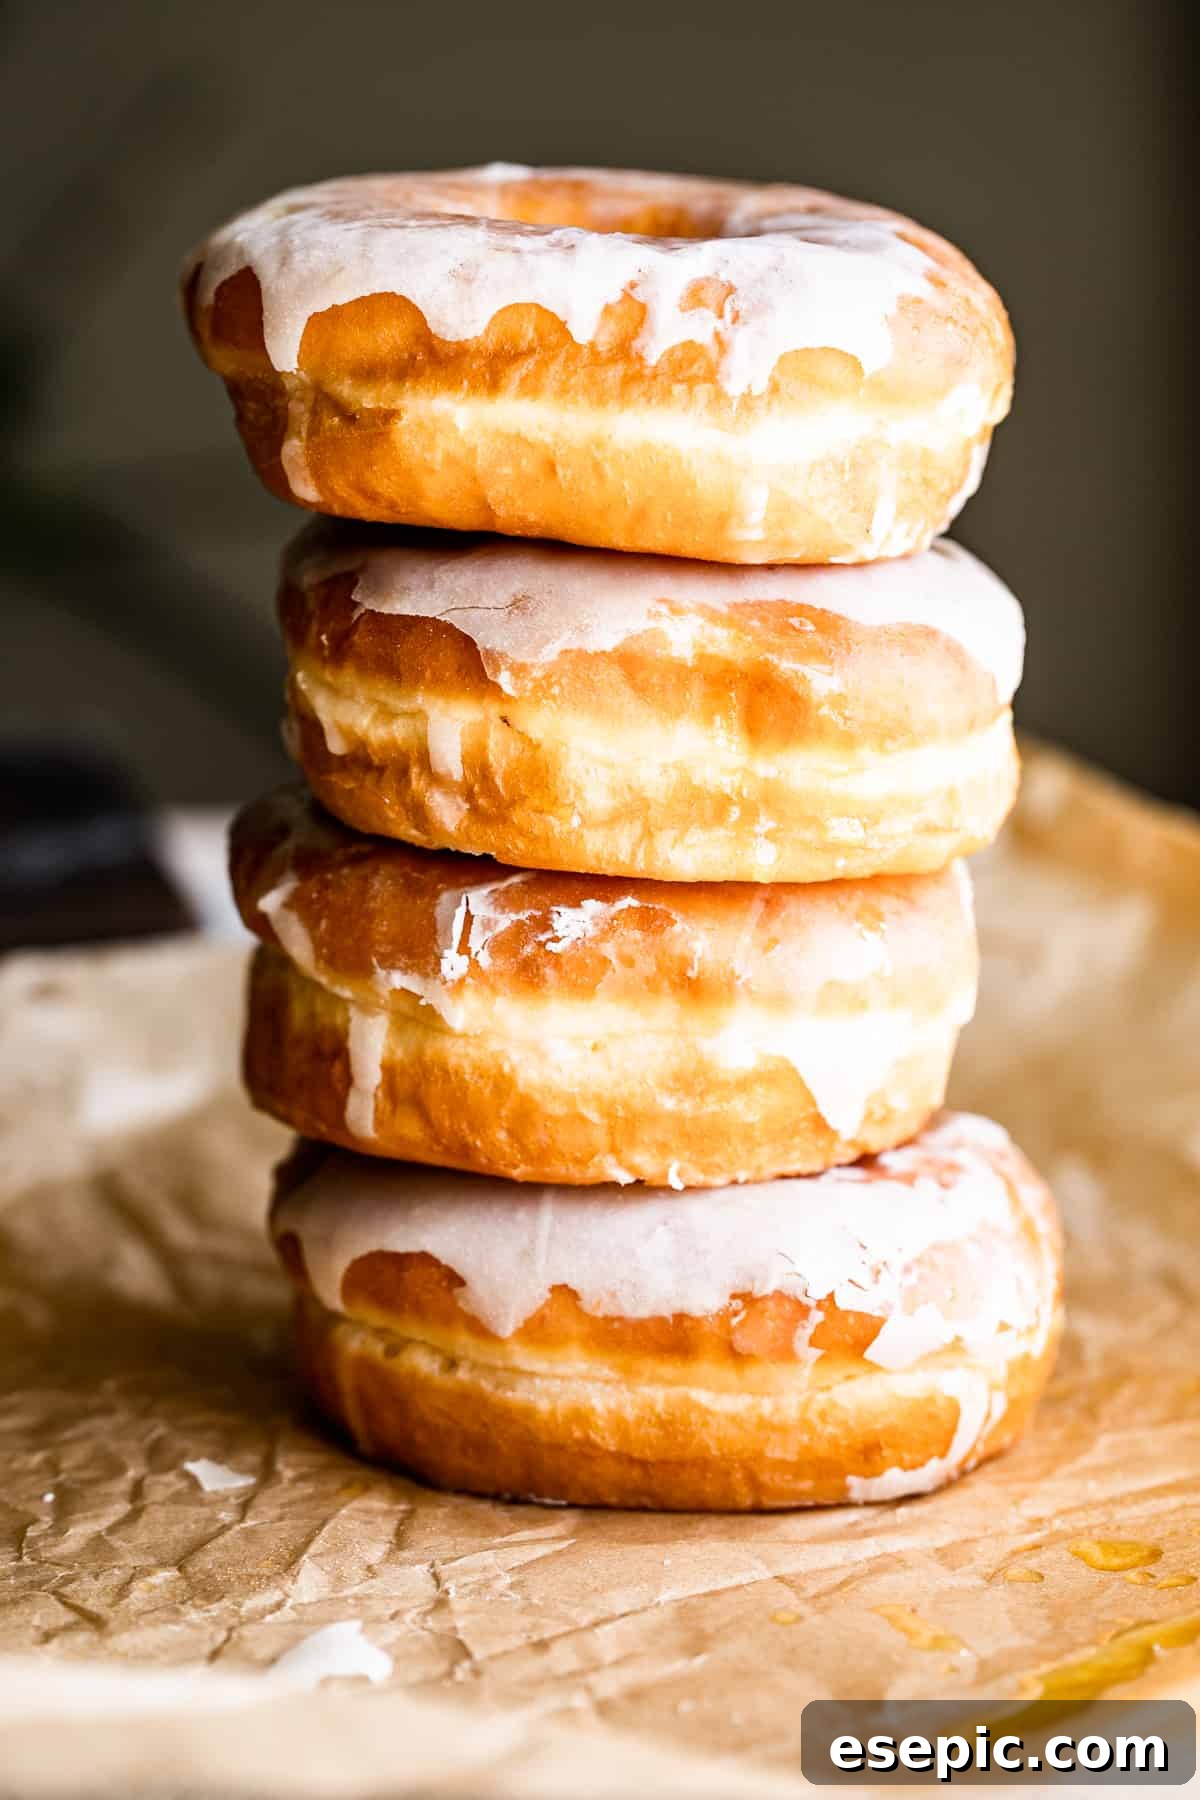
Expert Tips for Crafting the Best Baked Apple Cider Doughnuts
Achieving perfectly tender, flavorful baked doughnuts is simpler than you might think, especially with a few insider tips. Follow these guidelines to ensure your homemade apple cider doughnuts turn out absolutely sensational every time:
- Utilize a Piping Bag for Clean Filling: While spooning batter into doughnut pans works, a piping bag (or a large Ziploc bag with a corner snipped off) offers superior control and creates much cleaner, more uniform doughnuts. It allows you to precisely fill each cavity without making a mess, ensuring a neat hole in the center and consistent shapes. Remember not to overfill the baking pan cavities; aim for about two-thirds full to prevent overflow and maintain the classic doughnut shape.
- Prevent Dry Doughnuts by Not Overbaking: Baked doughnuts, by their nature, can be prone to dryness if overbaked. Unlike their fried counterparts, they rely on precise baking times to retain moisture. The key is to remove them from the oven just when they are set. A good indicator is when a toothpick inserted into the center comes out with a few moist crumbs attached, rather than completely clean. This indicates they are cooked through but still retaining their delightful tenderness. Keep a close eye on them, as oven temperatures can vary.
- Choose the Right Recipe for Baking: It’s crucial to understand that baked doughnut recipes are specifically formulated for oven baking. They typically use leavening agents like baking powder and baking soda, resulting in a cake-like texture, whereas fried doughnuts often use yeast for a chewier, bread-like consistency. Never attempt to use a deep-fried doughnut recipe for baking, or vice versa, as the results will be disappointing. Always ensure the recipe you’re following is explicitly designed for baked doughnuts.
- Embrace the Difference: Baked vs. Fried: Please manage your expectations regarding baked versus deep-fried doughnuts. They are distinct treats with different textures and flavor profiles. Baked doughnuts will not have the same crispy exterior or dense, chewy interior as their deep-fried cousins. Instead, expect a wonderfully soft, cake-like crumb that is light and fluffy. This is not a shortcoming, but rather a different, equally delicious experience! Baked doughnuts offer a fantastic, often healthier, and certainly less messy way to enjoy a homemade doughnut, making them an excellent alternative for home bakers.
- Room Temperature Ingredients are Key: For the best results, ensure your butter and eggs are at room temperature. Room temperature butter creams more smoothly with sugar, creating a light and airy base, and emulsifies better with the eggs, preventing a curdled batter. Cold ingredients can cause the batter to seize and result in a denser, less uniform doughnut.
- Measure Flour Accurately: For baking, especially with flour, precision is important. Too much flour can lead to dry, dense doughnuts. The most accurate way to measure flour is by weight using a kitchen scale. If you don’t have one, use the “spoon and level” method: gently spoon flour into your measuring cup until it overflows, then level it off with the back of a knife. Avoid scooping directly with the measuring cup, as this compacts the flour and adds too much.
Storing Your Delicious Baked Doughnuts for Freshness
While these baked apple cider doughnuts are undeniably best enjoyed fresh from the oven, you might find yourself with a few irresistible leftovers. Proper storage is key to maintaining their delicious flavor and tender texture. Here’s how to store them for optimal enjoyment:
- Refrigeration vs. Room Temperature: For short-term storage, these doughnuts are best kept in an airtight container at room temperature. They will retain their freshness and soft texture for about 2 days. It is crucial that the doughnuts are completely cooled before placing them in a container. If you container them while still warm, the residual heat will create condensation, causing them to steam and become soggy, which nobody wants! Placing them in a cool, dry place away from direct sunlight is ideal.
- Freezing for Longer Enjoyment: If you’ve made a large batch or simply can’t devour them all within a couple of days, freezing is an excellent option for longer storage. While frozen and thawed doughnuts may not be quite as perfectly tender as when they are freshly made, they are still wonderfully delicious and a fantastic way to extend their shelf life. To freeze, arrange the completely cooled (and preferably unglazed, if you prefer to glaze fresh) doughnuts in a single layer on a baking sheet and freeze until solid. Once frozen, transfer them to a freezer-safe airtight container or a heavy-duty freezer bag, separating layers with parchment paper to prevent sticking. They can be stored in the freezer for up to 2-3 months.
- Thawing Frozen Doughnuts: When you’re ready to enjoy a frozen doughnut, simply remove it from the freezer and let it thaw at room temperature for an hour or two. For an extra touch of warmth and softness, you can gently reheat them in the microwave for 10-15 seconds or in a preheated oven (around 300°F/150°C) for a few minutes until warmed through. If you froze them unglazed, you can whip up a fresh batch of maple glaze and dip them just before serving for that perfect finish. Because let’s be honest, thawed out doughnuts are definitely better than no doughnuts at all!
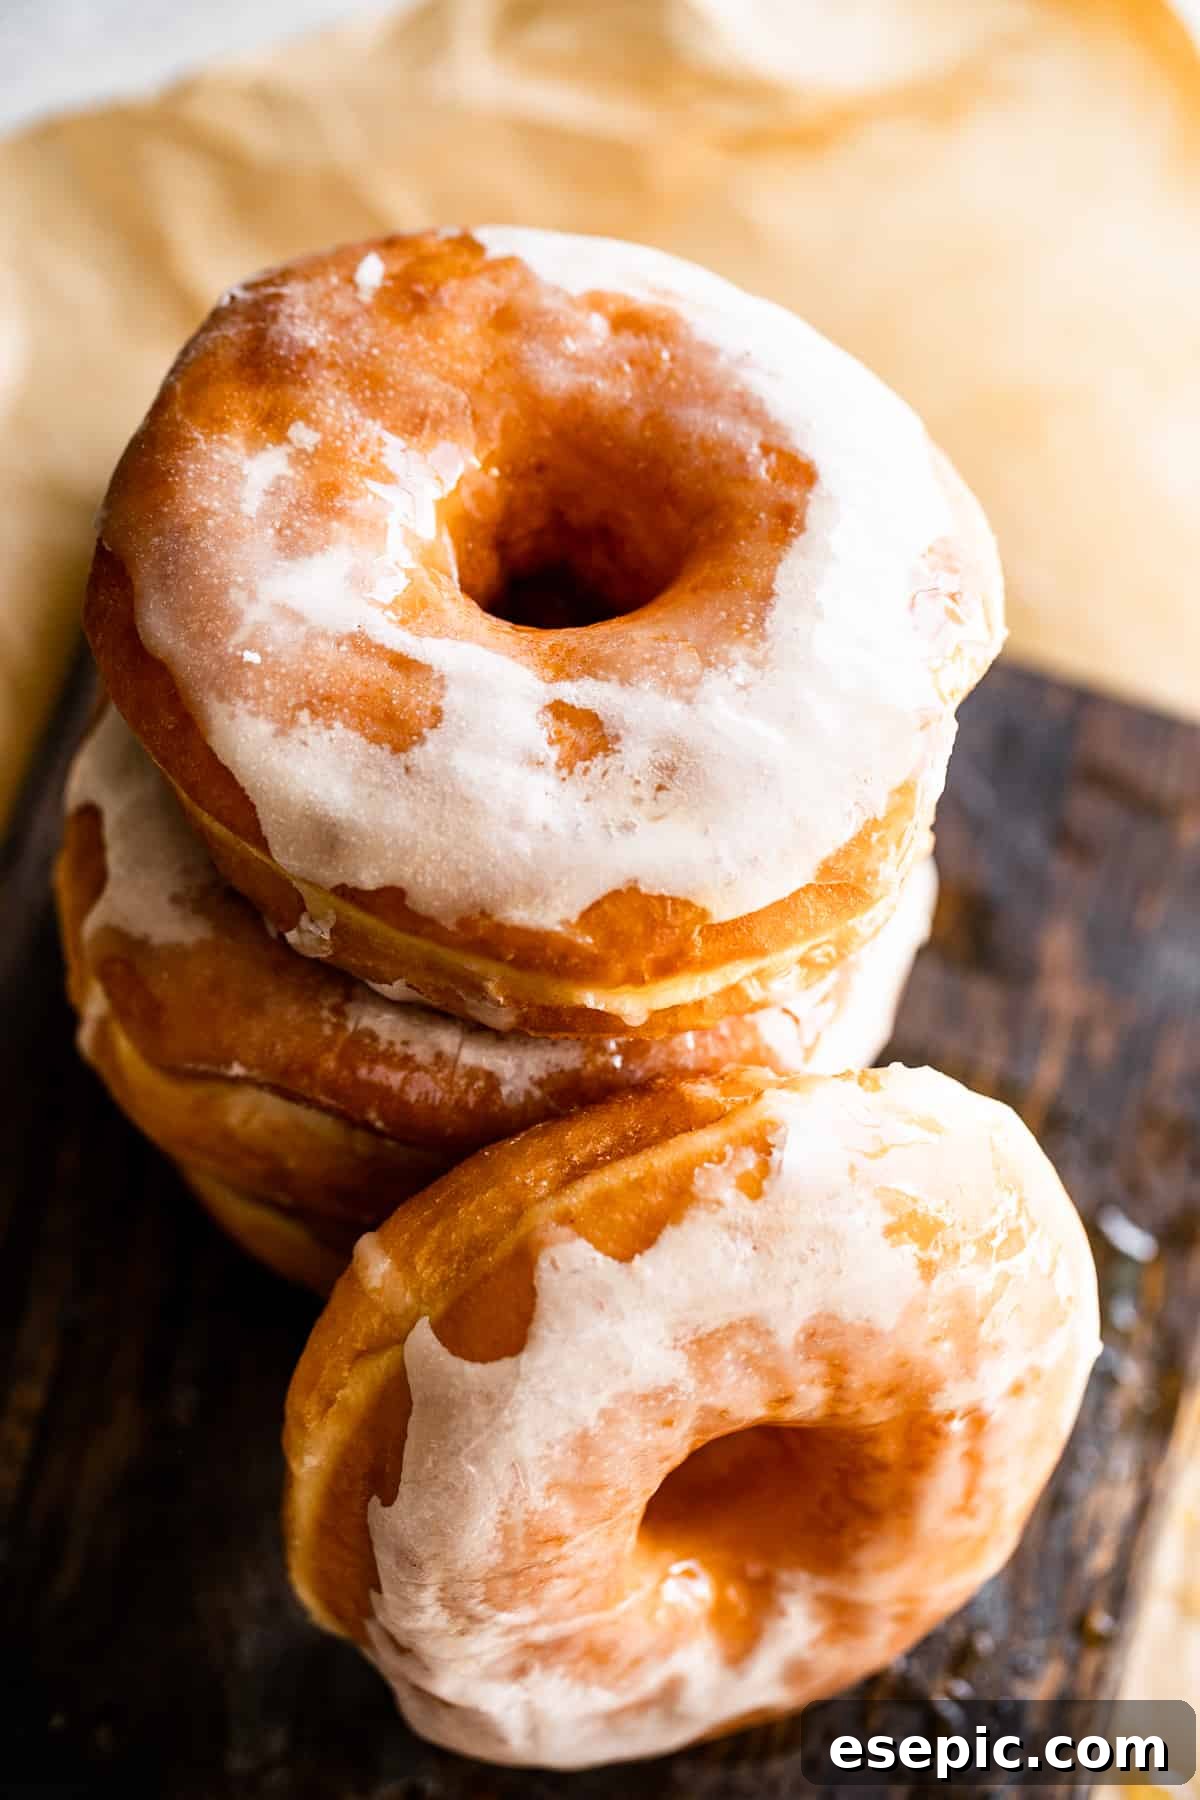
Apple Cider Doughnuts with Maple Glaze
Soft, baked, golden doughnuts flavored with apple cider and topped with a sweet maple glaze – the perfect autumn treat.
By: Katerina | Easy Weeknight Recipes
Prep Time: 15 minutes | Cook Time: 15 minutes | Cooling Time: 15 minutes | Total Time: 45 minutes
Servings: 12 doughnuts
Ingredients
For the Batter
- 1 ¾ cup all-purpose flour
- 1 ¼ teaspoon baking powder
- ½ teaspoon salt
- 1 teaspoon ground cinnamon
- ⅙ teaspoon ground nutmeg
- 10 tablespoons unsalted butter, at room temperature
- ¾ cup light brown sugar
- ¼ cup granulated sugar
- 2 large eggs, at room temperature
- 1 teaspoon pure vanilla extract
- ½ cup apple cider, NOT apple cider vinegar
For the Glaze
- 2 to 3 tablespoons milk
- 1 tablespoon maple syrup
- ½ teaspoon pure vanilla extract, OR you can also use pure maple extract
- 1 ¼ cup powdered sugar
Instructions
- Preheat oven to 350˚F (175˚C).
- Lightly grease 2 (6-cavity) doughnut pans with cooking spray and set aside. You can also use a 12-cup muffin tin if you don’t have a donut pan.
- In a mixing bowl, combine flour, baking powder, salt, cinnamon, and nutmeg; whisk to combine and set aside.
- In the bowl of a stand mixer fitted with the paddle attachment, cream the butter, brown sugar, and granulated sugar on medium speed until light and fluffy, about 3 to 4 minutes.
- Add the eggs, one at a time, and mix until well incorporated after each addition, scraping the bowl as necessary. Then, add in the vanilla.
- Set mixer to low speed and slowly add in the flour mixture; continue to mix until just incorporated.
- With the mixer running, add the apple cider in a slow, steady stream and continue to mix until combined, scraping down the bowl as needed.
- Spoon the batter into previously prepared doughnut pans, filling them about ⅔ of the way up. You can also spoon the batter into a piping bag and pipe the batter into the molds.
- Bake in the oven for about 12 to 15 minutes, or until golden brown and a toothpick inserted into the center of the thickest portion of the doughnut comes out with a few crumbs on it. Rotate the pans halfway through baking. If you are making muffins, bake them for 15 to 20 minutes, rotating halfway through.
- Remove from oven and let the doughnuts cool for 4 to 5 minutes in the pan, then remove them from the pans, and place them on a rack to cool completely before dipping into the maple glaze.
- While the doughnuts are cooling, whisk together 2 tablespoons milk, maple syrup, vanilla, and powdered sugar; whisk until completely smooth. Add more milk if consistency is too thick. If you want a thicker consistency, add in a bit more powdered sugar.
- Next, set a cooling rack over a baking sheet lined with parchment paper.
- Dip the top of the baked donuts into the maple glaze, turning to coat well.
- Let the donuts rest on the rack set over the parchment paper until glaze sets.
- Serve immediately or store as directed.
Notes
Recipe Inspired by NYTimes
Nutrition
Serving: 1 doughnut | Calories: 292kcal | Carbohydrates: 47g | Protein: 3g | Fat: 11g | Saturated Fat: 6g | Polyunsaturated Fat: 1g | Monounsaturated Fat: 3g | Trans Fat: 0.4g | Cholesterol: 56mg | Sodium: 160mg | Potassium: 72mg | Fiber: 1g | Sugar: 32g | Vitamin A: 341IU | Vitamin C: 0.1mg | Calcium: 54mg | Iron: 1mg
Nutritional info is an estimate and provided as courtesy. Values may vary according to the ingredients and tools used. Please use your preferred nutritional calculator for more detailed info.
Explore More Fall Favorite Baked Goodies
If you’re loving the cozy flavors of autumn, you might also enjoy these other delightful baked treats perfect for the season:
- Classic Homemade Apple Pie
- Warm and Sticky Monkey Bread
- Easy Spiced Pumpkin Muffins