
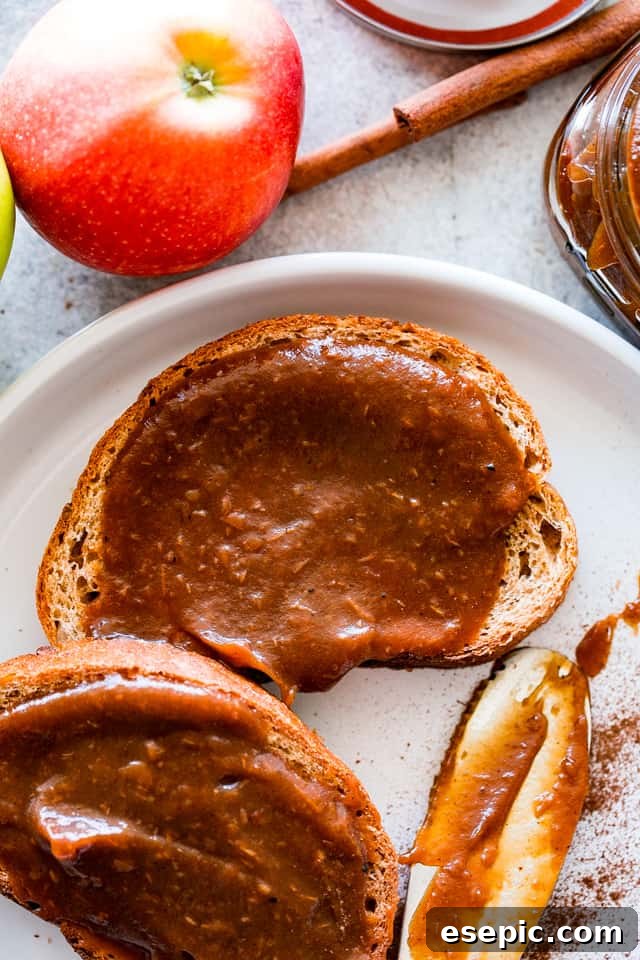
Homemade Instant Pot Apple Butter: Your Essential Guide to a Taste of Autumn
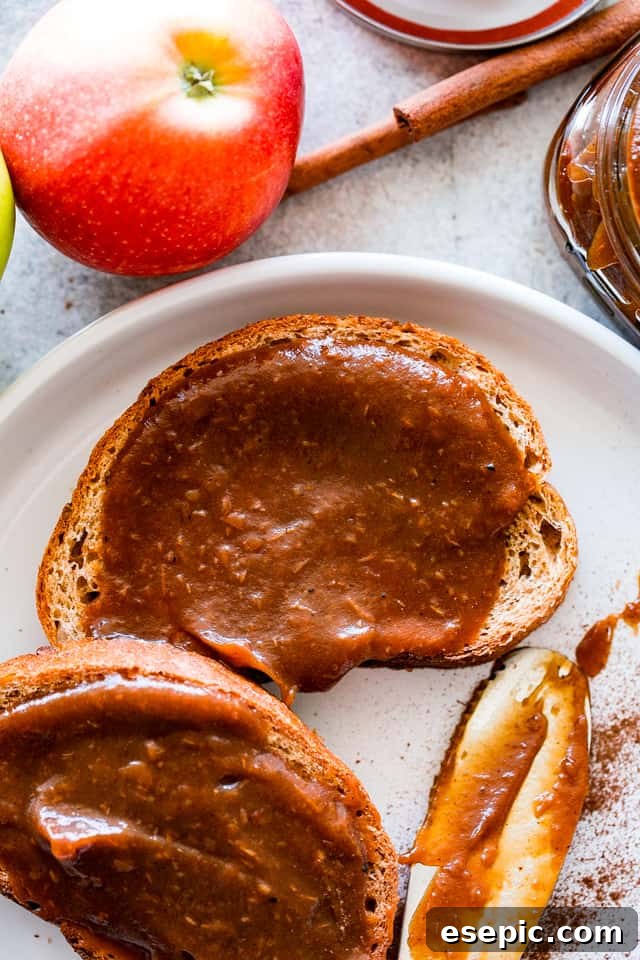
There’s nothing quite like the comforting embrace of autumn flavors, and at the heart of it all often lies the humble apple. Transformed into a rich, sweet, and gently spiced spread, Instant Pot Apple Butter captures the very essence of the season in a jar. Imagine spoonfuls of luscious, deeply caramelized apple goodness, infused with warming cinnamon, nutmeg, and allspice – perfect for spreading, baking, or simply enjoying straight from the spoon. This guide will walk you through creating this delightful fall staple with unparalleled ease and speed, thanks to the magic of your Instant Pot.
The Instant Pot Advantage: Quick and Delicious Apple Butter
Traditional apple butter recipes are renowned for their long, slow cooking times, often requiring hours of simmering on the stovetop to achieve that signature deep color and concentrated flavor. While the result is undeniably rewarding, the time commitment can be a deterrent for many home cooks. This is where the Instant Pot truly shines!
By harnessing the power of pressure cooking, this recipe drastically cuts down the preparation time without compromising on flavor or texture. You can create a batch of rich, cinnamon-infused apple butter in under an hour of active cooking, followed by a brief natural pressure release and a final simmering stage to perfect the consistency. This makes homemade apple butter accessible even on a busy weeknight. Beyond its rapid preparation, this Instant Pot method also results in a freezer-friendly spread that can be savored for up to six months, making it a delicious and practical investment for your pantry. It’s an ideal way to preserve the bounty of apple season, ensuring you have that taste of autumn long after the leaves have fallen.
Applesauce vs. Apple Butter: Unpacking the Delicious Distinction
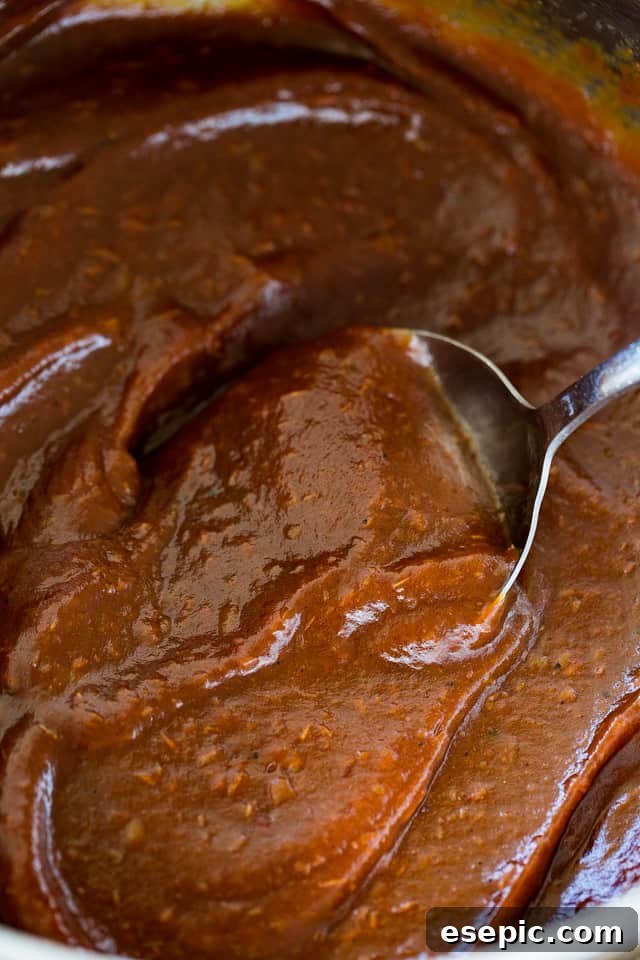
While both applesauce and apple butter start with cooked apples, they are distinct culinary creations with unique characteristics. The primary differentiator lies in the process of **caramelization**. Applesauce is essentially pureed cooked apples, often lightly sweetened and sometimes spiced. Its texture is typically looser, and its color is usually lighter, reflecting the natural hue of the apples.
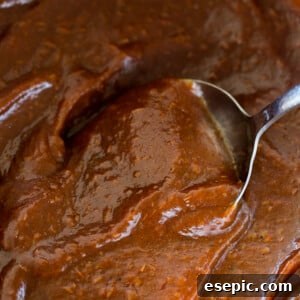
Apple butter, however, takes applesauce a significant step further. After the apples are cooked and pureed, they are cooked again, often for an extended period, allowing their natural sugars to brown and intensify. This slow reduction and caramelization process creates a much richer, darker, and more concentrated spread with a velvety smooth texture. The flavor deepens considerably, acquiring notes of cooked sugar, molasses, and a more pronounced apple essence. Furthermore, while applesauce can be plain, apple butter is almost universally seasoned with a blend of warm spices like cinnamon, allspice, and nutmeg, which perfectly complement its caramelized depth. Think of applesauce as a simple fruit puree, and apple butter as its more sophisticated, intensely flavored cousin.
To Peel or Not to Peel: The Apple Butter Dilemma
One of the beauties of making apple butter is the flexibility it offers, especially when it comes to preparing the apples. Many home cooks wonder whether they should peel their apples before cooking. The good news is, you absolutely can leave the peel on!
Leaving the peels on offers several advantages. Firstly, it significantly simplifies the preparation process, saving you time and effort. Simply core the apples and cut them into wedges, and you’re good to go. Secondly, apple peels are packed with beneficial nutrients and fiber, adding a healthy boost to your apple butter. When pressure cooked and then blended, the peels become incredibly soft and are seamlessly incorporated into the smooth texture of the butter. You won’t even notice they’re there!
However, there are a couple of considerations. If you prefer an absolutely silky-smooth texture, peeling the apples will ensure no tiny specks of peel remain. Also, if you’re using conventionally grown apples that might have a wax coating, you might opt to peel them or use a wax-removal method to ensure the cleanest possible base for your butter. Regardless of whether you peel or not, always remember to wash your apples thoroughly before use to remove any dirt or residues.
Recipe Ingredients for Perfect Instant Pot Apple Butter
Crafting exceptional apple butter begins with selecting the right ingredients. Here’s a detailed look at what you’ll need and why each component is crucial:
- Apples: You’ll need approximately 5 pounds of apples, cored and cut into wedges. While Granny Smith apples offer a lovely tartness that balances the sweetness, sweeter varieties like Pink Lady, Fuji, Gala, Honeycrisp, or Golden Delicious are also excellent choices. A mix of sweet and tart apples often yields the most complex and satisfying flavor profile for apple butter, as the natural sugars caramelize beautifully.
- Lemon Juice: A tablespoon of fresh lemon juice serves multiple purposes. It prevents the apples from browning too quickly during preparation, brightens the overall flavor, and balances the sweetness, adding a necessary tangy note that enhances the fruitiness.
- Brown Sugar: This provides a deep, molasses-like sweetness and contributes significantly to the rich, caramelized color and flavor of the apple butter. Be sure to pack it firmly when measuring to get the correct amount.
- Granulated Sugar: Working in conjunction with brown sugar, granulated sugar offers a clean sweetness. For a more natural approach, you can substitute raw or natural sugar for some or all of the granulated and brown sugar, adjusting to your preferred sweetness level.
- Apple Cider: This liquid is essential for pressure cooking in the Instant Pot, preventing scorching and creating steam. It also infuses an extra layer of apple flavor into the butter. Ensure you’re using pure apple cider, not apple cider vinegar, which would make the butter too tart. Pure apple juice can be used as a substitute if apple cider isn’t available.
- Cinnamon, Allspice, and Nutmeg: These are the quintessential warming spices of autumn. Cinnamon provides a classic, comforting note, allspice adds a complex, slightly peppery warmth, and nutmeg offers a hint of sweet, musky spice. Together, they create the signature aroma and flavor of traditional apple butter.
- Vanilla: A tablespoon of pure vanilla extract at the end of cooking elevates all the other flavors, adding a subtle sweetness and aromatic depth that rounds out the spice profile beautifully. Always opt for pure vanilla for the best results.
How to Make Apple Butter In The Instant Pot: A Step-by-Step Guide
Making apple butter in your Instant Pot is a surprisingly straightforward process, turning a traditionally lengthy endeavor into an efficient and rewarding kitchen project. Follow these steps for perfect results:
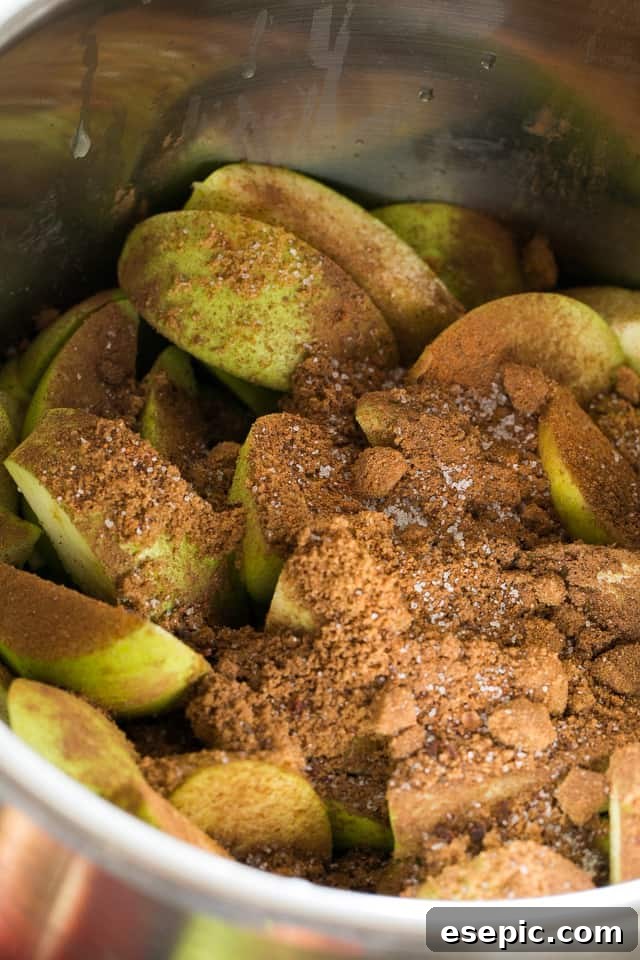
- Prepare and Pressure Cook the Apples: Begin by placing your prepared apple wedges into the Instant Pot insert. Drizzle in the fresh lemon juice and give it a gentle stir. Next, add both brown and granulated sugars, apple cider, ground cinnamon, allspice, nutmeg, and pure vanilla extract. Stir all the ingredients together thoroughly until the apples are evenly coated with the sugars and spices. Secure the lid on your Instant Pot, ensuring the sealing valve is set to the ‘Sealing’ position. Select the ‘Pressure Cook’ (or ‘Manual’) setting and set the cooking time to 8 minutes on HIGH pressure.
- Natural Pressure Release: Once the 8-minute pressure cooking cycle is complete, do not immediately quick-release the pressure. Instead, allow the pressure to release naturally for 15 minutes. This natural pressure release (NPR) is crucial as it allows the apples to continue cooking gently, contributing to a more tender texture and preventing a sudden burst of hot steam. After 15 minutes, carefully move the sealing valve to ‘Venting’ to release any remaining pressure, then remove the lid.
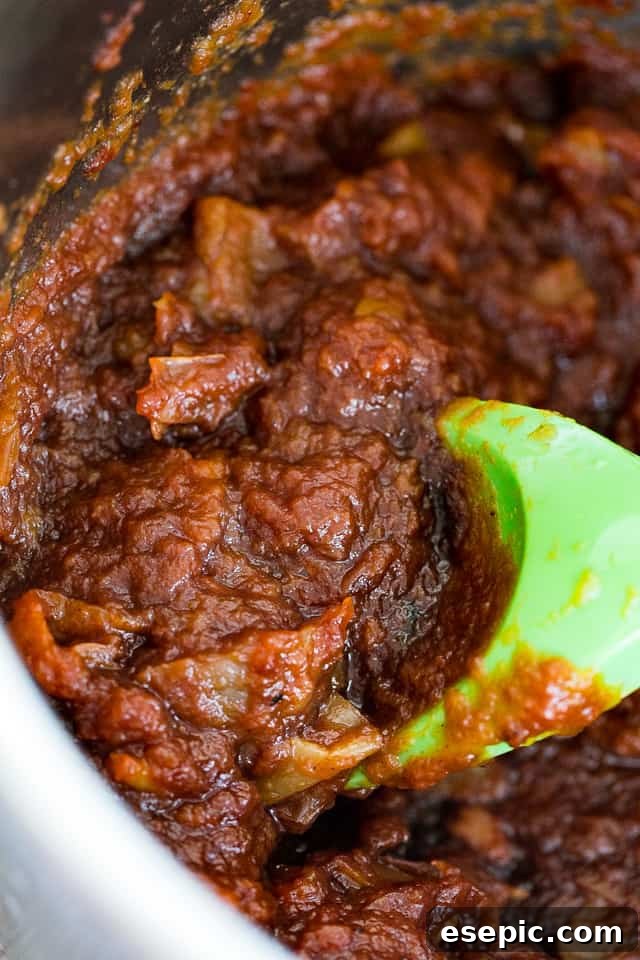
- Blend the Cooked Apples to Perfection: At this stage, your apples will be incredibly soft and fragrant. For a smooth apple butter, you have two primary blending options. The easiest method is to use an immersion blender directly in the Instant Pot insert. Blend until the mixture is completely smooth and free of lumps. If you don’t have an immersion blender, you can carefully transfer the cooked apples in batches to a high-powered blender or a food processor. Blend each batch until silky smooth, then return all the pureed apples to the Instant Pot.
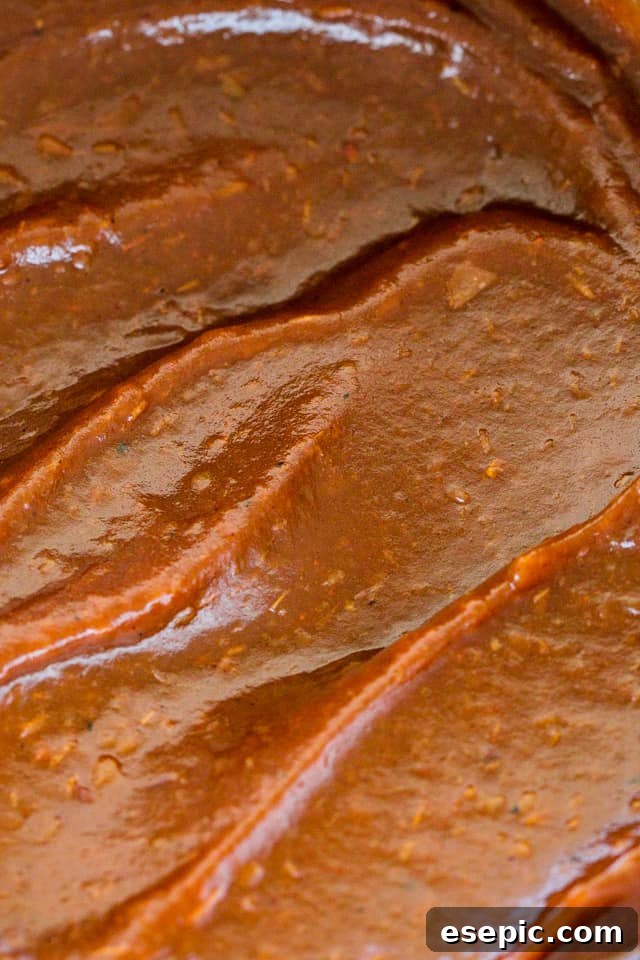
- Simmer to Thicken and Caramelize: With the apple puree back in the Instant Pot, turn the appliance to the ‘Saute’ setting. It’s recommended to press the ‘MINUS’ button to set it to ‘LESS’ (or adjust to a lower saute setting if your model has it) to prevent scorching. Bring the apple puree to a gentle simmer, stirring frequently to prevent sticking to the bottom. Continue to cook for approximately 12 to 15 minutes, or until the apple butter has thickened to a spreadable consistency and has developed a deep, dark golden-brown color, indicative of proper caramelization. This simmering step is essential for achieving the rich flavor and characteristic texture of apple butter.
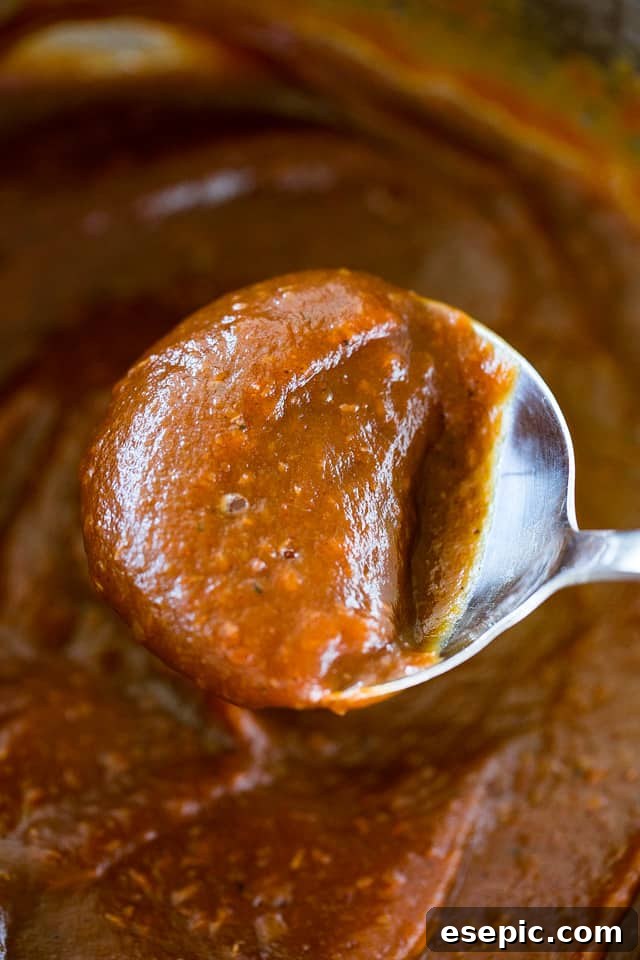
- Cool, Serve, and Store: Once your apple butter has reached the desired consistency and color, turn off the Instant Pot. Allow the apple butter to cool completely within the Instant Pot. As it cools, it will continue to thicken. Once fully cooled, spoon the delicious apple butter into airtight containers. Your homemade Instant Pot Apple Butter is now ready to be served or stored!
Creative Uses for Your Homemade Apple Butter
Once you’ve made a batch of this luscious Instant Pot Apple Butter, you’ll discover its incredible versatility. It’s far more than just a spread for toast; its rich, spiced, and caramelized flavor can enhance both sweet and savory dishes. Here are some inspiring ways to enjoy your homemade apple butter:
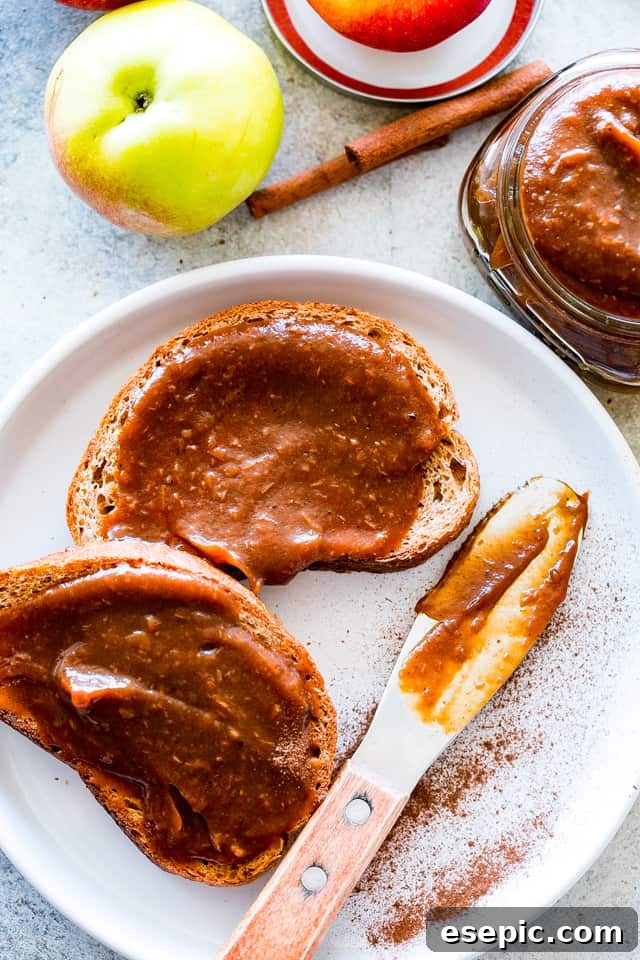
- Breakfast and Brunch Delight: This is where apple butter truly shines. Spread it generously on warm toast, fluffy pancakes, crispy waffles, tender biscuits, or delicate scones. Stir it into your morning oatmeal or yogurt for an added burst of flavor. It’s also fantastic dolloped onto English muffins or bagels.
- Elevate Your Charcuterie Board: With its complex flavors and sweet, fruity mellowness, apple butter makes a sophisticated addition to any cheese board or charcuterie spread. It pairs beautifully with sharp cheddar, creamy goat cheese, robust blue cheese, and even aged gouda. Serve it alongside crackers, crusty bread, cured meats like prosciutto or salami, and a handful of nuts for an unforgettable appetizer.
- Baking Brilliance: Apple butter can be a secret weapon in your baking arsenal. Try substituting it for applesauce or a portion of the fat in recipes for muffins, quick breads, cakes, or cookies to add moisture, flavor, and natural sweetness. It can also be swirled into cheesecakes, used as a filling for tarts or pastries, or mixed into a crumble topping for apple pie.
- Savory Pairings: Don’t limit apple butter to sweet applications! Its sweet and tangy profile makes it an excellent accompaniment to savory meats. Use it as a glaze for roasted pork loin or chicken, stir it into barbecue sauces for a fruity kick, or incorporate it into marinades for a unique depth of flavor. A spoonful alongside roasted root vegetables can also be surprisingly delicious.
- Warm Drinks and Smoothies: For a comforting treat, stir a spoonful of apple butter into hot cider or tea. It can also be blended into smoothies for a thicker texture and a burst of fall spice.
- Wonderful Gifting: Homemade apple butter, packaged in pretty jars with a ribbon, makes for a thoughtful and delicious gift during the holiday season or for hostesses.
Choosing the Best Apples for Your Apple Butter
The type of apple you choose significantly impacts the final flavor and texture of your apple butter. While many recipes for apple desserts often call for tart and firm apples like Granny Smith to hold their shape, apple butter benefits from a slightly different approach. For apple butter, many cooks prefer a sweeter, more mellow apple or a blend of varieties. This is because the natural sugars in sweeter apples are more abundant, leading to more pronounced and richer caramelization during the cooking process, which is key to apple butter’s distinctive flavor.
Excellent choices for sweet apples include:
- Fuji: Known for their crisp texture and intensely sweet, juicy flavor.
- Gala: Sweet, mellow, and aromatic, Galas break down beautifully.
- Honeycrisp: Sweet with a slight tartness and a satisfying crunch, they contribute great flavor.
- Pink Lady (Cripps Pink): A balance of sweet and tart, they offer a firm texture that softens perfectly.
- Golden Delicious: Mellow, sweet, and soft-fleshed, they cook down easily and add natural sweetness.
For a more complex and balanced flavor, consider using a combination of apples. For example, mixing a few tart Granny Smiths with sweeter varieties like Fuji or Golden Delicious can create a delightful contrast that prevents the apple butter from being overly sweet. Experiment with your favorite sweet apples to find the perfect blend that yields the apple butter of your dreams. Always prioritize fresh, ripe apples for the best flavor and texture.
How to Store and Preserve Your Homemade Apple Butter
One of the many joys of making your own apple butter is having a supply of this delicious spread on hand. Proper storage ensures its freshness and allows you to enjoy it for an extended period.
- Refrigeration: Once cooled, spoon your homemade apple butter into clean, airtight containers. It will keep beautifully in the refrigerator for up to 3 weeks. Always label your containers with the date to keep track of freshness.
- Freezing: For longer-term storage, apple butter freezes exceptionally well. Fill freezer-safe airtight containers or heavy-duty freezer bags with apple butter, leaving about half an inch of headspace if using rigid containers to allow for expansion. It will stay fresh in the freezer for up to 6 months. Thaw in the refrigerator overnight before use.
- Canning for Extended Shelf Life: If you wish to preserve your apple butter for pantry storage at room temperature, canning is an excellent method. Apple butter is a high-acid food, making it suitable for water bath canning. For safe and effective canning, it is crucial to follow tested and approved canning guidelines. Reputable resources like Ball’s Canning Guides provide detailed, step-by-step instructions for proper sterilization, filling, sealing, and processing times. Following these guides will ensure your apple butter is safe for long-term storage and can be enjoyed year-round.
Troubleshooting and FAQs for Instant Pot Apple Butter
Even with a straightforward recipe, sometimes questions or minor issues can arise. Here are some common troubleshooting tips and frequently asked questions to help you achieve perfect apple butter every time:
- My apple butter is too thin. What should I do? If your apple butter is thinner than desired after the simmering stage, simply continue to simmer it on the ‘Saute Less’ setting, stirring frequently. The goal is to evaporate more liquid and allow further caramelization. Keep cooking until it reaches your preferred spreadable consistency. Remember, it will thicken more as it cools.
- My apple butter is too thick. Can I fix it? If your apple butter becomes too thick, you can gently thin it out by stirring in a tablespoon or two of hot apple cider or apple juice until it reaches the desired consistency. Do this slowly to avoid over-thinning.
- Can I reduce the amount of sugar? Yes, you can adjust the sugar content to your taste. Start by reducing the sugars by ¼ cup. Remember that apples vary in sweetness, so taste the mixture after blending and before the final simmer. You can always add a bit more sugar during the simmering stage if needed. Keep in mind that sugar contributes to the caramelization and preservation, so significant reductions might slightly alter the final texture and shelf life.
- How do I know when the apple butter is done simmering? A good test is the “spoon test.” Dip a spoon into the apple butter, then let it cool slightly. If it holds its shape on the spoon and doesn’t run off too quickly, it’s likely ready. Another method is to draw a line through the butter with your spoon on the bottom of the Instant Pot; if the line remains distinct for a few seconds before the butter fills it in, it’s done. The color should also be a deep, rich brown.
- Can I use different spices? Absolutely! While cinnamon, allspice, and nutmeg are classic, feel free to experiment. Cardamom, ground cloves, ginger, or a pinch of star anise can add unique dimensions to your apple butter. Start with small amounts and adjust to your preference.
- Is it okay to use only one type of apple? Yes, while a mix of apples can provide more complex flavor, using a single variety is perfectly fine, especially if it’s an apple you particularly enjoy for its sweetness and ability to break down easily.
ENJOY this delightful homemade Instant Pot Apple Butter, a truly heartwarming taste of autumn that you can create with ease and savor all year long!
Instant Pot Apple Butter Recipe
Katerina | Easy Weeknight Recipes
An easy Instant Pot version of classic Apple Butter, a delicious and warm apple spread, caramelized and spiced with cinnamon, allspice, and nutmeg.
5
40
30
1
15
48 ounces
Ingredients
- 5 pounds apples, cored, and cut into wedges (peel is optional)
- 1 tablespoon fresh lemon juice
- ½ cup brown sugar
- ¼ cup granulated sugar
- ¼ cup apple cider, (NOT apple cider vinegar, but you can use pure apple juice if you don’t have apple cider)
- 1 teaspoon ground cinnamon
- ½ teaspoon ground allspice
- ½ teaspoon ground nutmeg
- 1 tablespoon pure vanilla extract
Instructions
-
Place the apples in the Instant Pot and stir in the lemon juice.
-
To the apples, add sugars, apple cider, cinnamon, allspice, nutmeg, and vanilla; stir around until well combined.
-
Secure the lid. Set the valve to sealing. Set to Pressure Cook on HIGH for 8 minutes.
-
When cooking time is up, allow Natural Pressure Release for 15 minutes. Remove the lid.
-
Using an immersion blender, blend the apple mixture until smooth. You can also use a high-powered blender or a food processor to blend the apples, but do it in batches and return the blended apples back to the Instant Pot.
-
Turn the Instant Pot to Saute and press the MINUS button to set it to LESS.
-
Bring the mixture to a simmer and continue to cook for 12 to 15 minutes or until thickened to desired consistency.
-
Turn OFF the Instant Pot, but let the apple butter completely cool inside the Instant Pot.
-
Once cooled, spoon the apple butter into an airtight container and keep refrigerated for 3 weeks. You can also freeze it for up to 6 months.
-
If you want to preserve the Apple Butter in jars, use Ball’s Canning Guides for step-by-step directions.
Nutrition
Serving: 1 ounce | Calories: 39kcal | Carbohydrates: 10g | Protein: 1g | Fat: 1g | Saturated Fat: 1g | Sodium: 1mg | Potassium: 55mg | Fiber: 1g | Sugar: 8g | Vitamin A: 26IU | Vitamin C: 2mg | Calcium: 5mg | Iron: 1mg
Nutritional info is an estimate and provided as courtesy. Values may vary according to the ingredients and tools used. Please use your preferred nutritional calculator for more detailed info.